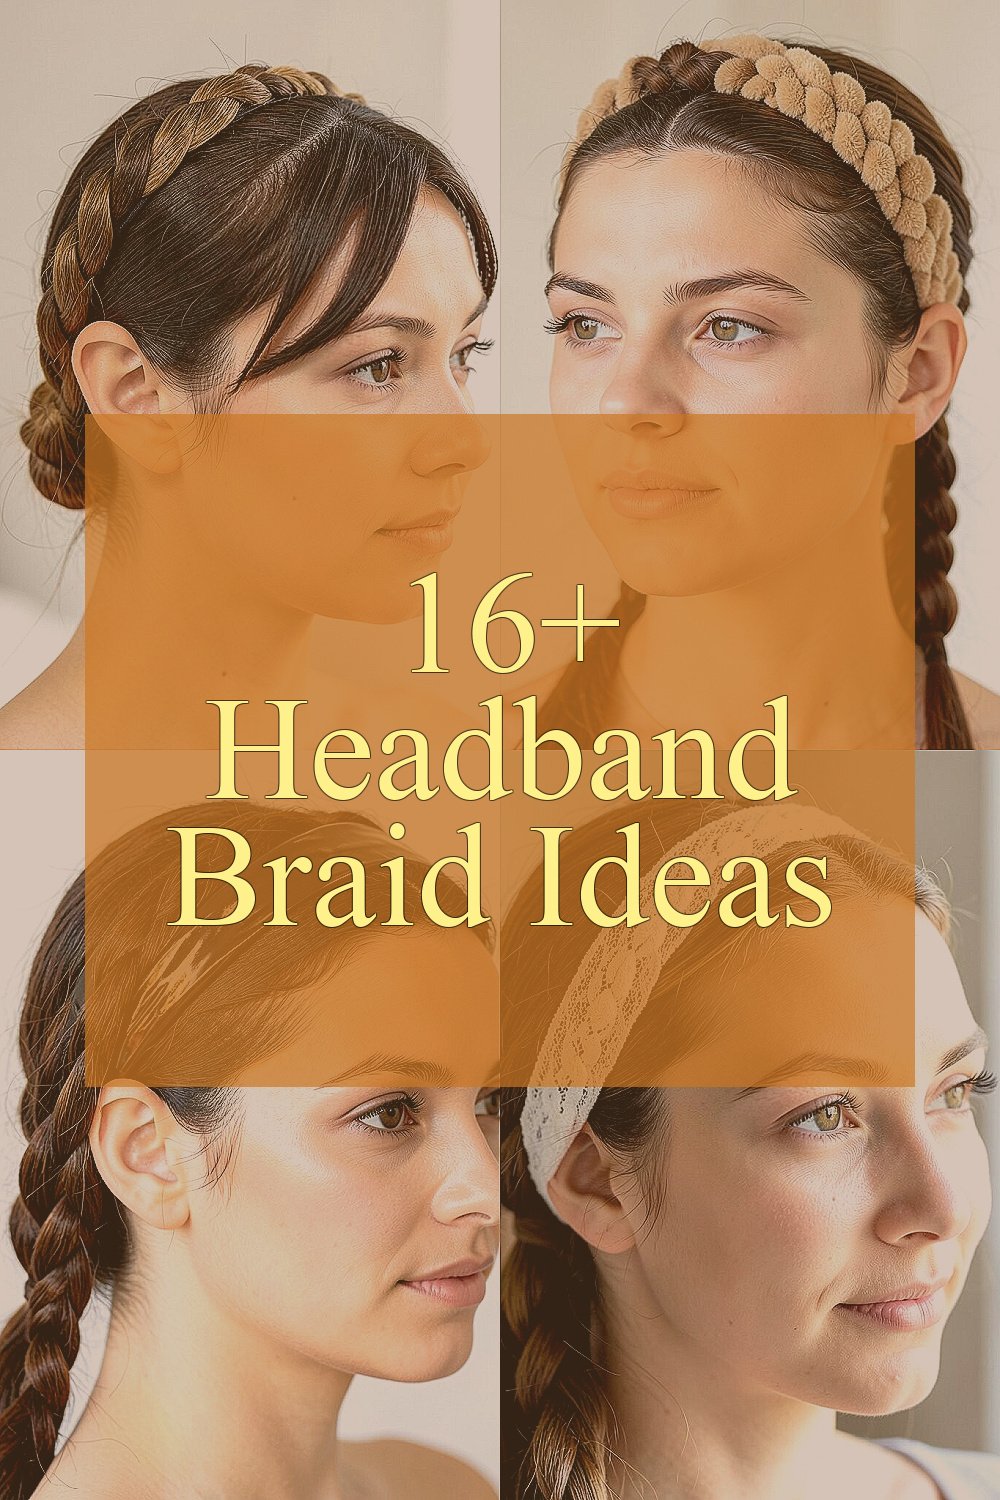
That little headband can do more than hold hair back. It can frame your face with braids that look styled without feeling complicated.
Whether you wear your hair curly, straight, thick, or fine, there’s a braid style that can match your day.
1. Classic Three-Strand Crown Headband
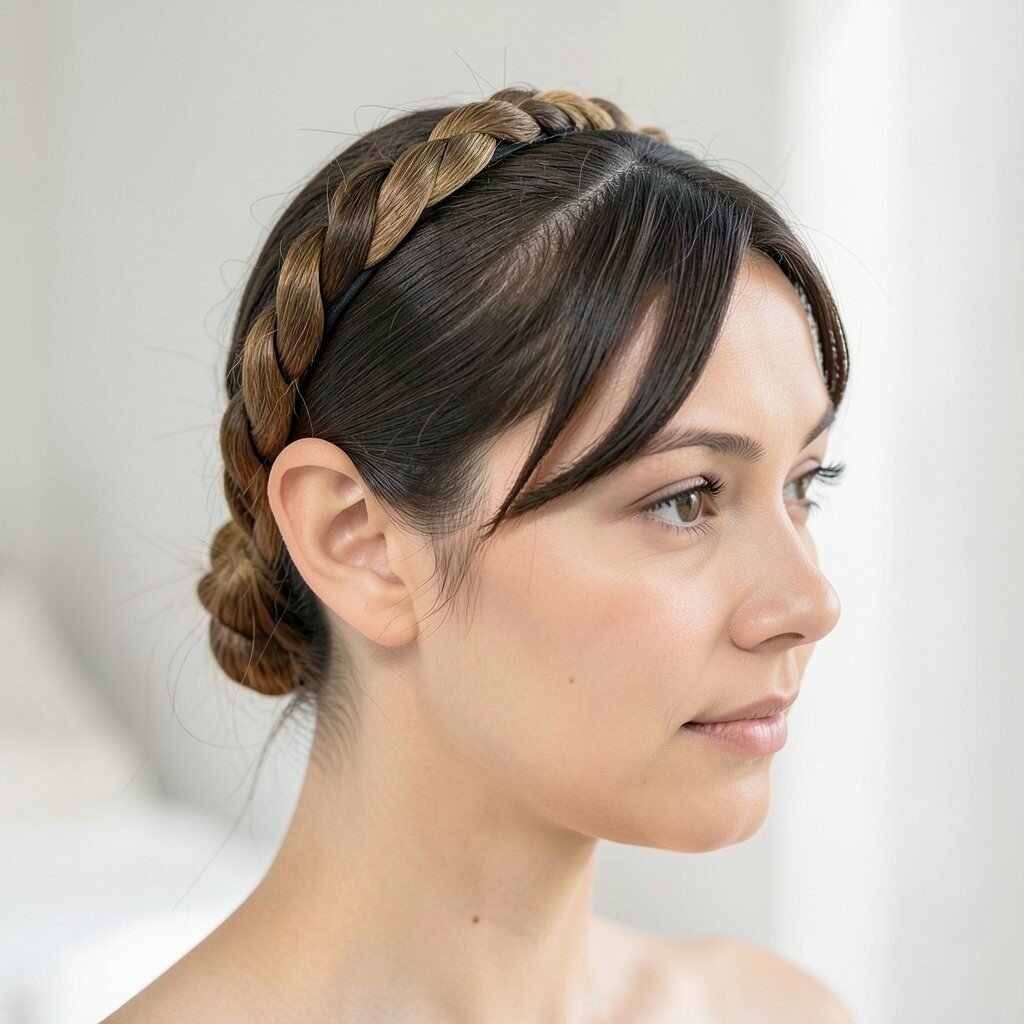
A three-strand braid laid across the top can look like a delicate crown. Your forehead gets a neat frame, and the braid sits steadily while you move around.
Start with a simple part and sweep the braid from one side to the other. Keep the braid snug at the roots, then pull it slightly wider for a softer, airy look. Finish with a small elastic and tuck the end under so it hides easily. If your hair slips, add a tiny amount of styling cream at the braid base for extra grip.
2. Dutch Braid Headband With Puffy Texture
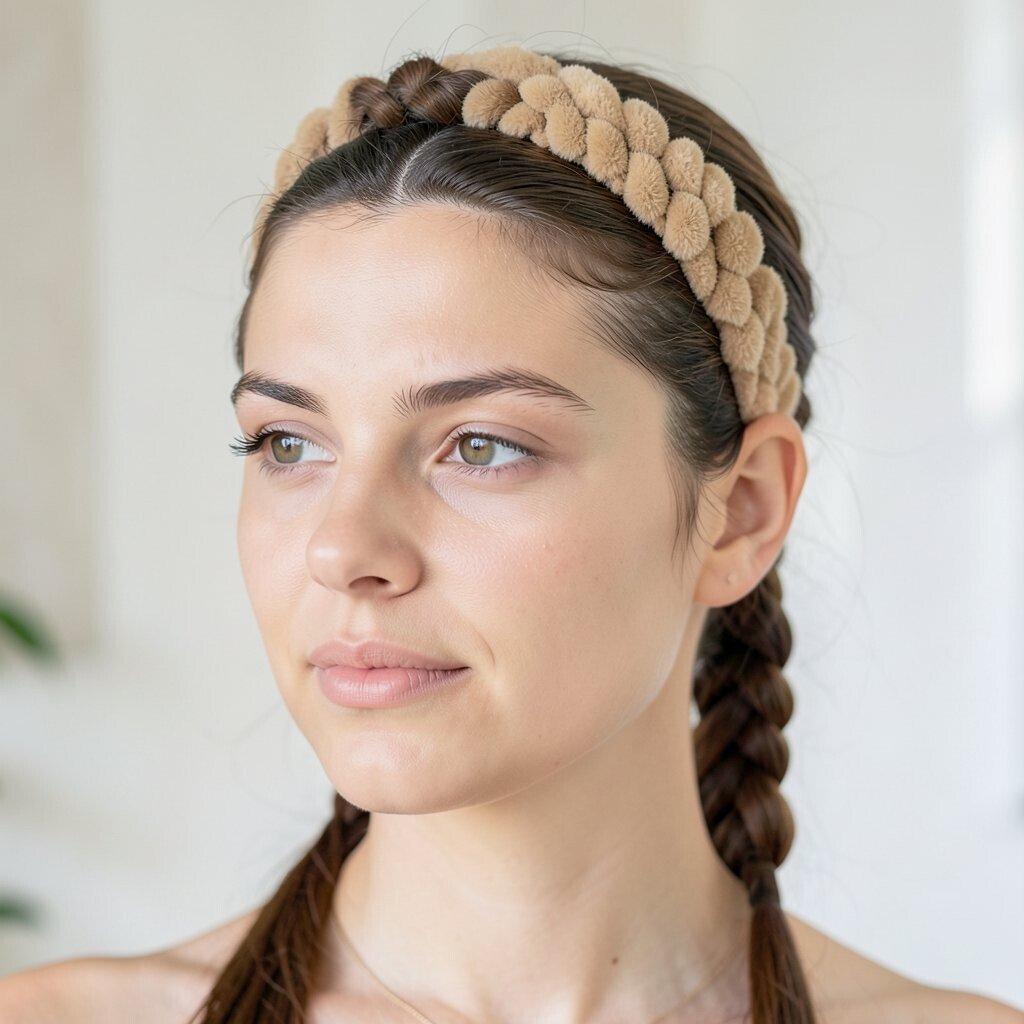
A Dutch braid flips under instead of over, so it stands out like raised lettering. When you place it like a headband, the braid looks bold and playful without needing fancy tools.
Begin near one ear, braid under along the hairline, and move toward the other side. Lightly tug each section after you secure it, which creates a cloud-like texture. Use bobby pins to anchor the ends, especially if you have layers. For personalization, try a thinner braid for a dainty vibe or a chunkier braid for a more dramatic frame.
To keep it practical, use a non-slip elastic and store a few spare pins in your bag. Cost stays low because all you need is a comb, elastics, and pins you likely already own. This style fits current trends because fuller, textured braids are everywhere in everyday street looks.
3. Fishtail Headband With Shiny Finish
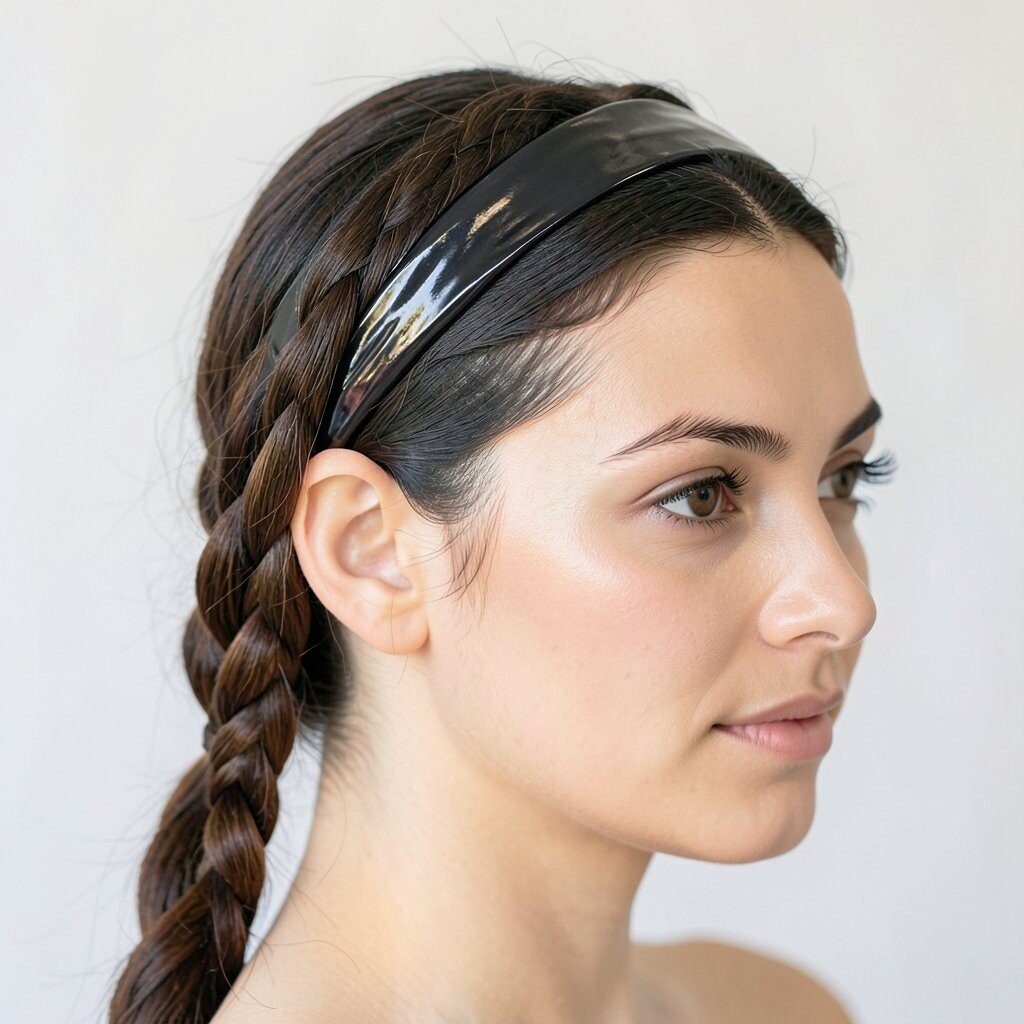
A fishtail braid creates a zigzag pattern that looks like tiny scales. When it wraps like a headband, it adds a polished touch that still feels easy.
Split the front section into two pieces, then take small bits from the outside and cross them over. Move slowly, and use a mirror so the braid stays centered. Once it reaches the opposite side, secure the end and tuck it under. For a sleek finish, smooth a light gel on top before braiding so the pattern pops.
If you want extra hold for windy days, spray a little hairspray at the end and press the braid gently into place. This also helps the shape last through a long school day or work shift.
With cost in mind, fishtails don’t need extensions or special clips. You can get the same effect using your natural hair and a couple of elastics, which makes it budget-friendly.
4. Lace Braid Headband With Soft Loops
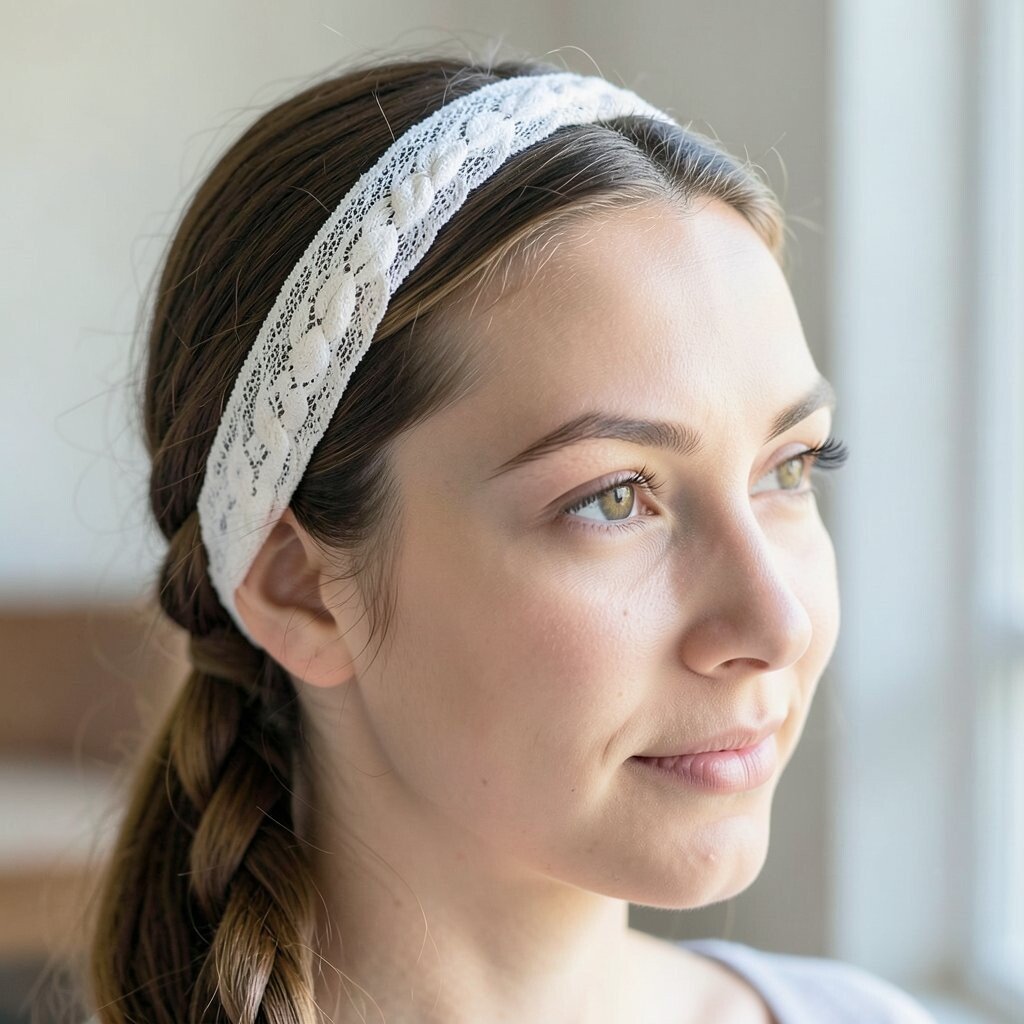
Lace braids look delicate and romantic, like tiny loops along the hairline. When you wear one as a headband, your face looks framed and elegant.
Pull small sections from the outer edge as you braid, then gently loosen them to form eyelet shapes. Keep the braid low and close to the forehead so it feels like a real headband. Use pins to secure each loop so it doesn’t sag. A little dry shampoo at the roots can add grip, which makes the braid easier to manage.
For personalization, try alternating tight and loose sections to create a measured, patterned look. Add a small clip near one side for a cute detail that matches your outfit. This style also fits current trends because airy braids and romantic textures are popular in summer hairstyles.
5. Waterfall Headband Braid With Face-Framing Drops
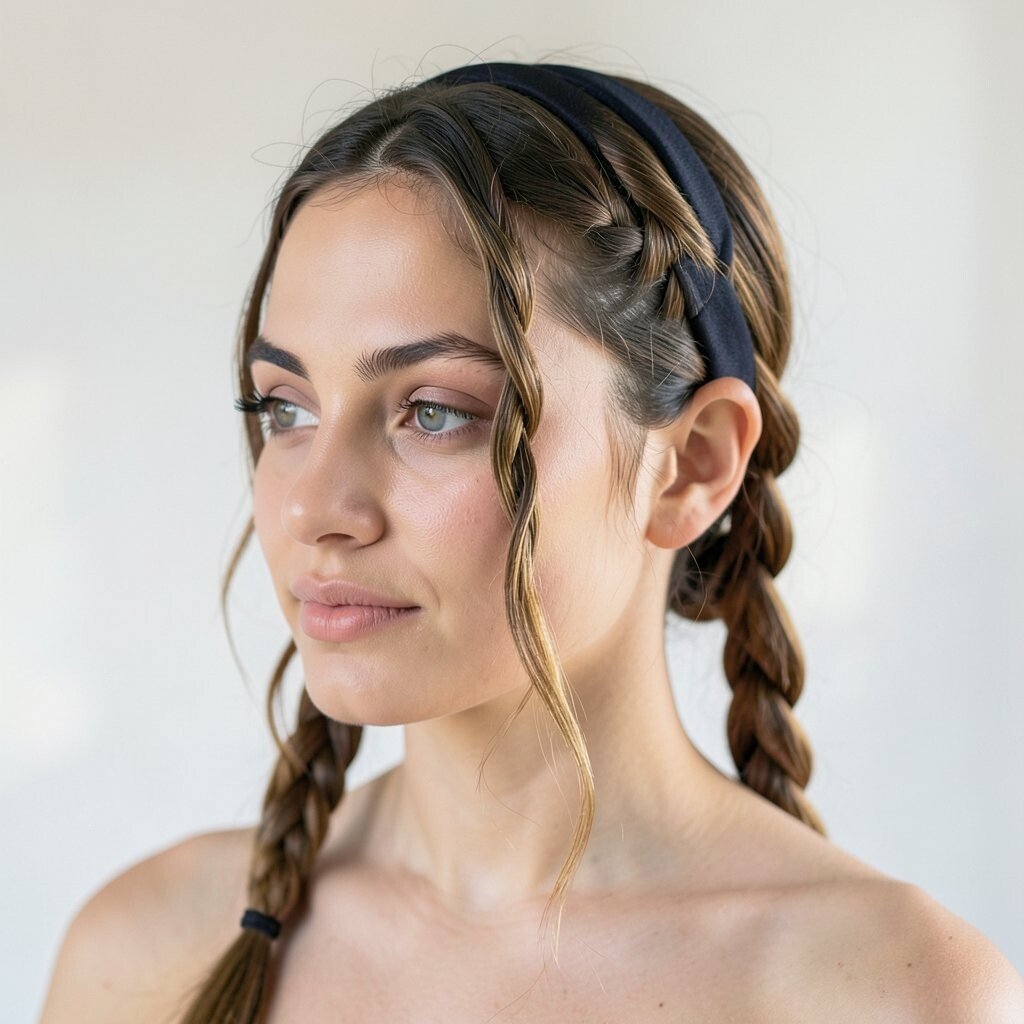
A waterfall braid feels light because some strands keep flowing instead of fully braiding in. Worn as a headband, it creates a “falling ribbon” effect right along your hairline.
Start near one temple and braid across, but let a small strand drop before each cross. Repeat the drop pattern so it looks like cascading hair ribbons. Secure the far end with a pin and gently smooth the top layer with your fingers.
If your hair is thick, use smaller drops so the waterfall stays neat instead of bulky. For extra hold, mist with hairspray lightly and then set the braid in place with pins.
Cost considerations are simple here because this style uses basic tools only. It’s also unique because the loose strands give movement, so it feels different from typical headband braids.
6. Side-Swept Headband Braid With One Shoulder Finish
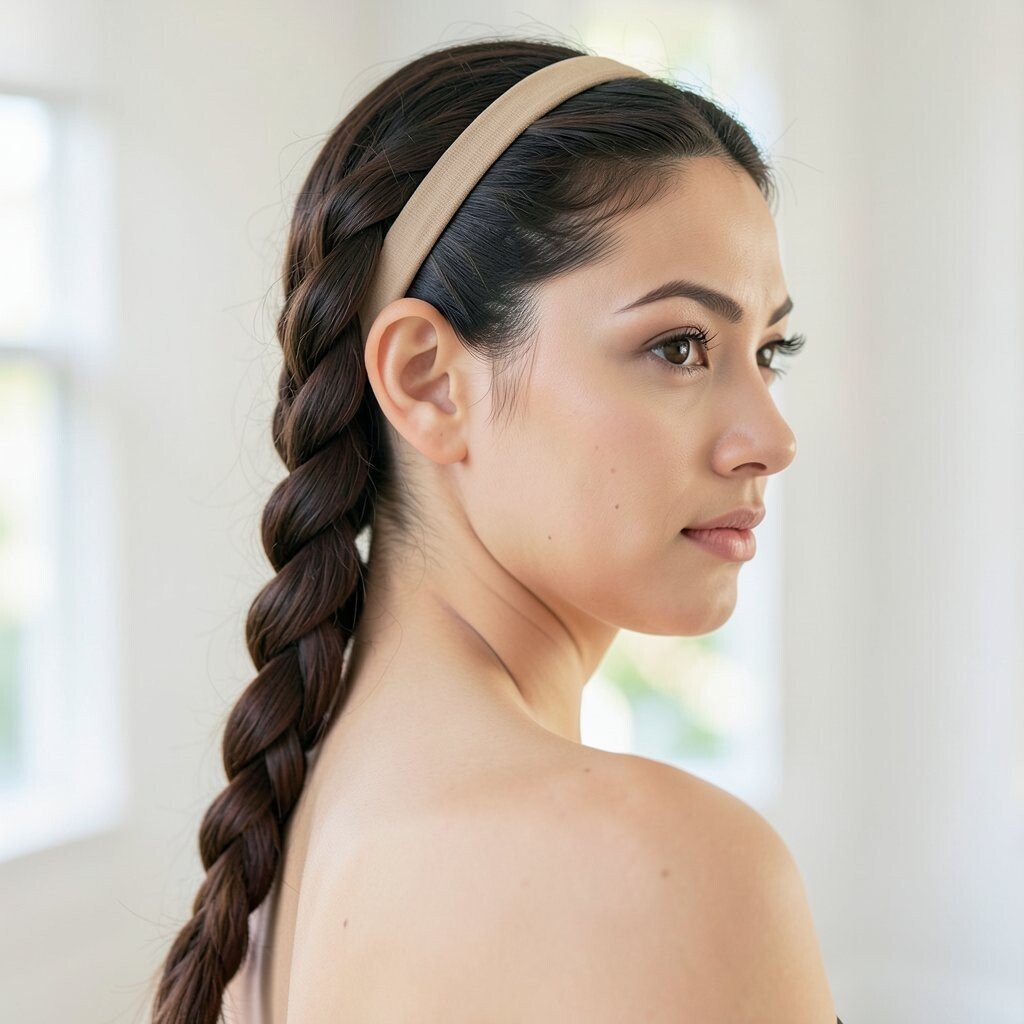
A side-swept braid makes your whole look feel intentional, like you planned your hair ahead of time. The headband part holds the front in place while the rest of your hair flows over one shoulder.
Gather hair from one side, braid along the hairline, and guide it toward the opposite shoulder. Secure it with bobby pins and keep the braid slightly tighter near the start. Once it’s anchored, you can leave the remaining hair loose or add waves for a matching style. If you like personalization, choose a braid width that fits your hair thickness and your comfort level.
7. Ribbon-Inspired Headband Braid With Color Strands
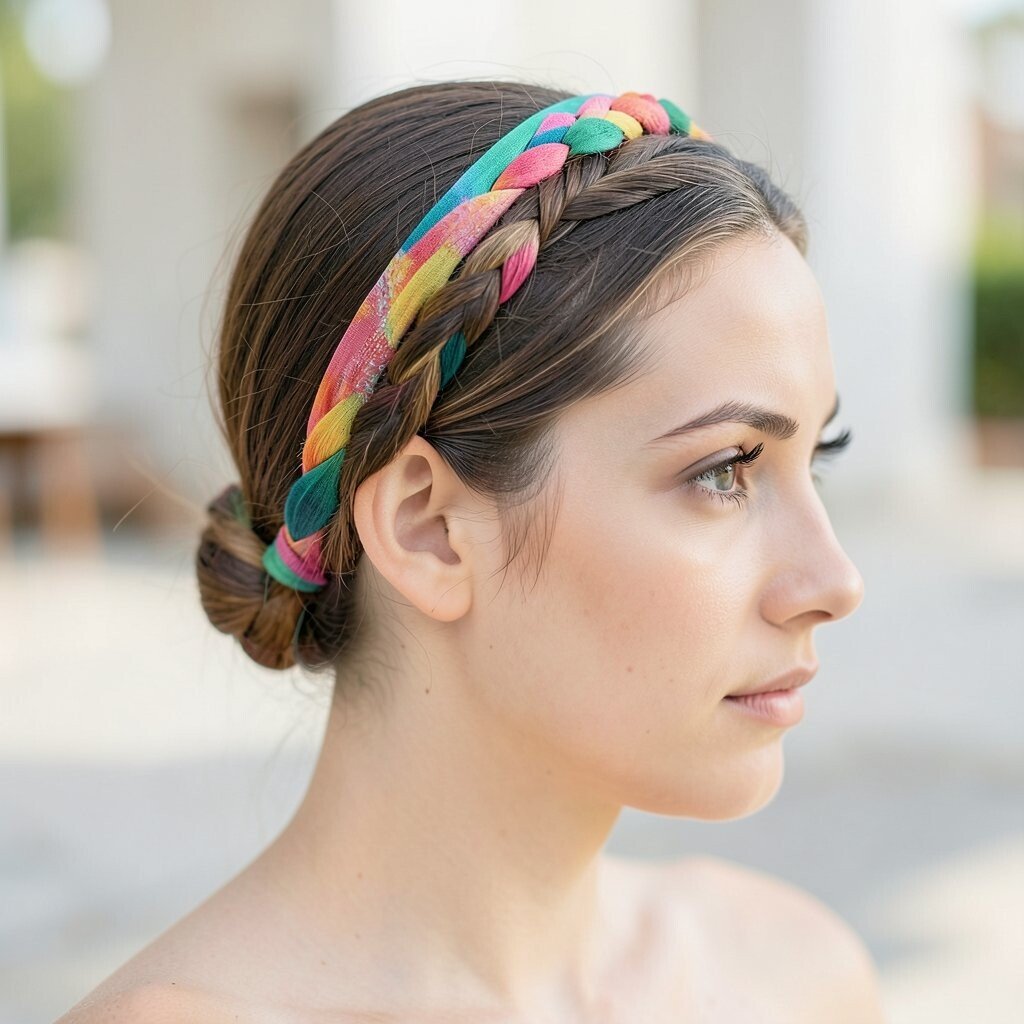
Adding a ribbon-like strand makes the braid look playful and creative. Even without real ribbon, you can create the effect using a thin section of hair dyed temporarily or a colored thread wrapped securely.
Choose a color that matches your outfit, then braid it in as if it’s a strand. Keep the thread flat and tension even so it blends smoothly into the braid pattern. When you reach the other side, tuck and pin the end so it stays hidden. If you want an easy, current trend look, go for bright pops or soft pastel shades that show up in daylight.
For cost considerations, temporary hair chalk, clip-in color streaks, or a fabric ribbon are usually budget-friendly. This style is unique because it feels like jewelry for your hair, not just another braid.
8. Headband Rope Braid With Twisted Texture
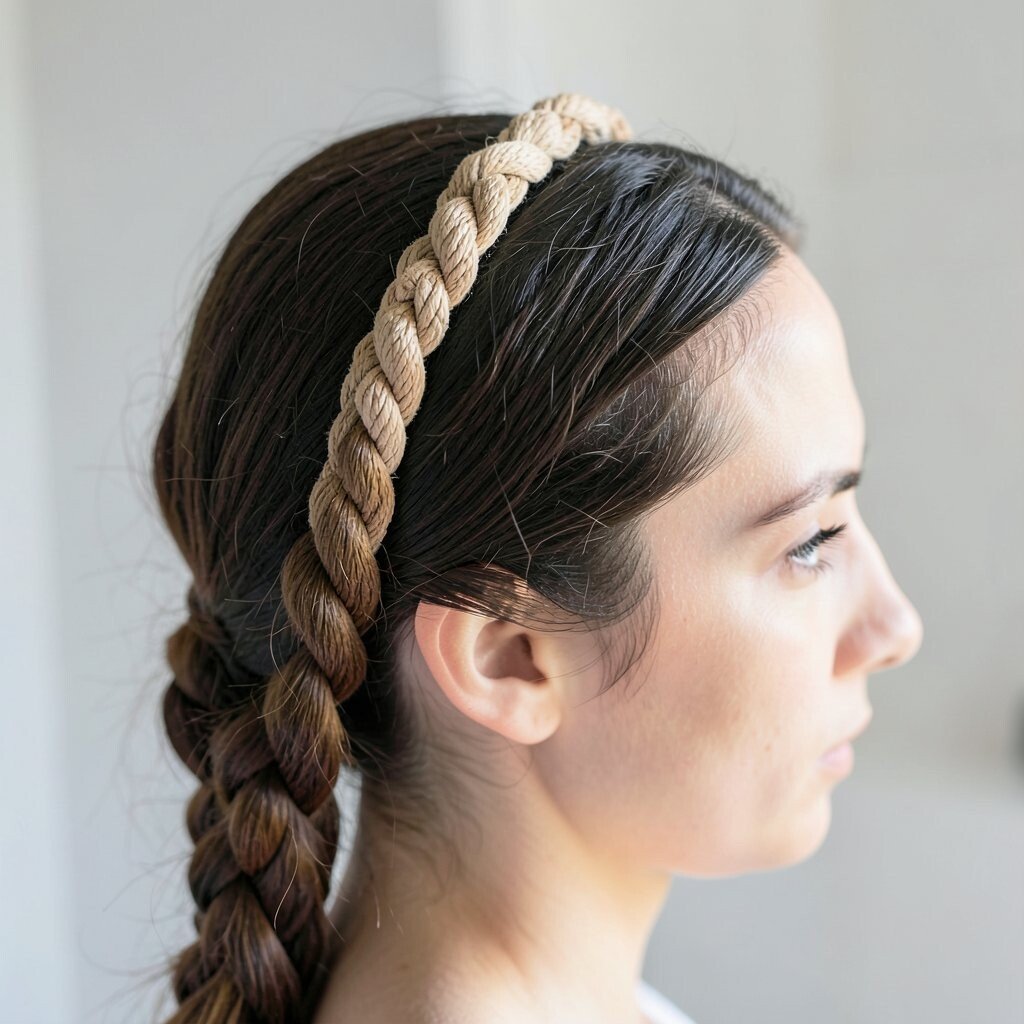
A rope braid looks like a twisted cord, and it gives a clean, modern vibe. When it sits across the head like a headband, it makes your hairstyle look neat and sporty.
Create two sections and twist each one in the same direction, then twist both sections together in the opposite direction. Secure at the end with an elastic, then pin it across your forehead line. Keep your twists consistent so the rope shape stays defined. Add a tiny tug to loosen the braid slightly for a softer, less stiff look.
9. Crown Headband Braid With Half-Up Volume
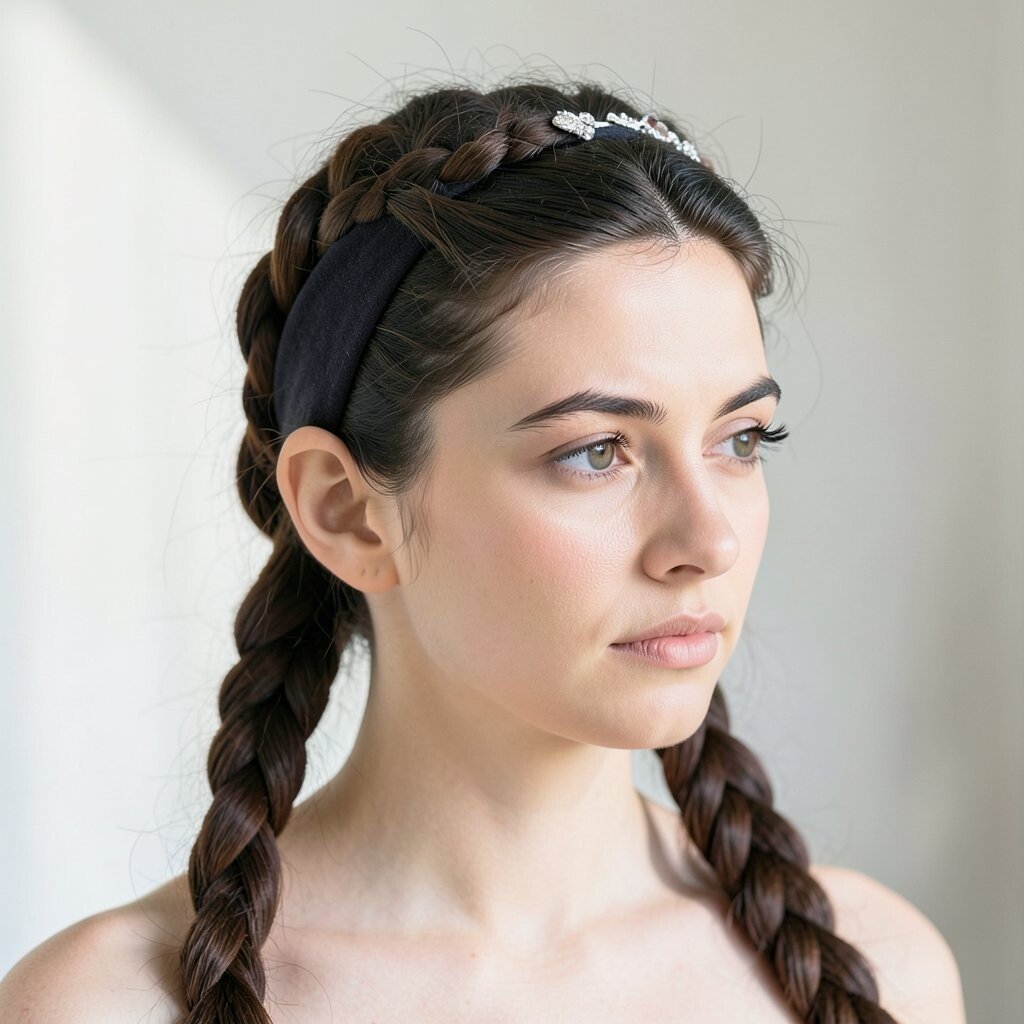
This style keeps hair up while giving you a real headband feel. A crown headband braid on half-up hair looks full at the top and light around the sides.
Clip or tie the top section, braid it across like a crown, and release the rest for natural movement. Use a teasing comb gently at the roots before braiding for extra volume. Then smooth the surface so it looks polished instead of messy. Personalization is easy here because you can adjust how high the braid starts based on your forehead size.
It’s also practical for busy days because it keeps hair off your face while still showing length. If you’re thinking about cost, you don’t need special extensions, only pins and elastics you can reuse.
10. Halo Headband Braid With Two Small Braids
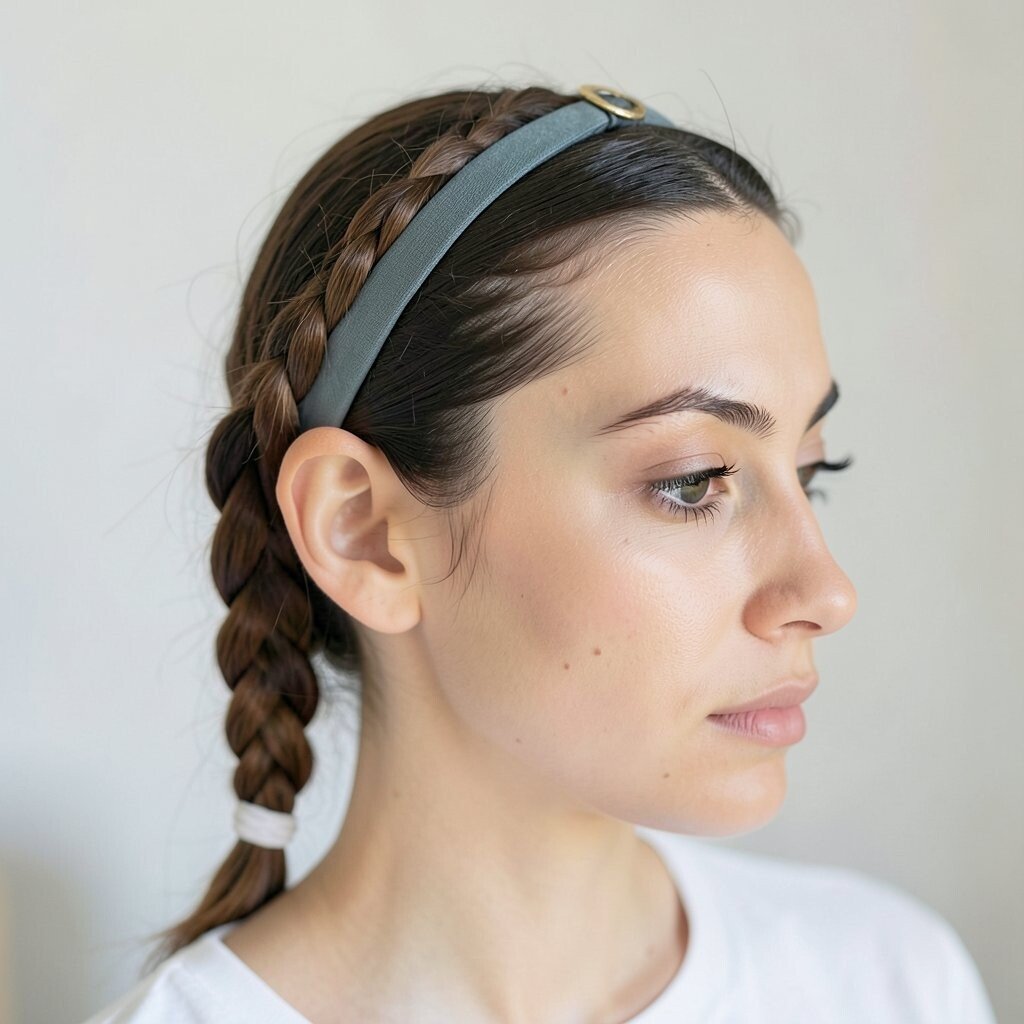
Two small braids can wrap around your head like a halo. The symmetry gives a cute, balanced look that feels fresh and trendy.
Part the hair down the middle, then braid two sections starting at each temple. Connect the ends in the back with pins, forming a smooth ring across the top. Loosen slightly to add dimension, especially if your hair is fine. If you want it more unique, braid smaller sections so the halo looks delicate and detailed.
11. Curly Hair Friendly Headband Braid With Bangs Out
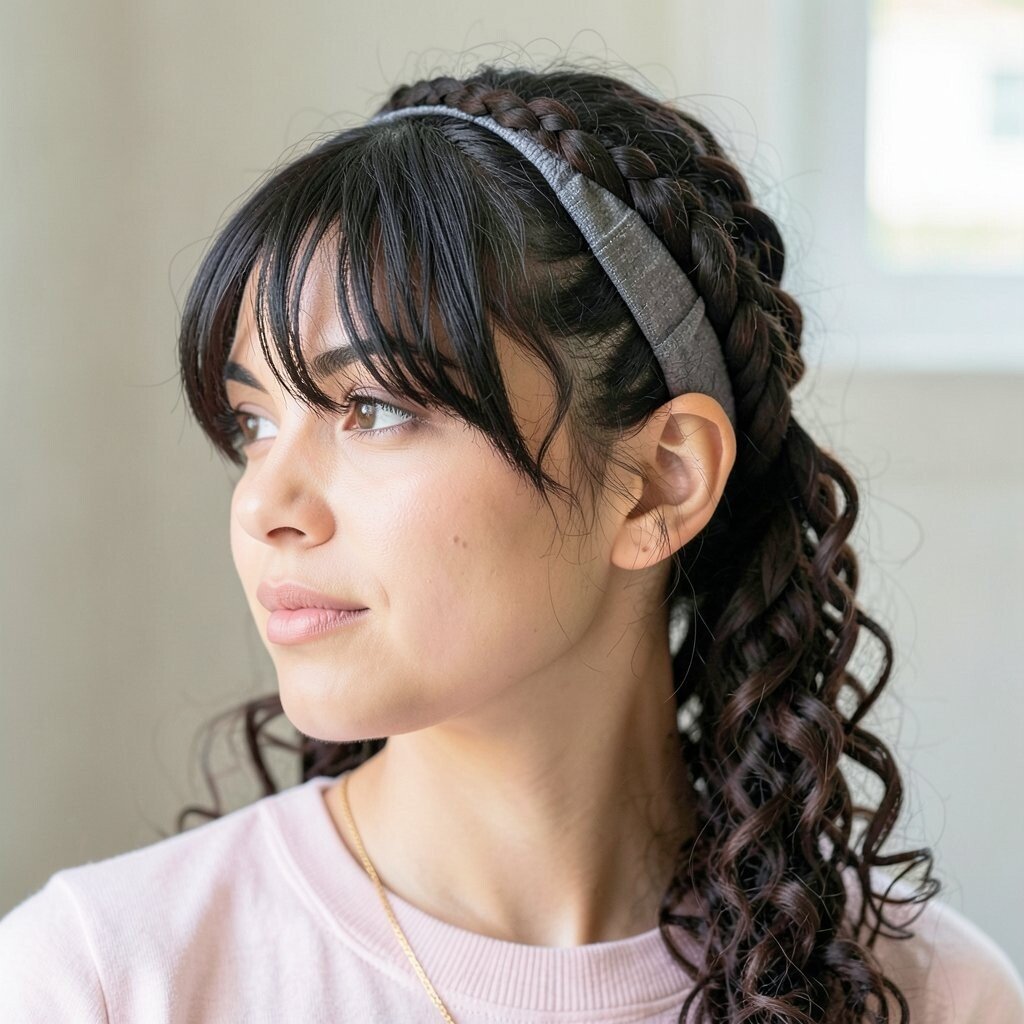
Curly hair looks amazing with a headband braid because curls add bounce to every exposed strand. This version keeps your front pieces alive, especially if you wear bangs or face-framing curls.
Section out the front hair along the hairline, braid it loosely, and leave your curl pattern intact around the braid. Use a curl cream to help keep flyaways controlled so the braid looks tidy. Secure the ends with pins that match your hair color for a seamless blend. For personalization, widen the braid slightly so it sits comfortably on your natural curl shape.
Cost considerations are minimal since you’re using hair products you may already use for curls. This style is a current favorite because curly-friendly braids are everywhere, and they look especially effortless.
To make it last, let your braid set for a minute after pinning, then lightly mist with a flexible hold spray.
12. Short Hair Headband Braid With Pin-Up Placement
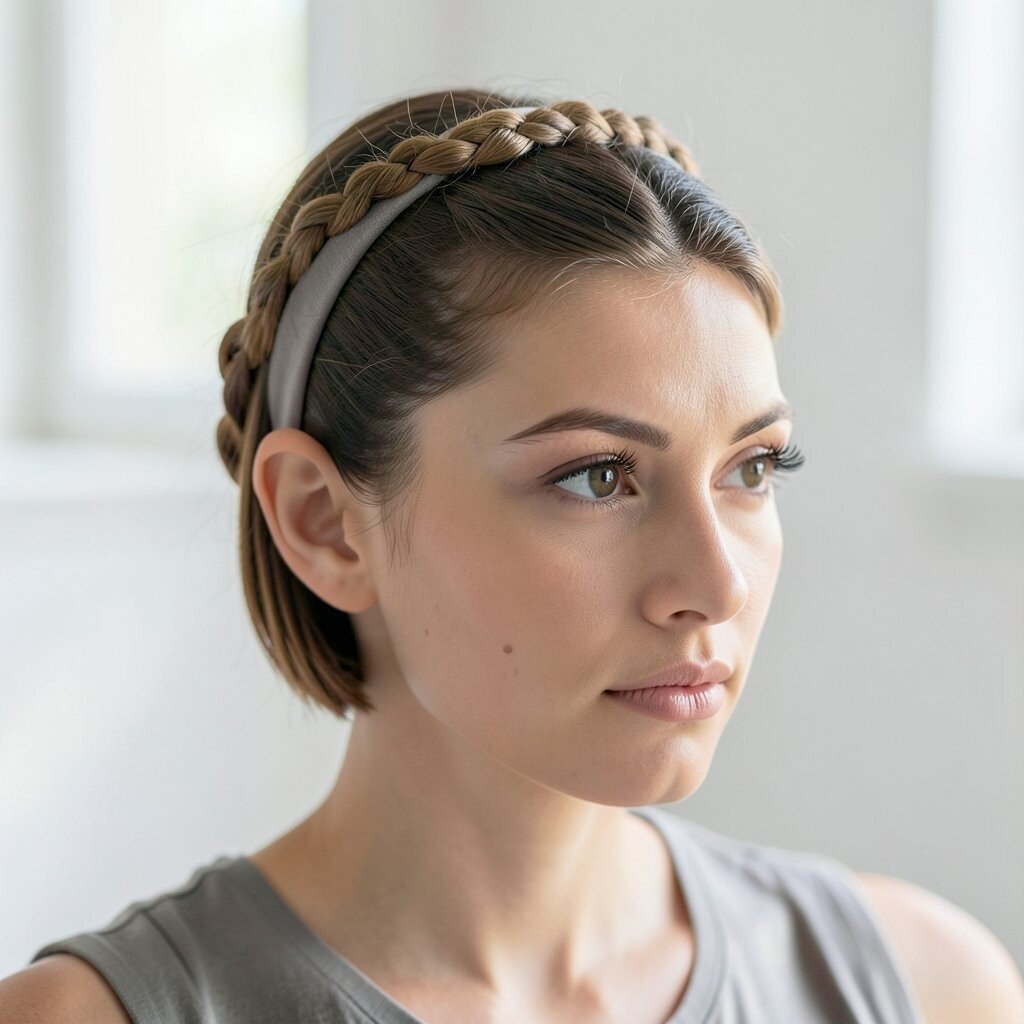
Short hair can still wear headband braids, especially when you pin strategically. Instead of trying to wrap everything around, you create a braid panel that looks like a headband.
Take a front section and braid toward the side, then pin it close to your scalp so it stays put. Repeat on the other side if you want a matching look, or choose one side for a more modern asymmetry. Use small bobby pins to catch shorter pieces, and consider a light hair wax to help flyaways blend. Personalization is great here because you can decide how far back the braid goes.
In terms of cost, this style is low-maintenance because it avoids extra accessories. It’s also unique because it celebrates shorter lengths instead of fighting them.
13. Braided Headband With Side Part and Clean Corners
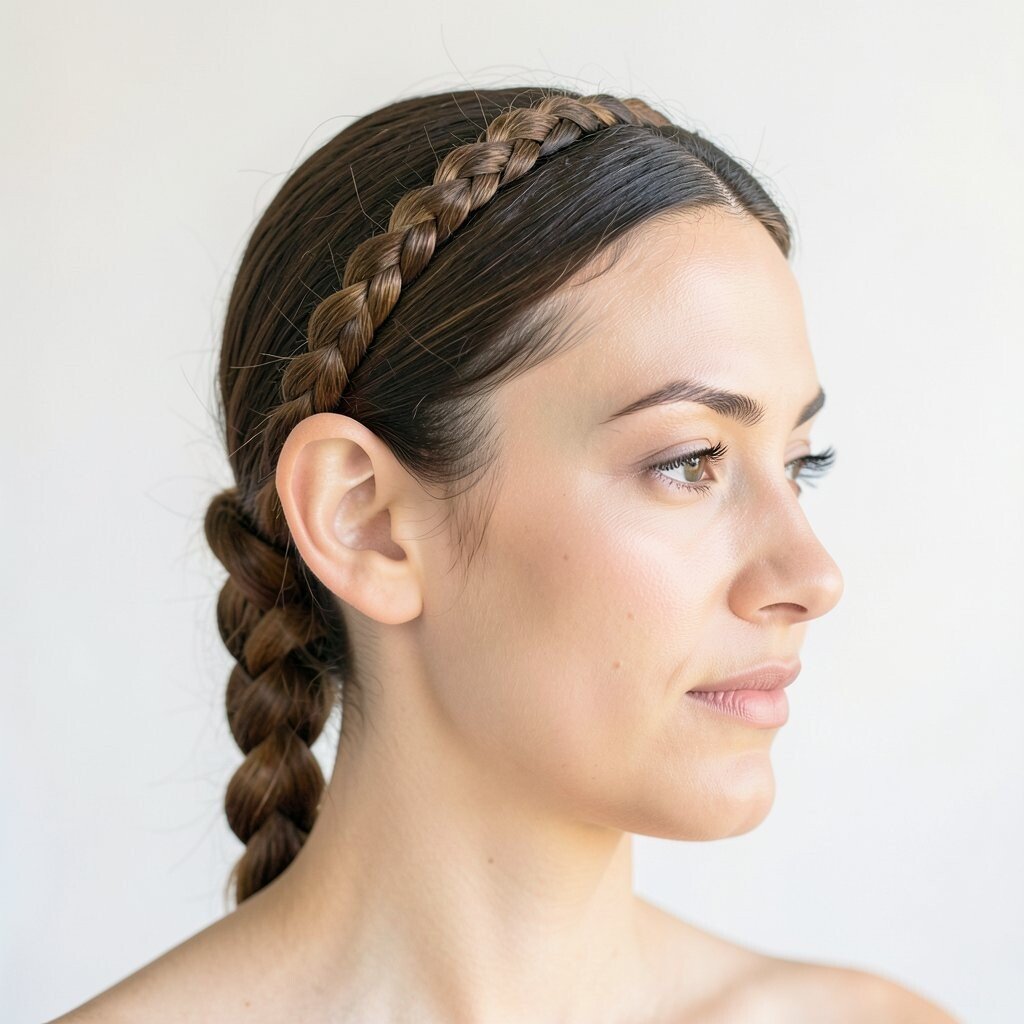
A side part plus a braid gives a sharp, polished appearance. The headband placement adds structure, making your hairstyle look ready for events without extra effort.
Make a deep side part, then braid along the hairline following the curve of your part. Keep tension even so the braid edges look clean and neat. Secure the braid end and tuck it behind hair so it disappears naturally. If you want a personalization twist, add a subtle bend by adjusting where you start and finish near the ear.
14. Headband Braid With Two Texture Bands
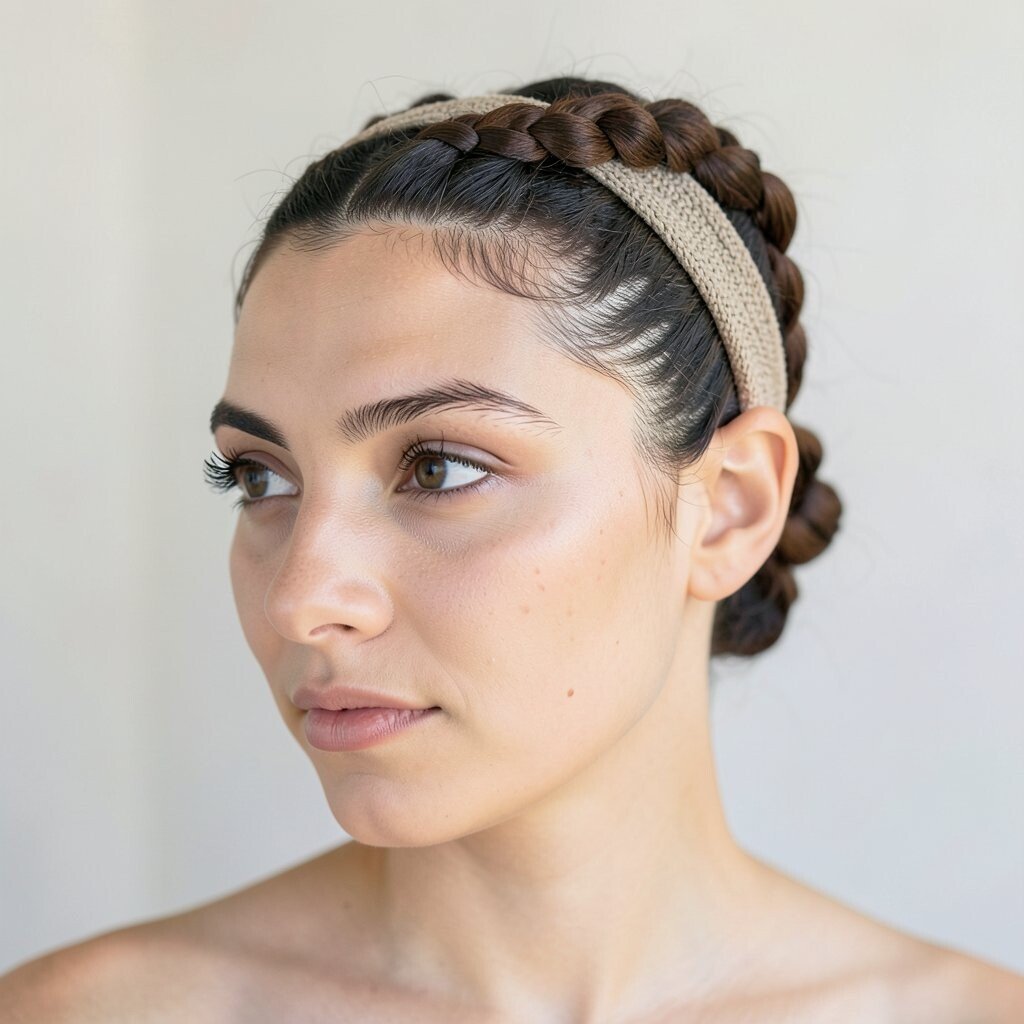
This braid idea mixes textures by combining a sleek section with a more relaxed braid. The result looks like layered styling, even though you’re using the same basic technique.
Start by smoothing the front hair lightly, then braid one section more tightly. Next, loosen the second section slightly so you get a banded look across the forehead. Pin both parts securely so the texture shift looks intentional, not accidental. For personalization, try a different braid style in one section, like a simple three-strand in front and a rope braid at the back end.
Cost-wise, you’ll mainly need elastics and pins, plus a small styling product for shine. This style feels unique because it gives “designer detail” energy while staying easy to repeat.
For current trends, contrast textures are popular, and this hair look fits right in with that vibe.
15. Halo Headband Braid With Braided Bangs Accent
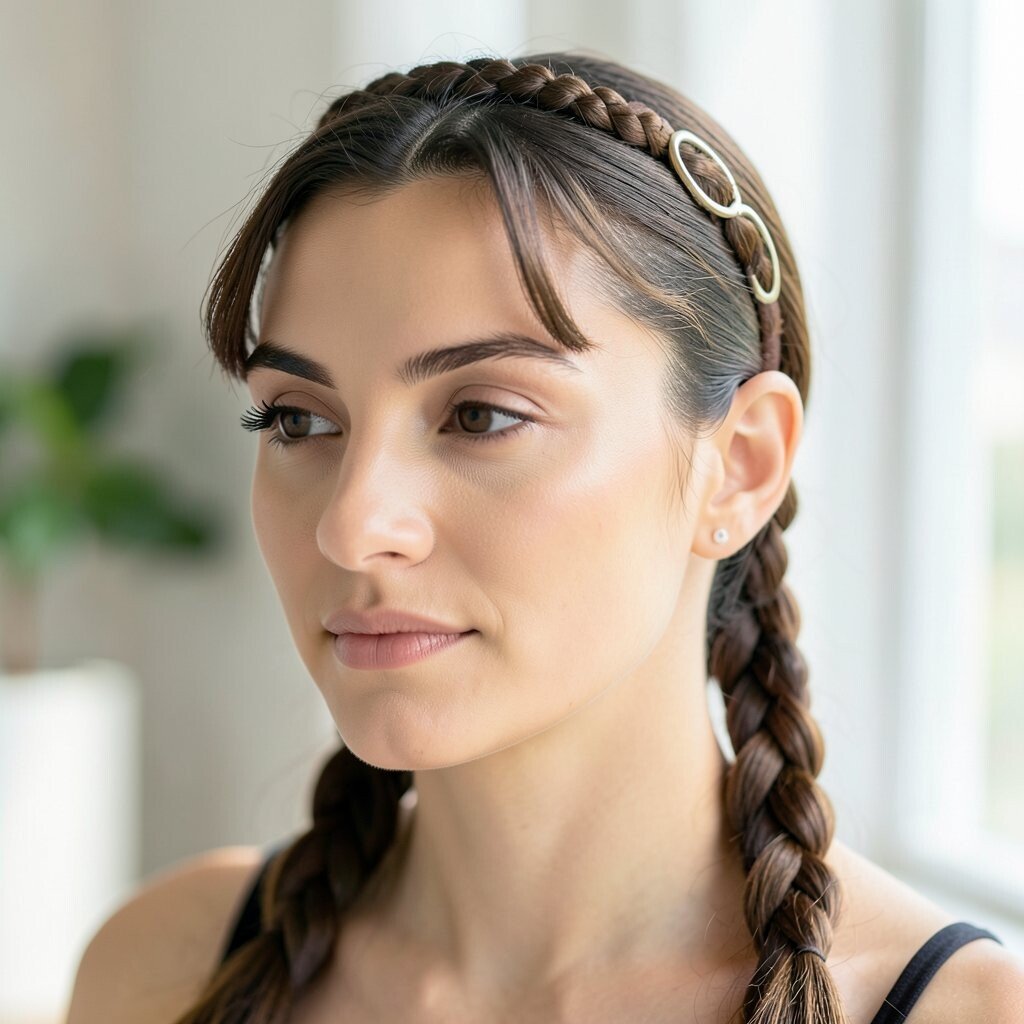
Braided bangs give your face an extra focal point, and it makes the headband braid feel more special. Even if you don’t have full bangs, you can braid a small front accent to mimic that effect.
Create a thin braid across the front like a mini headband, then connect it into a larger braid that wraps around the top. Keep the mini braid snug so it frames your eyes, and use pins to blend the connection. If you want a personalization idea, try tiny loops by gently tugging only the mini braid sections. That small detail can make the whole hairstyle look softer and more romantic.
Cost considerations are friendly because you won’t need salon tools. A comb, a few bobby pins, and an elastic are enough, and the accent braid looks impressive in photos.
16. Loose Boho Headband Braid With Flower Clip
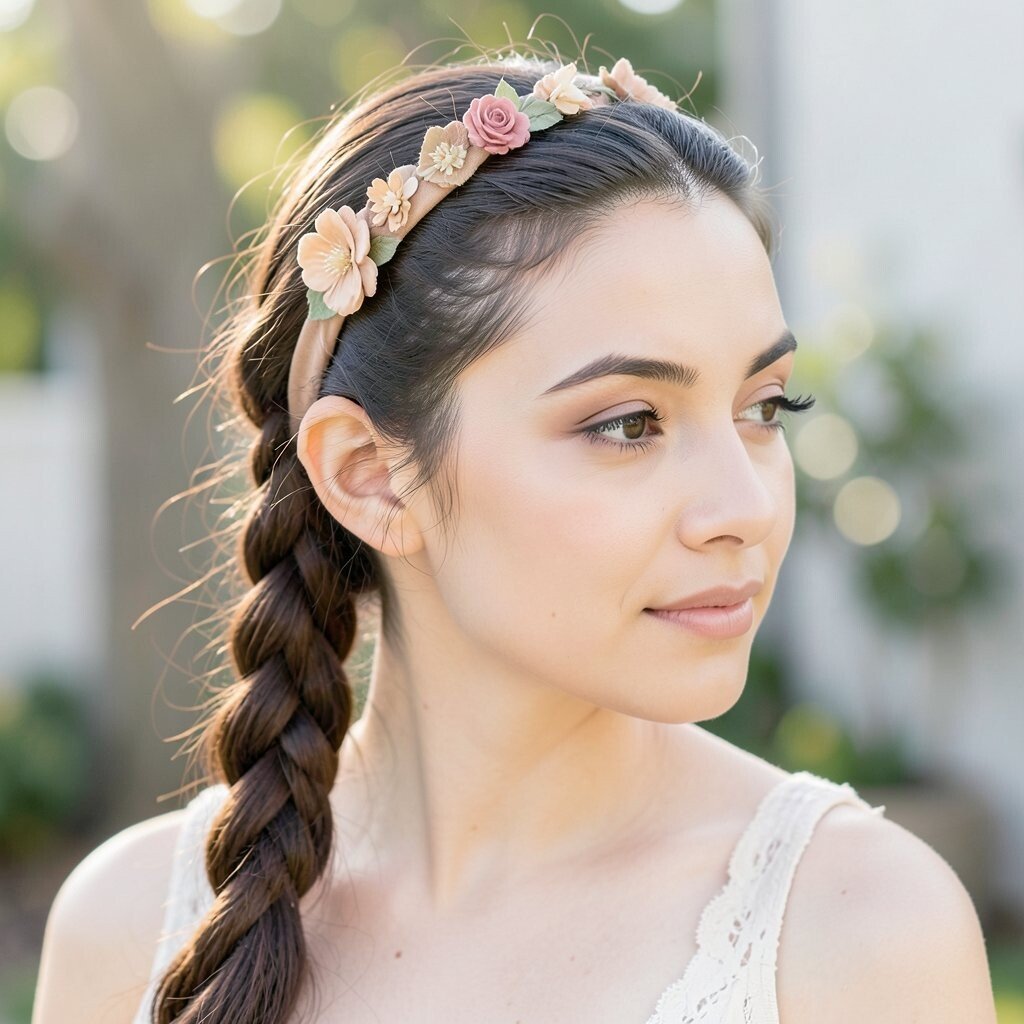
A loose boho headband braid looks relaxed and sunny, like a breezy festival style. The braid sits across your head while leaving ends softer, so your hair doesn’t feel stiff.
Braid loosely along the top, then pull sections apart for a fluffy boho shape. Anchor it with pins, and leave a few wisps around your face so it looks natural. A small flower clip or a simple hair pin can add a charming detail that matches current summer trends. If your hair is fine, use a texturizing spray before braiding so the braid looks fuller without heavy teasing.
For practical tips, secure the ends with two pins instead of one so the style lasts longer. Cost is still low because clips are often reusable, and you can swap them depending on the season.
17. Sleek Headband Braid With Hidden Elastic Finish
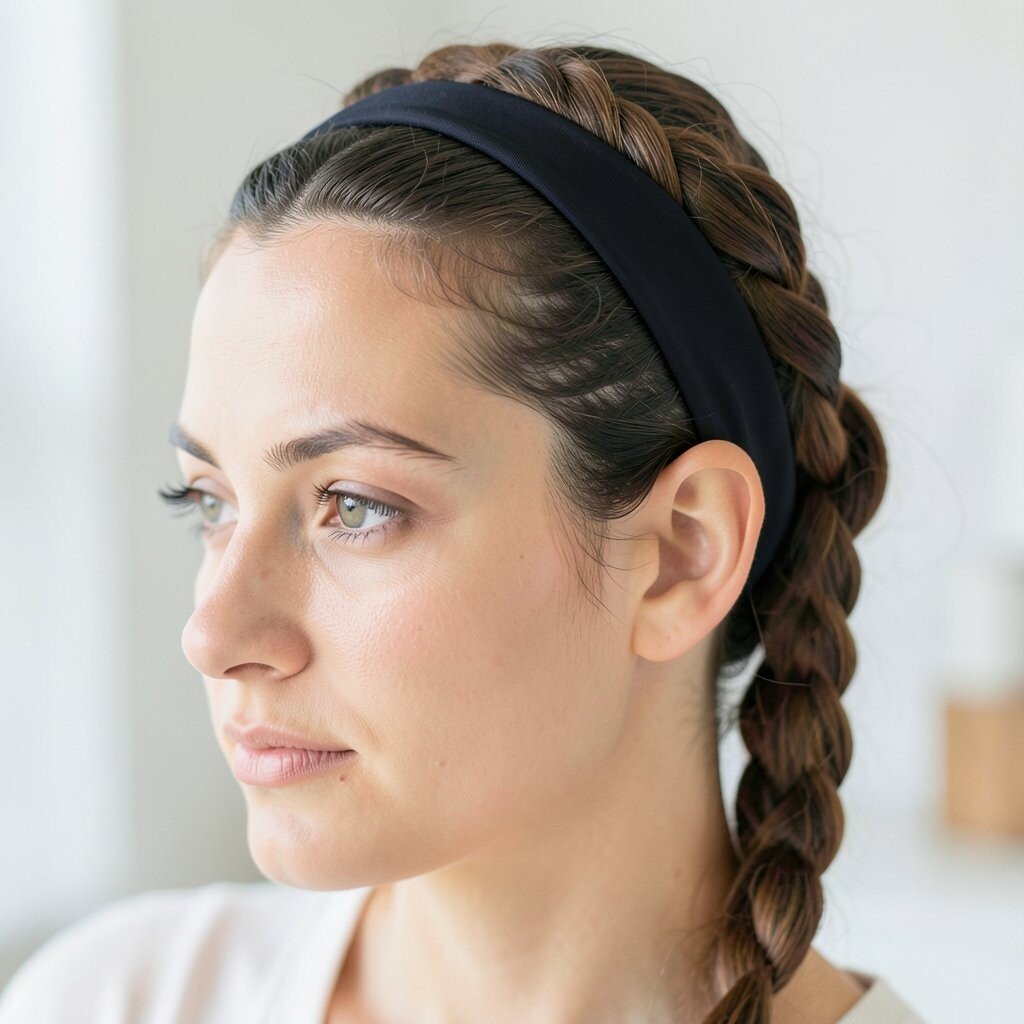
A sleek headband braid looks clean, shiny, and ready for school presentations or date night. It’s a great choice when you want the braid to look neat from the moment you walk out the door.
Smooth your hair with a light serum, then braid along the hairline with consistent tension. Secure the end under the braid using bobby pins and a hidden elastic if needed, so nothing bulky shows. For personalization, add a slight side tilt by curving the braid toward one ear rather than keeping it perfectly straight. This helps the look feel modern while still staying polished.
Cost considerations are simple because you can use drugstore products for shine and hold. The hidden finish makes it feel more special and unique, like a style you’d usually need extra time for.
To keep it comfortable, avoid pulling too tight at the forehead, and check how it feels after pinning so you can enjoy the day.