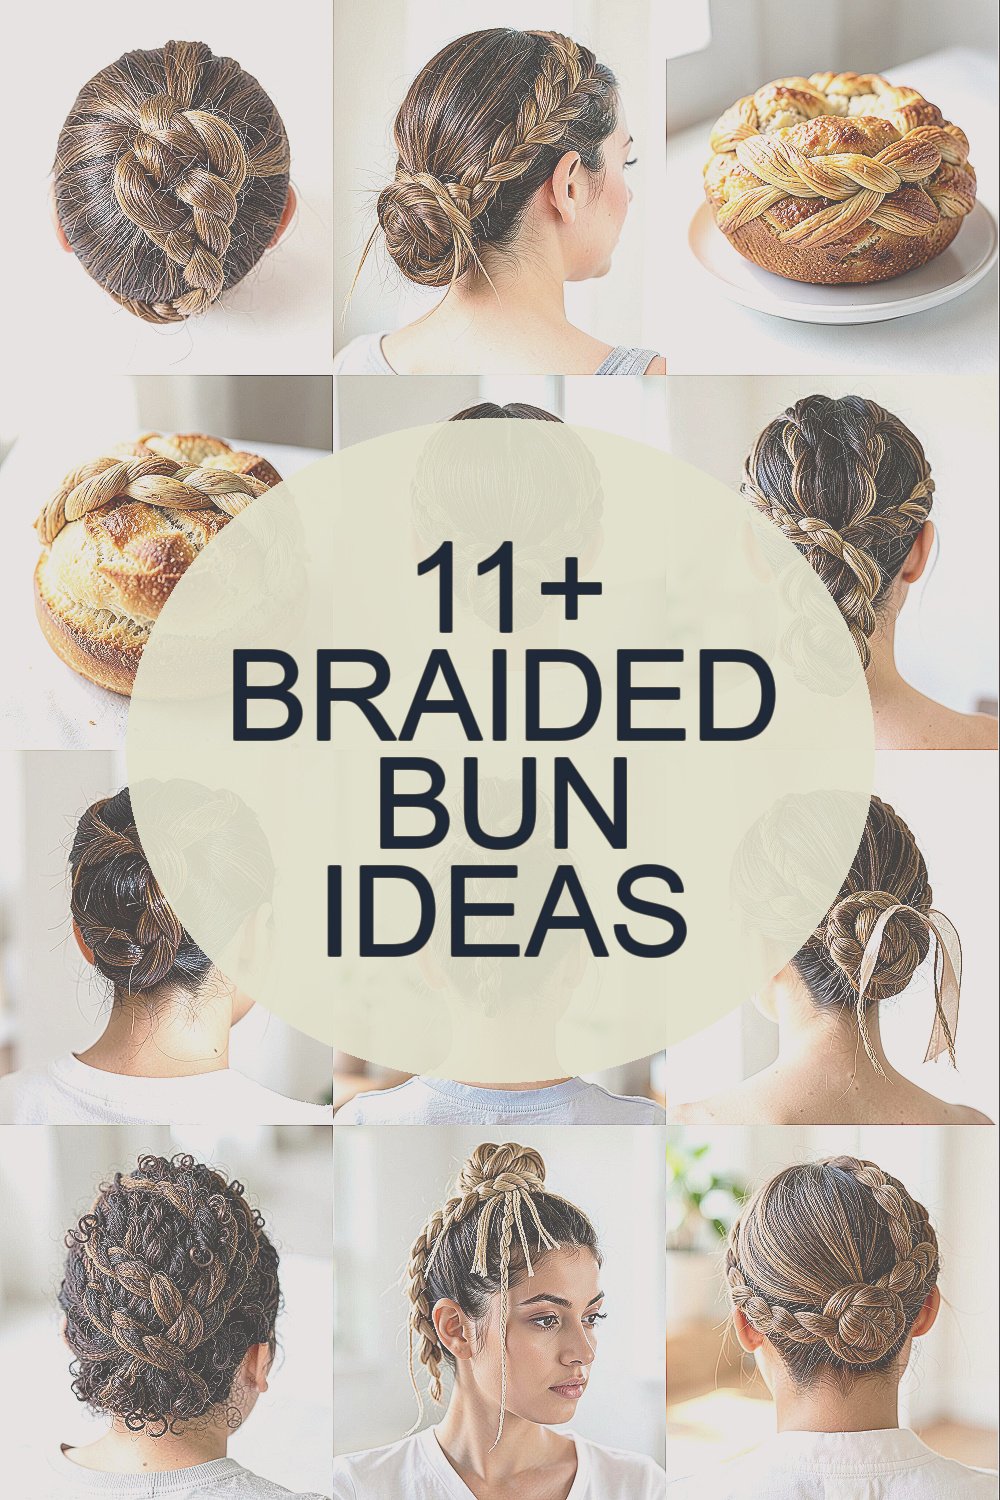
Braided buns are one of those styles that look fancy but feel surprisingly doable. The best part is how many ways you can shape, braid, and finish them for your own vibe.
From neat school-day polish to soft romantic volume, there’s a braided bun plan waiting for you. If you’ve been saving hair inspiration, this is your cue to pick one and try it soon.
1. Classic Three-Strand Braided Bun
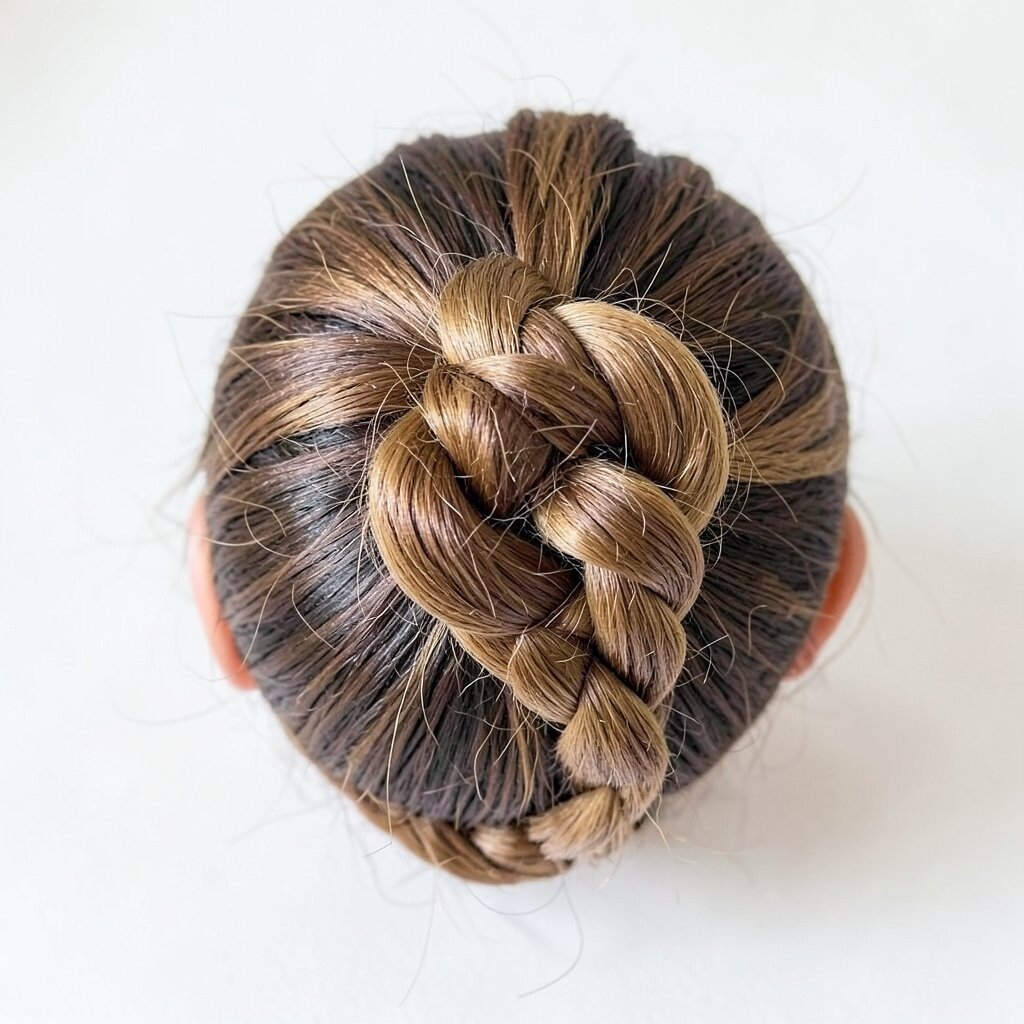
Picture a smooth base bun that’s stitched together with a tidy three-strand braid. The braid sits like a ribbon across the top, giving your hair a neat, put-together look.
Start by brushing your hair until it feels slippery and tangle-free. Braid one section, then wrap it around the bun and pin it securely. This style helps keep flyaways under control while still looking light and breathable.
2. Side-Swept Braided Bun With Loose Ends
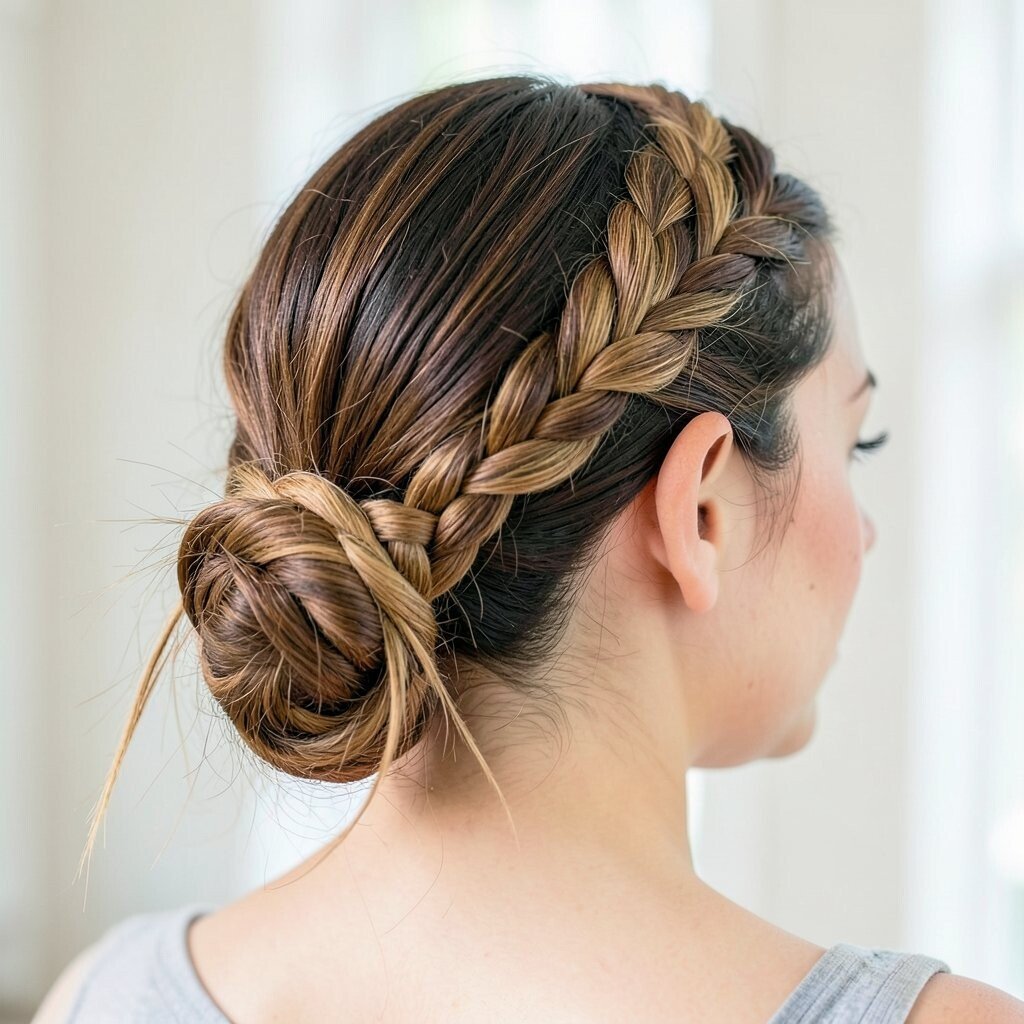
Imagine your hair swept across one shoulder, with a braid that drapes and hugs the bun. The loose ends add movement, so the style feels relaxed instead of stiff.
Gather hair to one side and create a braid that starts near the temple. Twist the braid into a bun on the side, then let a little tail show for a casual touch. Use a few extra pins at the bun base to keep it steady while you go about your day.
If you want a trendier finish, lightly tug the braid for a slightly wider look. A small amount of hair gel or smoothing cream on the surface helps the braid stay defined. Consider using a medium-hold spray if your hair tends to slip in humid weather.
3. Dutch Braid Wrapped Bun
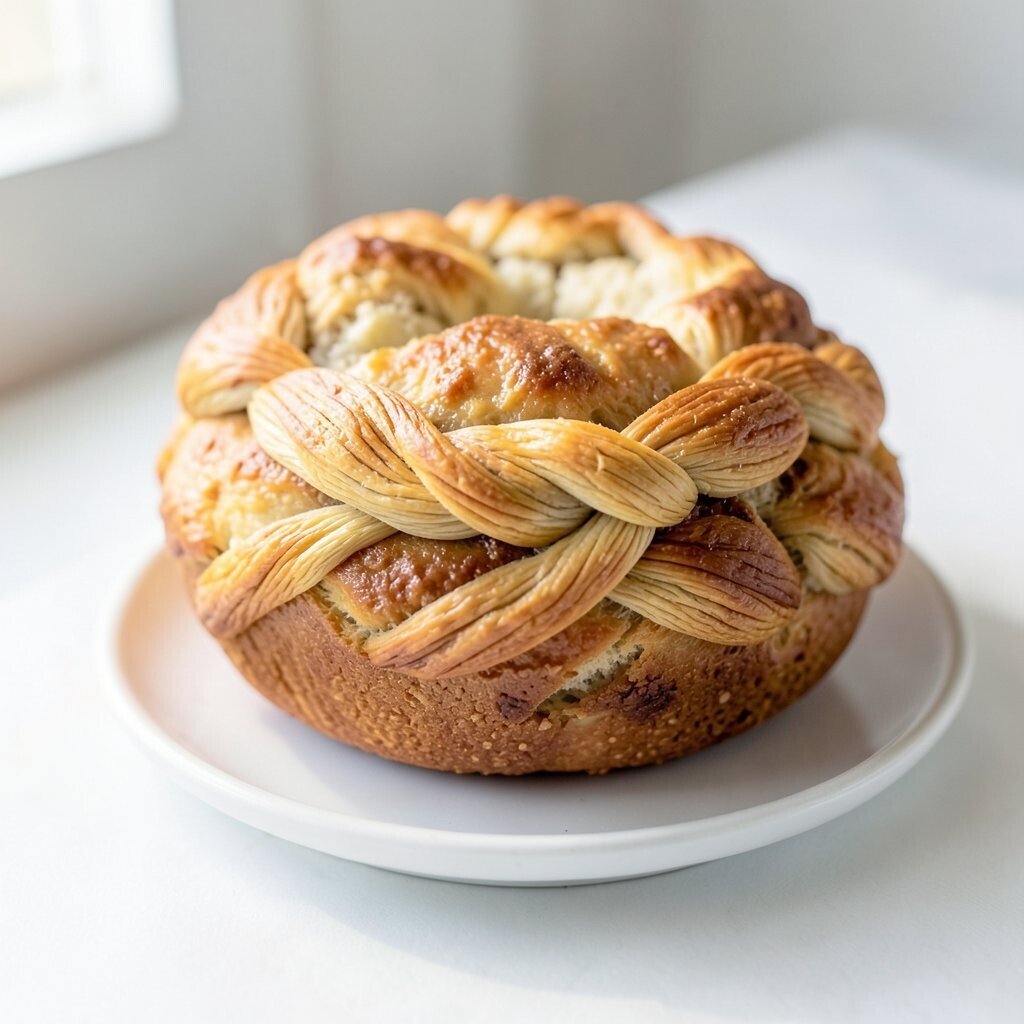
Think of a braid that pops up from your scalp like raised artwork. A Dutch braid wrapped into a bun gives strong texture and a sporty, confident vibe.
Begin with a deep part and start the Dutch braid by crossing strands under. As you braid, keep tension even so the braid looks uniform. Once you reach the length you want, wrap the braid into a bun and pin it from the inside for extra hold.
This one is great when you want structure without a rigid look. It’s also a smart choice for active days since the braided texture grips itself better than smooth styles. For cost-friendly tools, any regular bobby pins work, but a good hair elastic makes a big difference in how clean it looks.
To personalize it, choose a center part for classic energy or go off-center for a softer angle. Finish with a shine serum on the outer surface so the braid catches the light. If you love details, tuck tiny hair accessories into the pin area for subtle sparkle.
4. Milkmaid-Inspired Braided Double Bun
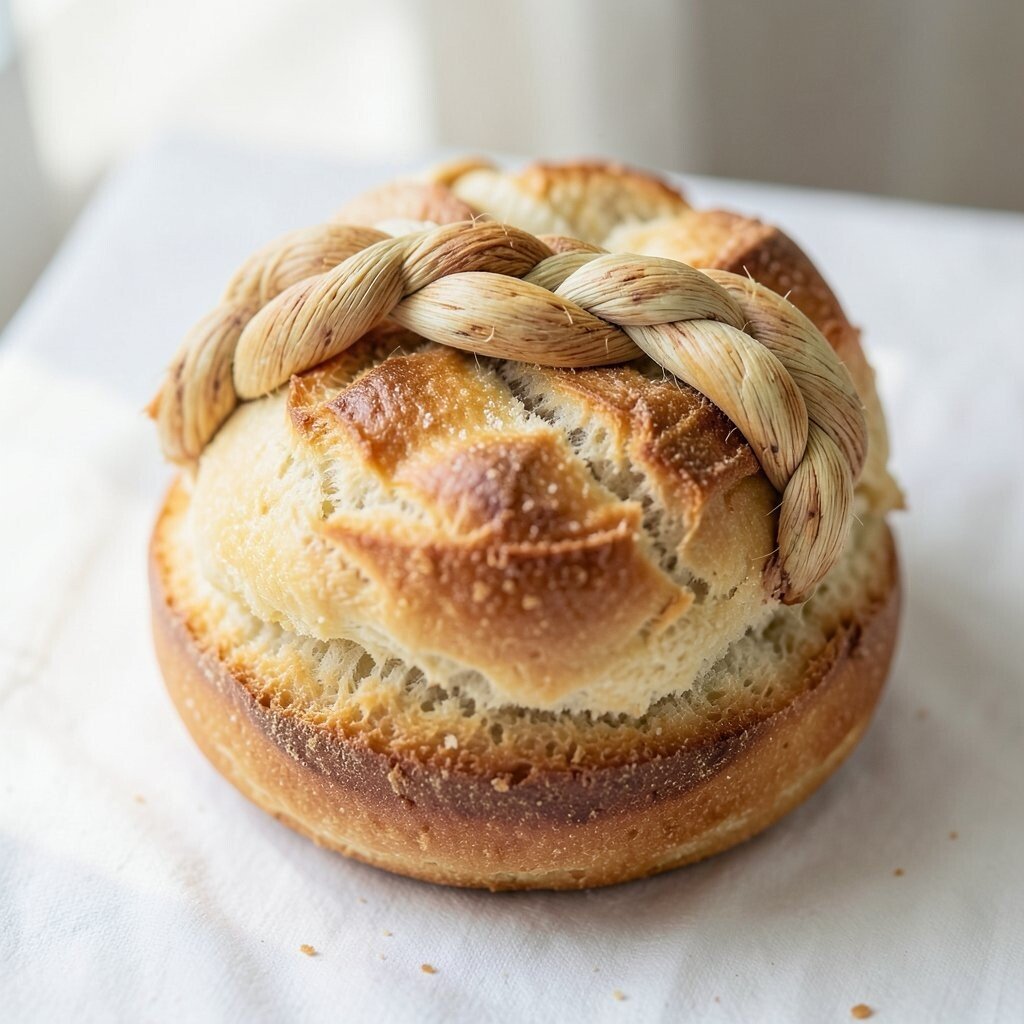
Picture two buns sitting like cozy crowns, with braids feeding into each one. This milkmaid mood looks sweet, but you can make it bold with tighter braids and sharper parts.
Create a middle part and braid two sections, then form buns on both sides. Pin close to the head so the braids feel secure and comfortable. Add a little volume at the crown by gently lifting the braid loops before pinning.
5. Fishtail Braid Into a Low Bun
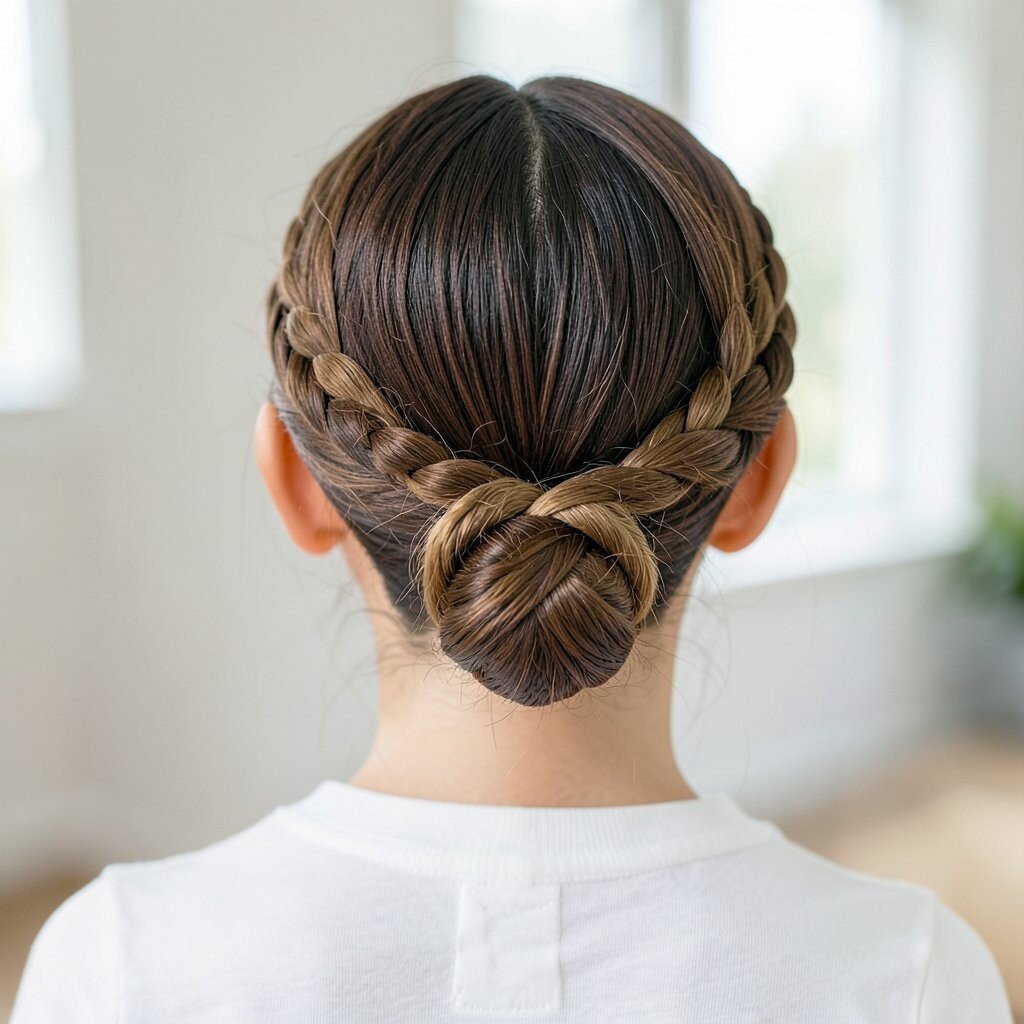
A fishtail braid looks like tiny scales, and when it wraps into a low bun it feels extra elegant. The texture makes the whole hairstyle look more detailed even when you use fewer accessories.
Pull your hair into a low ponytail, then divide it into two sections. Take thin pieces from alternate sides and cross them over to build the fishtail pattern. Wrap the finished braid around the base of the ponytail, then secure it with pins.
For practical hold, lightly mist with hairspray before you pin so the braid stays in place. If you have thick hair, work slowly with smaller sections for a cleaner weave. To personalize, pair it with a side-swept fringe or a few face-framing strands pulled out on purpose.
6. Waterfall Braid Bun With Soft Waves
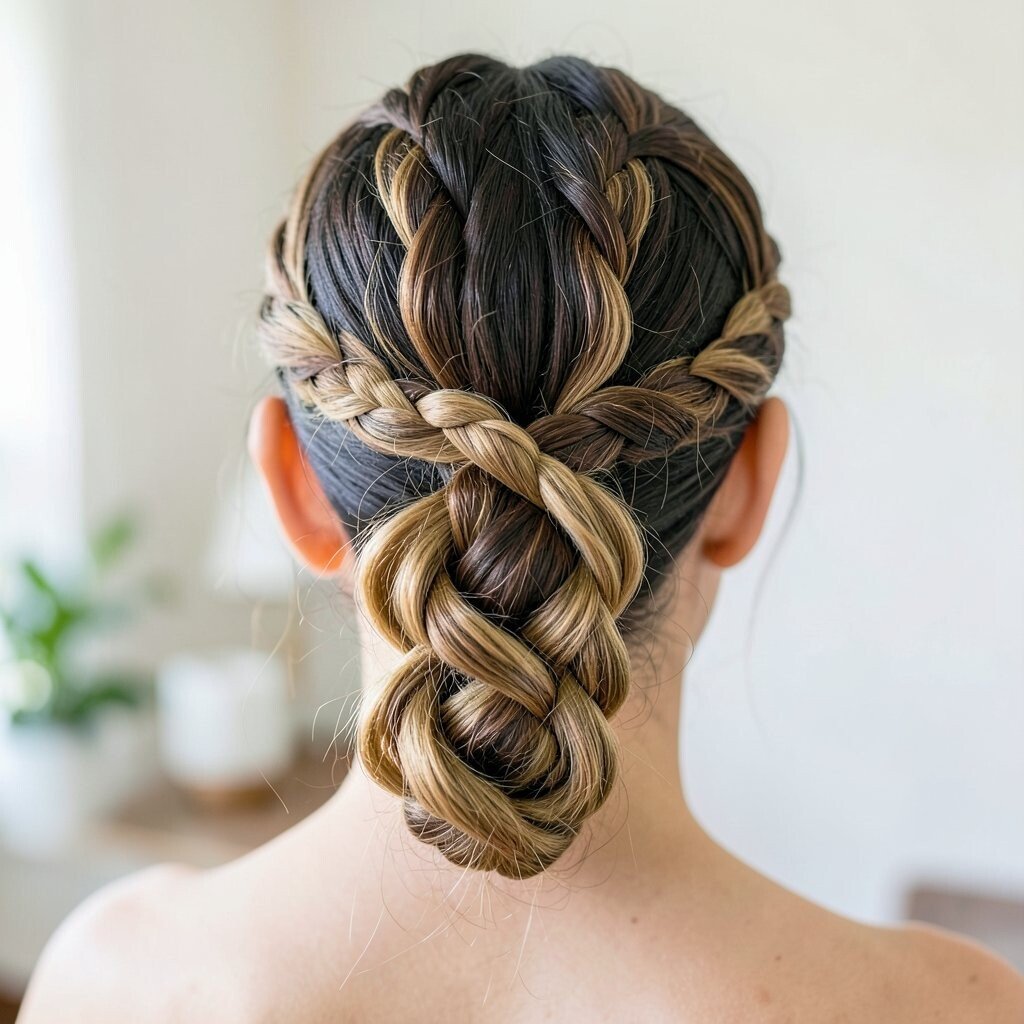
Imagine tiny sections falling through the braid, then gathering into a bun that feels airy and dreamy. This style looks romantic and pairs perfectly with soft waves.
Start a waterfall braid near the front, letting sections “fall” as you cross them. When you reach the back, continue braiding in a simpler pattern and wrap into a bun. Leave a few loose pieces around the face so the bun doesn’t look too tight.
This is a great pick for weddings, parties, or any day you want your hair to look like it belongs in a photo. The waterfall motion creates visual interest without needing extra jewelry. Add a light mousse to damp hair before styling if you want waves that hold.
7. Crown Braided Bun for a High-Polish Look
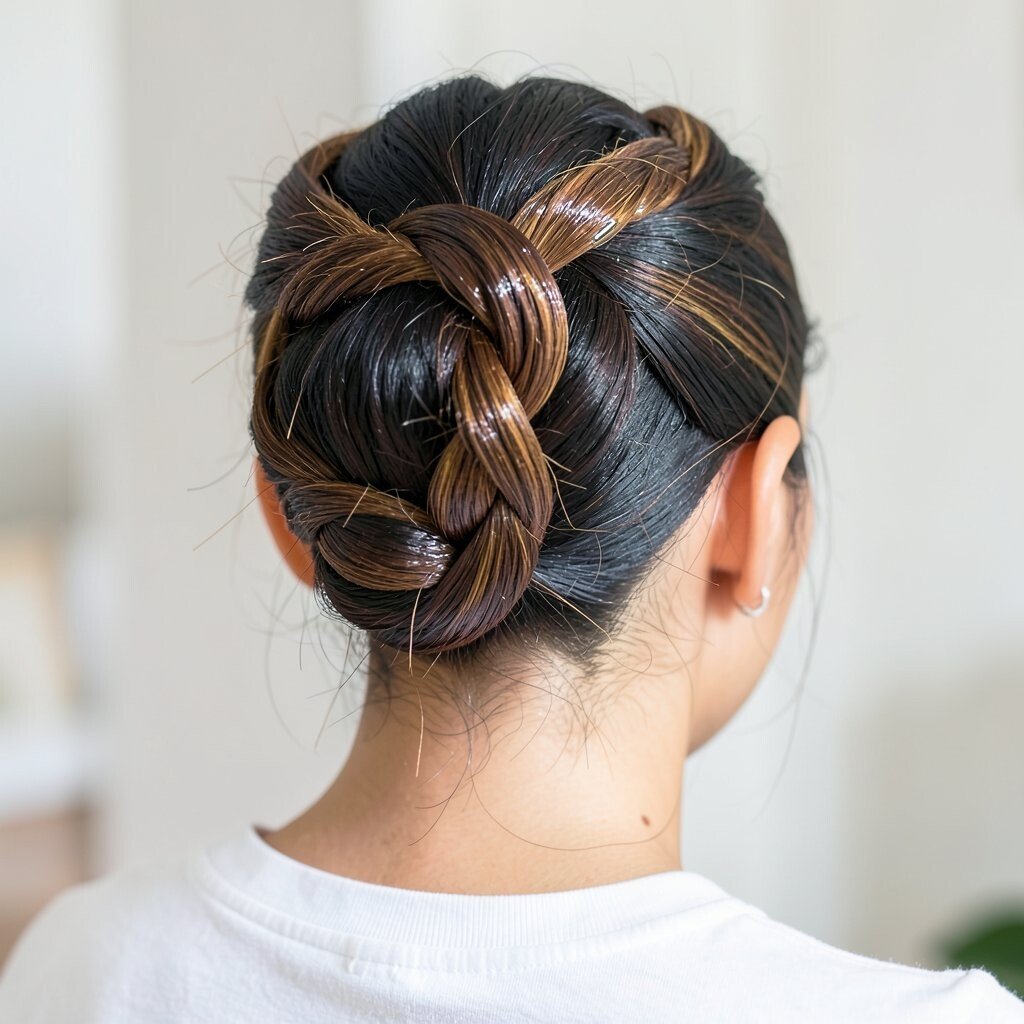
Picture a braid circling your head like a crown, then meeting at a bun point at the back. The result is sleek, shiny, and perfect when you want your hair to look fully styled.
Begin by making a clean part and take small sections along the hairline. Braid around your head toward the back, then join into a bun at the center or slightly off-center. Use pins in a cross pattern to anchor the bun so it feels secure all day.
For uniqueness, weave in a tiny strand of hair color variation, like a clip-in streak or a subtle extension. This hairstyle also works well for graduation photos because it keeps hair off your face. If you’re cost-conscious, a simple hair donut bun form can help create a fuller shape quickly.
8. Halo Braid Into a Messy Bun
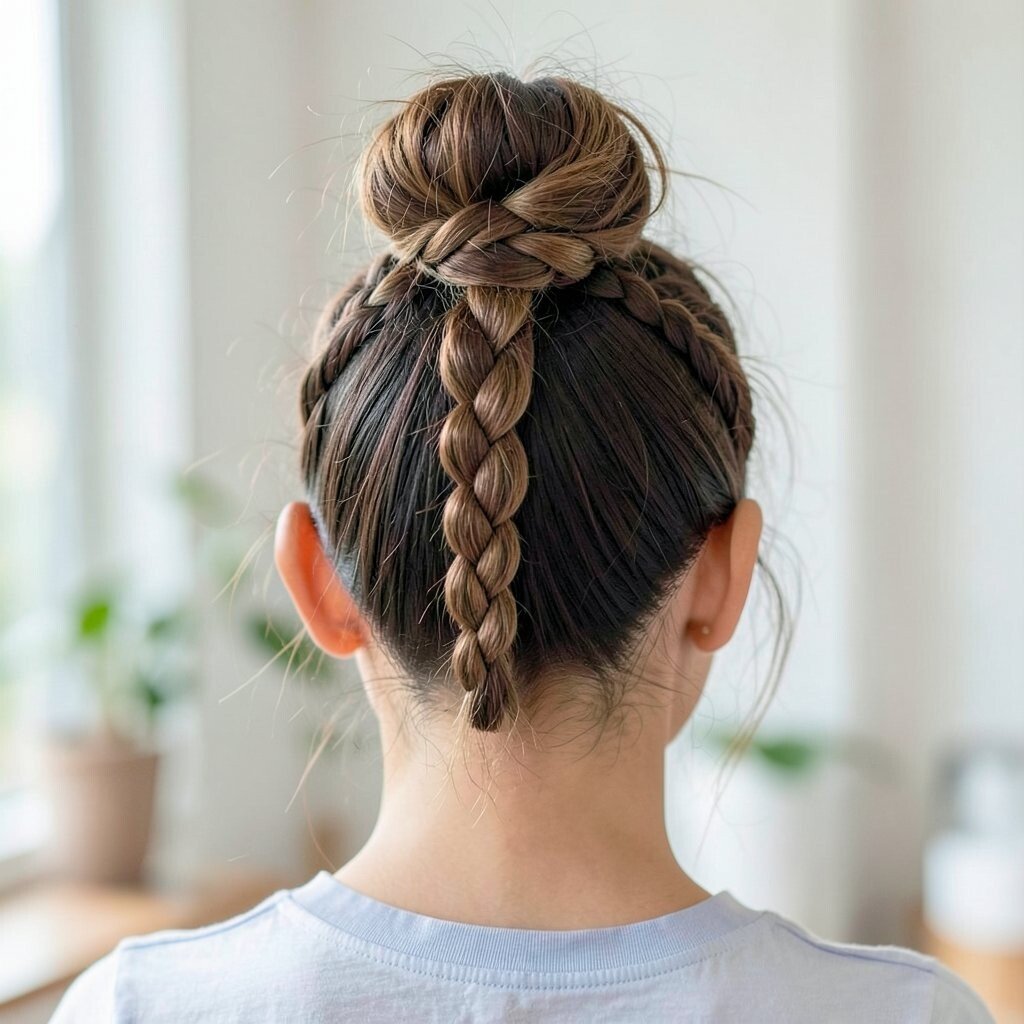
A halo braid with a messy bun gives a cool contrast, like neat work meeting casual fun. You’ll see a soft ring of braid around your head, while the bun keeps things effortless.
Make a braid along the perimeter of your head, following the hairline. When the braid connects back to itself, pin it in place, then build a messy bun underneath. Let a few strands slide loose for that intentionally undone vibe.
9. Braided Wrap Bun With Ribbon-Like Strand Accent
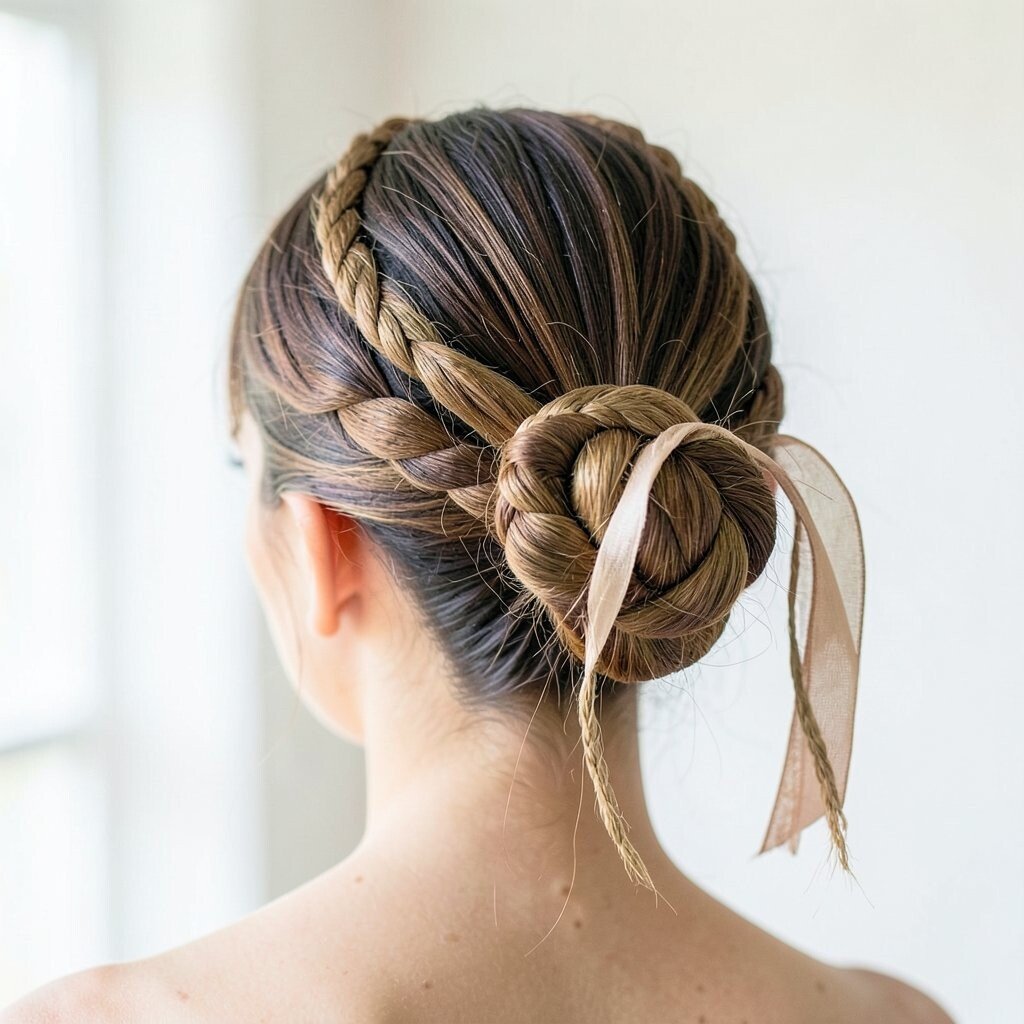
Picture one main braid winding into a bun while a separate thin strand lays flat like ribbon. That extra strand makes the style look custom and detailed.
Secure your hair into a ponytail, then braid it as usual. Wrap the braid around the base to form the bun, pinning as you go. Before you finish, take a thin section and wrap it over the braid for that ribbon effect.
This hairstyle is especially nice if you want variety without changing your whole routine. It also benefits fine hair because the braided texture adds grip and makes the bun feel fuller. If you like trends, try adding a mini claw clip at the bun edge for a modern touch.
10. Curly-Friendly Braided Bun With Scrunch Texture
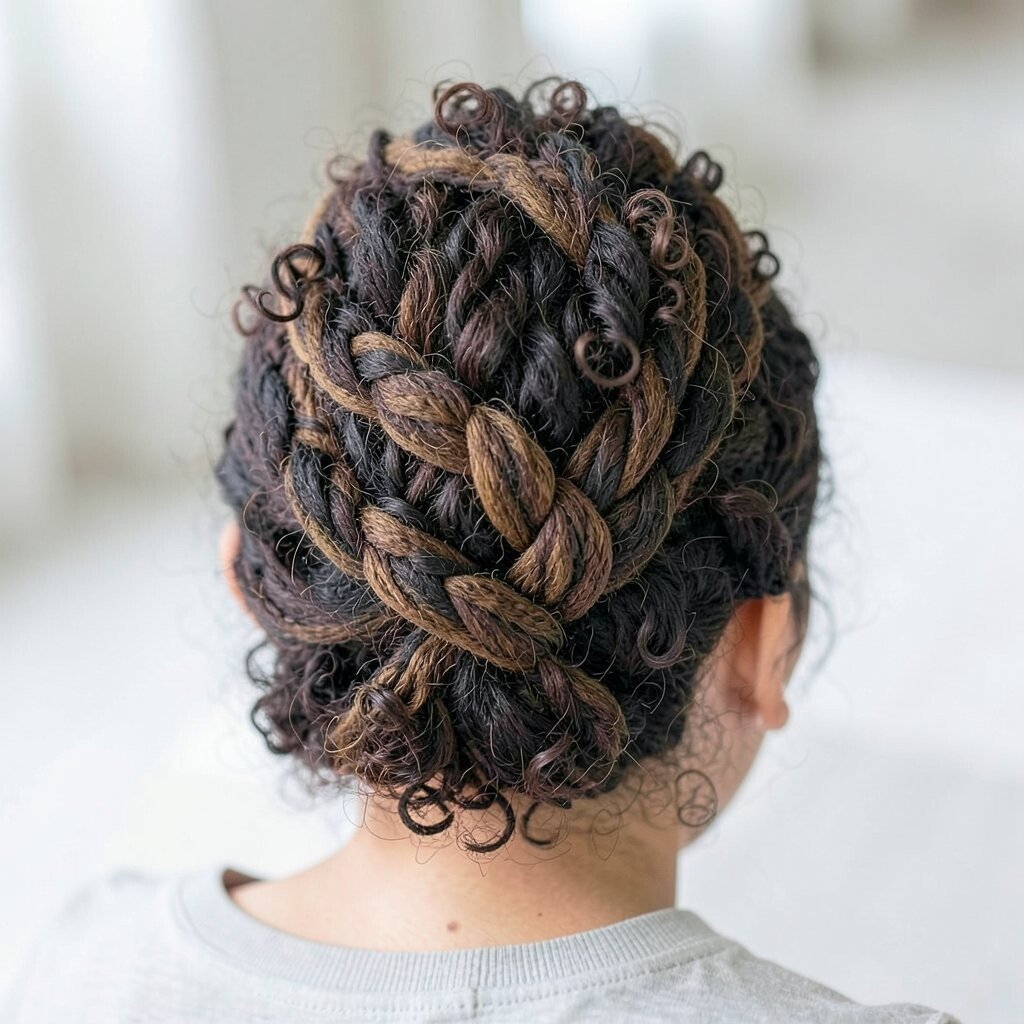
Imagine your curls bouncing while a braid tucks them into a bun that still feels bouncy. This is a braided bun idea that respects texture instead of flattening it.
Start with curled hair or curl-enhancing styling, then section off part of the hair for a braid. Braid gently so you don’t break curl patterns, then wrap the braid into a loose bun. Pin lightly, then use your fingers to adjust curl clusters around the bun.
For practical comfort, choose pins that are long enough to hold without snagging. This look benefits curly hair by reducing frizz at the edges while keeping movement. To personalize, sprinkle a tiny bit of curl cream where you want definition and finish with a light mist to avoid crunch.
If you’re planning a busy day, tighten only the base and keep the top airy for comfort. You can also add a satin scrunchie underneath the bun to protect your curls. It’s a simple cost-effective upgrade that many people forget.
11. Braided Fringe Bun With Face-Frame Detail
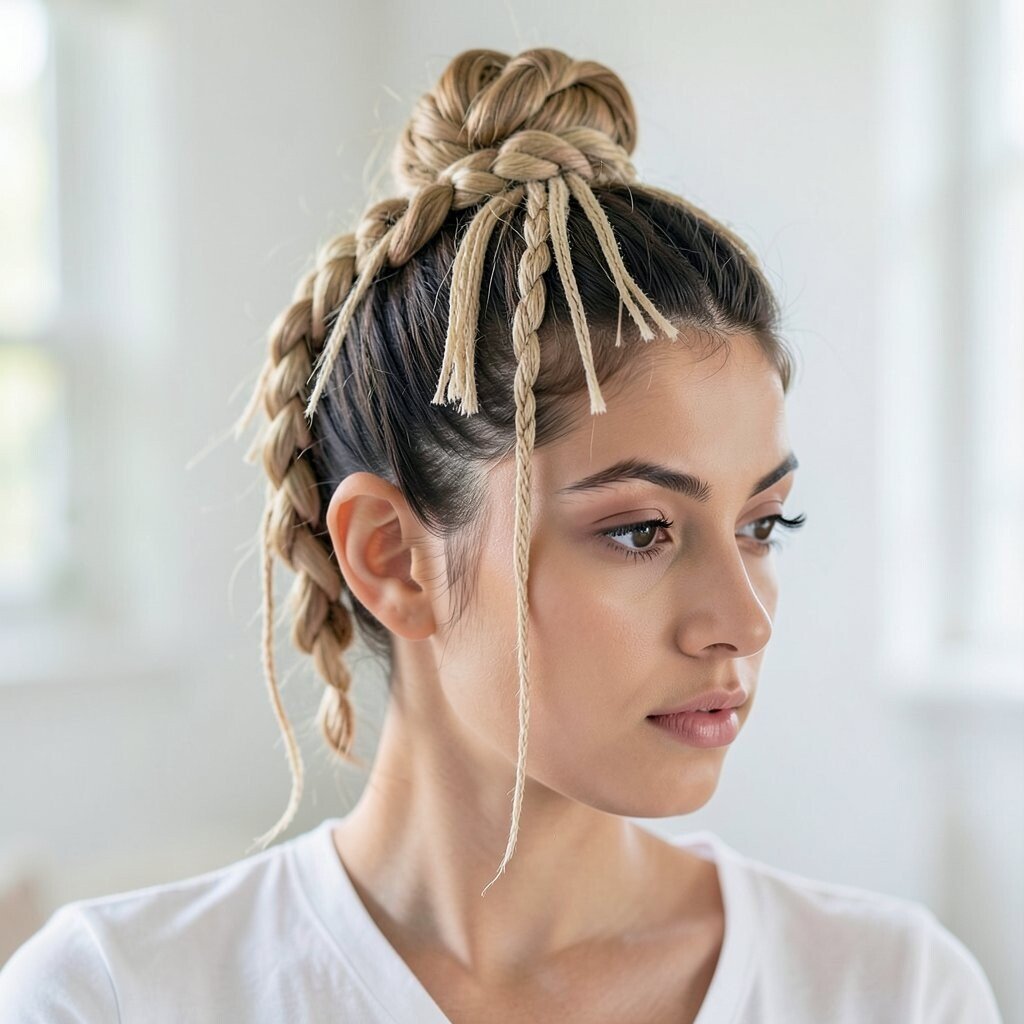
Picture a bun at the back with a braided fringe that frames your face like a soft headband. This style gives a polished look while still feeling playful and youthful.
Separate a small front section and braid it into a thin strand or two mini braids. Pull the rest of your hair into a bun, then pin the braid across the front so it looks connected. Leave a little extra length near the cheek for a flattering face shape effect.
This option is great if you want your hair to look styled without spending forever on a full braid. It also benefits days when your hair is second-day and slightly textured since the braid will grip better. For personalization, match the braid thickness to your hair amount, thicker for volume and thinner for a delicate look.
12. Halo Braid With Triple-Twist Bun Finish
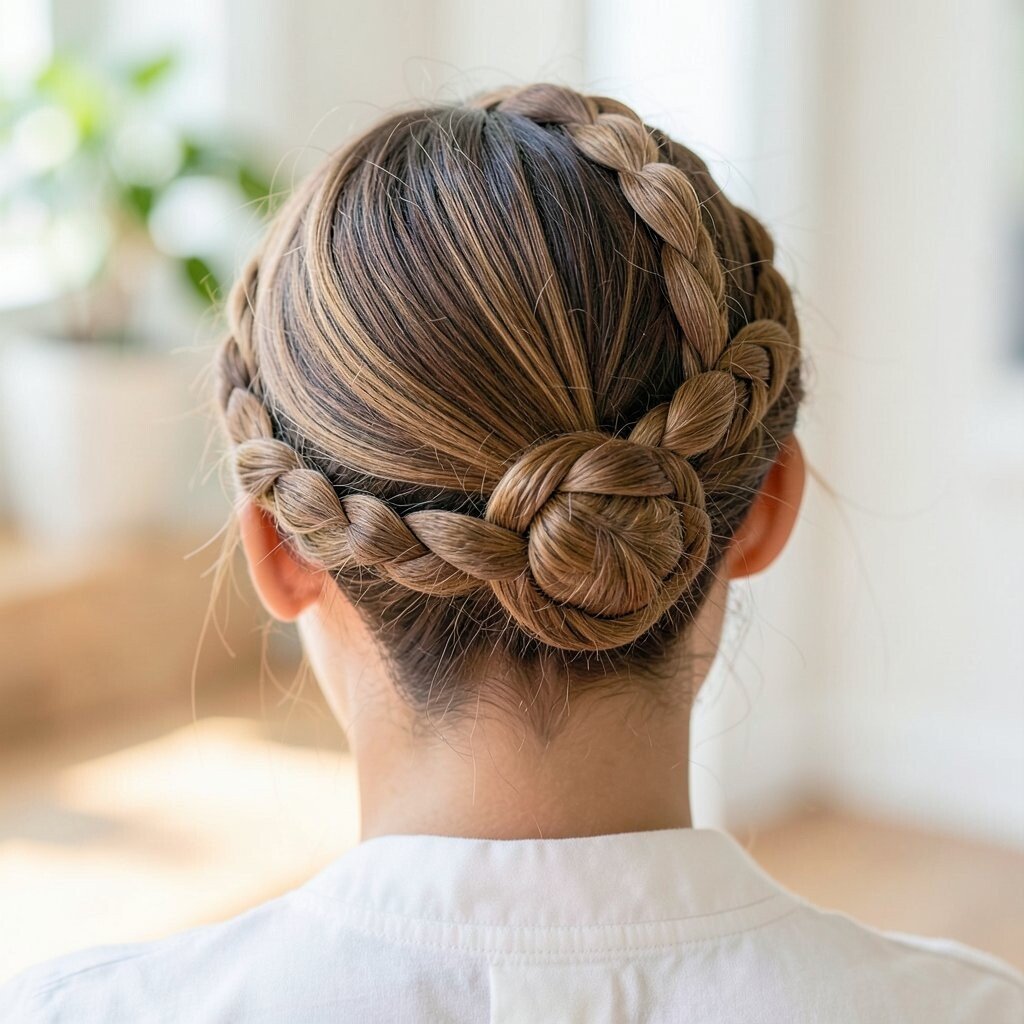
Imagine a smooth halo braid plus a bun made from three twists that look like a braided crown. The layered texture feels high-end, and it’s surprisingly satisfying to make.
Create the halo braid around the top and sides, then gather the remaining hair into three sections. Twist each section, then coil the twists together to form one unified bun. Pin the coils securely, and gently loosen the twist edges to create a fuller silhouette.
For cost considerations, you can get the same luxurious look with basic pins and one elastic, plus a styling cream for shine. Current trends lean toward textured but neat shapes, and this style nails that balance. If you want extra personalization, add a small decorative pin where the twists meet for a photo-ready touch.
To keep it lasting, apply a light hold hairspray before and after pinning. If your hair is fine, tease the gathered section slightly so the twists have more grip. You’ll end up with a braided bun that looks intricate while still feeling comfortable to wear.