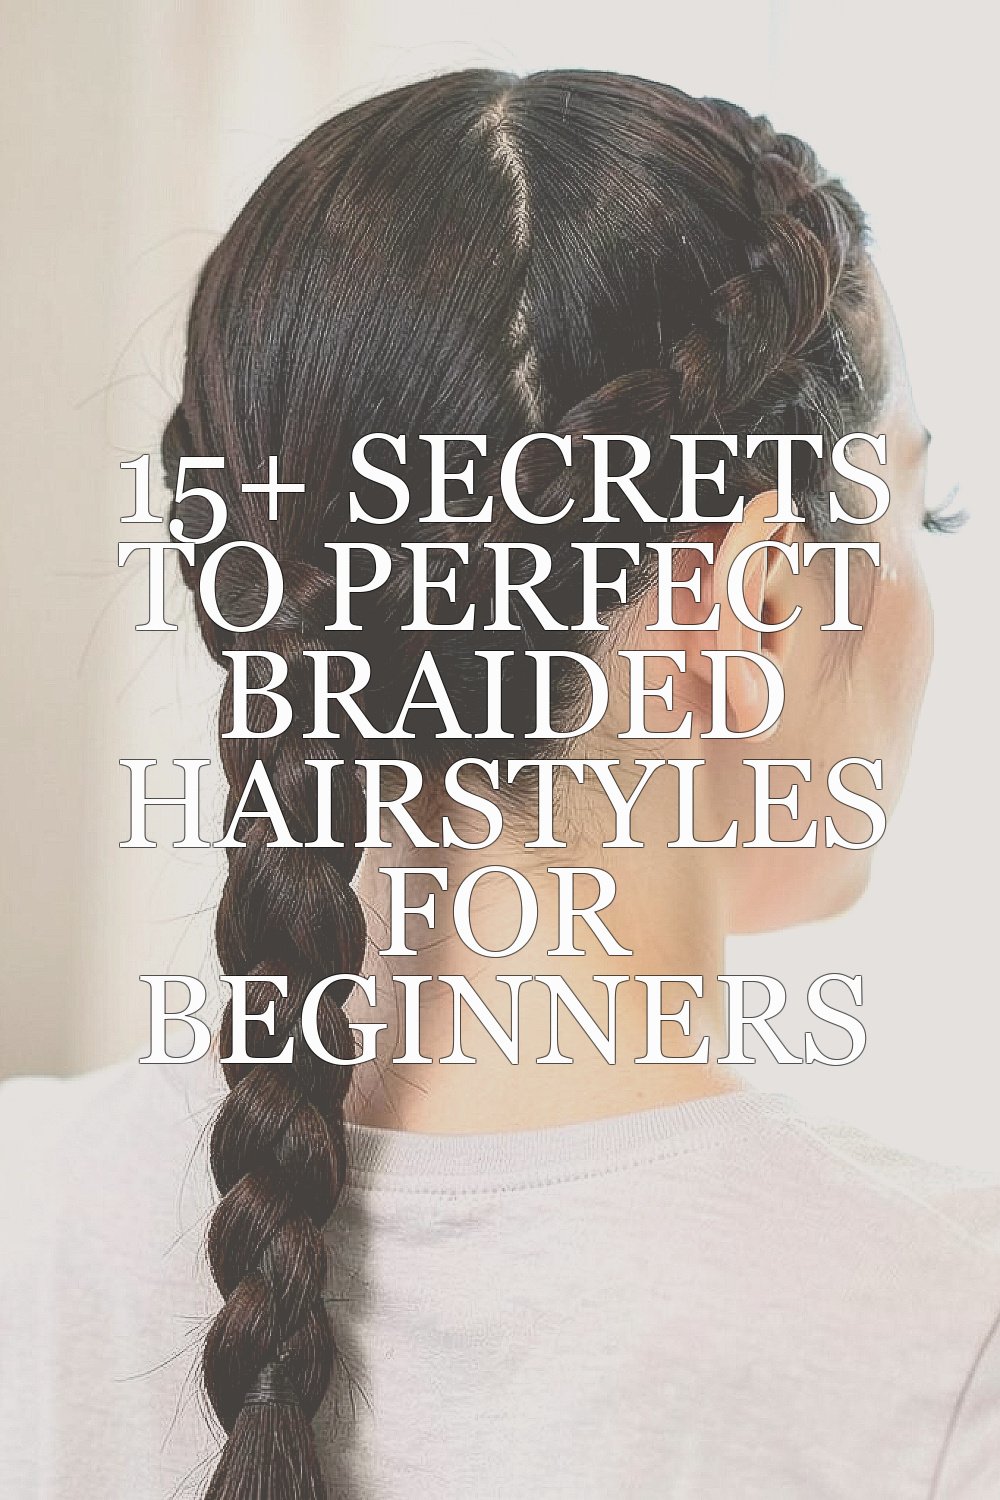
Braids can look magical even on an ordinary morning. A few small tricks can make them neat, stylish, and much easier to wear.
1. Start With Clean, Smooth Hair
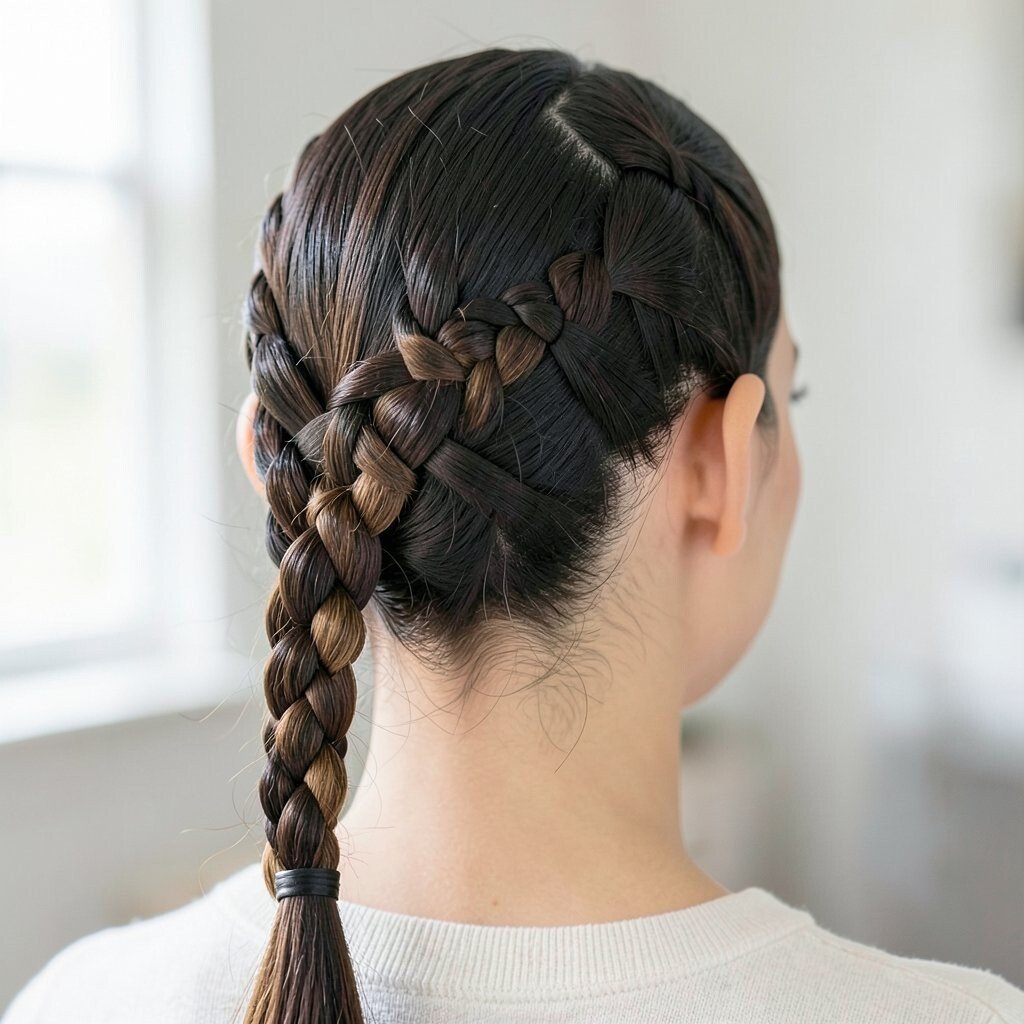
Fresh, detangled hair gives braids a tidy base and helps each strand stay in place. The look is clean and glossy, with neat lines that make the braid stand out right away.
Use a gentle shampoo and a light conditioner so hair feels soft, not slippery. A wide-tooth comb can save time and help avoid breakage, which is a big win for both hair health and your budget. If your hair is very dry, a small bit of leave-in cream can make it easier to handle and can give the braid a more polished finish.
2. Section Hair Before You Braid
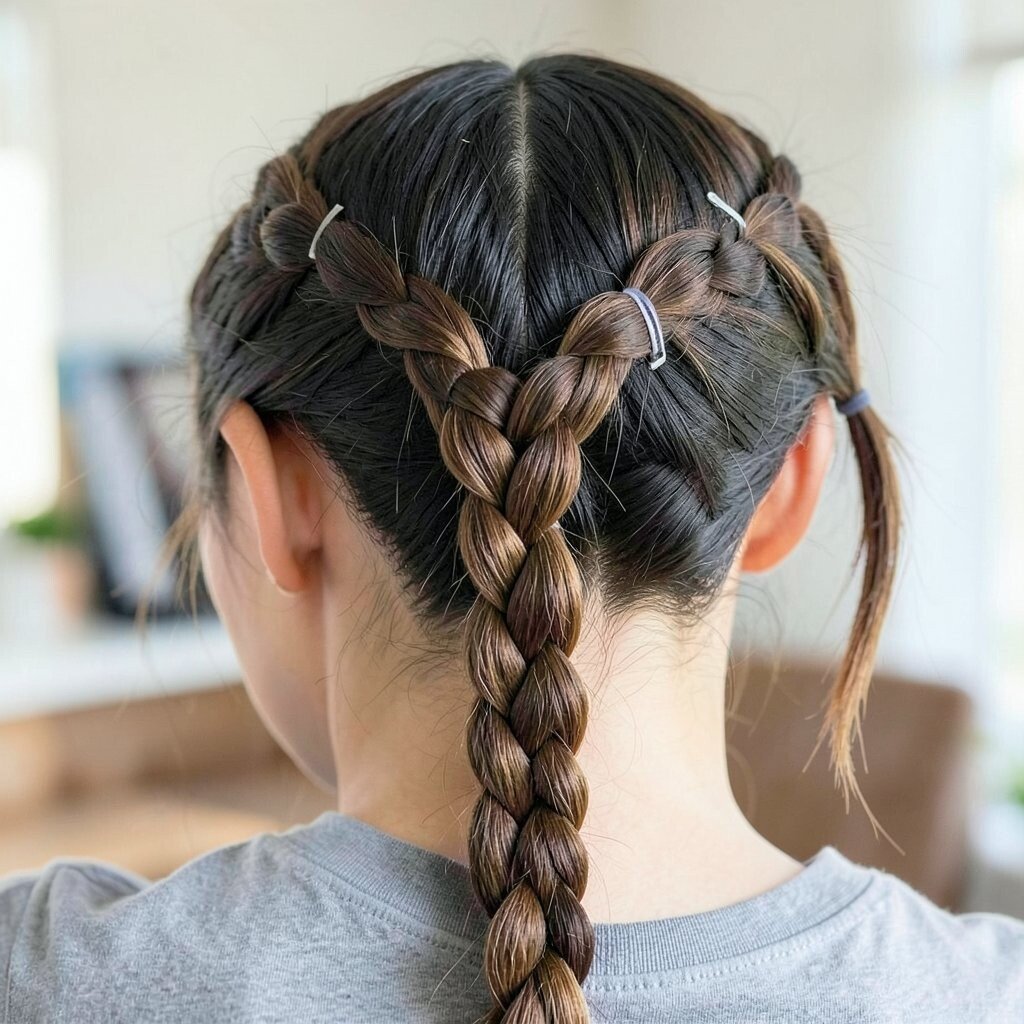
Good sectioning is a secret that makes braiding feel less scary. When each part is clear, the braid looks even and the final style has a crisp shape.
Use clips or small hair ties to keep sections apart while you work. This helps beginners stay organized and makes the process faster, especially if you are trying a style before school or work. You can also make the sections larger for a chunky, bold braid or smaller for a softer, more detailed look.
Try parting the hair with the tip of a comb for cleaner lines. If you want a trendy style, a side part or zigzag part can add a fun twist without extra cost.
3. Use The Right Amount Of Product
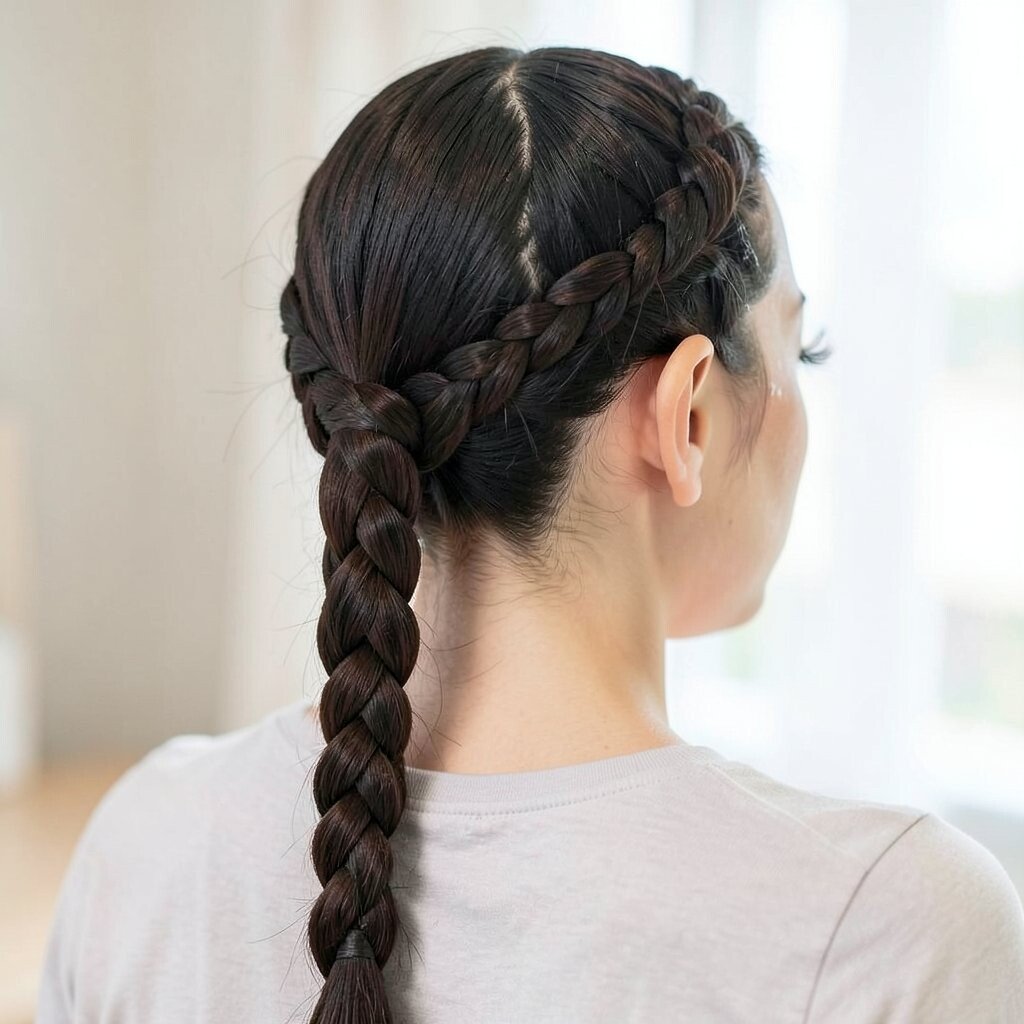
A little product can help braids hold their shape and look smooth. Too much can make hair heavy, sticky, or dull.
Light mousse, curl cream, or a small amount of gel can tame flyaways. This gives the braid a sleek look that lasts longer and can help beginners feel more confident with less frizz. For a more personal touch, choose products that match your hair type so the braid feels soft instead of stiff.
Budget-friendly products work well when used in small amounts. Many current braid looks favor a soft, touchable finish rather than a hard, crunchy one.
4. Keep Your Hands Steady
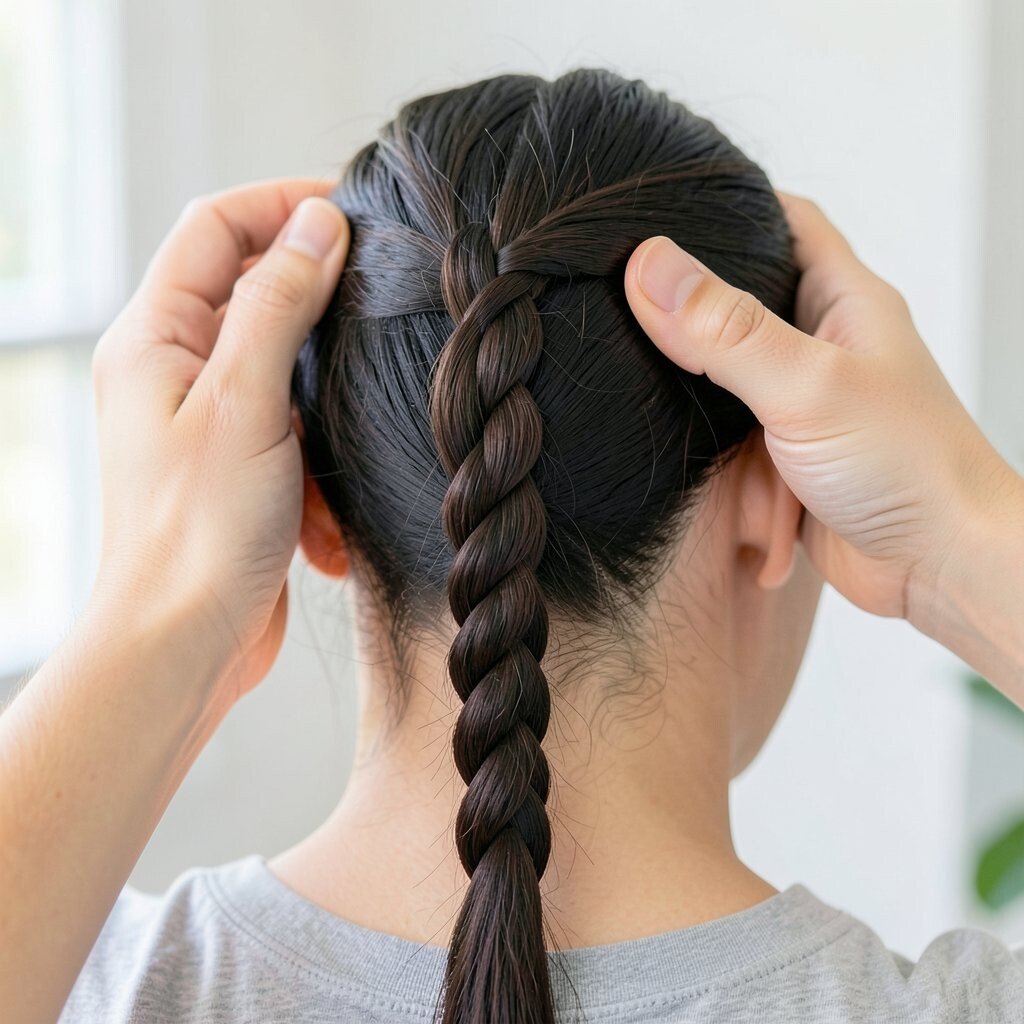
Steady hands make the braid look neat and balanced. The strands form a smooth pattern that is easy on the eyes and pleasant to wear.
Hold the braid close to the scalp at first so the base stays tight. Then keep the same pressure all the way down to the ends, which helps the braid look even from top to bottom.
5. Pick A Simple Braid Type First
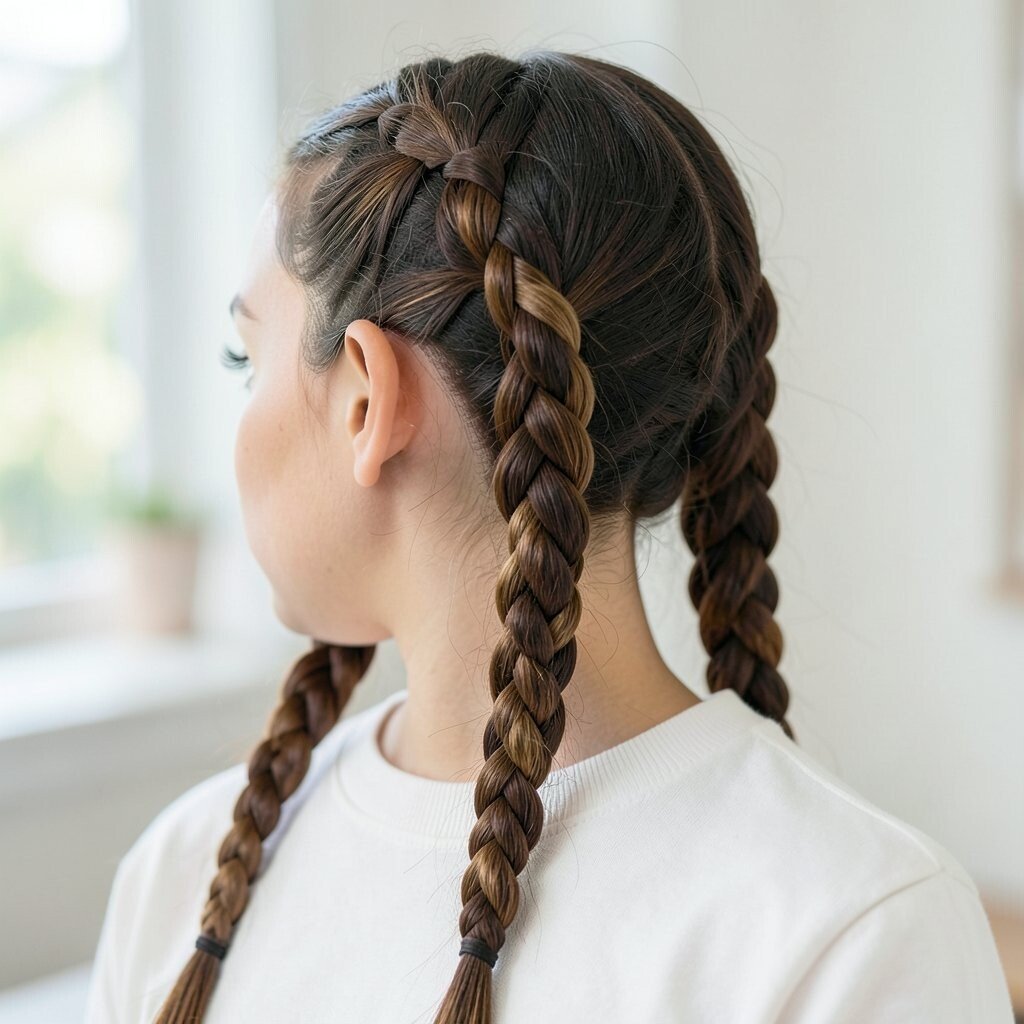
Starting with an easy braid builds skill fast and keeps frustration low. A basic three-strand braid has a classic look that works for school, errands, or a casual day out.
Once that feels natural, you can try a French braid, Dutch braid, or fishtail. Each one has its own charm, and each gives a different shape and texture without needing expensive tools. Beginners often like simple styles because they are quick, low-cost, and easy to repeat until the hands remember the steps.
You can make the braid your own by leaving a few face-framing pieces loose. That small choice can soften the look and make it feel more relaxed and modern.
6. Practice On Slightly Damp Hair
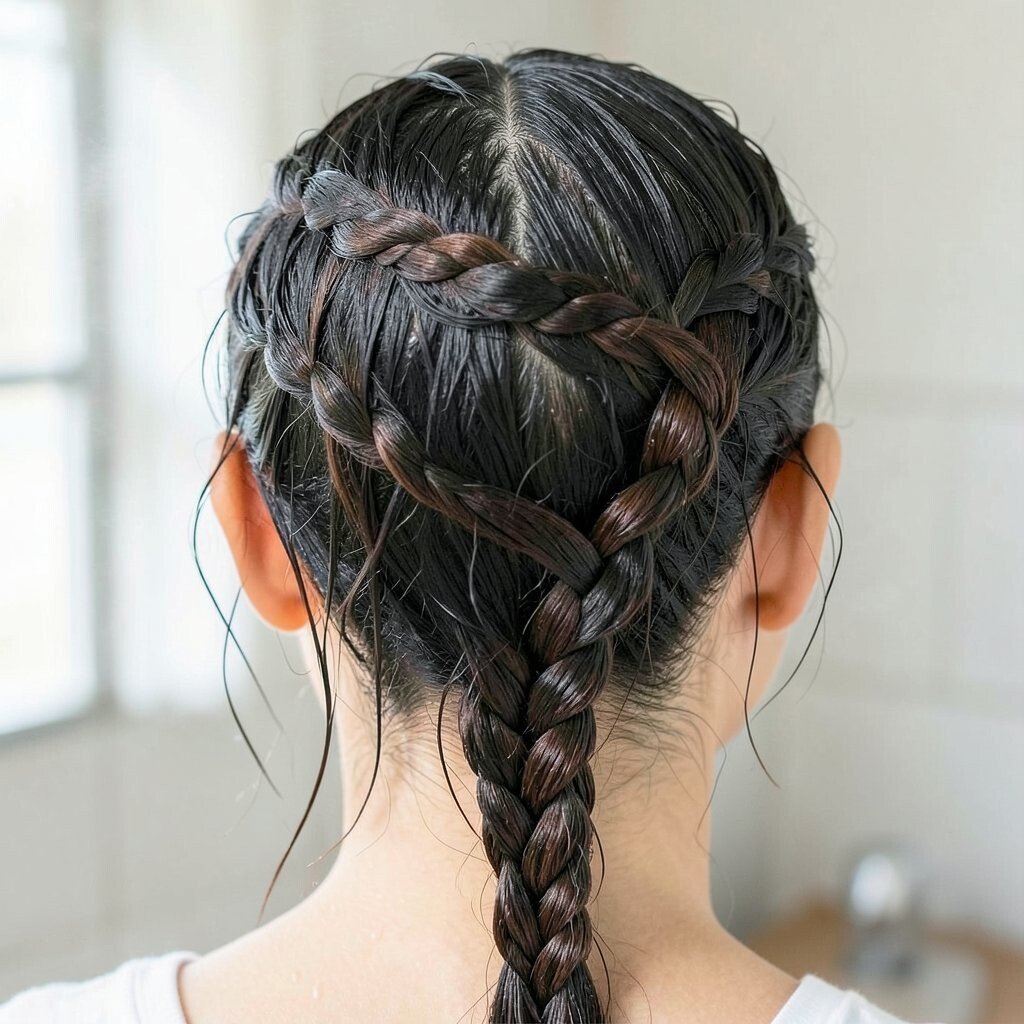
Slightly damp hair can be easier to grip and shape. The braid often looks smoother and more controlled, with fewer loose strands escaping.
Use a spray bottle with water if the hair feels too dry. This can help the sections stay together and may save time when you are learning, since the strands are less likely to slip. It is also a low-cost trick that works well at home without fancy tools.
Do not soak the hair, because that can make it heavy and harder to braid neatly. A light mist is enough for most beginners.
7. Watch Your Tension
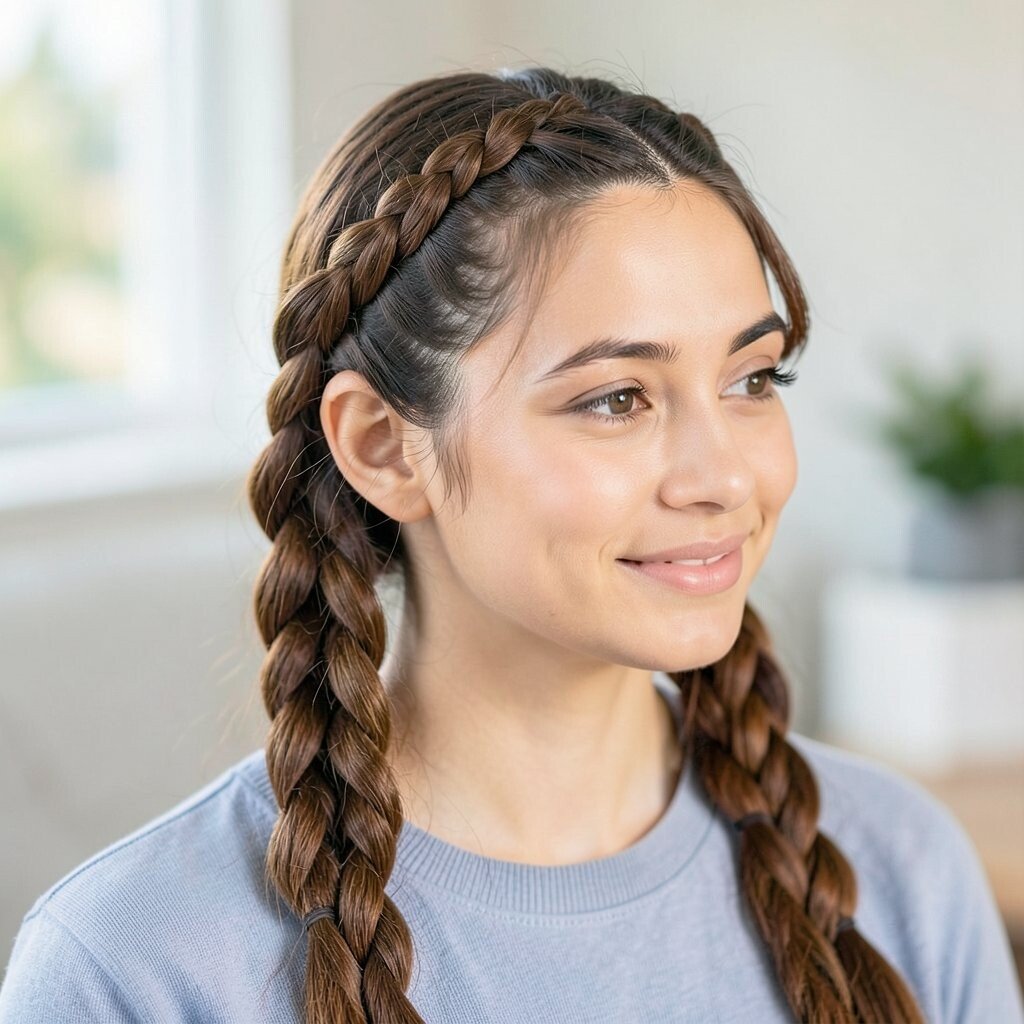
Even tension makes a braid look polished and balanced. The style feels secure without pulling too hard on the scalp, which is more comfortable for all-day wear.
If one side feels loose, gently tighten that section before moving on. A braid with even tension tends to last longer and keeps its shape better, which is useful for busy mornings or active days.
For a softer, trendier look, loosen the braid a little after finishing. That creates a fuller, wider shape that looks pretty in photos and feels less tight.
8. Use Mirrors From Different Angles
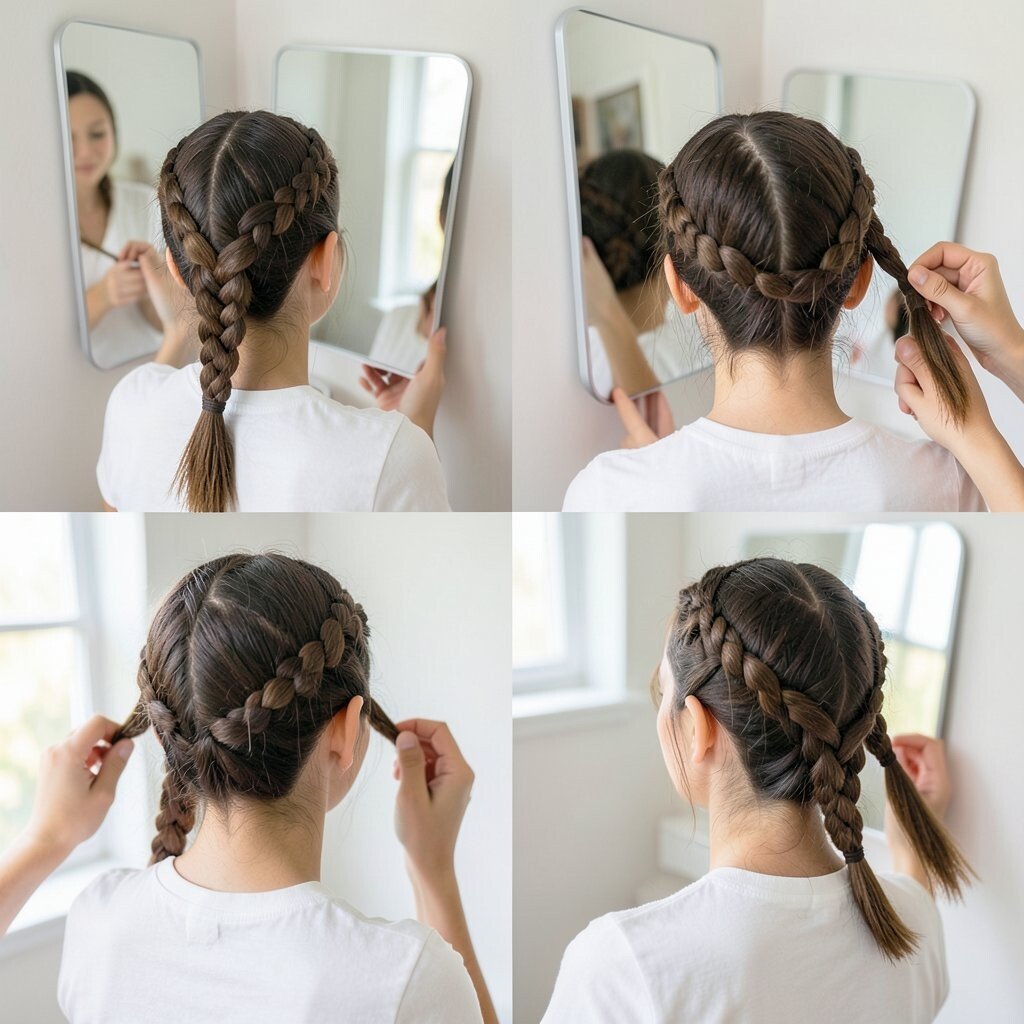
Checking your braid from more than one angle helps you spot bumps and gaps. The style looks better when the back and sides are just as neat as the front.
A hand mirror and a wall mirror together can make a big difference. This simple setup costs very little and helps beginners learn faster because they can see what their hands are doing.
9. Add Small Accessories
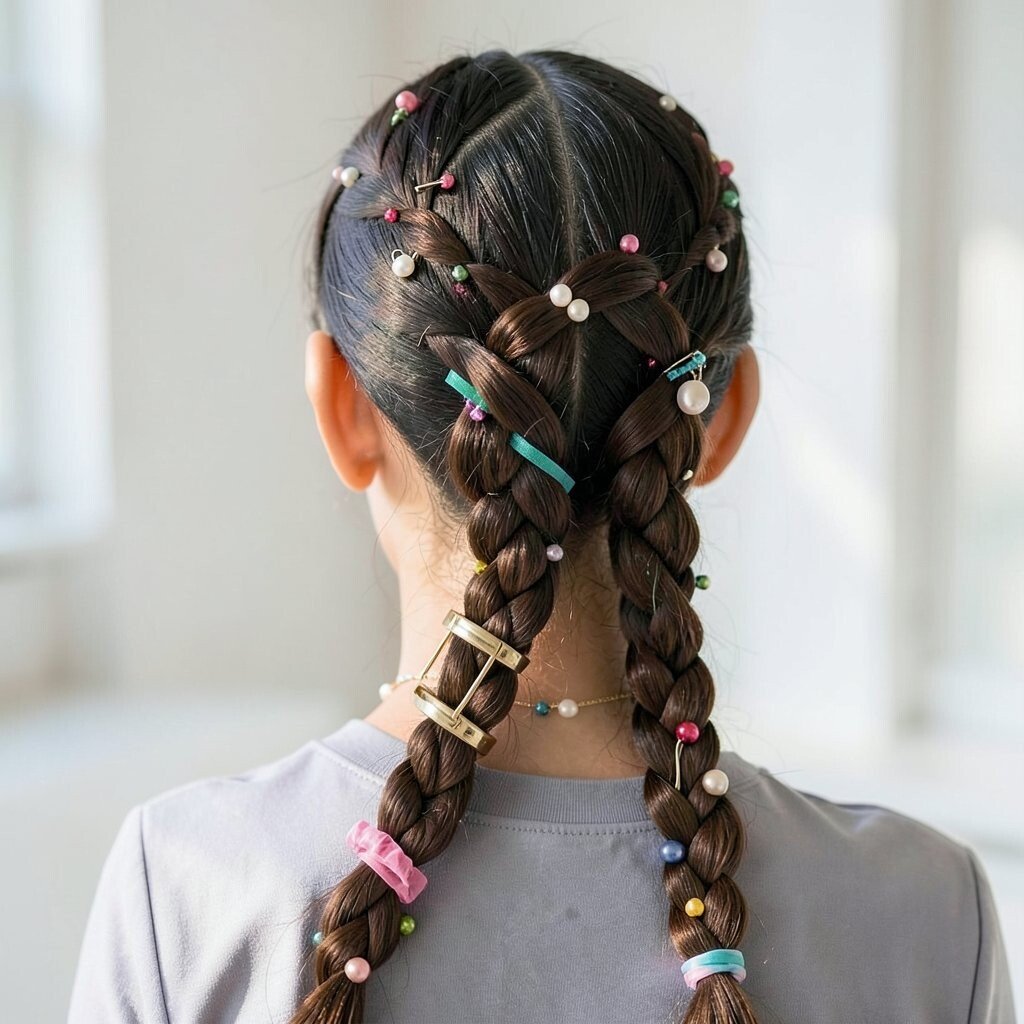
Little extras can make a braid feel special without much effort. Beads, ribbons, clips, and scrunchies add color and shine that catch the eye.
Accessories are a fun way to show personality and match outfits. They also help turn a basic braid into something unique, which is great when you want a fresh look without spending much money. Right now, tiny pearl clips, colorful ribbons, and simple gold cuffs are popular choices.
Pick one accent piece so the braid still looks neat and not crowded. A small detail often makes the biggest impact.
10. Protect The Ends
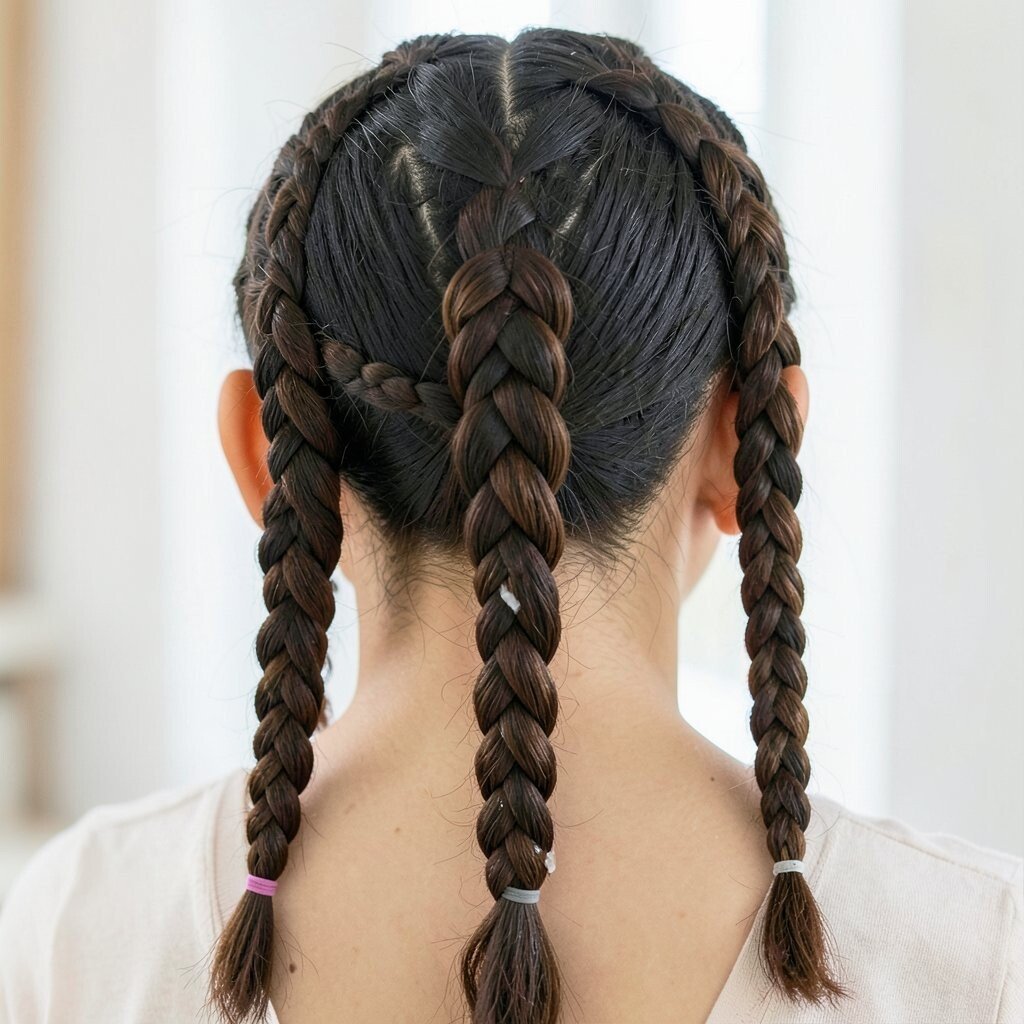
The ends of a braid can get dry or fuzzy if they are not cared for. A smooth finish at the bottom makes the whole style look cleaner and more complete.
Use a small elastic that holds well but does not tug too much. A tiny bit of cream or oil on the ends can help them look shiny and healthy, which is a nice touch for both everyday wear and special events.
You can also curl the ends slightly with braids left in overnight for a softer finish. That gives the style a sweet, playful look that feels current and easy to wear.
11. Sleep Smart To Keep Braids Fresh
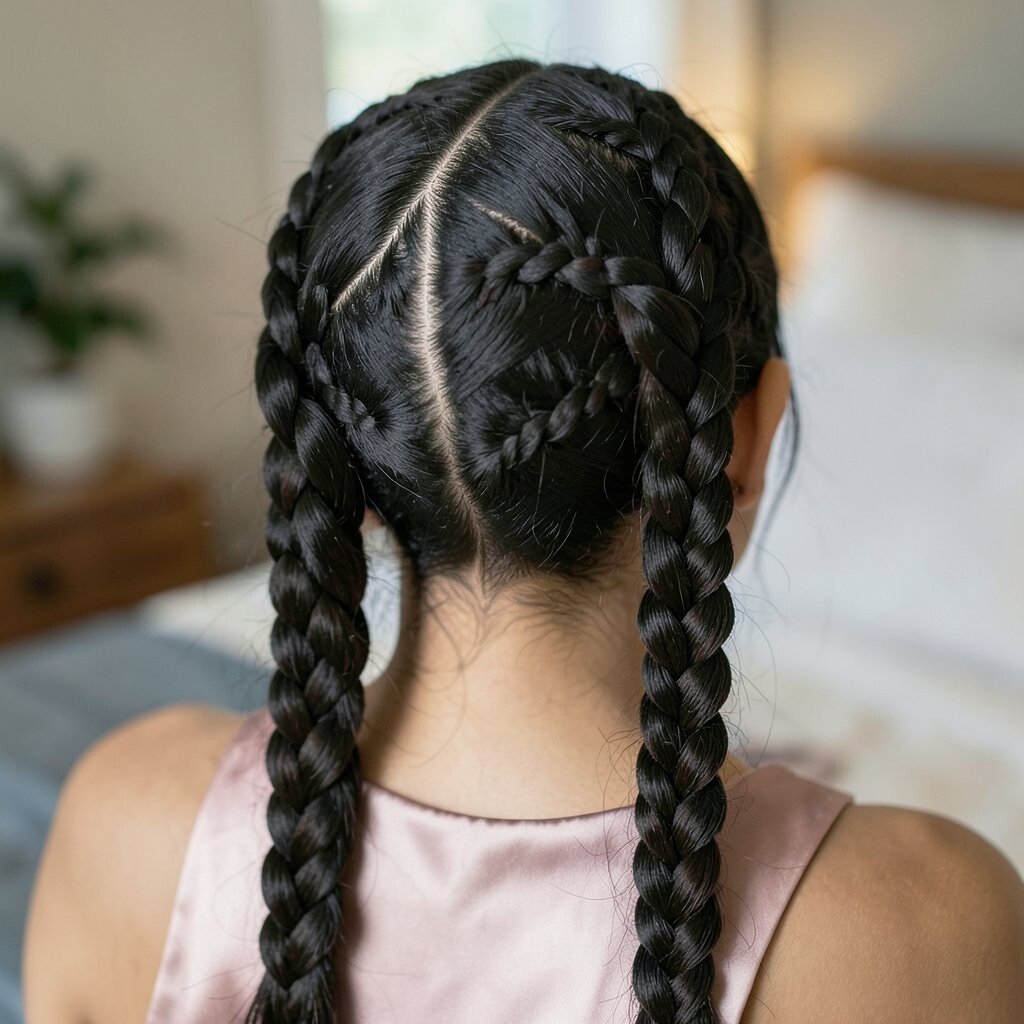
Nighttime care can help braids look good the next day. A silk scarf or satin pillowcase reduces frizz and helps the style stay smoother.
This habit saves time in the morning because you will spend less effort fixing flyaways. It is also a smart long-term choice since it helps protect the hair and may reduce the need for extra products.
If you like a looser braid for bed, keep it gentle and low. That can make the hair feel more comfortable while still keeping the pattern in place.
12. Try Different Partings
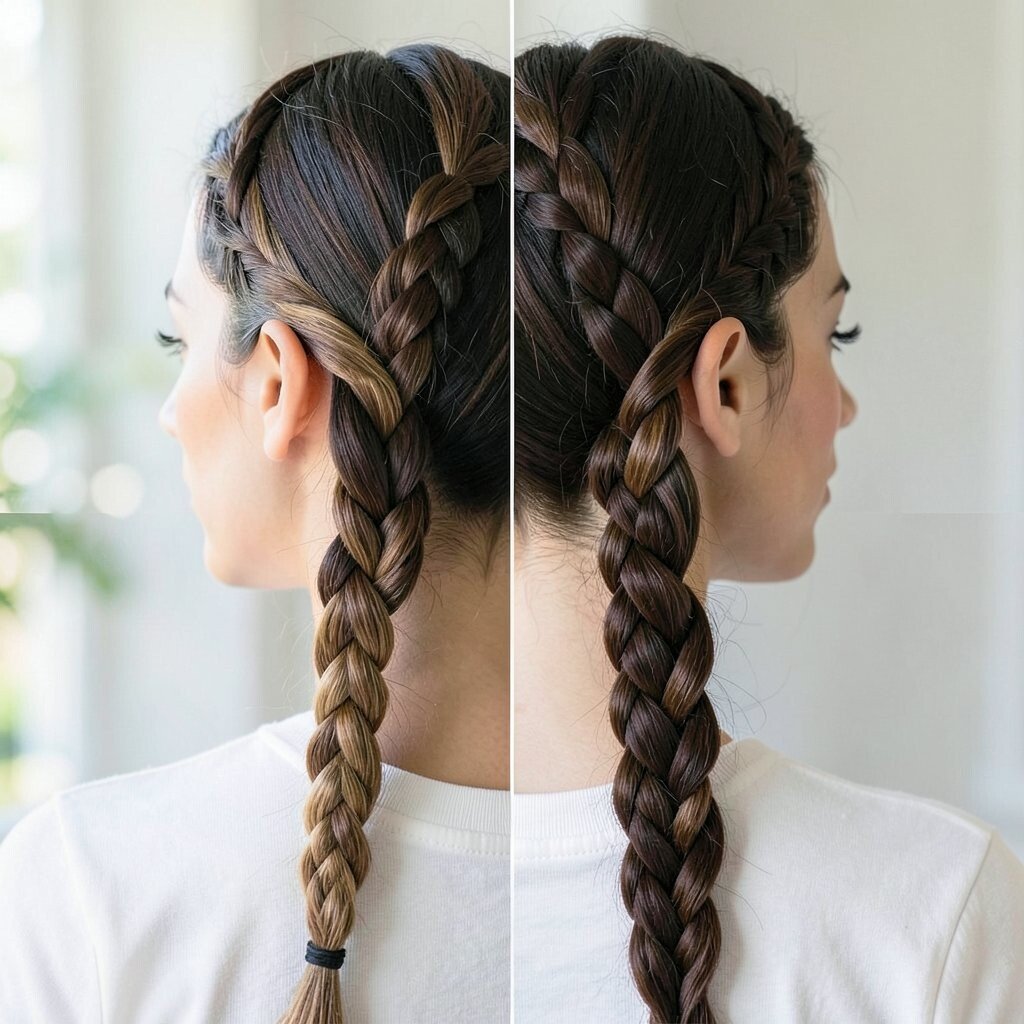
A new part can change the whole mood of a braid. A middle part feels neat and balanced, while a side part can look soft and stylish.
Parting the hair in a fresh way is an easy trick that does not cost anything. It lets beginners play with shape and find a style that suits their face and hair texture best.
Some current braid looks use deep side parts for a bold, modern feel. Others use soft, off-center parts for a relaxed, pretty look that works in many settings.
13. Make The Braid Looser For Volume
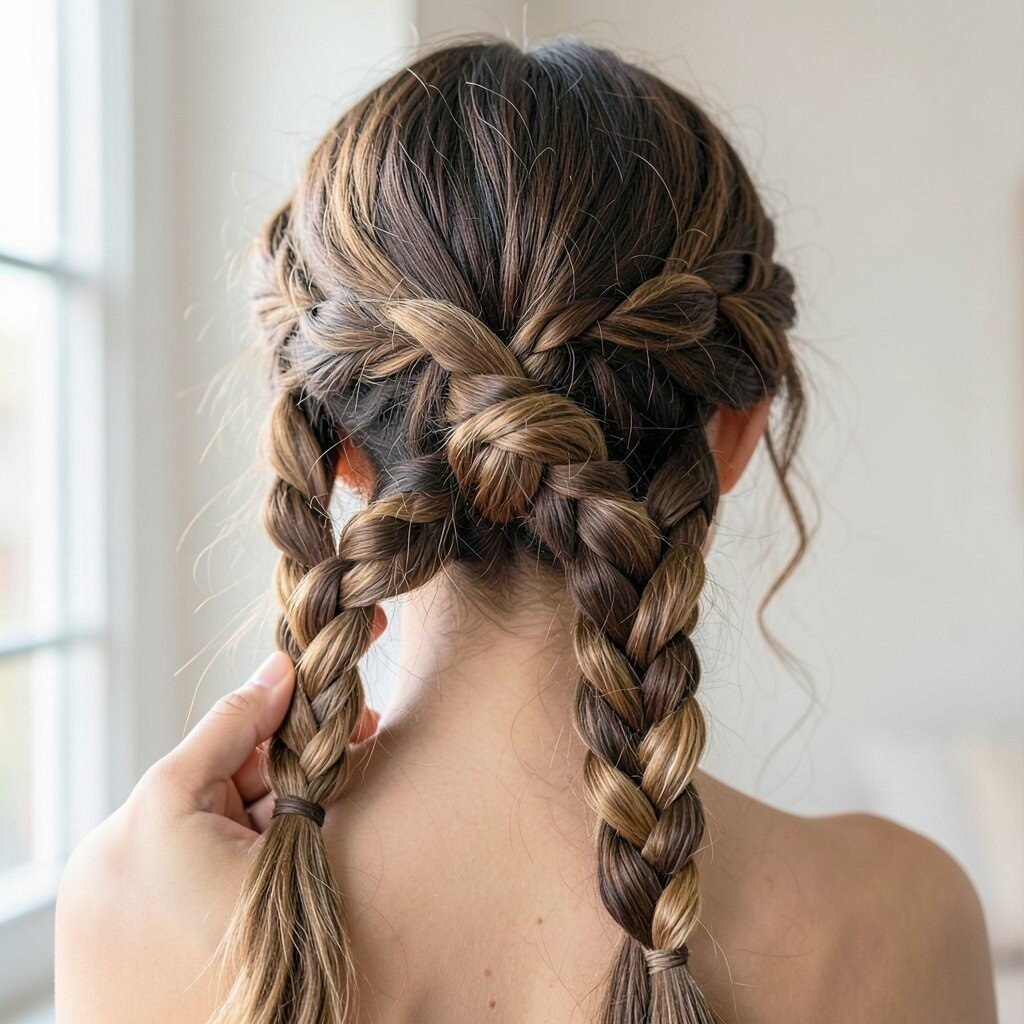
Loose braiding can create a fuller, more romantic shape. The style looks airy and soft, with a wider pattern that stands out beautifully.
After finishing, gently pull the braid apart a little with your fingers. This trick is beginner-friendly and can make even a simple braid look richer and more stylish. It also helps fine hair appear thicker without buying extra products or tools.
Go slowly so the braid does not fall apart. A little loosening goes a long way and keeps the shape pretty and wearable.
14. Match The Braid To The Occasion
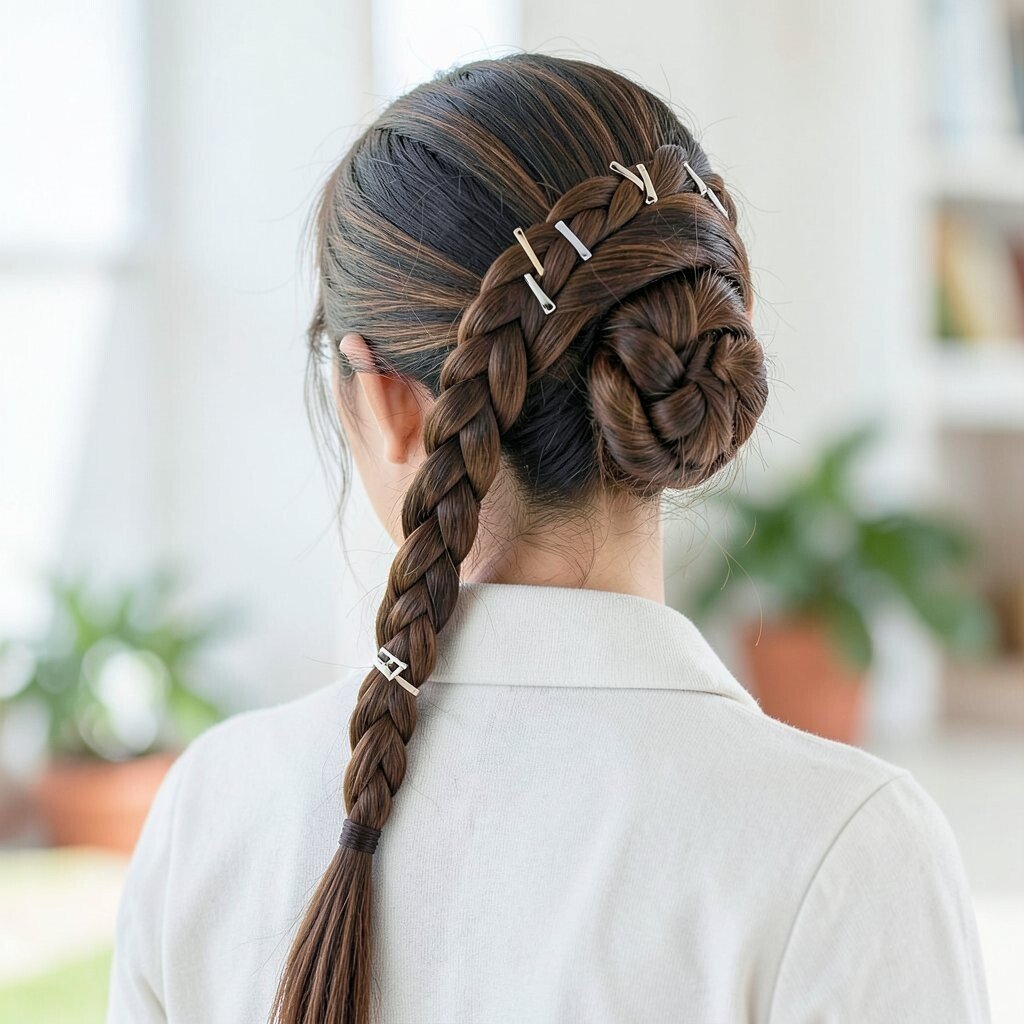
A braid can be calm and simple or bold and dressy. The best choice depends on where you are going and how much time you have.
For school or work, a neat low braid feels easy and tidy. For a party, a crown braid or braided bun can look more special and unique while still being friendly for beginners. Choosing the right style helps the braid feel useful, not just pretty.
You can also adjust the look with small details like clips, ribbons, or a side sweep. That makes the same braid work for many different moments without extra cost.
15. Learn To Fix Common Mistakes
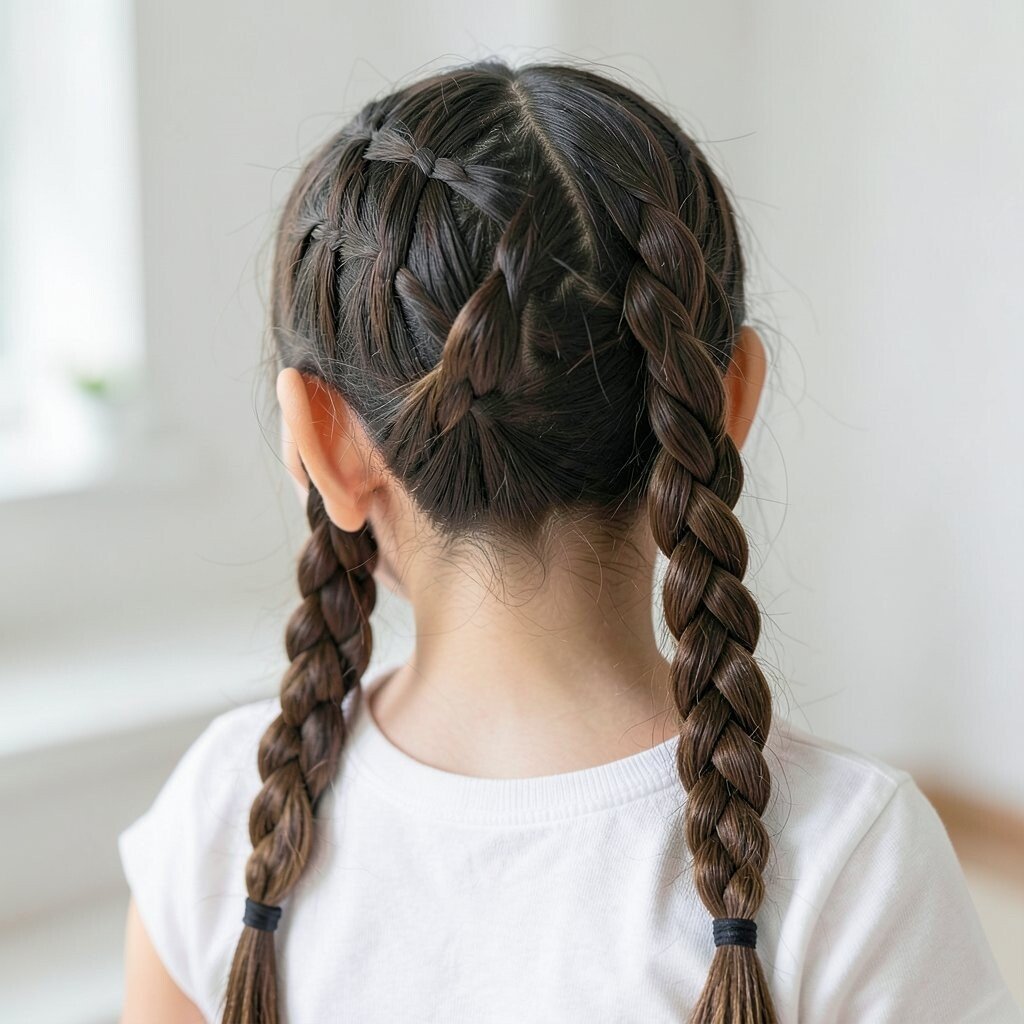
Every beginner makes a few braid mistakes, and that is normal. Uneven strands, bumps, and loose ends are all part of learning.
If a section looks messy, stop and smooth it before you continue. A quick fix now can save the whole style, and that is better than starting over and wasting time or product.
Try practicing on a friend, a mannequin head, or even on one side of your own hair first. Repeating the same braid several times helps your hands learn the pattern and makes future styles easier.
16. Build A Small Braiding Kit
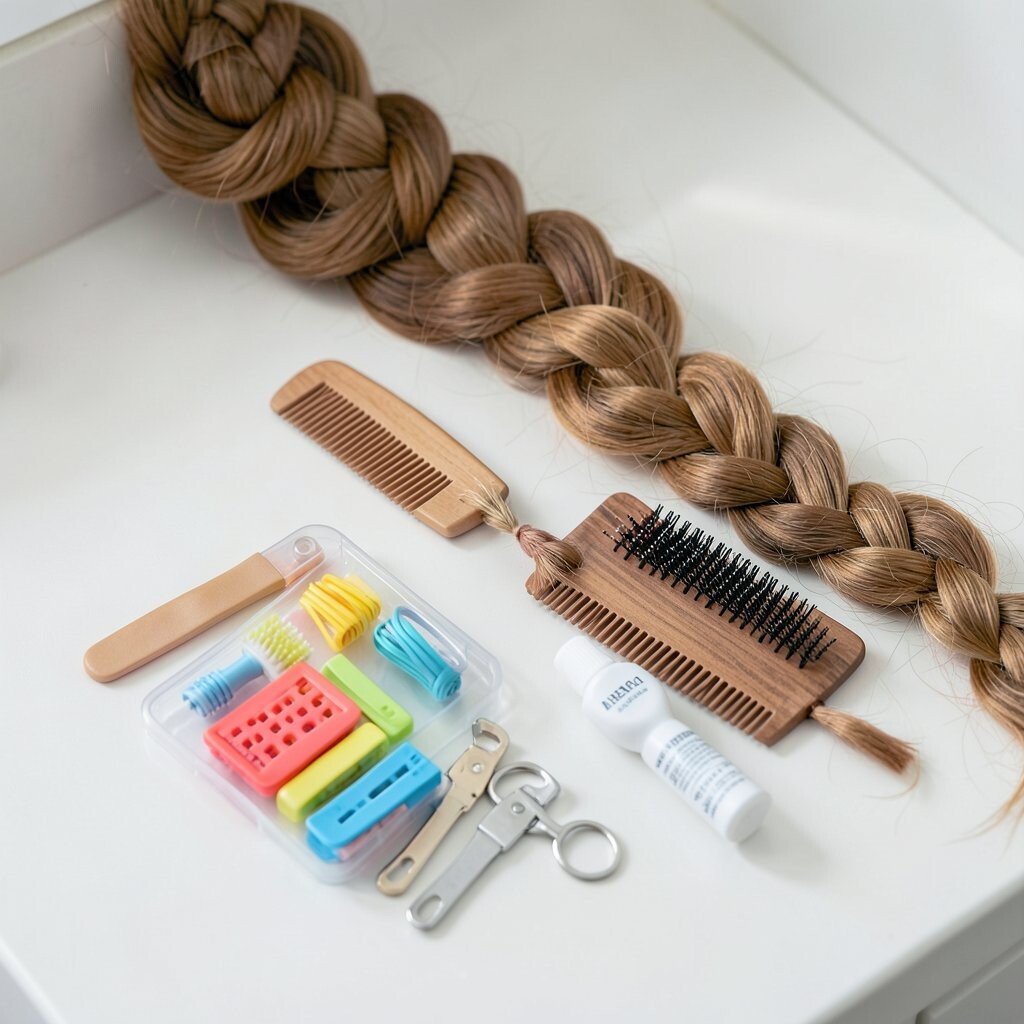
A tiny braiding kit keeps everything close at hand and makes styling less stressful. It can include a comb, clips, elastics, a spray bottle, and a small styling cream.
This setup is affordable and useful because it keeps you ready for quick touch-ups or last-minute styles. You can personalize the kit with colorful clips, a favorite brush, or a special ribbon that makes braiding feel more fun and creative.
Many people keep a kit in a drawer, backpack, or bathroom shelf so they can braid anywhere. That simple habit makes it easier to practice often, and practice is what turns beginner braids into beautiful, confident styles.