The page can feel like a playground when paper shapes start talking. A few folds and cuts can make everyday colors feel magical.
1. Paper Heart Confetti
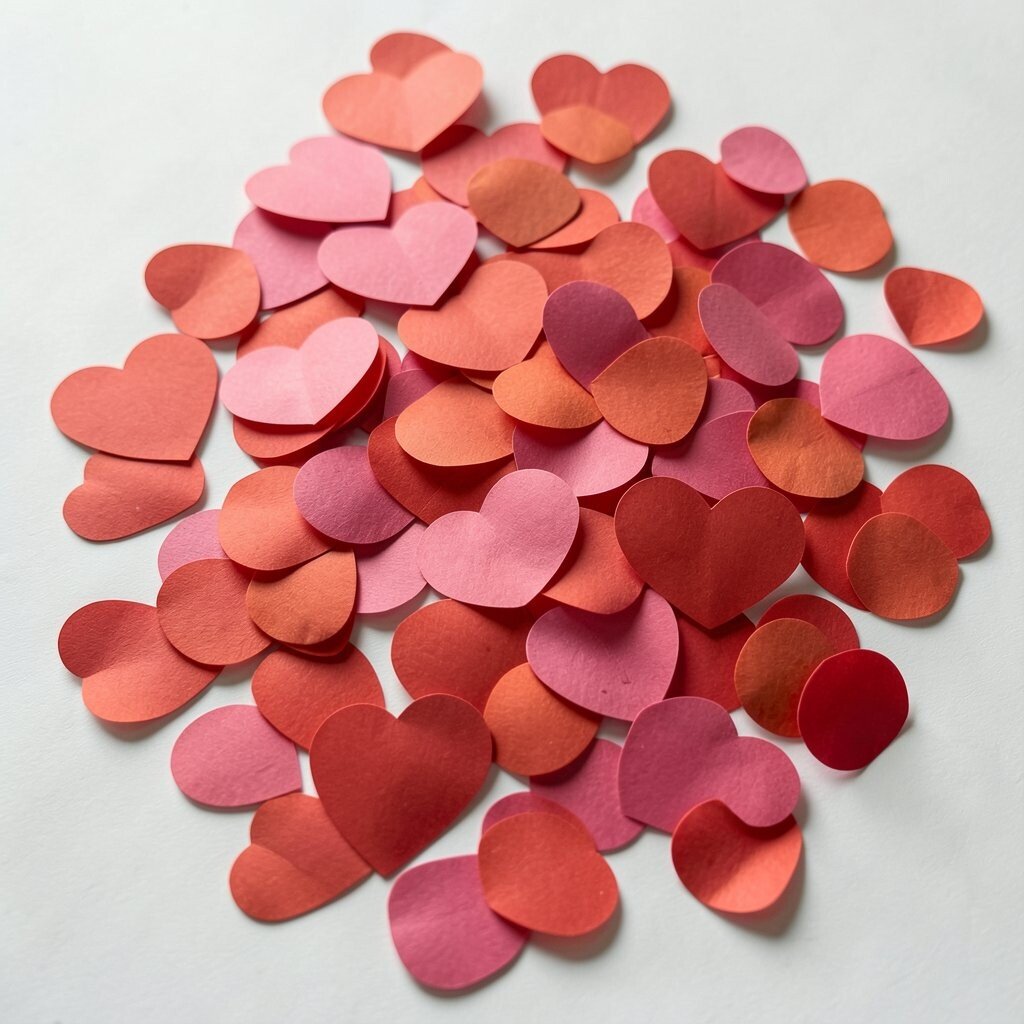
Cut small hearts from colored paper and scatter them like sweet decorations. You can make them uniform for a tidy look or mix sizes for a confetti-party vibe.
Use a hole punch to snip the edges into tiny heart dots for a fun layered texture. Glue hearts onto cards, gift bags, or the front of a notebook for instant charm. For personalization, write a short message on the back of a few bigger hearts so they become hidden surprises.
2. Accordion Stars
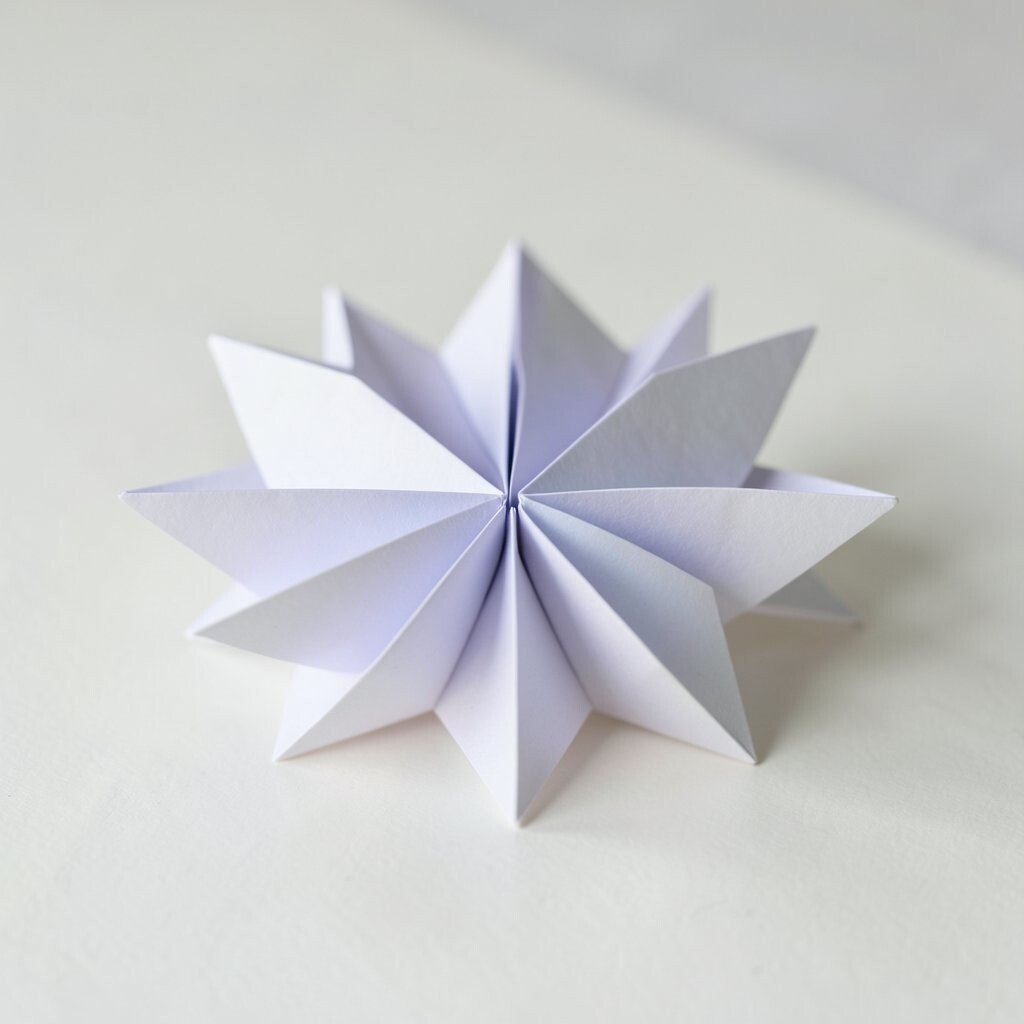
Fold strips of paper into an accordion shape, then pinch the ends to form star points. When you open them, they look like bright bursts that catch the eye.
These stars are great for party garlands because they swing gently and look lively. Try thick cardstock if you want them to stand up, and thin paper if you want extra movement.
For practical tips, score the folds lightly so the accordion stays neat. Add a sprinkle of glitter glue only on the tips to keep it from getting messy. Current trends love anything that looks handcrafted but polished, and these stars deliver that cozy feel.
3. Paper Rolling Flowers
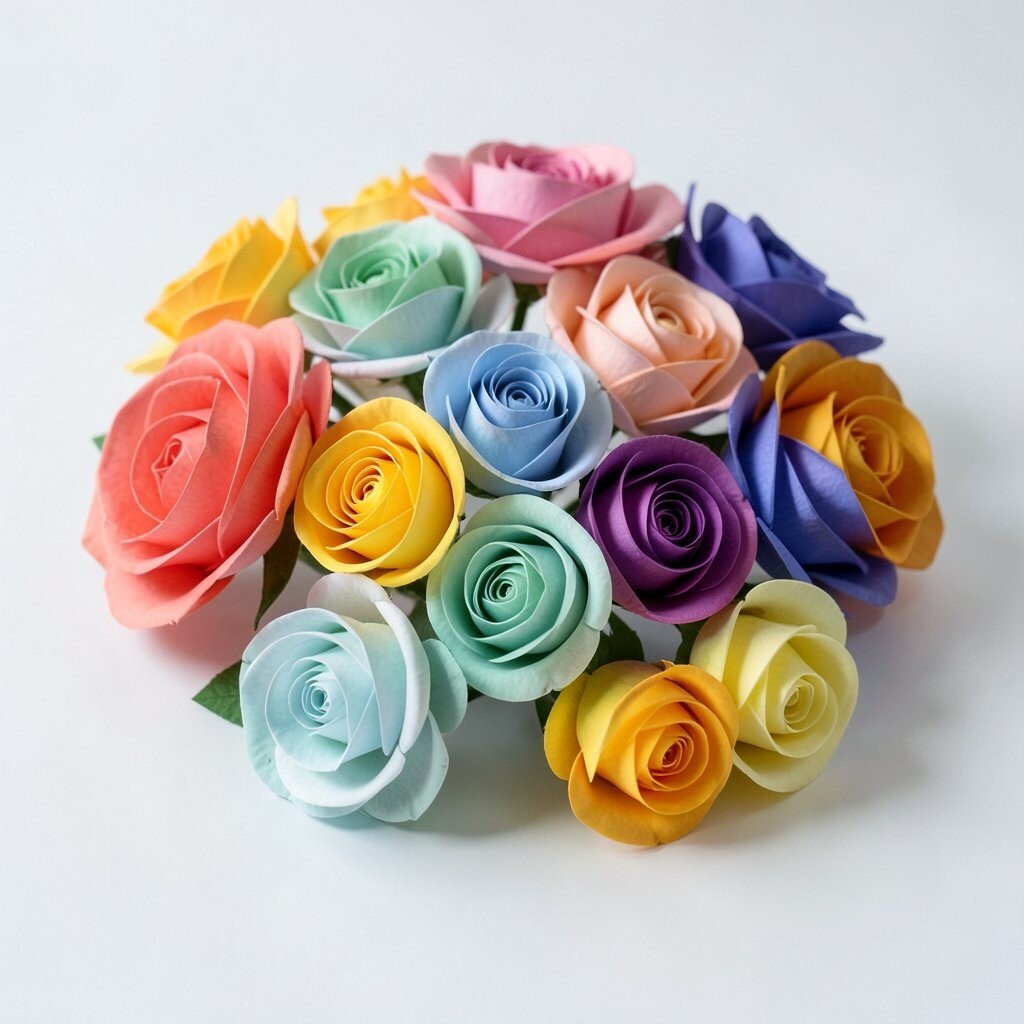
Roll thin strips of paper around a toothpick or skewer to form petals that curl just right. The visual effect feels like tiny blooms stacked in layers.
These paper flowers are light, easy to store, and perfect for kids who enjoy hands-on making. You can shape petals in different widths to create flowers that look simple or fancy.
Personalize them by using two coordinating colors and alternating petal tones. If you want a cost-friendly setup, reuse old wrapping paper or printed flyers for the petals. Finish with a small circle center, and you’ll have bouquet-style crafts that look surprisingly detailed.
4. Geometric Triangle Cutouts

Cut triangles in two sizes and arrange them into a pattern panel. Bright repeating angles create a bold, modern look that feels like mini art.
Triangle cutouts help build fine motor skills and teach steady cutting lines. You can use them to decorate a notebook cover, a classroom display board, or a plain folder that needs personality.
5. Curved Paper Waves

Draw wavy lines on paper, then cut along the curves to make flowing wave strips. Twist them slightly so they curl like ribbons in motion.
Waves look great when layered from light to dark, giving a soft gradient effect. They also make a fun background for a title on a school poster.
For personalization, glue small paper circles at the wave crests to suggest bubbles or raindrops. If you want to save money, use inexpensive printer paper and color it with markers afterward for a fresh look.
6. Confetti-Edge Circles

Cut circles and then snip small fringes around the outer edge. When you fan them out, the circle looks like a party balloon made of paper.
These are fun because they’re quick to make and look impressive even with simple supplies. Add them to birthday cards, decorate a string for wall hangings, or cover a small box lid for a gift keepsake.
7. Paper Rings Rainbow Garland

Cut long strips of paper, glue the ends, and form many rings in different colors. Stack the rings to build a rainbow chain that feels bright and cheerful.
This shape is practical for decorating because it’s flexible and easy to hang. Try mixing ring sizes so the garland has depth rather than feeling flat.
To personalize, use patterned paper for some rings and plain solid colors for others. For a cost-friendly approach, cut rings from old magazines and then seal them lightly with clear tape so they don’t tear.
8. Folded Paper Butterfly Wings
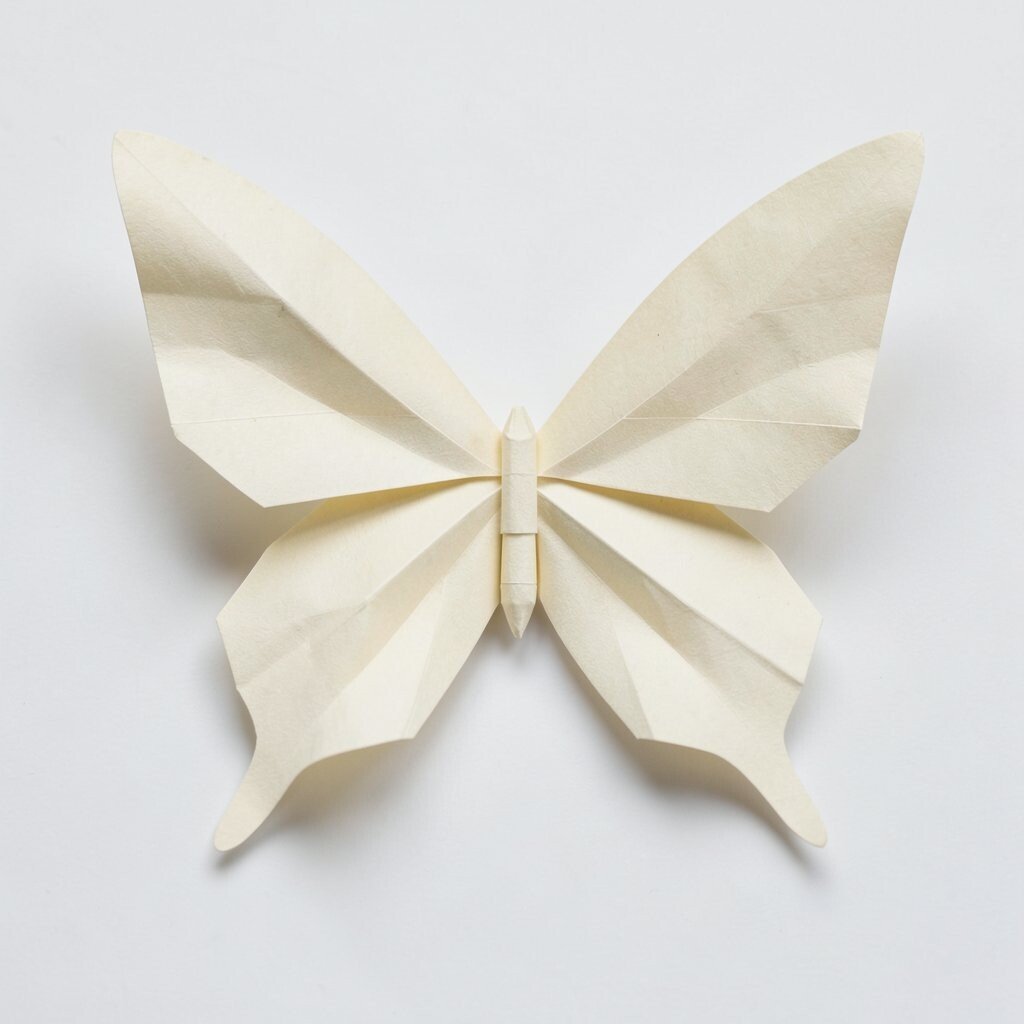
Fold a square of paper in half, cut a simple wing shape, and open it to reveal a butterfly silhouette. Add a second layer behind it for extra brightness.
Paper butterflies feel whimsical and can be used on mobiles, bookmarks, or wall decor. They also teach kids symmetry in a fun, non-serious way that makes learning feel playful.
9. Paper Starbursts with Spokes

Cut a circle and then cut triangles outward like pizza slices, leaving small tabs. Fold every point inward so it becomes a starburst with spiky sparkle.
Starbursts are unique because they combine a soft circle base with sharp rays. They work well for page accents, party table markers, or a simple wall collage.
Personalize them with metallic markers on the tips or by adding a small patterned paper square at the center. If you want a neat finish, press them flat under a book for a few minutes before gluing.
10. Hexagon Honeycomb Tiles

Cut hexagons and glue them in clusters to make honeycomb panels. The visual texture looks like tiny building blocks.
Hexagon crafts are great for organizing and teaching spatial thinking, because each piece fits together. Use them to make coasters, a mini storage lid, or a classroom name display.
11. Paper Diamond Frames
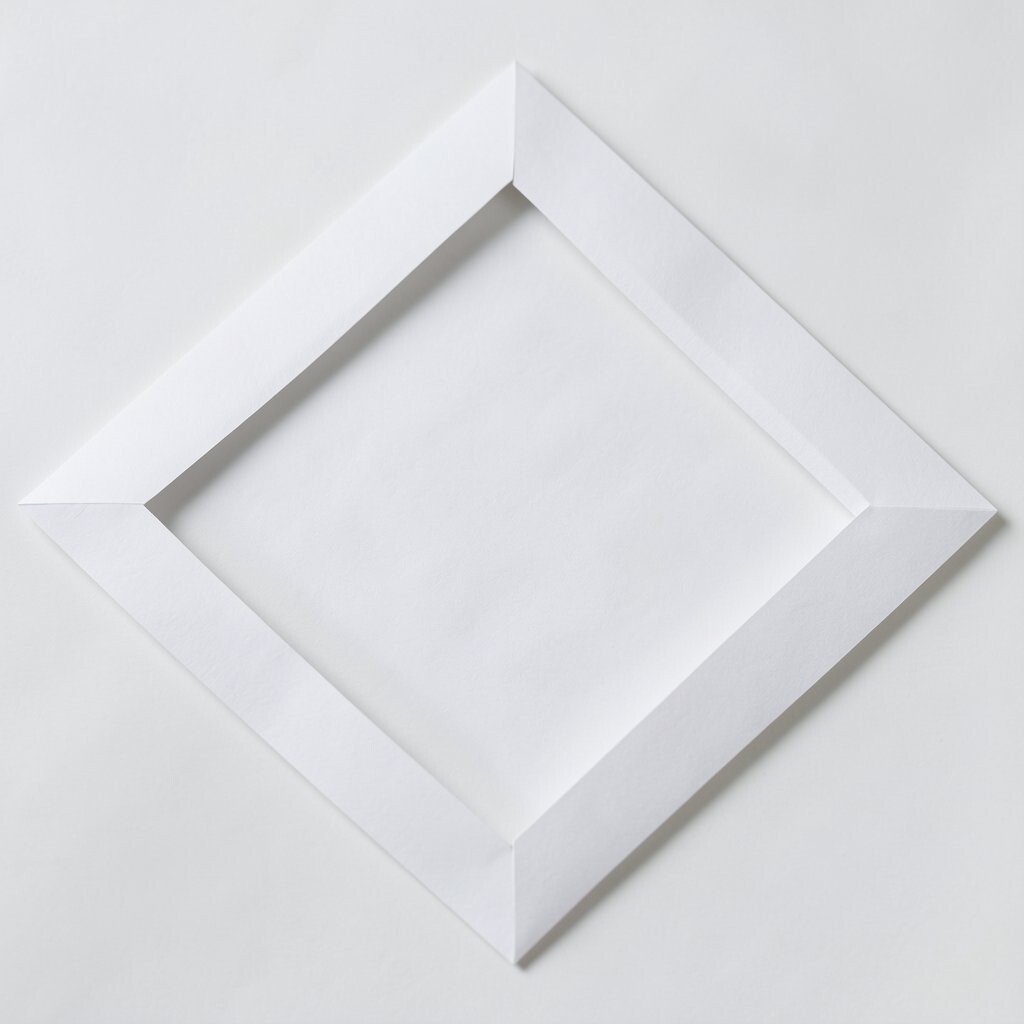
Cut several diamonds and overlap them to form a frame shape around an image or message. The angles make even a simple photo look like it belongs in a gallery.
This craft is beneficial for creating quick personalized gifts because the frame can match any color theme. Choose paper that matches the occasion, like pastel shades for spring or deep colors for winter.
For practical tips, make one template diamond so all pieces line up. Add a thin border strip inside the frame to hide glue edges and make everything look tidy.
12. Layered Paper Snowflakes
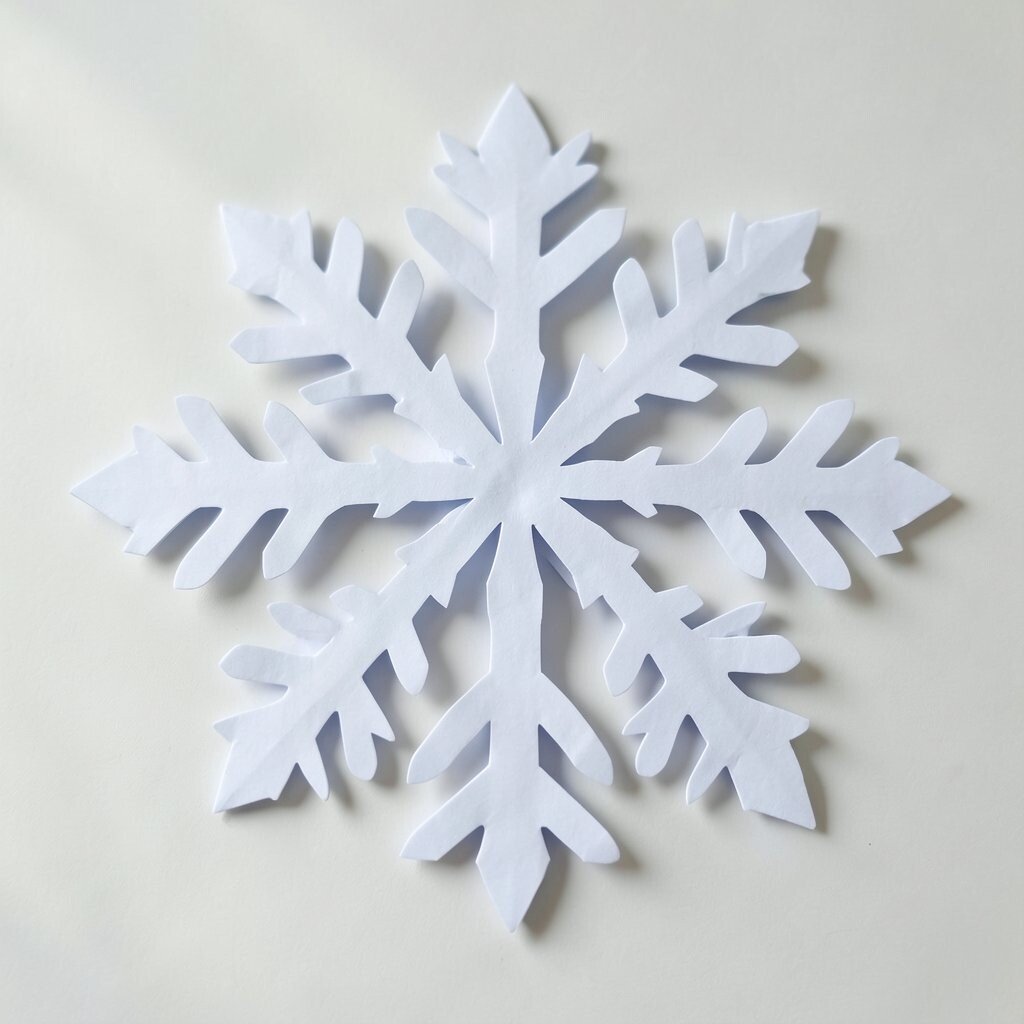
Stack paper squares, fold, and cut delicate shapes to form a snowflake. When you open the layers, the pattern looks crisp and detailed.
Snowflakes are a classic, but modern styles often use bold colors, thick paper, and chunky cuts. Try using bright cardstock so the snowflakes pop on dark backgrounds.
13. Paper Leaf Silhouettes
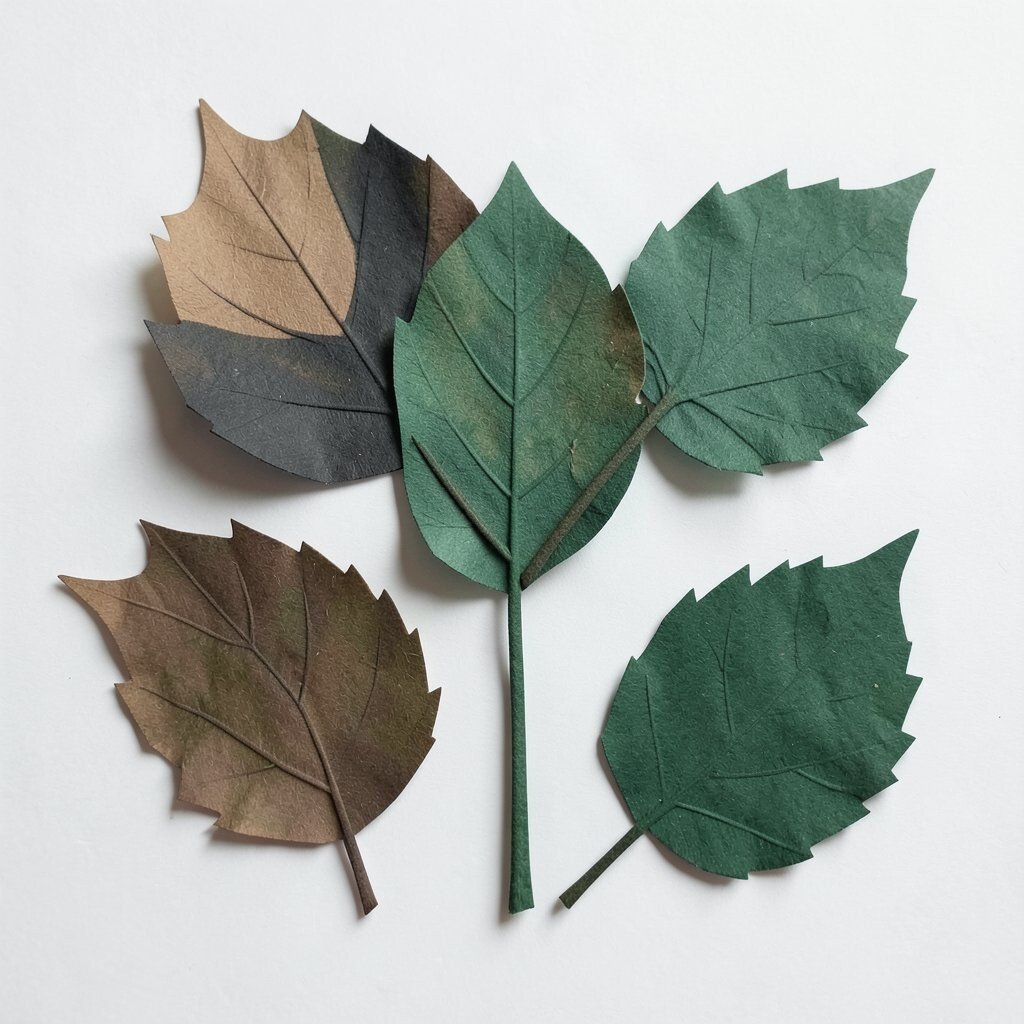
Draw a leaf outline, cut it out, and add veins using lines drawn with a pencil or marker. The shape looks natural and calming, like a little garden on paper.
Leaf silhouettes are great for educational crafts and also for decorations like bookmarks and wall garlands. Add a light shimmer to the veins with a glitter pen for a soft twinkle effect.
Personalize leaves by using different types of paper, like tissue paper for a delicate look or construction paper for a sturdy one. For cost considerations, you can cut leaves from brown paper bags and decorate them with simple paint strokes.
14. Paper Fan Faces

Create a folding paper fan and draw a face on the outer panels. When the fan opens, the face looks like it’s smiling from different angles.
This craft is playful and helps kids practice storytelling with expression changes. Make one fan that shows a happy face and another that shows a surprise face to swap the mood.
15. Paper Quirky Cones for Mini Planters
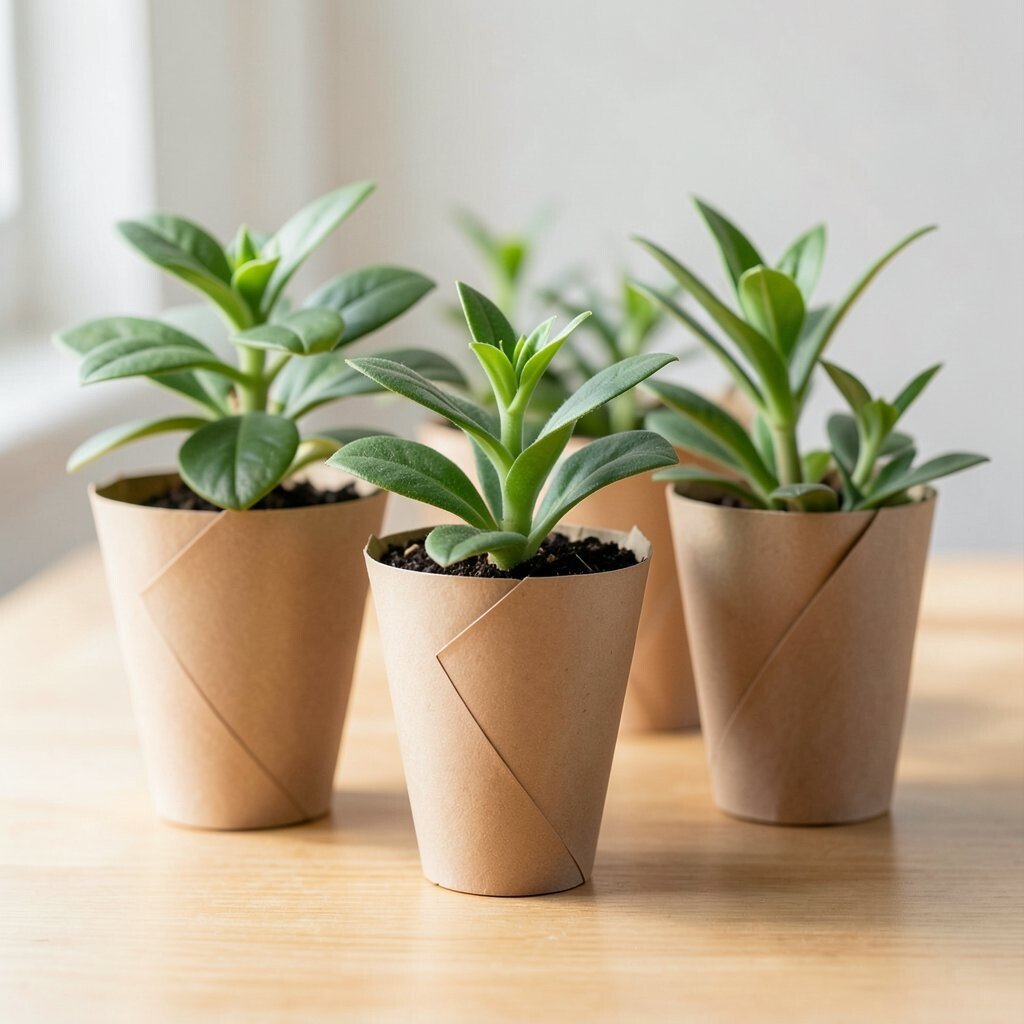
Roll paper into cones and glue the seam to hold the shape. Even if you don’t use real soil, the cones can still look like mini planters for desk decor.
The benefit is that cones are simple to form but can look surprisingly creative once decorated. Add a label strip, a painted stripe, or tiny paper “flowers” on top.
For practical tips, reinforce the base with a folded circle disk so it stands better. Personalize using your favorite colors and patterns, and keep it budget-friendly by using scrap paper from old projects.
16. Paper Spheres from Rolled Circles

Roll many small paper circles tightly, then glue them together in a ball-like cluster. The result looks like a textured sphere, almost like a paper pom-pom, but with a tidy shape.
Spheres are unique because you can control the texture by how tightly you roll and how close you place each circle. They make fun ornaments for seasonal decor or accents on a gift box.
17. Paper Spiral Snails
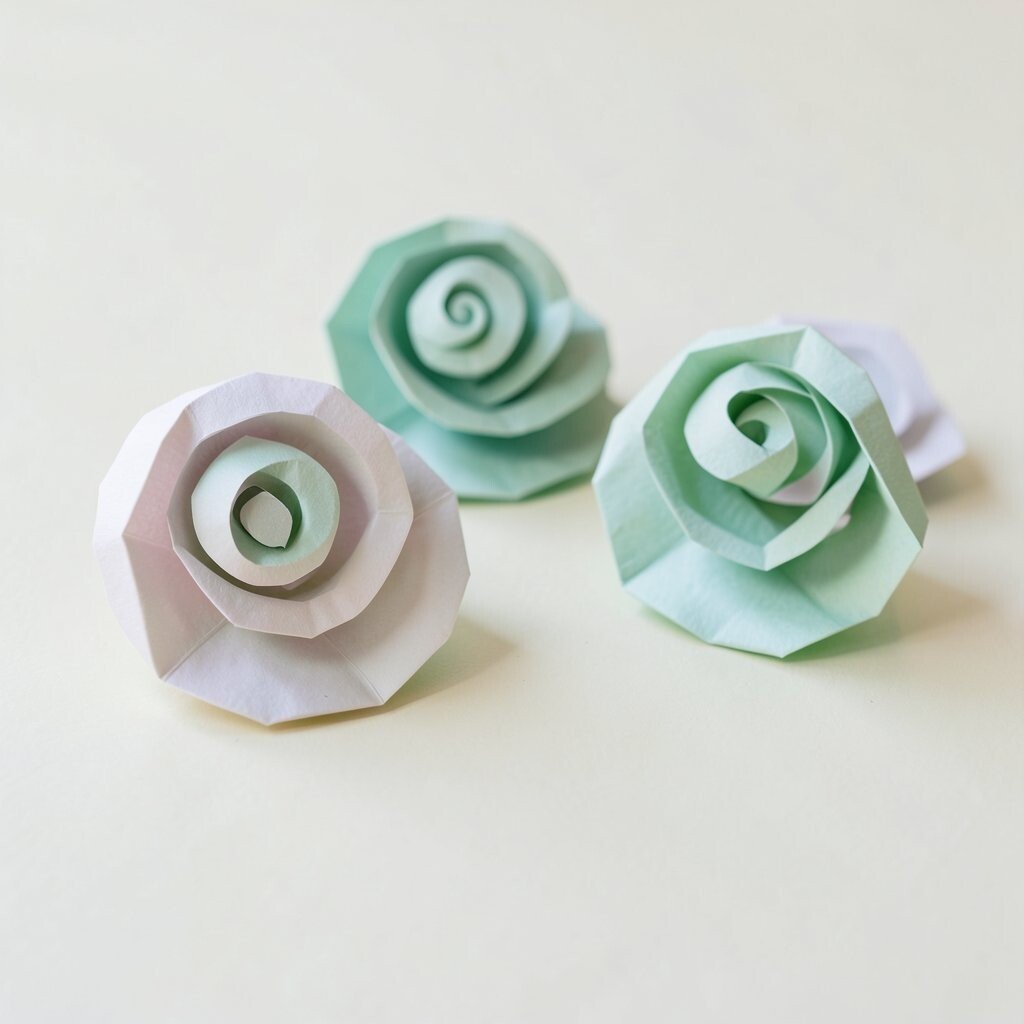
Make a paper spiral for the shell and add a simple body shape for the body. Twist the shell slightly so it looks like it’s crawling in place.
Spiral snails are a great mix of cute and craft-friendly, because the shape is easy to customize. Use different paper colors for the shell and add tiny eyes drawn with a marker for instant personality.
For personalization, add a tiny paper leaf or a small heart on the snail’s back. If you’re working with limited supplies, use scrap paper strips for the shell and sturdy cardstock for the body so it holds up well.