Your dorm wall can look better fast, even when your budget says otherwise. A few thoughtful changes can make the space feel like yours.
Small updates, big vibes, and practical style choices are all possible in a shared living world.
1. Peel-and-Stick Gallery That Looks Curated
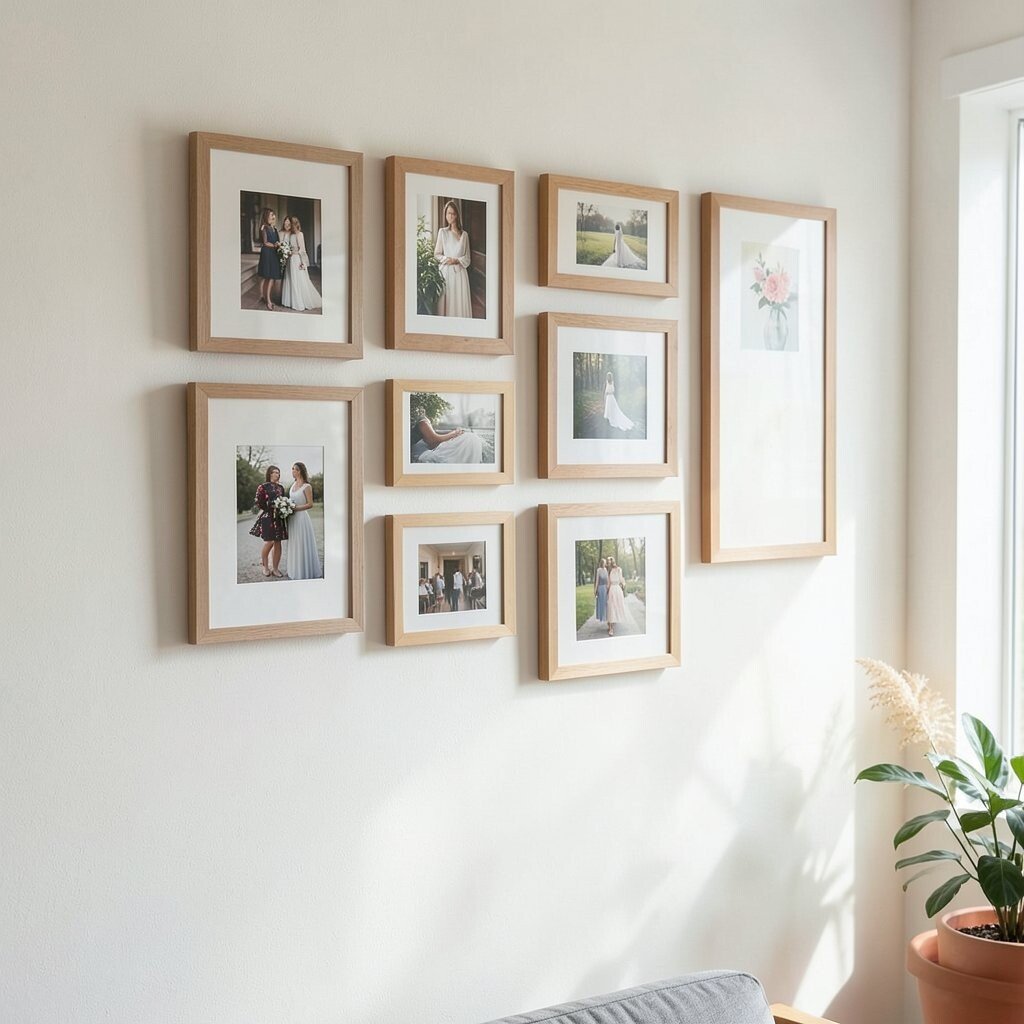
Pick a mix of small photos, postcards, or prints and arrange them like a mini story across one wall. The neat grid or gentle wave makes everything feel intentional.
Use only peel-and-stick frames or mounting corners so you can move things around without damage. Leave a little breathing room between pieces so the wall doesn’t feel packed. For a clean look, match a simple color theme like black and white, warm beige, or soft pastels.
2. Washi Tape Lines for a Soft Graphic Moment
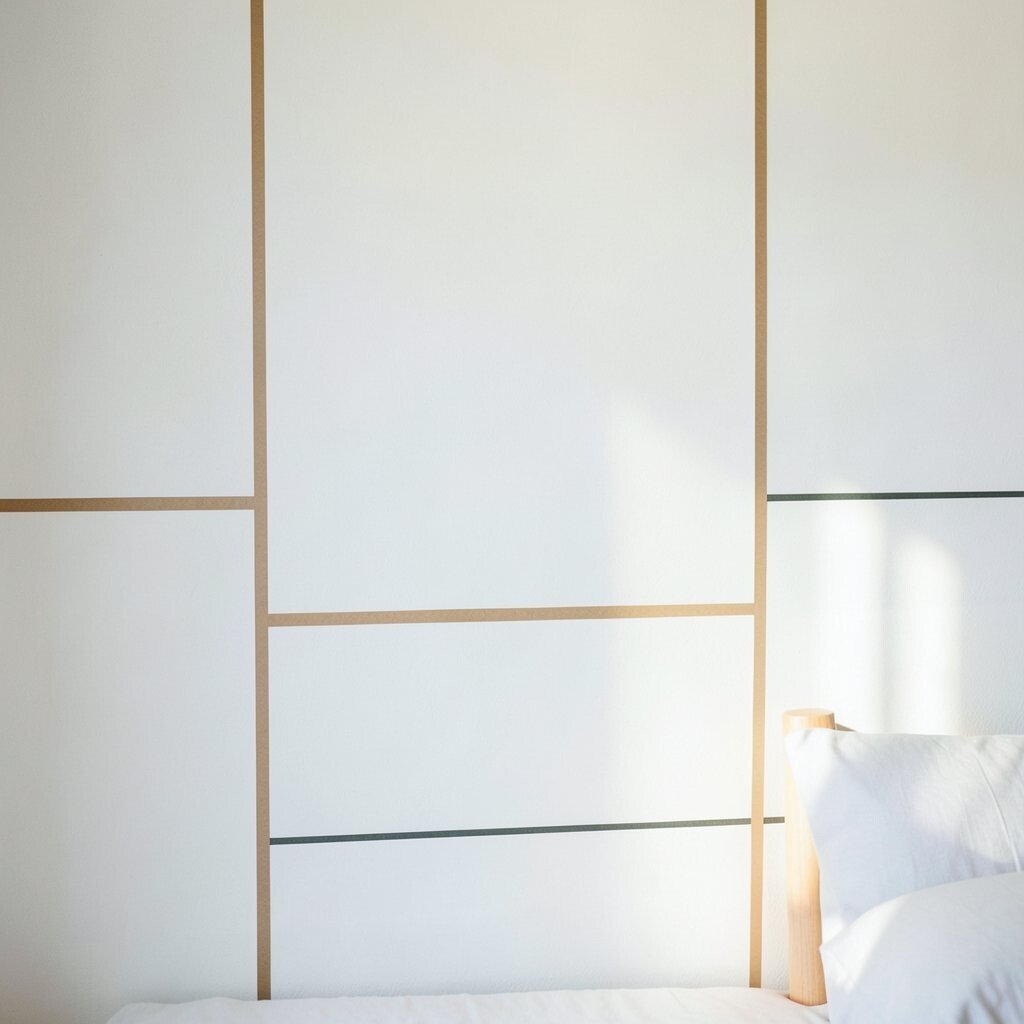
Washi tape can turn plain paint into subtle stripes, corners, and tiny borders. Lightly colored tape adds a calm design that still feels playful.
Create geometric lines around your desk area to guide the eye where you need focus. Stick tape in thin strips, then step back to adjust spacing before pressing hard. When you want a new vibe, remove and replace without stressing about sticky residue.
Try trending looks like thin tape frames, mini check patterns, or a single diagonal accent. Keep your color choices to two shades so the wall stays tidy and not busy.
3. Fabric Wall Panels That Make Sound Feel Less Loud
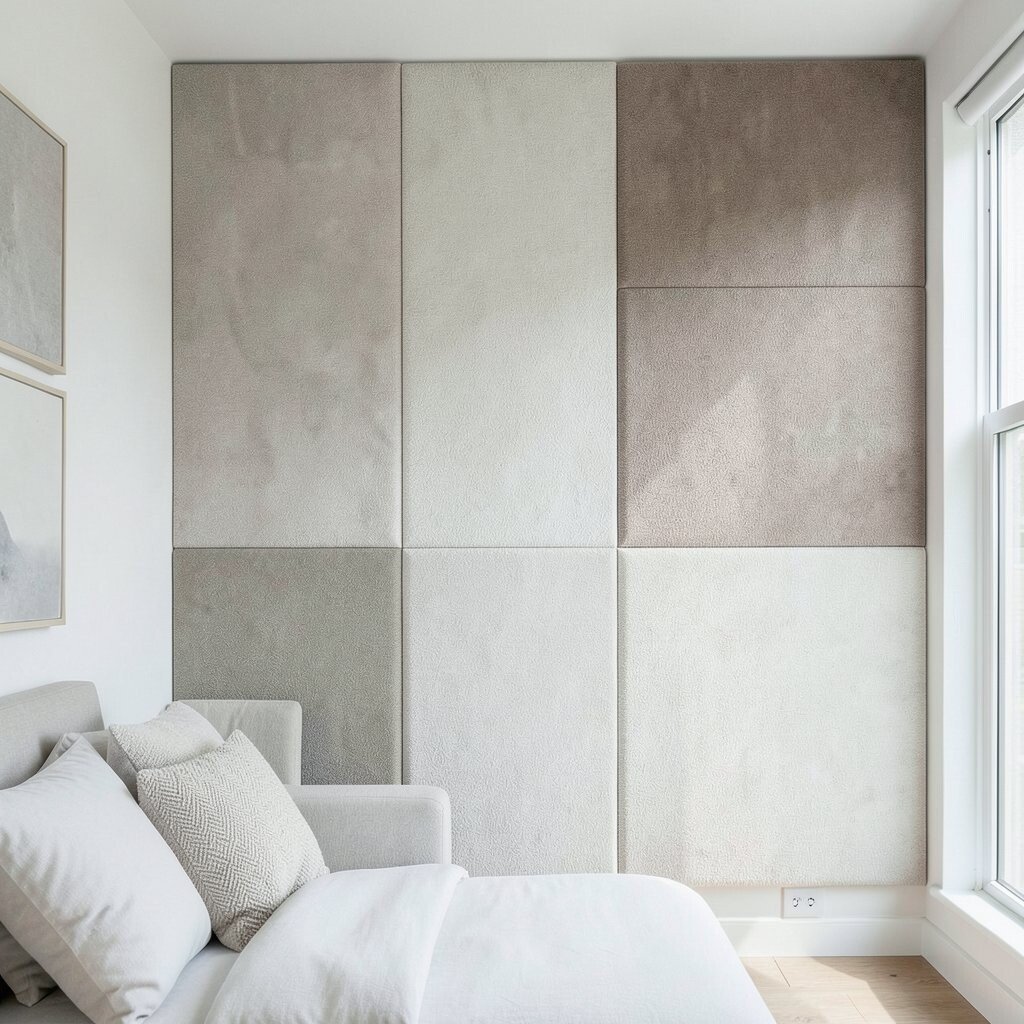
Hang a sheet, scarf, or lightweight fabric on the wall to add softness and texture. It instantly makes the room feel cozier and less echoey.
Use removable hooks, curtain clips, or adhesive Velcro strips for a secure hold. Choose fabric in a solid color or small pattern that matches your bedding, so everything feels connected. This is a great option if you want the visual impact of wall art without putting nails in.
For personalization, tie it into your mood by switching fabrics for seasons or holidays. Pair the fabric with fairy lights draped lightly across the top for a gentle glow at night. If your budget is tight, thrift scarves and use them like statement panels.
4. A Floating Shelf Wall for Books, Plants, and Cute Finds
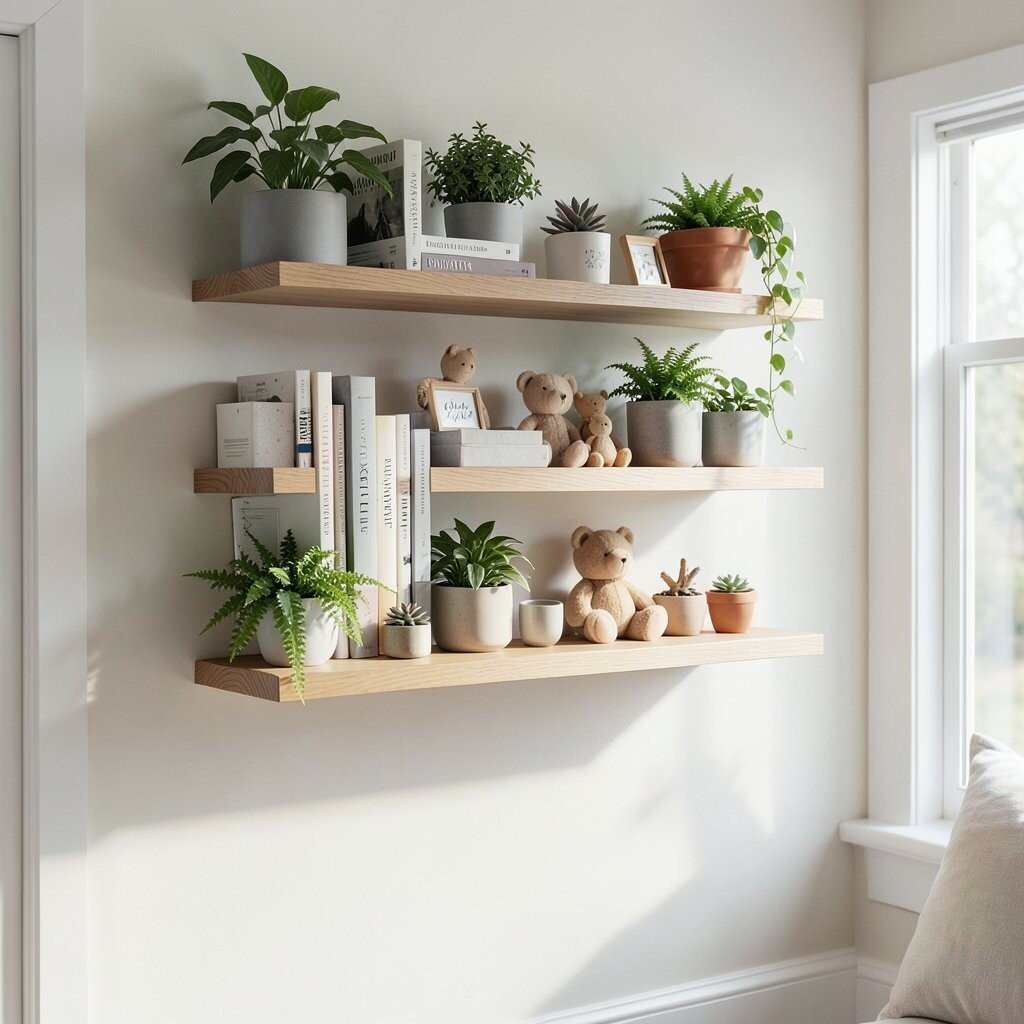
A row of floating shelves can turn a blank wall into a useful display. When you style it with books and small decor, it looks intentional and homey.
Keep shelf contents simple by using a few repeating items like white frames, one plant, and a stack of your favorite reads. Mix heights so the display doesn’t look flat, and leave empty space between groups for a cleaner finish. Use shelf brackets that match your wall hardware to avoid visual clutter.
5. Neon or Color-Block Sticky Shapes for Instant Energy
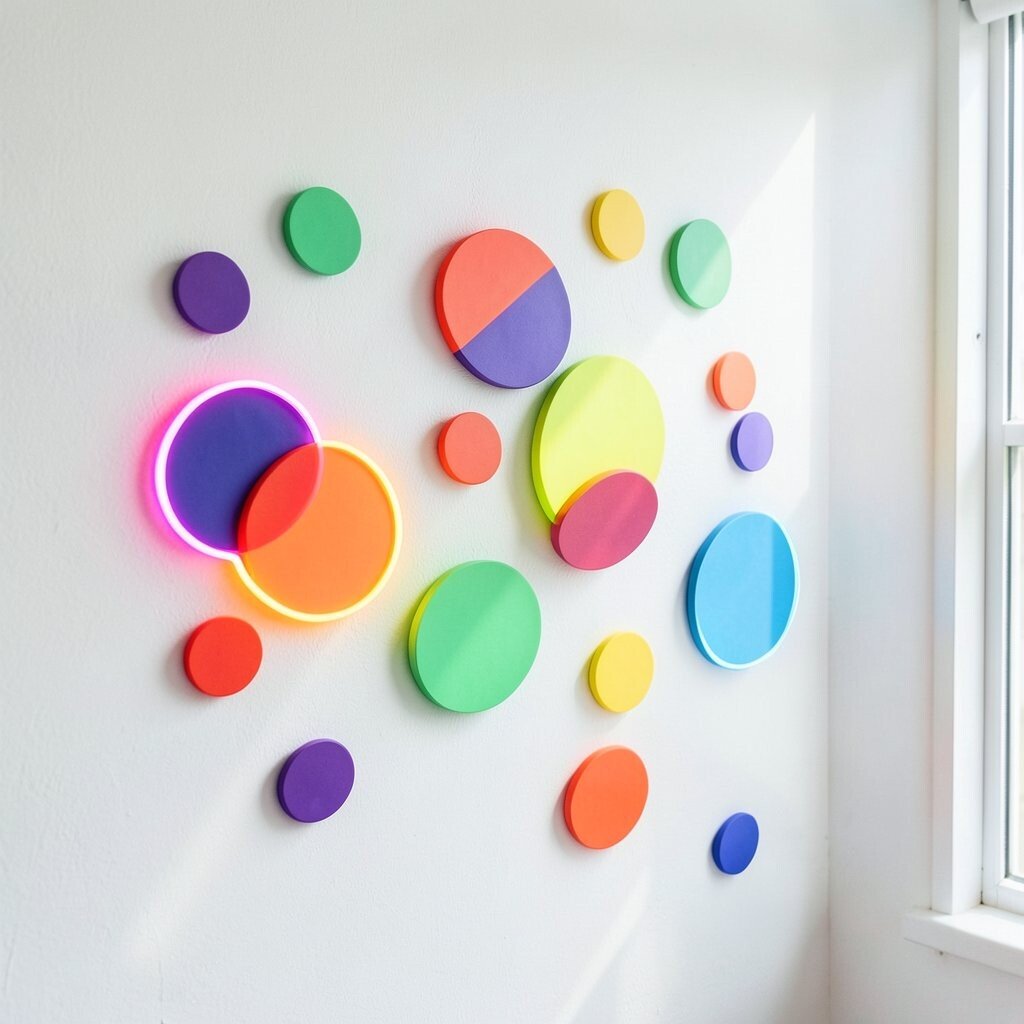
Bright sticky shapes can add fun color without committing to big changes. Think of them like tiny mood boosters right where you will see them every day.
Place simple circles, triangles, or outlined quotes around your desk corner to wake up the work zone. Stick to a few colors that already show up in your room, like teal, coral, or sunflower yellow. When you remove them later, you’ll still feel like you made a statement because the wall will look lively.
If you love current trends, try the “color block” look with bold rectangles near the top and softer shapes below. Keep the shapes larger than you think so the design reads well from across the room.
6. Create a Frame Wall With Different Sizes and Materials
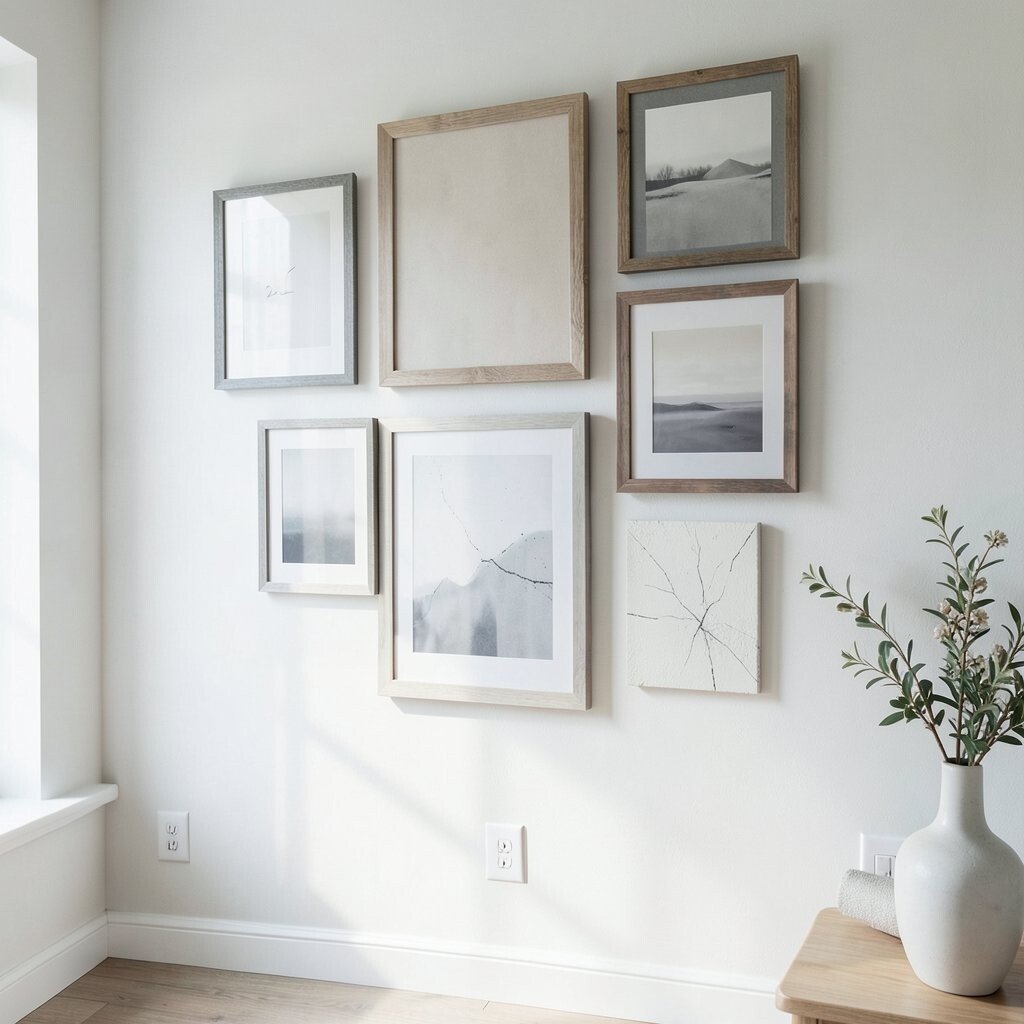
Choose frames from thrift stores, hand-me-downs, or bargain bins, then group them on one wall. A mixed set of wood, black, and white frames gives the space a gallery feel.
Start with a larger frame as the anchor, then surround it with smaller ones. Insert prints, textured paper, or fabric scraps to keep the wall from looking too plain. This is unique because every student can build their own story using what they already own.
For practical planning, measure your wall area and dry lay everything on the floor first. If you are worried about cost, focus on buying a couple of larger frames and use simpler budget options for the rest. Keep everything aligned by using a level and stepping back often while adjusting.
7. Minimalist Typography Prints for a Calm, Focused Mood
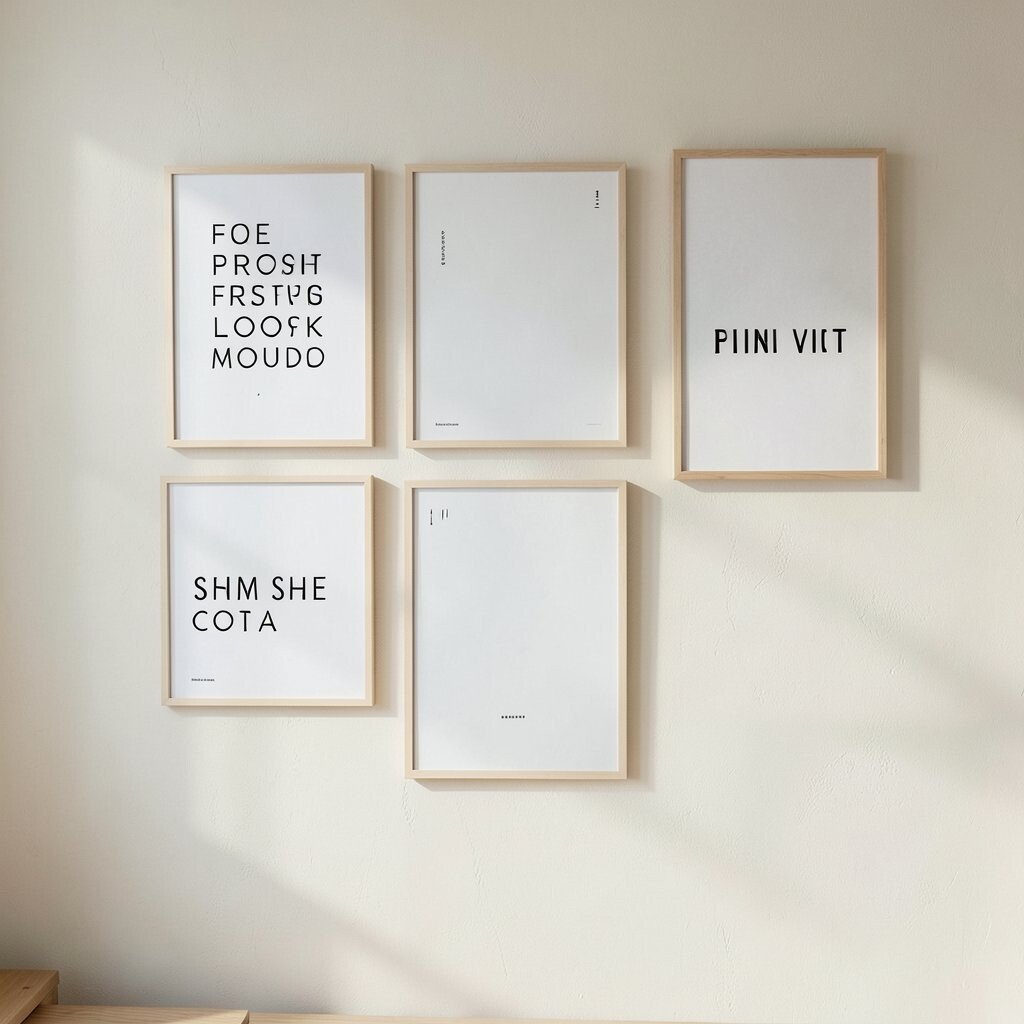
Typography art works well when you want the room to feel neat and not chaotic. A few words can make the wall feel inspiring without taking over.
Pick short phrases like “slow mornings,” “stay curious,” or your favorite lyrics. Choose prints with lots of white space so your wall looks airy. This approach helps you personalize while still keeping the overall vibe clean and modern.
Try placing one large typography piece above your bed, then add smaller supporting prints on either side. If you want to save money, print your favorites at home and tuck them into inexpensive frames. Use black text on cream paper for an easy current look that matches almost anything.
8. String Lights Along a Corner for Cozy Nights
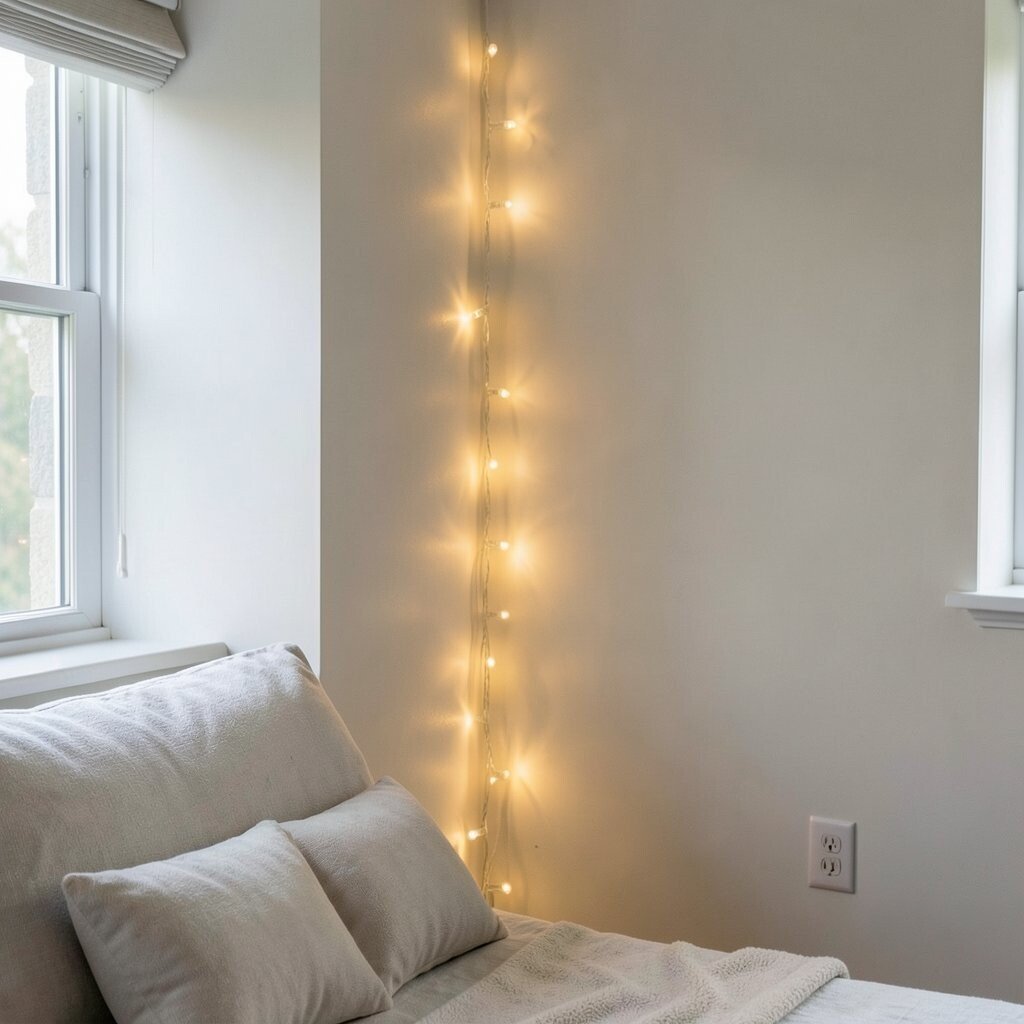
Soft string lights can make your dorm instantly feel warmer and more welcoming. Even a small strand along a corner can create a dreamy glow.
Wrap lights around a curtain rod, along a shelf edge, or in a gentle arc behind your bed. Use clear or warm white bulbs for the most flattering look on faces and photos. This idea is practical because it doubles as lighting while also acting like decor.
If you want a trendy twist, add a small cluster of twinkle lights around a photo collage for contrast. Keep wires tidy with small clips or tape strips so the setup stays safe and neat.
9. Big Statement Mirror to Make the Room Feel Bigger
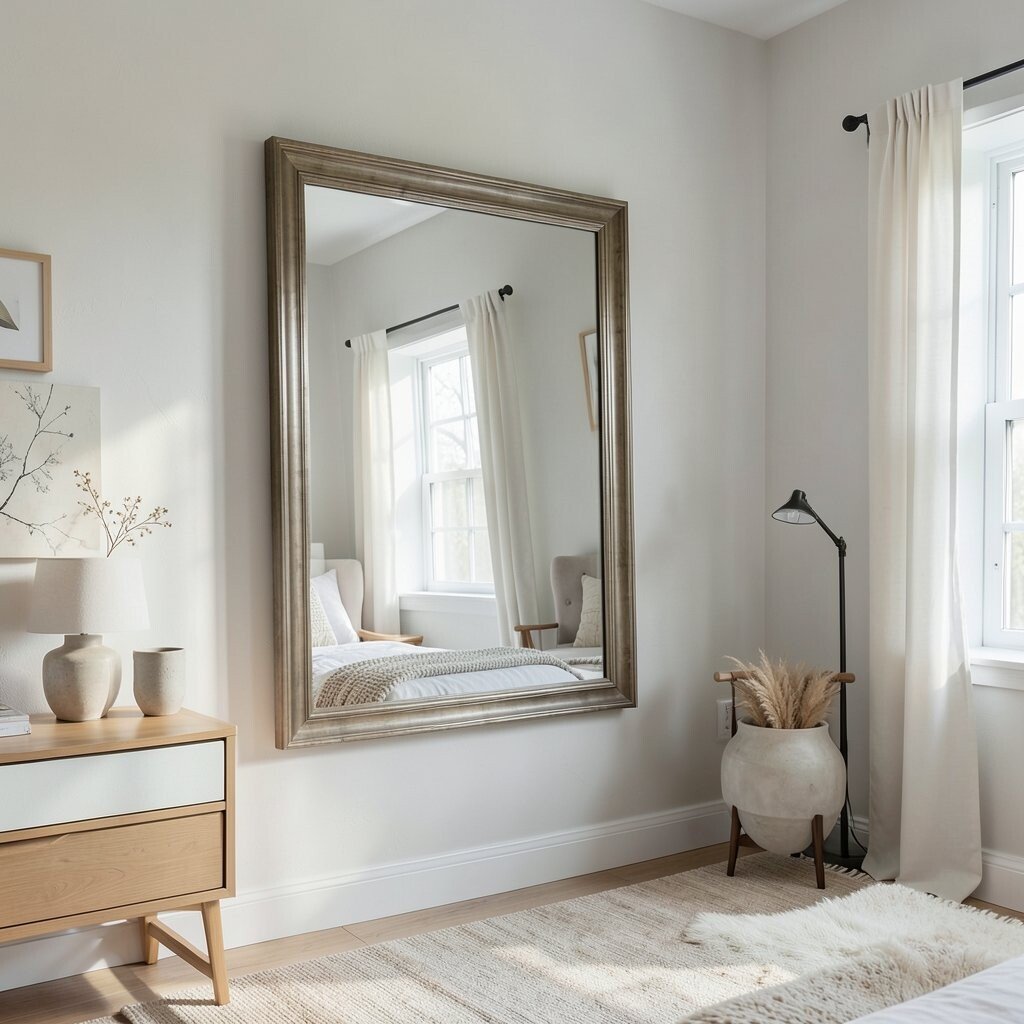
A mirror on the wall can brighten the whole space and make it feel larger. It also gives you a handy spot to check your outfit before heading out.
Choose a mirror with a simple frame that matches your existing decor colors. Place it across from a window or near a light source for better reflection. This is a unique dorm-friendly upgrade because it changes how the room looks without needing many accessories.
For a safer setup, use a lightweight mirror or removable wall mount kit. If you rent and need easy removal, avoid permanent adhesives. To manage cost, look for secondhand mirrors with good frames, since the glass quality often holds up well.
10. Fabric Bulletin Board Look Using Removable Cork or Foam
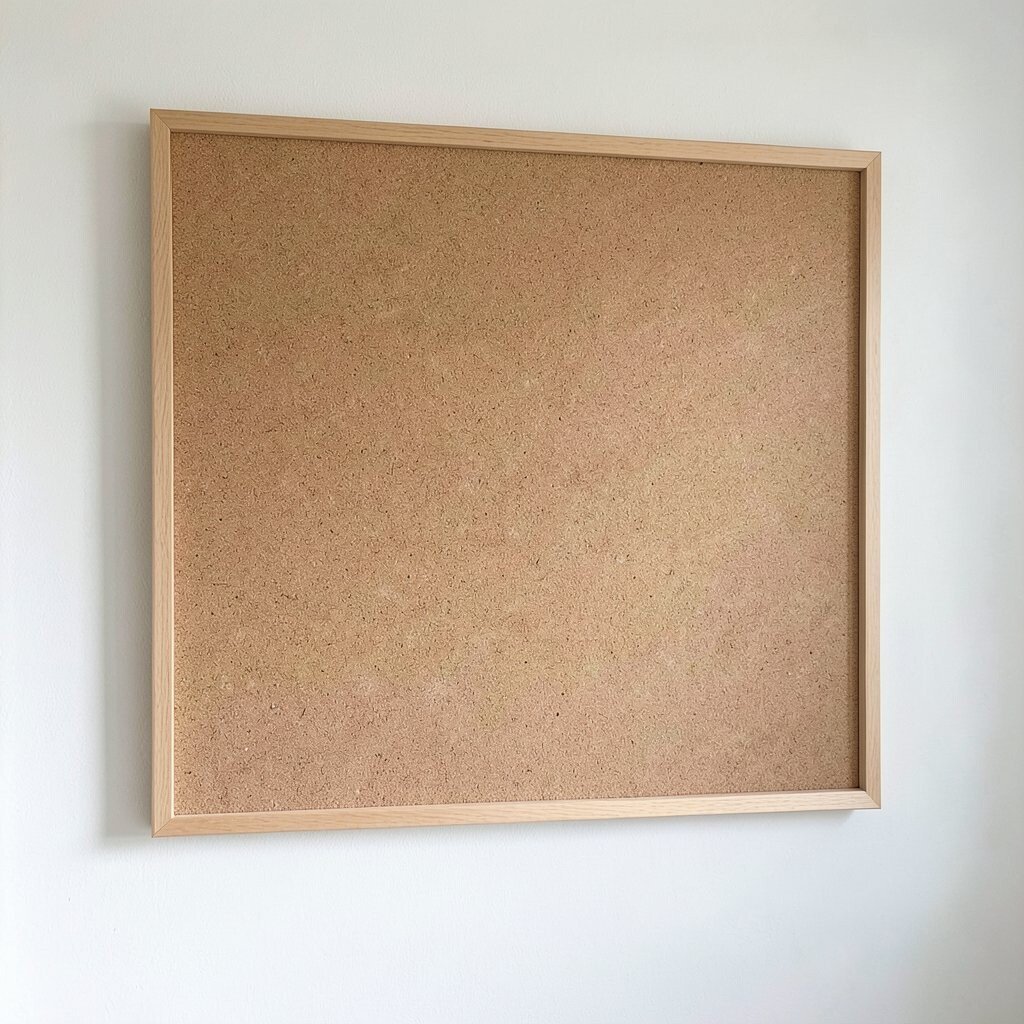
Turning a section of wall into a soft bulletin area helps you stay organized and stylish. It’s a practical way to display notes, tickets, and postcards without hunting for a desk space.
Use removable cork tiles, felt squares, or foam boards held with adhesive strips. Arrange them in a clean rectangle, then style the surface with photos and little cards. This setup feels personal and unique because it becomes a living collage that changes with your weeks.
For cost considerations, felt is usually cheaper than cork and still looks great. If you want a modern vibe, choose neutral colors like gray, cream, or dusty rose rather than bright neon. Keep pushpins minimal by using matching clips or twine loops for a calmer look.
11. Layered Hanging Art With a Hoop, Quilt, or Tapestry
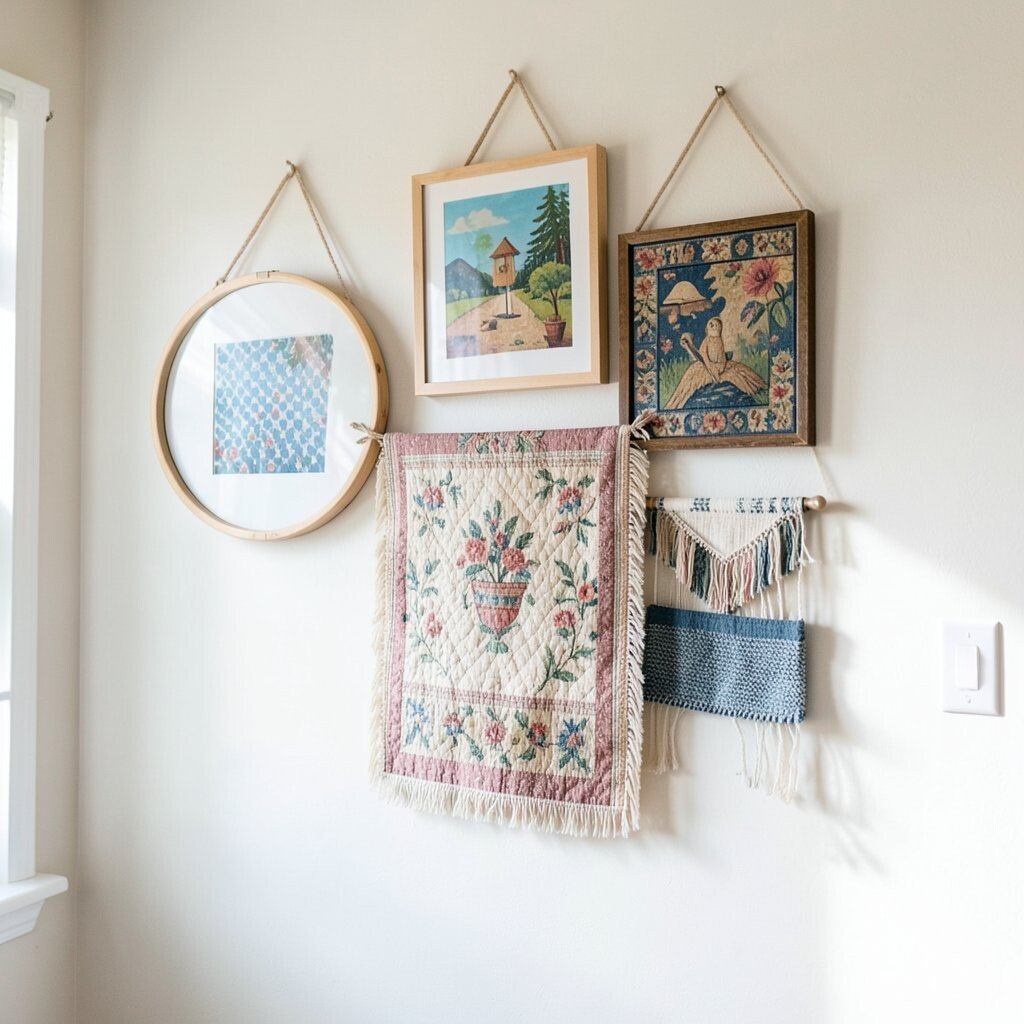
Hanging a hoop, small quilt, or tapestry adds instant texture and personality. The fabric layers create depth, making even a simple wall feel special.
Choose a design that works with your bedding palette so the room feels coordinated. Hang it centered above your bed or slightly off-center for a relaxed look. If you want a more unique style, look for prints that match your interests like travel maps, botanical patterns, or abstract art.
To make it practical, pick lightweight pieces that won’t sag and secure them with command-style hooks. Thrift stores and online marketplaces can be budget-friendly for larger fabric art. Swap the hanging pieces whenever you want a fresh look without repainting.
12. Paint Swatch Wall in Tiny Color Blocks
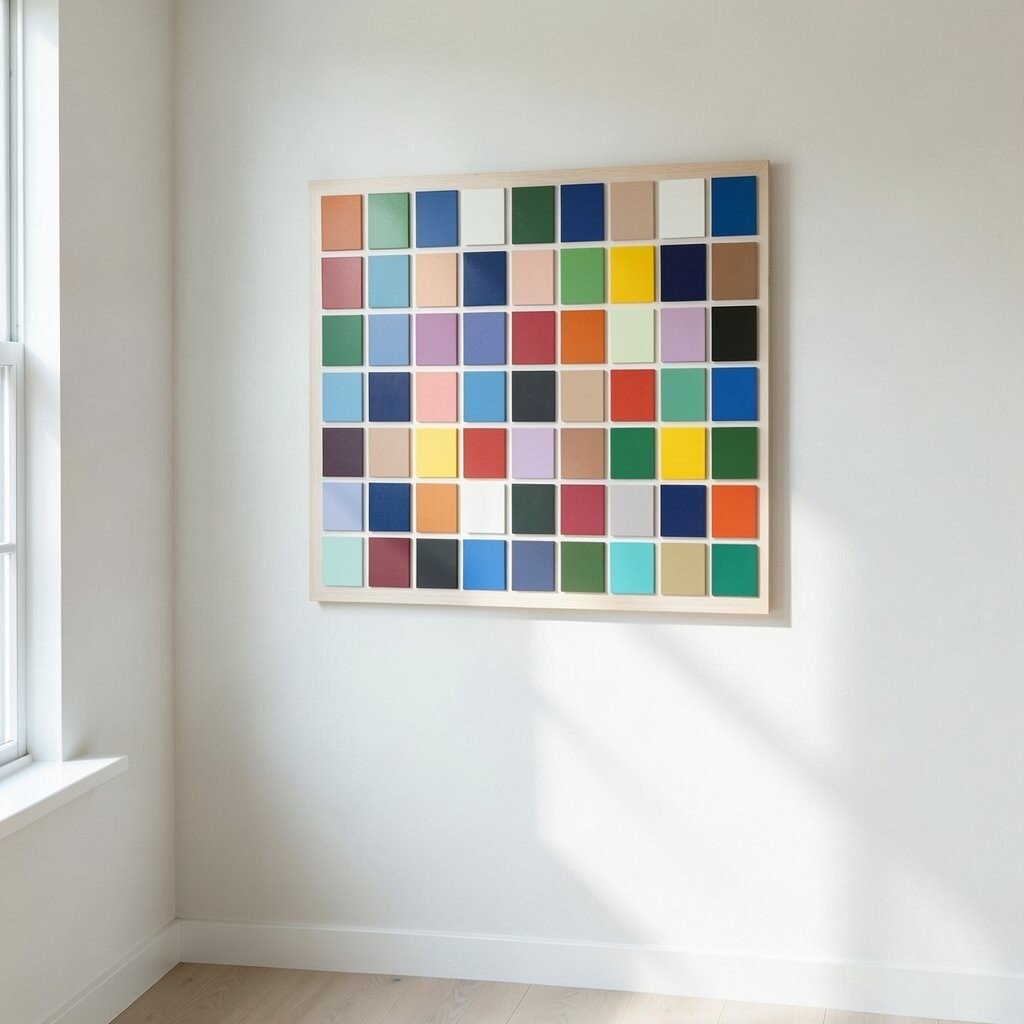
Paint swatches are a budget-friendly way to create a bold, modern wall feature. You can use them like tiny art squares that feel designed, not random.
Collect small samples from a store and arrange them in a pattern like a grid, a diagonal stripe, or scattered clusters. Use a simple method like two or three paint families so it stays cohesive. This is a fun personalization idea because you can build a color palette that matches your comfort items like pillows and blankets.
For practical tips, tape off edges neatly and let each swatch dry fully before peeling. If you are not sure about paint, use printed swatches on cardstock and frame them. Keep the cost low by using free or discounted sample sizes and focusing on a small area of the wall.
13. Vinyl Wall Decals for Seasonal or Interest Themes
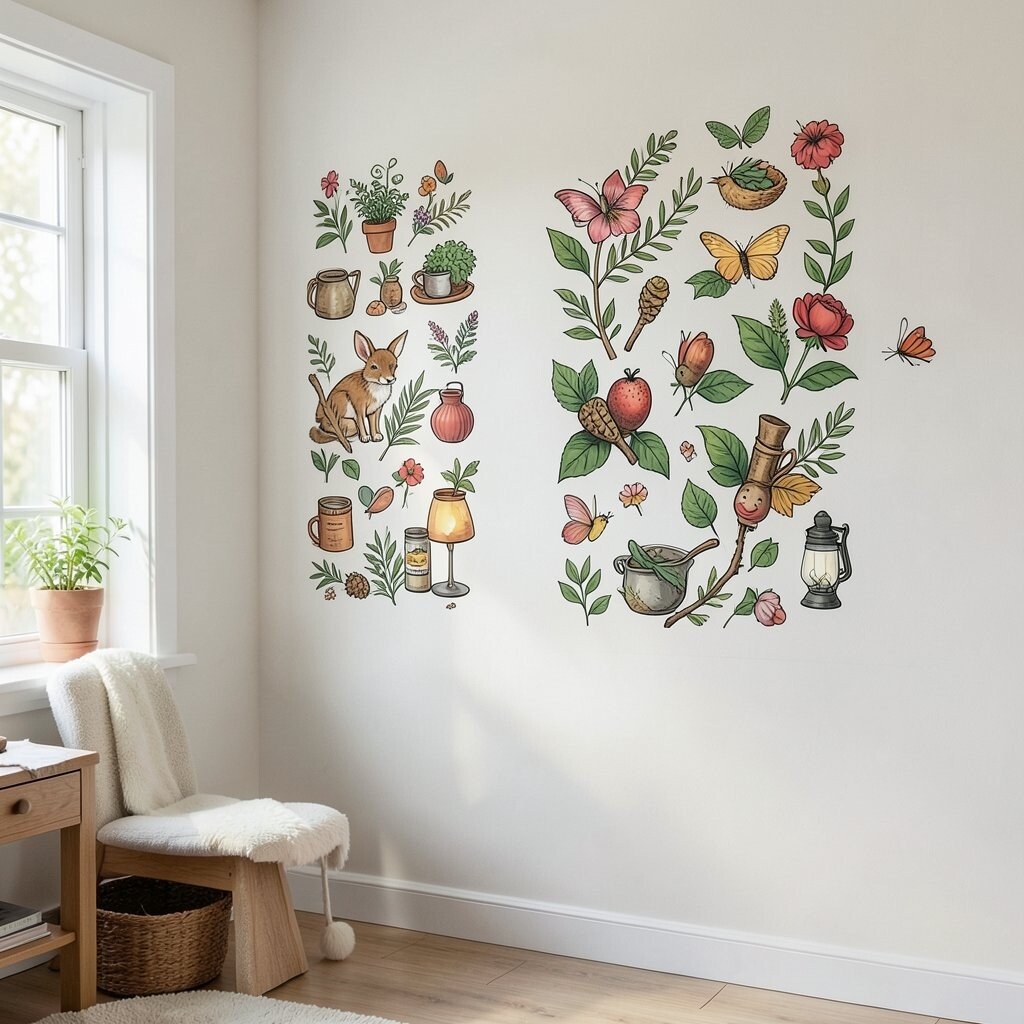
Vinyl wall decals add a graphic style without heavy effort. They look sharp, and you can change themes as your year changes.
Choose decals that match your interests like planets, stars, plants, or simple line drawings. Place them where they can be seen easily, like behind your chair or along the side of your desk. This makes the space feel unique because it grows with you over time.
To keep it dorm-safe, use removable vinyl and press carefully to avoid lifting paint. Start with one focal decal instead of many so the wall looks intentional. If you want current trends, try minimalist line stickers paired with a single larger shape in a darker color.
14. Photo Clips on a Wire for a Moving Memory Wall
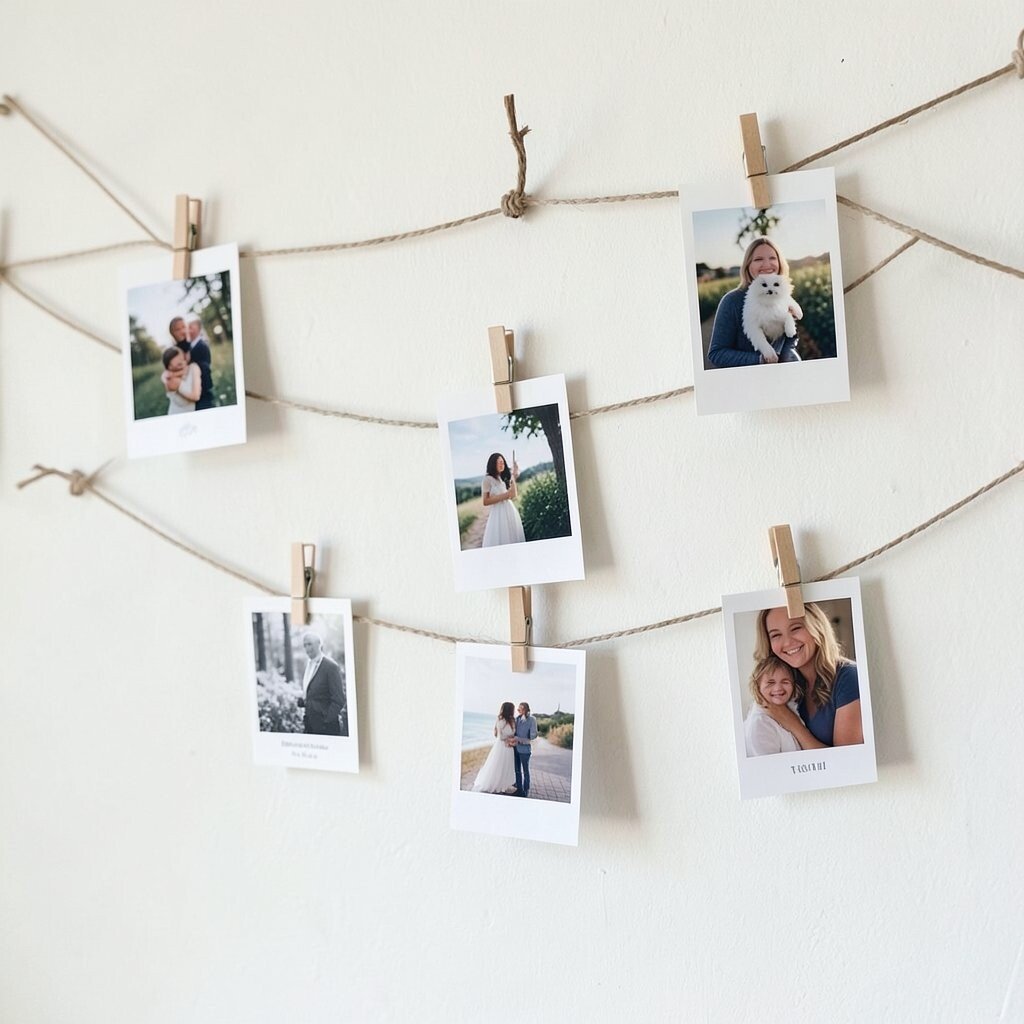
A wire with clips turns your photos into something you can update anytime. It looks airy and casual, which is perfect for a dorm.
Use a small picture ledge, command hooks, or a thin wire to hold the line. Clip in snapshots, polaroids, or prints, then swap them when you make new memories. This gives you personalization on a schedule instead of a one-time setup.
For practical tips, space the clips evenly and keep the color mix balanced. Use thin clips in black or silver for a clean look. If cost matters, reuse string lights or craft wire and buy only a few clips to start.
15. Create a Corner Reading Nook With Wall Art and a Cozy Backdrop
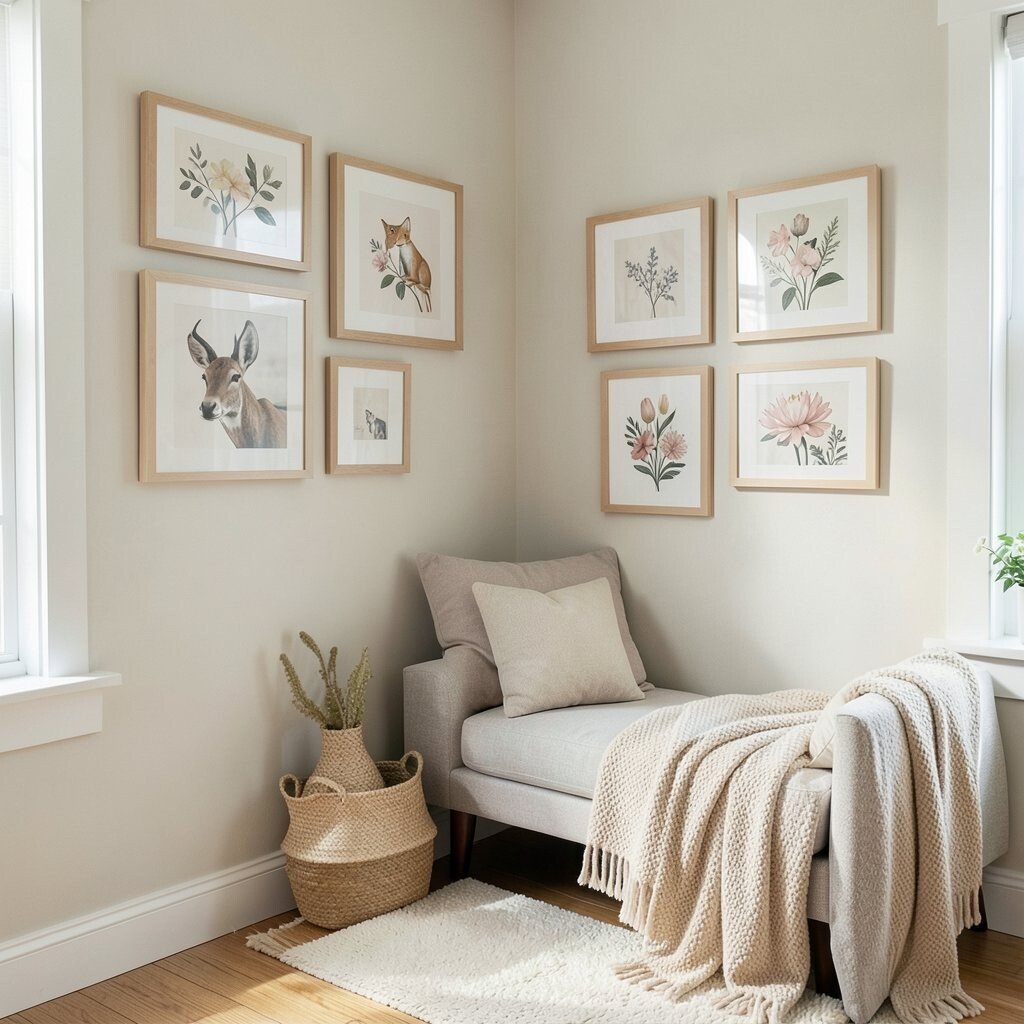
Turn one wall corner into a reading vibe by combining decor that supports comfort. Add a small art piece or fabric backdrop, then style it with a lamp and a soft throw.
Choose wall art that matches the feeling you want, like calming landscapes or gentle abstract shapes. Add a removable shelf for a book stack and a warm drink mug display. This approach is beneficial because it creates a “place” in your room that helps you relax.
For uniqueness, include a small sign with a theme you love, like a monthly reading goal or a quote from a favorite book. Keep cost in check by using one main art piece and one functional shelf rather than lots of separate items. Make it trendy by adding warm-toned lighting and natural textures like jute or linen.
16. Magnetic Poster Wall for Art, Class Notes, and Flair
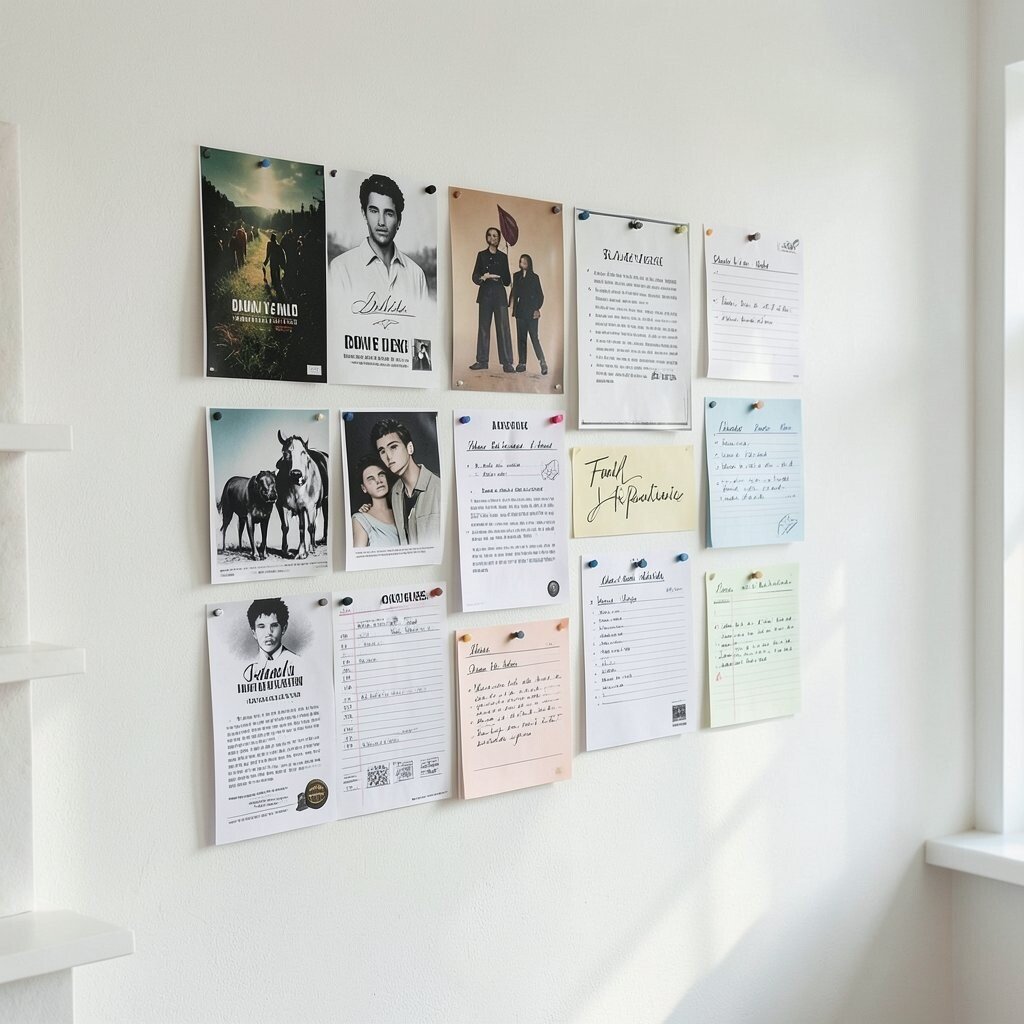
A magnetic poster wall helps you mix decoration with organization in one spot. You can pin artwork and show off class materials without digging through folders.
Use a magnetic sheet, magnetic paint, or a metal-backed panel secured with an easy mounting method. Place posters, schedules, and photos using small clips or magnets shaped like stars or hearts. This feels practical and personal because your wall updates as you live your semester.
For practical tips, keep items aligned by using consistent clip placement and leaving a clean border around the edges. Choose magnets in a limited color palette so the wall doesn’t look cluttered. If you want to save money, buy a single metal panel at a discount and reuse clips you already have.
17. DIY Mural Look With Removable Tape and a Simple Pattern
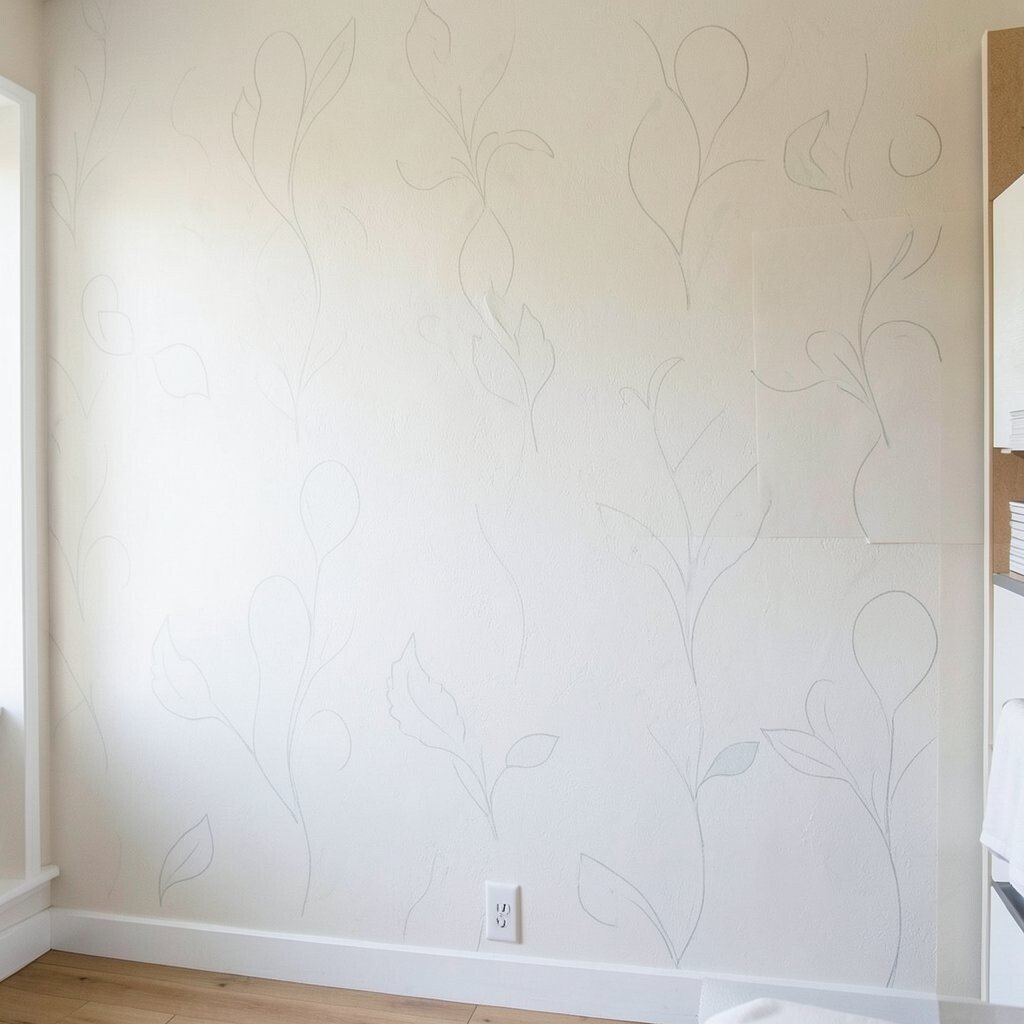
You can create a mural-style wall without painting the whole wall using removable tape and a few colors. The result looks custom and bold, but it stays manageable for dorm life.
Choose a simple pattern like a wave, a sunburst, or stacked rectangles, then outline it with tape. Fill the spaces with paint marker, sponge paint, or temporary color sprays made for easy cleanup. This is a unique way to make the wall feel like a design project while still using practical, renter-friendly materials.
For cost considerations, stick to two or three paint tones and use craft supplies you already own. Test a tiny section first, then let everything dry fully before removing tape. Finish by adding one framed print that matches your mural colors, tying the whole wall together beautifully.