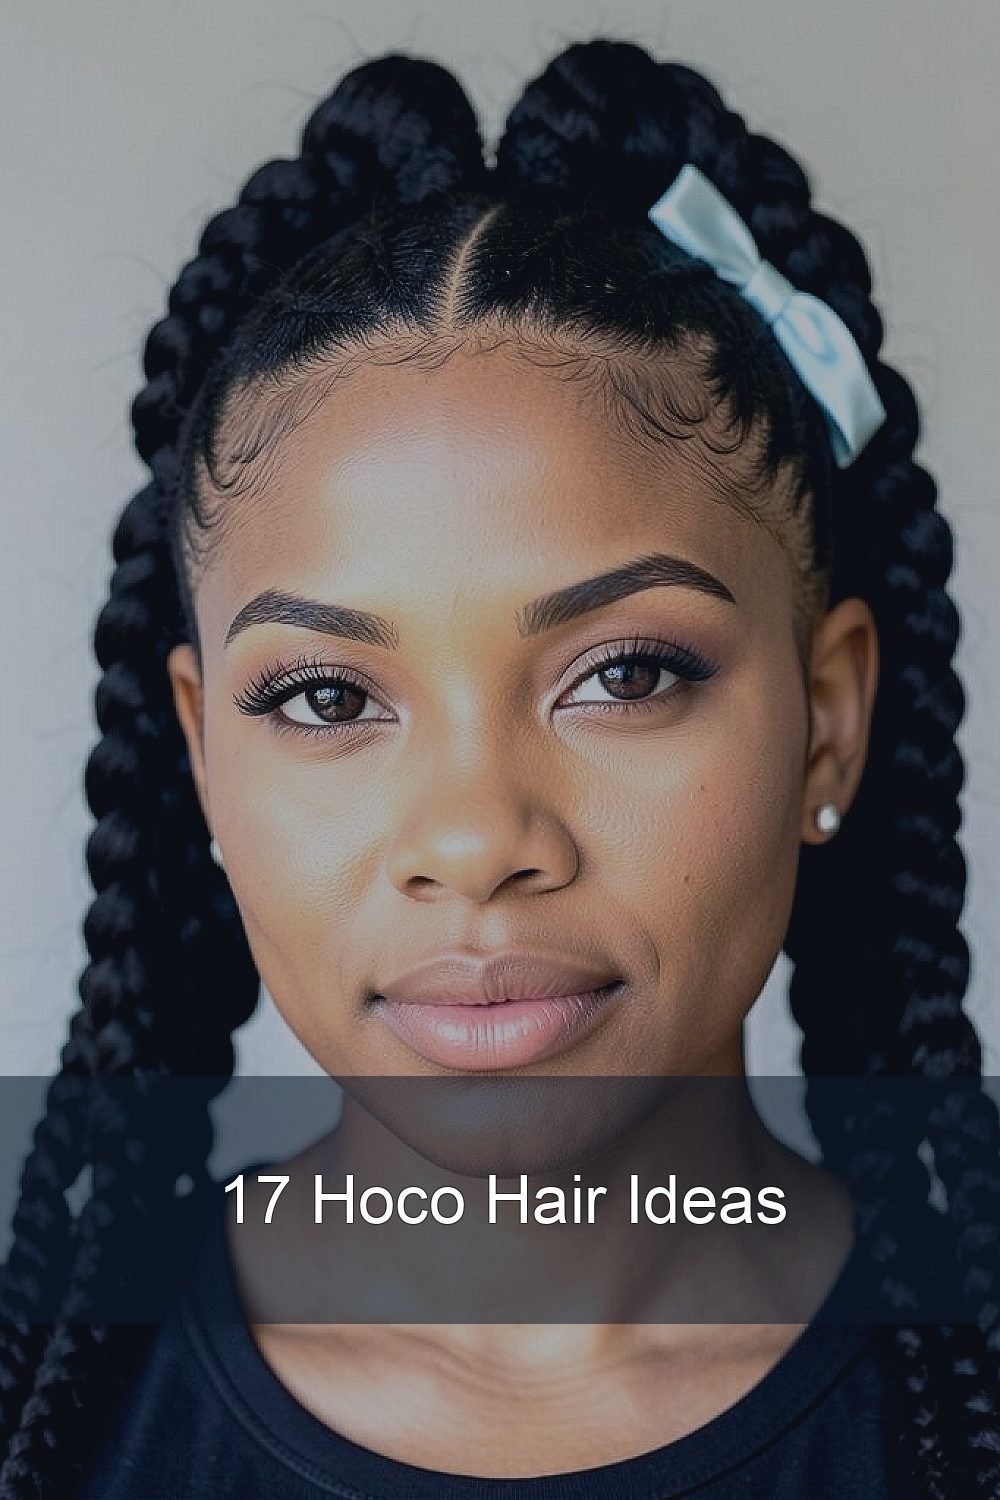
Homecoming is your moment to shine. Budget doesn’t have to mean basic.
You can craft head-turning hair with smart choices, quick techniques, and a few trendy touches. The best part is that many looks start with what you already own.
1. Sleek Low Bun With Soft Face-Framing Pieces
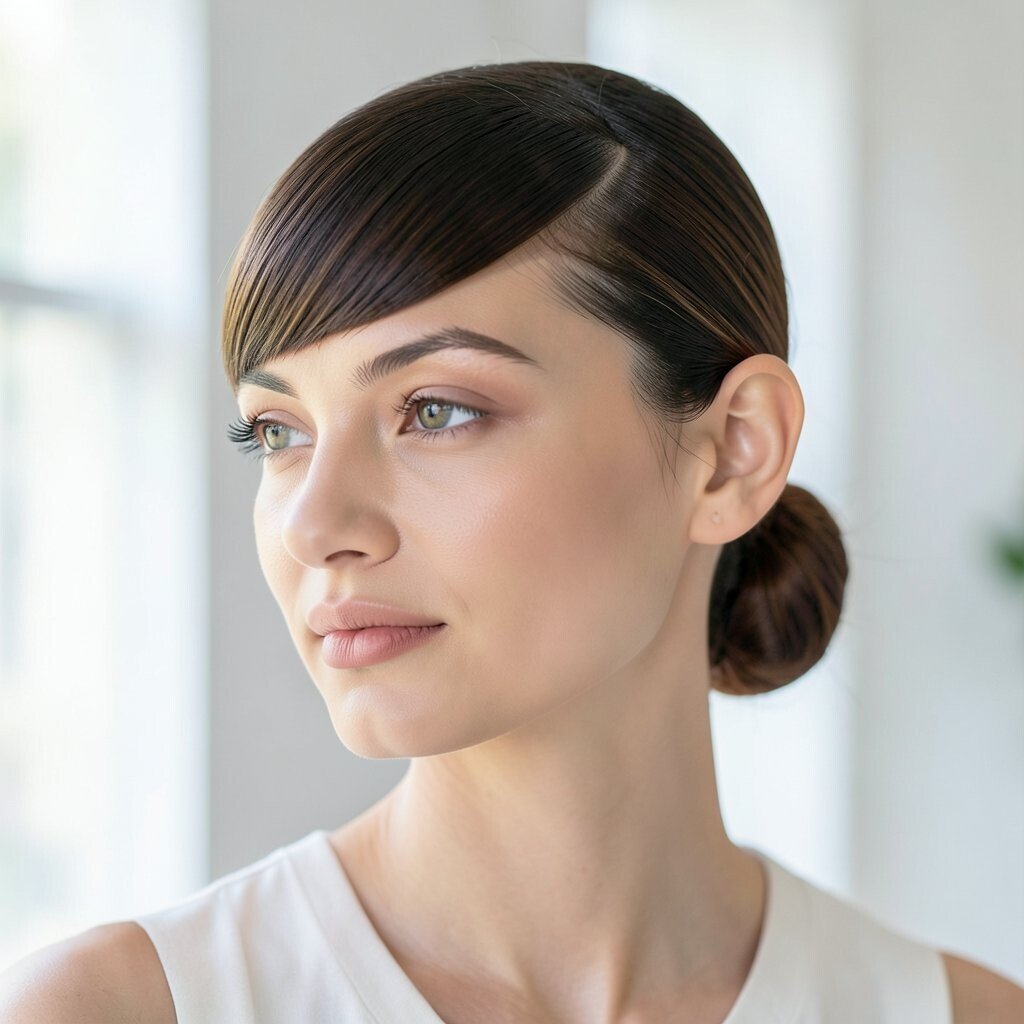
A sleek low bun looks polished even when you do it quickly. Gather your hair at the nape, smooth the surface, and twist it into a bun using bobby pins.
For a budget-friendly finish, wrap a small piece of hair around the bun to cover the pins. Add two soft front pieces so your face looks extra bright in photos. This style stays tidy through dancing and feels classy without costing more.
2. Half-Up Twists With a Ribbon Accent
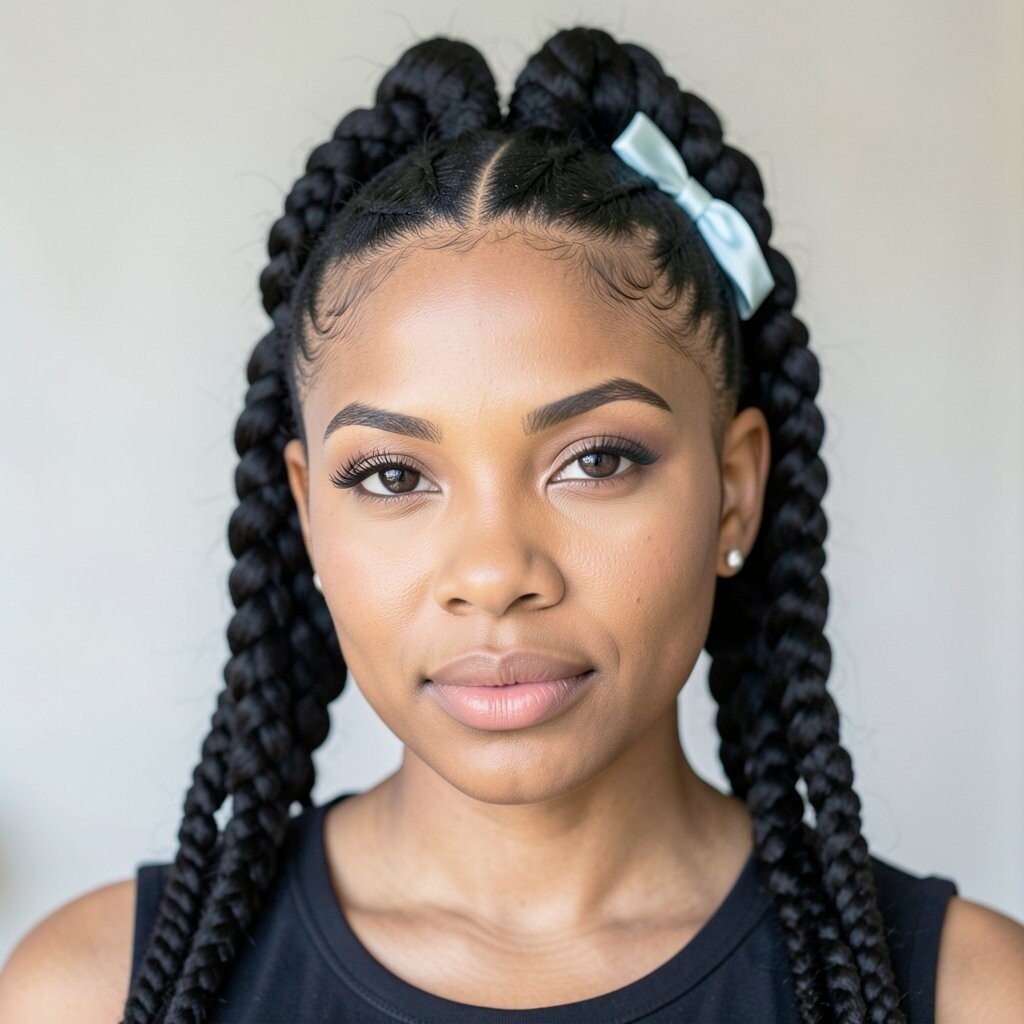
Half-up twists give you that pretty, lifted shape without needing heat. Split the top section, twist each side back, and secure with small clips.
Thread a thin ribbon through the clips or tie it around the gathered hair for a sweet pop of color. You can match it to your dress shade for a personal touch.
This look also helps second-day hair look intentional. It’s quick, comfy, and perfect for anyone who wants a soft vibe that still looks planned.
3. Bubble Ponytail Using Hair Bands
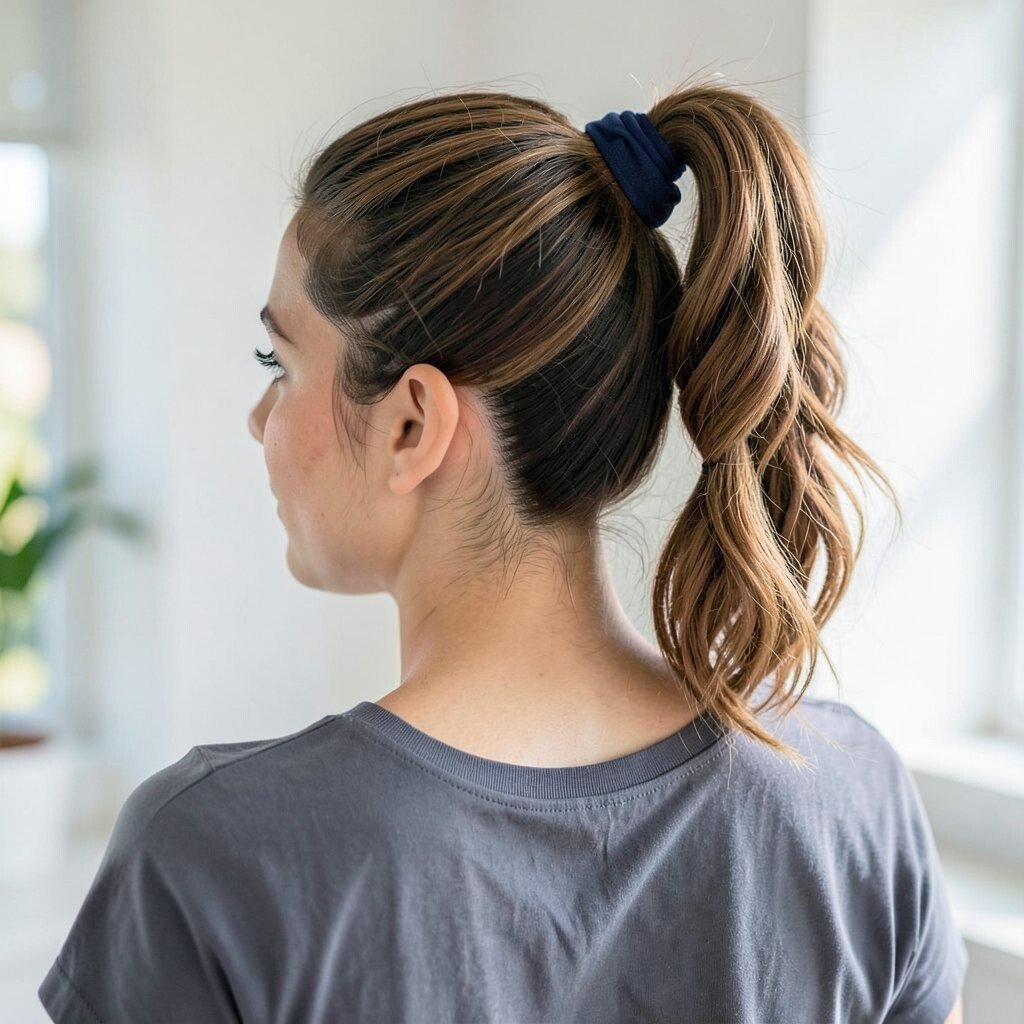
A bubble ponytail is playful and photo-ready, with big volume that looks like you spent more time than you did. Pull your hair into a mid or high ponytail and section it with small elastic bands.
Gently puff each bubble by sliding your fingers through the space between bands. Keep the bubbles even for a clean, modern look.
Choose clear elastics if you want a subtle finish, or use colored bands if you love a fun, trend-forward style. It’s a great option when you want movement and texture that lasts all night.
4. Messy Wrap-Around Bun With a Claw Clip
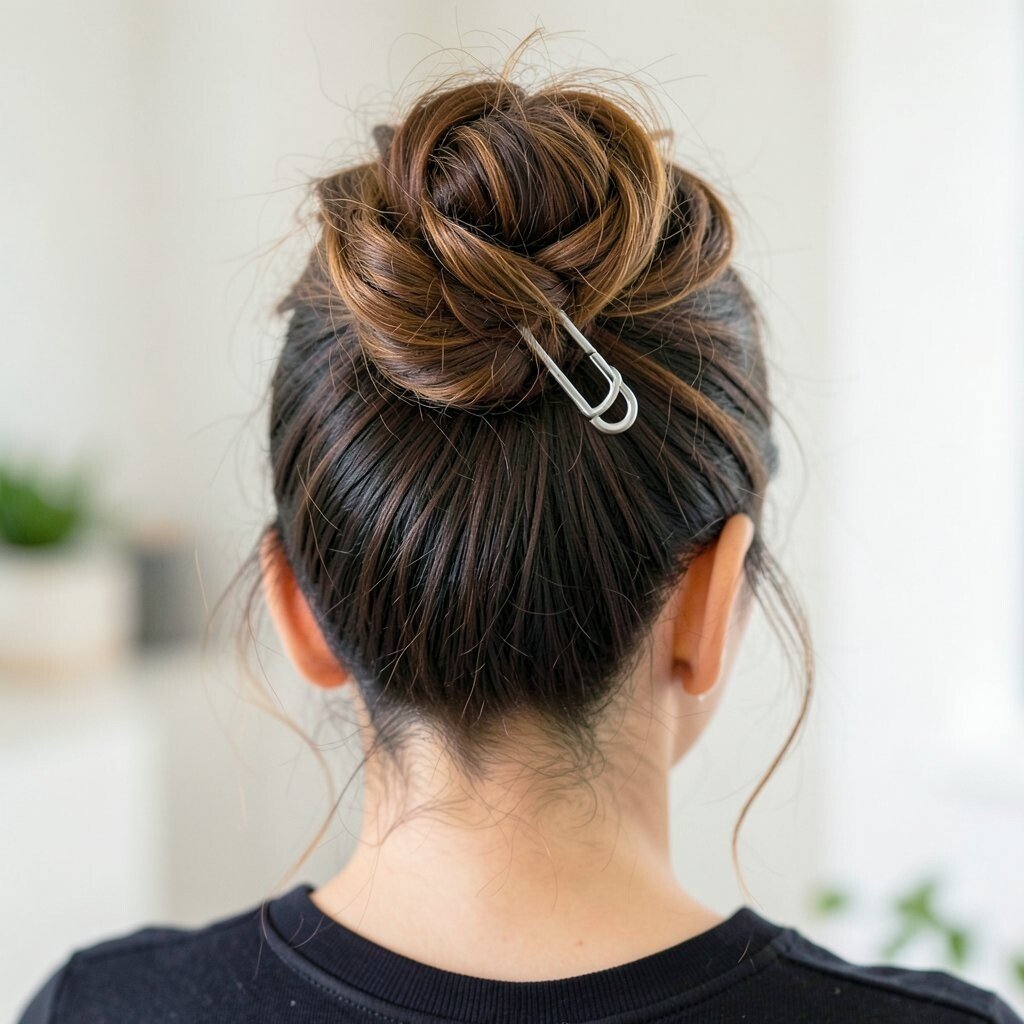
If you want effortless glamour, go for a messy bun that looks styled but not stiff. Start by setting your hair lightly with mousse or dry shampoo, then gather it loosely at the back.
Twist the lengths around and tuck the ends as you hold the bun shape, then secure with a claw clip for fast control. Let a few strands fall so it looks natural and airy.
5. Braided Crown Headband Effect
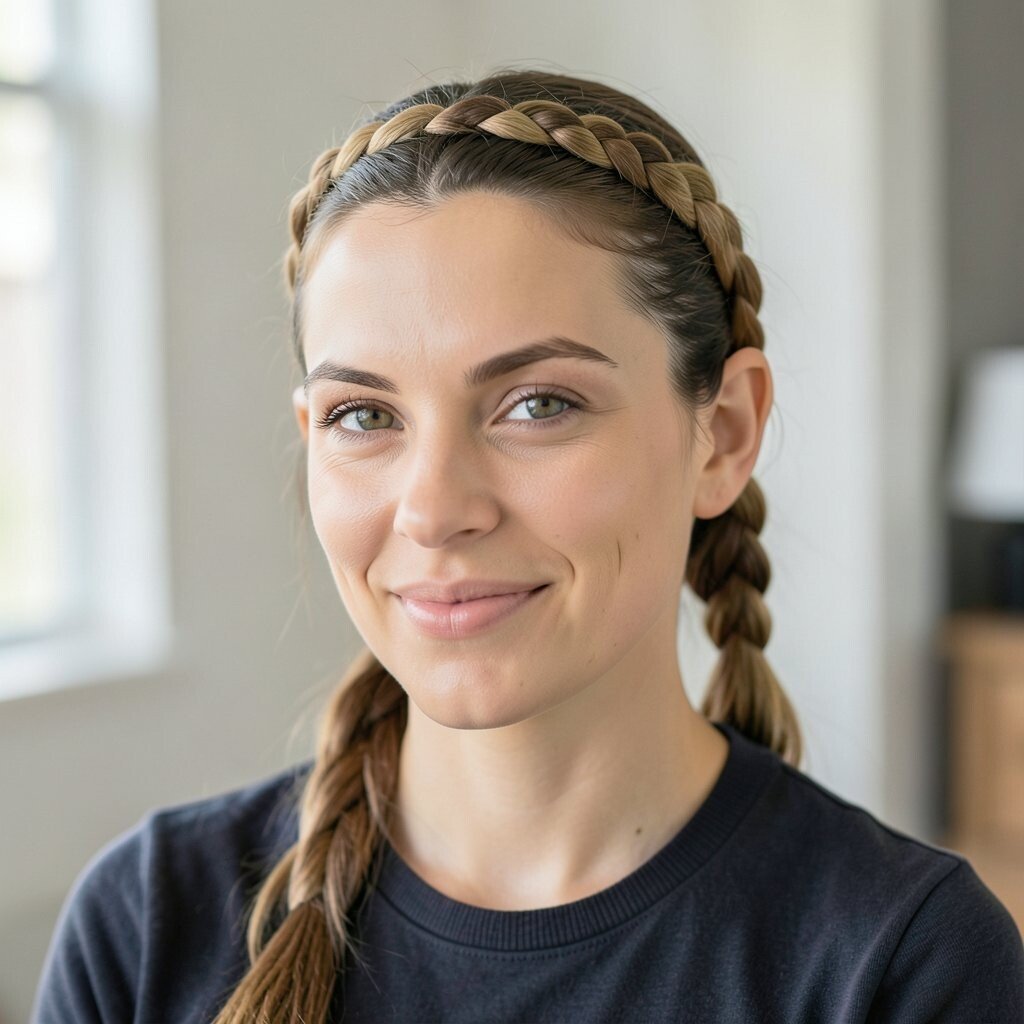
This braided crown look makes your hair look intricate even when you keep it simple. Make two small braids from the front sections, then bring them across the top of your head.
Pin the ends at the opposite side so the braids sit like a headband. Add a tiny bit of hairspray so the crown stays put during all the hugs and head turns.
It’s especially flattering if you wear earrings, because it frames your face and highlights your jewelry. You can personalize the look by choosing braid size to match your hair thickness.
6. Knotted Low Ponytail With Extra Shine
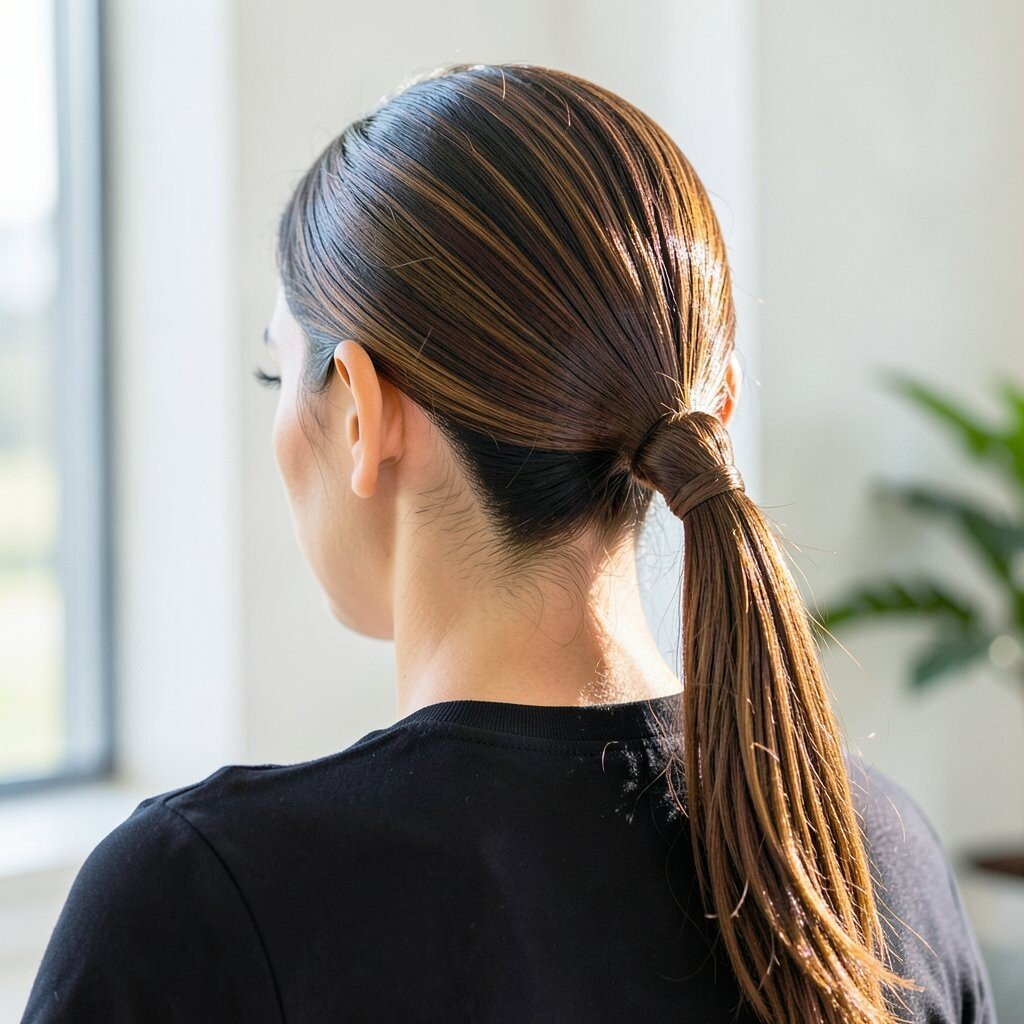
A low ponytail can look brand new when you add a knot and a sleek finish. Brush your hair back, tie it low, and split the ponytail into two sections.
Wrap each section around the base and cross them, then pin to form a secure knot shape. For shine without spending much, use a lightweight serum or a tiny amount of hair oil on the outer layer.
This style gives a smooth, grown-up vibe that pairs well with satin dresses and formal tops. It also keeps your hair off your neck so you stay comfortable through the night.
7. Classic Three-Strand Braid With a Front Tuck
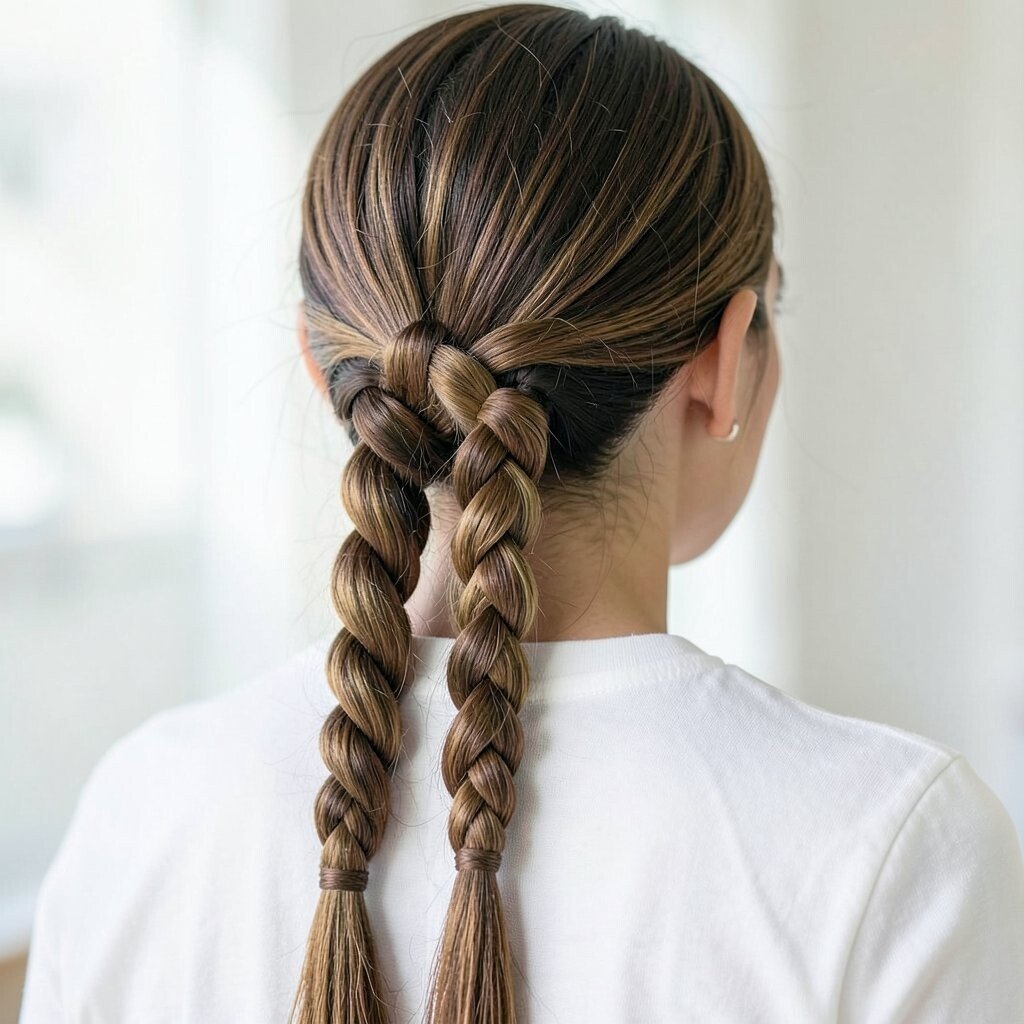
A classic braid never goes out of style, and it’s perfect for budget hair days. Create a standard three-strand braid down the back and secure with an elastic.
Take a small section at the top front, braid it too, and tuck it into the main braid for a neat, tailored detail. This little twist makes the whole style feel more unique in pictures.
Let the braid sit a bit loose so it looks soft, not tight. If you want a trendy finish, lightly pull at the braid segments to add airy volume.
8. High Ponytail With a Wrapped Base
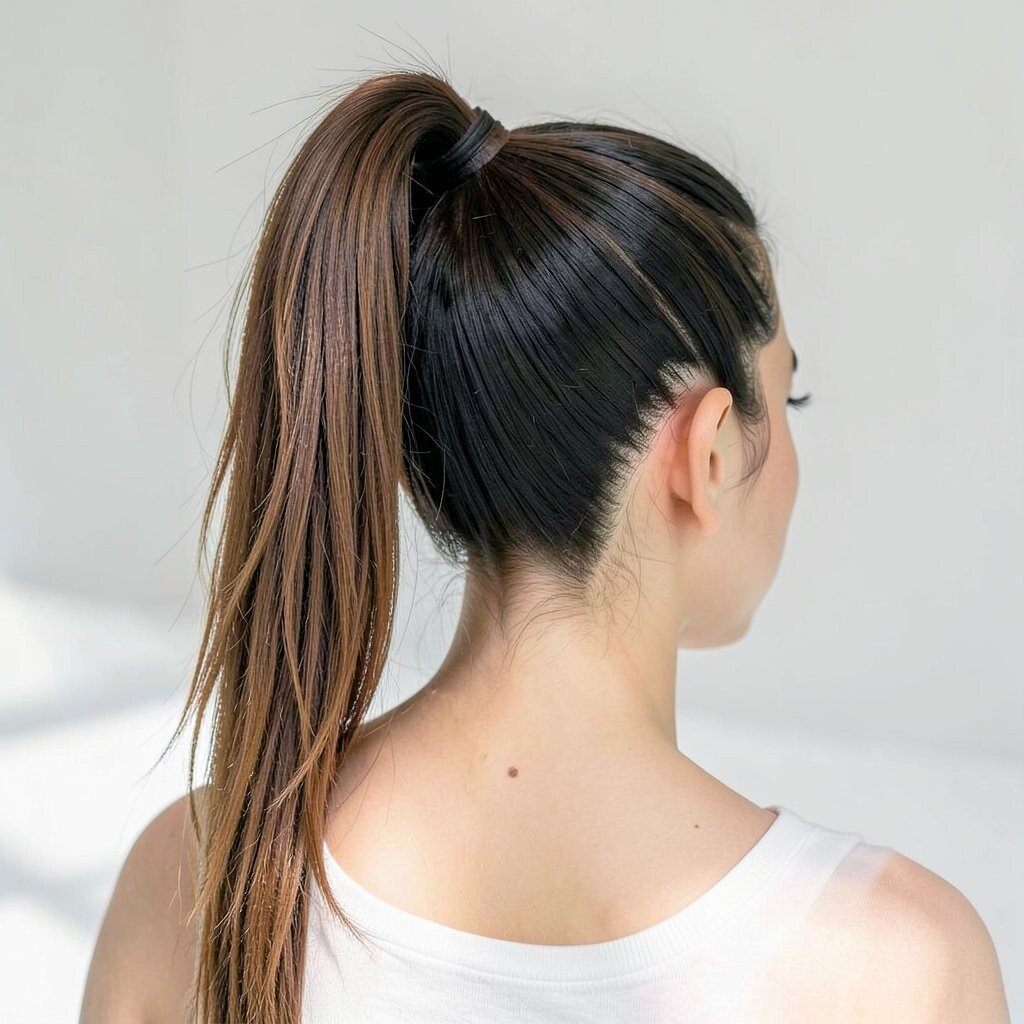
A high ponytail is a homecoming staple because it shows off your face and keeps hair out of the way. Tie it high, then wrap a thin strand around the elastic to hide it.
Pin the end under the ponytail so it stays in place. For a current look, smooth the top with gel or mousse and leave the rest touchably natural.
This style is easy to adjust based on your hair type. Add a slight wave to the ponytail if you want extra drama without buying new products.
9. Waterfall Braid Ponytail Combo
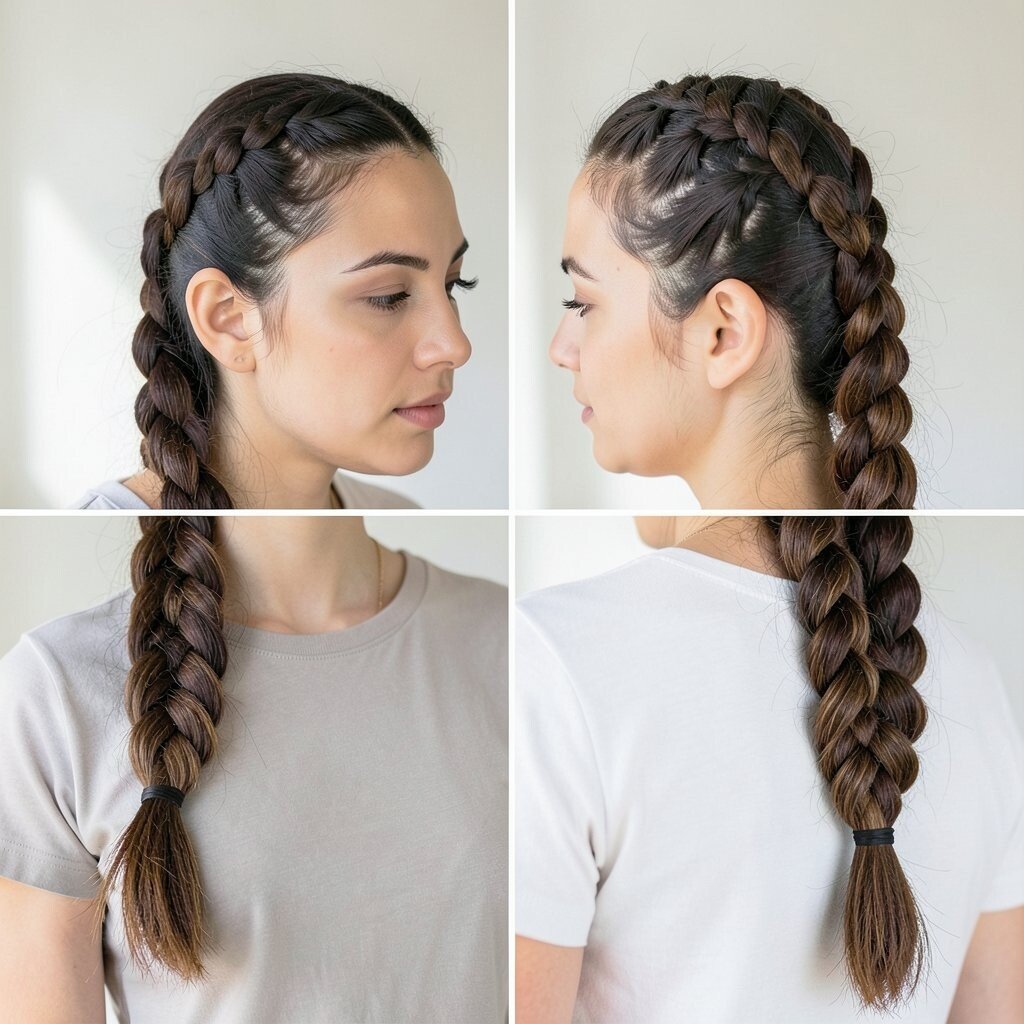
Waterfall braids look fancy, but you can learn the pattern with a little patience and repetition. Start braiding near the front and let a small section drop for the flowing effect.
When you reach the back, gather the remaining hair into a ponytail so the look turns into a braid-to-ponytail hybrid. Use a clear elastic so it stays neat.
This combo is unique because it blends softness with structure, giving you a graceful, dance-friendly style. Keep it budget-friendly by using only elastics and pins you already have.
10. Space Buns Done Soft and Pretty
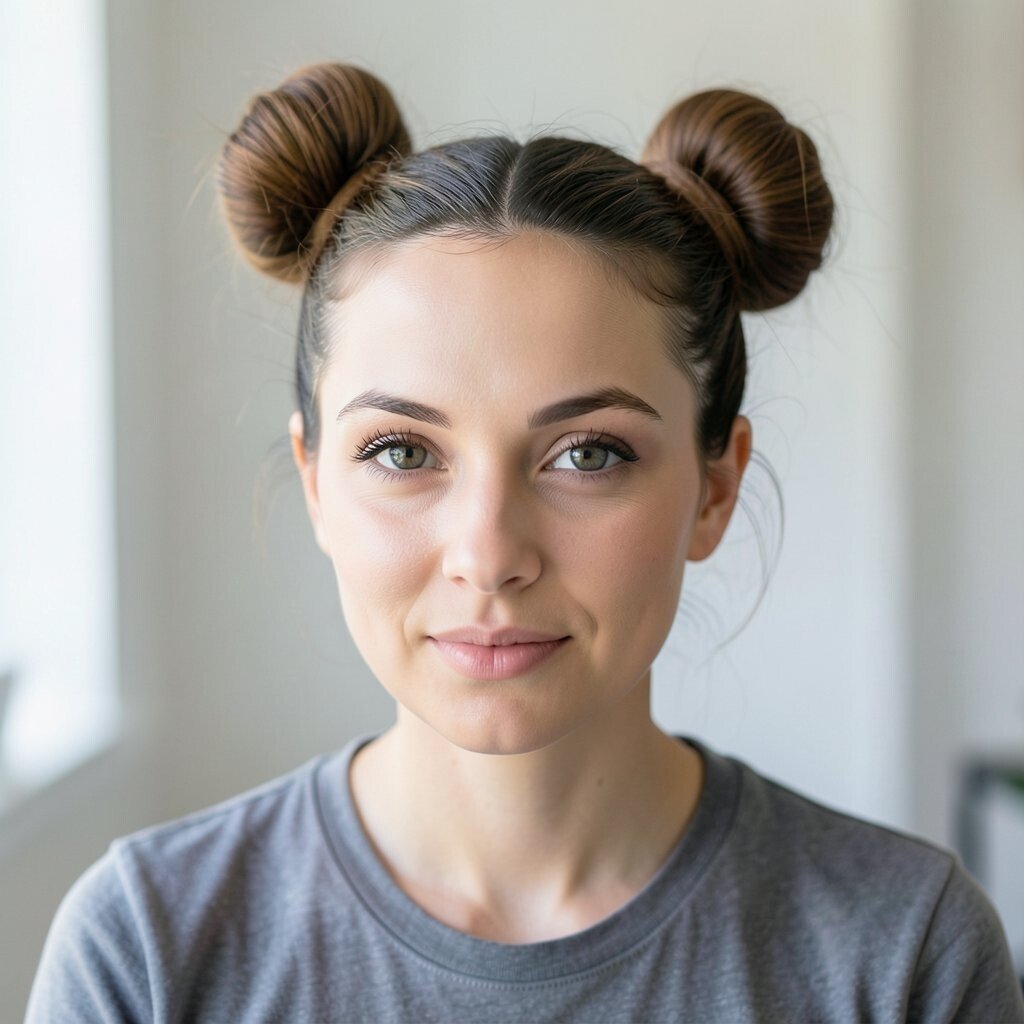
Space buns can look trendy and cute when you keep them gentle instead of too sharp. Part your hair down the middle, then make two high mini buns.
Use a sock bun maker if you already have one, or simply twist sections and pin them into place. Leave a few strands loose around your face so it feels romantic.
To personalize, add tiny hair clips or a small charm on one side. This style is great for teens who want a playful look that still photographs well from every angle.
11. Faux Bob Using a Bun and Pins
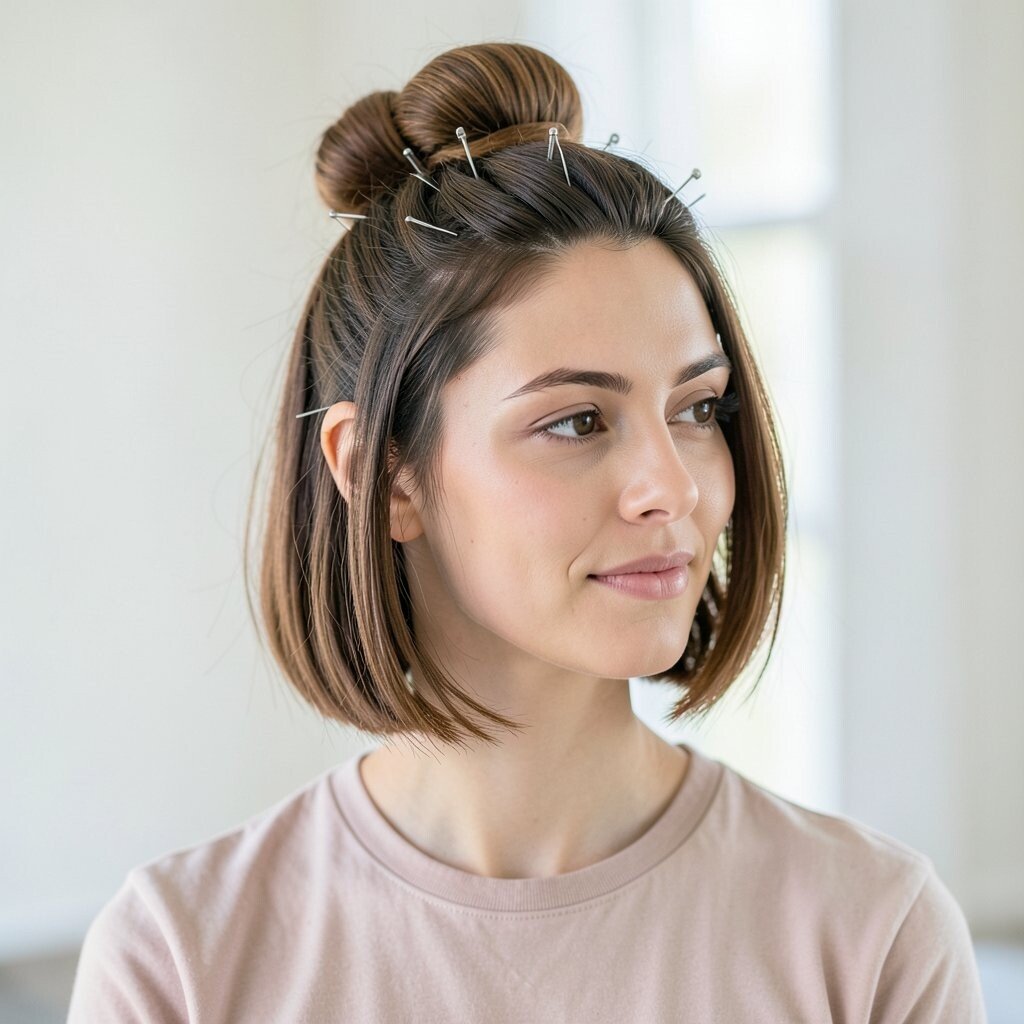
If you want a dramatic change without cutting your hair, try a faux bob look. Gather your hair at the back and twist it into a low bun, but position it slightly under and forward.
Pin the bun to create a rounded shape that mimics a short haircut. Pull two front sections around your face so they frame your cheeks like a bob would.
This is a uniqueness win because it gives bold style while saving time and money. Use hair spray lightly so pins hold, and don’t overload with product so hair still feels soft.
12. Glam Curls With a Scrunch and Clip Finish
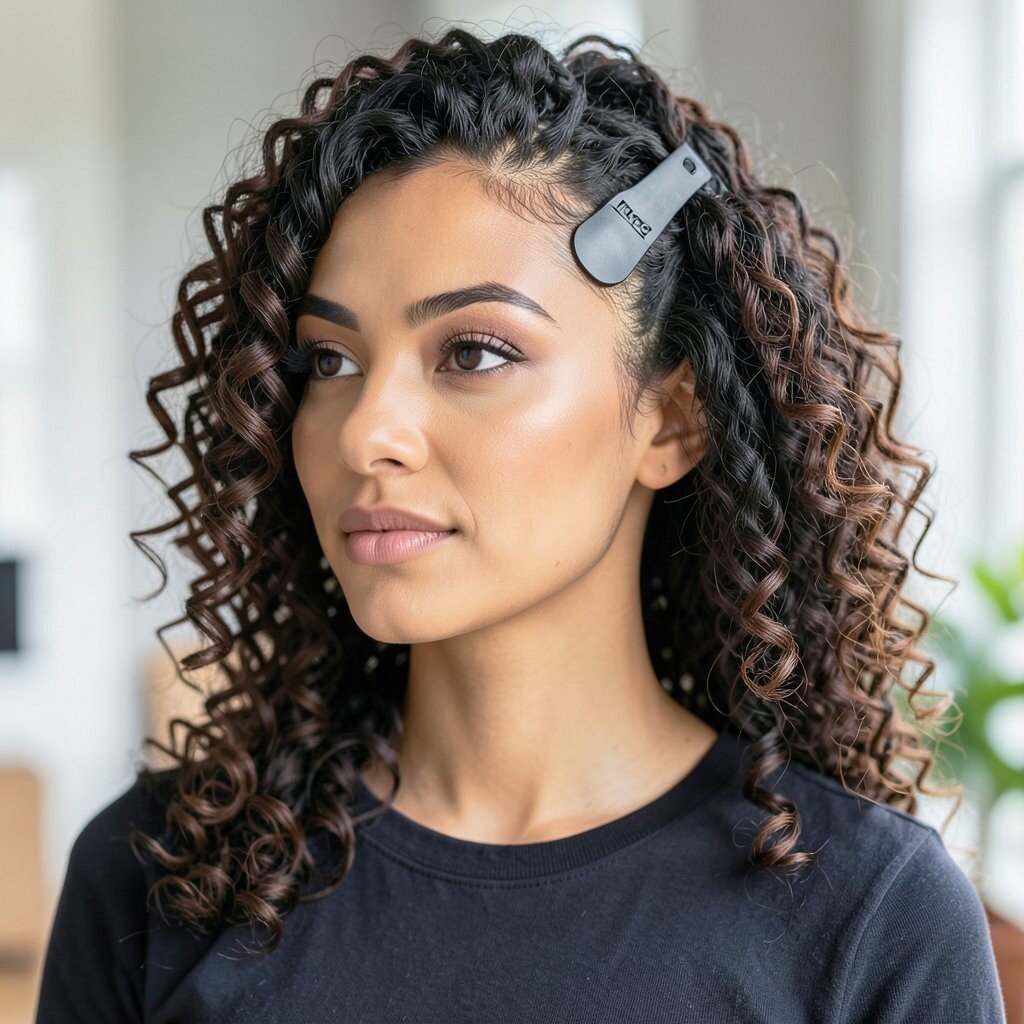
Classic curls look stunning at homecoming, and you don’t have to spend much to get them. If you don’t have a curling iron, try heatless methods like foam rollers or braid waves.
Once your curls are set, scrunch them gently for a touchable texture. Clip one side with a decorative hair clip to add a current, styled detail.
This approach keeps your look lively and bouncy instead of stiff. It’s also an easy way to match your vibe, from soft and sweet to bold and glamorous.
13. Side-Parted Sleek Waves With Minimal Tools
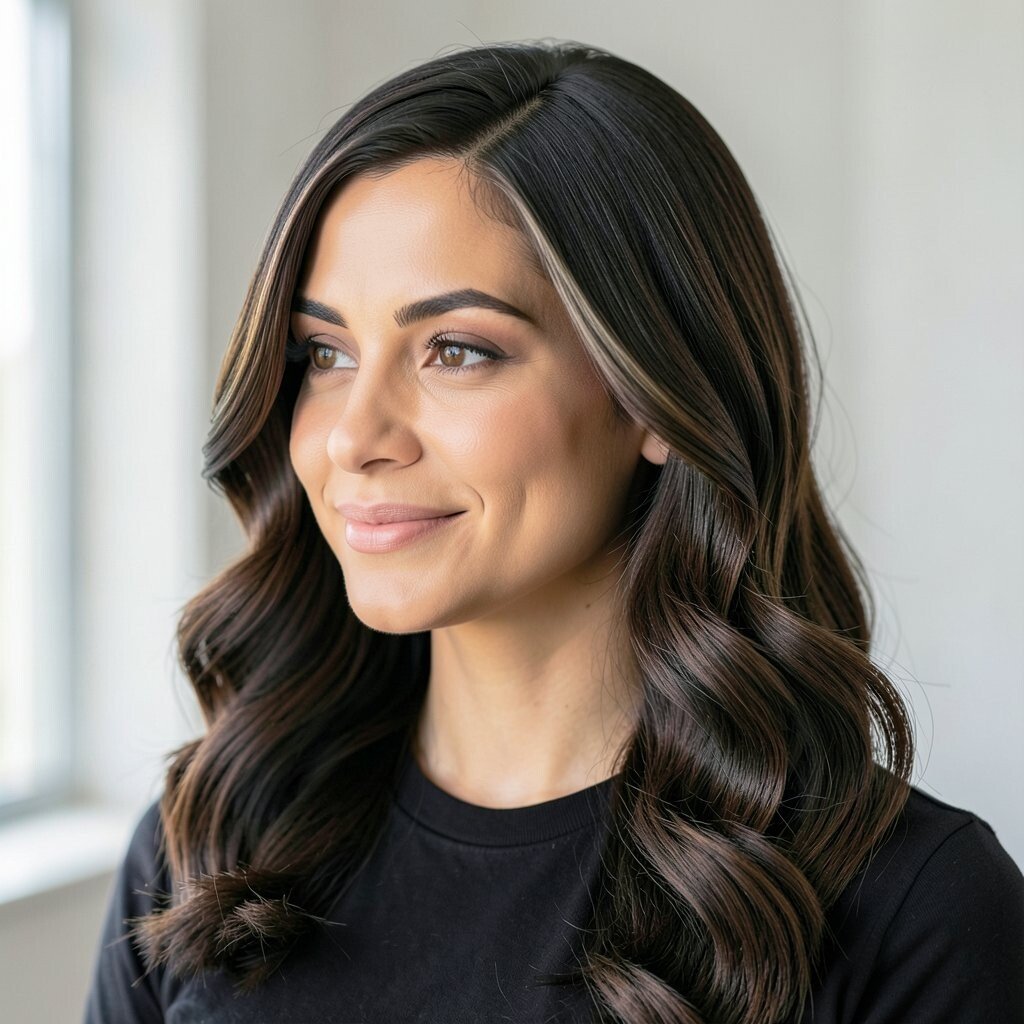
A side-parted look instantly adds elegance and helps your hair fall in a flattering way. Create a deep side part and smooth the roots using a little styling cream.
Add loose waves with a simple wand if you have one, or use braid-and-sleep waves. Tuck one section behind your ear to show off earrings and keep the look neat.
For cost considerations, focus your budget on one good styling product rather than many extras. A light setting spray can make waves last longer so you don’t have to redo anything before pictures.
14. Twisted Half-Up Knot With a Hair Pin Sparkle
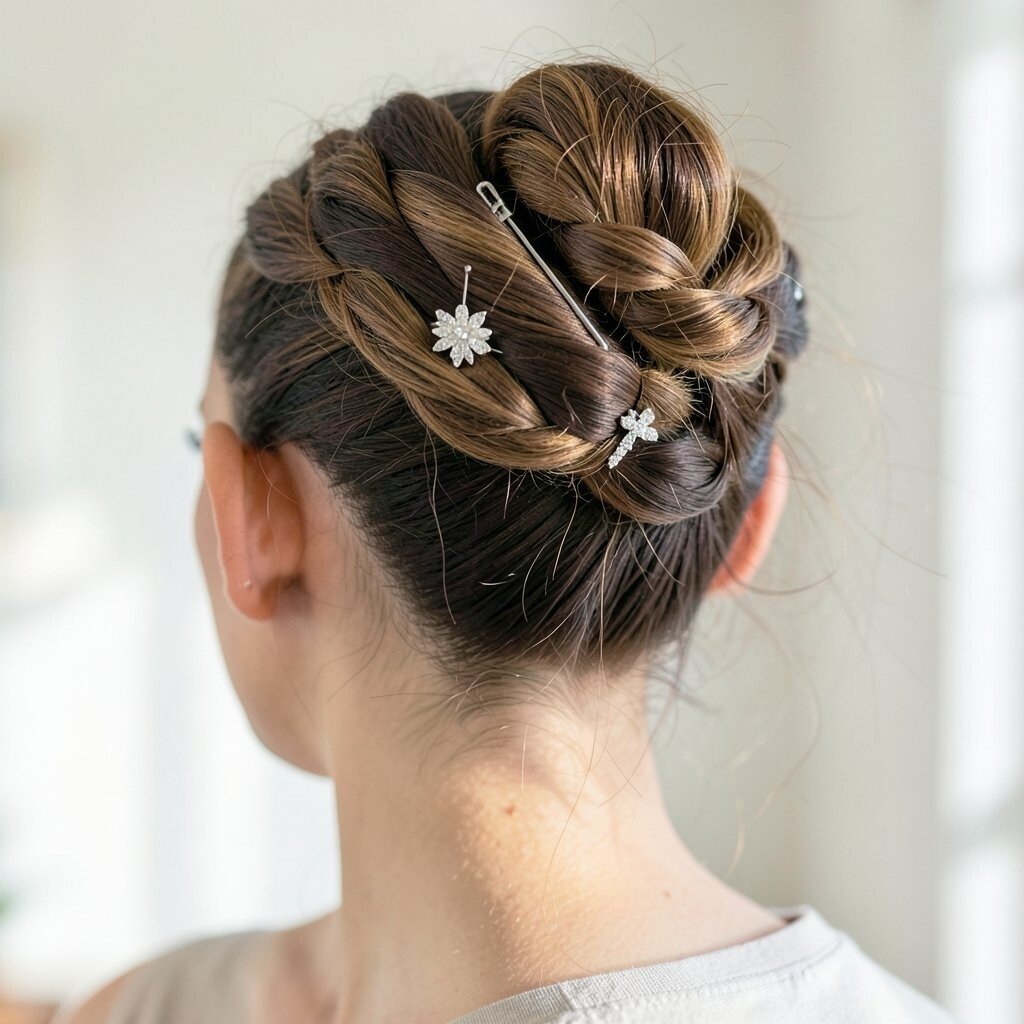
This twisted half-up knot is sweet, secure, and great for all hair lengths. Take two side sections, twist them toward the middle, and connect them with a small elastic.
Wrap the ends around to form a mini knot, then secure with bobby pins. Use a sparkly hair pin to elevate it into a homecoming-ready look.
Because it’s partially up, it highlights your neckline while still letting your hair move. It also works beautifully with bangs and curtain styles, adding a balanced shape.
15. Vintage Finger-Wave Look With Styling Gel
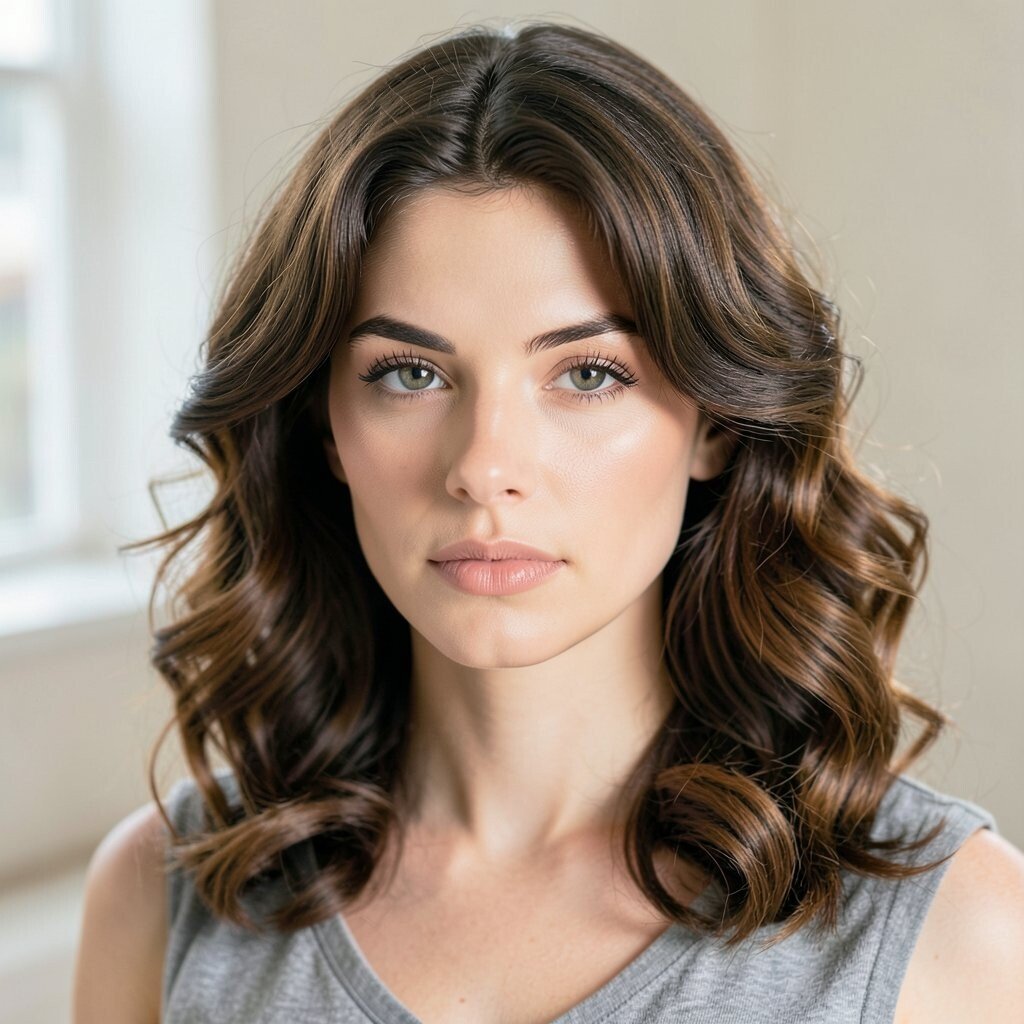
Finger waves bring serious vintage glamour, and they can be budget-friendly with the right styling gel. Start with damp hair and use gel to help shape clean bends along your side and front.
Use your fingers or a comb to create smooth S-pattern waves, then let them set until the hair feels firm. If you’re using a quick method, a blow dryer on low can speed things up.
This style is unique because it feels like old-Hollywood glam, not just another pretty hairstyle. Pair it with classic makeup and a sleek outfit for a complete look that stands out in photos.
16. Crown Braid With a Low Ponytail Tail
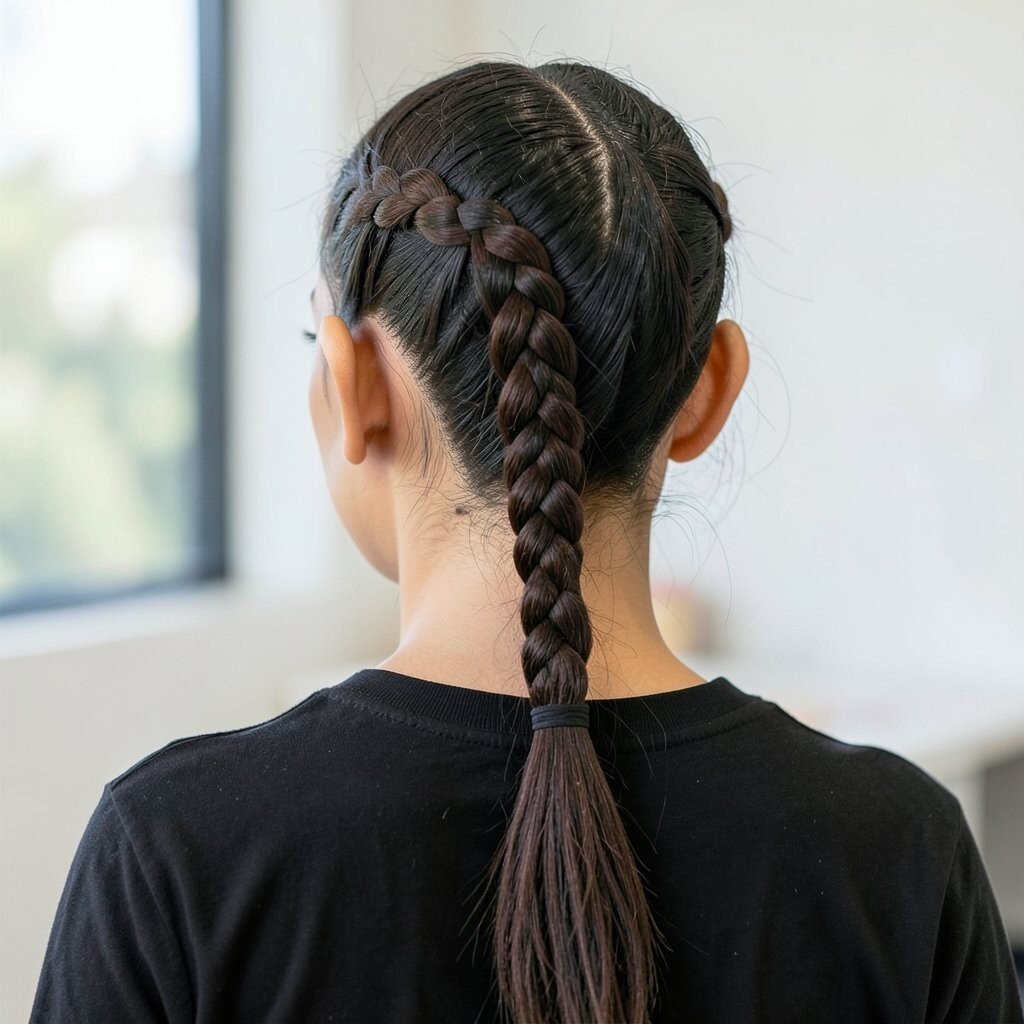
A crown braid with a low ponytail tail gives you the best of both worlds. Braid along the top like a crown, then continue into a low ponytail at the back.
Keep the crown section tighter for structure, and let the ponytail section look slightly fuller by gently tugging the braid. Secure the end with an elastic and use pins to blend where the crown meets the ponytail.
This look feels current because it blends tradition with a modern silhouette. It’s also practical because the crown helps hold everything in place during dancing.
17. Skinny Braid Pigtails With Floral Pins
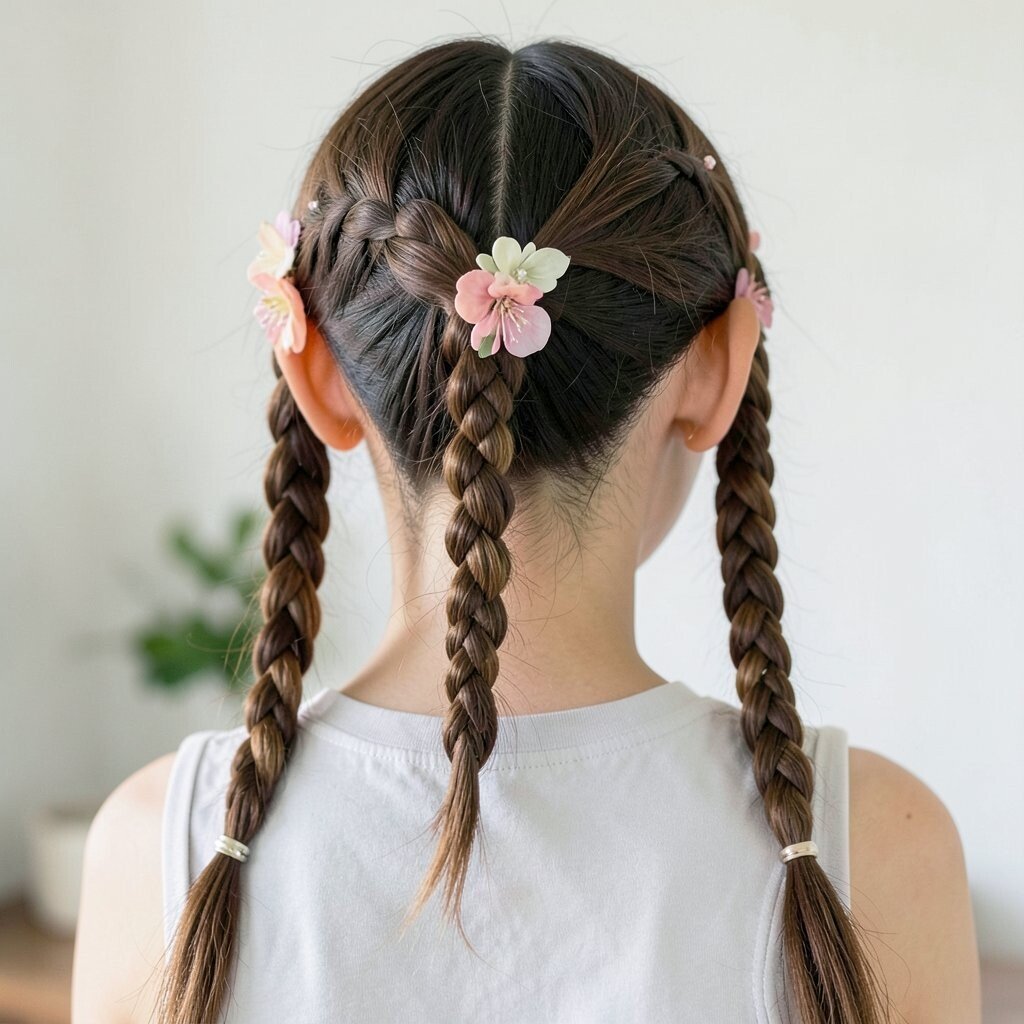
Skinny braid pigtails are cute, youthful, and perfect when you want a light, bouncy look. Part your hair down the middle and create two small braids from the roots.
Secure each braid with elastics, then gently loosen them for a fuller shape. Add floral pins near the base or along the side for a trendy, springy vibe.
This style is unique because it blends tidy braids with soft decoration without needing heavy styling tools. Choose pins that match your dress accents so everything looks coordinated and intentional.