Early mornings can feel rushed, but your hair can still look amazing. With textured styles, you get bounce, definition, and easy confidence.
These ideas are made for real school schedules, real classrooms, and real hair days. You’ll find looks that show off your natural pattern while keeping up with your busy life.
1. Finger-Coiled Crown With Soft Taper Ends
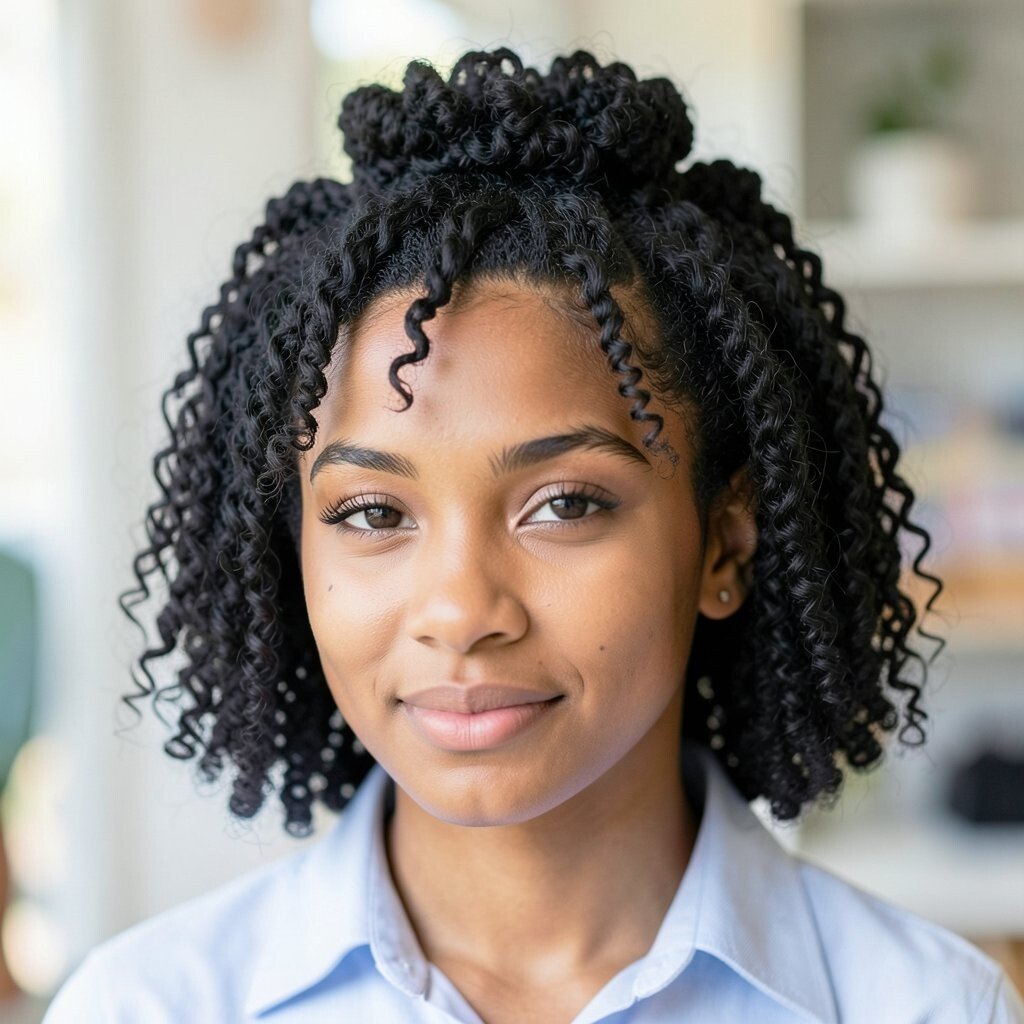
Start by sectioning the top area and finger-coiling small pieces for a clear, raised texture. The coils look like tiny spirals that catch the light and frame your face.
Seal the ends with a light twist so the bottom stays neat without feeling stiff. This style helps hair hold shape through the school day, especially when you use a good leave-in and a small amount of gel.
To personalize, keep the coils thicker near your crown and thinner toward the sides. If your hair shrinks a lot, stretch just slightly with gentle banding before you coil.
2. Twist-Out Half-Up With Defined Side Panels
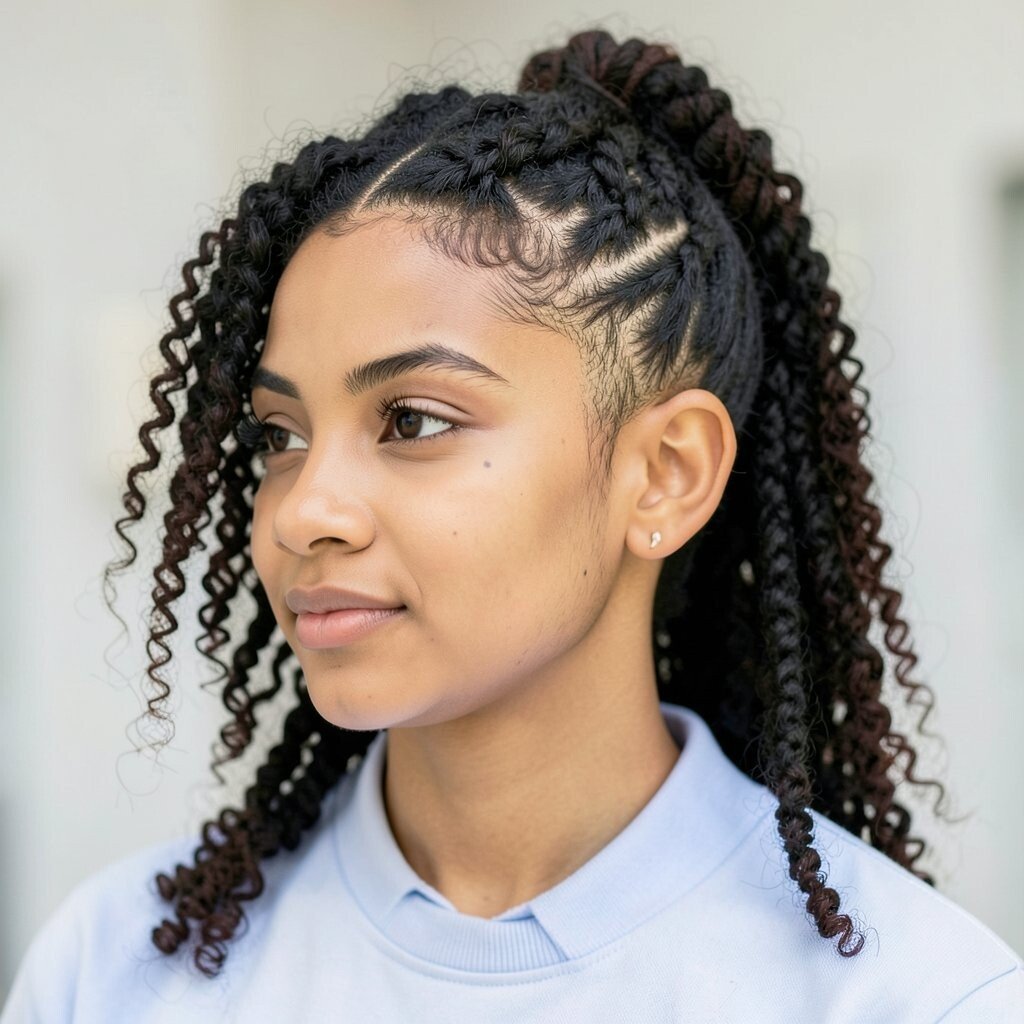
Split your hair into an upper and lower half, then twist the lower pieces for a fluffy twist-out. When you release the twists, you get bouncy texture that looks full even in natural light.
Pin the top half into a half-up shape so your hair stays off your neck. That gives you comfort during hot hall days and helps reduce tangles while you sit and learn.
For a fresh look, pull two small side sections forward like face-framing twists. Use a satin clip and a bit of edge-friendly gel to keep the front smooth without buildup.
3. Mini Braid Ridges That Turn Into Fluffy Layers
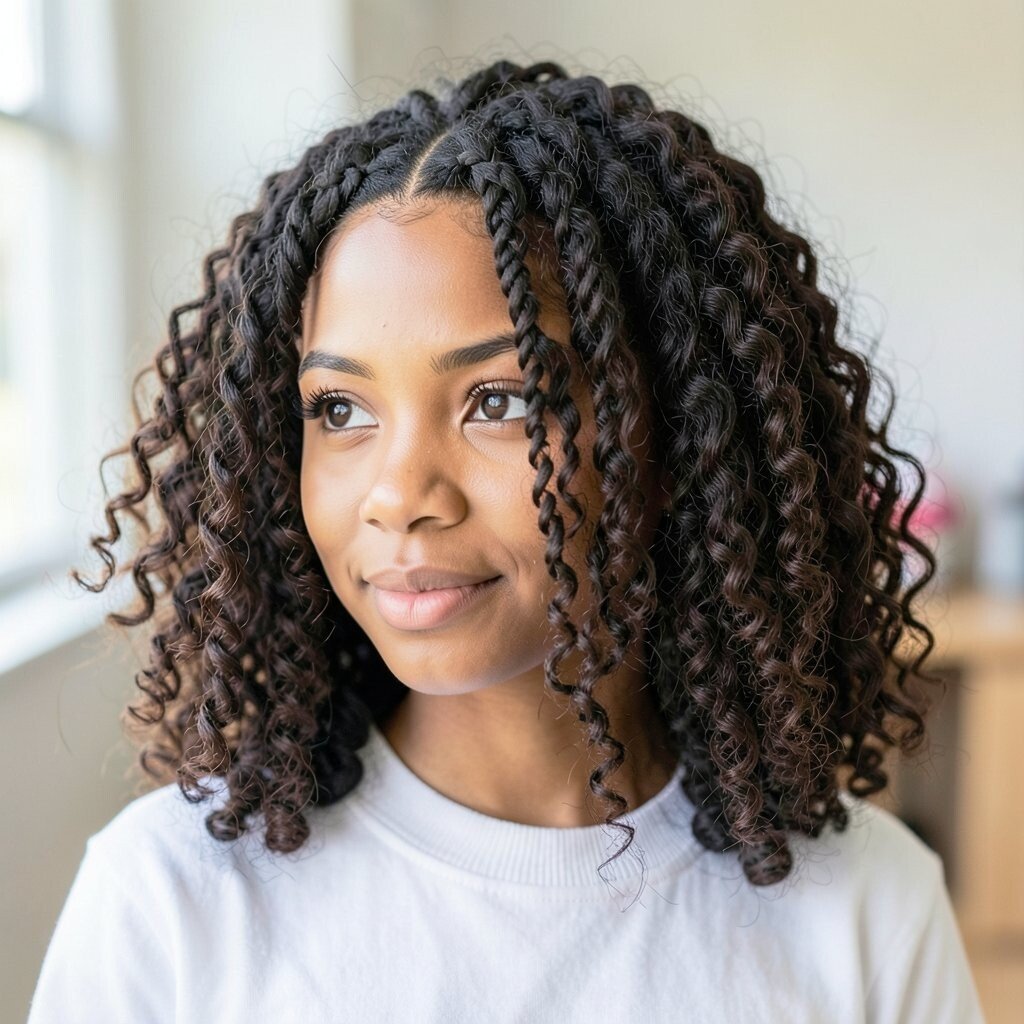
Create small braids close to the scalp, then braid the rest into short mid-length rows. The result looks like tidy ridges at the base, then soft, airy waves near the ends.
When you remove the braids, you get a texture blend that feels both neat and playful. It’s great for school because it hides frizz while still showing your natural pattern.
Try mixing sizes by making some braids slightly thicker for a more unique shape. If you’re worried about time, braid only the top layer and leave the lower hair free for easy styling.
To keep it comfortable, use a lightweight braid mousse instead of heavy oils. That way, your scalp feels fresh and your hair won’t feel greasy during long hours.
4. Bantu Knot Pop With Natural Parting
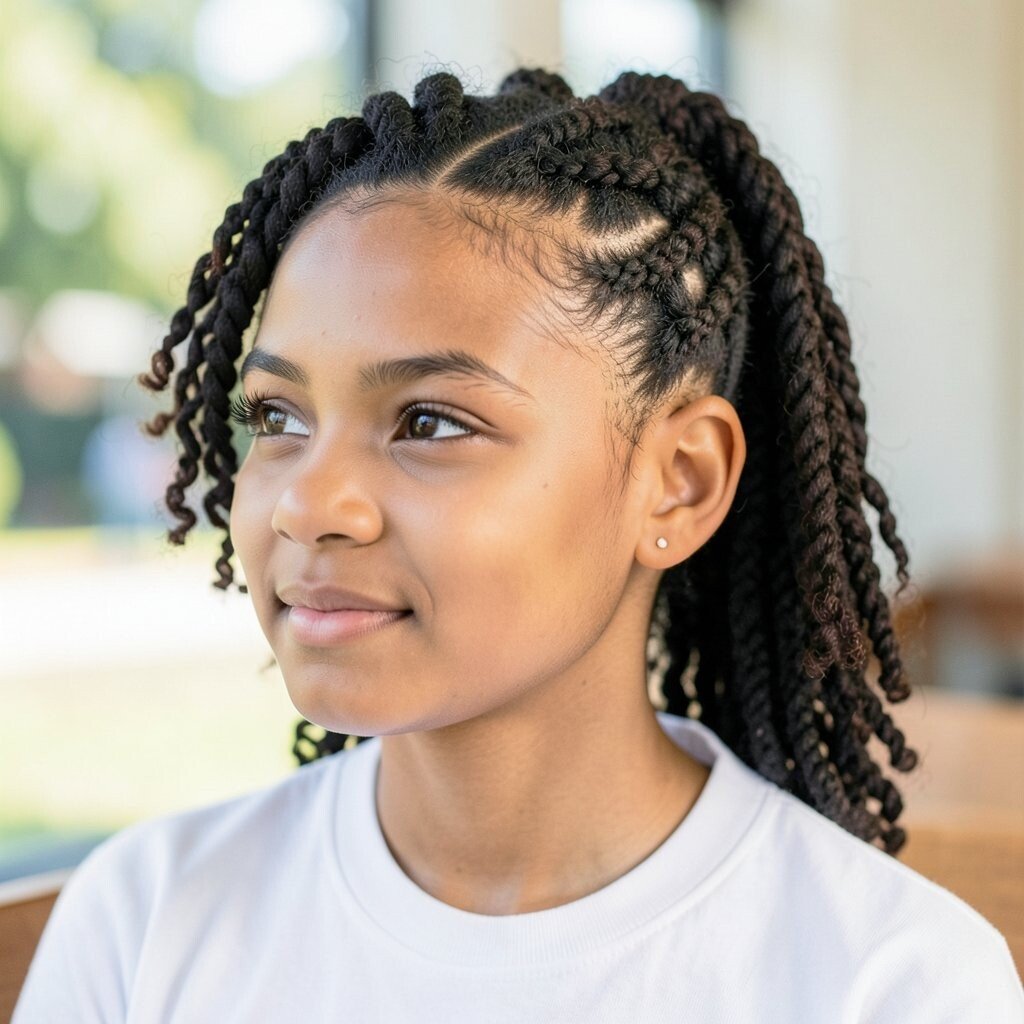
Make rounded bantu knots across your head, then let them sit until fully set. The knots look bold and sculpted, like little buns with smooth edges.
After you unravel them, you’ll get springy coils that last longer than many quick styles. This is a strong option for days when you want your hair to stay defined with less fuss.
Choose a parting style that matches your mood, like a clean center split or a wavy off-center line. For personalization, add a few knots closer to your forehead so your look feels extra framed.
Use a setting spray or a water-mist plus curl cream for hold. If your hair is prone to dryness, add a thin layer of conditioner to each section before you knot.
5. Coil-Set Mohawk With Curved Temple Twists
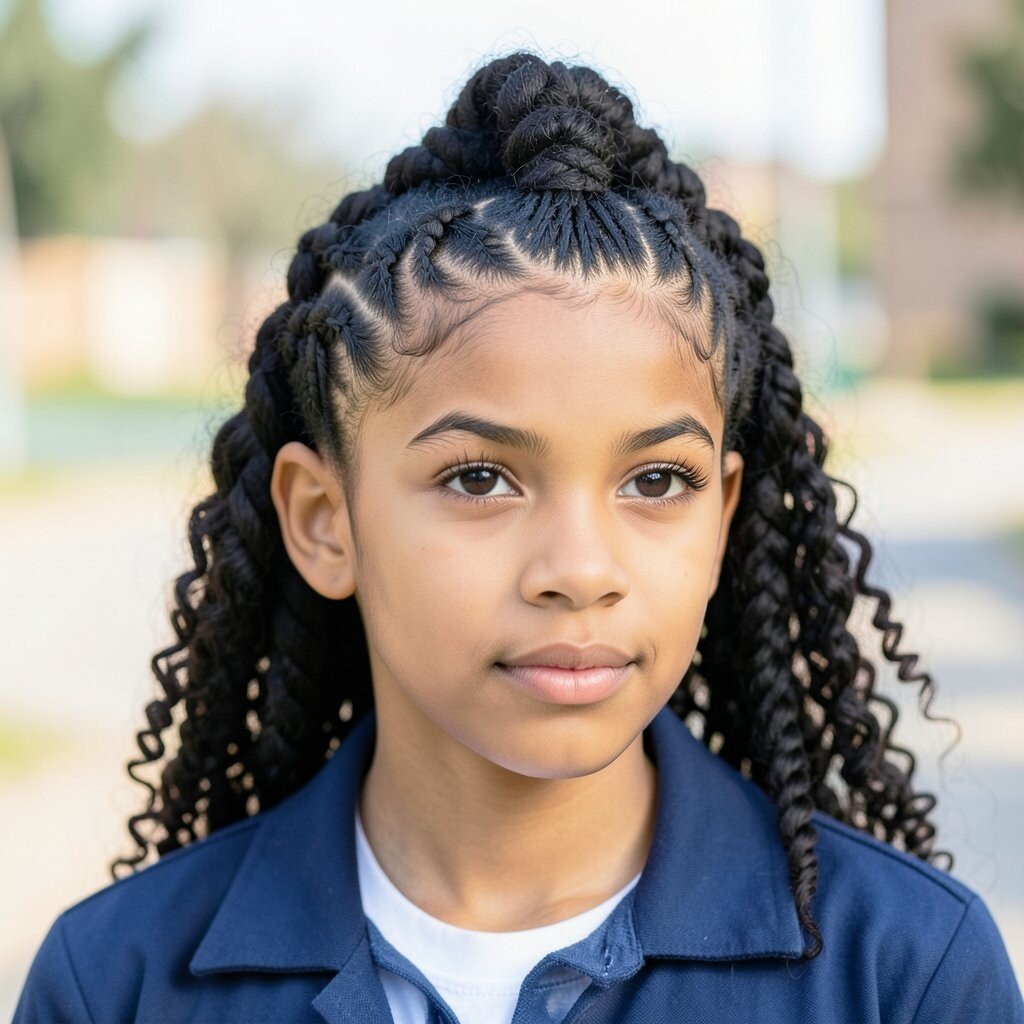
Gather hair from the front and crown, then coil-set it upward to create a mohawk shape. The textured strip stands tall and gives a fun, sporty look that still feels feminine.
For balance, twist the temple area into curved sections that blend into the sides. This gives your style a smooth finish instead of harsh edges.
To make it school-friendly, keep the sides manageable by using smaller coils near the front and bigger coils near the crown. You can also add a light satin scarf while the style dries for a neater pattern.
6. Wet-Set Rod Curls With Visible Texture At the Roots
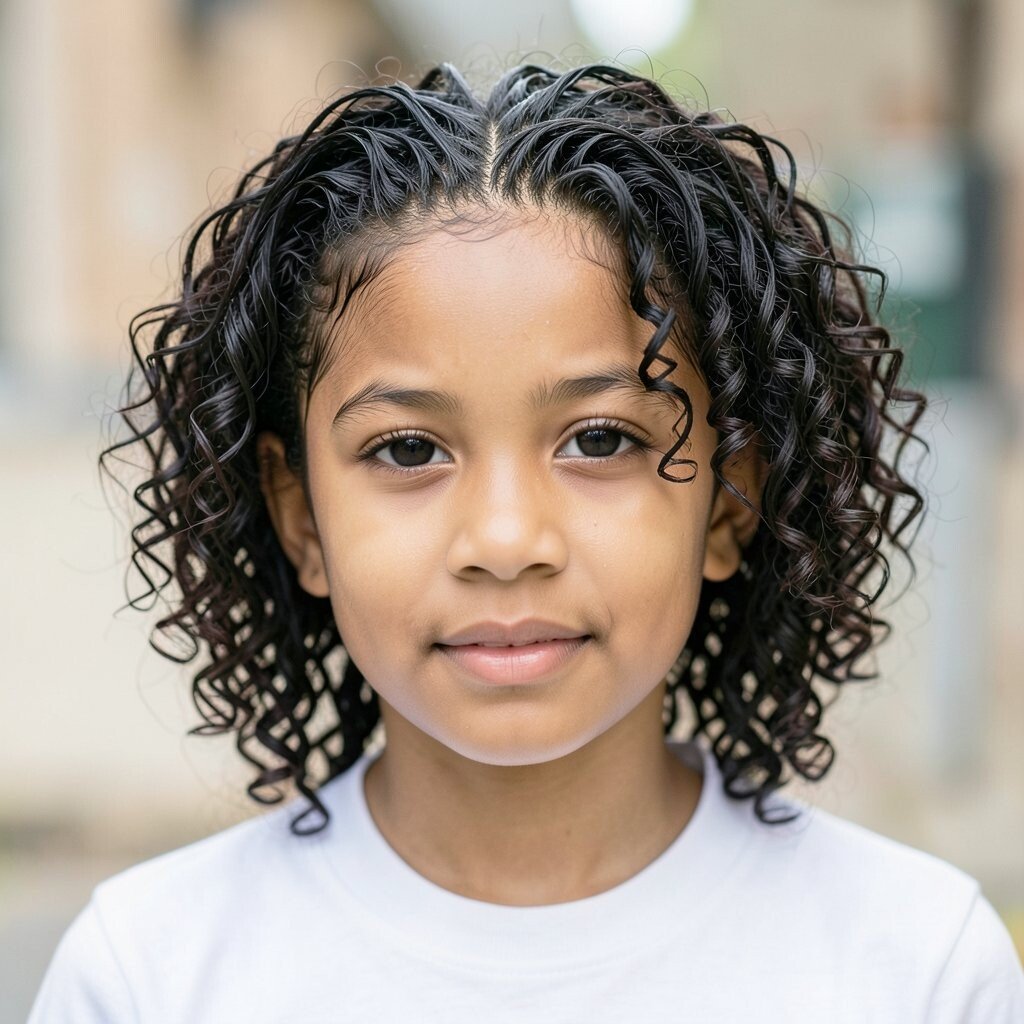
Apply a curl cream, then wrap sections onto small rods and focus on sealing the roots first. You’ll see defined texture starting right at the scalp, which makes the curls look fuller.
This style is great for students who want a “ready-to-go” look that holds up during busy days. When you refresh with a spritz, the pattern bounces back quickly.
For personalization, alternate rod sizes so the top looks fuller and the ends look looser. If you hate crunchy hair, choose a soft-hold gel and break the cast gently after drying.
Plan for comfort by avoiding overly tight wrapping. Loose placement helps your scalp breathe and keeps curls from getting sore by lunchtime.
7. Zigzag Part Afro With Banding-Layer Definition
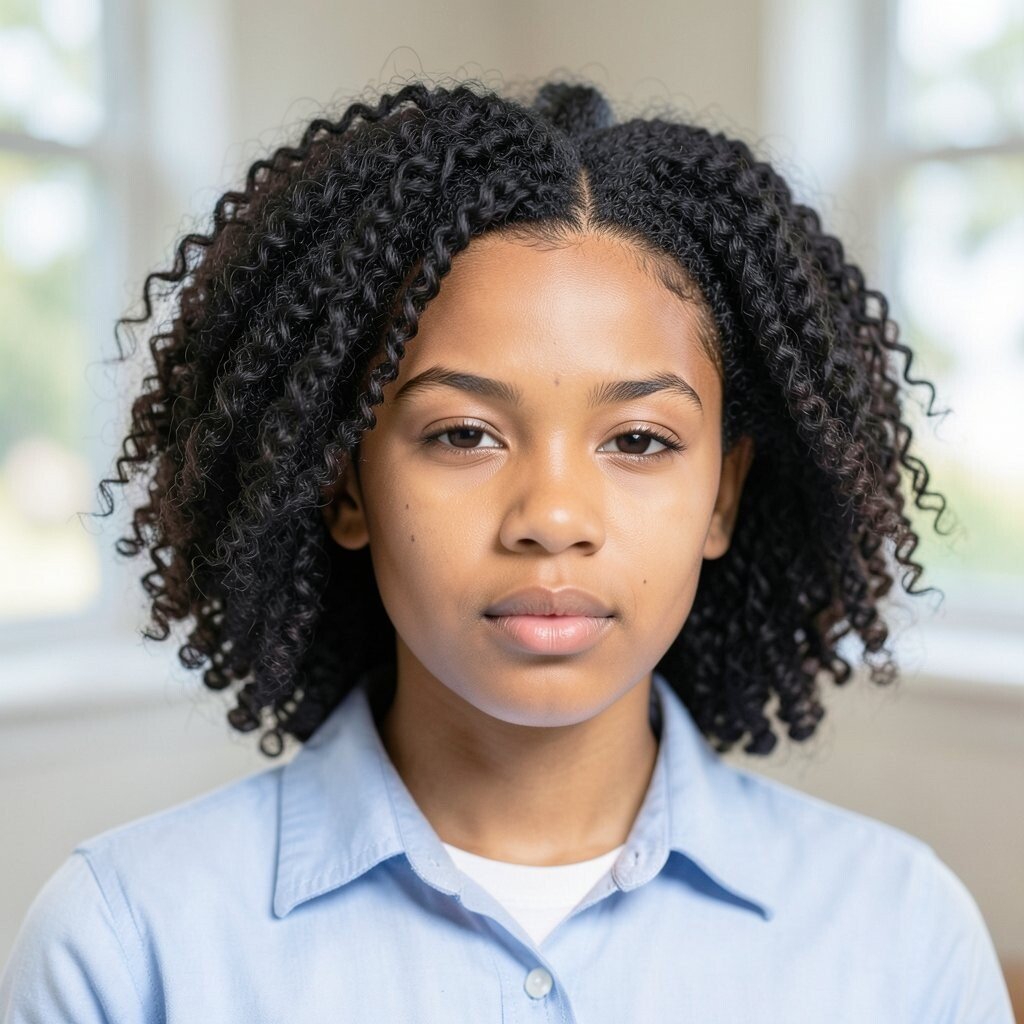
Part your hair in a zigzag pattern and add soft banding to create layer-by-layer definition. The look is eye-catching because the part adds movement even when your hair is left natural.
Leaving your hair mostly in its natural volume keeps mornings simple and reduces styling stress. You still get noticeable texture because banding helps curls form clearly.
Try using two or three different product types based on your needs, like a light cream for moisture and a gel for shape. This helps your curls stay springy without feeling heavy.
If you want a trendier vibe, pair the zigzag part with a small puff on top. Choose a puff height that flatters you, from low and soft to higher and bold.
8. Rope Twists Into A Loose Updo Bun
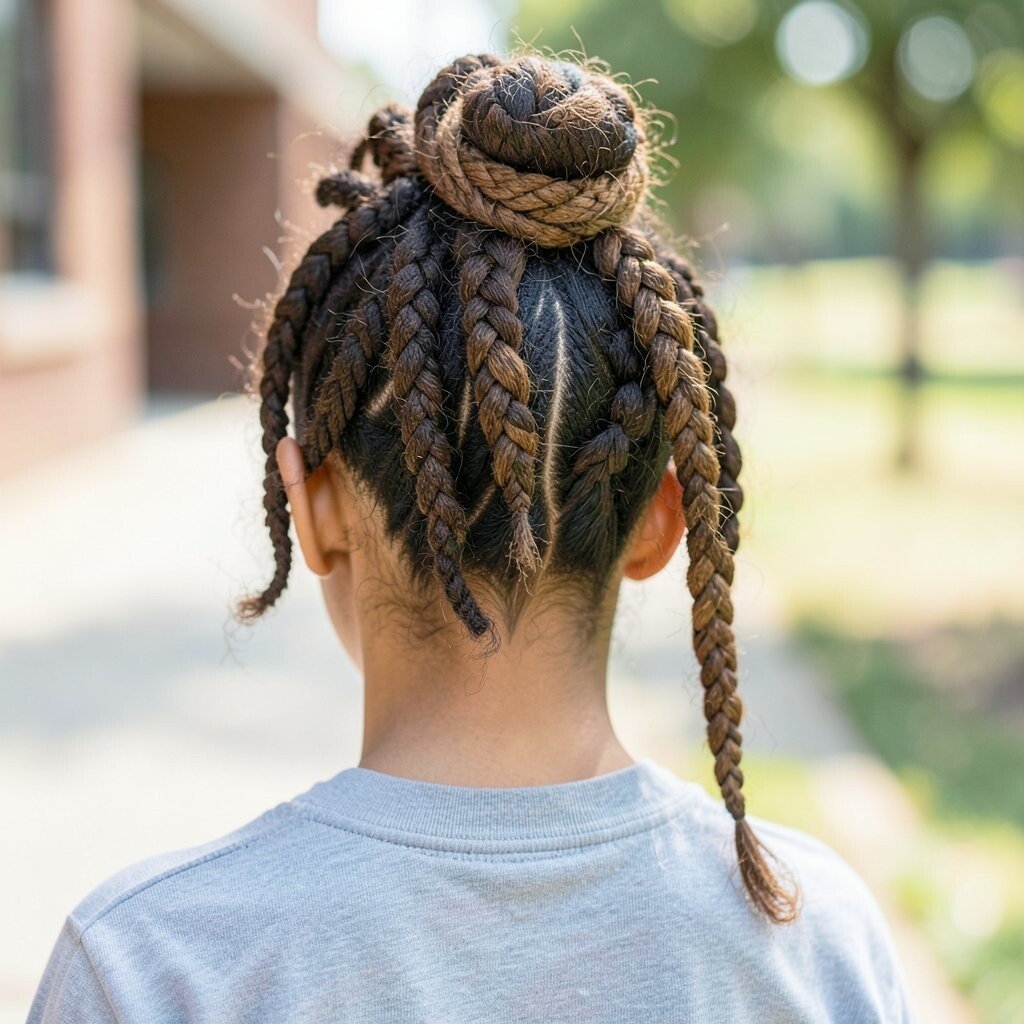
Make rope twists from root to end using finger support as you twist. The twists look like smooth ropes with defined ridges that turn into beautiful waves when loosened.
Twist a few sections upward and coil them into a loose bun. This is comfortable for school because it keeps hair contained while still looking soft and stylish.
For uniqueness, leave some twists hanging down near the sides so the bun feels airy. You can also vary the twist direction so your texture pattern looks more natural and artistic.
Cost-wise, this style uses mostly what you already own, like curl cream and a gel or edge product. A little goes a long way when you keep the twists neat and not overly saturated.
9. Loose Spiral Rows With A Soft Crown Clip
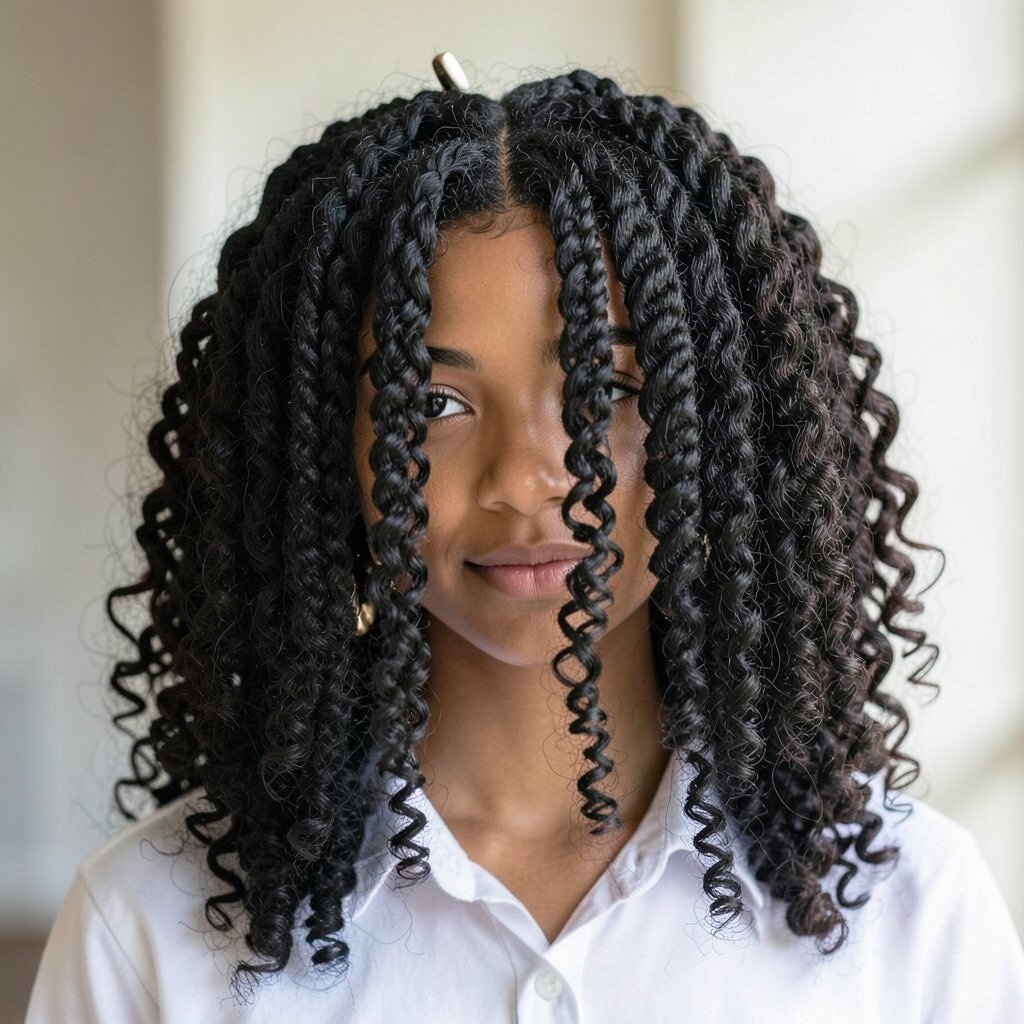
Create spiral rows by twisting each section and letting it form naturally along its own curve. The texture looks like repeating little shells across your head.
Pin only the top area with a cute crown clip, leaving the rest to fall. This gives a playful look that also keeps hair off your forehead during class.
To personalize, add a small clip near one temple for an asymmetrical style. If your hair gets tangled, smooth with a tiny bit of leave-in before clipping.
10. Flat-Twist Headband Style With Textured Fringe
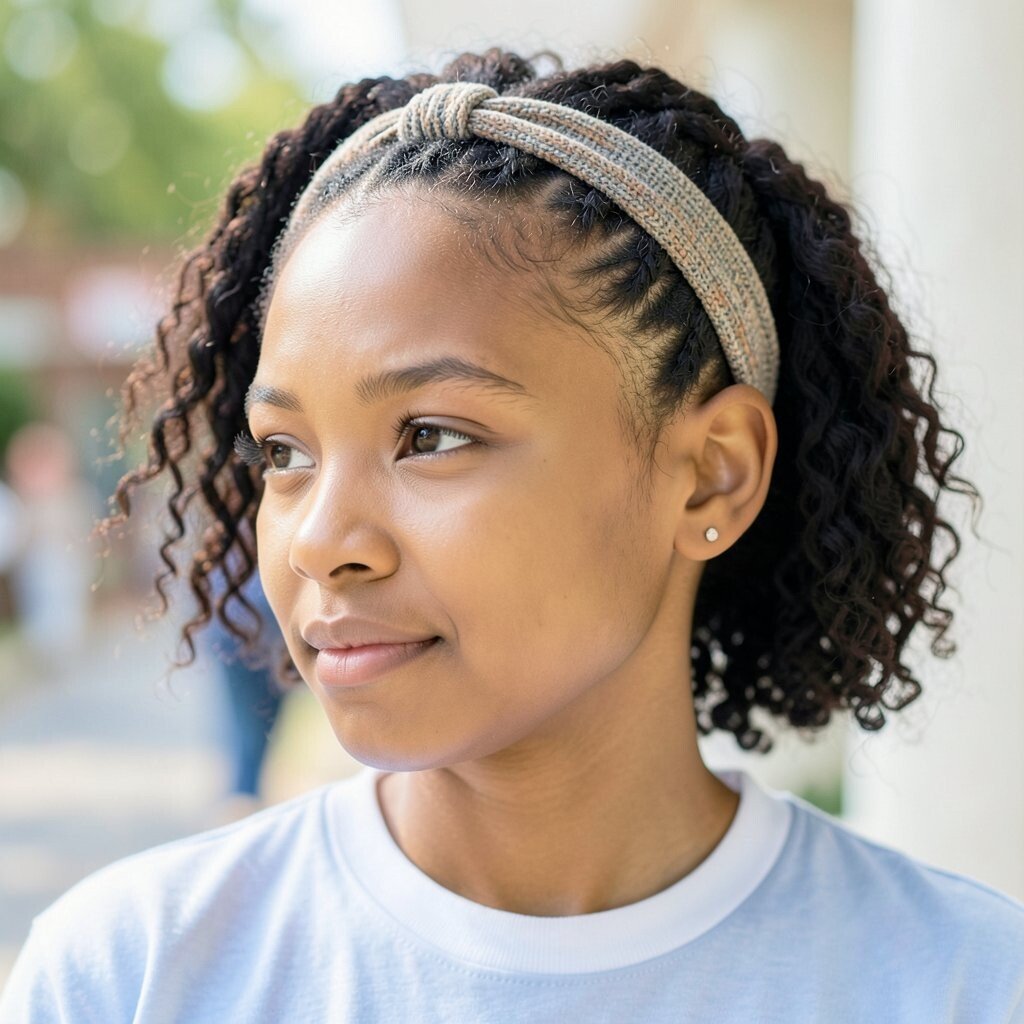
Use flat twists across the front like a headband, then leave the back in a fuller natural shape. The front looks clean and structured while the rest stays soft and bouncy.
This is perfect for school because it keeps flyaways controlled without requiring a heavy updo. Your curls still show, and the style works for different lengths.
For a trend moment, add extra texture in the fringe area by twisting smaller front sections. If you want a more polished look, smooth the edges with a gentle gel and a soft toothbrush.
To manage cost, rely on what you already have and focus on technique. Flat twists don’t need extra tools beyond clips, a small comb, and patience for sectioning.
When you take the twists down later, you can reshape with your fingers for an even more defined finish.
11. Curly Puff With Twist-Trimmed Edges
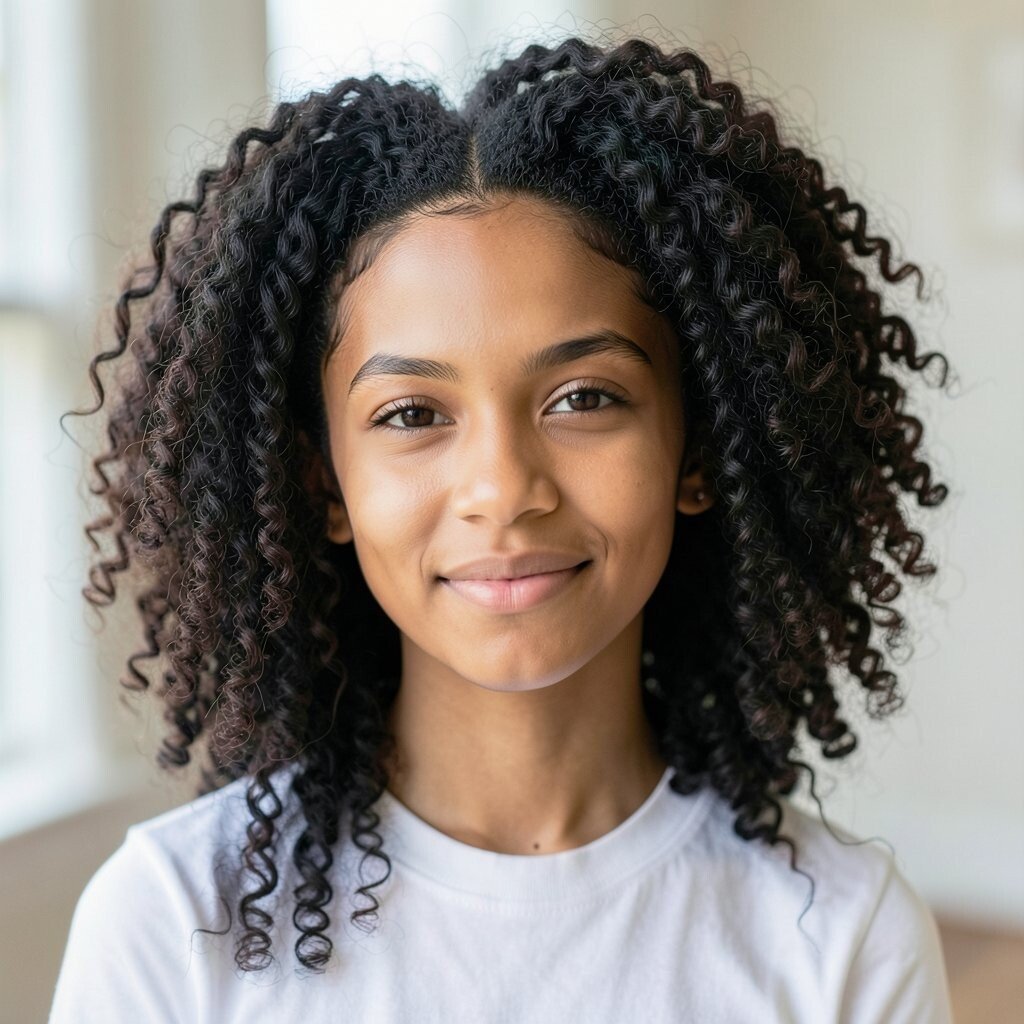
Build a high or mid puff using a gentle hold, then trim the hairline with small twist sections. The result looks bold at the top, with neat texture near your edges.
Puffs are school heroes because they keep hair out of your face and reduce tangles. You can also add a scarf wrap at night so the puff looks fresh when you wake up.
Personalize by choosing your puff placement and size, like low puff for a soft vibe or bigger puff for drama. If your hair is fine, tease lightly at the roots before securing for more volume.
For a cost-friendly option, use a quality hair tie and skip expensive styling tools. A good hold tie helps you keep the shape without constant redoing.
12. Halo Twist-Out With Tiny Ringlets Around the Head
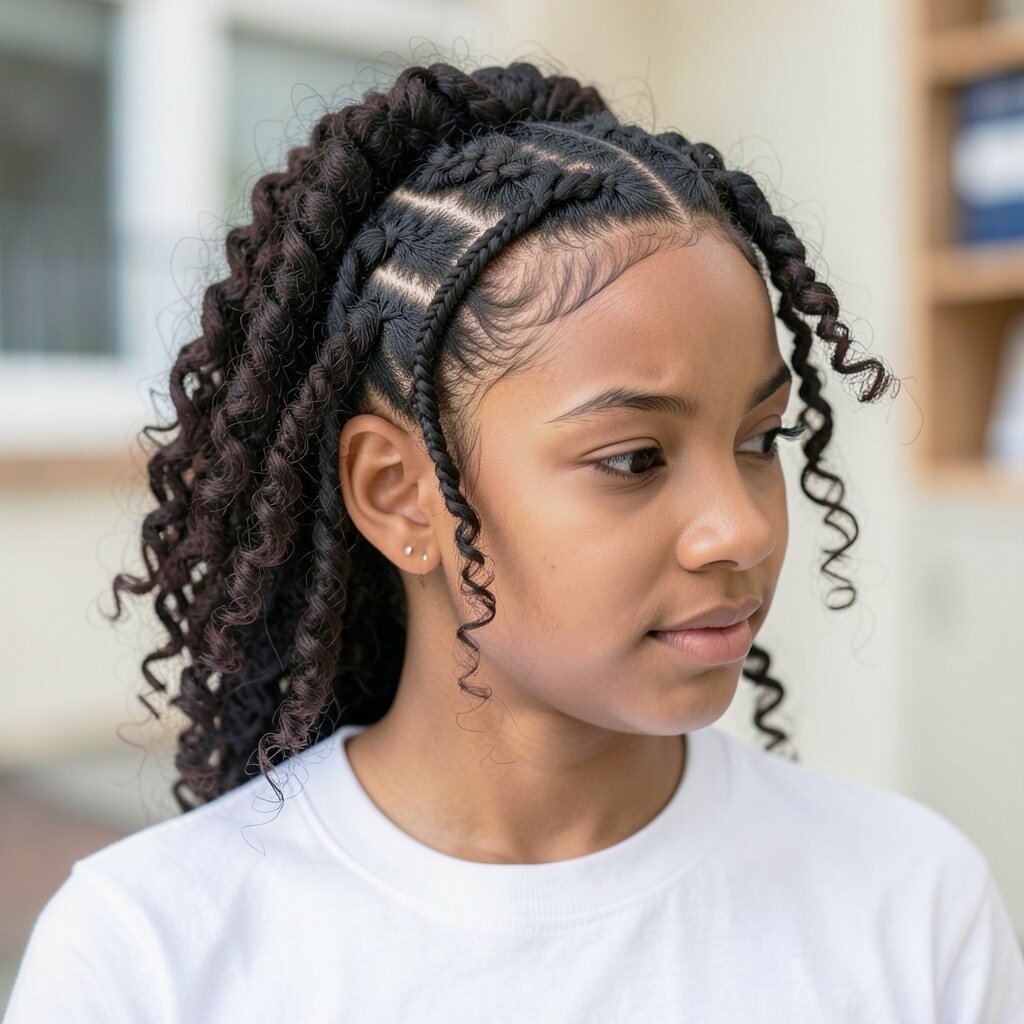
Twist hair into a halo pattern around the head, almost like a wreath. When released, it creates ringlets that circle your face and look magical in motion.
This style is unique because it turns your texture into a frame, not just a random fall. It also helps keep hair evenly distributed, which can reduce frizz in the back.
To personalize, keep the ringlets tighter at the top and looser near the sides. Add a small side part if you want extra shape and a more grown-up look.
For best results, let it dry fully before taking it down. If you’re short on time, use a hooded dryer or a low heat setting with a heat protectant.
13. Two-Level Twist-Out With A Micro Side Part
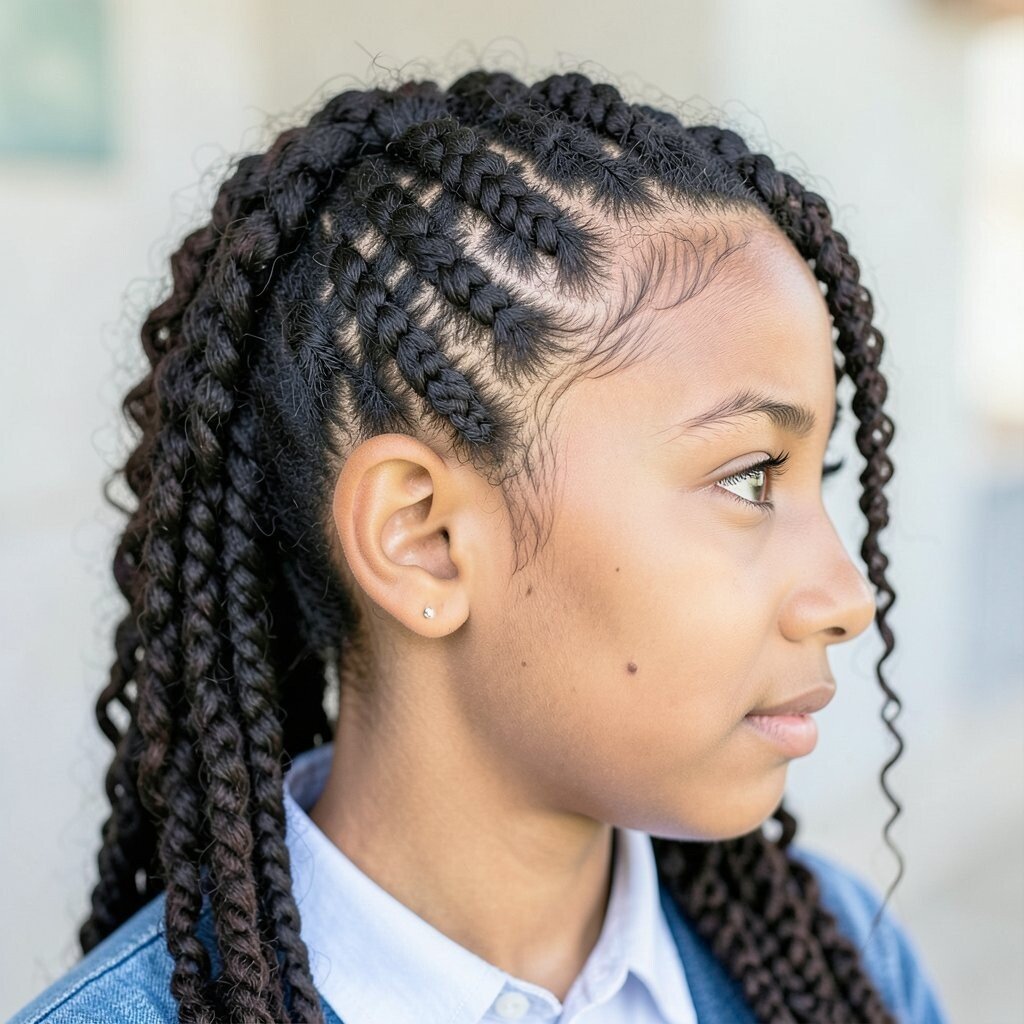
Make a micro side part, then twist two layers at different thicknesses. The top layer gives a clear pattern, and the lower layer looks more airy and relaxed.
When you separate the twists, you get texture that looks intentional instead of messy. This is helpful for school because it keeps your hair looking “done” even after wearing it for hours.
For personalization, add a gentle curve to the part so it follows your natural head shape. You can also tuck the smallest section behind your ear for a neat finish.
14. Flat Twist-To-Bun With Finger-Curl Texture Ends
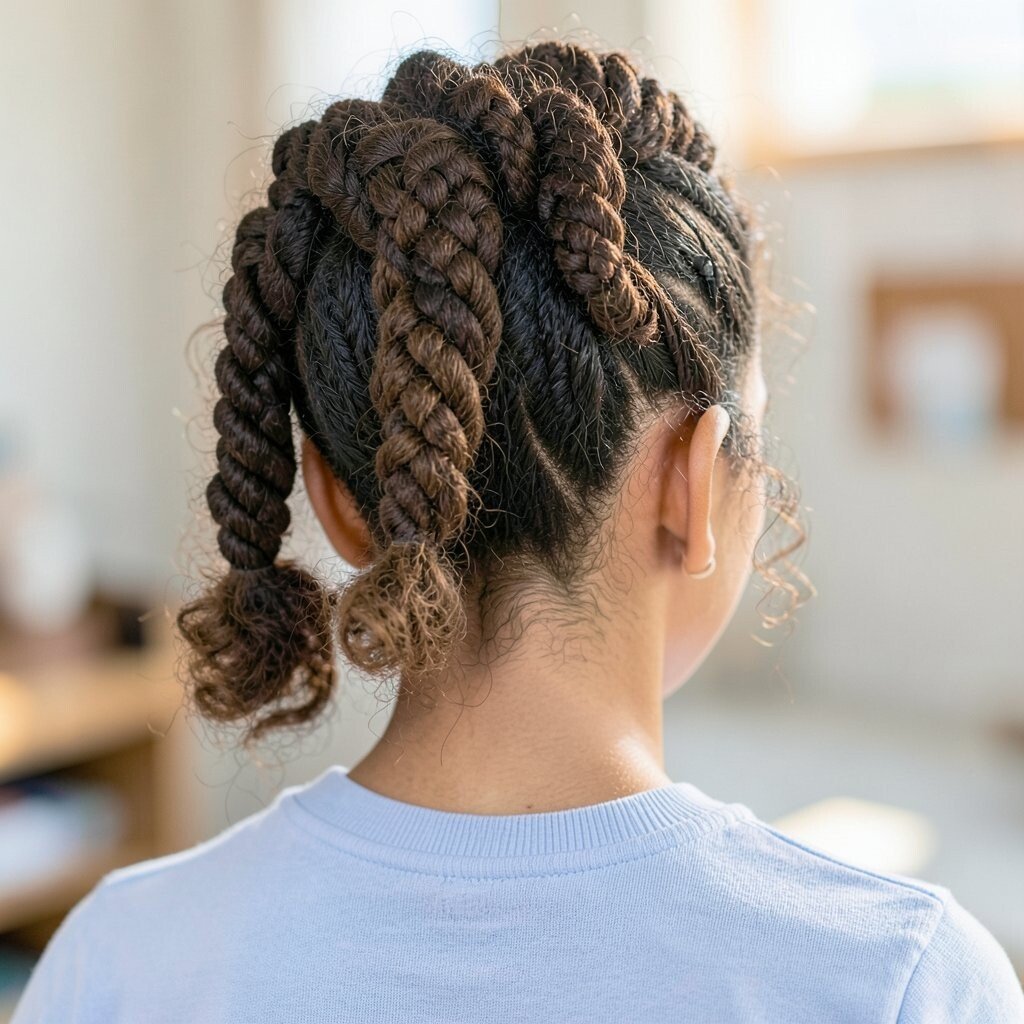
Start with flat twists at the roots and turn into finger curls at the ends. The contrast looks stylish because the scalp area stays smooth while the ends stay bouncy.
Roll the flat-twisted section into a bun, then let the curled ends wrap around it. This gives a compact look that’s easy to maintain and great for busy mornings.
To personalize, choose a bun location that suits your outfit, like center bun for balance or side bun for extra flair. If your hair is long, use fewer sections and wrap them in wider curls for comfort.
Cost considerations are friendly here because you can do it with basic products like cream, gel, and pins. Using just enough product keeps hair light and prevents that heavy, sticky feel.
15. Coiled Side Shaped Afro With Minimal Edges
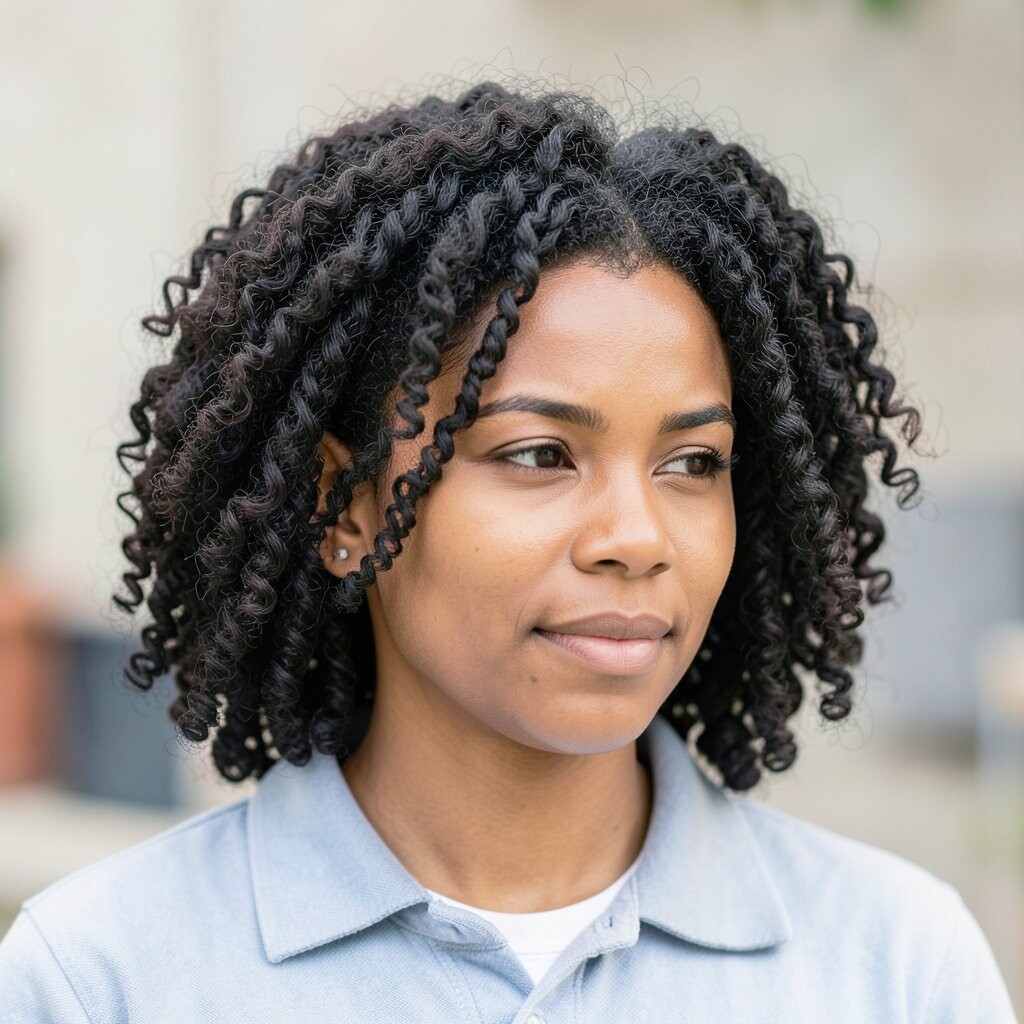
Use a coil pattern on one side more than the other, creating a gentle slant to your shape. The coils look like tiny sculpted waves that add depth to your afro.
This style is unique because it plays with asymmetry, so your hair looks like art instead of just volume. It also keeps things simple since you focus on one side for most of the detail.
For practical school tips, keep a small spray bottle in your bag for quick touch-ups. A quick mist and finger shake can revive the texture without restarting your whole routine.
Personalize by adjusting where the coils start, like starting closer to the crown for a taller look. If you prefer minimal product, use a light leave-in and a small amount of gel only where you need hold.
16. Textured Blowout-Style Twists Using Stretch and Release
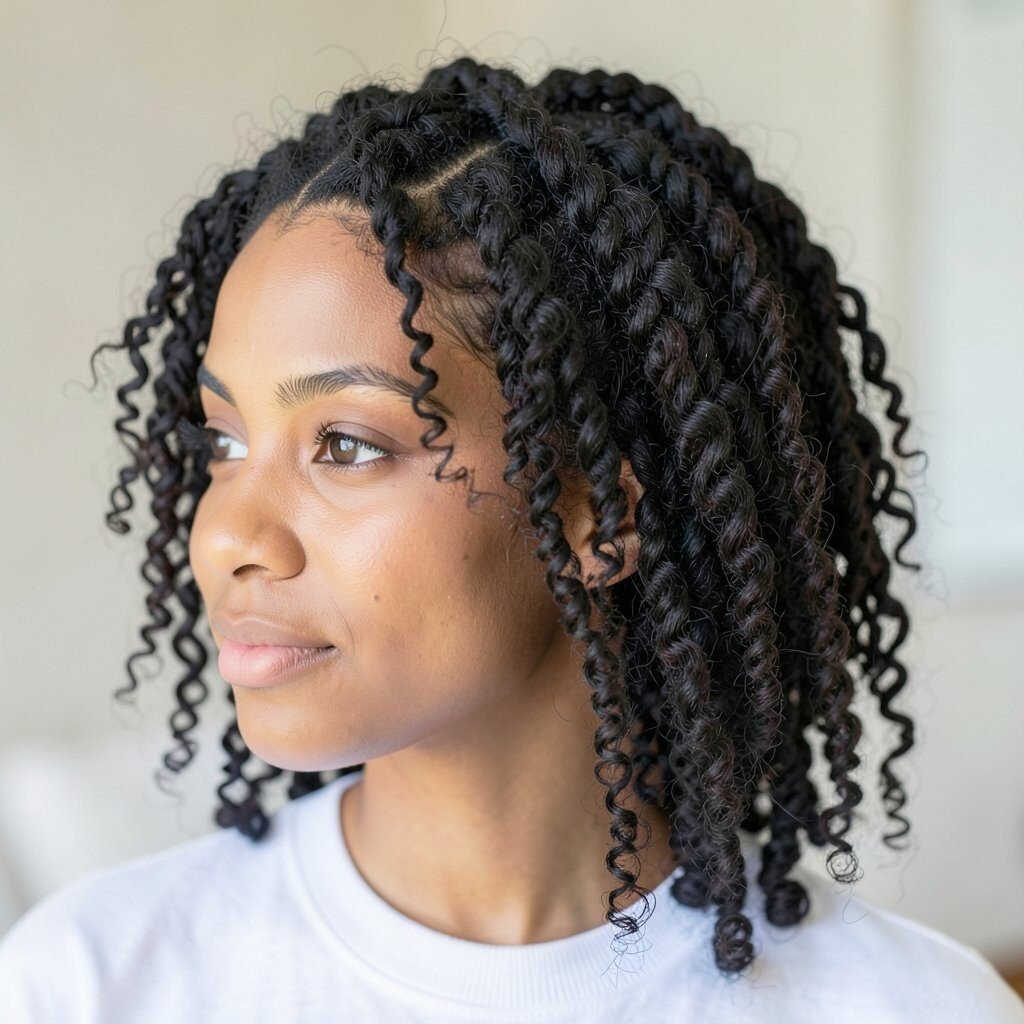
Stretch your hair slightly with gentle tension or banding, then twist sections and release once set. The texture looks like a blowout vibe but still honors your natural curl pattern.
This is beneficial for school because it helps reduce shrinkage and makes your hair easier to manage. You’ll spend less time detangling and more time feeling ready.
To personalize, twist in diagonal rows so the pattern looks dynamic. If you like a cleaner finish, tuck a few front twists under a clip and leave the rest flowing.
For current trend energy, aim for a soft, defined look rather than super stiff definition. Light, touchable texture is popular right now and looks great in photos.
17. Texture-Rich Headwrap Look With Pin-Curl Accent
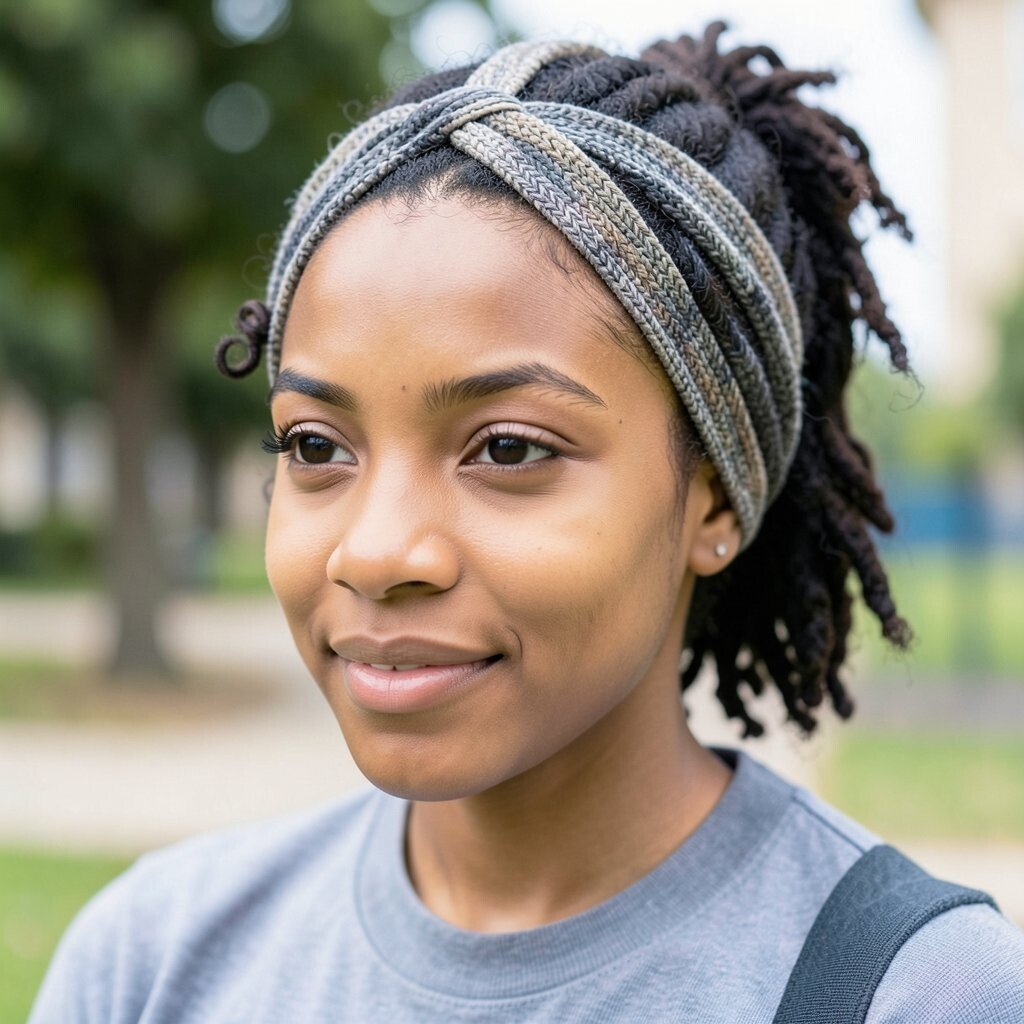
Wear a headwrap to keep hair secure, then add pin-curl accents at the front or sides. The headwrap gives you a neat silhouette while the curls add a stylish textured pop.
This hairstyle is practical for school because it protects your hair from friction during the day. It also helps you keep your texture fresh when you need a break from constant twisting.
Personalize by choosing wrap colors that match your uniform or your favorite hoodie. You can also place pin curls near your part for a more polished, intentional look.
If you’re thinking about cost, headwraps are often more affordable than multiple tools and they last a long time. Plus, you can reuse the same wrap with different textures whenever your hair mood changes.
Use bobby pins carefully and place them under the wrap so they feel secure. When you remove everything at the end of the day, fluff with your fingers for a soft, defined finish.