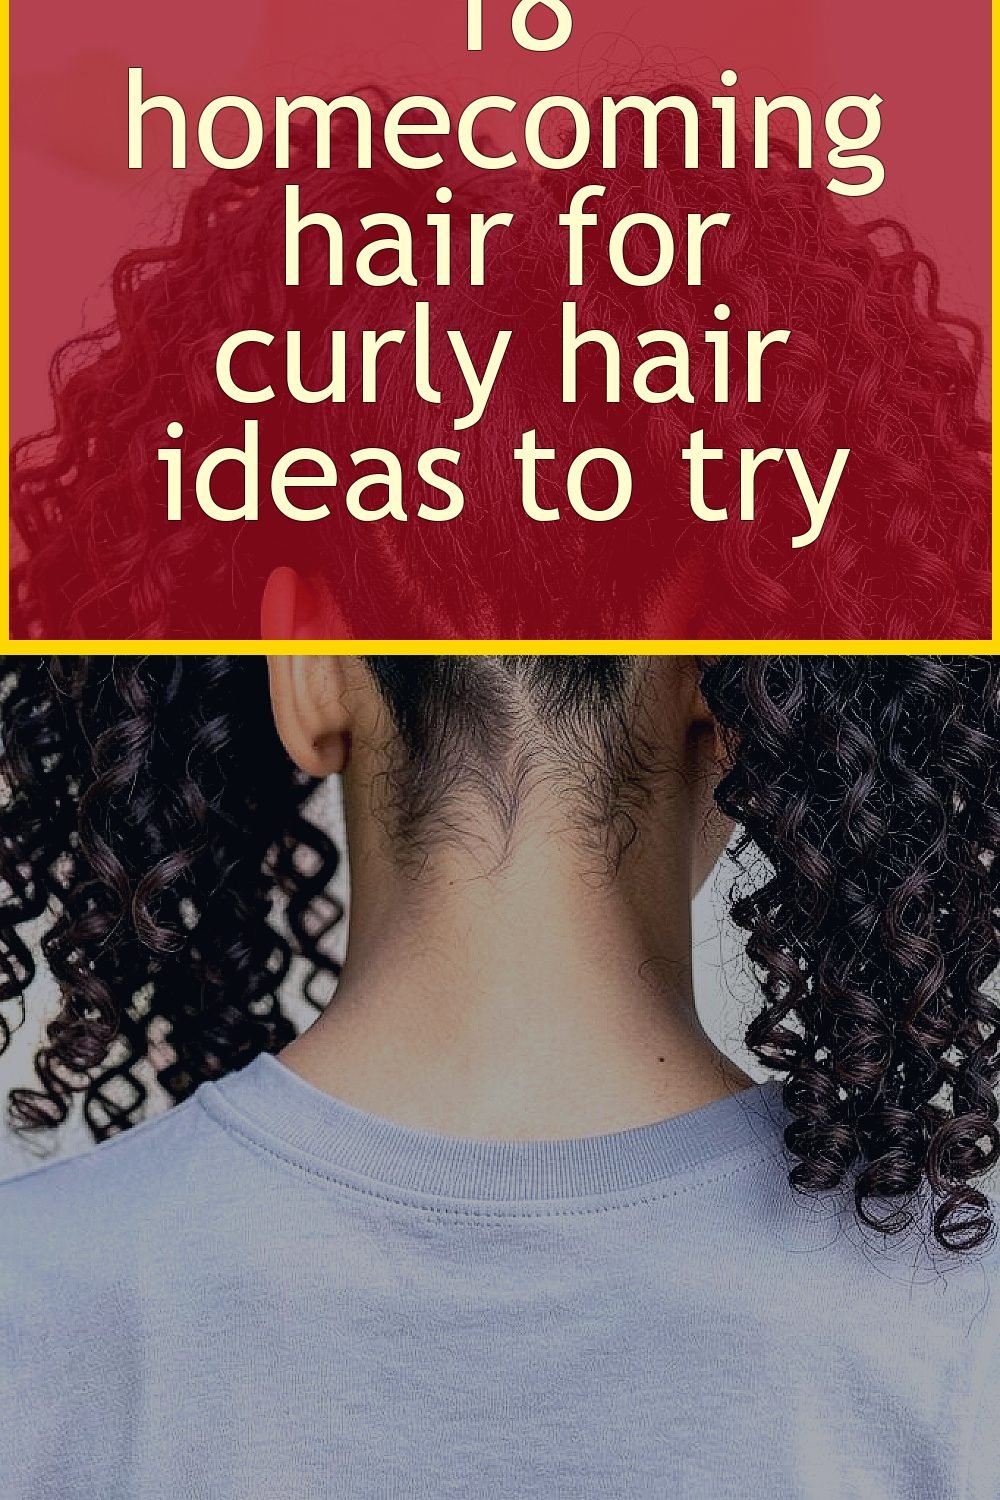
The countdown to homecoming always feels both exciting and stressful. Your curls deserve a style that looks special and still feels like you.
These ideas are made for curly hair, with realistic steps you can actually do on a busy day.
1. Soft Halo Twist With Curls Left Loose
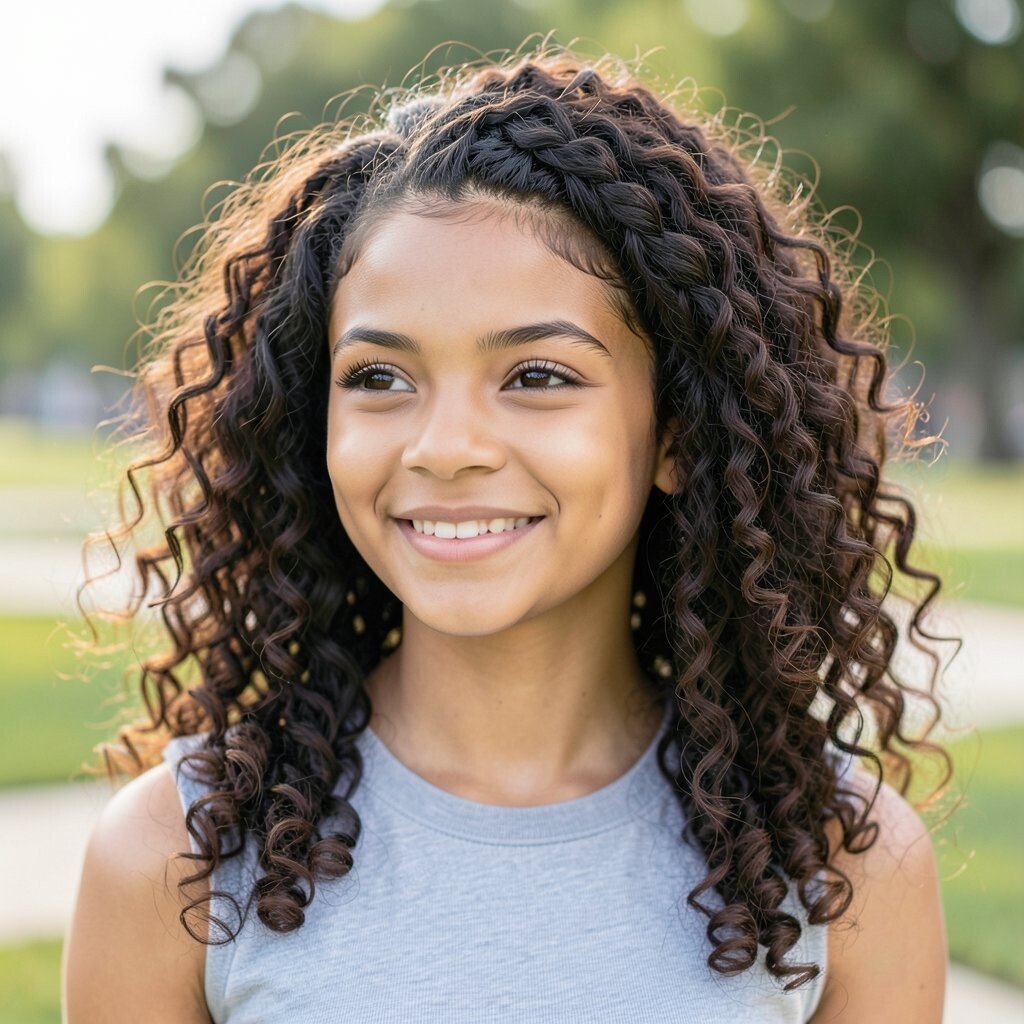
This style looks like a gentle crown sitting around your head. It gives that romantic homecoming vibe while keeping your curls bouncy.
Start by parting your hair into two curved sections near your temples, then twist each side back like a low braid that stops just above the nape. Secure with small pins, and let the rest fall free so your curls stay thick and alive. Finish with a light shine spray so the twists look polished in photos.
2. Half-Up Bubble Ponytail With Curly Volume
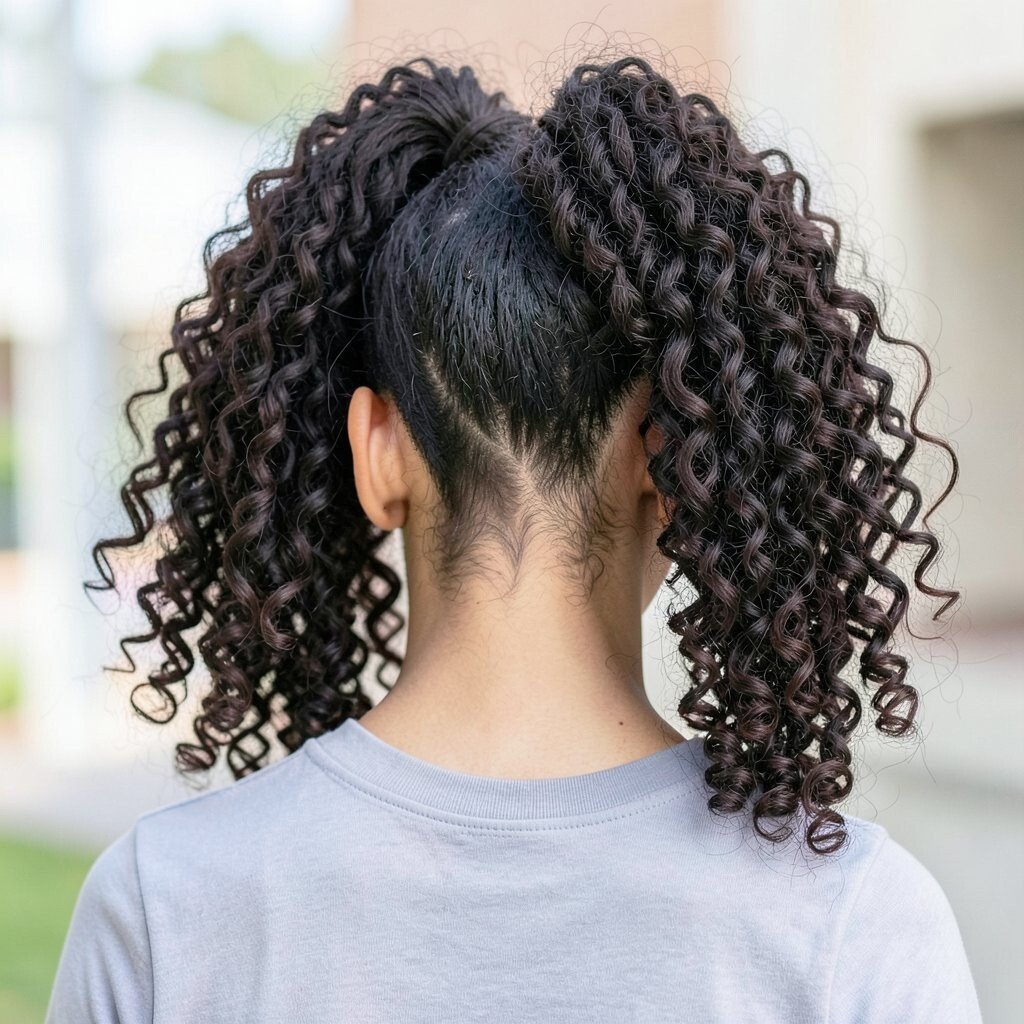
You get the best of both worlds with a playful half-up shape. The bubbles add a fun, photo-ready texture that looks great from every angle.
Gather the top half into a ponytail at crown level, then use small elastic bands spaced along the length to form bubble sections. Fluff each bubble carefully so it feels airy, not tight. For extra hold, spritz a curl-friendly setting mist over the base before you add elastics.
If you have tighter curls, use a bit more leave-in so the ponytail doesn’t look dry, and if your curls are looser, a light gel helps keep the shape. This is also a great option if you want your hair out of your face during pictures and dancing.
3. Crown Braid Inserted Into a Curly Updo
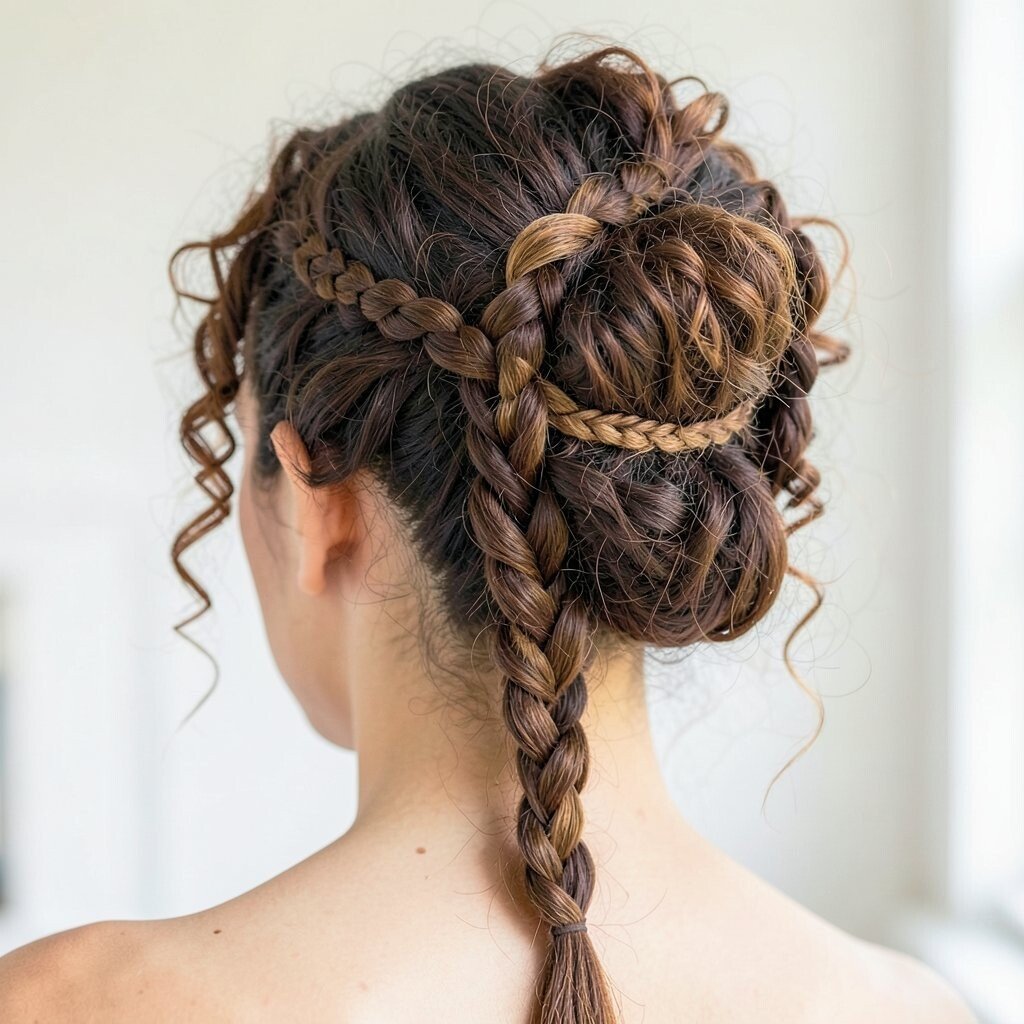
A crown braid on curly hair feels elegant and timeless. It frames your face while giving your curls a secure place to rest.
Begin by creating a braid across the top of your head, using only the outer hair so it blends with your volume. As you braid toward the back, start incorporating more hair so the braid sits like a band. Tuck the remaining curls into a loose updo at the nape, then pin everything in place.
To keep it comfortable, don’t pull the braid too tight, and use a few bobby pins at different angles so it holds without soreness. Add a touch of curl cream at the braid edges so flyaways look intentional.
This look feels unique even if you’ve worn braids before, because the curly updo changes the shape. It can be done with minimal styling tools, and you can refresh it with a quick water mist before you leave.
4. Sleek Side Part With Defined Curl Curtain Bangs
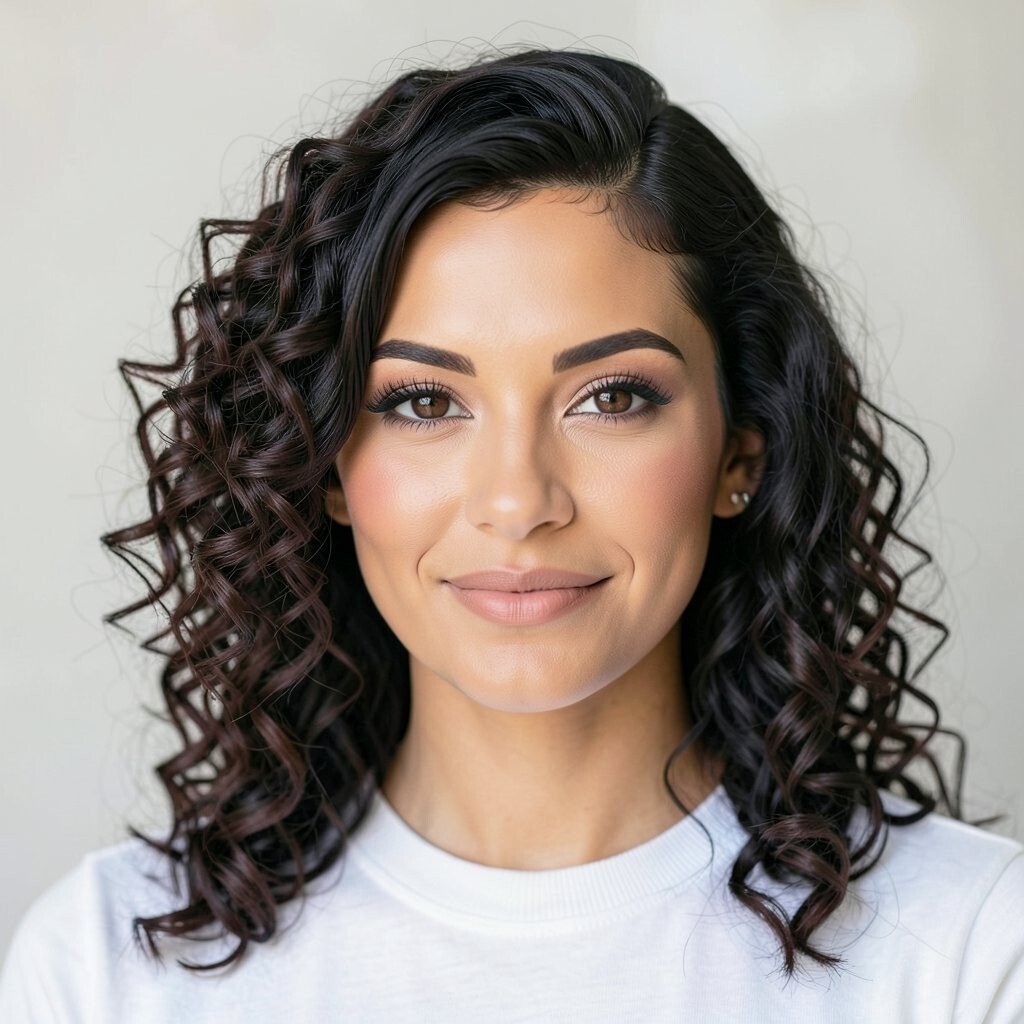
If you love a clean, modern look, a sharp side part is a great choice. Curl curtain bangs add that soft, stylish framing without hiding your hair.
Create a deep side part and let the front curls fall forward in two main sections. Use gel or mousse on damp hair, then scrunch lightly so the curl pattern pops. Leave the back full and natural so your hair looks dramatic and healthy.
5. Braided Headband Over Loose Ringlets
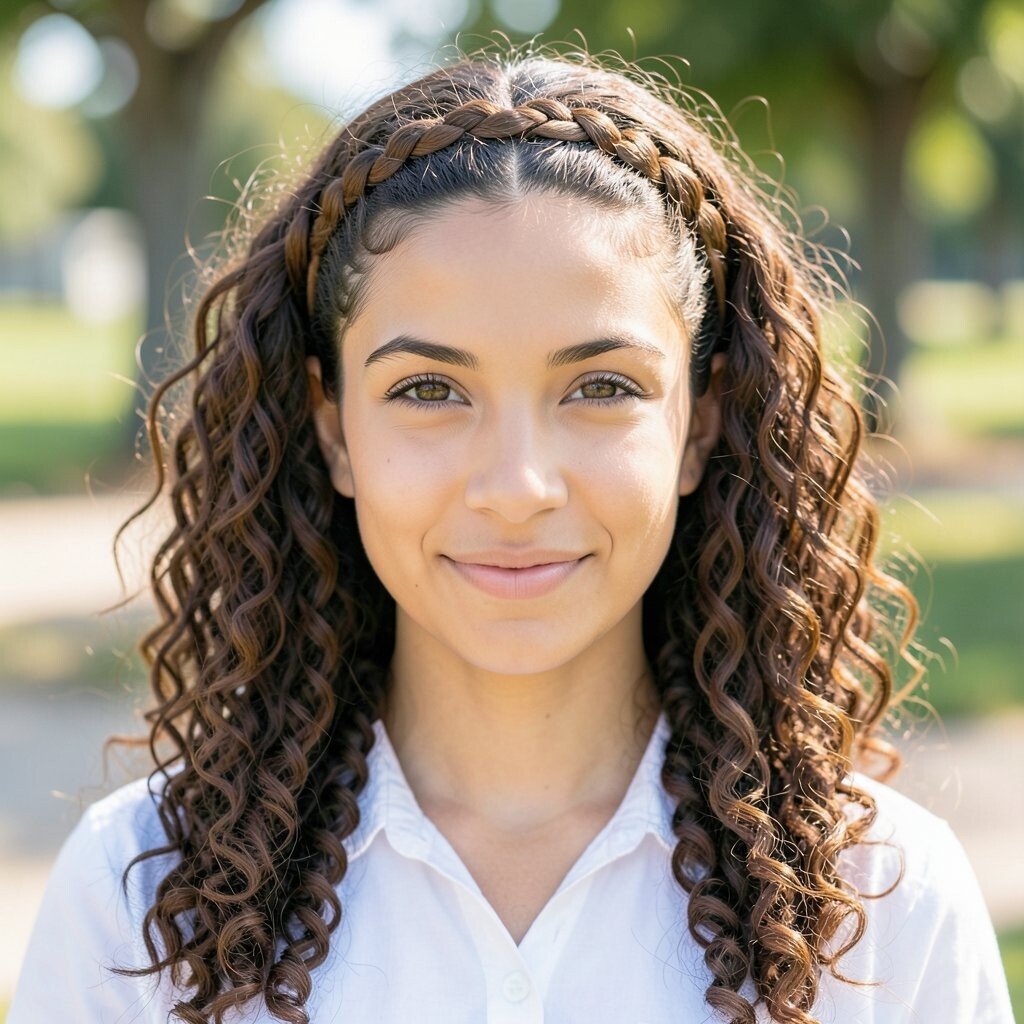
A braided headband makes your curls look instantly styled. It’s also a perfect solution if you want your hair down but still want something special.
Part your hair where you normally would, then braid a narrow section from one side near the temple. Wrap the braid across the top of your head and pin it, then repeat on the other side so the band looks balanced. Keep your ringlets loose and let them cascade around your shoulders for that effortless homecoming glow.
For extra uniqueness, use two mini braids instead of one wider braid. If your curls are very thick, this style helps control bulk near the forehead without flattening the rest of your texture.
6. Bubble-French Knot at the Nape With Curls Piled High
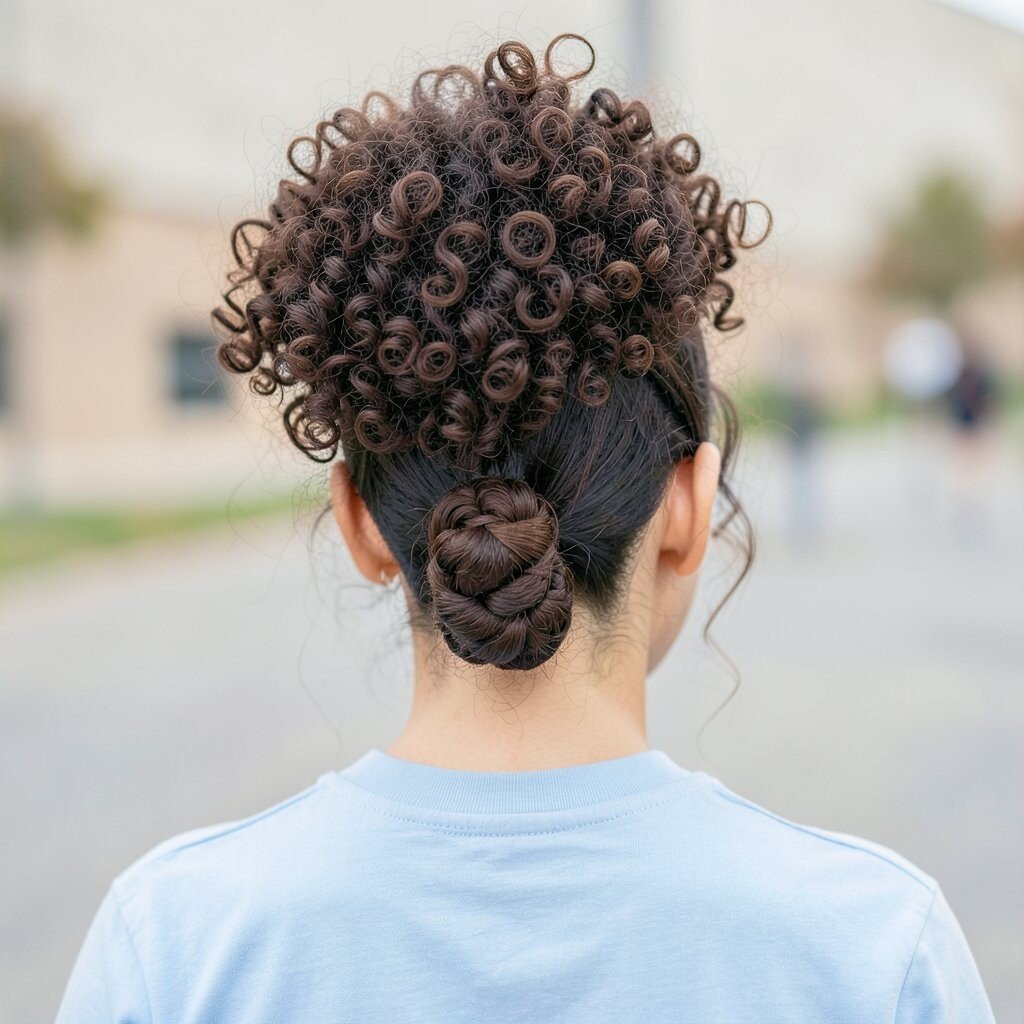
This knot looks fancy but it’s surprisingly simple. The curled pile at the back gives your hairstyle a lifted, glamorous shape.
Gather hair at the nape and twist it into a knot, then secure with pins and one tight elastic hidden underneath. To create bubble effect, wrap a few small elastics around the knot so it looks like soft segments rather than one flat twist. Let the ends wrap outward so curls fan into the knot like a flower.
Use a slightly stronger hold product on the knot area so it stays put during hugs and dancing. If you’re on a budget, bobby pins plus a reliable gel usually do the job better than buying lots of extras.
7. Pineapple Updo With a Ribbon Wrap
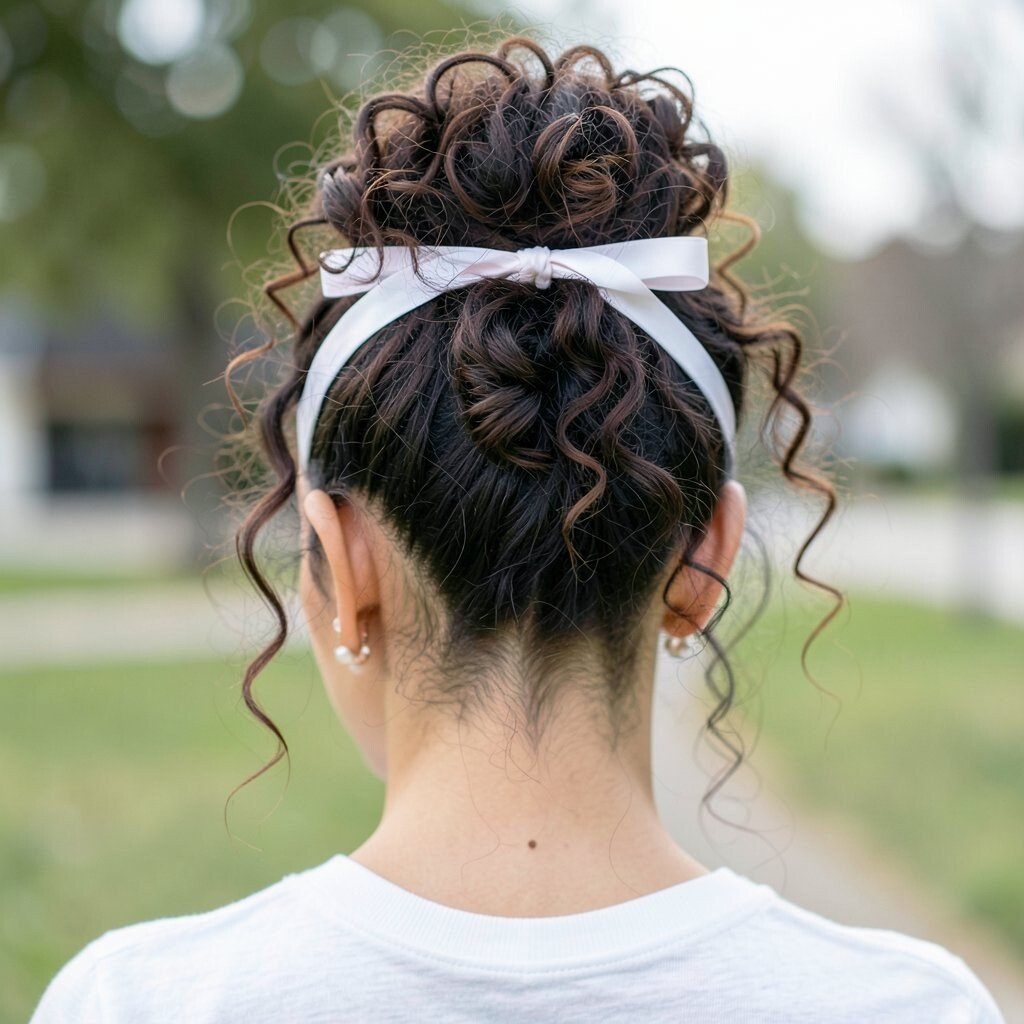
The pineapple method is an old favorite for a reason. It preserves your curls and still looks cute when you add a ribbon detail.
Gather hair on top of your head and secure loosely with a scrunchie, then smooth any frizz lightly around the base. Take a ribbon and wrap it around the scrunchie area, tying it in a small bow that sits near the crown. Let a few curls fall forward to soften the look.
This style is great for busy mornings because it doesn’t require lots of pins. It also keeps your curl pattern intact if you plan to touch up later before pictures.
8. Two-Chain Twist Crown With Soft Back Volume
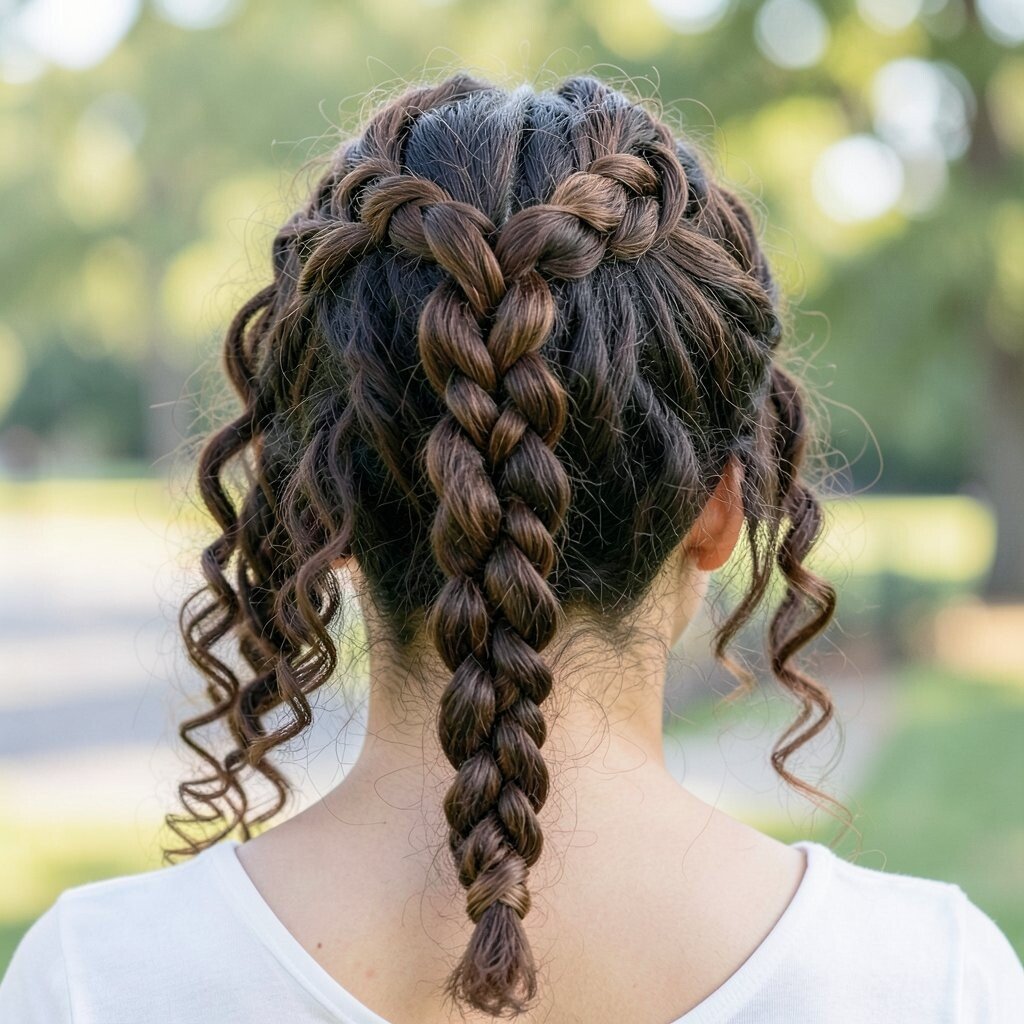
Two-chain twists create a clean, sculpted look that feels high-end. They also help keep curls from tangling in the back when you move all night.
Split hair into two sections and twist each side into a chain-like rope from front to back. Pin the twists into place along the crown, leaving the back full and puffy. Finish by gently pulling apart the twists with your fingers so they look fuller and more defined.
9. Waterfall Roll With Curl-Forward Texture
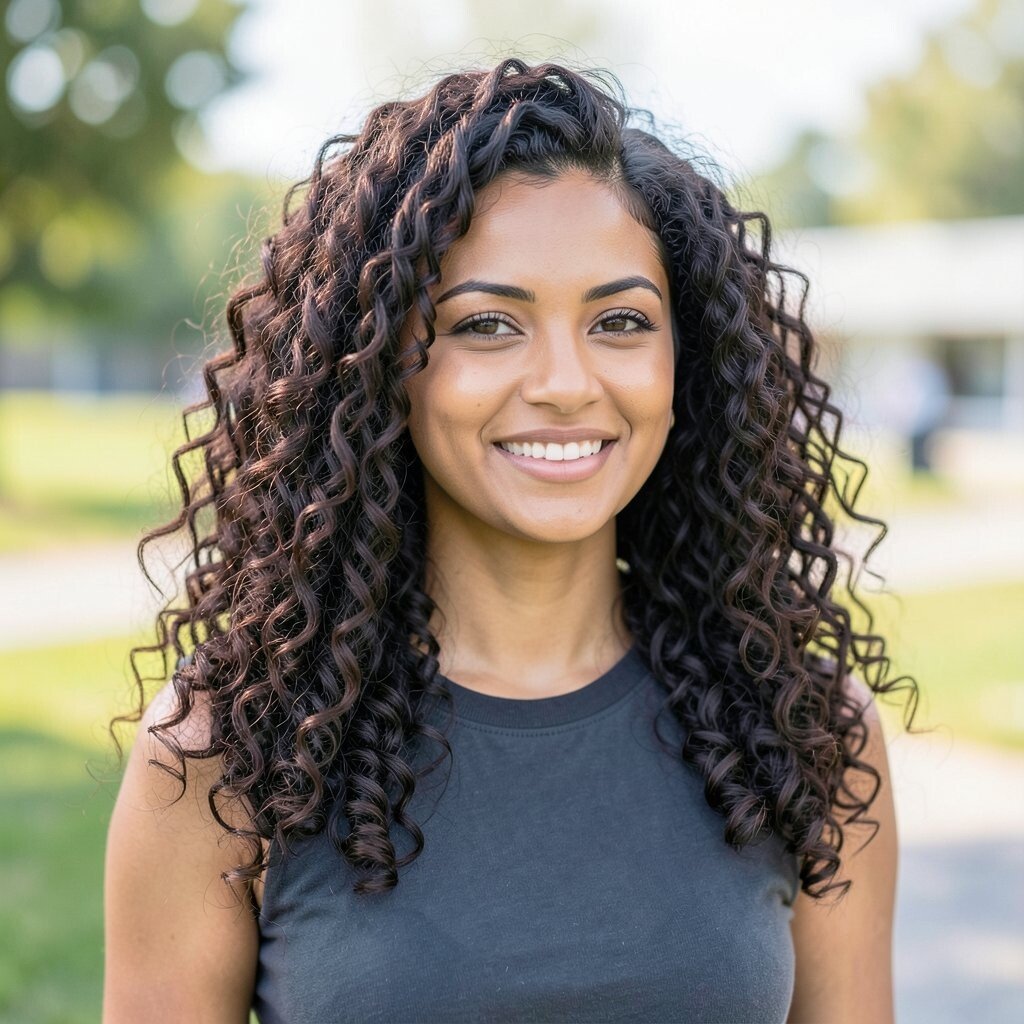
A waterfall roll feels romantic and full of motion. It’s perfect for curls because it lets your texture show instead of hiding it.
Create a partial roll at the top by pinning a small section forward while letting strands fall through in a curved pattern. As you roll, add small bits of hair into the pinned section so it looks like waves. Keep the rest of your curls loose for that flowing, homecoming-ready effect.
To avoid a stiff finish, use a flexible styling gel and brush only lightly before you pin. If you want it to last, spritz a bit of hair spray around the roll once everything is pinned securely.
10. High Puff With Curl-Stacked Scrunchie Placement
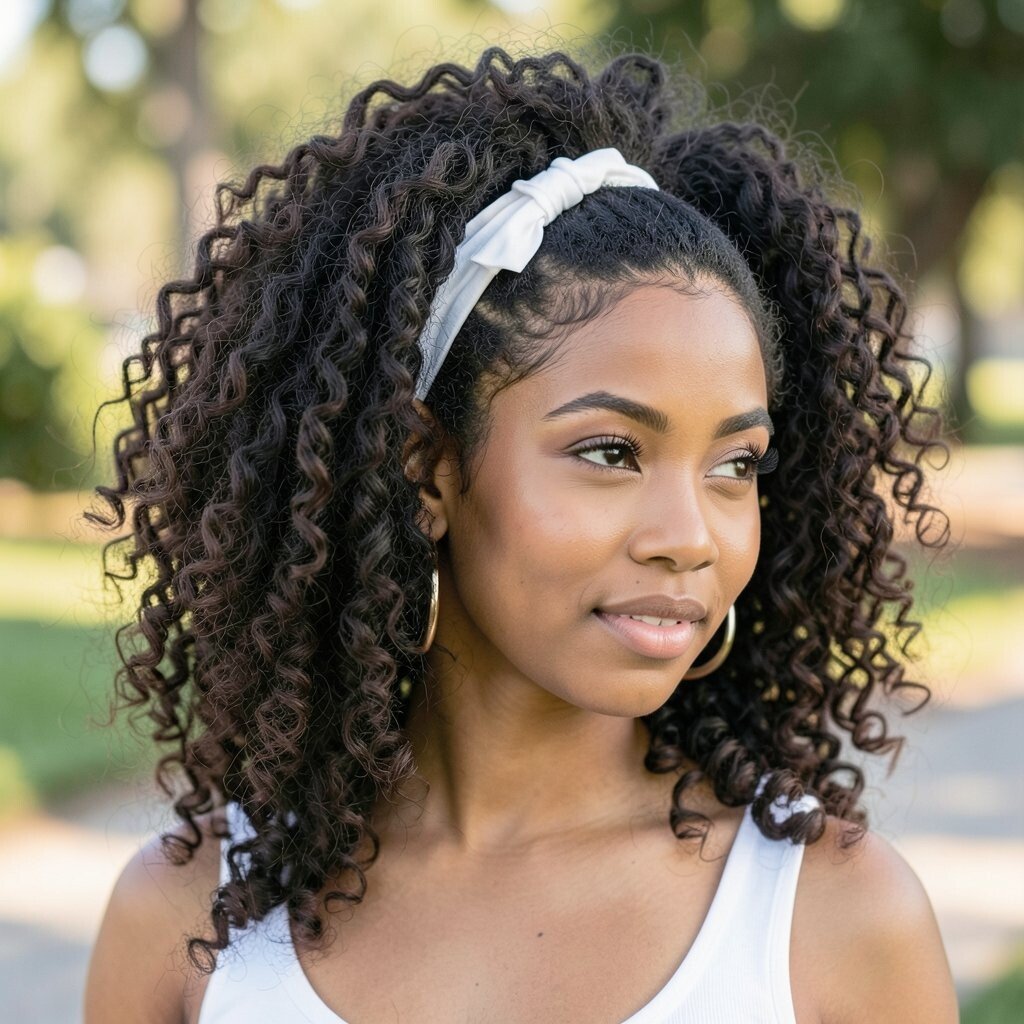
A high puff is bold, fun, and super flattering for curly hair. Curl-stacked scrunchie placement makes it look intentional, not accidental.
Gather hair into a high puff, then use multiple scrunchies or hair ties spaced slightly apart to “stack” curls. Push the puff gently upward so it creates height without pulling your hairline. Finish with a small amount of edge control only where you need it for smoothness.
This look is unique because it turns a simple puff into a styled shape. It’s also cost-friendly since you can build it with ties you already have and a reliable setting spray.
11. Low Bun With Two Curly Tendrils and a Side Clip
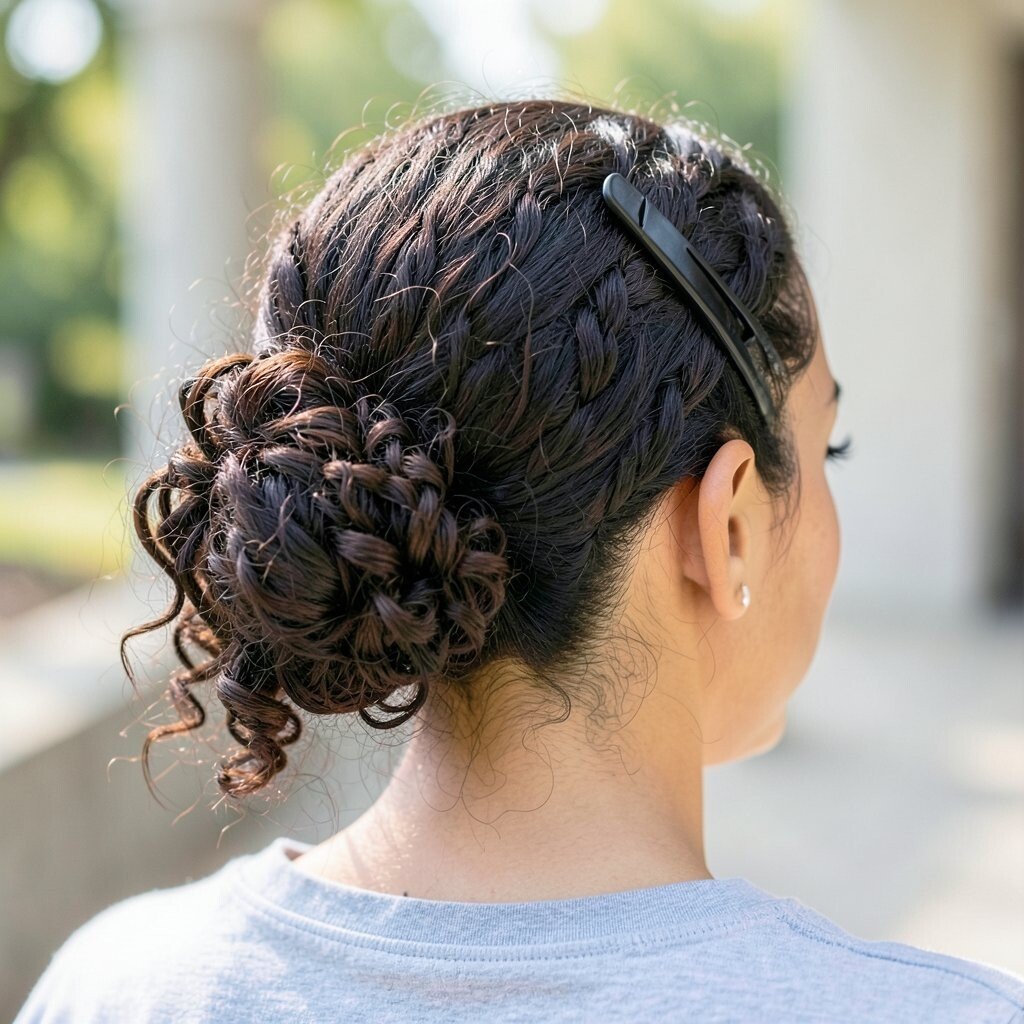
A low bun keeps things neat while the tendrils add softness. A side clip makes the whole look feel like it belongs at homecoming.
Twist your curls into a low bun at the nape, leaving two sections of front curls loose on each side. Secure the bun with pins and a light elastic if needed so it stays comfortable during the night. Place a decorative clip near one temple to catch the light in photos.
For practical styling, dampen the front curls and apply curl cream so tendrils curl in the right direction. If you want your bun to look fuller, gently pull the bun out with your fingers before pinning the final pieces.
12. Twisted Crown With Flower Pins in the Middle
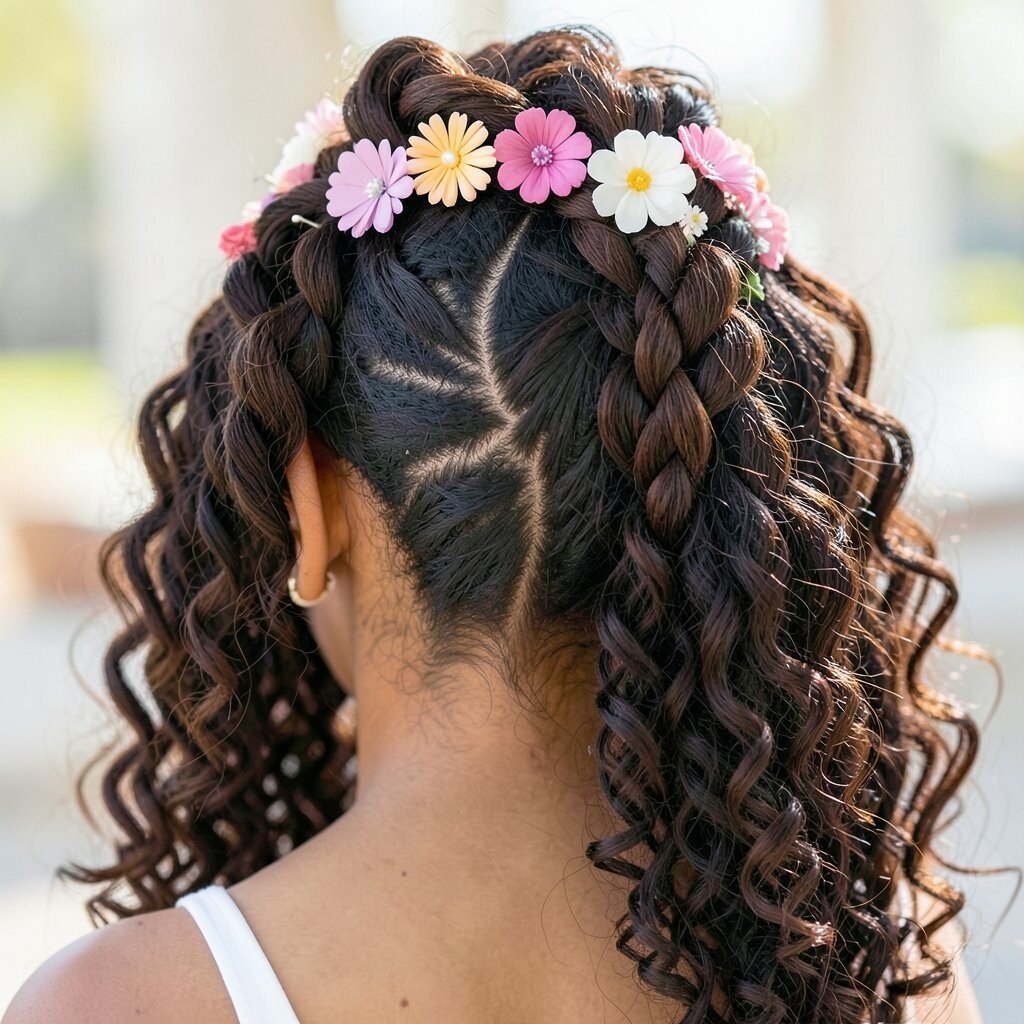
This crown style makes your curls look like they’re wearing art. Flower pins in the center add a sweet detail that feels classic.
Take small sections near your temples and twist them back toward the center of your head, pinning as you go. Build both sides until they meet, then pin any extra sections under so everything feels secure. Let the rest of your curls fall down naturally for that soft, romantic contrast.
Choose hair pins that match your outfit colors so the details feel coordinated. If you’re thinking about cost, decorative pins are often cheaper than a full set of extensions, and they give maximum impact for a small price.
13. Curly French Roll With a Hidden Elastic Base
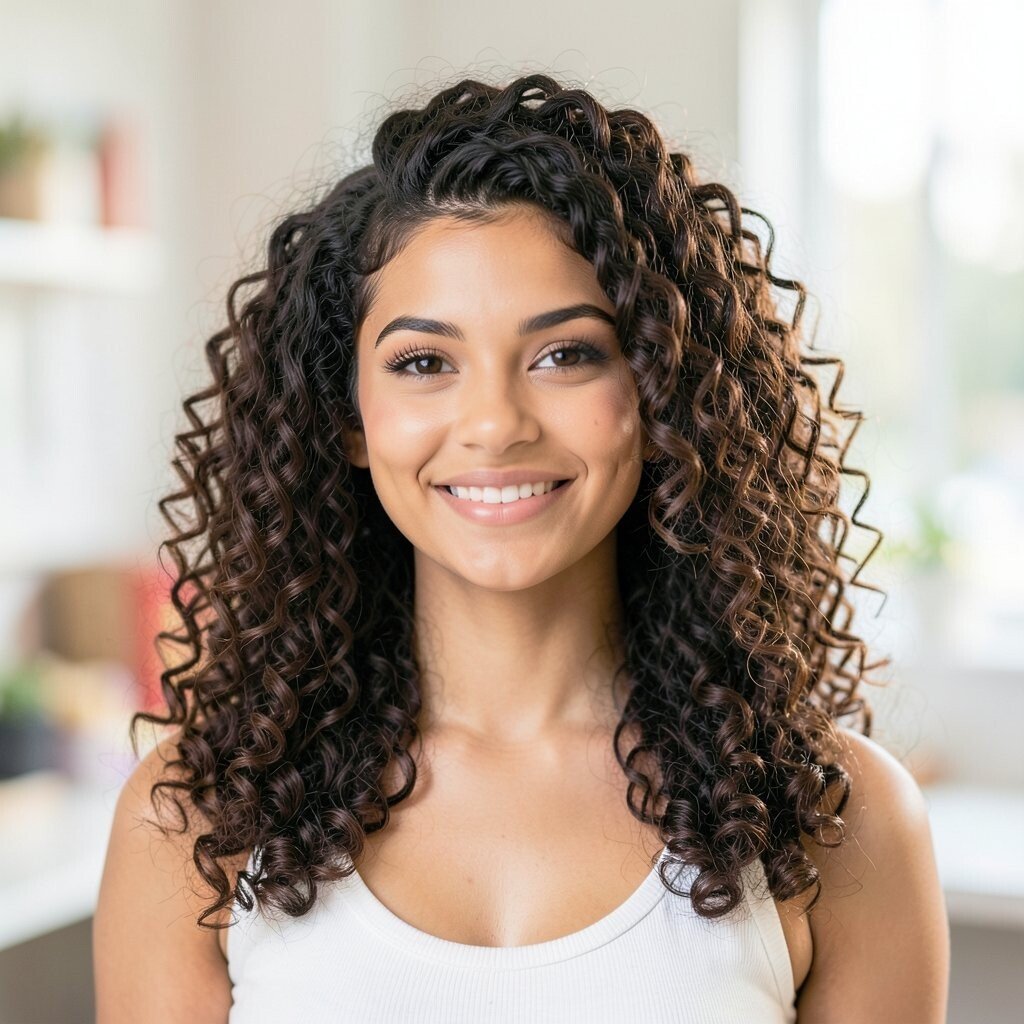
A French roll feels polished and grown-up, even with curls. Using a hidden elastic base keeps it stable and comfortable.
Start by detangling and applying a light gel to help curls cling together. Twist hair toward the back and roll it upward, pinning gradually until it forms a smooth shape. Tuck the ends in and use an elastic under the roll if your curls slip when you move.
This is a great trend-forward option because it looks sleek but still celebrates curl texture. To personalize it, add a small braid through one side before rolling so the roll has a subtle detail.
14. Side-Swept Crown Braids Into a Curly Pony
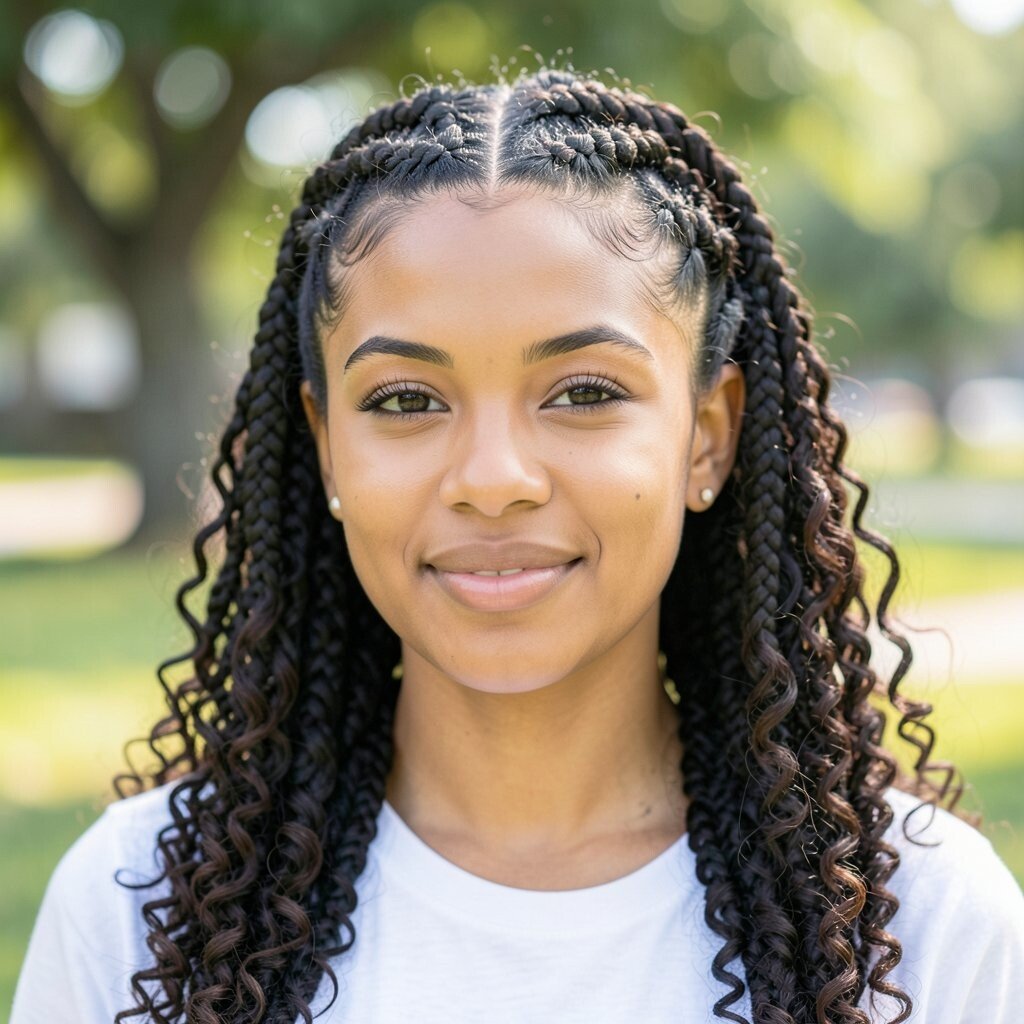
Side-swept crown braids make a ponytail look dramatic and styled. It’s a smart choice if your dress has an open shoulder or you want a strong silhouette.
Part hair to one side, then braid small crown sections around the top while keeping the rest gathered. Secure everything into a ponytail and let curls wrap around the base so the elastic disappears. Lightly fluff the ponytail so it looks full and springy.
Use a curl mousse to keep the braid area from frizzing, especially if your weather is humid. For personalization, add a thin ribbon around the base or use a metallic elastic that matches your jewelry.
15. Spiral Twist Mini Updo With Loose Ends
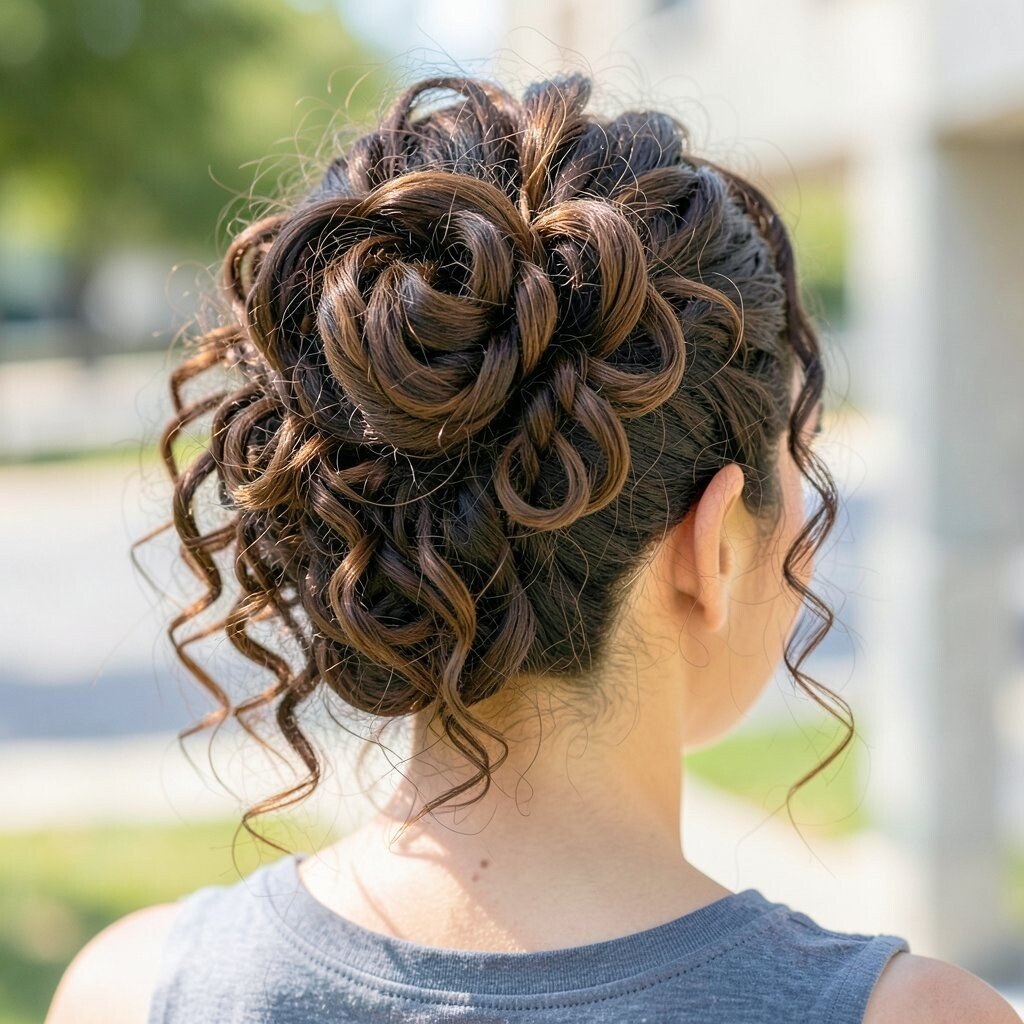
Spiral twist mini updos look playful without being messy. They give your curls a curated layout that feels youthful and fun.
Separate hair into a few small sections, then twist each section into a spiral and pin it close to your scalp. Keep the ends either tucked or left slightly free so they blend into your overall curl pattern. This creates a “many tiny styles” look that still feels cohesive.
To make it easier, work with curls that are slightly damp and use a curl cream for slip. If you want it to last longer, apply gel only on the pinned areas so you keep softness in the free sections.
16. Half-Up Braid Knot With a Curl Veil Effect
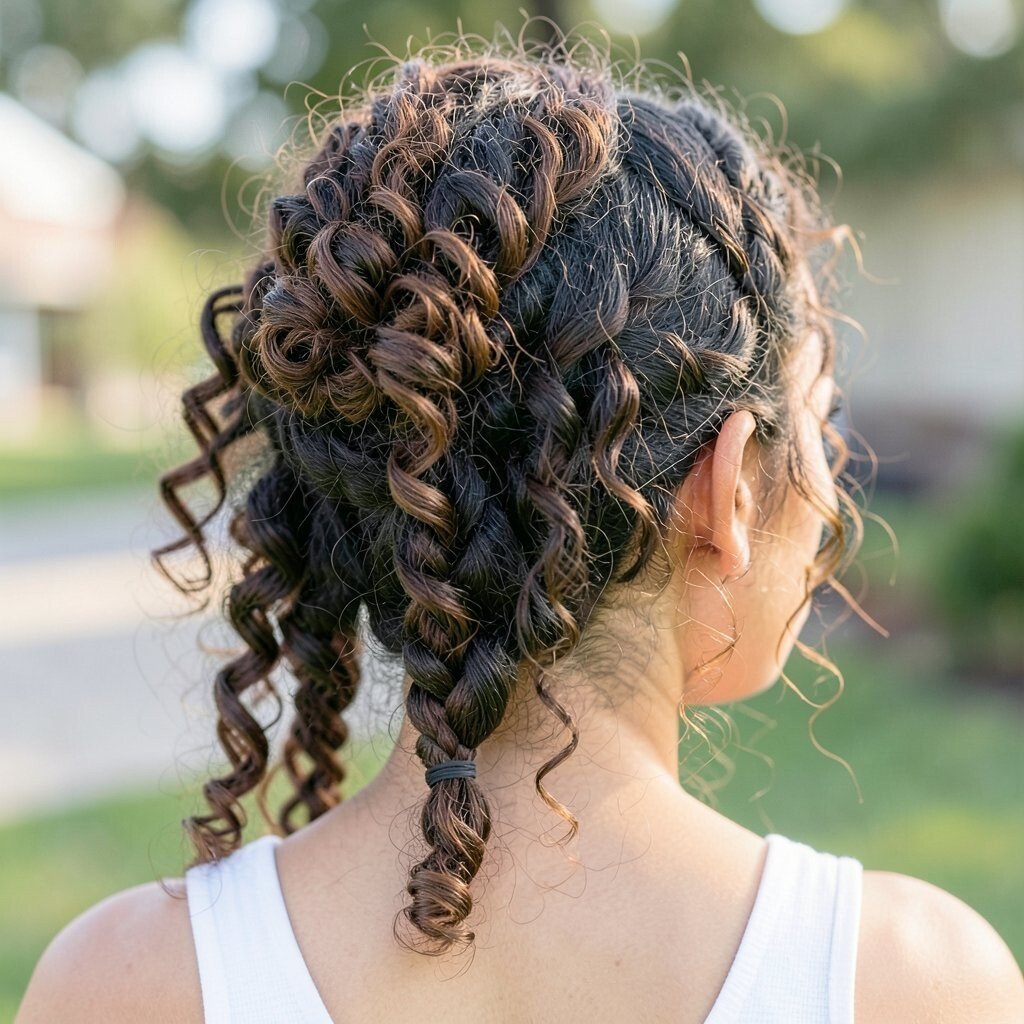
This style gives a lovely veil effect while still showing off your curls. The braid knot adds structure, and the rest of your hair stays romantic.
Create a half-up section, then braid it loosely and wrap it into a small knot near the crown. Pin the knot securely, then smooth the front curls with your fingers so they flow over the knot. Let the remaining curls hang naturally for that dreamy homecoming look.
If you want a trendier vibe, keep the braid slightly wider and less tight so it looks airy. For cost, you can skip fancy tools and just rely on good pins and a light styling product.
17. Velvet-Soft Twist-Out Crown With Hair Jewelry
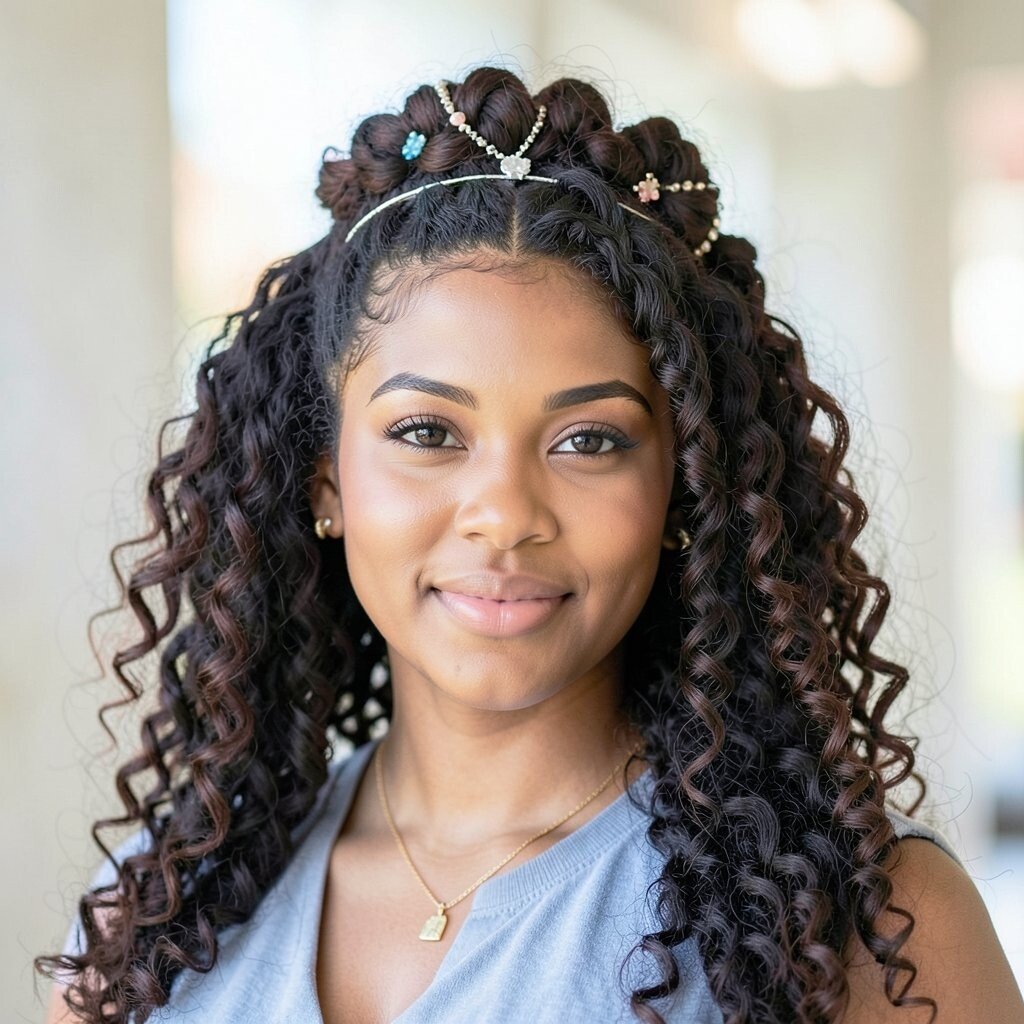
A twist-out crown makes curls look extra defined and soft. Add hair jewelry and your whole hairstyle feels like it was made for a special event.
Before styling, create twist-outs or twist sections on damp hair, then allow them to set until the curls look springy. Then pin a crown section forward-to-back so it forms a soft loop around your head. Keep the rest of your twist-out curls loose so you get texture you can actually feel.
To personalize, choose hair jewelry that matches your earrings or clutch, like small pearls or a glittery chain. If your curls are naturally shiny, use less product so the crown looks velvet-smooth instead of heavy.
18. Glowy Loose Curls With Scarf-Wrapped Texture Accent
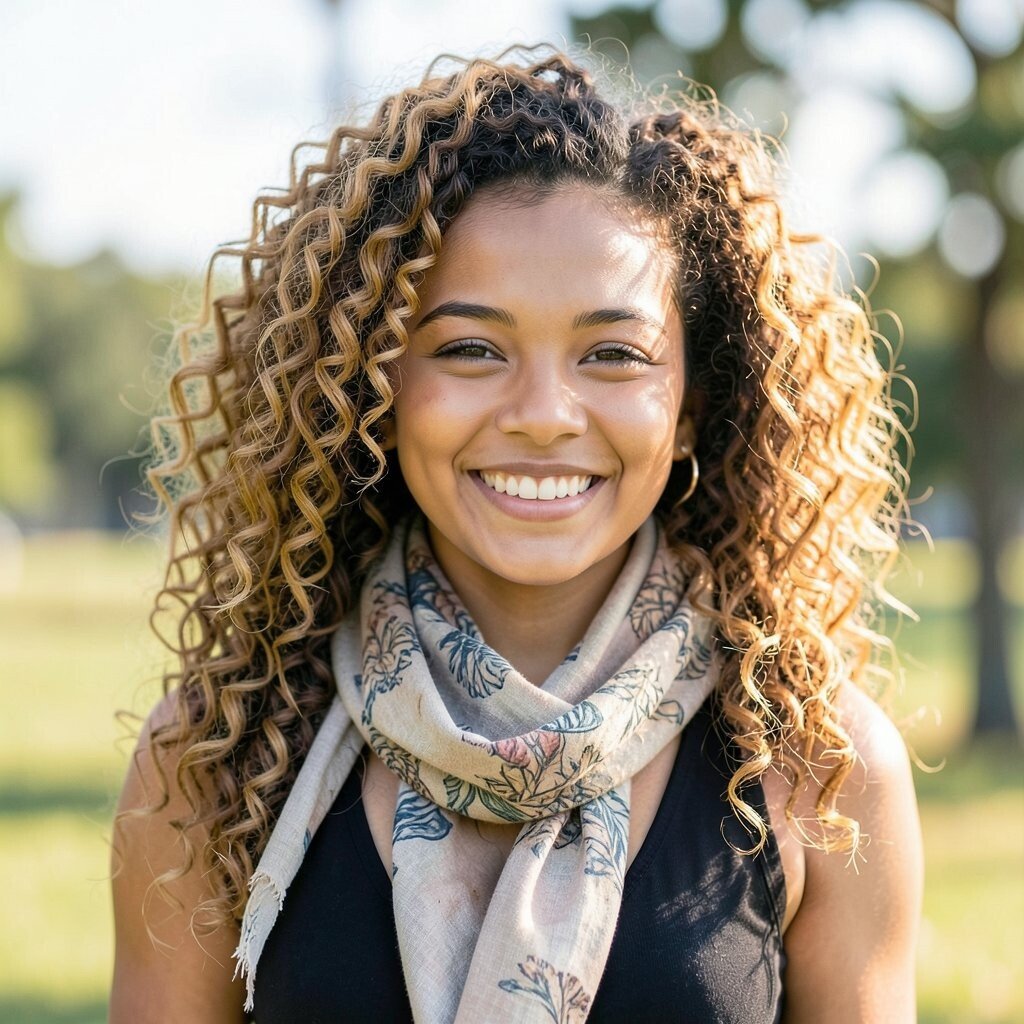
Sometimes the simplest look is the prettiest, especially for curly hair. A scarf-wrapped accent turns loose curls into a full homecoming statement.
Start with your best curl routine for defined ringlets, then drape a small scarf across your head at an angle. Tie it lightly near the side so the scarf forms a textured accent while your curls keep flowing behind it. Finish by gently adjusting the scarf until it frames your cheekbones.
This idea is unique because it mixes soft fabric with natural texture, and it feels comfortable throughout the night. For practical styling, use a satin scarf to reduce friction and minimize frizz, and keep a few bobby pins nearby in case you need to secure a corner.