Morning traffic is bad enough without fighting tangles. These hair hacks help you save time while still making hair look great.
Your kid’s hair can look neat, feel comfortable, and hold up through the school day with a little planning and smart tricks.
1. The Backward Brush Start

Start by brushing from the back of the head toward the crown, then finish with gentle strokes downward. You’ll spot knots faster because they pop out more clearly when you work against the usual direction.
Use a soft detangling brush or a wide-tooth comb, and pause whenever you feel resistance. This reduces tugging, helps hair lie smoother, and can even cut down on split ends over time. If you’re in a rush, keep a small spray bottle of water nearby so you can lightly re-wet the ends before brushing.
2. Twist-Then-Clip For Instant Volume
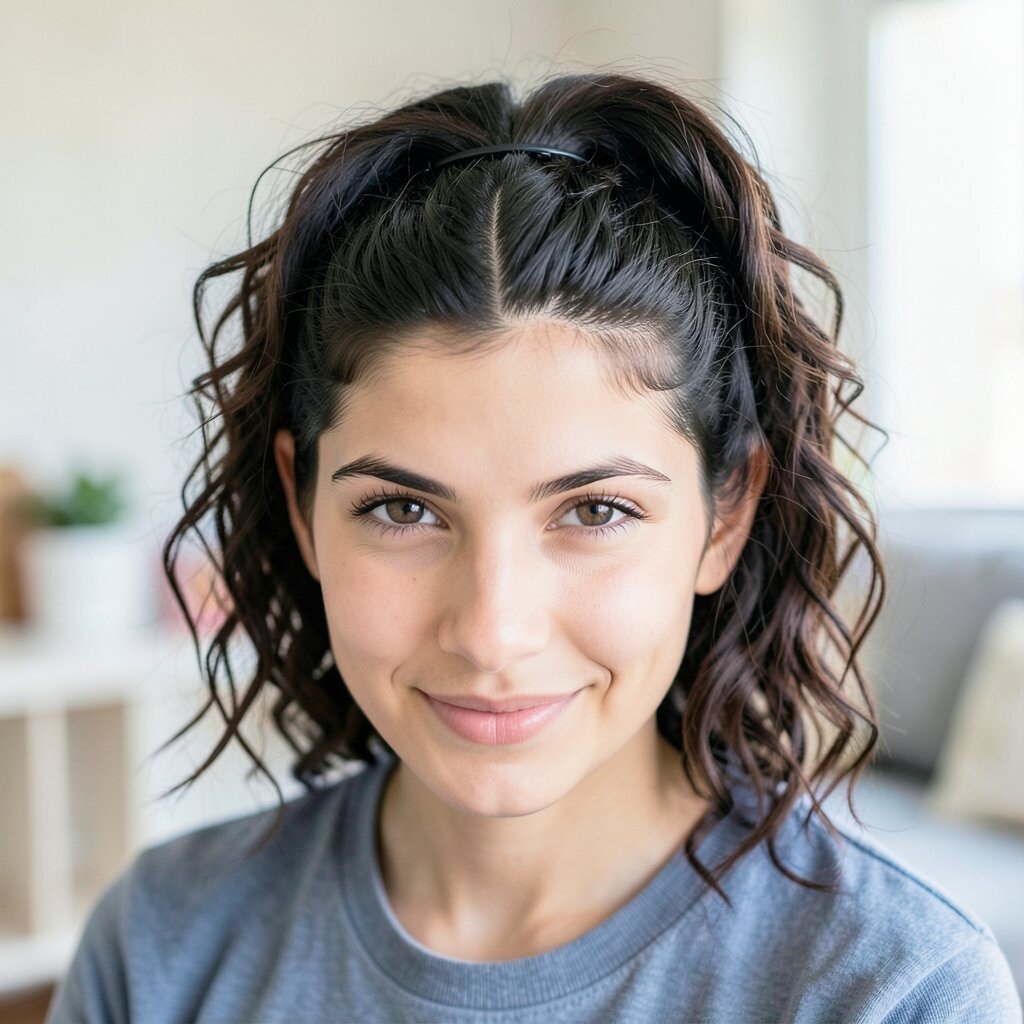
Gather damp hair into small sections at the top, twist each section lightly, and clip it in place. When you remove the clips later, you get bouncy lift at the roots without needing hot tools.
This works especially well for fine hair that flattens quickly. It’s also a nice look for busy mornings because you can do it in minutes and let the twists do the styling work while you handle backpacks.
For personalization, choose the size of twists based on hair thickness, and switch to a headband clip for a cleaner finish. To keep costs low, use hair clips you already own and a leave-in conditioner you trust. Right now, soft “effortless lift” styles are popular, and this gives that vibe without extra steps.
3. Sock Braid For Cleaner Waves

After a quick comb-through, braid the hair into two or three loose braids, then secure with a fabric tie. For the easiest upgrade, sleep-friendly sock bands can hold the braids without dents or metal pressure.
In the morning, you’ll see smoother waves that look intentional instead of frizzy. This is great for kids who hate hair that feels crunchy, and it keeps the style comfortable for playtime.
Make it unique by placing the braids higher for a sporty look or lower for a softer, more classic finish. If your mornings are wet and humid, mist hair with a light anti-frizz spray before braiding. You’ll likely use what you already have, so the cost stays almost nothing.
4. The Two-Second Scalp Mist
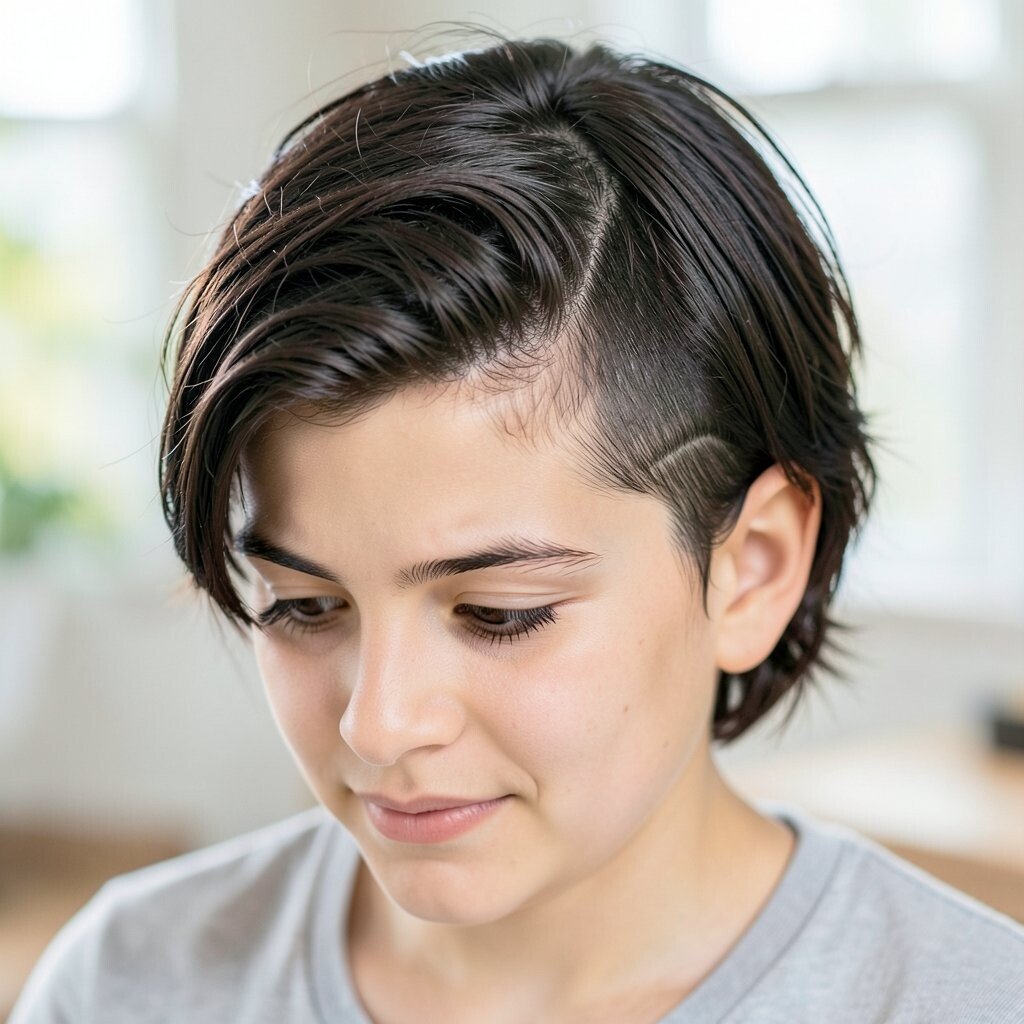
A tiny mist of water on the scalp and hairline can change everything when hair looks dry. Use a spray bottle and aim lightly at the roots, then smooth with your hands.
This quick refresh wakes up hair shape and helps products blend so the style looks polished. It also makes brushing feel easier, which is a win when patience is running low.
5. Slip-Satin Pillowcase Switch
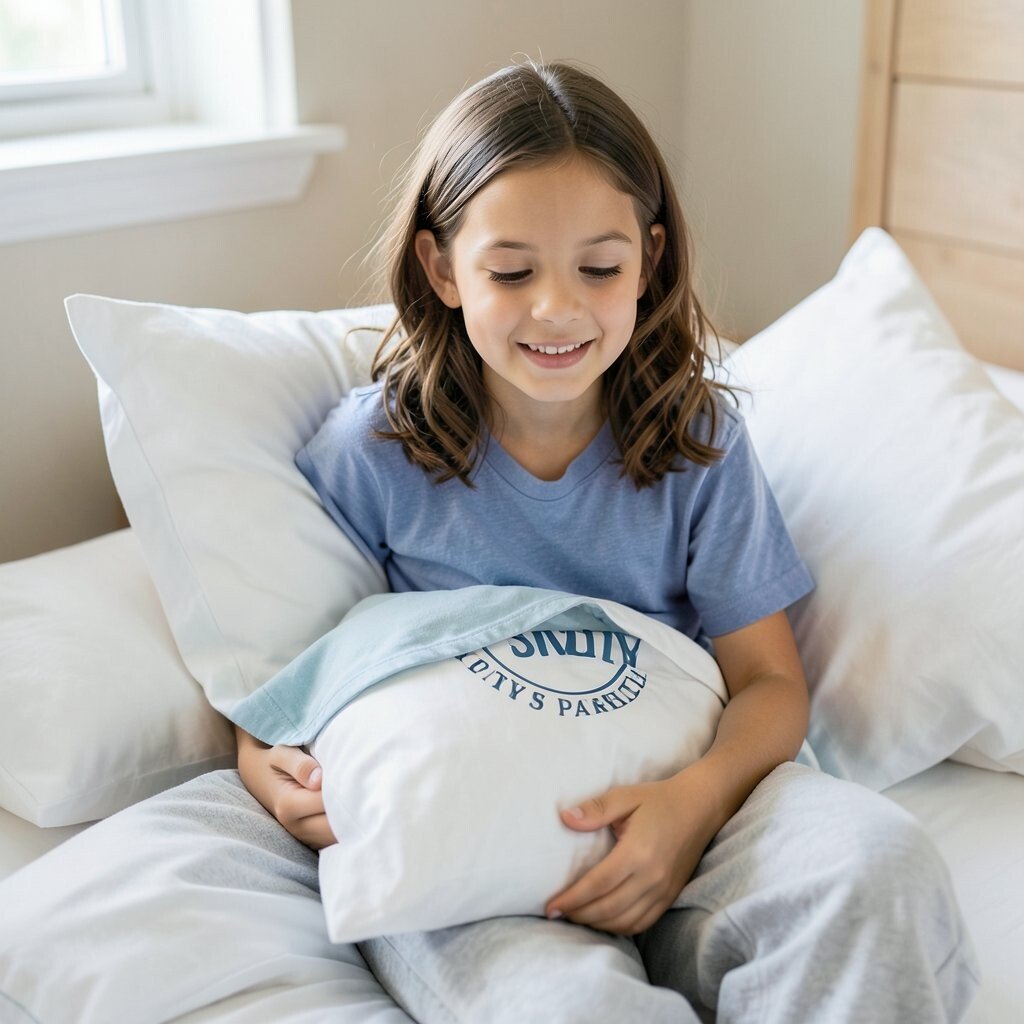
If your child wakes up with bedhead, a satin or silk pillowcase is a simple upgrade. It helps hair slide instead of grabbing fibers, which means less tangling overnight.
You’ll often notice smoother hair texture and fewer knots around the crown. This also supports hairstyles that need to last longer, like braids or ponytails.
Choose a pillowcase in your kid’s favorite color to make the switch feel fun. While it’s not the cheapest option upfront, it can replace detangling products you use daily. Many families are choosing satin accessories now because they look good and work well.
6. Ponytail Sandwich With a Soft Hair Band
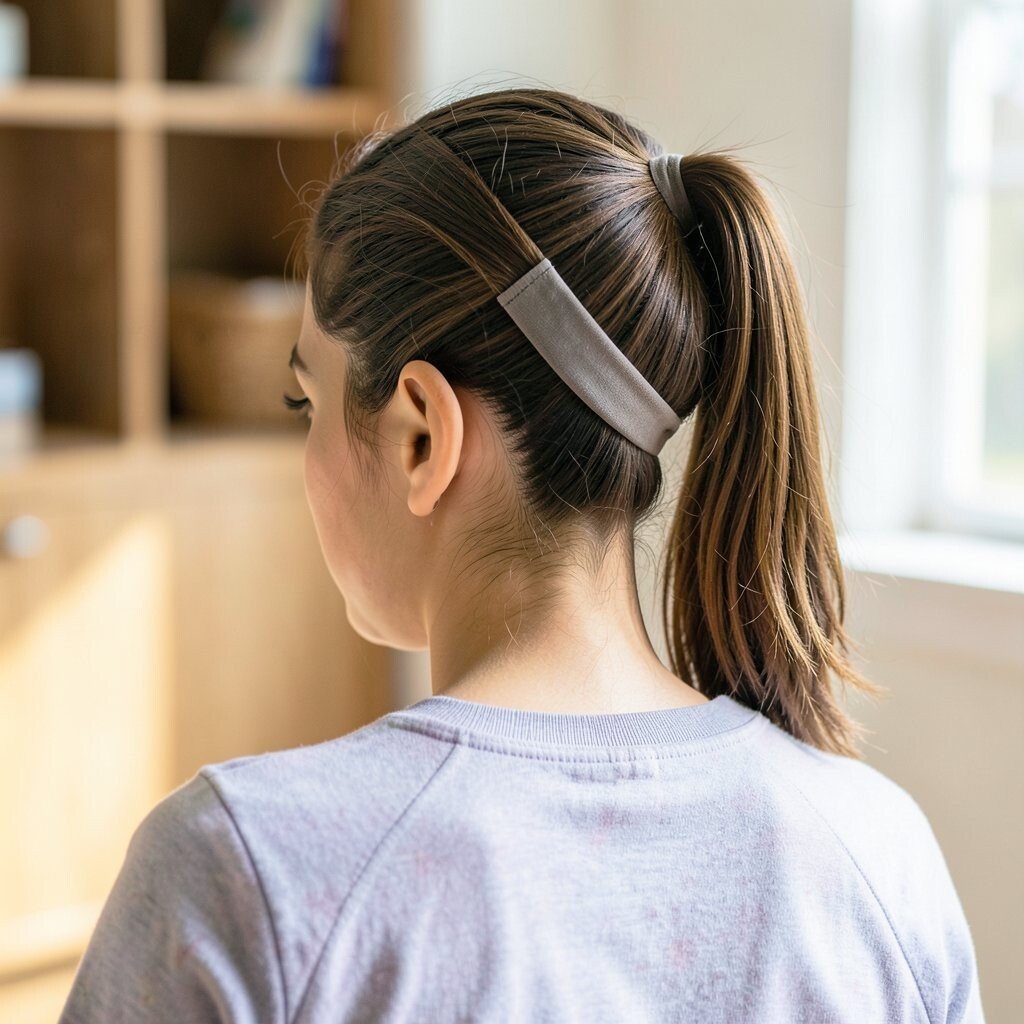
For a ponytail that doesn’t slip, place a soft elastic in first, then add a second small tie slightly above it. This creates a “sandwich” effect that holds the hair in place without pulling too tight.
The benefit is a ponytail that stays neat for school pictures, sports, and recess. It also helps protect hair that’s prone to flyaways because the hair is held at multiple points.
Personalize it by using colorful elastics for the lower tie and a matching one for the top. If your budget is tight, buy a small pack of quality elastics once and reuse them. This style fits current trends toward playful, practical hair accessories that still look tidy.
7. Edge Brush With a Toothbrush Alternative
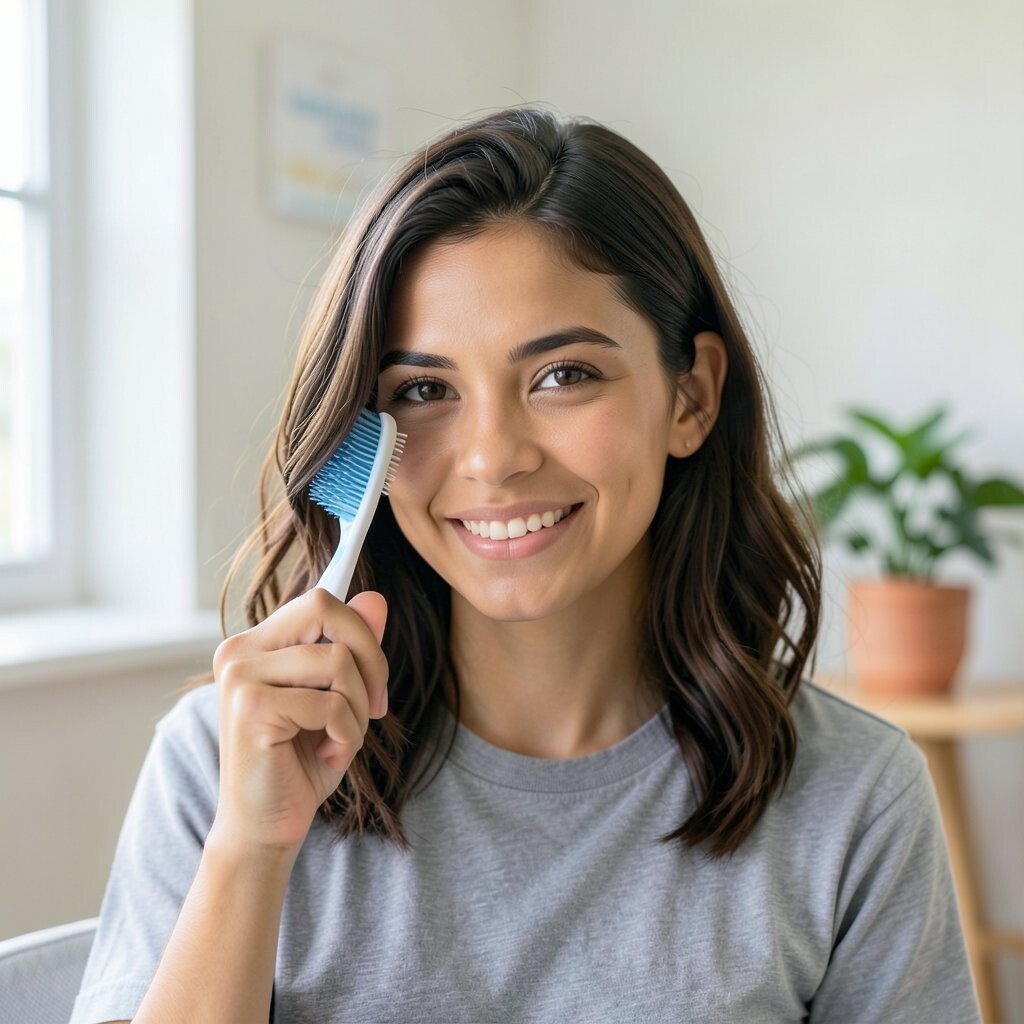
Instead of using a harsh brush, use a clean soft-bristle toothbrush or a mini edge brush for tiny smoothing. Lightly dampen the bristles and glide along the hairline to tame flyaways.
You’ll see a cleaner silhouette around the forehead and ears, which makes hair look “done” fast. It’s also gentle when you use light pressure, so it won’t cause discomfort.
8. Damp-To-Smooth With Leave-In Conditioner
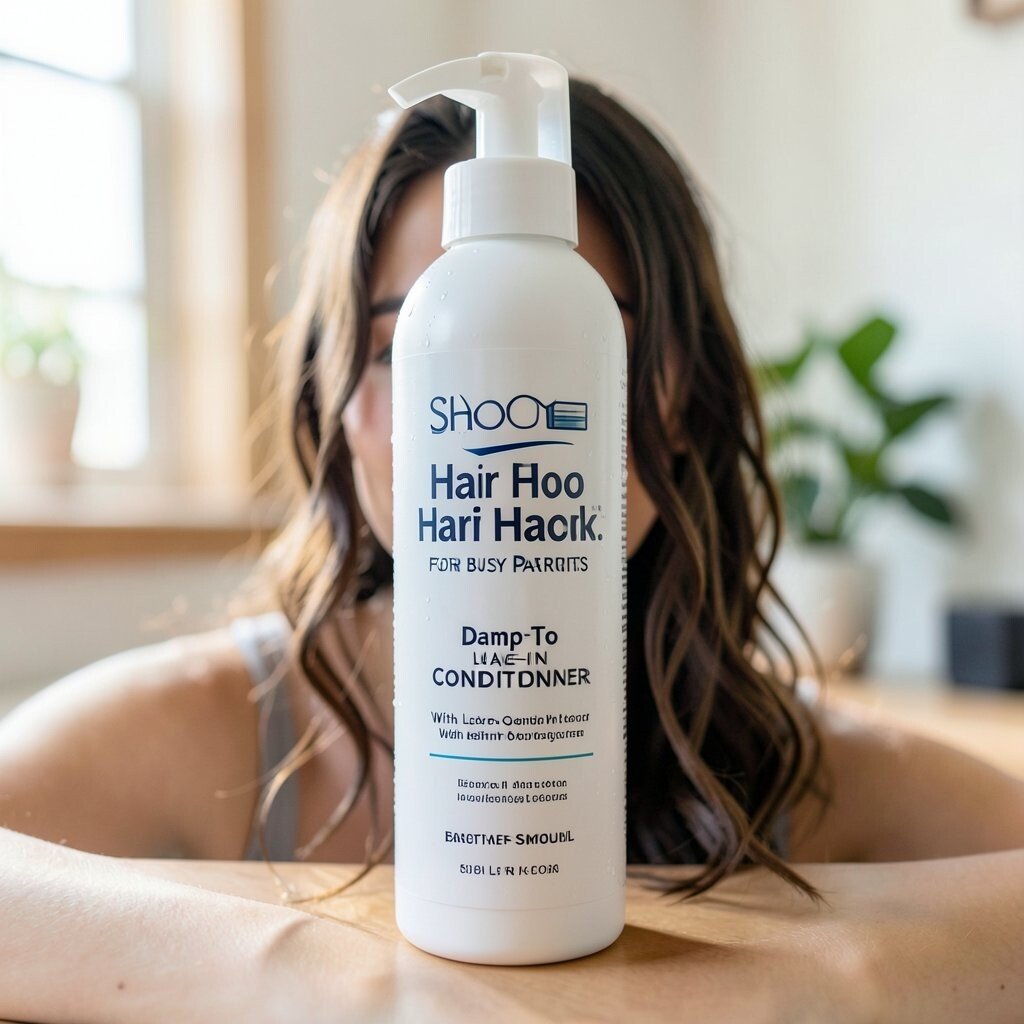
Apply a pea-sized amount of leave-in conditioner to damp hair, focusing on the mid-lengths and ends. Then comb once and press the hair down with your palms.
This keeps strands soft while helping styles hold longer, especially on curly or wavy hair. The practical payoff is less frizz and fewer touch-ups before leaving the house.
For personalization, use thicker leave-in creams for coarse hair and lighter lotions for fine hair. Many parents already have one tucked in a bathroom cabinet, so the cost stays minimal. Moisture-first routines are trending because they protect hair from daily dryness.
9. The Headband Wrap Over Loose Ends
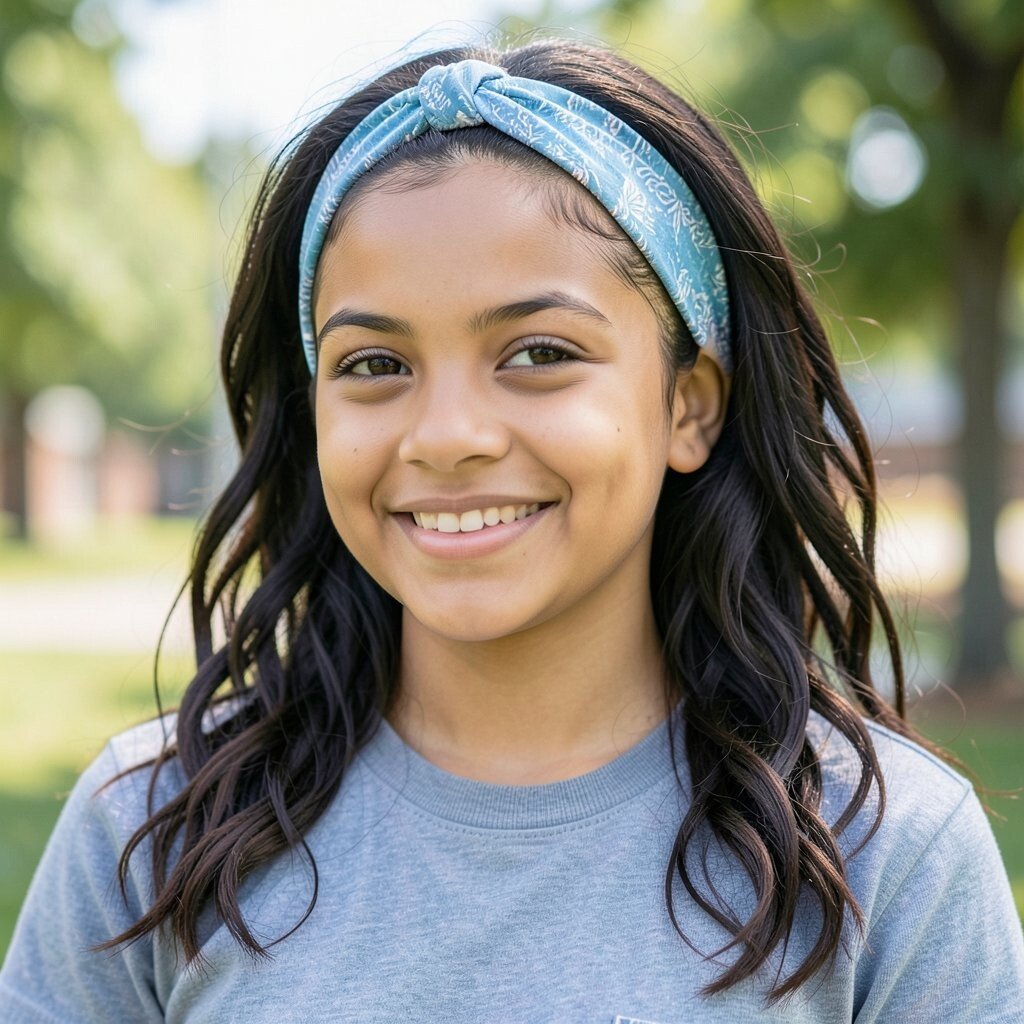
Slide a headband on the forehead, then tuck small loose sections of hair under it as you move around the head. Leave a little natural texture on purpose so it doesn’t look too strict.
This hack turns random flyaways into a deliberate style without needing extra tools. It’s also great for kids who can’t sit still for long, since you can do it while they walk.
If your child has bangs, position the headband so the bangs settle nicely. For cost, fabric headbands are usually affordable and last for a long time. This look fits the current mood of playful “soft control” accessories that feel comfy.
10. Braided Crown On The Go
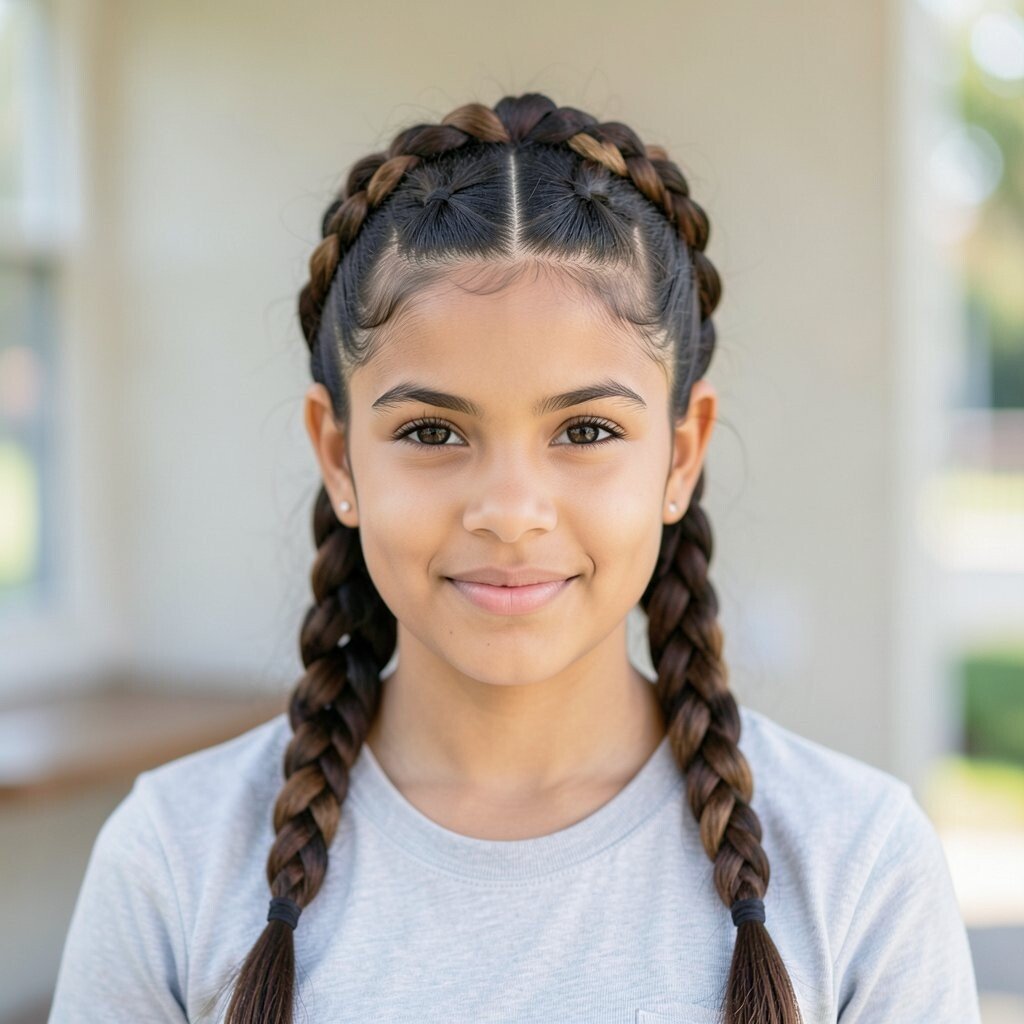
Create a half-up braid along the sides, then cross it over the top and secure at the back. Make it slightly loose for comfort, and pull gently at the braid afterward for a fuller look.
A braided crown keeps hair off the face and looks fancy without being hard. The hairstyle also stays put during running, climbing, and classroom movement.
11. Micro-Bun For Short Hair Or Layers

If your child has shorter hair or lots of layers, try a micro-bun near the crown or at the side. Twist a small section, coil it into a tiny bun, and secure with a bobby pin.
It’s a neat way to corral layers that pop out and distract from a clean silhouette. Plus, micro-styles look cute in photos and feel playful for kids.
Personalize it by adding a tiny clip or using a clip that matches school colors. Costs stay low because bobby pins and hair ties are usually inexpensive. This style matches the trend toward small, “characterful” details that don’t require complicated braiding.
12. The Quick Refresh Dry Shampoo Trick

On mornings when hair looks a little flat, use a small amount of dry shampoo on the roots. Massage it in with your fingertips, then brush lightly so it spreads evenly.
Your child’s hair can look less greasy and more “just styled,” even if they washed it the night before. This can help you skip one extra wash during the week, which saves time and can reduce shampoo stress on hair.
13. Velcro Hair Roller For Set-Then-Go Texture
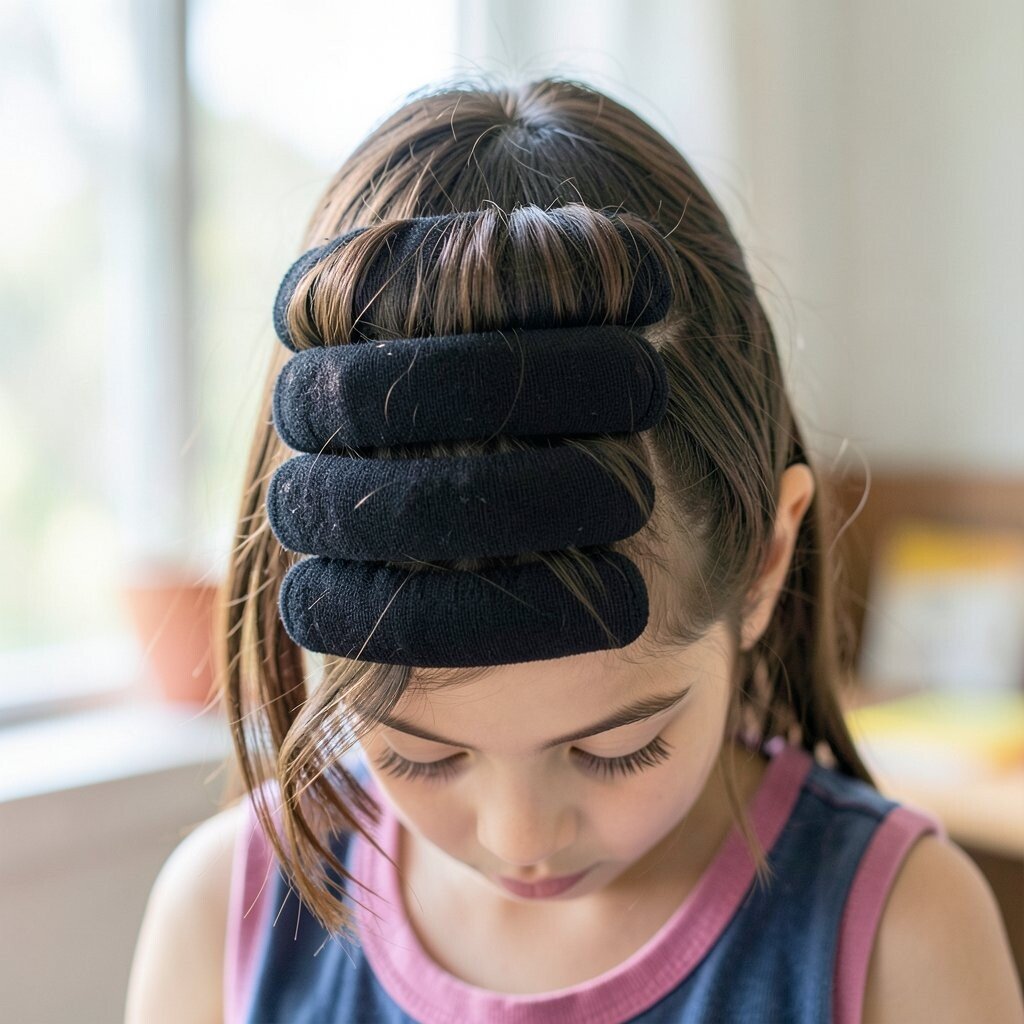
Use a foam or Velcro hair roller on damp sections, then let it set while you do breakfast and shoes. Choose loose roller sizes to get soft movement rather than tight ringlets.
When you remove the roller, you get smooth texture that holds up through backpacks and lunch. It’s a fun routine that can make your child feel like hair day is special.
For personalization, roll near the front for face-framing waves or keep it toward the sides for a sporty look. The cost can be modest if you buy one set and reuse it often. Many families are bringing back gentle “set” styling because it looks natural and avoids heavy heat.
14. Mini Hair Clips Instead Of One Big Tie
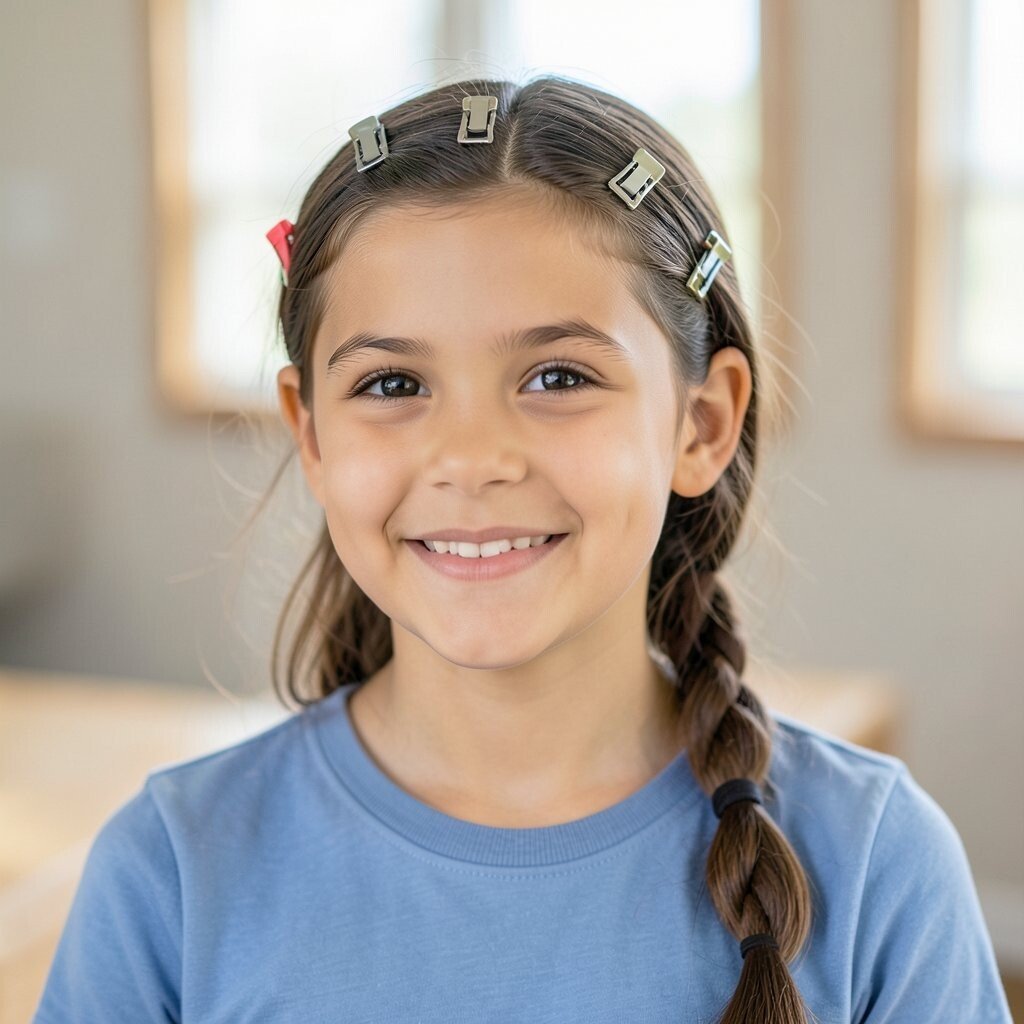
Instead of one full elastic, use a few small hair clips to gather sections toward the back. Start with the sides, clip them in place, then add one or two clips at the back for support.
This hack prevents the tight “dent” elastic can leave and reduces pulling, which kids often appreciate. It also gives you a customizable look that adapts to different hair lengths.
Personalize it by using patterned clips or mixing clip colors for a playful vibe. Cost is usually lower than specialized tools because clips are affordable. Right now, more parents are choosing flexible styling because it feels kinder and looks modern.
15. The Conditioner-Then-Brush For Curly Coils
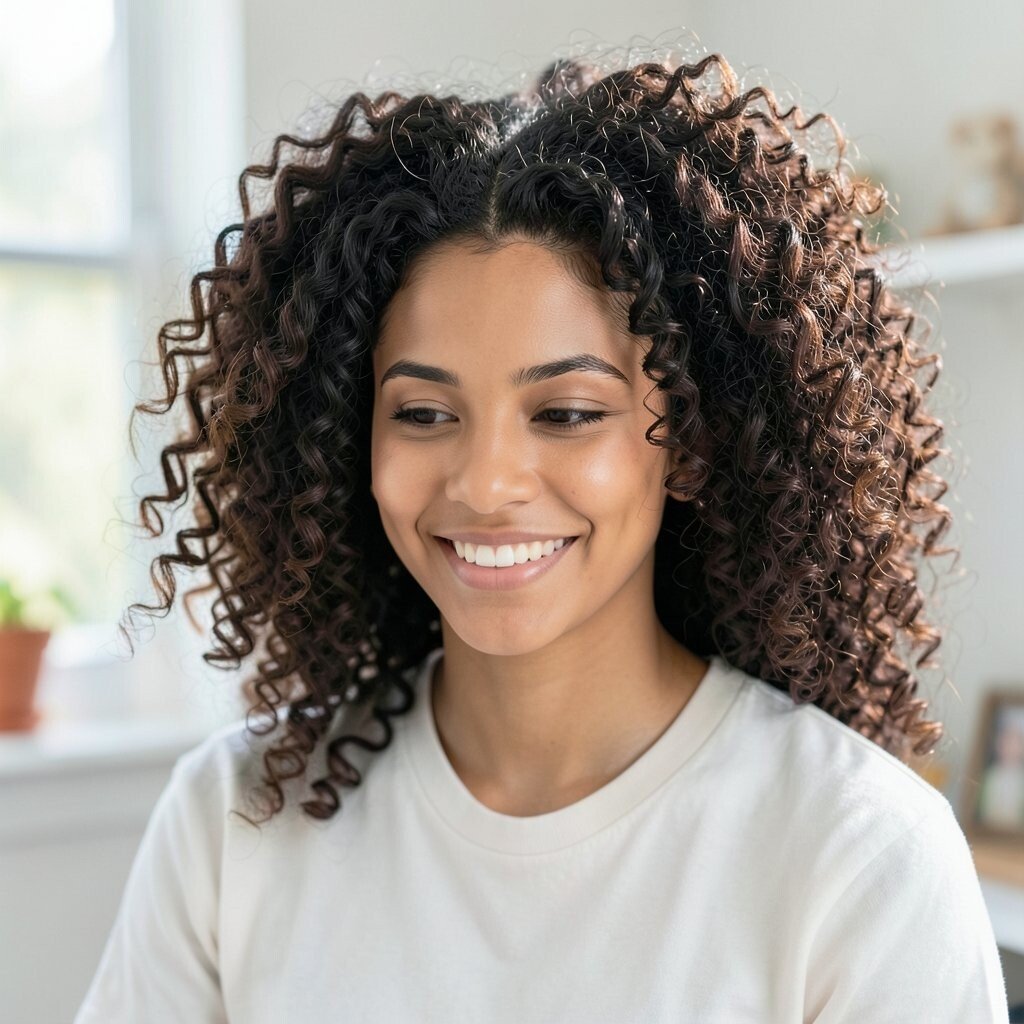
For curly hair, finger-comb a little conditioner through damp curls, then use a wide-tooth comb only if needed. Start at the ends and move upward to avoid breakage.
This keeps curls defined and reduces frizz, especially when hair is prone to dryness. The benefit is clear, touchable curls that still look neat by morning announcements.
Personalize by choosing gel for more hold or a light cream for softer volume. If you’re watching costs, use small amounts and focus on ends first since that’s where dryness shows. Curly routines are trending toward gentle methods, and this one fits that mood perfectly.
16. Laundry-Day Braids For Bedtime Prep
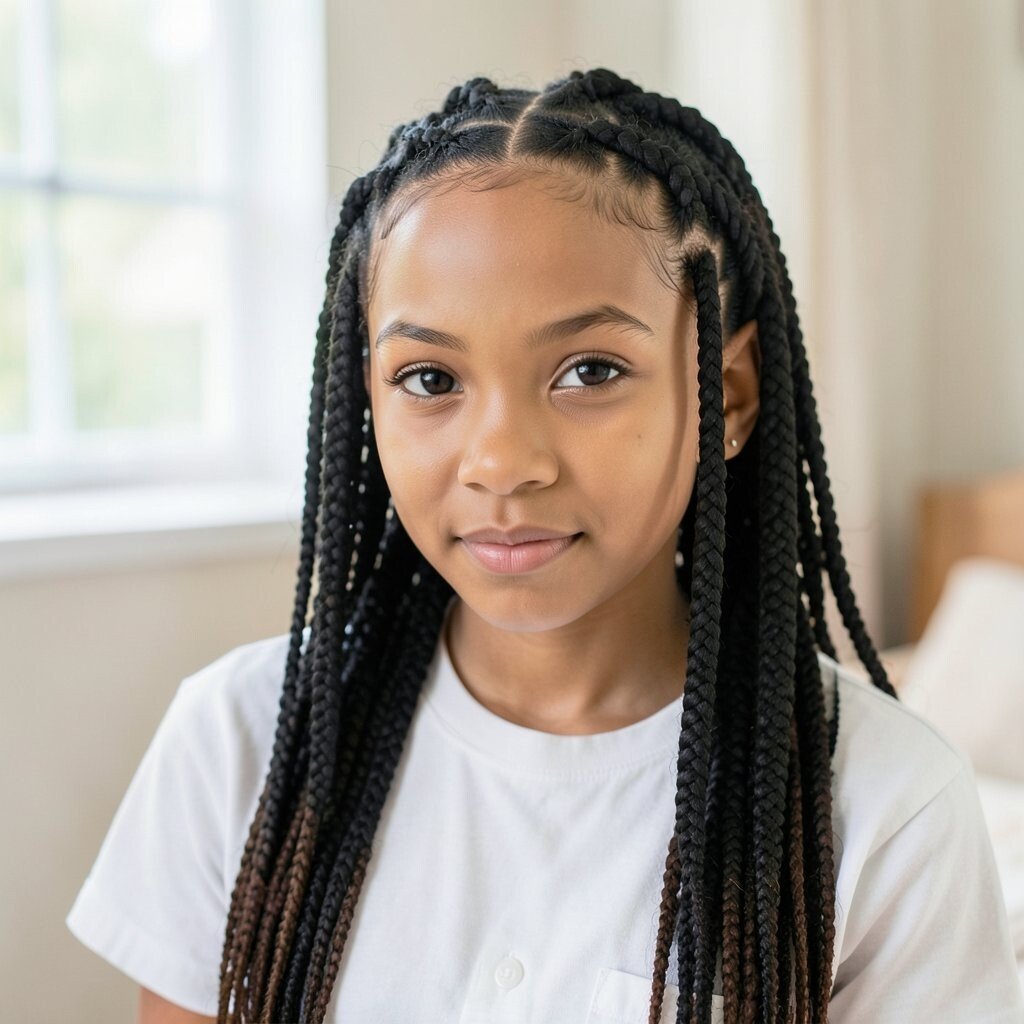
When you’re doing laundry, take a moment to braid hair lightly into two or three sections before sleep. Use soft elastics and keep the braids gentle so they don’t stress your child’s scalp.
In the morning, the braids undo into tidy waves with much less effort than starting from scratch. This saves time, reduces detangling fighting, and helps hair look smoother with less frizz.
Personalize it by changing braid placement for different looks, like side part waves or full crown braids. The cost stays very low because this uses basic supplies and your routine already happening. Many parents are leaning into “overnight style planning” because it fits real life and makes mornings calmer.