Polka dots have a playful way of making even simple gifts feel special. They add charm, color, and a little bit of surprise before anyone even opens the box.
With the right paper, ribbon, and a few smart details, your wrapping can look cozy, modern, or festive in minutes. Below are many ways to use polka dots so your presents feel cheerful and personal.
1. Classic Circle Pop With Matching Tissue

Start with a solid wrapping paper covered in evenly spaced polka dots in one main color. Add tissue paper that repeats the same dots but uses a smaller scale so the layers look intentional.
This method looks clean and confident, like a card from a happy stationery shop. It also makes unwrapping fun because the gift reveals polka dot patterns at more than one moment.
2. Layered Polka Dot Bands Around a Kraft Box
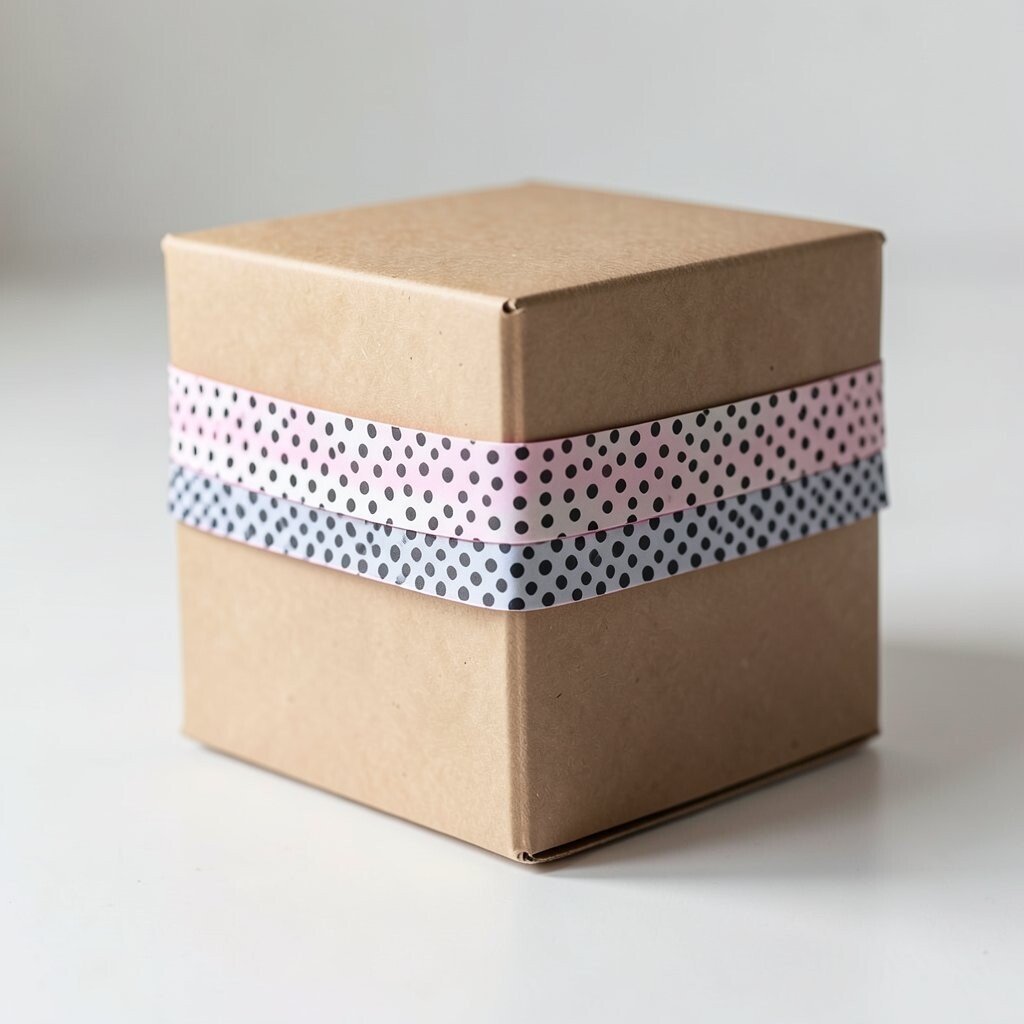
Wrap a kraft box in plain brown paper, then add two or three horizontal bands made from polka dot washi tape. Place the bands at different heights so the design feels lively and not too perfect.
It’s practical because tape hides small dents and keeps corners crisp while you work. You can personalize by matching the band colors to your recipient’s favorite shades, like sage and mustard for a calm look or red and teal for a bold one.
For cost, washi tape is often cheaper than full sheets of patterned wrapping. A quick trend right now is using tape as “design stripes,” especially on kraft because it looks modern and eco-friendly.
3. Tiny Dot Tags That Turn the Ribbon Into a Frame

Pick a wrapping paper with larger polka dots, then keep the ribbon solid so the dots can shine. Tie a ribbon around the gift and add a small tag printed with tiny dots to sit at the center.
Use a hole punch to thread the tag through the ribbon knot, letting it act like a little picture frame. This makes the top of the gift feel finished and gives your message a cute visual focus.
You can personalize quickly by writing the name in thick marker and choosing a dot color that matches the ribbon. If you want a current feel, try matte black or deep navy marker on off-white tags with pastel dots.
4. Polka Dot Corner Fold With a Clean Bow
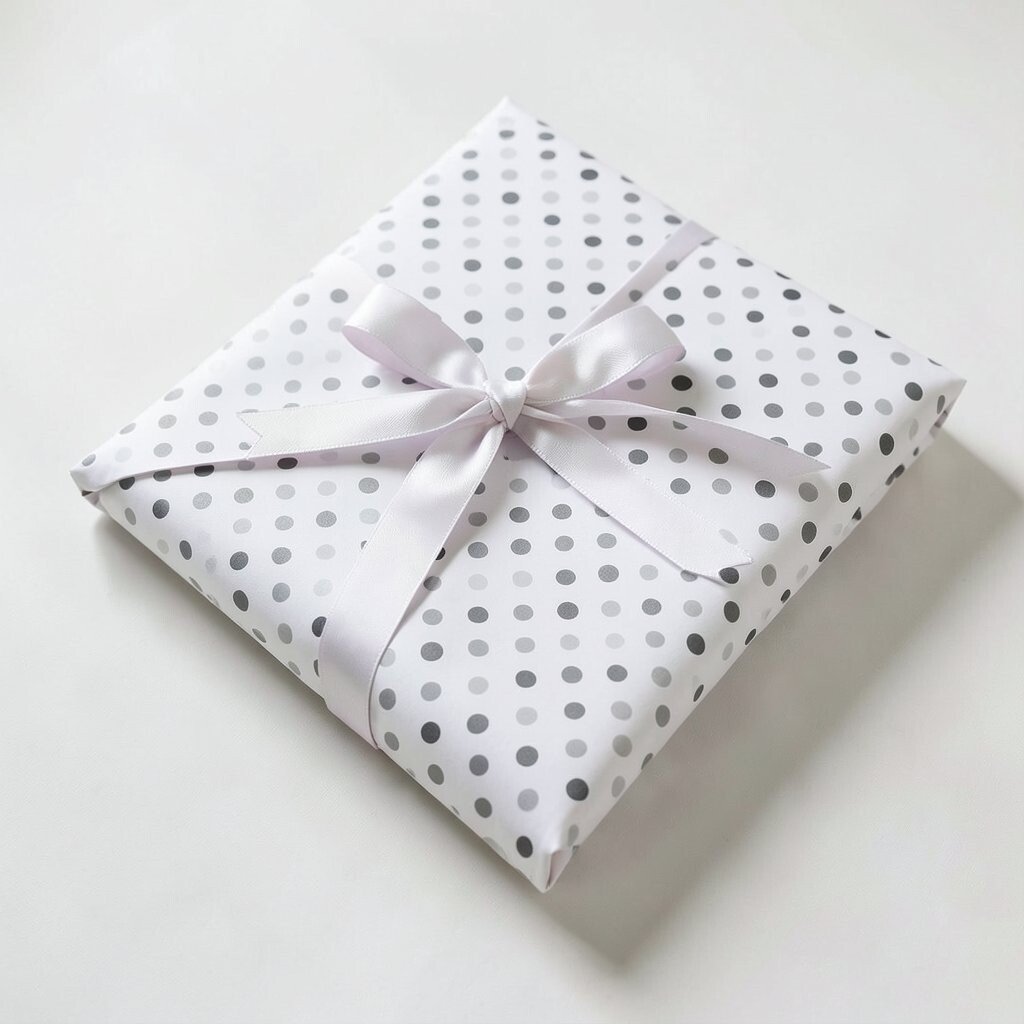
Choose plain wrapping paper and create a polka dot corner accent using a small square of dotted fabric or paper. Fold it into one corner so it looks like a neat “peek” at the top of the package.
Then tie a simple bow using matching solid ribbon, keeping the rest uncluttered. This style is unique because it mixes minimal wrapping with a pop of pattern in a single spot, which looks polished for any occasion.
5. Bubble Wrap Covered in Polka Dot Print for a Fun Reveal
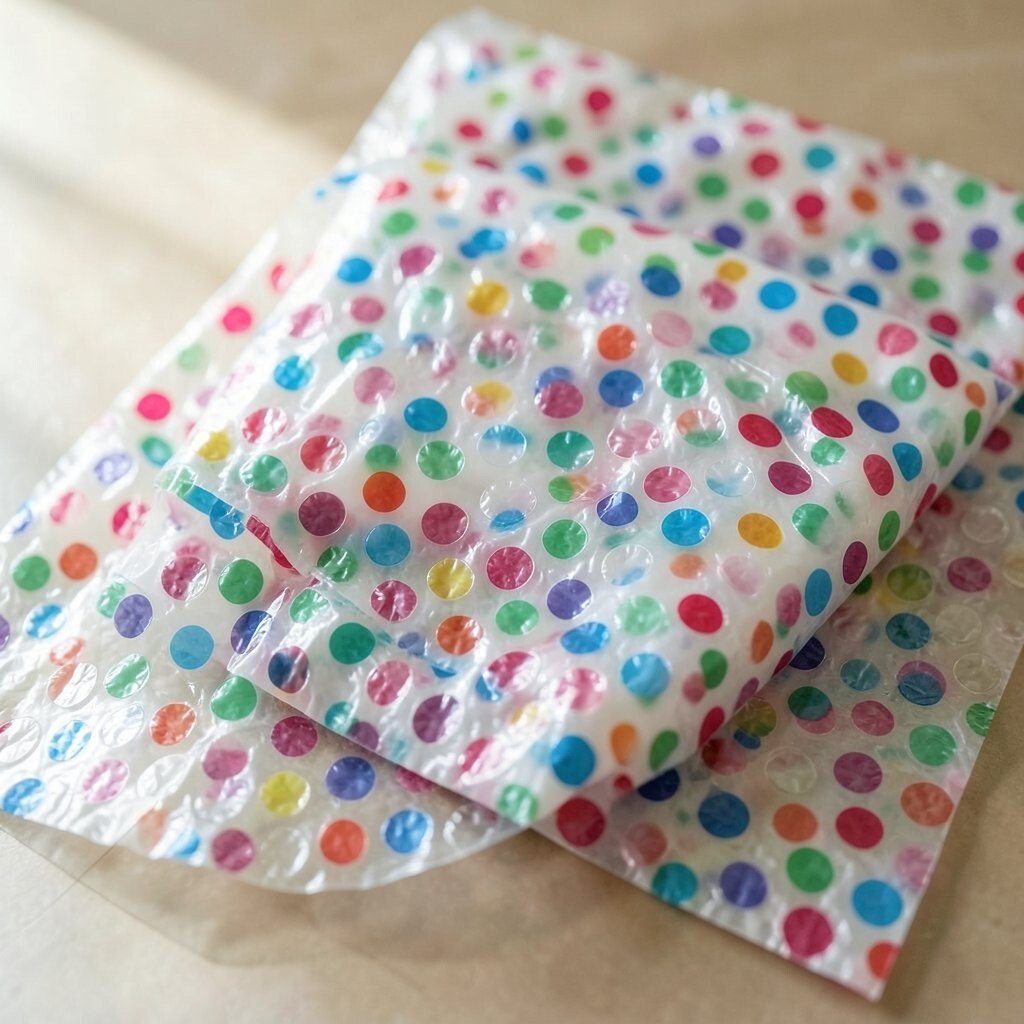
For gifts that need extra protection, cover bubble wrap with a polka dot wrapping sheet instead of plain paper. Use double-sided tape to hold the paper in place, then finish with ribbon along the edges.
This is great for fragile items because it adds cushioning while still looking playful. Personalize it by choosing dots in the same color family as the contents, like bright dots for snacks or soft dots for bath products.
If you’re watching cost, this is a smart hack because you can reuse bubble wrap and only add a decorative layer on top. It also matches a popular trend of wrapping that feels sturdy and “gift-ready” for shipping.
6. Polka Dot Gift Bags With Confetti-Like Tissue

Use a reusable gift bag made for polka dots, or cover a plain bag with a polka dot sticker sheet. Then add tissue paper that looks like confetti by using multiple colors with small dot patterns.
The benefit is speed, because bags let you skip complicated folding and still look cute. It’s also easy to personalize by tying the handles with a ribbon in the same dot color.
7. One Big Dot Spotlight on a Minimal Wrap
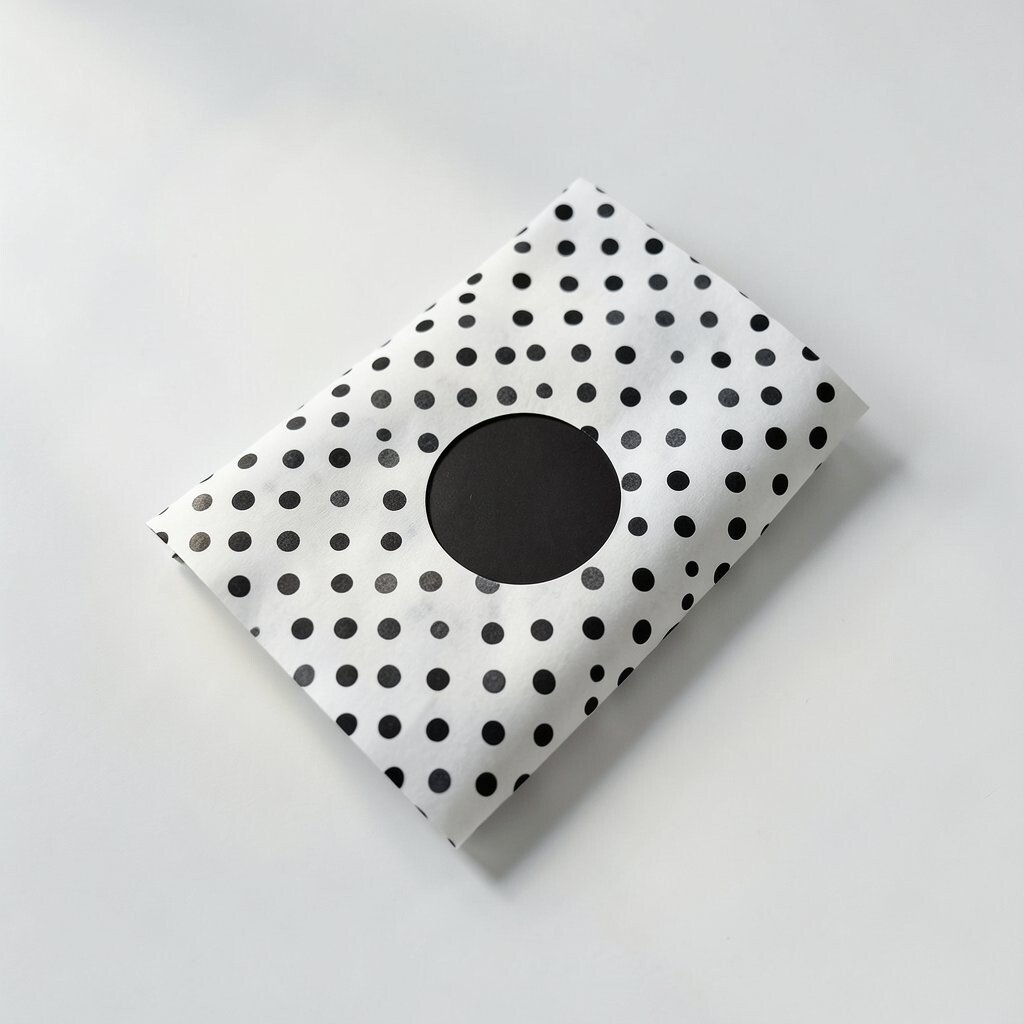
Keep the wrapping paper mostly plain, then add one oversized polka dot sticker or cut-out circle near the center. Add a small line of dots around it using a pen and stencil if you want a handmade touch.
This design feels modern and artsy, especially when the rest of the wrap is simple. It’s unique because it uses scale for impact, and people notice it right away when the gift sits on a table.
To make it feel personal, write a short message across the plain space under the big dot. A practical trick is to use thick paper circles so the sticker doesn’t wrinkle when you tie the ribbon.
8. Polka Dot Wrap With a Braided Ribbon Rope

Wrap the gift in polka dot paper in a pattern you love, then swap a normal ribbon for a braided rope ribbon. Choose a braid color that either matches a dot shade or contrasts with the background for extra fun.
This creates a texture look that feels richer than flat ribbon, which is a nice benefit when you want a “wow” moment. For personalization, braid in one thin ribbon strip printed with tiny dots so the wrapping keeps echoing the theme.
9. Mason Jar Gift With Dotted Lids and Labeled Twine
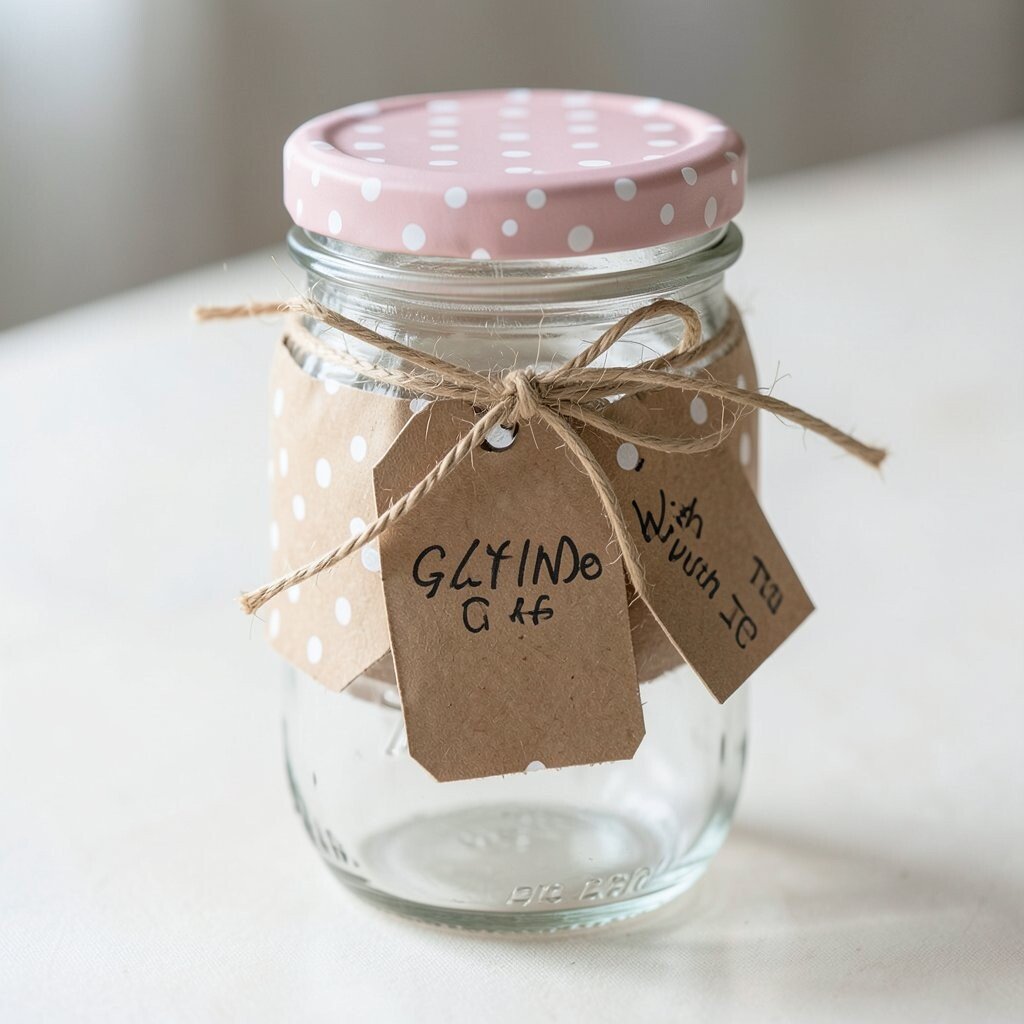
Turn a small mason jar into a gift by filling it with cookies, bath salts, or candy, then wrap the jar lid area with a strip of polka dot paper. Tie twine around the lid and attach a dotted label made from cardstock.
It looks adorable because the jar shape naturally frames the pattern around the top, like a mini present within a present. The benefit is that the recipient can reuse the jar and see what’s inside right away.
To personalize on a budget, print your own labels and cut them with a simple paper cutter. Right now, personalized labels are trending because they feel thoughtful and modern even for small gifts.
10. Polka Dot Fabric Wrap With a Ribbon Knot Bow
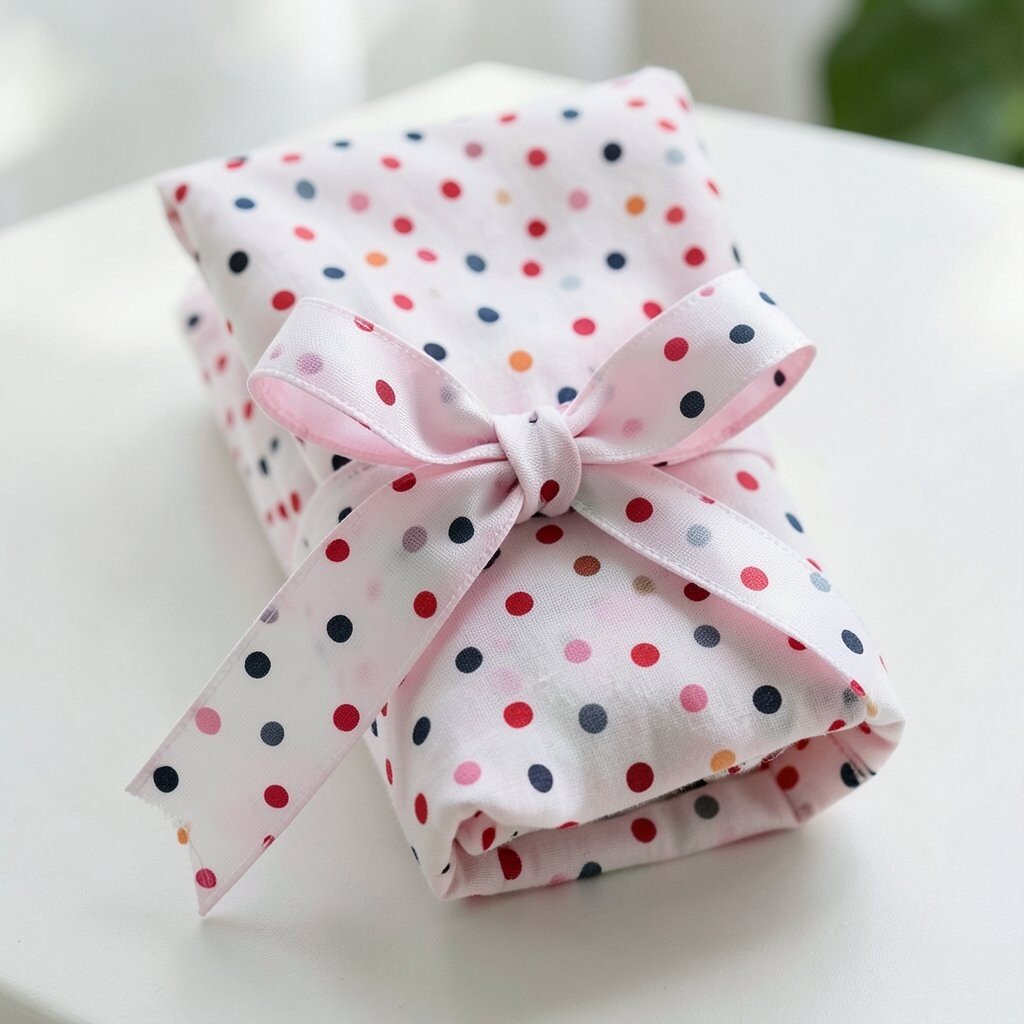
If you have scrap fabric, use it like wrapping paper by cutting a rectangle and folding it around the gift. Choose a polka dot cotton or a small dot pattern that matches your ribbon color.
This is practical because fabric can be reused again and again, which helps if you like lowering waste. The unique part is the soft texture, and it feels warm and fancy when the ribbon knot sits on top.
11. Polka Dot Paper With Stenciled Messages on the Side
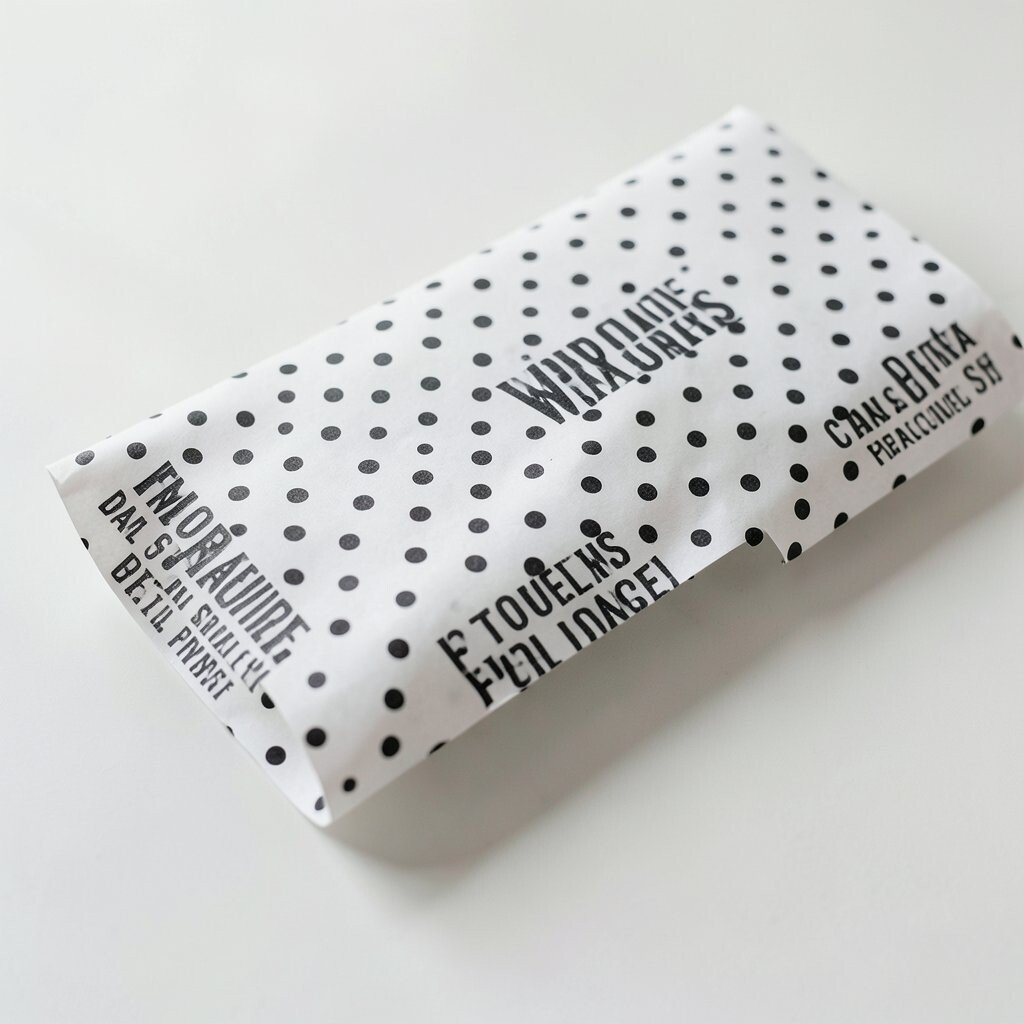
Wrap the gift in polka dot paper, then use a stencil and paint pen to add a short message on one side. Keep the letters simple so they don’t fight the pattern, and use one dot color for the text accents.
This method feels personal because the message looks handmade, not printed from a template. It’s also actionable since stencils are easy to find and make even beginners look neat.
For cost considerations, you can use a small scrap of dotted paper and let the stencil do the heavy lifting visually. A current trend is adding subtle hand-lettered details to patterned wrapping instead of fully changing papers.
12. Polka Dot Tissue Crisscross Under a Clear Sleeve
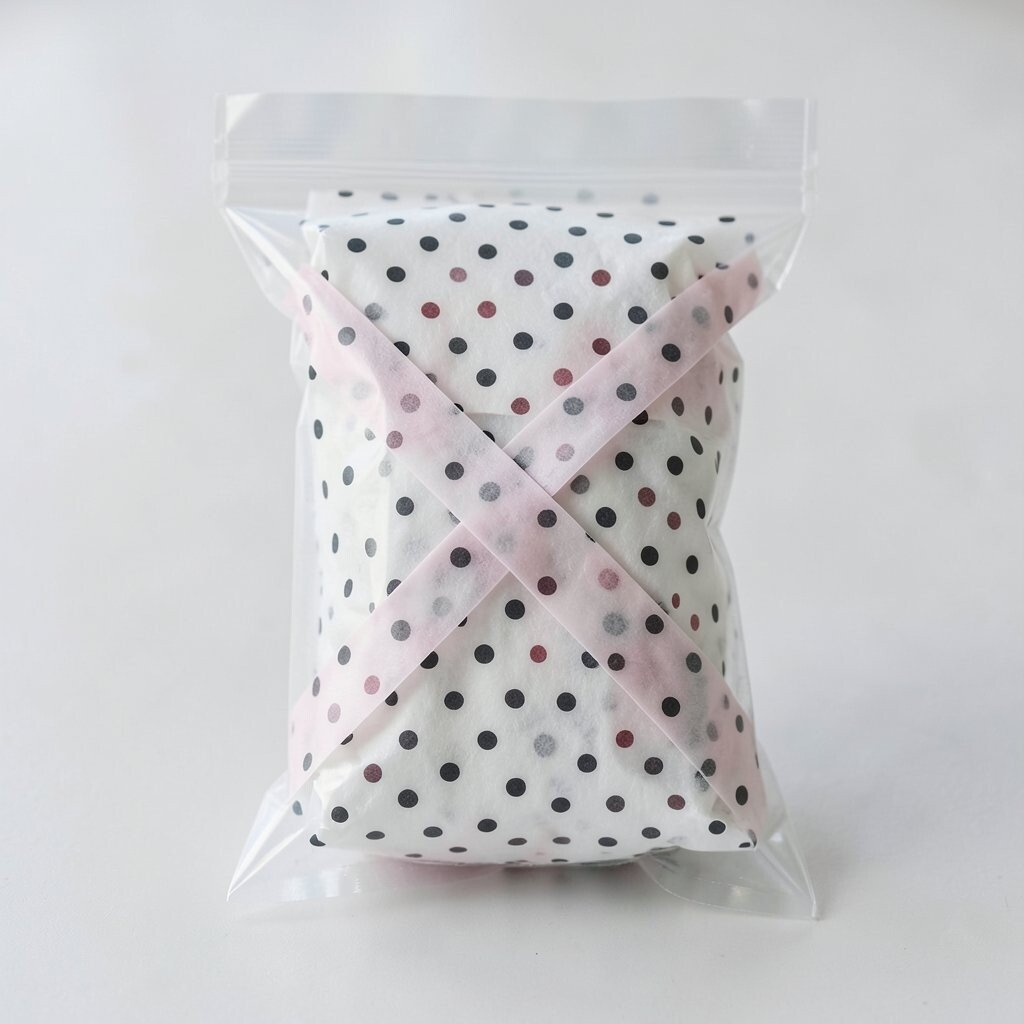
Slide your gift into a clear cellophane sleeve, then crisscross polka dot tissue inside so it shows through. Choose tissue in two dot sizes and alternate colors so it looks layered like a bouquet.
This creates a bright, modern look that feels airy and celebratory, especially for small gifts like candles or skincare sets. The benefit is also that the recipient sees the contents early, which can make giving feel more exciting.
13. Polka Dot Wrap Matched to a Color Story Theme
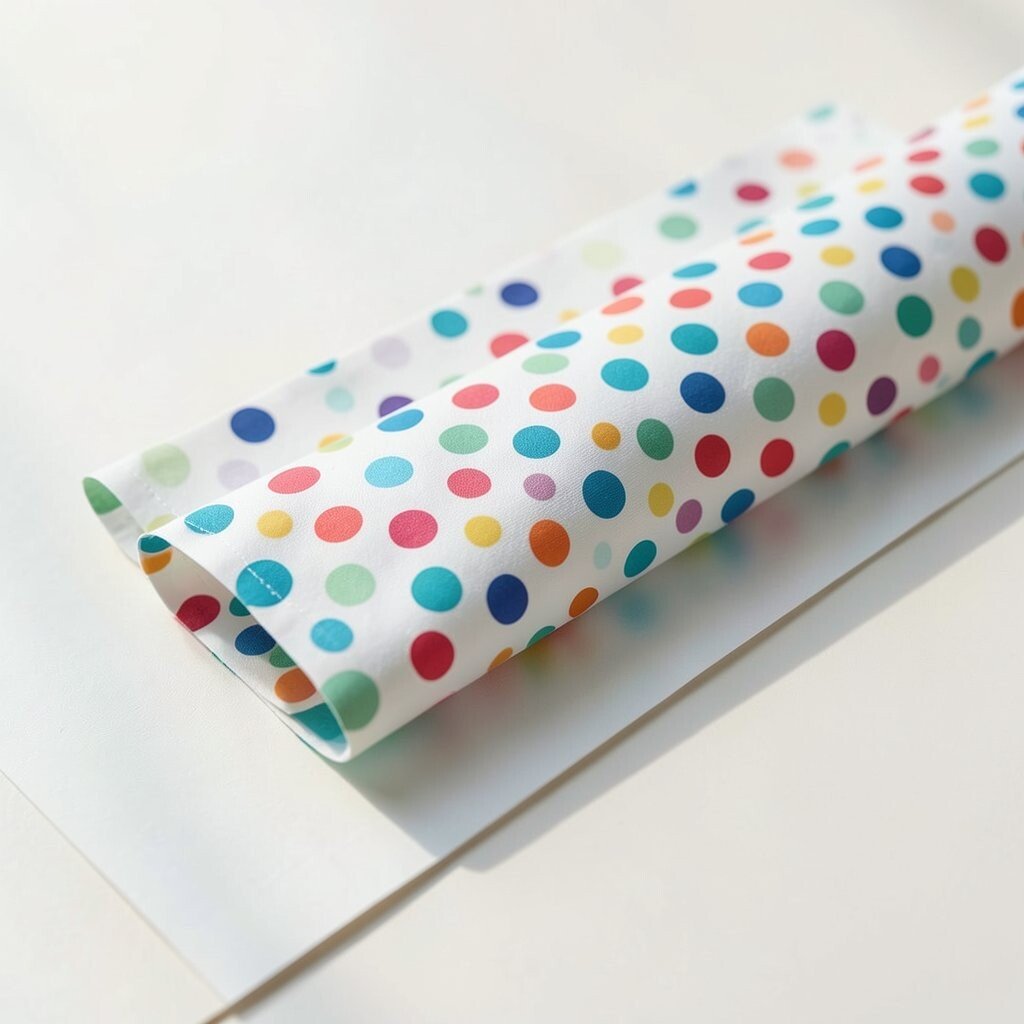
Pick a color story for the whole gift by choosing one polka dot pattern that contains at least three shades you like. Use those same shades in ribbon, gift tag, and even a small sticker for the final touch.
This approach is unique because it makes everything feel coordinated, not random, even if you use several different materials. Personalization becomes easy when you tie the colors to a hobby, like baseball colors or cozy winter tones.
Cost can stay reasonable because you don’t need matching sets of everything; you just need one main dotted paper and reuse plain tag cardstock. A current trend is “color coordinated wrapping” that looks intentional on social media and in real life.
14. Polka Dot Wax Seal Style Using Tape and Sticker Dots
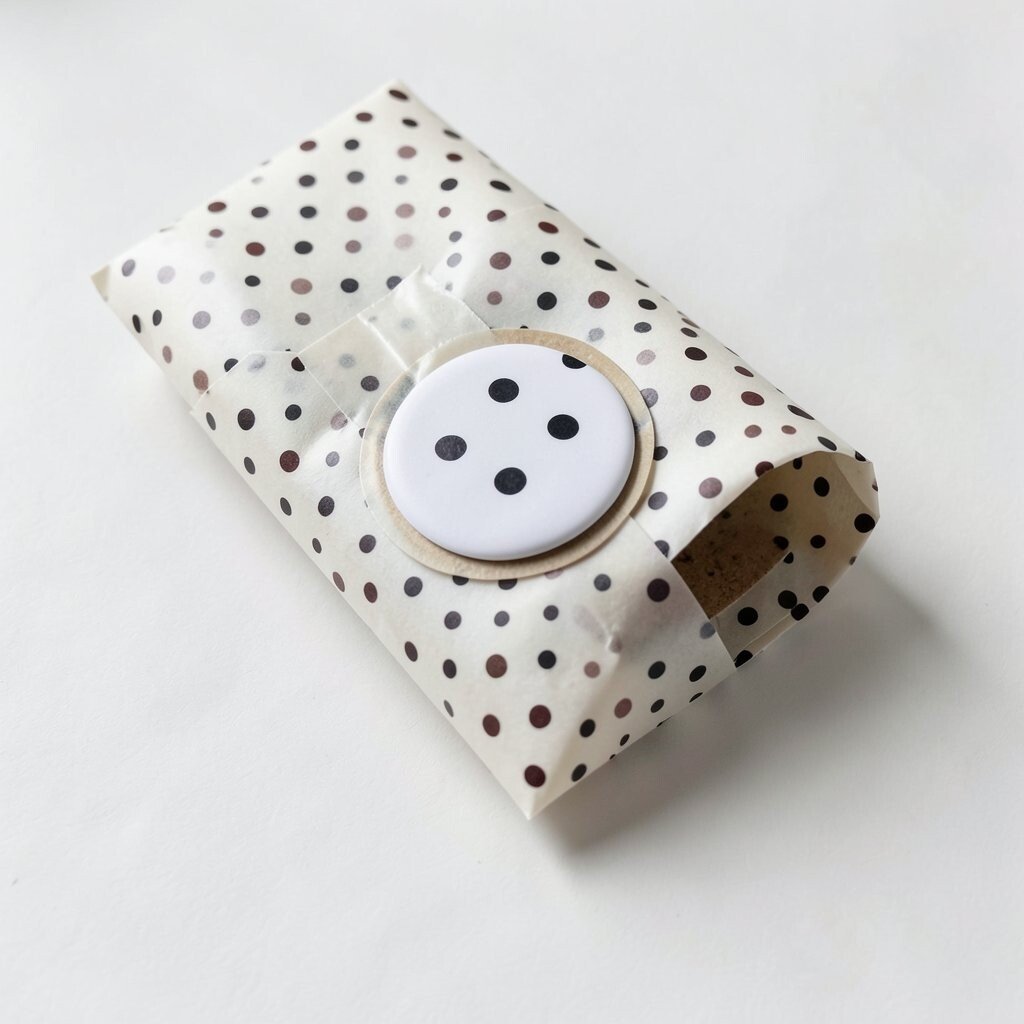
For a quick special touch, press a circular sticker dot pattern onto cardstock and place it where a wax seal would go. Wrap the gift, then add that circle on top and seal it with a small bow or ribbon strip.
This gives a classic feel with a playful twist, which is a nice benefit when you want something elegant but still cheerful. It’s unique because it blends a formal detail style with a lighthearted pattern.
15. Polka Dot Paper Folded Like a Fan at the Top
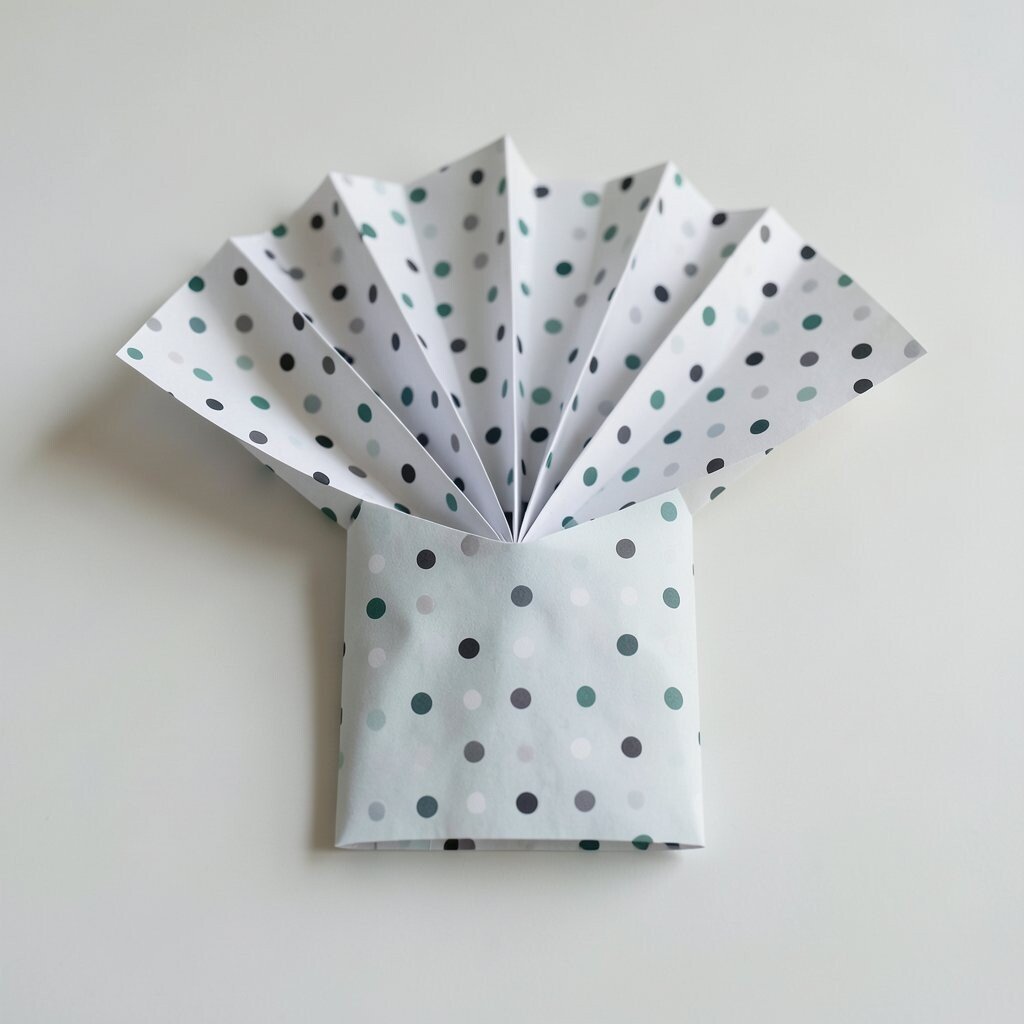
Wrap the gift in simple solid paper, then cut a polka dot strip and fold it into a fan shape. Attach the fan at the top with a small ribbon tie so it looks like a little celebration banner.
The look feels playful and lively, and it also hides any uneven top folds. For personalization, choose dot colors that match the ribbon and add a mini name sticker on the ribbon knot.
If you want to keep costs low, you can cut fan strips from scrap wrapping paper or even old greeting cards with dot designs. This also fits a trend toward craft-like finishing touches that look handmade without taking all day.
16. Polka Dot Washi “Shadow” Effect With Multiple Thin Layers
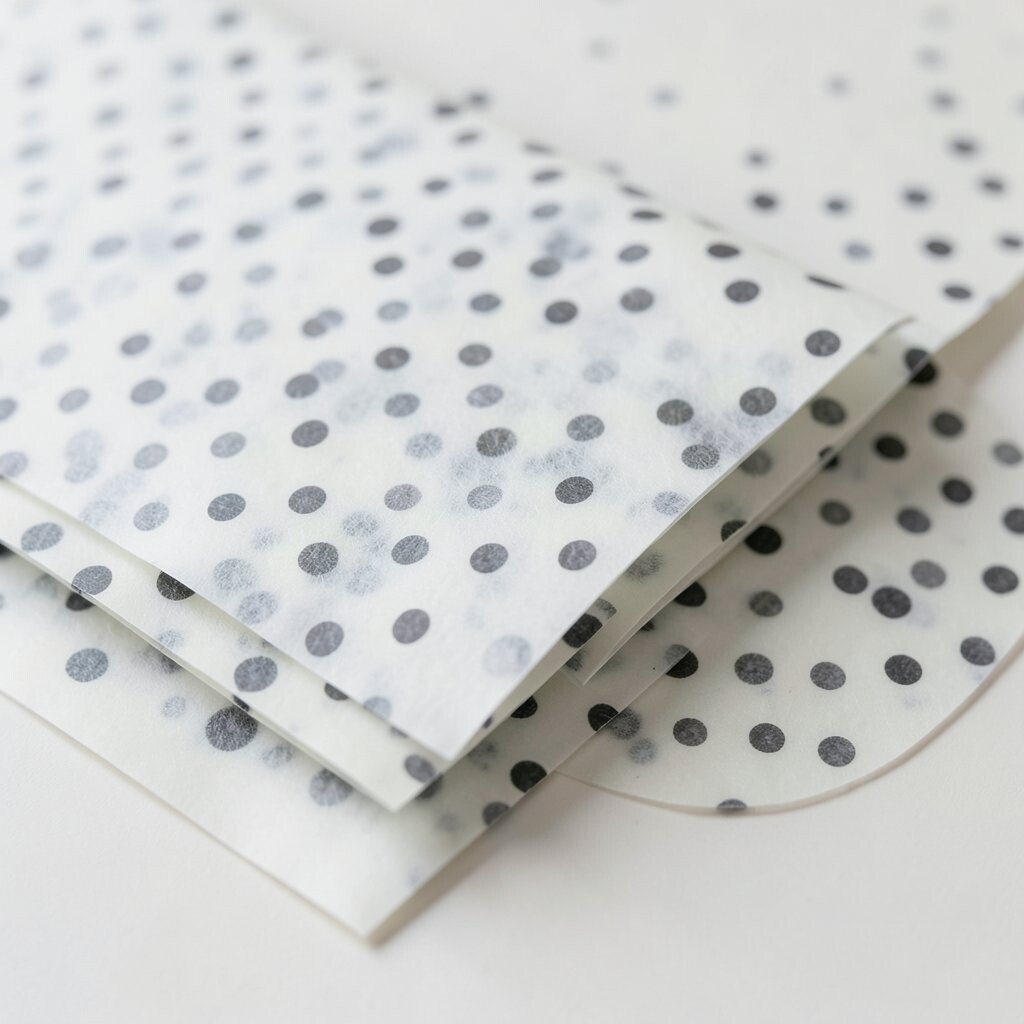
Make a gentle shadow effect by layering thin strips of polka dot washi tape on top of plain wrapping paper. Offset the strips slightly so the dots create a soft halo rather than a solid block.
This is practical because washi tape is forgiving, so you can adjust it while you work. The uniqueness comes from the layered blur, which feels artsy and modern while staying easy to do.
17. Polka Dot Wrapping With a Mini Pinwheel Accent

Choose polka dot wrapping paper and finish it with a small paper pinwheel attached near the ribbon. Use a pinwheel in a dot pattern that matches or complements the wrap, then add a mini button or sticker in the center.
This gives extra movement to the gift, which makes it feel joyful even before it’s opened. For personalization, pick dot colors that match the person’s outfit vibe or the season, like bright dots for summer or soft dots for winter.
Cost-wise, pinwheel accents can be made from one sheet of craft paper, so you don’t need expensive decorations. A current trend is adding small kinetic details, especially for gifts that will be photographed or displayed.
18. Polka Dot Liner Inside the Box for a Surprise Reveal
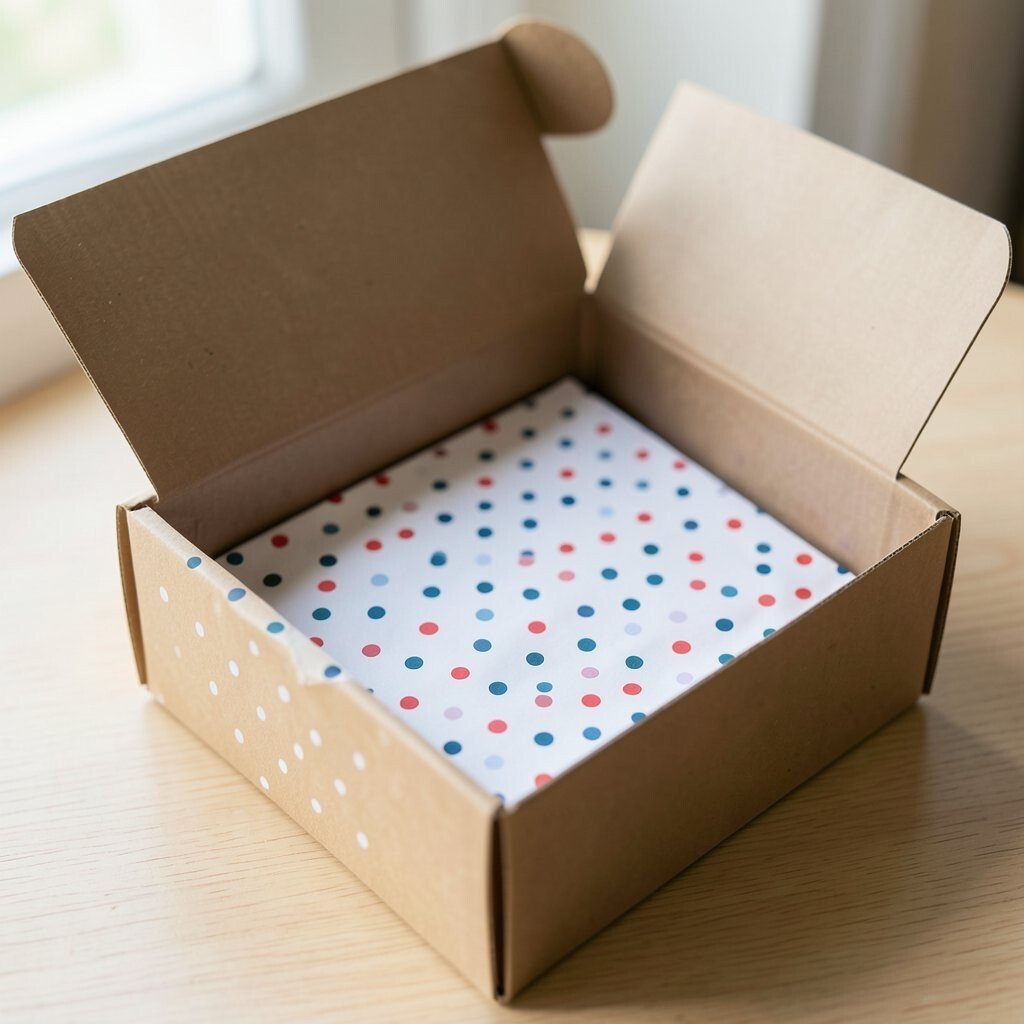
Use plain wrapping on the outside, but line the inside of the box with polka dot paper. When the lid opens, the dots pop right away and create a cheerful reveal.
This benefit is huge for the unwrapping moment because the pattern appears at the perfect time. It’s also an easy way to personalize by choosing dots in the exact shade you associate with them, like cherry red or calming teal.
19. Polka Dot Wrap Tied With a Scalloped Edge Tag
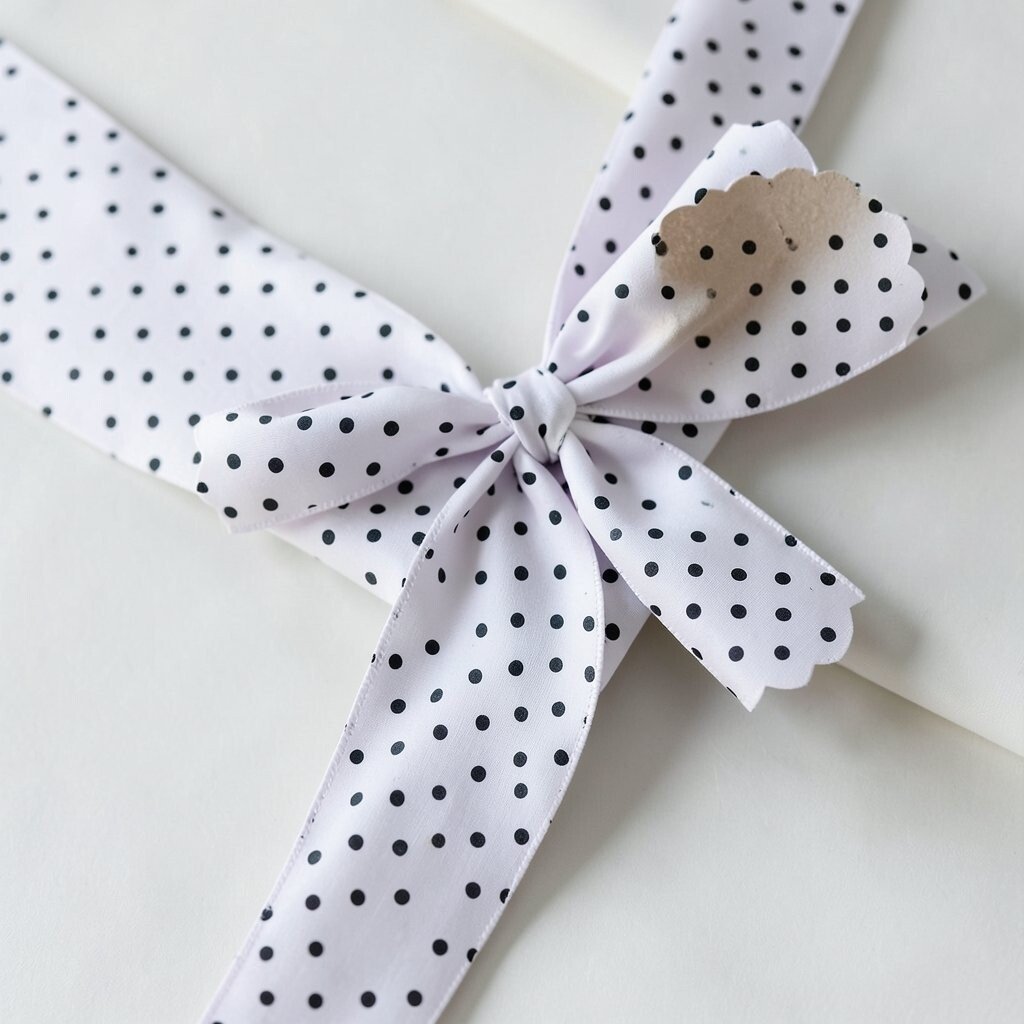
Wrap the gift in polka dot paper, then add a tag with a scalloped edge made from cardstock. Attach it with string or ribbon and finish the knot so the tag sits slightly to one side.
This looks unique because the scallops add a gentle, friendly shape that pairs well with circles. It’s practical since cardstock tags are sturdy and can hold a clear printed name without bending.
To manage cost, cut multiple tags from one sheet and reuse a hole punch you already own. For current style, try a minimal font on the tag with dot accents that match the wrapping pattern.