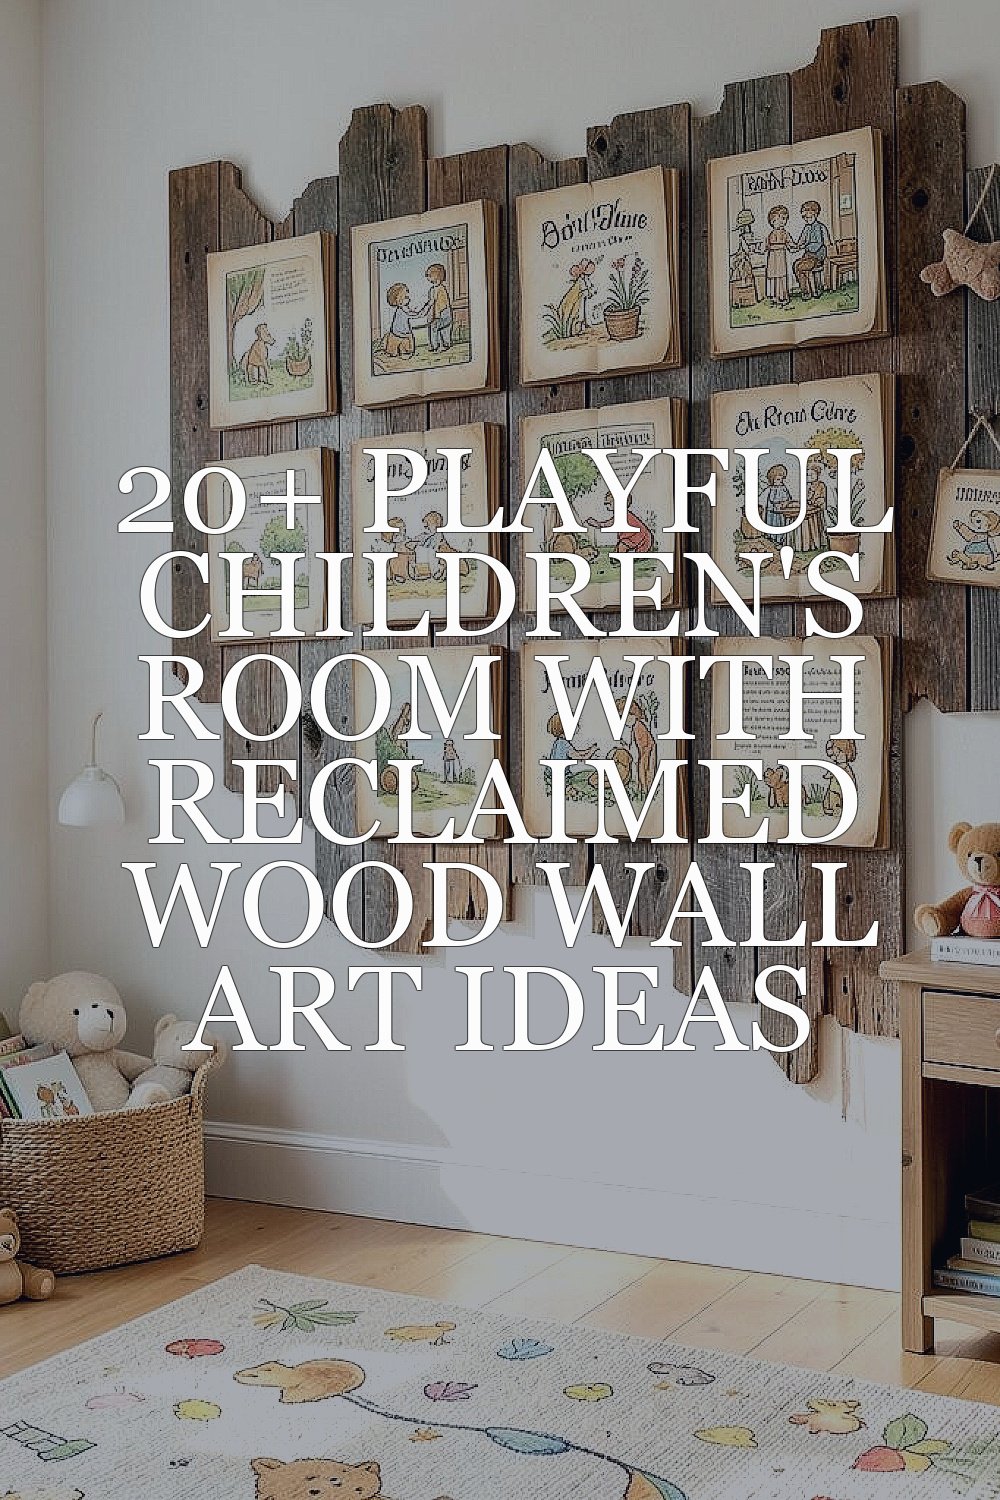
The room can feel magical with the right wall art. Reclaimed wood brings warmth, character, and a story to every corner.
1. Whimsical Animal Faces on Weathered Planks
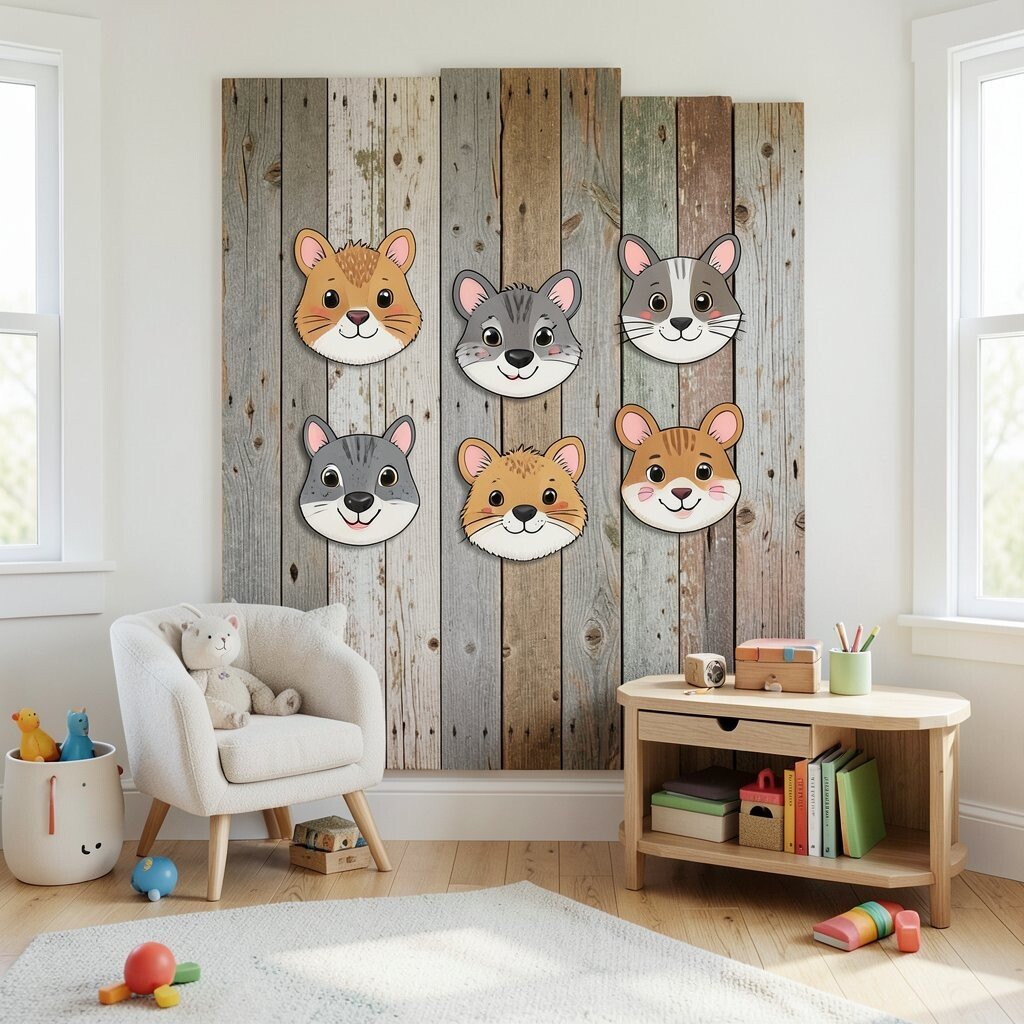
Imagine tiny animal faces cut from reclaimed wood, each one painted in bright, friendly colors. The grain lines still show through, so the wall looks cozy and full of personality.
Kids love looking up and spotting favorites like foxes, owls, or friendly bears. To keep it practical, seal the pieces with a child-safe clear coat so cleanup is easy. You can also vary the sizes so one face sits higher for tall visibility and others feel like they are peeking from different spots.
2. Star Maps and Glow-Trim Constellations
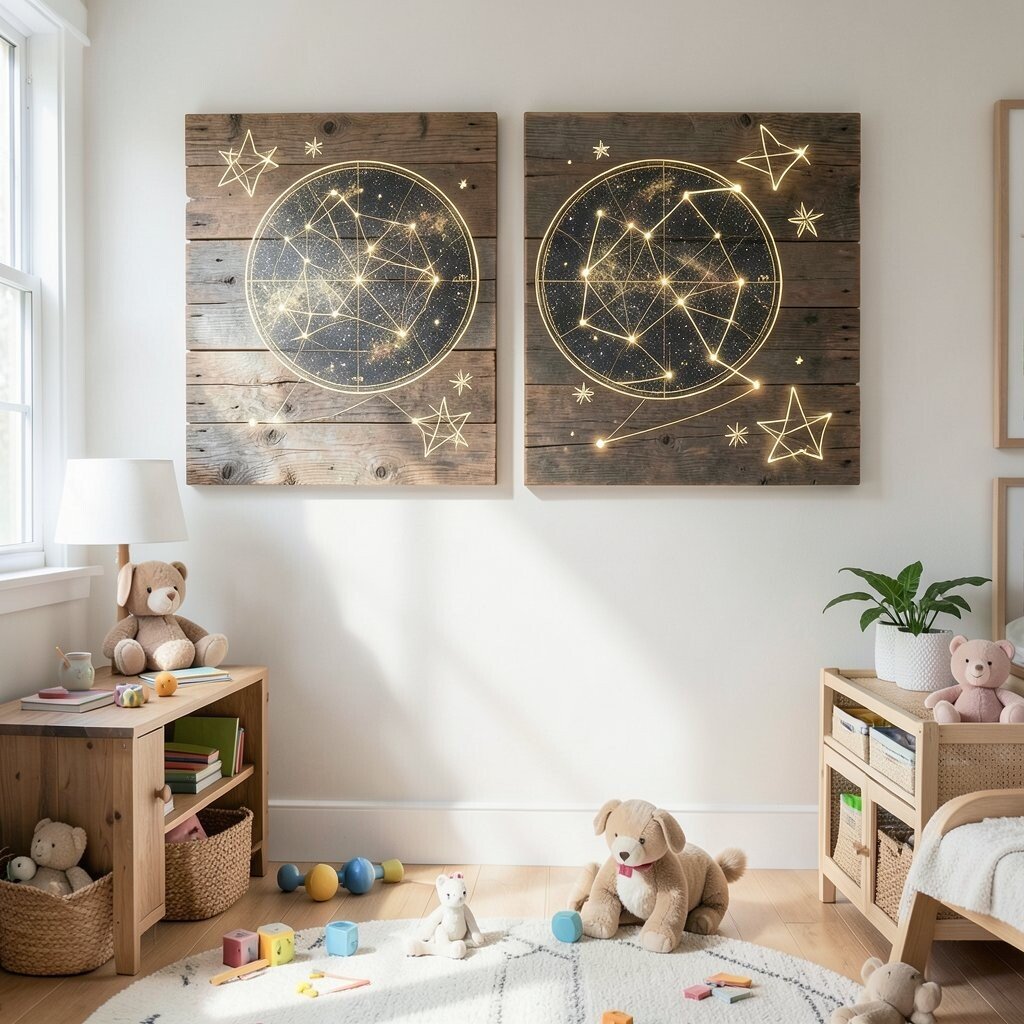
Lay reclaimed wood planks like a gentle timeline, then add constellations using simple star dots. Finish some edges with a soft glow trim so the stars feel dreamy at bedtime.
This style helps turn night routines into something kids wait for. Use pre-made star stickers or stencils, then trace key shapes in a contrasting paint color. For personalization, write each child’s name near a “favorite” constellation, and keep the layout centered above the bed.
As a cost-friendly choice, you can start with just one large constellation board instead of a full wall piece. Look for salvaged boards from old fences or pallet wood, then sand them smooth to avoid splinters.
3. Storybook Panels With Layered “Page” Effects
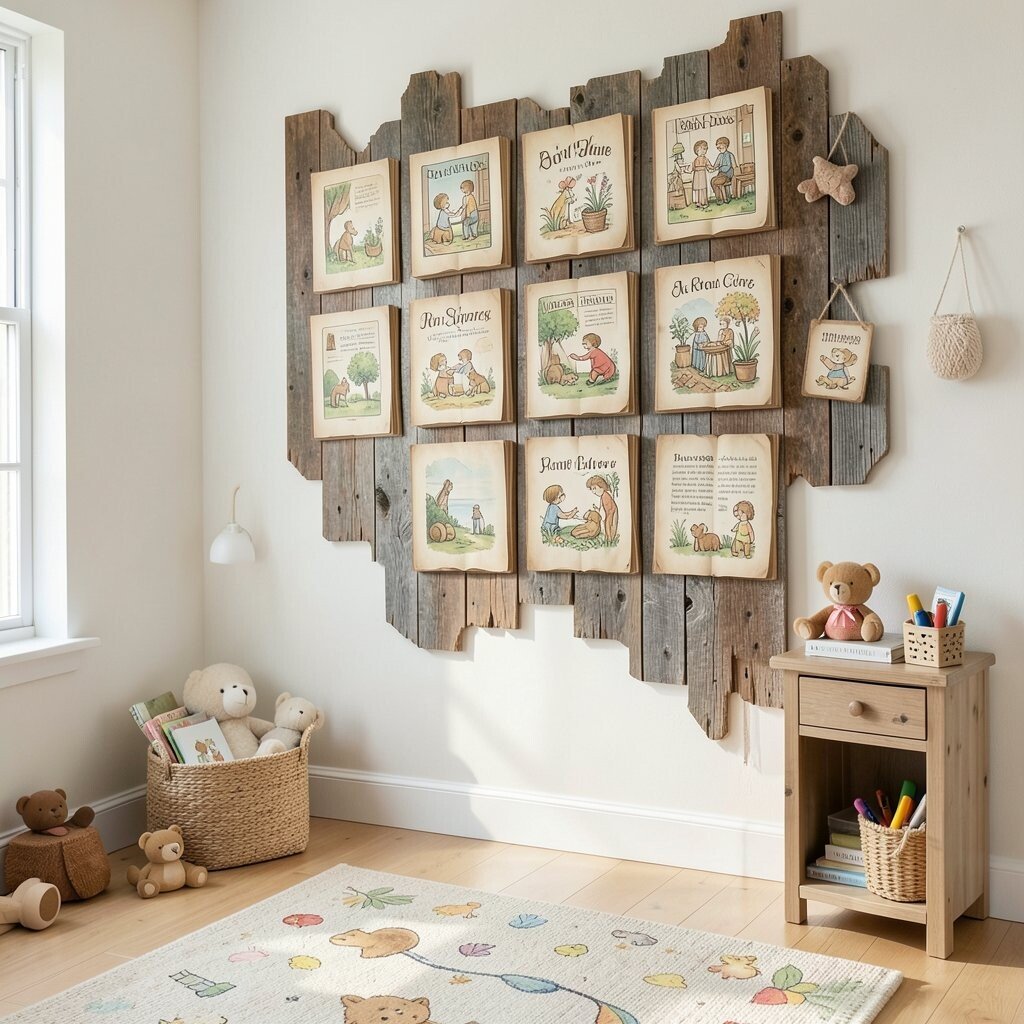
Turn a wall into a mini storybook using reclaimed wood panels that look like stacked pages. Paint frames in soft pastels, then add simple titles or favorite characters.
Layered edges create a playful shadow effect, especially when the pieces are slightly offset. For a practical approach, use thin wood strips to create “page” borders so the design stays light and won’t feel heavy on the wall.
Kids enjoy pointing to scenes before bedtime, and the panel layout makes reading feel closer. Personalize by switching the theme as interests change, like dinosaurs, unicorns, or space missions.
4. Rainbow Arches With Wood Slat Texture
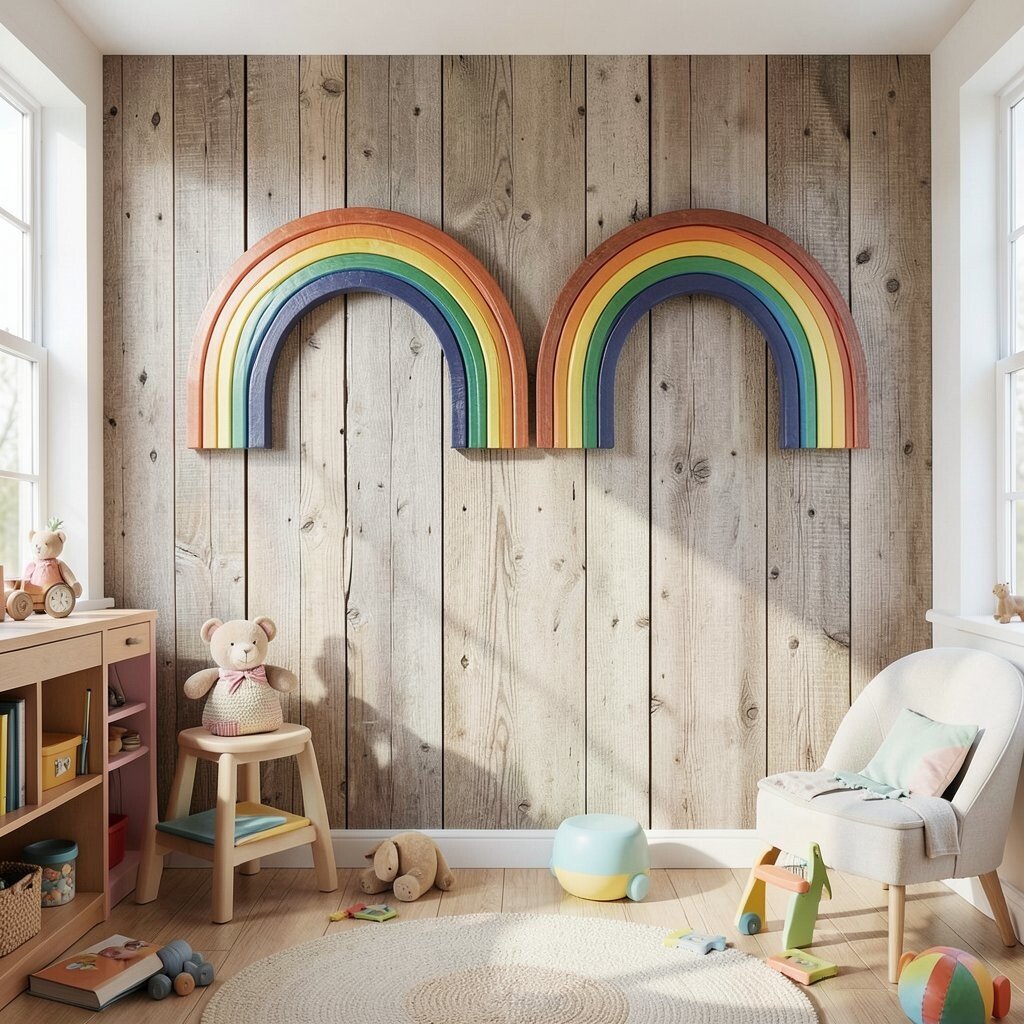
Paint reclaimed wood slats in rainbow bands, then arrange them in arched shapes that sweep across the wall. The uneven wood texture makes the colors look lively instead of flat.
Rainbow art supports mood-boosting color play, and it looks great in both small and bigger rooms. A quick practical tip is to keep gaps consistent between slats, so the arch lines look neat even as paint dries.
To keep it safe and durable, round the edges and use a matte sealant. You can also add a few “cloud” slats at the top using white paint with a dry-brush technique.
5. Alphabet Rail Sign With Chalk-Friendly Finish
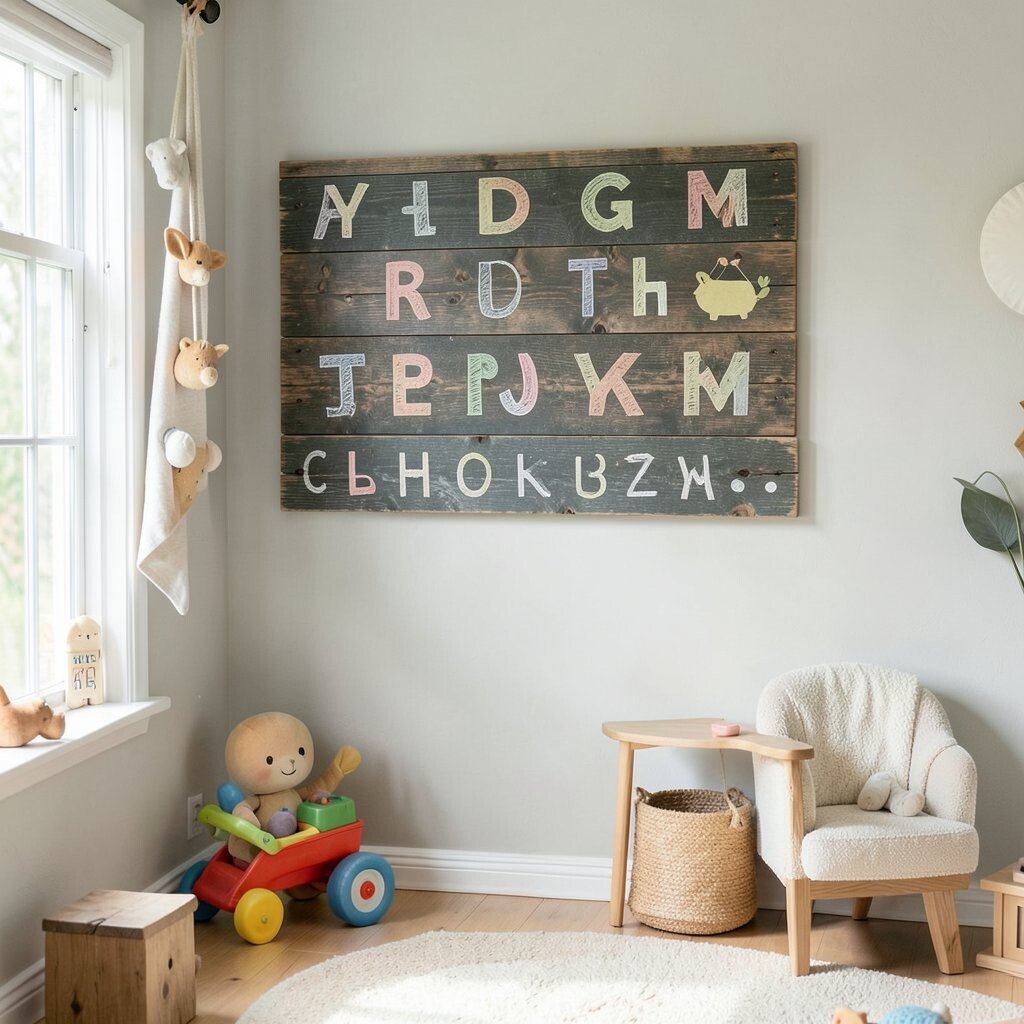
Create a hanging alphabet rail using reclaimed wood, with each letter cut from smaller scraps. Leave a strip of chalk-friendly paint in the center so kids can practice words.
This design builds early learning while still feeling like wall decoration. For practical setup, mount the rail at a kid-friendly height and use sturdy hanging hardware rated for the weight.
Uniqueness comes from using mismatched wood tones, which makes each letter look like it belongs in a handmade gallery. Personalize by adding a small tag with the child’s favorite word and a removable charm or magnet at the bottom.
6. Dinosaur Footprint Trails Leading to a “Dig” Spot
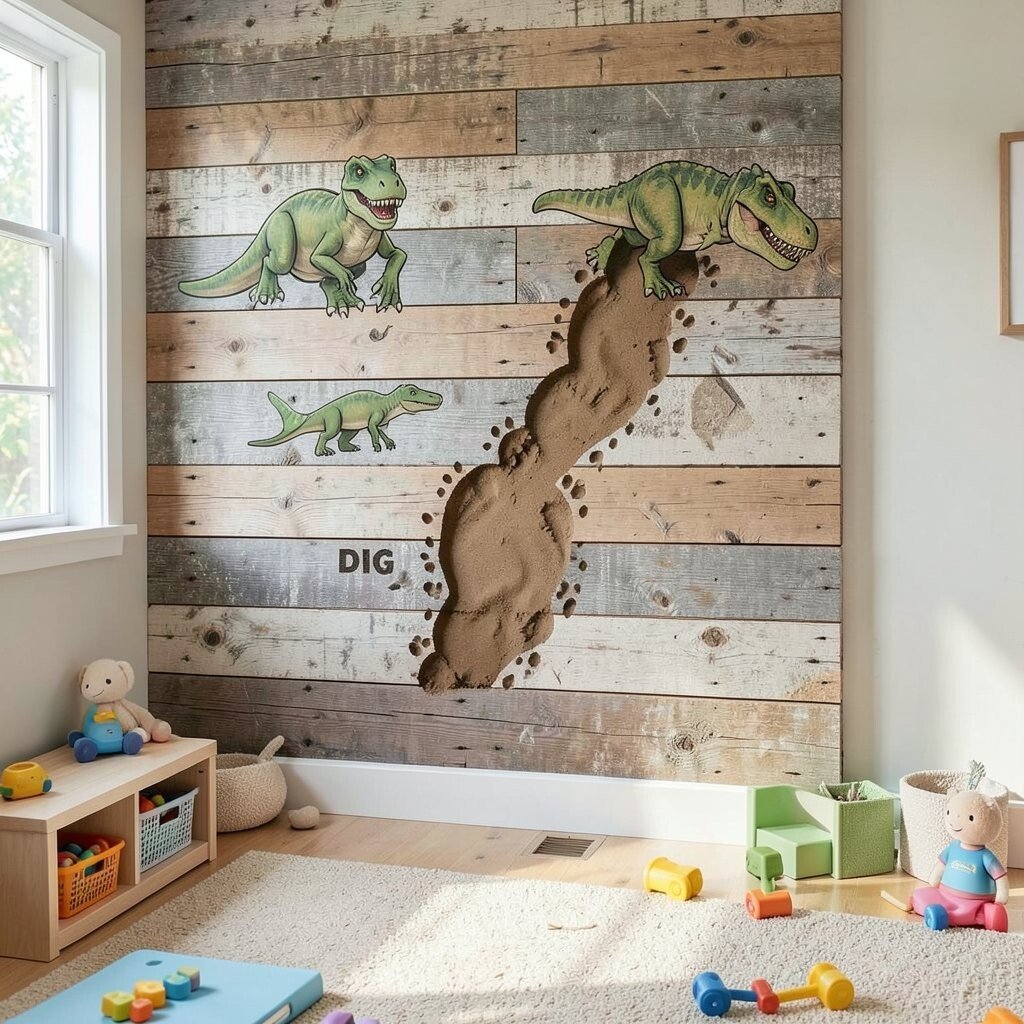
Paint a winding trail of dinosaur footprints across a reclaimed wood backing. Then make one corner look like a little dig area with textured sand paint or faux gravel.
Kids love interactive walls, and this one feels like the room has a secret adventure. To keep it practical, secure everything well so it can handle enthusiastic pointing and occasional bumps.
For personalization, add a few “matching” fossils on small reclaimed offcuts, like a leaf-shaped sticker or a toy fossil outline. Cost stays manageable because you can use scrap wood for footprints and a single larger piece for the main background.
7. Kite Strings, Tail Swishes, and Tiny “Breeze” Shapes
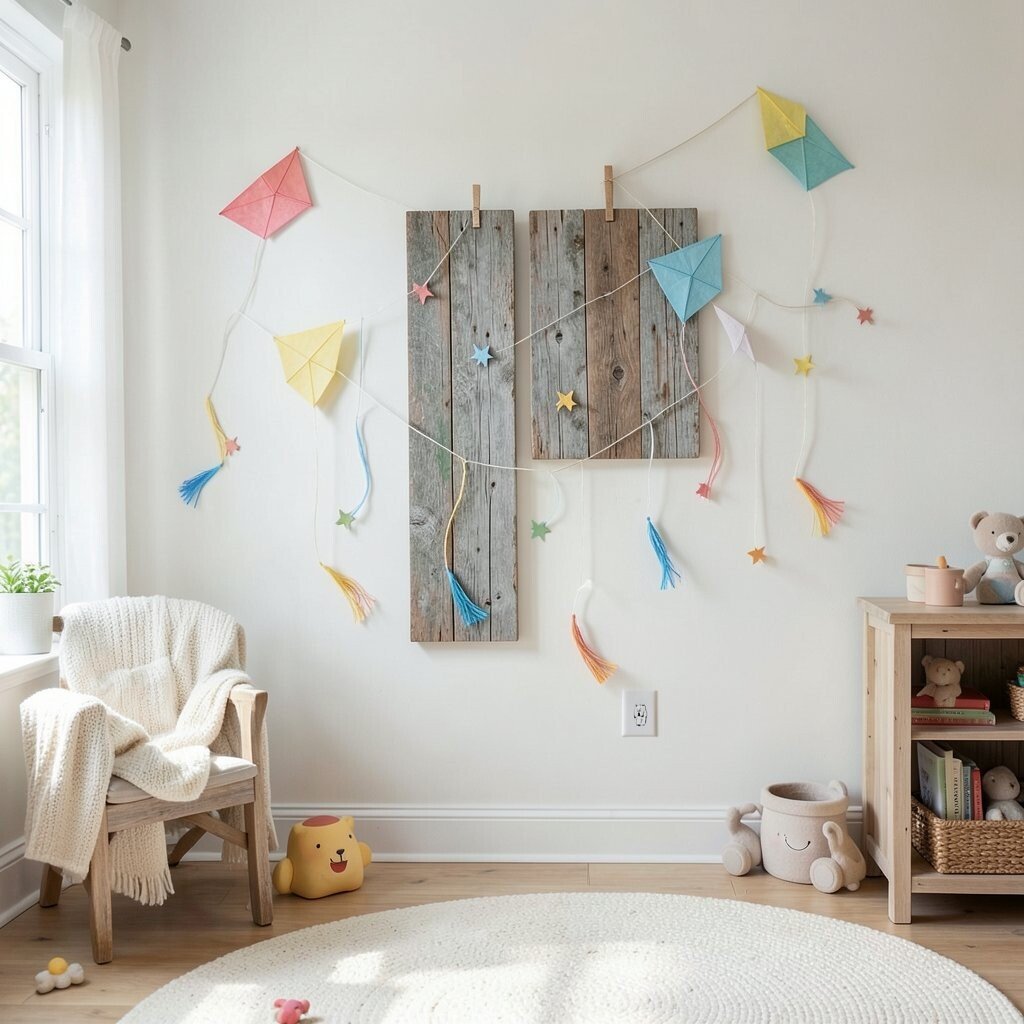
Hang reclaimed wood cutouts that look like kites, with thin strings or ribbon lines leading across the wall. Add small wave shapes near the bottom to mimic a breeze moving through the room.
This playful look makes the wall feel airy without needing a lot of clutter. Use lightweight materials for the string portions and choose a secure anchor point behind the wood so nothing pulls loose over time.
For a trend-forward twist, try muted pastels paired with one bold color like sunny yellow. Personalize by changing the kite style as their favorites evolve, using removable attachments on the ribbon ends.
8. Seashell Collage Borders From Scrap Wood Frames
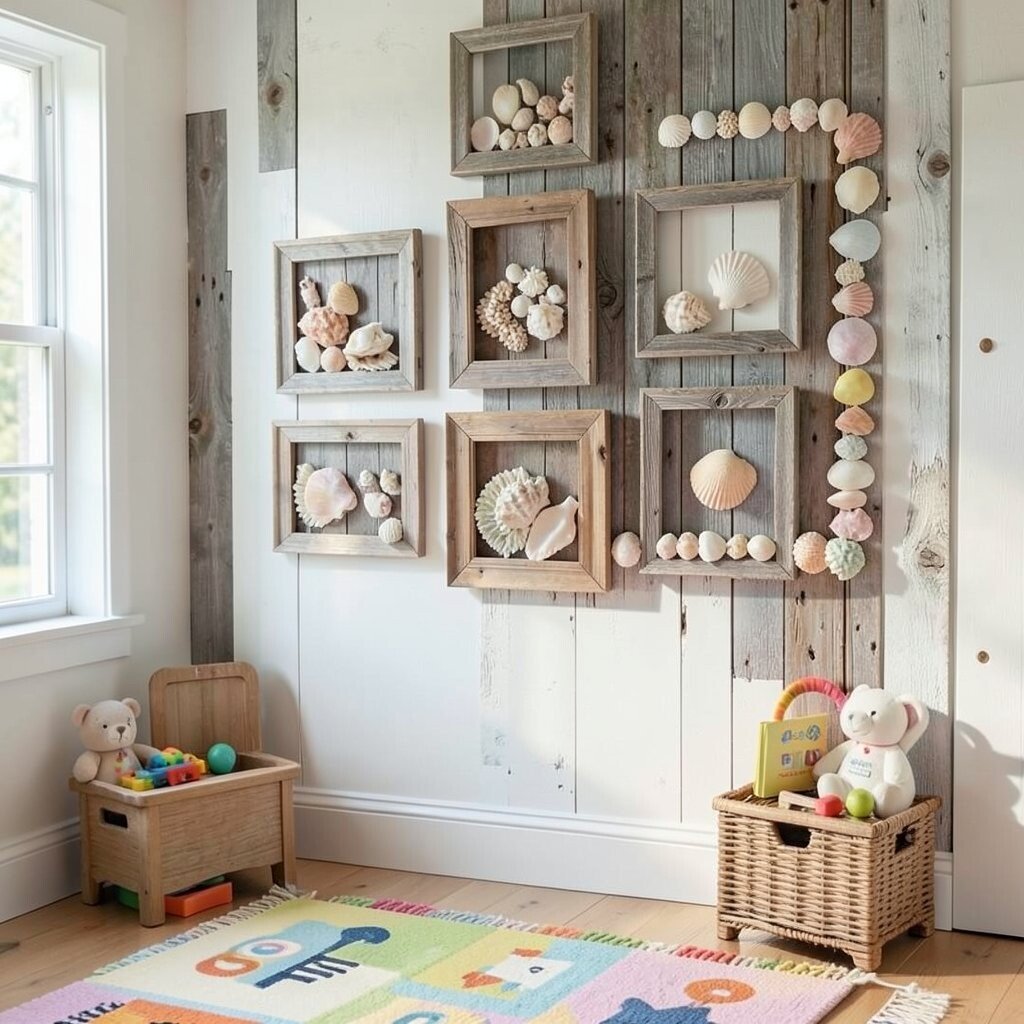
Build a set of small reclaimed wood frames and line them up like a collage. Inside each frame, place seashell-shaped cutouts, faux pearls, or shell rubbings made from paper.
Reclaimed wood adds a natural beach vibe, and the frame border keeps the art tidy. A practical tip is to seal any cutouts and use clear acrylic covers if you want extra protection from smudges.
Uniqueness comes from mixing frame sizes and wood colors, like driftwood shades. Personalize by adding the child’s favorite “shell names” with small painted labels that are easy to swap later.
This approach can fit many budgets because the frames can be made from thin leftovers rather than full boards.
9. Mountain Silhouettes With Cozy Fabric “Snow” Caps
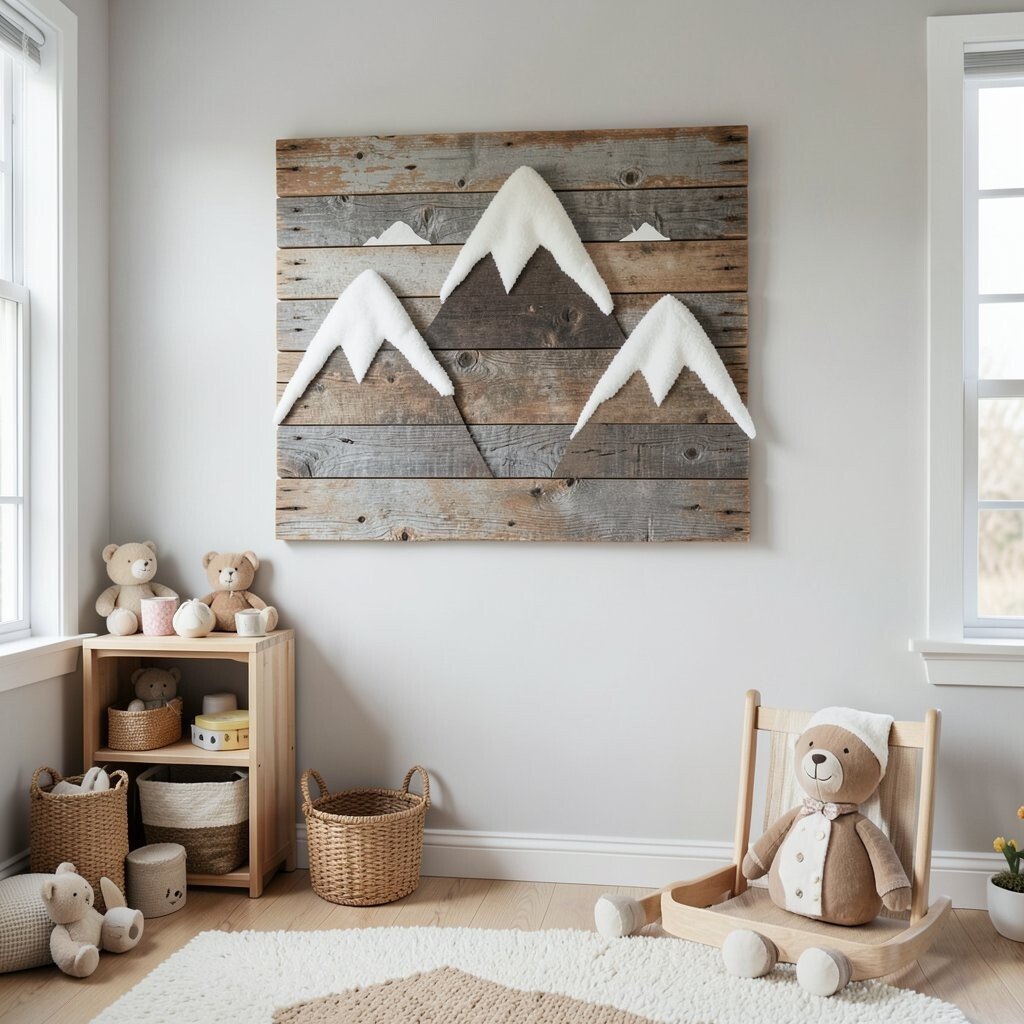
Create mountain silhouettes by cutting simple peaks from reclaimed wood. Paint them a soft charcoal or evergreen, and top them with tiny fabric pieces that look like fluffy snow.
The layered look feels warm and comforting, perfect for winter-themed bedrooms. For practical stability, attach fabric with fabric-safe glue and seal the wood so it resists dust.
Kids enjoy “reading” the mountains like a landscape, and the shapes can match a bedtime bedtime story. Personalize by adding a small cabin shape near the base, then switching it up with season colors.
10. Name Signs With Woodgrain “Glow” Underlay
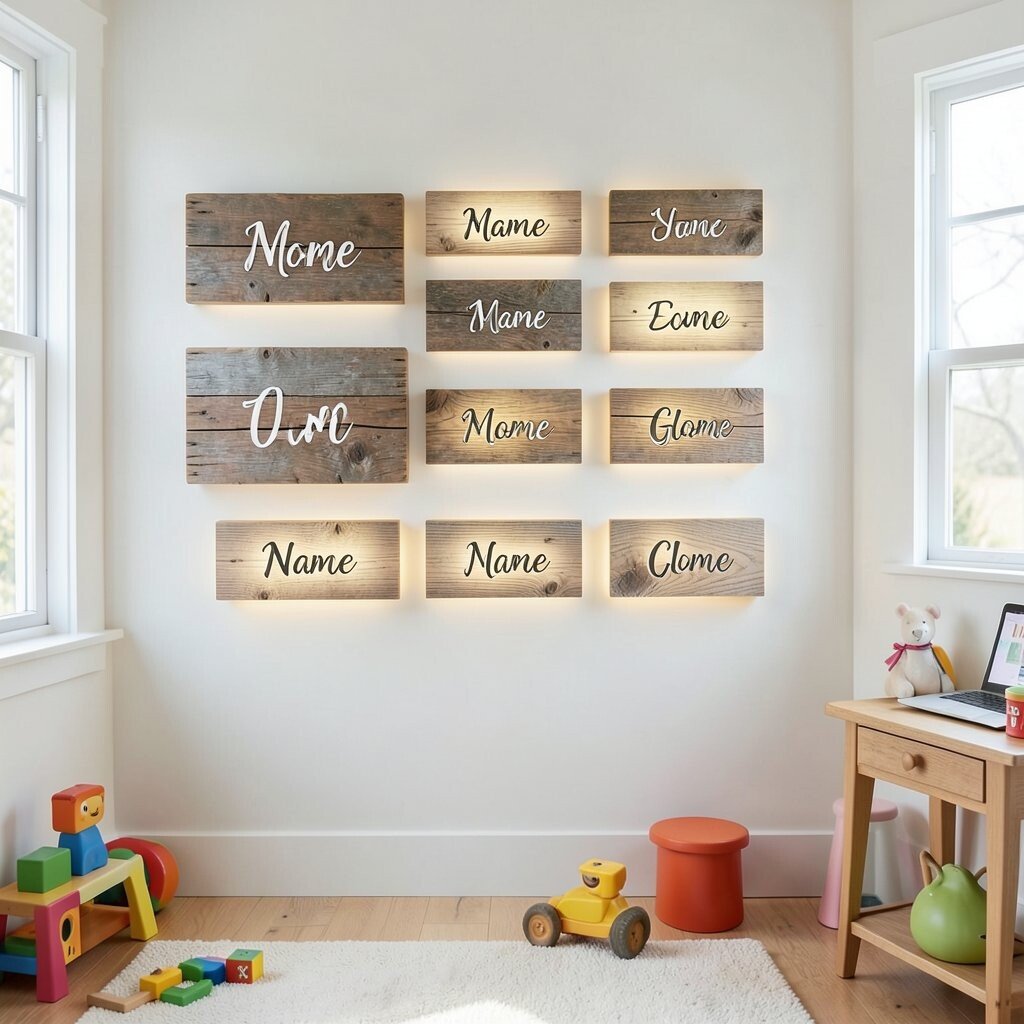
Make a bold name sign from reclaimed wood and paint each letter with a lighter underlay. Add a subtle glow effect using sponging so the woodgrain still peeks through.
This piece becomes a room anchor, making the space feel more personal right away. Keep it practical by using sanded wood and rounding corners so the sign feels smooth to the touch.
Uniqueness can come from using different wood textures for different letters, like darker planks for the first name and lighter ones for nicknames. Personalize further by adding tiny icons beside each letter, such as a star for excitement or a heart for kindness.
11. Color Block Maze for Quiet Play Moments
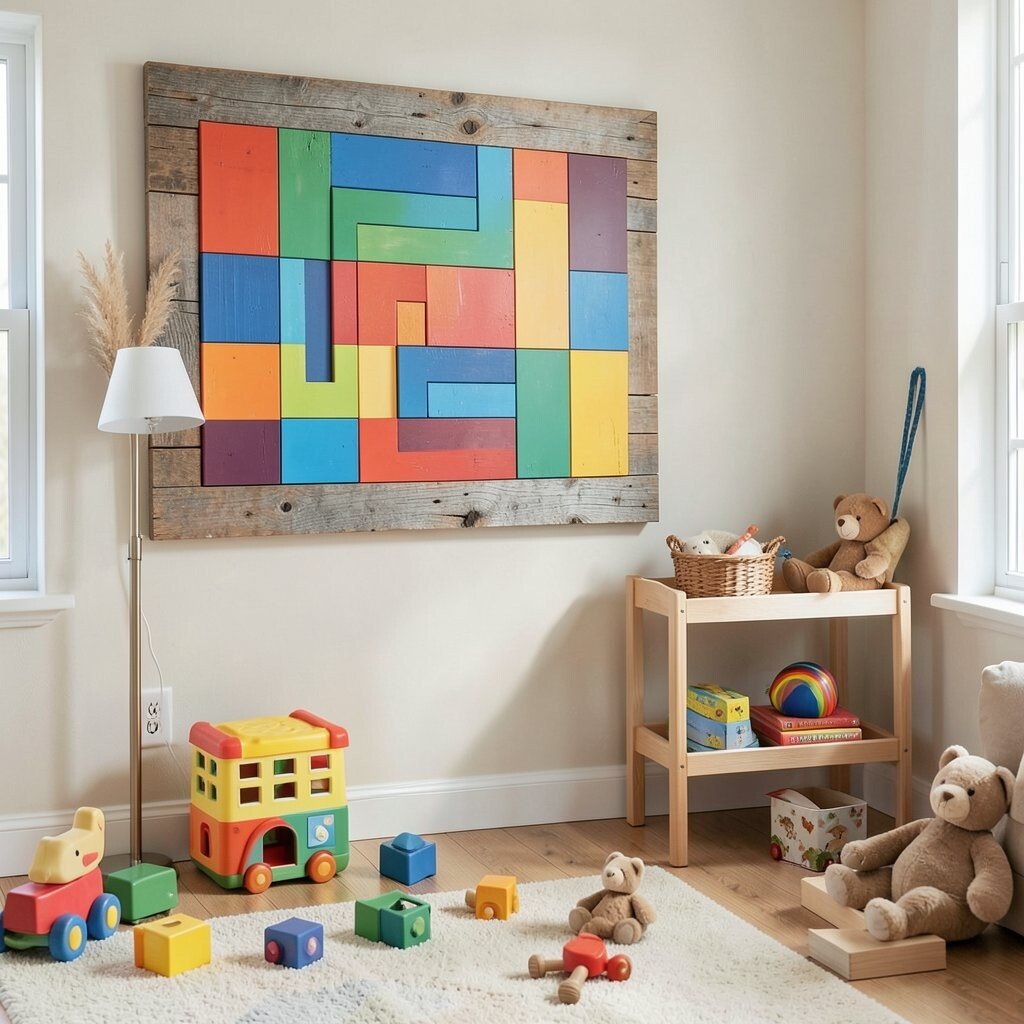
Paint a maze on a reclaimed wood board, with winding paths in bright blocks. Mount it at child eye level so it feels like a game, not a poster.
This helps quiet time feel fun, and kids can trace the path with a small dry-erase marker. For a practical tip, use a wipeable clear coat over the paint and choose a board that’s easy to reach safely.
Consider cost savings by using one larger board instead of multiple separate pieces. You can personalize the maze with favorite landmarks, like a tiny castle, a tree, or a “treasure” circle.
12. License-Plate Style Wall Art With Funny “Vehicle” Names
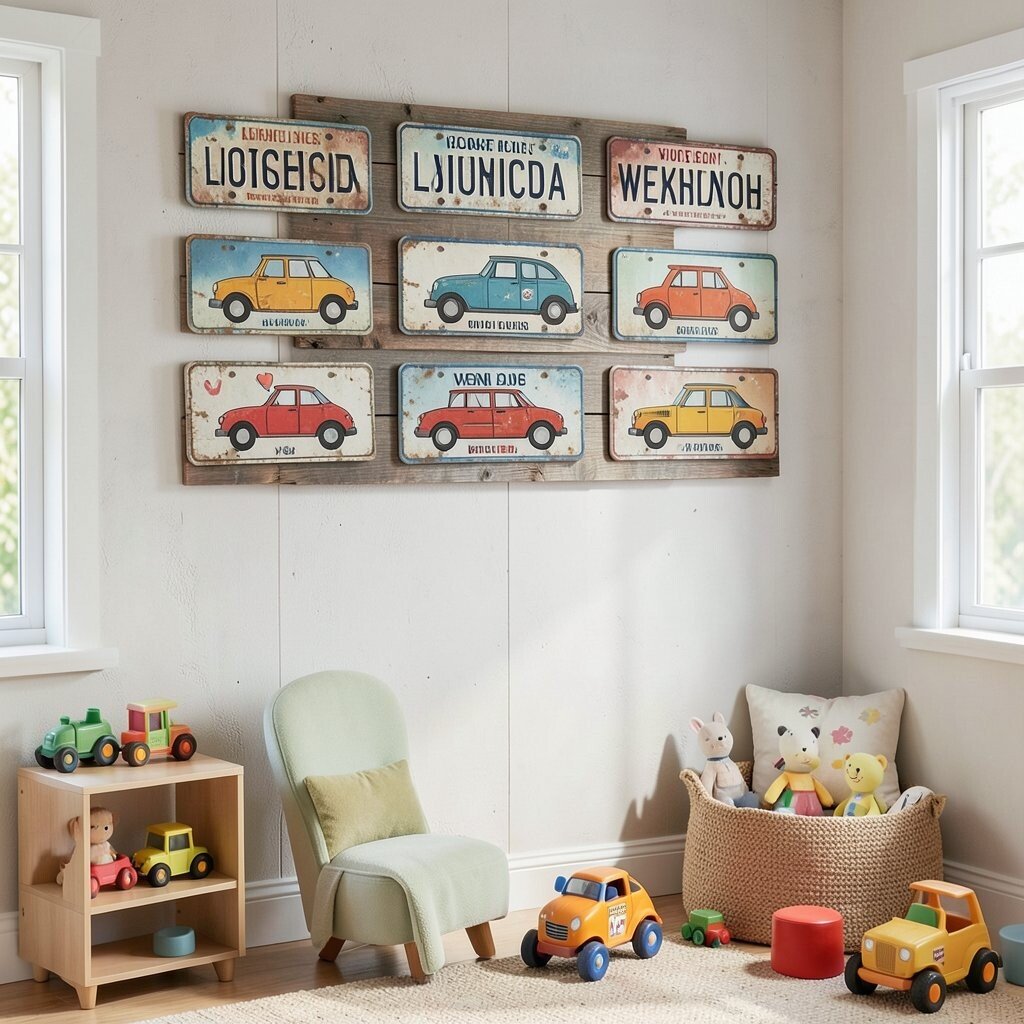
Borrow the vibe of old license plates by painting reclaimed wood rectangles with cute vehicle names. Add small icons like wheels, clouds, or rocket shapes so each plate feels like a mini character.
This style brings humor and motion to the wall, and it’s perfect for active kids. A practical approach is to keep the lettering large and simple so it’s easy for them to read.
Uniqueness comes from mixing vintage-style paint finishes, like a slightly worn edge. Personalize by creating plates for toys, like “Dino Van” or “Princess Cruiser,” and update them whenever the play story changes.
13. Treehouse Door That Opens With a Hidden Pocket
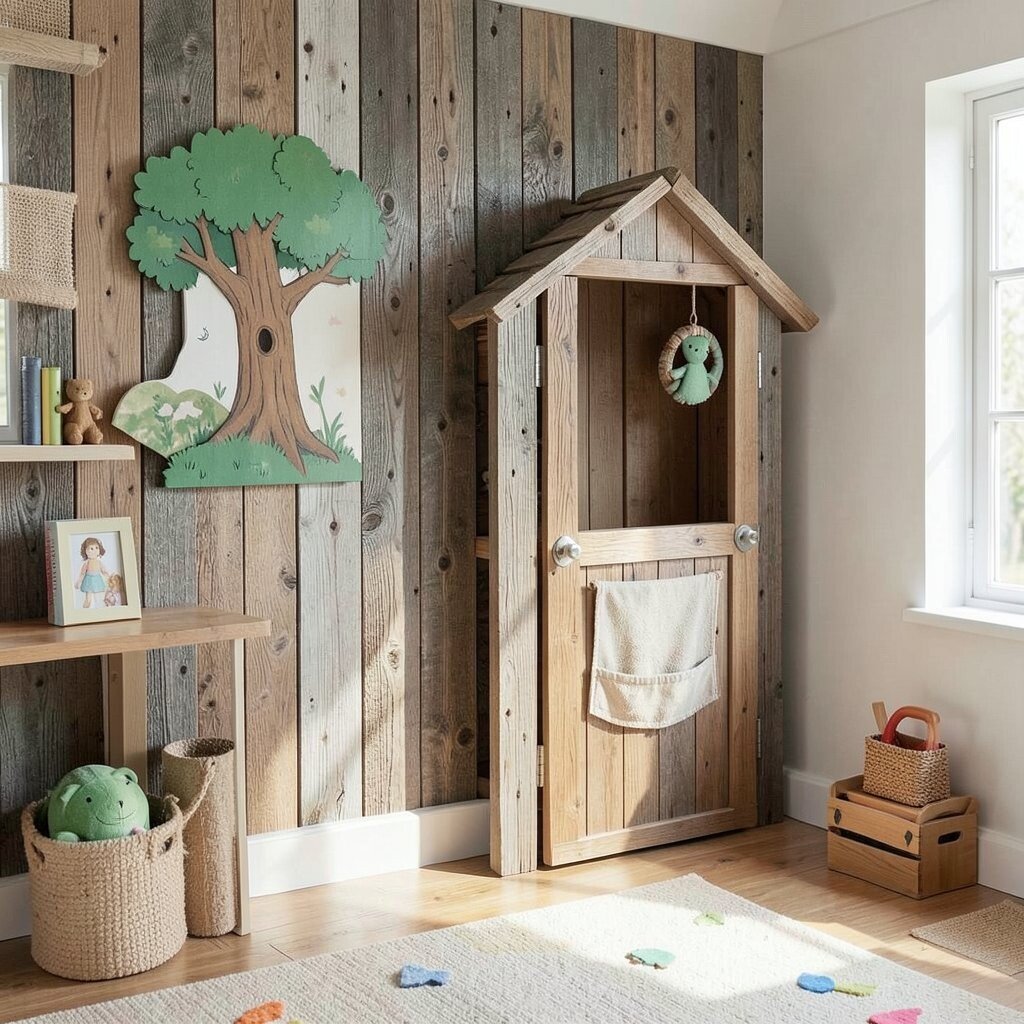
Cut a reclaimed wood “door” shape and paint it like a tiny treehouse entrance. Add a small hidden pocket behind the door where kids can tuck notes, cards, or small treasures.
This kind of wall art supports imaginative play and also gives you a neat spot for little keepsakes. For practical safety, use a simple magnetic catch so the door stays closed without fragile tiny parts.
To keep it budget-friendly, use scrap wood for the pocket backing and only buy paint if you need new colors. Personalize by painting a door number based on their age or by adding a small family crest made from leftover wood shapes.
14. Sunflower Field Panels With Seed-Sized Textures
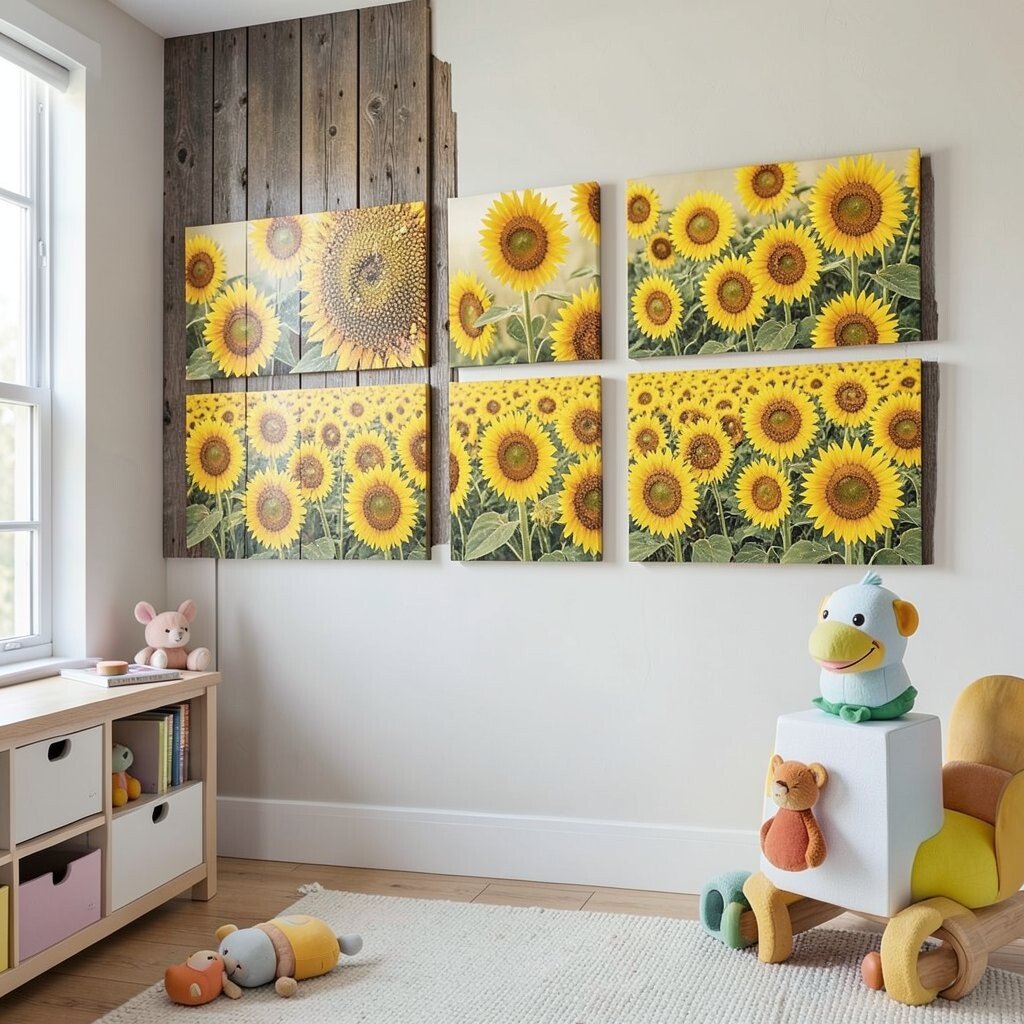
Make a sunflower field using reclaimed wood planks as the “ground.” Paint yellow petals and add raised textures in the center using lightweight modeling paste or safe textured paint.
This cheerful artwork brings warmth into the room and pairs nicely with many decor styles. For practical tips, seal the textured areas well so they stay clean even after playful dusting.
Uniqueness shows up when you vary the sunflower heights and spacing across different planks. Personalize by adding a painted name near the bottom border, like it’s a garden label.
15. City Skyline With Window Light Squares
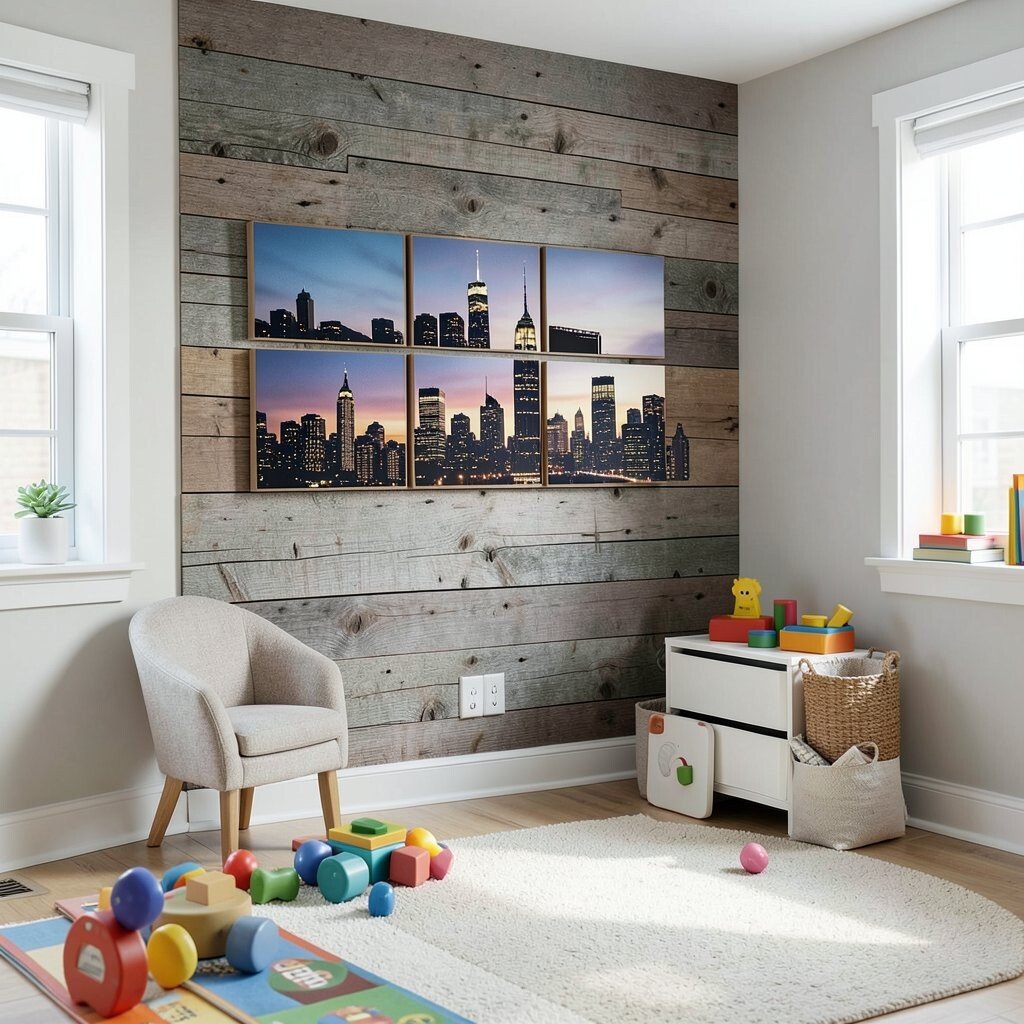
Build a skyline silhouette from reclaimed wood strips and cut simple building shapes. Paint tiny squares as windows, then use glow paint or battery tea lights in a safe, covered way.
Kids love looking for “lights” and guessing what each building does, which makes the art feel interactive. For practical setup, keep any illumination behind a clear cover and secure the wood firmly to the wall.
Trend-wise, warm minimal city art is popular now, and this gives a rustic version of that look. Personalize by labeling a few landmarks with kid-friendly names like “Cookie Tower” or “Rocket Museum.”
16. Ocean Wave Arcs With Hand-Stamped Shell Patterns
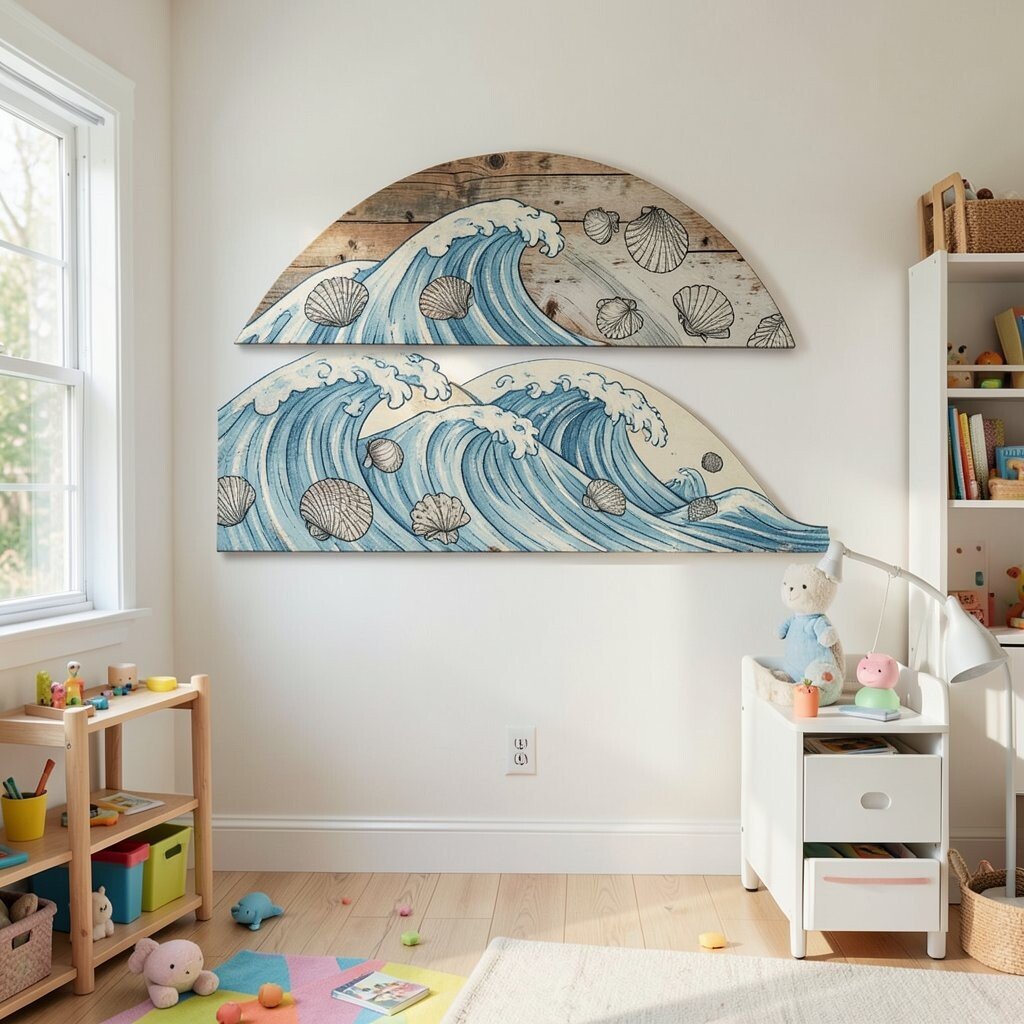
Paint layered wave arcs across reclaimed wood, moving from darker blues to lighter aqua. Use a sponge or shell-shaped stamp to create repeating shell patterns in the wave texture.
This gives the wall movement, like the ocean is gently rolling inside the room. To keep cleaning simple, choose washable paint and add a clear seal over the finished surface.
Uniqueness comes from each stamp being slightly different, so no two sections look identical. Personalize by adding a small “tide clock” using simple marks so kids can pretend time is passing on the shore.
17. Rocket Ship Ladder With Hanging Clip Stars
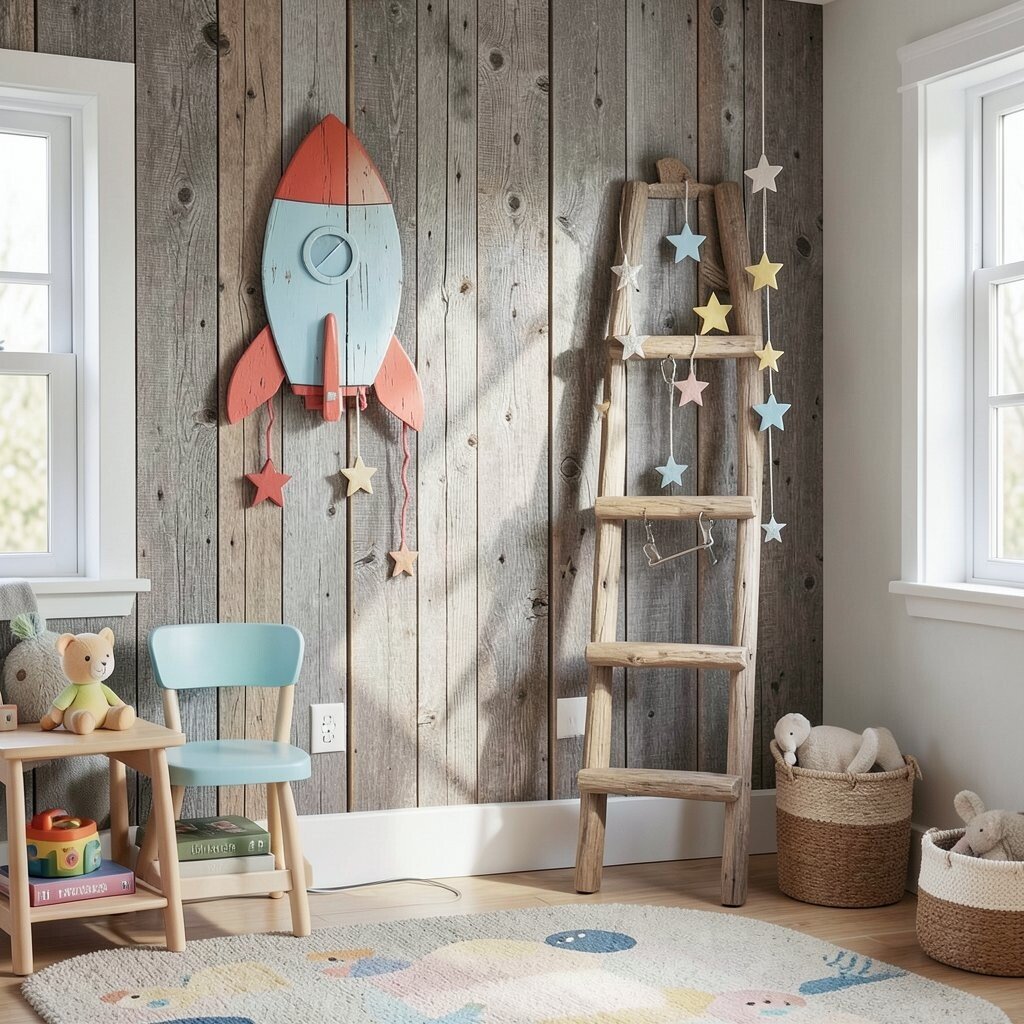
Design a rocket ship shape, then add a ladder made from reclaimed wood with evenly spaced rungs. Hang small star cutouts using clips so kids can rearrange them like they are collecting constellations.
This interactive wall keeps kids busy while still looking neat. For practical stability, use heavy-duty screws into studs and keep the clips lightweight so nothing swings too far.
Cost considerations are simple here because the stars can be cut from thin scraps. Personalize by painting planet colors and letting your child choose which stars go closest to the rocket’s “engine.”
18. Farmhouse Weather Chart With Swapable Stickers
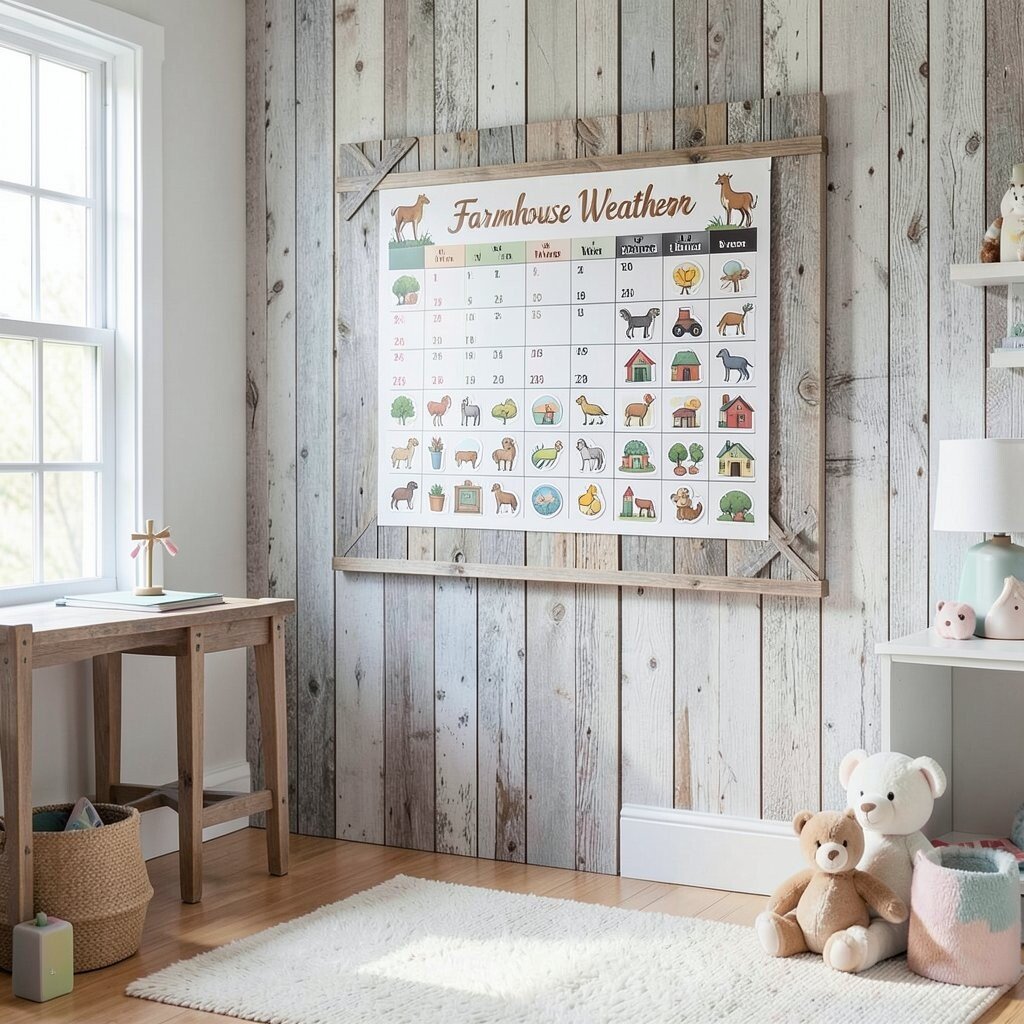
Create a reclaimed wood weather chart board that looks like an old farmhouse sign. Mark the days with painted symbols and use velcro for swapable weather stickers like sunny, rainy, or cloudy.
This helps kids practice routines and talk about the day in a fun way. A practical tip is to laminate a top layer or seal it well so the board survives marker tests and wipe-downs.
Uniqueness can come from using reclaimed wood tones that vary, like mixing honey and grayish stains. Personalize by adding a small pocket on the side for their sticker sheet or by painting a mini goal banner for homework time.
19. Circus Tent Side Panels With Painted Ripples
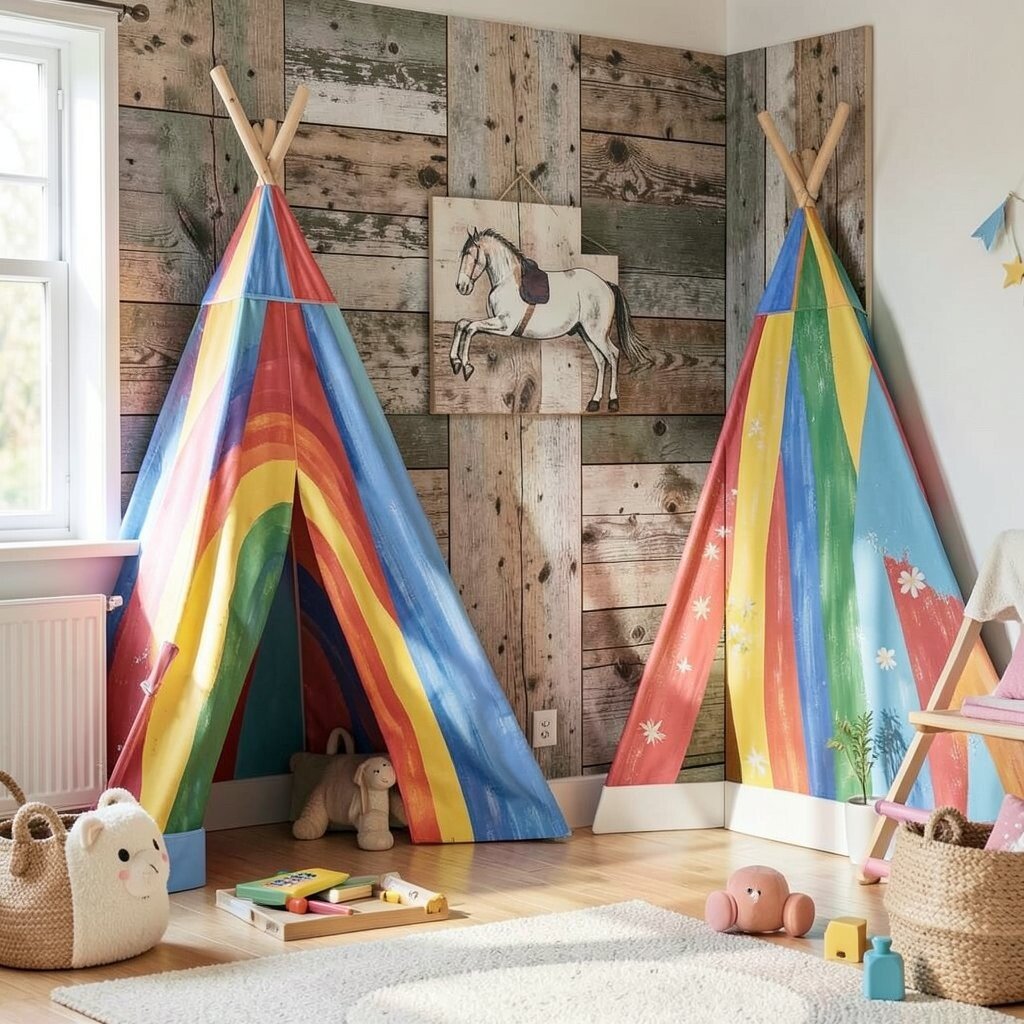
Make reclaimed wood side panels shaped like a circus tent, with stripes that curve slightly to look like fabric. Add painted ripples and a simple little banner strip at the top.
This playful look brings big fun energy without needing flashy store-bought decor. For practical tips, paint in thin layers and sand between coats so colors stay smooth and bright.
Uniqueness shows up when you choose unexpected stripe colors, like teal and coral, instead of only red and yellow. Personalize by adding their favorite act names, such as “Brave Balancing” or “Magic Bubble,” in small handwriting style paint.
20. Garden Critter Train With Rolling Track Dots
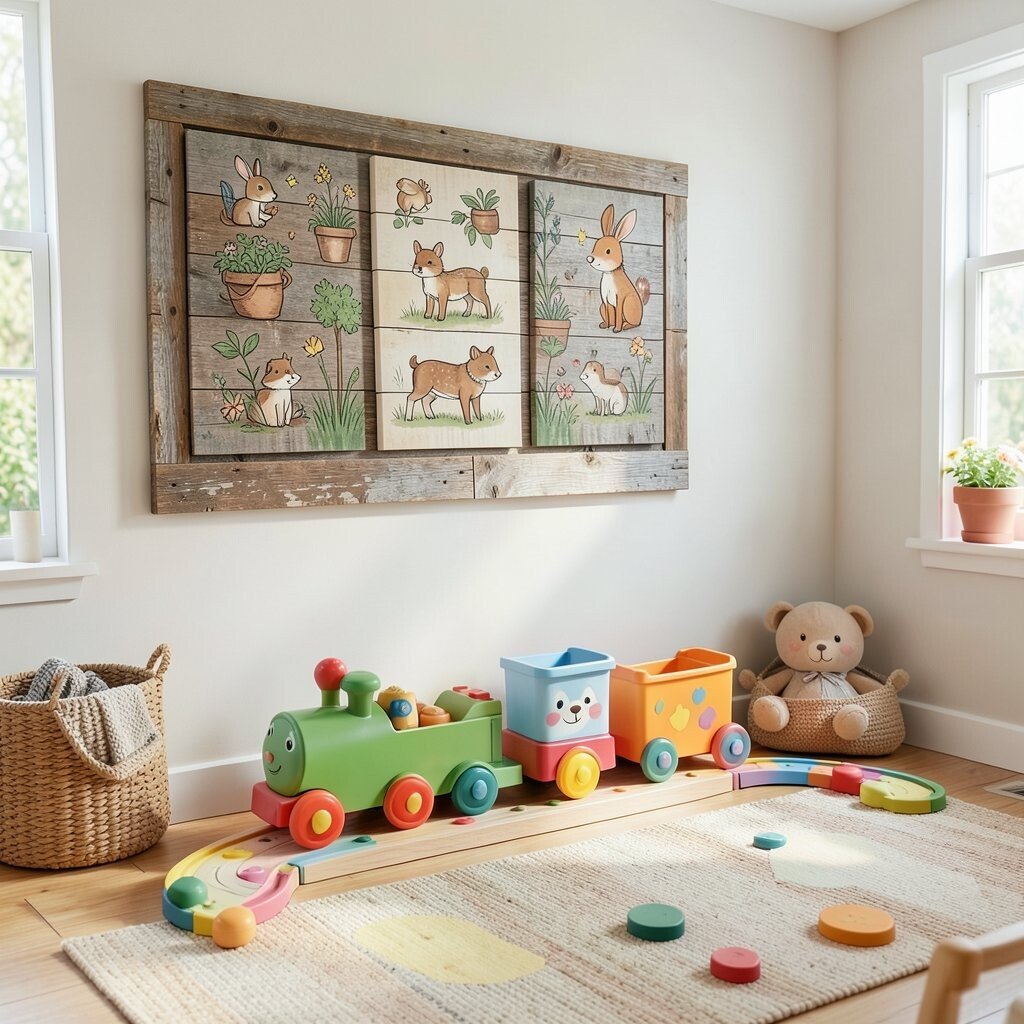
Arrange reclaimed wood shapes like train cars, but make them garden critters instead of regular trains. Paint tiny ladybugs, caterpillars, and snails as the “passengers,” then add track dots along the base.
This turns a wall into a story you can keep building each week. For practical durability, seal the entire piece and use thick paint so it handles touch without chipping quickly.
Cost considerations are friendly because you can build the cars from scrap wood pieces and simple round dowels for small details. Personalize by letting your child pick which critters get extra spots and by adding a name for the train, like “Mossy Express.”
The design also fits the current trend of nature-inspired play, giving a calm but lively look.
21. Personalized Gallery Grid With Rotating Seasonal Frames
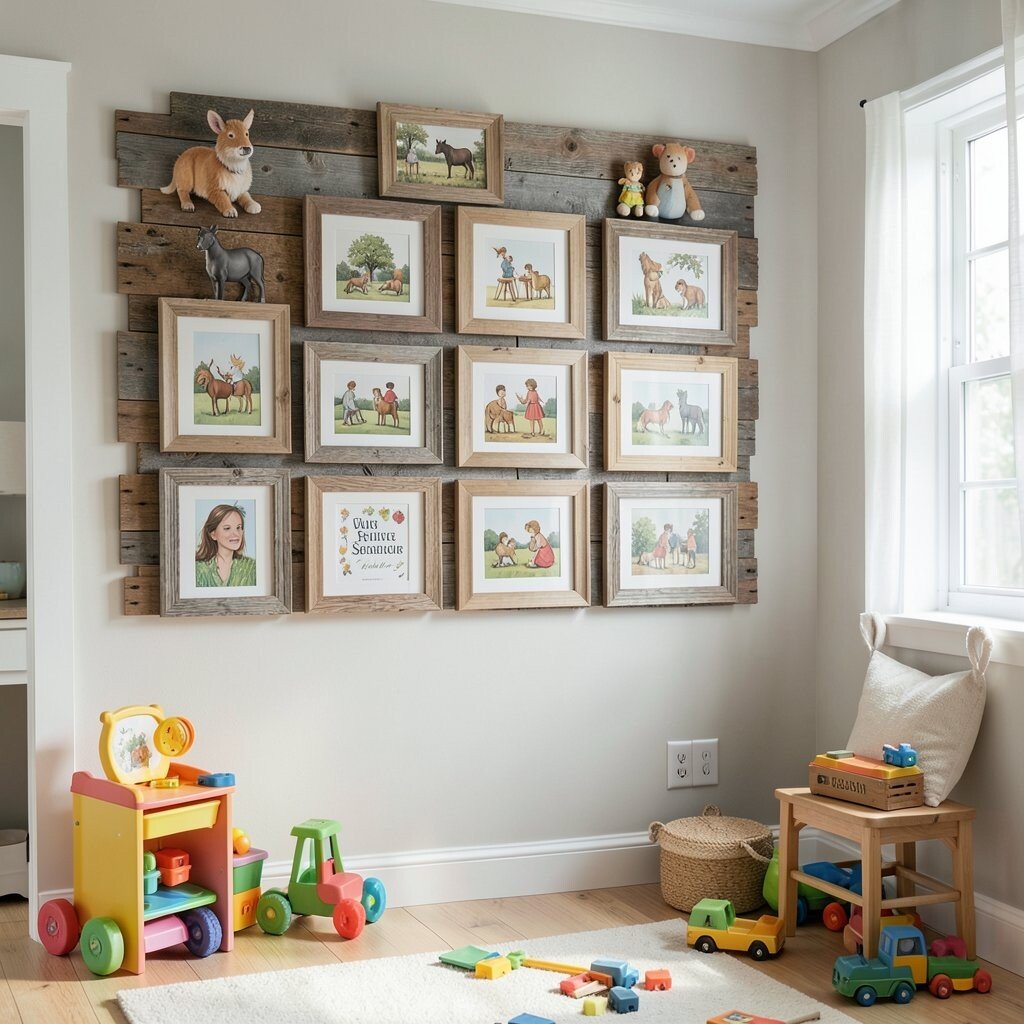
Build a reclaimed wood grid frame and leave several openings for small art panels. Use a mix of wood tones and create a tidy border so pictures look like they belong in a gallery.
Rotating art is great because kids grow fast and their interests change quickly. Keep it practical by using clips or small magnets so swapping art takes seconds, not tools.
Uniqueness comes from the reclaimed character, since every board will have different knots and marks that make the grid feel one-of-a-kind. Personalize the grid by setting aside space for their drawings, printed photos, and seasonal wall art you create together using paint and stamps.