Your hair tie can be the secret accessory that makes a simple hairstyle look special. Small changes in how you tie your hair can create big personality in seconds.
1. The Bow-Top Half-Up Clip-In Look
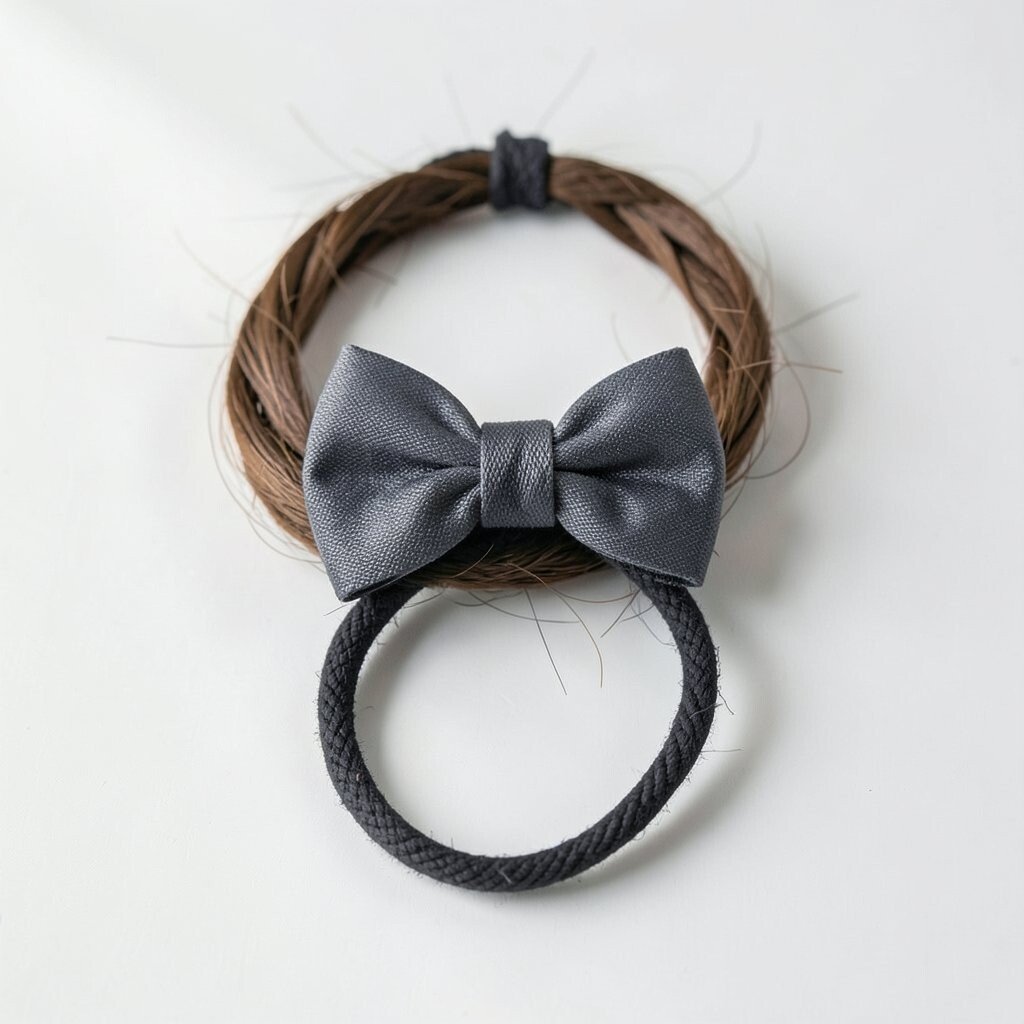
Gather the top half of your hair and secure it with a hair tie placed near your crown. Let the hair tie sit like a tiny bow bridge, then fluff the top section for a cute, lifted shape.
To make it look extra sweet, twist the hair tie area slightly before you pull the ends through, so you get a bow-like loop effect. This style is great for keeping hair out of your face while still showing off your hair’s length and shine.
2. The Double-Loop Side Tie With Soft Volume
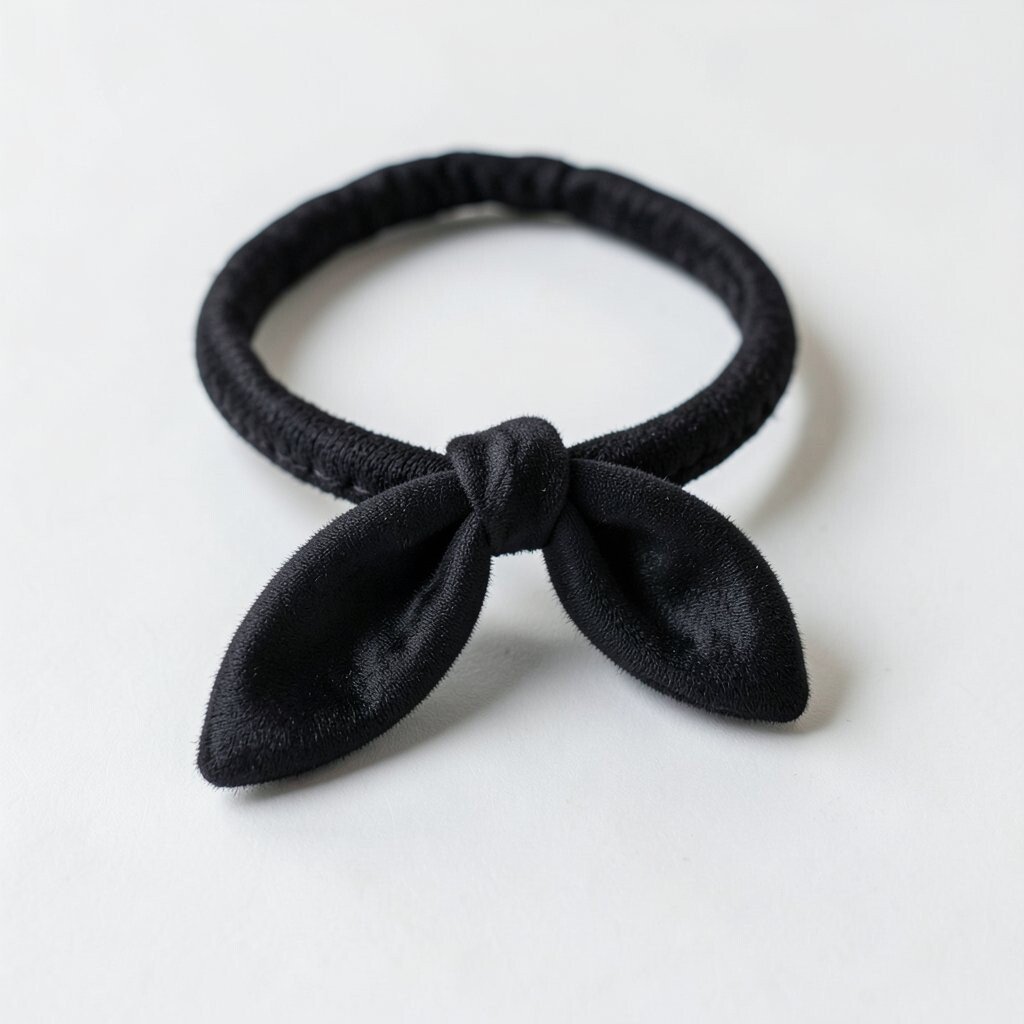
Part your hair slightly to one side, then pull a section to the side and tie it. Instead of tying once, create two loops with the hair tie, so the shape looks rounded and bouncy.
For visual balance, gently tug at the loops so they look like little clouds rather than tight knots. This is a quick hairstyle for school days or errands because it stays put without needing extra tools.
Choose a hair tie that matches your outfit, like pastel for a casual day or black for a clean, sporty look. If your hair is fine, use a slightly thicker tie and add a light spray of water before tying for better grip.
3. The Ponytail With a Hidden Knot Pop

Smooth your hair into a mid or high ponytail, then tie it with your favorite hair tie. After tying, take a small strand from the ponytail base and wrap it around the tie to hide it.
Make the wrapped strand end tuck under the ponytail so it disappears, then add a tiny knot at the base for a playful pop. You get a sleek look on the outside with a fun surprise you can feel and see when you move.
Use a clear elastic if you want the tie to blend in, or use a ribbon-like elastic for a cute accent. This hairstyle works well for curly, straight, and wavy hair, and it looks especially good with bangs.
4. The Braided Crown With Two Hair Ties

Create a simple braid across your head like a soft crown. Secure each end with a hair tie so the braid stays in place without sliding.
For a trendier look, pull the braid slightly loose so it looks thicker and more airy. This keeps your face open while giving you a “styled, but not too fussy” vibe.
5. The Half-Up Twist Bow With a Mini Elastic
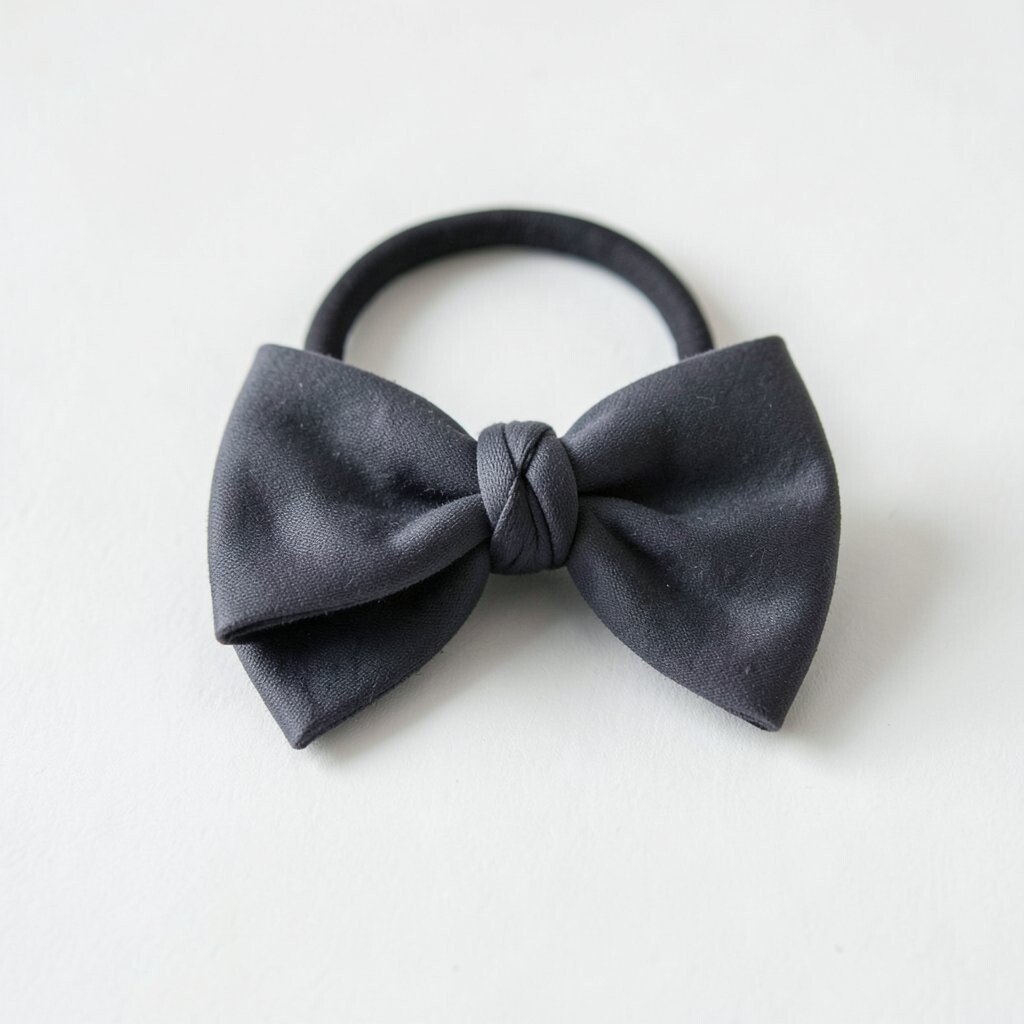
Take two front sections of hair and twist them back, meeting in the middle. Secure them with a mini hair tie, then fan out the twist area like a small bow.
To personalize it, choose an elastic with a fun texture, like braided or satin, so it stands out against your hair. This keeps hair off your cheeks and makes even a basic outfit feel special.
If your hair is short, use bobby pins along the twist and keep the elastic as the center anchor. A little tugging on the twist gives shape without needing heavy styling.
6. The Ribbon-Style Elastic Loop Around a Low Bun
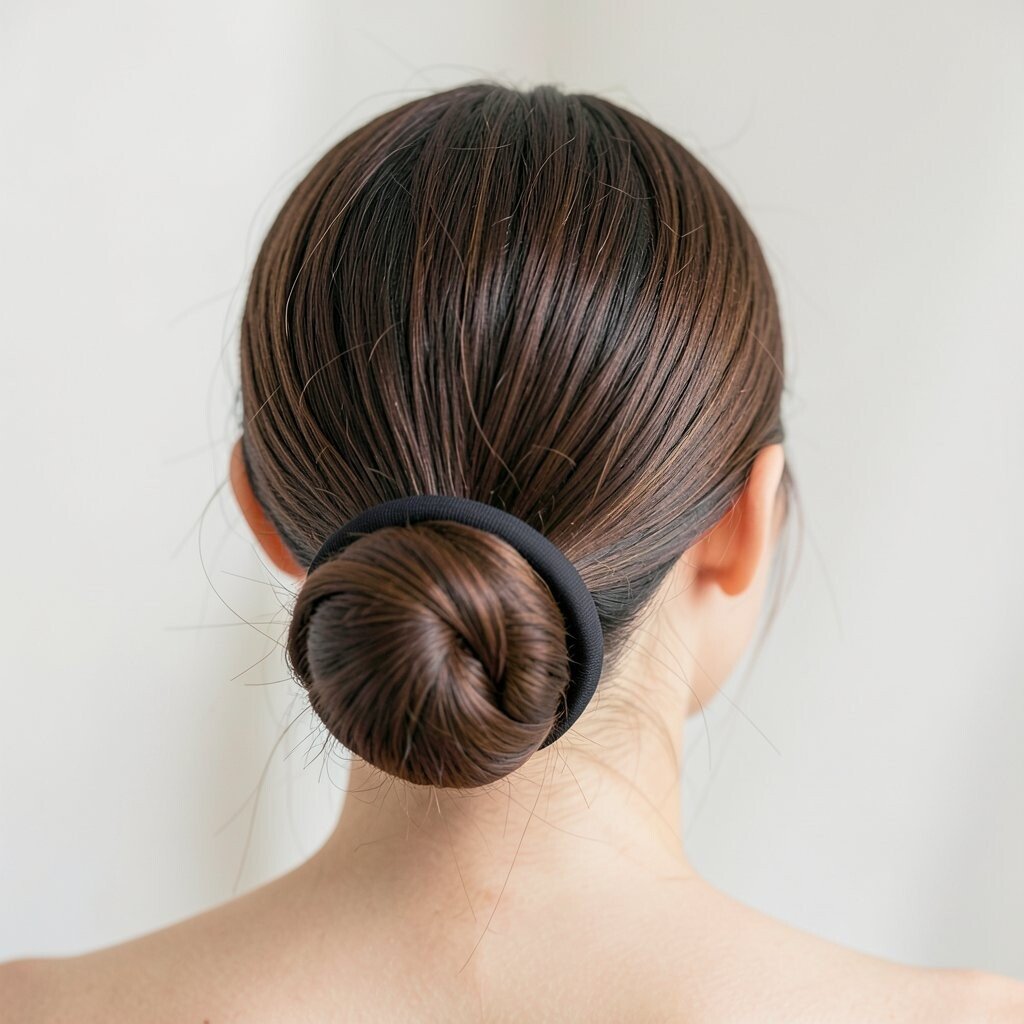
Smooth your hair into a low bun and secure it with a hair tie or elastic base. Leave the ends tucked, then wrap an elastic around the bun like a ribbon band.
This makes the bun look decorative without needing a real ribbon. It is perfect for events, but it is also simple enough for everyday wear when you want your hair to look polished.
Pick a bright elastic for a fun statement or a nude one for a softer look that blends. If your bun tends to loosen, wrap the elastic a second time and secure with one hidden pin.
7. The High Ponytail With a Tie-Back “Halo” Loop

Gather hair into a high ponytail and tie it firmly. Then take a second hair tie and loop it from one side of the ponytail to the other, like a halo band across the base.
Lift and gently stretch the halo loop so it looks curved and intentional, not accidental. This idea adds structure and keeps your ponytail from looking plain.
8. The Crisscross Elastic in a Sleek Low Pony
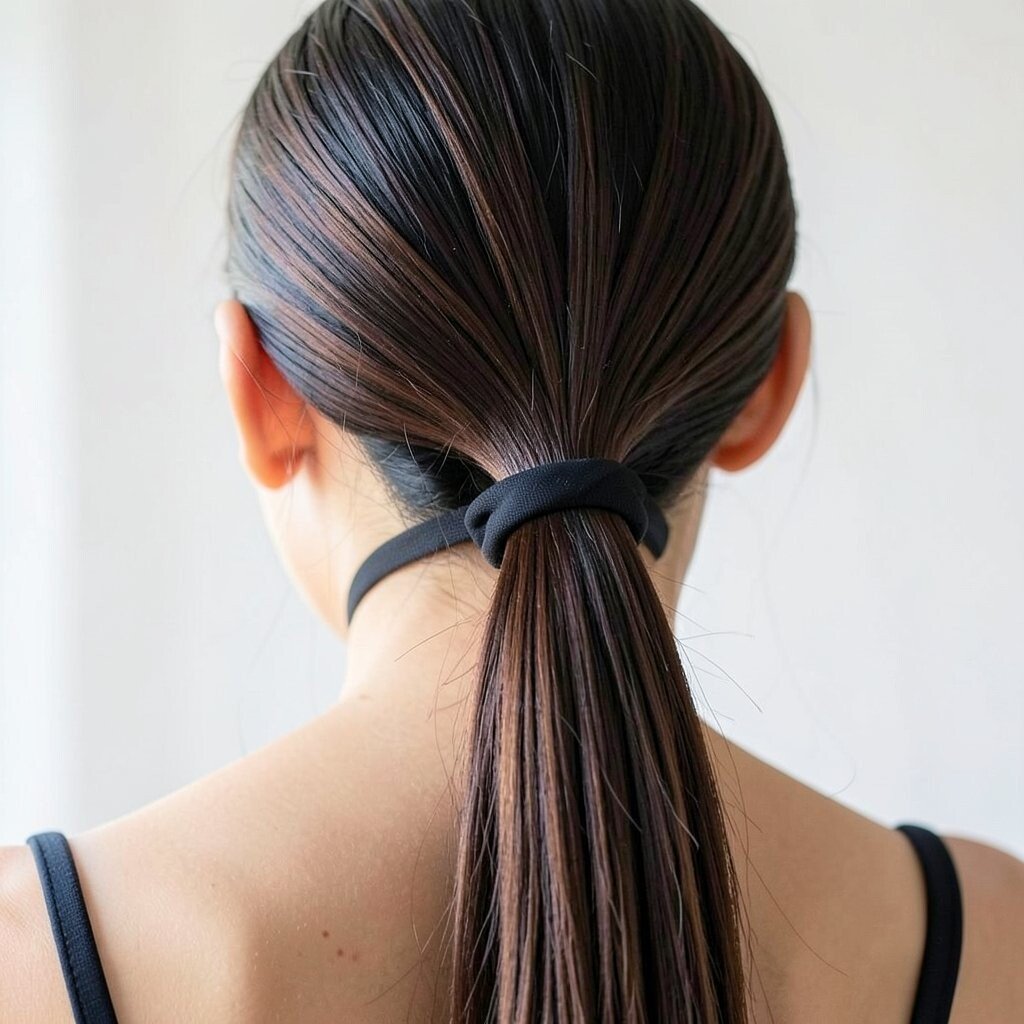
Start by tying your hair into a low ponytail with one elastic. Then take another elastic and crisscross it around the ponytail base, creating an X pattern.
Finish by smoothing the ponytail and lightly brushing flyaways so the crisscross looks neat. This style is great for tidy days when you want your hair controlled and your look sharp.
Choose a thin elastic if you want a delicate effect, or use a thicker one for a more noticeable graphic vibe. If you color your hair, matching the elastic to your highlights makes it extra eye-catching.
9. The Bubble Ponytail With Three Small Elastic Bands
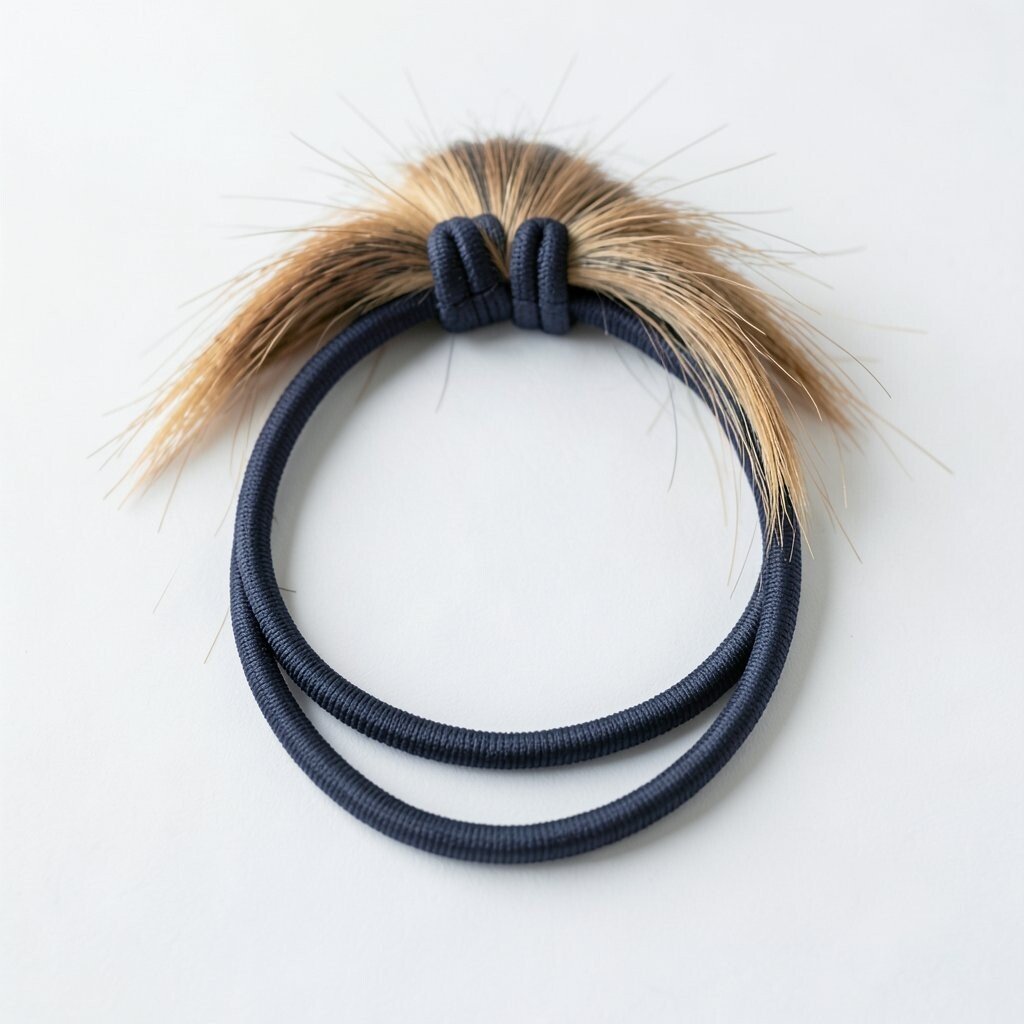
Secure your ponytail, then divide it into sections by tying small elastics along the length. Leave a little space between ties so you get “bubbles” that look round and bouncy.
Gently pull each bubble outward for a fuller look that feels cute and playful. This is a popular style right now because it looks fun in photos and still works for real life.
If you have thick hair, use stronger elastics and tie snugly to prevent slipping. If you have thin hair, pull the bubbles wider and add a tiny bit of texturizing spray so they hold their shape.
10. The Mini Side-Pony With Two Color Co-ordinated Elastics
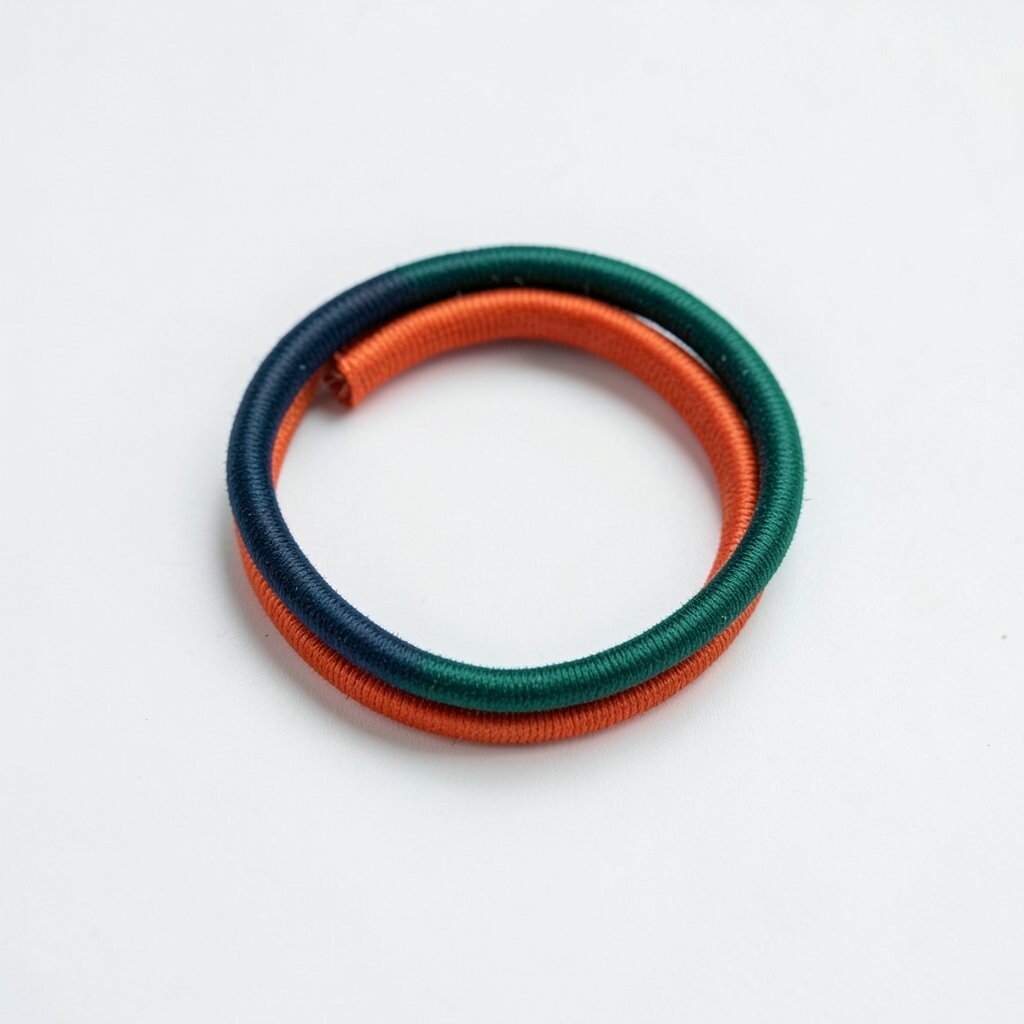
Pull a small section of hair to one side and tie it low, right near your ear. Wrap a second hair tie around the first one using a slightly different color for a layered effect.
This gives you a cute, playful look that feels modern without being too busy. It is especially nice for day-to-day wear because the side placement looks youthful and keeps the rest of your hair free.
For personalization, match the colors to your nail polish or your favorite hoodie shade. If you want it to last longer, use a light hair gel along the tie area before you secure it.
11. The Twist and Tuck With an Elastic “Button”
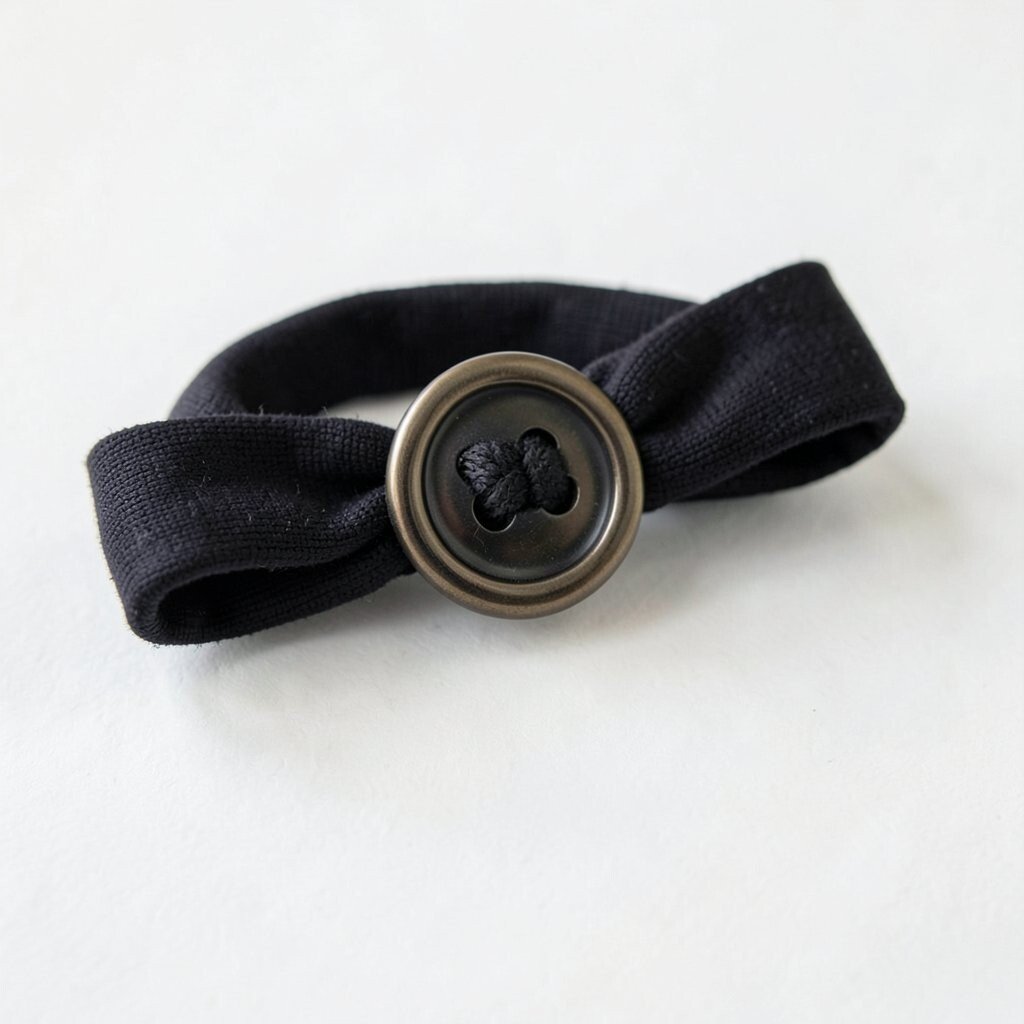
Twist two small sections from the front and wrap them around each other near the back. Secure the twist with a hair tie, then tuck the loose ends in so everything looks smooth and neat.
For the elastic “button” look, position the tie slightly higher than you think you need, so it becomes a focal detail. It looks adorable on short, medium, or long hair because the twist creates shape even when hair is fine.
12. The Space-Bun Twins With Matching Hair Ties

Part your hair down the middle, then create two high buns on each side. Use two hair ties to anchor each bun, keeping them even so they look like friendly “space twins.”
When you wrap the bun, keep it slightly loose and fluffy for a soft, cute finish. This style is perfect for parties, festivals, or windy days because it keeps everything secure.
Trends are leaning into playful shapes like this, and it photographs beautifully from every angle. For cost-friendly results, use hair ties you already have and switch only the top layer to a matching color if you want a coordinated look.
13. The Half-Up French Tie With Elastic Bands at the Nape
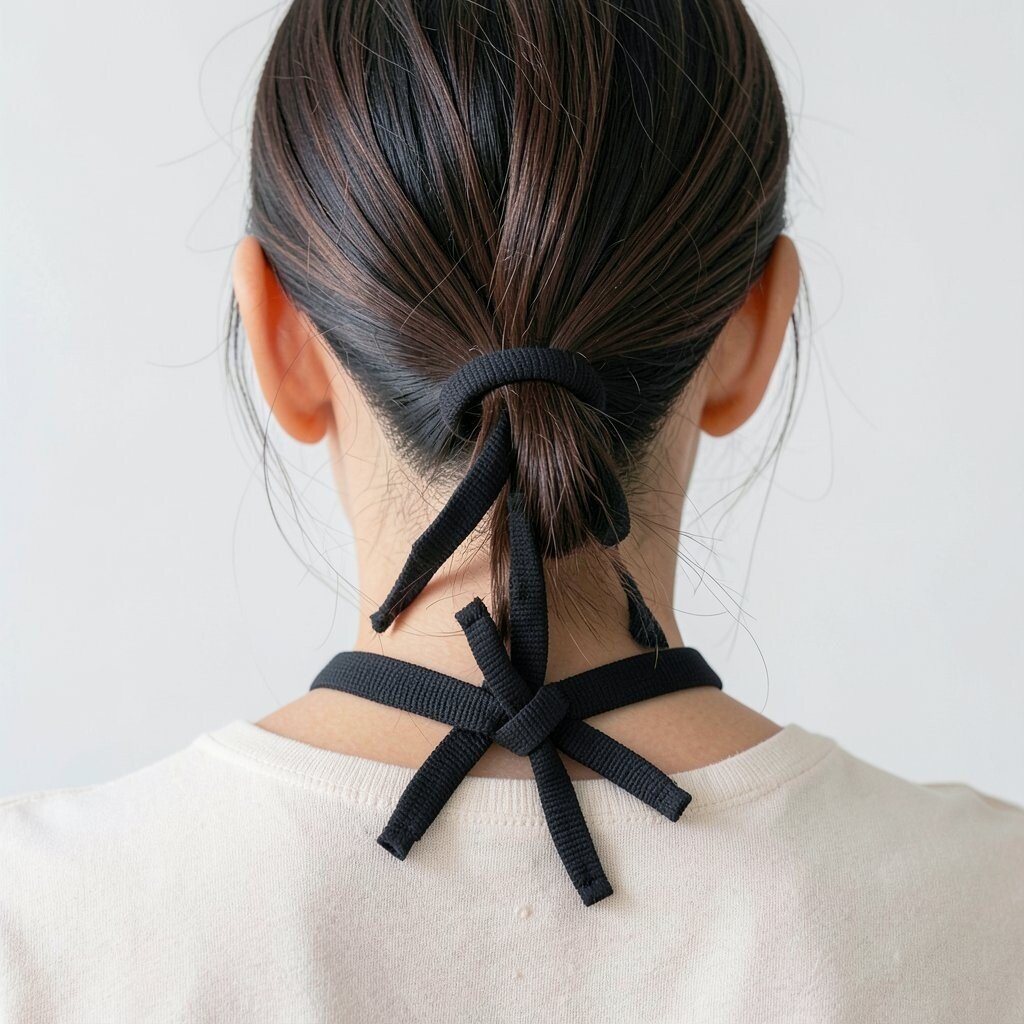
Gather the top layers of your hair and begin a loose French braid, but stop at the nape. Secure the braid ends with a hair tie so you get a gentle crown effect with an easy finish.
Let the remaining hair fall naturally to create contrast between structured top and soft bottom. This makes your hair look styled while still feeling light and comfortable.
For personalization, braid in a small strand of hair that frames your face, then clip or tuck the ends for a clean edge. If your hair is very curly, use a slightly stretchy elastic so it won’t snag or tug.
14. The High Ponytail With a Braided Hair Tie Wrap
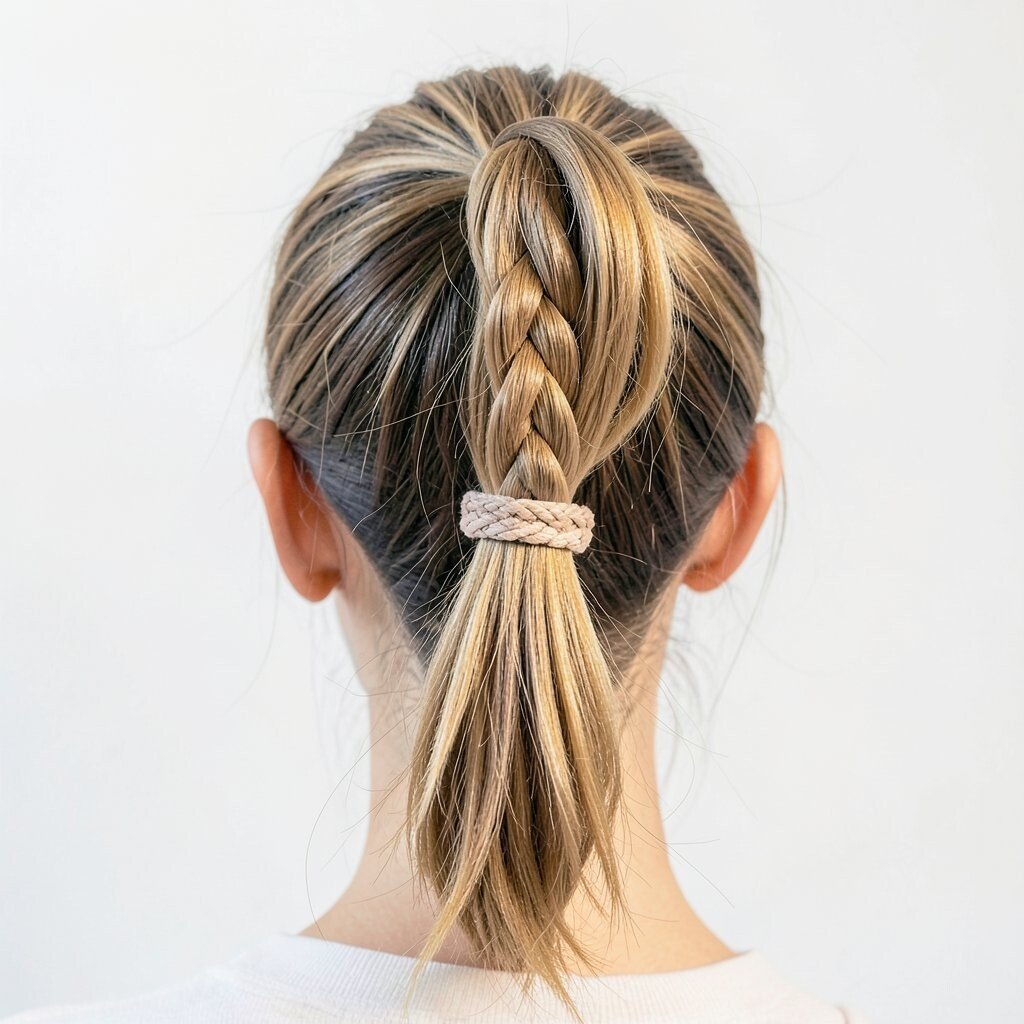
Tie your hair into a high ponytail, then take the base strand and braid it. Wrap that braid around the hair tie and tuck the end underneath to hide it.
This creates a braided detail without adding extra accessories or complicated steps. It also helps the ponytail tie stay covered longer, which is helpful if you wear your hair for several hours.
Choose a braid-friendly elastic, like a slim fabric one, so your hair doesn’t bunch at the base. For a cute modern look, leave the braid a little thicker by gently loosening it before wrapping.
15. The Low Ponytail With a Scarf-Like Elastic Wrap
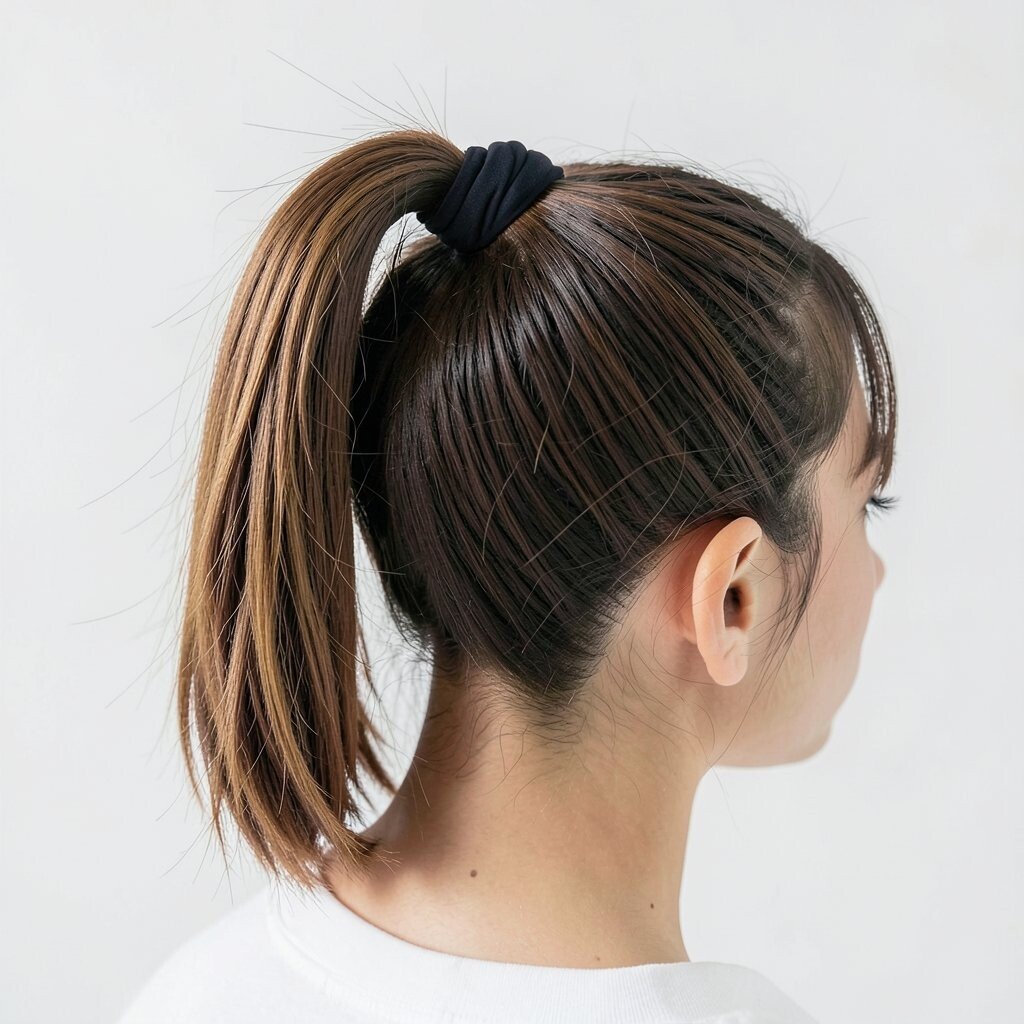
If you love the look of scarves but want it easier, use a patterned hair tie or an elastic that mimics a scarf band. Secure a low ponytail, then wrap the band around the tie area like you are adding a mini sash.
This adds color and style with almost no extra effort. It is also a great option when you are traveling because hair ties take up less space than real accessories.
Pick patterns that match your outfit, or go bold with a contrasting color for a fun, creative vibe. For extra hold, use a bobby pin on the underside so the wrap doesn’t shift.
16. The Claw-Style Wrap With No-Clamp Elastic Tension

Instead of using a clip, use a firm elastic to create a claw-like hold near your temple. Gather your hair back lightly, then wrap the elastic to create the “grip” effect while leaving some texture showing.
Keep the hair tie slightly angled, so it looks like a chic side twist rather than a simple ponytail. This is a great choice when you want your hair out of your face but not fully tied.
Use a matte elastic for a clean look and avoid super shiny ones if you want a more natural feel. If your hair is slippery, dampen the roots for a few seconds before tying so the tension grips better.
17. The Dainty Double-Puff With One Vertical Hair Tie

Part your hair and create two small puff sections near your part line, like tiny pillows. Instead of tying each puff separately, use one elastic vertical through the middle to connect them.
This gives a cute, symmetrical look that feels light and playful. It is perfect for bangs or face-framing layers because the puffs lift your hair without covering your features.
For personalization, choose one elastic that matches your eyes or your favorite accessory color. If you want more volume, gently lift each puff and smooth the edges so it looks tidy.
18. The Braided Ponytail With a Single Elastic “Anchor”
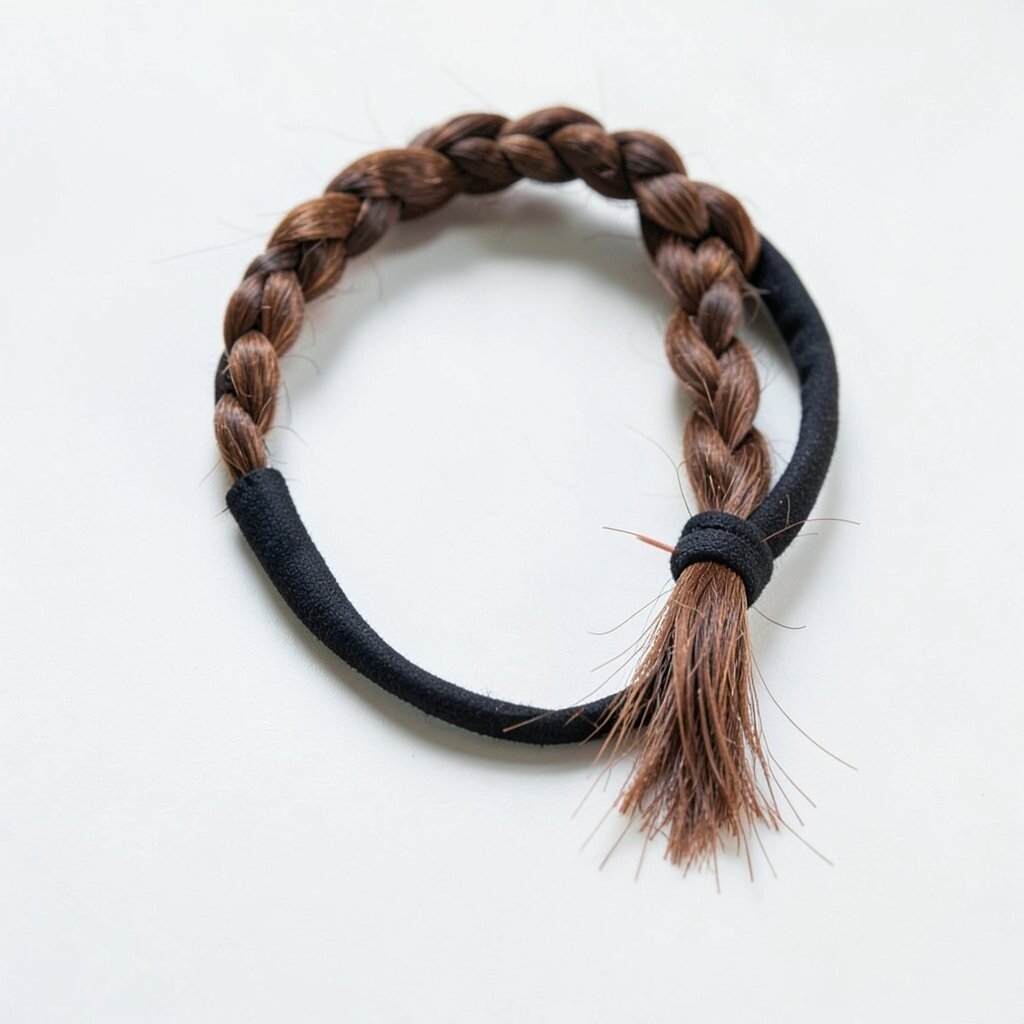
Tie your hair into a ponytail using one elastic, then braid the entire ponytail. Secure the braid end with another hair tie, keeping the braid tight enough to hold but not so tight that it pulls.
To make it extra cute, tug lightly along the braid to puff it up and give it that “just braided” look. This hairstyle is practical because it protects hair lengths and looks great all day.
Trends often show braided ponytails because they look polished without being heavy. For cost considerations, you can use basic elastics and focus your styling on the braid puff, which creates the wow effect.
19. The Twisted Crown With a Single Elastic at the Top

Create two twisting sections from the sides and bring them toward the top of your head. Secure the twist meeting point with one elastic placed where a crown would sit.
Let a few face strands fall freely so the crown feels soft, not strict. This is a lovely choice for dates, family photos, and days when you want hair to look elegant but still comfy.
Choose a hair tie that matches your hair color for a seamless finish, or pick a fun color if you want it to look intentional. If your hair is thick, twist in smaller sections so the crown holds its shape.
20. The Retro Finger-Wave Side Tie With a Statement Elastic
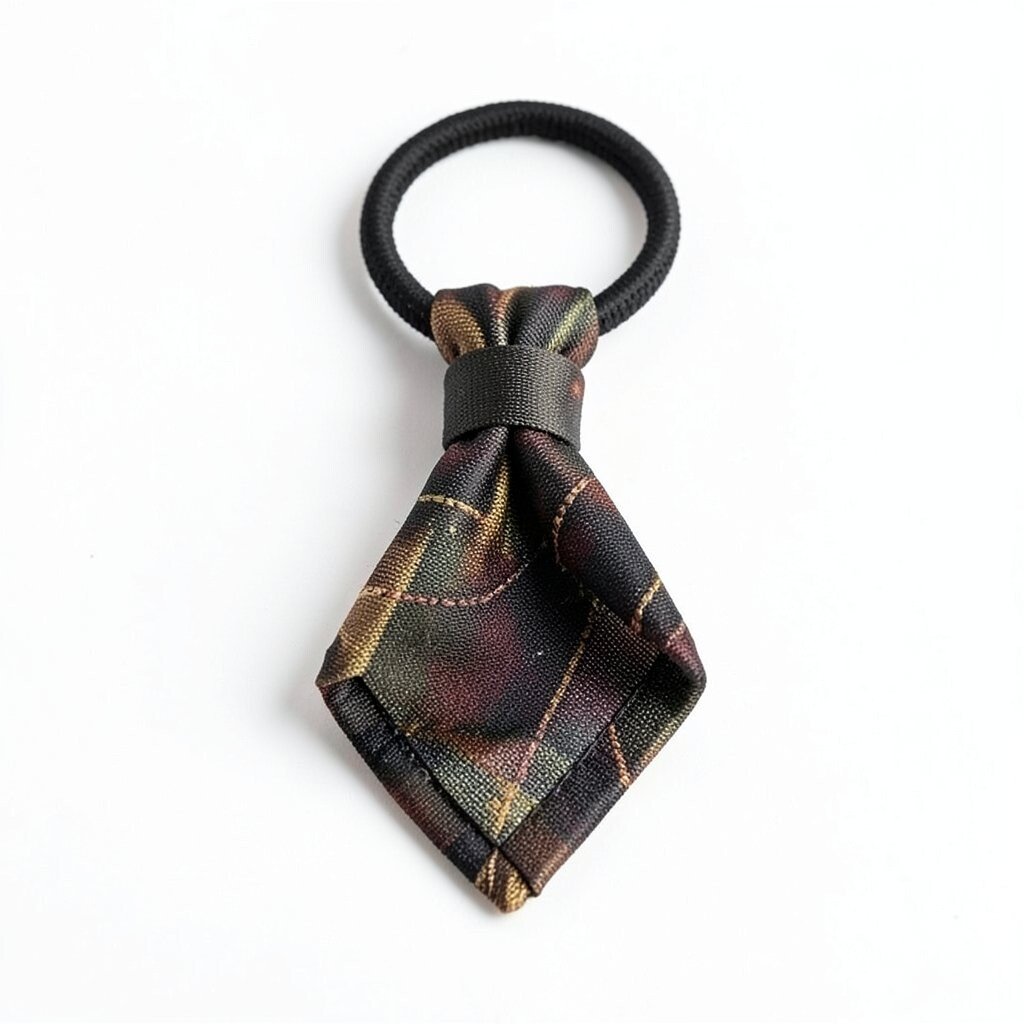
Make a deep side part and smooth your hair into a gentle retro wave before tying. Use a statement hair tie with a bold pattern or textured fabric so it becomes the star of the look.
When you tie the side, keep the tie close enough to show the wave shape, then brush the rest lightly for control. This style is unique because it blends vintage vibe with modern elastic fashion.
For personalization, match the statement tie to a hair accessory you already love, like a headband or earrings. Cost-wise, you don’t need a new set every time since one great elastic can elevate simple styles again and again.
21. The Waterfall Half-Up With Elastic-Stitch Segments
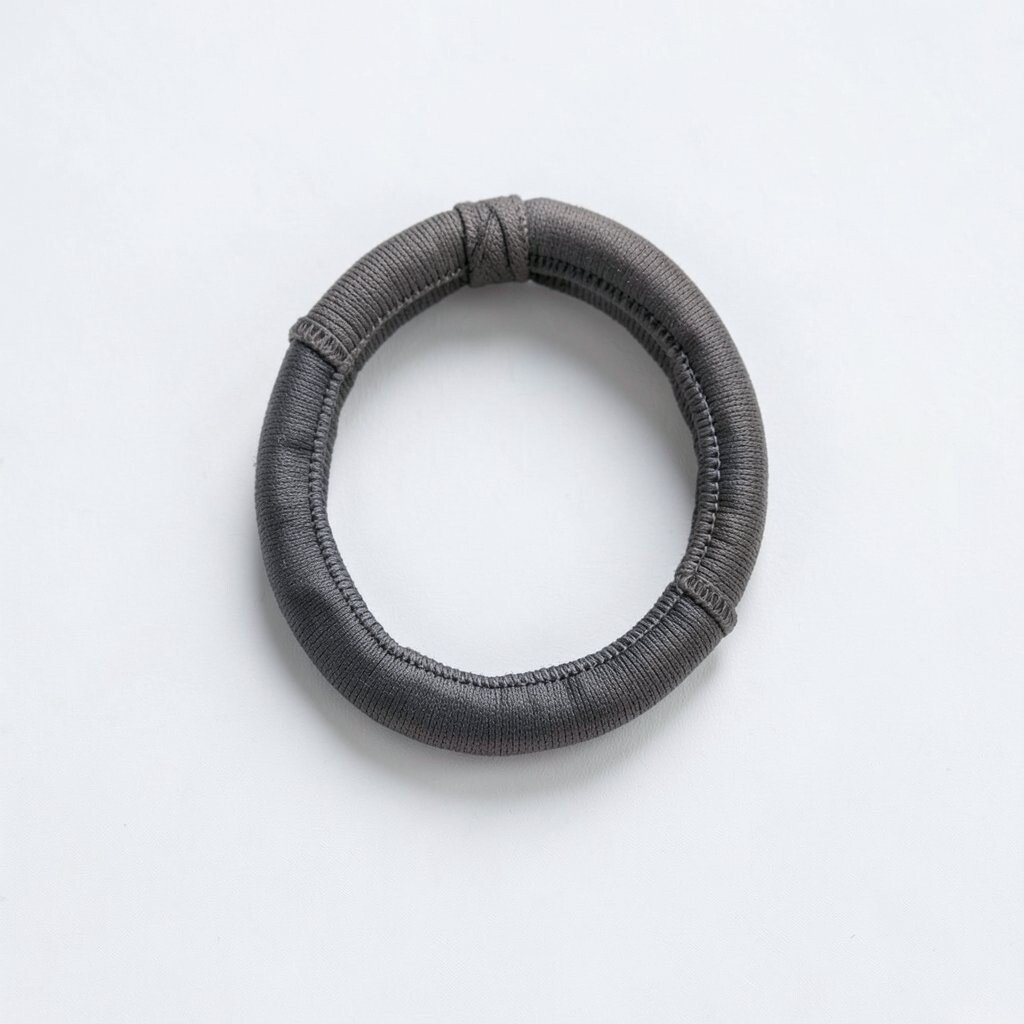
Pull a half-up section at the top, then tie it with an elastic. Instead of one tie holding everything, add small elastic segments as you move downward, like stitched steps through your waterfall look.
This creates a flowing pattern where hair feels like it cascades, but the segments keep it controlled. It is a cute option for longer hair because it highlights movement while still keeping pieces from slipping.
To personalize, use elastics in a gradient of colors or stick to one color for a clean finish. If you have dry ends, use a tiny drop of conditioner on your fingers before tying so the waterfall looks shiny and smooth.