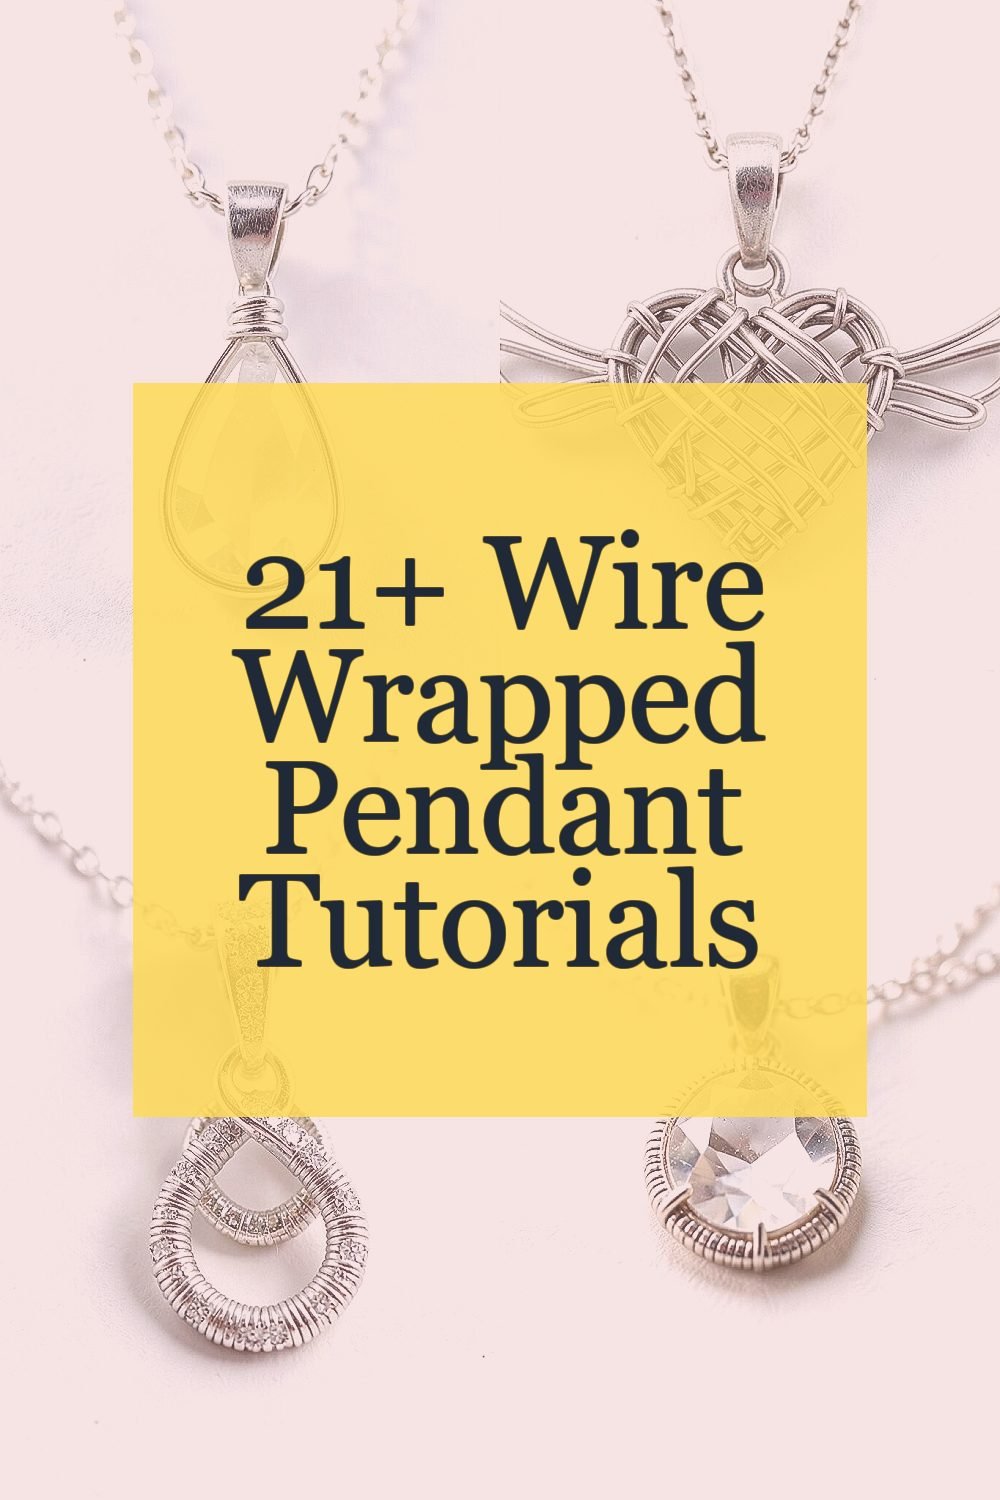
The shine of a handmade pendant feels like a tiny victory you can wear. With a little wire, you can build textures, shapes, and meaning that store-bought pieces can’t match.
1. Simple Teardrop Crystal Pendant
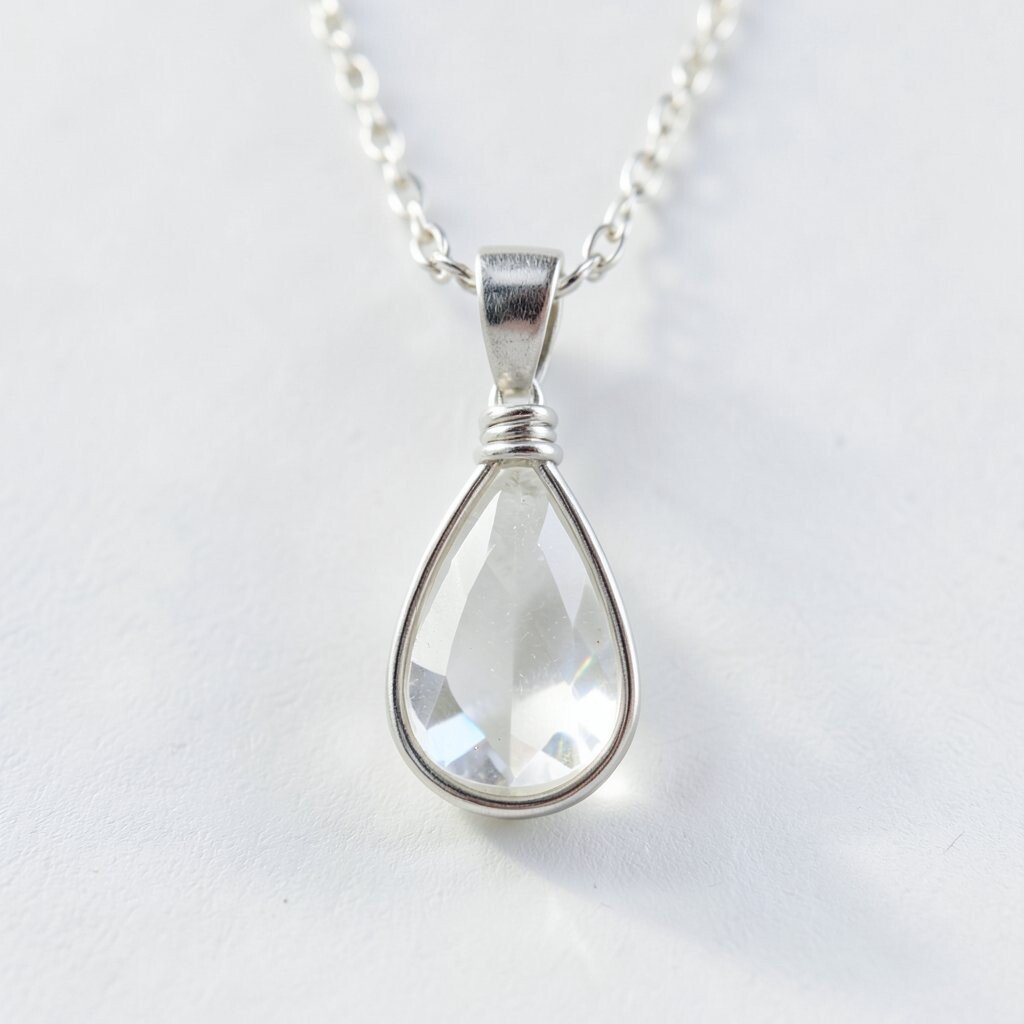
Start with a teardrop cabochon, glass bead, or small crystal. Shape two gentle loops at the top so the pendant hangs like it belongs in a jewelry box.
Wrap wire around the stone’s widest area, then taper the wraps toward the point for a smooth look. Keep your tension light so the stone stays centered and the metal doesn’t pull out of shape. Finish with a clean loop bail and a short chain or cord, then polish the wire ends so they feel comfortable against skin.
2. Wire Wrapped Heart With Side Wings
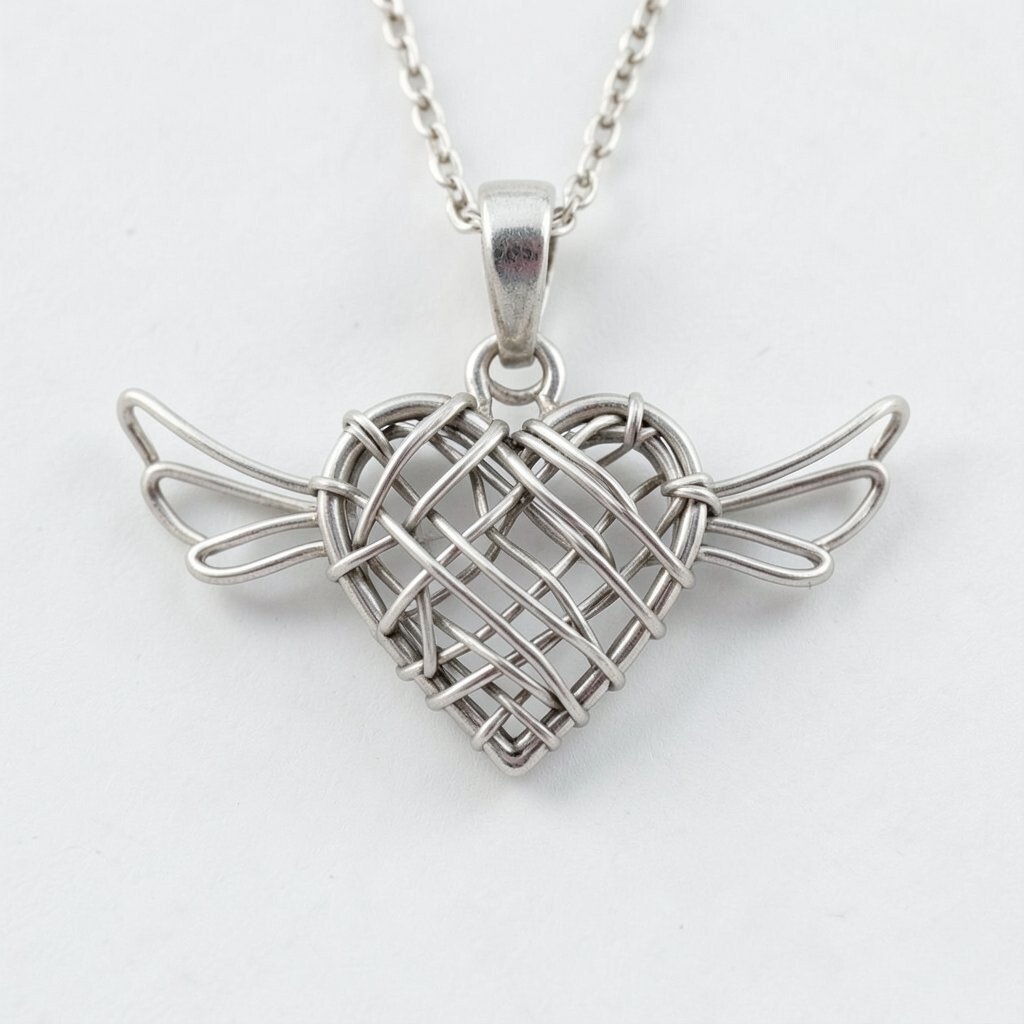
Use a soft, bendable wire and sketch a heart on your desk with the back of a marker. When you curve the top lobes and the bottom point, you’ll notice how quickly it starts to look familiar and sweet.
Wrap the wire around the heart outline, adding two small “wing” accents at the sides for extra movement. This style feels unique because the wings catch light when you walk. Choose a bright colored stone or a tiny pearl at the center to make it feel personal without adding much time.
3. Triple Loop Pendant With Sparkle Wrap
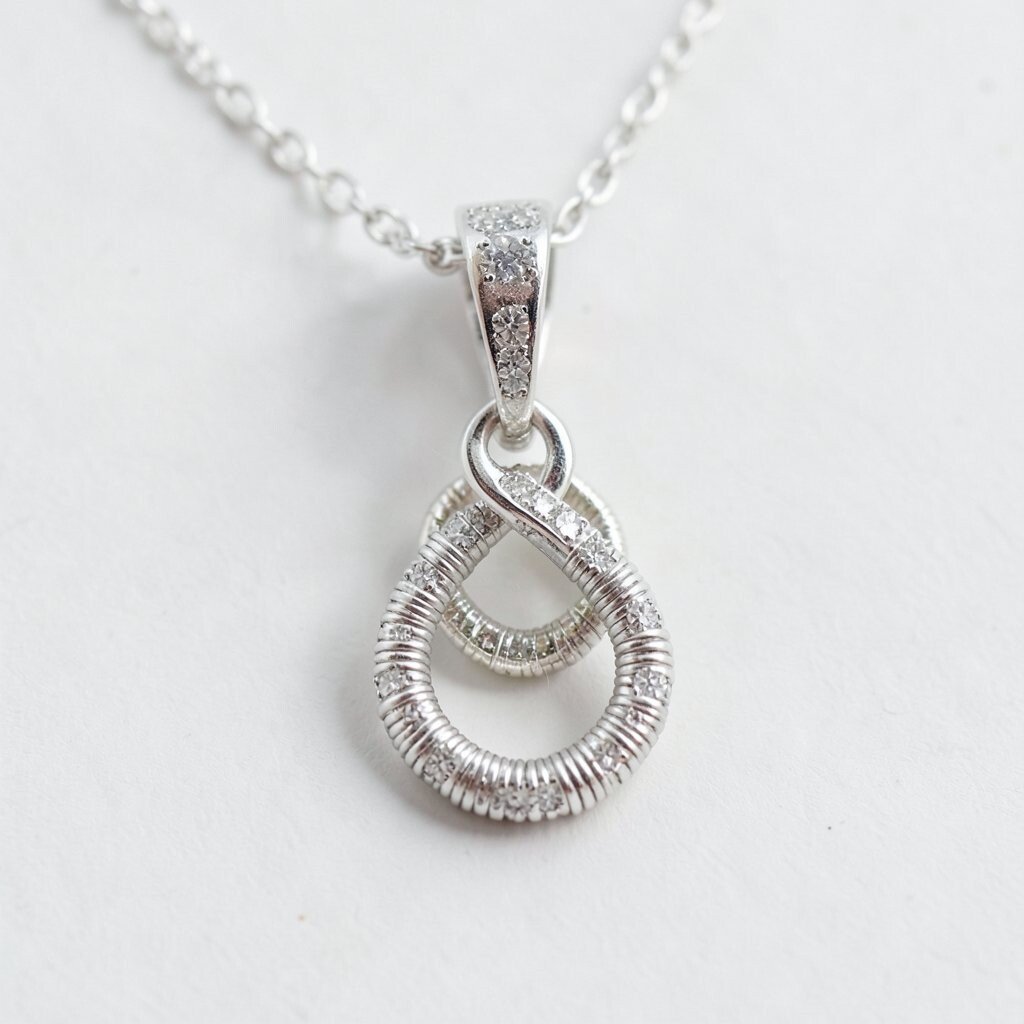
Pick a small flat stone or faceted bead and plan where the three loops will sit. The visual rhythm is simple: loop, wrap, loop, then finish with one last loop that frames the piece.
Wrap one section of wire in tidy spirals so it looks like a sparkle blanket. Add a second wire for the three loops so they stand slightly away from the stone, which makes the pendant look airy. If you want a trendier feel, use mixed metals by combining silver-toned and copper-toned wire for a warm contrast.
Keep the wraps close together so the surface stays smooth and neat. When you attach the bail, open it slightly, slide on your chain, then close it tightly using gentle pressure. This pendant is beginner-friendly because the main shapes are repeated and easy to correct if you adjust early.
4. Faux Gem Frame Pendant for Small Cabochons
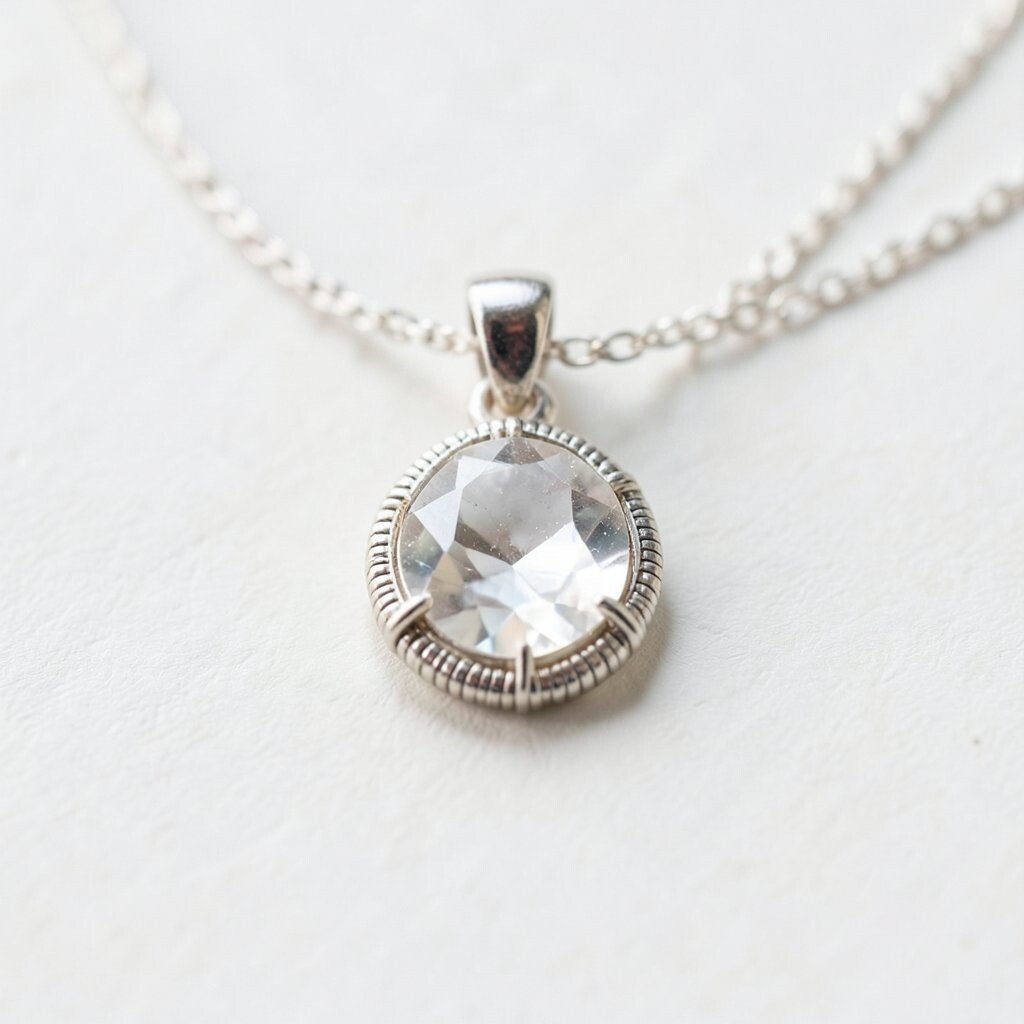
Choose a small cabochon and create a wire frame that hugs its edges. You’ll see the stone pop forward like a picture in a mini frame.
Use four to six vertical wraps around the sides, then connect them with horizontal wire that sits like a border. This makes the pendant feel sturdy and gives a “real gem” look without expensive settings. Try a darker stone under a lighter wire, or swap them for a bright, modern contrast.
5. Single Wrap Leaf Pendant With Textured Veins
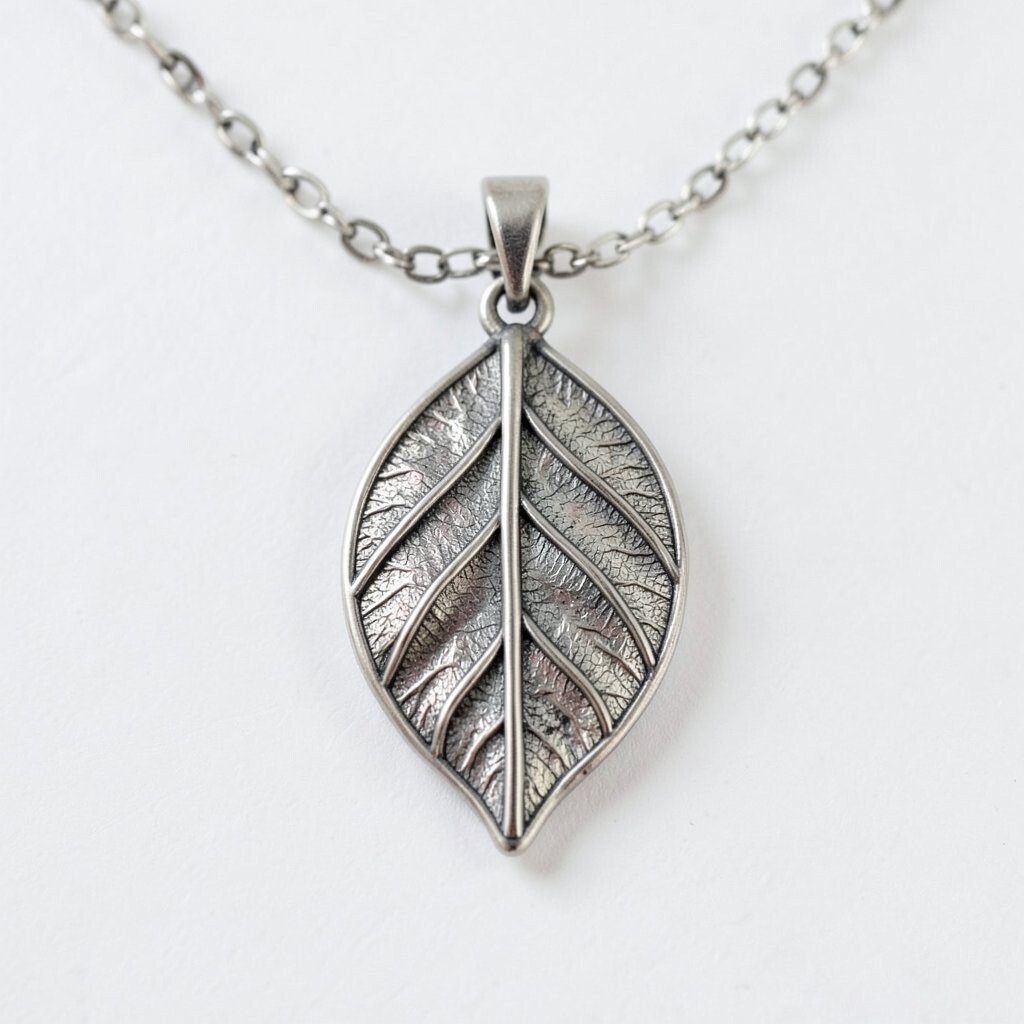
Form a leaf shape by bending wire into an outline, then refine the curve with your fingers. The first time you do this, it’s normal for the edges to wobble, and gentle reshaping makes it look charming.
Wrap the center and add a few vein lines by crossing thin wire across the leaf. For a natural vibe, lightly hammer the textured section so it catches light like real plant veins. Keep the wire thickness consistent so the leaf doesn’t end up bulky.
Personalize by choosing a leaf-sized charm that matches your mood, like a tiny leaf for everyday wear or a larger one for a statement. If you’re budget-conscious, use wire that you already own and add only a simple bead at the top for cost-friendly sparkle.
6. Moon Phase Pendant With Starter Stars
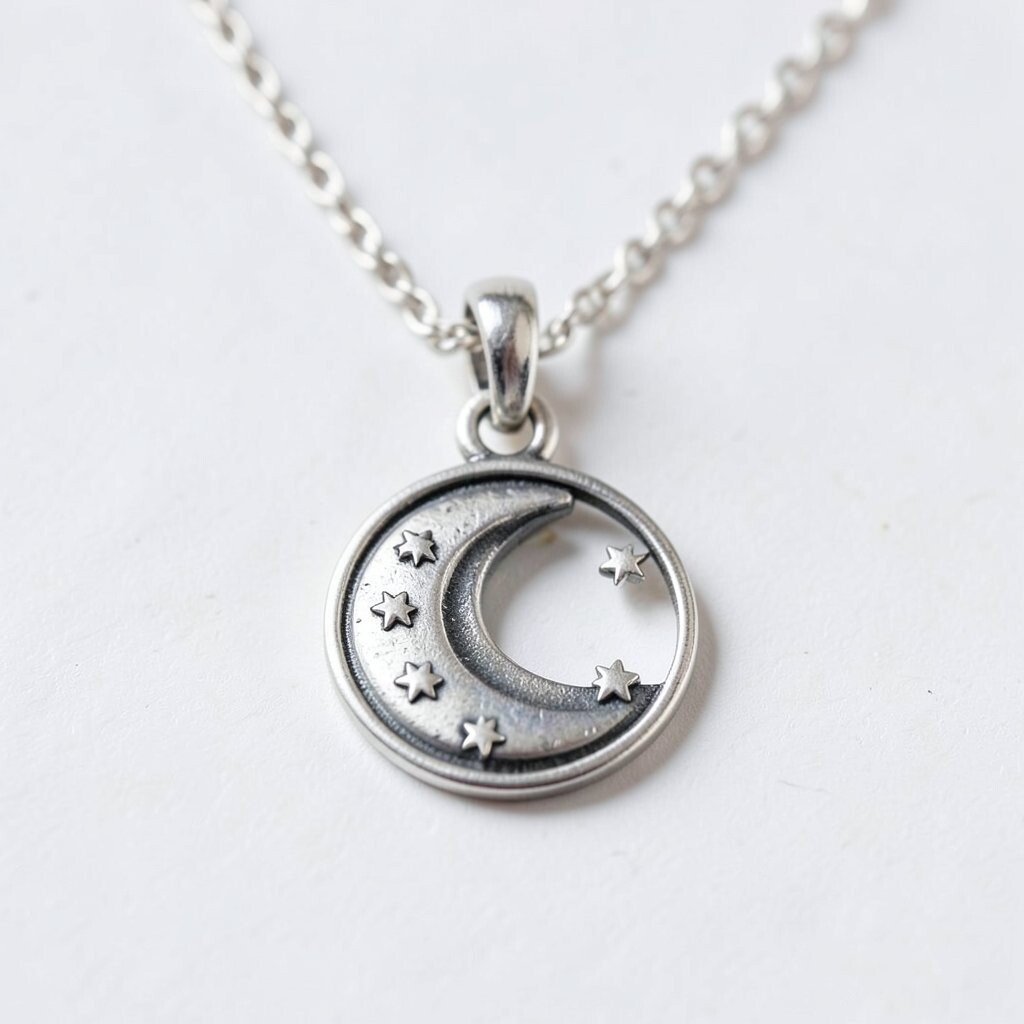
Draw a crescent shape on paper, then bend wire to match the curve. As you wrap around the outline, you’ll start to see the “moon” appear instantly.
Create one small bail at the top and add two to five tiny star wraps in the corners. This design looks playful but still clean, and it pairs well with celestial trends you’ll see in many modern outfits. For practical strength, use tighter wraps where the wire meets the bail.
Use a small blue bead or clear crystal to suggest starlight. If you want a softer look, choose matte wire and a pale stone, because shiny metals can feel too loud for some styles. When you wear it, the pendant’s curves move gently and catch light as you turn your wrist.
7. Celtic-Inspired Knot Pendant With Beginner Twists
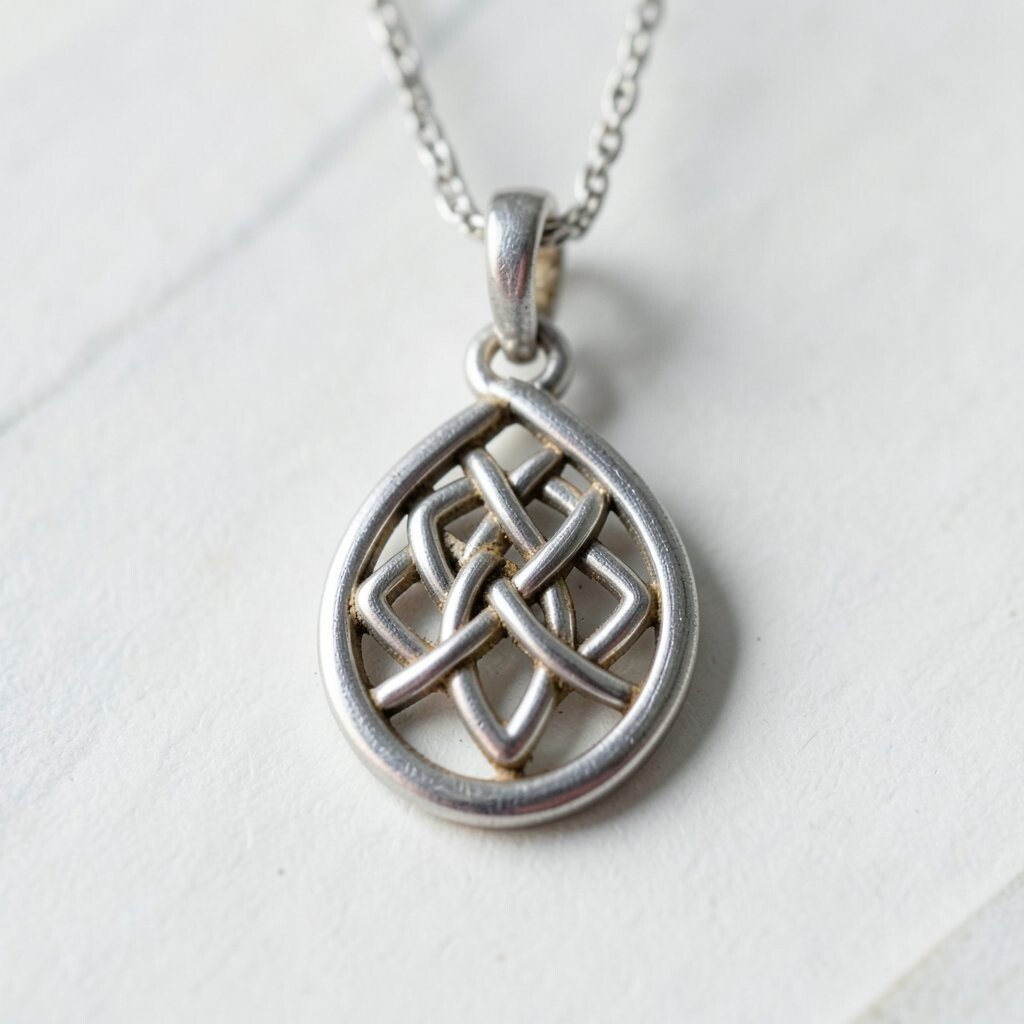
Pick a simple knot pattern with two crossing loops, then practice the shape without a stone first. You’ll learn how the wire wants to bend, which helps you keep the lines smooth.
Wrap the outer edge in a steady coil, then place a small center bead or teardrop to anchor the design. This pendant feels unique because it blends traditional symbolism with modern wire texture. Keep your crossing points tight so the knot looks intentional instead of loosely connected.
8. Wire Wrapped Pearl Drop Pendant With Minimal Bails
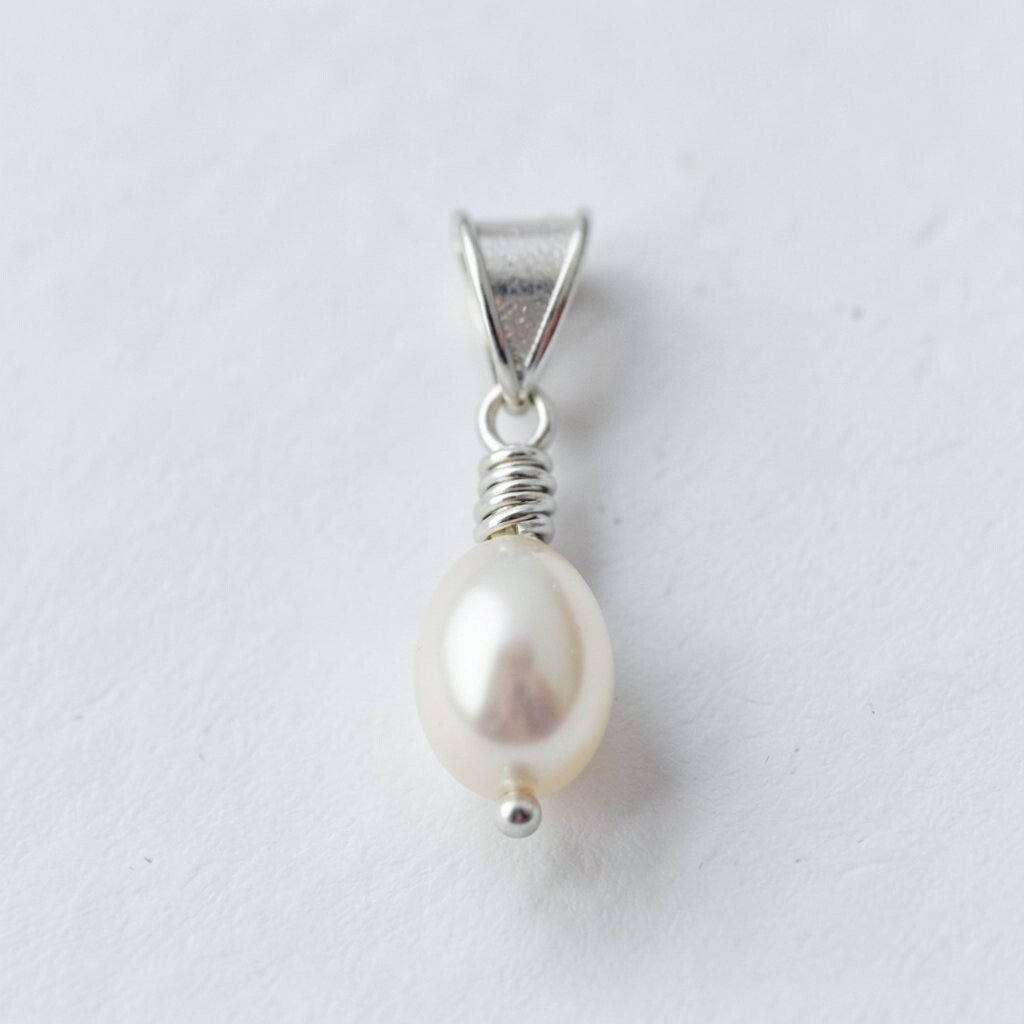
Select a single pearl, rondelle, or a small drop bead for a soft look. The visual appeal comes from how the pearl sits in a snug cradle of wire.
Wrap wire around the bead like a sling, then add a simple loop at the top to connect to a chain. This is great for beginners because you can adjust the wire as you go while watching the bead center itself. Personalize by mixing pearl sizes or adding a tiny seed-bead accent below for gentle shimmer.
9. Copper Coil Pendant With Layered Rings
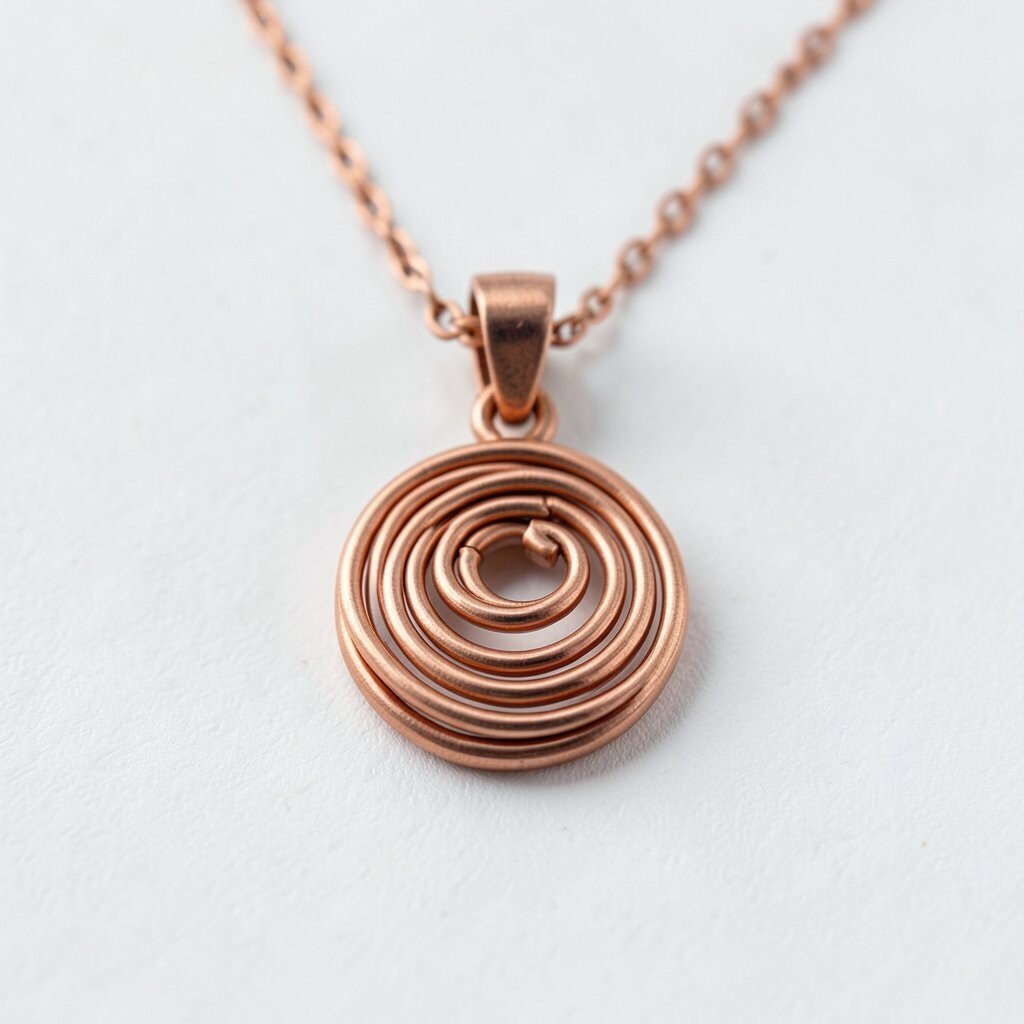
Choose a coil-friendly wire and start winding it into a spring-like piece. When the coil becomes a circle, you can see the pendant’s structure take shape very quickly.
Wrap three to four rings around the coil, spacing them so they overlap slightly like bands on a planet. The benefit of layered rings is that even simple metal choices look rich and detailed. Try copper with a dark bead for a warm, vintage trend that fits many styles.
Keep the ends tucked and secure so nothing pokes skin. If you want it more lightweight, use slightly thinner wire for the rings and thicker wire for the main coil. This is a fun “practice pendant” because the repetitive wraps build confidence fast.
10. Wrapped Circle Pendant With Center Accent Stone
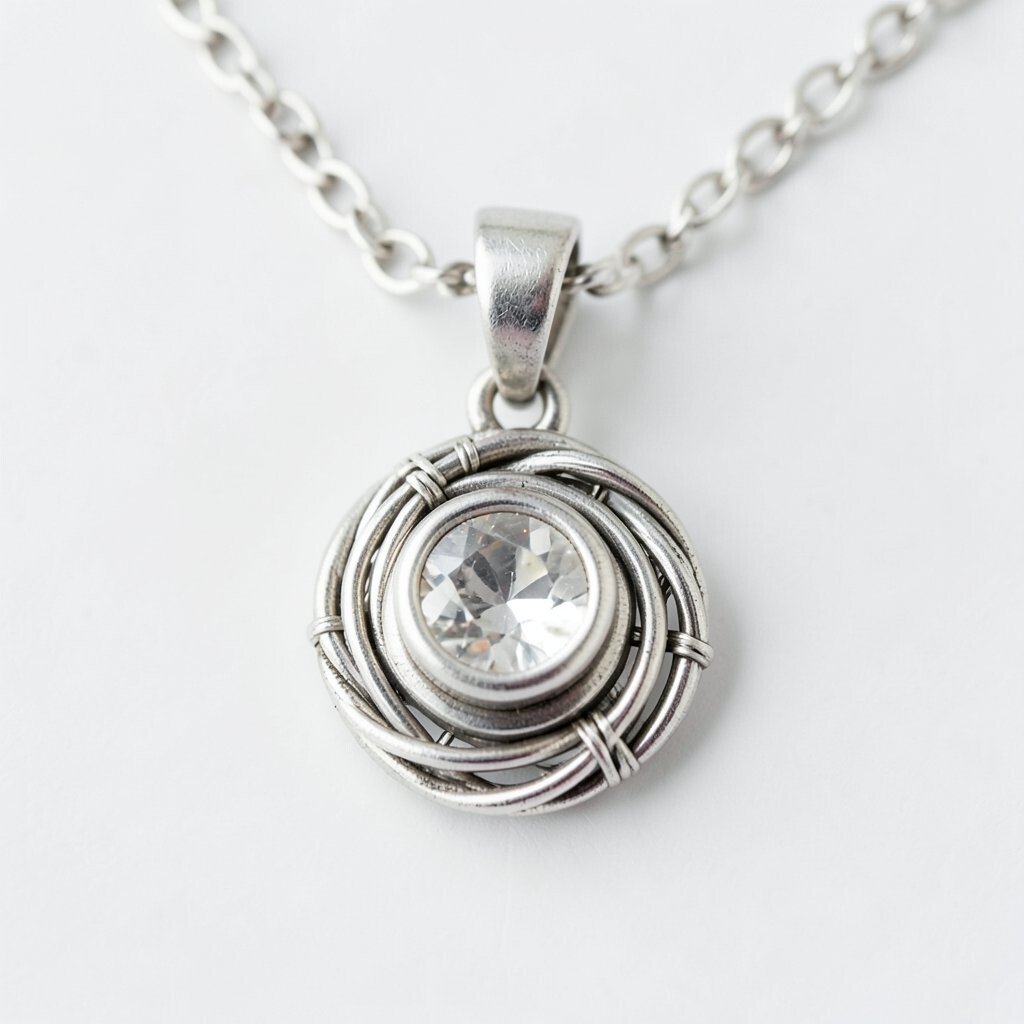
Make a perfect wire circle by wrapping wire around a round object like a marker or dowel. You’ll learn that a tidy circle makes the whole piece look polished.
Add a center stone by wrapping a few tight loops that create a small “seat” for the accent. This design is easy but still feels elegant, because circles are familiar and flattering against the neck. For a modern trend, use a small geometric bead like a hexagon or tiny faceted crystal in the middle.
Personalize by changing the stone color based on your wardrobe. If you want cost control, use leftover beads from past projects and save your larger stones for special pieces.
11. Spiral Frame Pendant With Hanging Drop
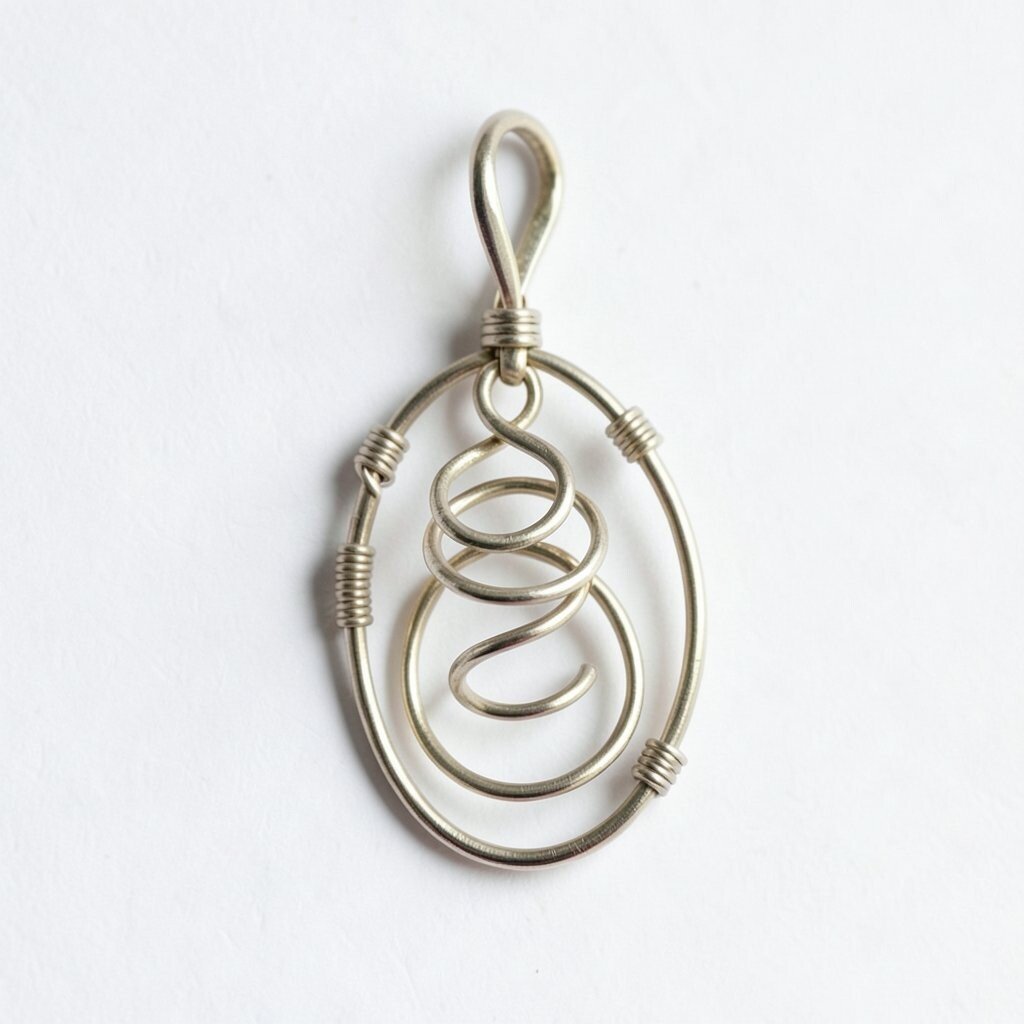
Start with a small spiral at the top of the pendant, then build a frame around it. As the spirals stack, you get a whimsical look that still stays organized.
Place a hanging drop bead under the frame so it sways when you move. The benefit is that the pendant feels alive and gives you motion without complicated wiring. Keep the drop bead from twisting by aligning the spiral direction and using a secure wrap at the connection point.
12. Wire Wrapped Square Pendant With Twisted Corners
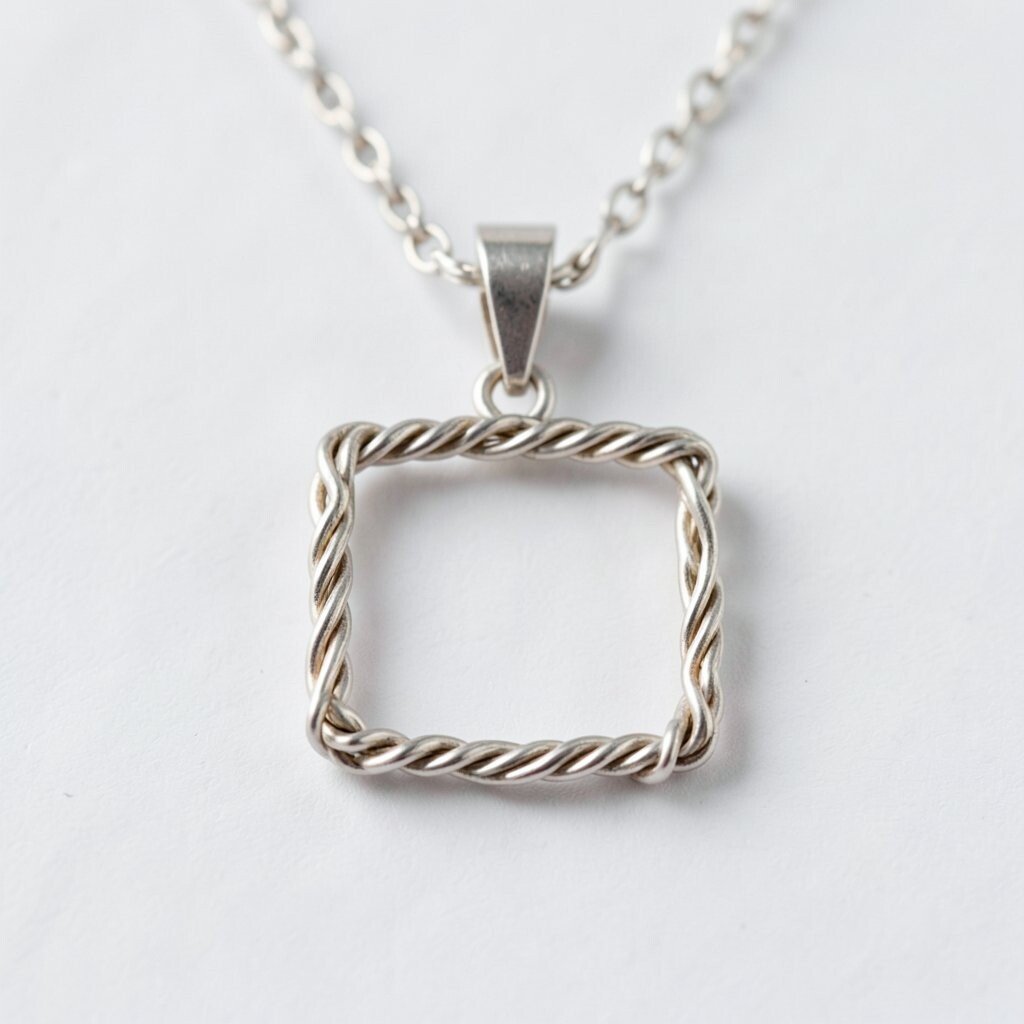
Form a square outline using steady bends, then focus on each corner so it stays crisp. Beginners often overthink squares, but small corrections make it look intentional.
Twist the wire at each corner before continuing the sides, creating a decorative twist pattern that stands out. This pendant feels unique because the corners become tiny focal points, almost like hand-carved details. Use a small rectangle stone or a square bead for a matching theme.
If you’re working on a budget, you can also use a simple clear bead so the wire pattern does most of the visual work. Smooth any sharp edges with gentle pressure so the pendant feels comfortable. When paired with a thin chain, the square shape looks sleek and modern.
13. Leaf Vine Pendant With Wrapped Loop Bail
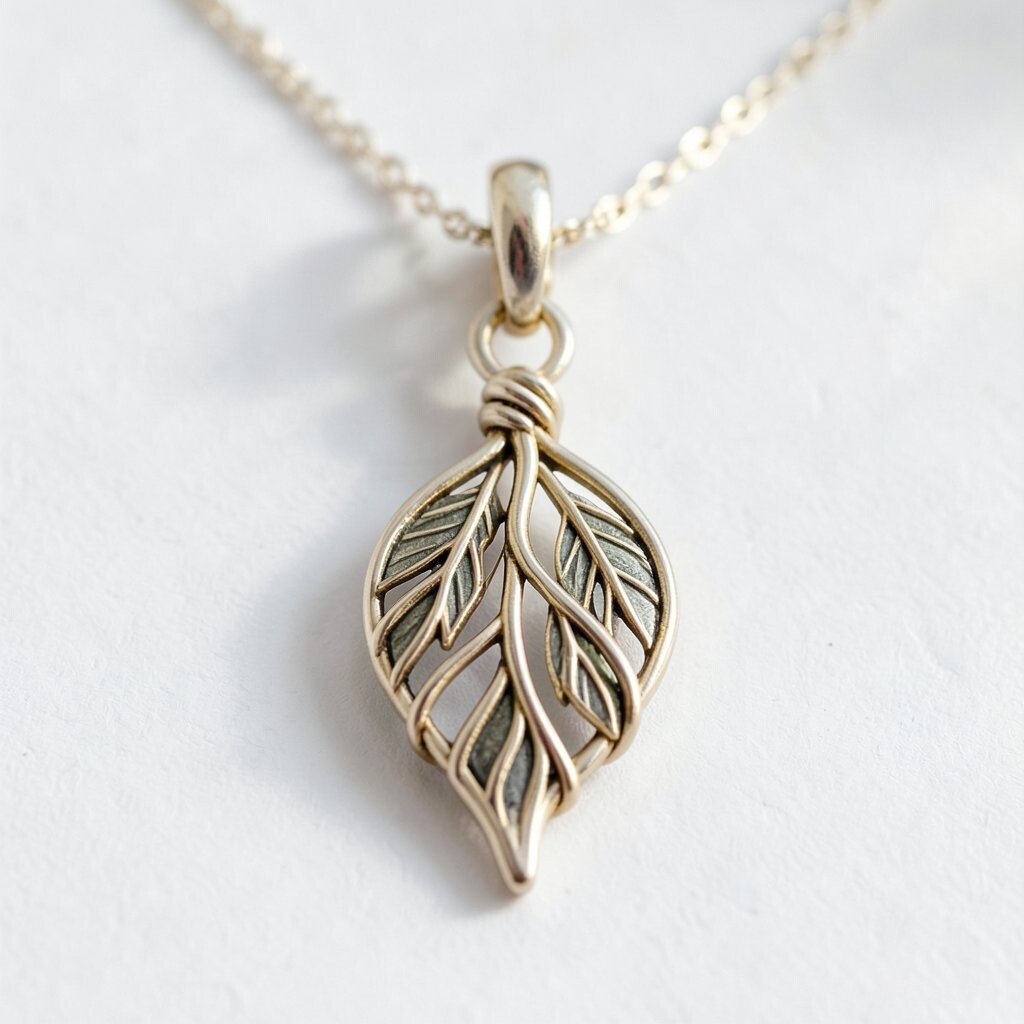
Bend wire into a gentle vine line that curves like it’s growing across a branch. Add a few small leaf bends along the vine and space them evenly for a balanced look.
Wrap the vine line lightly to create texture, then attach a wrapped loop bail at the top. This style benefits from natural movement because the vine curves and shifts slightly as you wear it. For personalization, choose leaf colors in your bead selection, such as green glass or amber tones that remind you of warm sunlight.
14. Teeny Opal-Style Glass Pendant With Crown Wrap
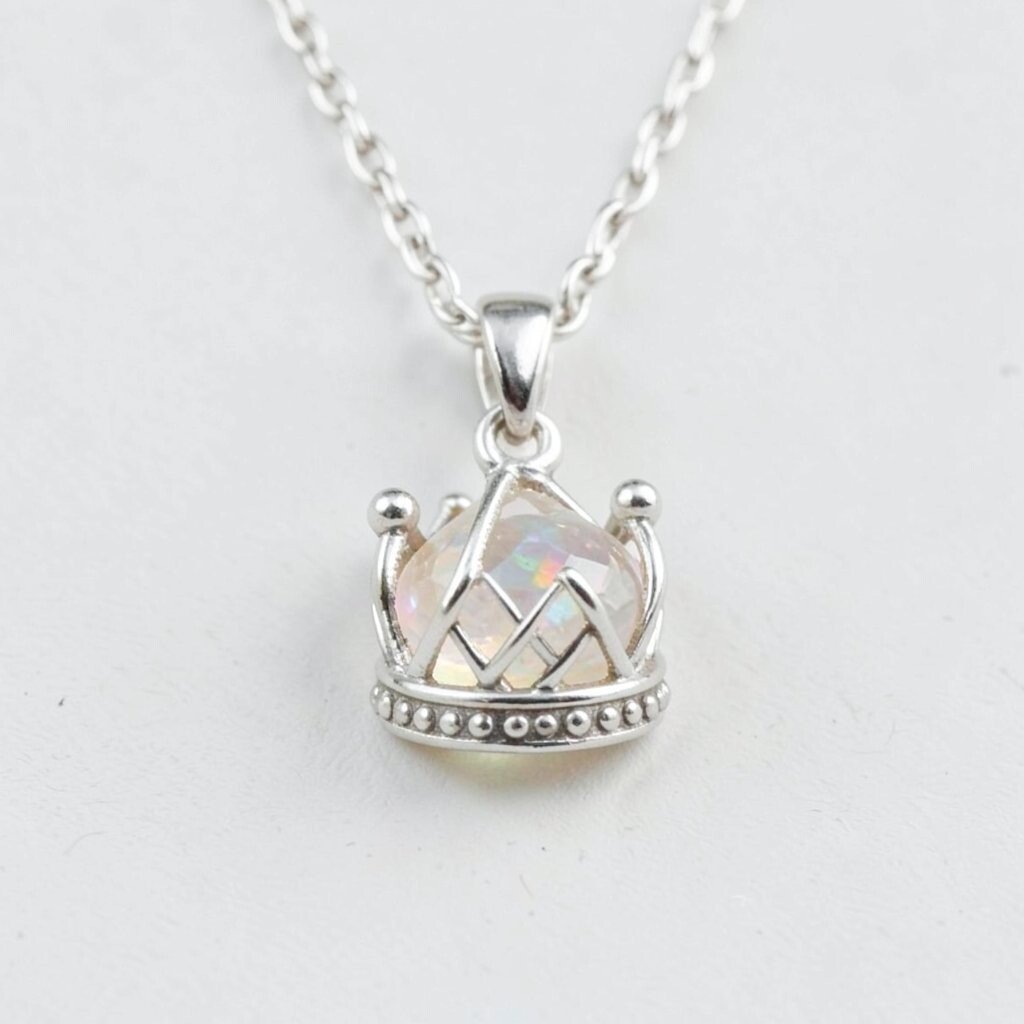
Use a small opal-look glass bead or cabochon and imagine a tiny crown around it. The goal is to grip the piece gently while letting the glow show through.
Wrap wire around the bead in a crown shape, then add a few vertical prongs that make it feel secure. This gives a “high-end” appearance without buying a store setting. If you want a trend you’ll see often, use a rainbow-like stone and pair it with darker wire so the color shift pops.
Keep prongs evenly spaced so the bead doesn’t tilt. Cost stays low here because small stones go far, and you can reuse wire from past projects. Finish by sanding or polishing the wire ends for a smooth feel against your neck.
15. Heart Locket-Style Pendant With Opening Feel
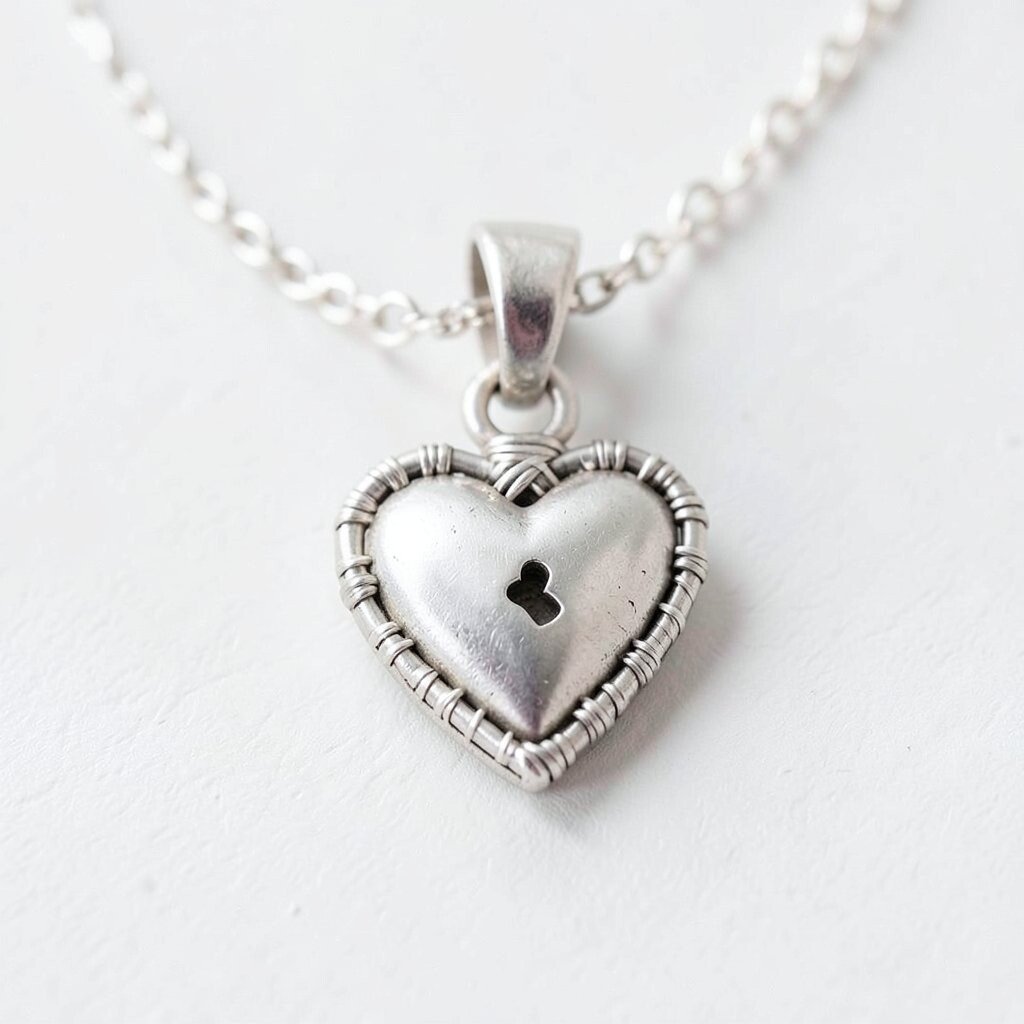
Even without a real hinge, you can create a locket vibe using two wire layers. Make one heart outline and then add a second outline slightly offset behind it.
Wrap a thin wire loop across the top so it looks like the locket has a functional clasp. This pendant is unique because it reads like a memory piece, even if it’s simple to make. Personalize with a tiny message charm by attaching a small stamped tag below the heart, or add a bead that matches a favorite outfit color.
16. Geometric Arrow Pendant With Three Wire Segments
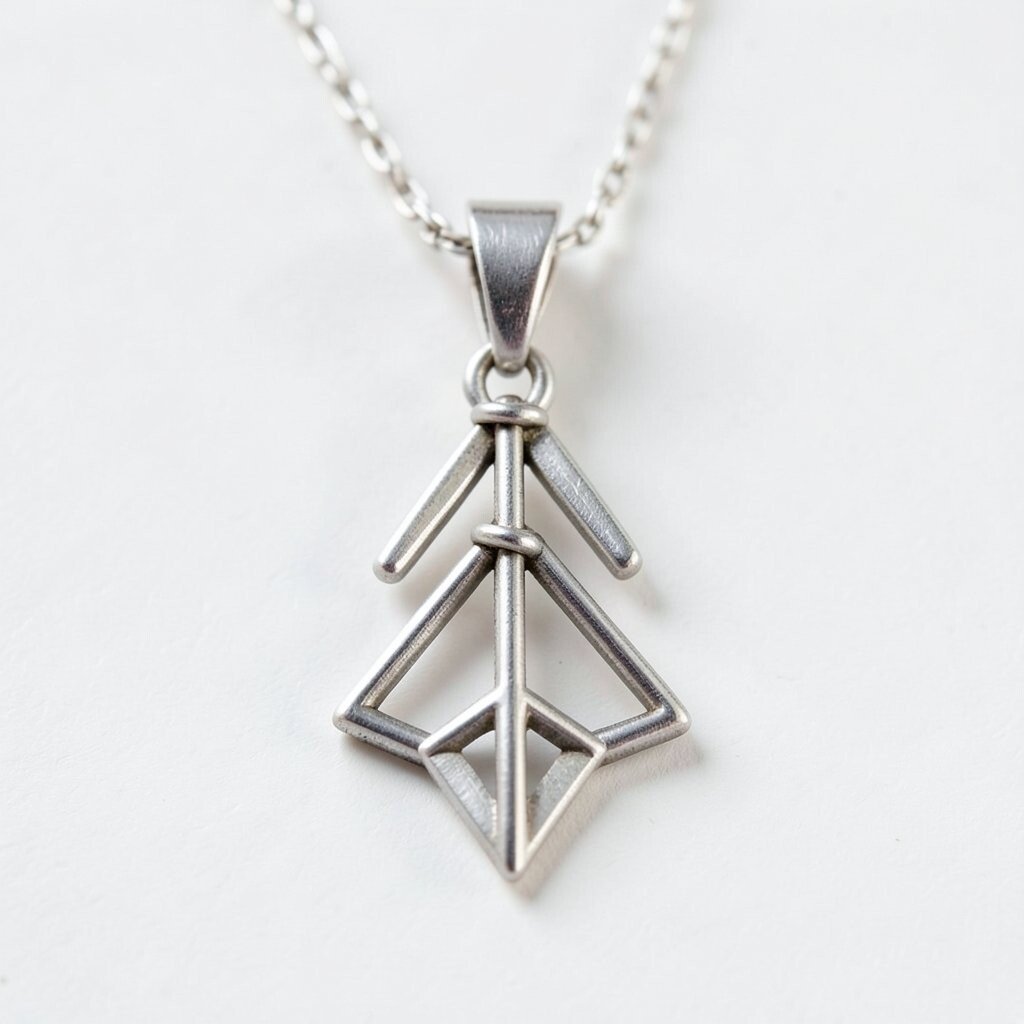
Plan an arrow shape using three main wire segments so it looks clean and graphic. Beginners find it easier to start with straight lines, then soften the ends with slight curves.
Wrap and connect each segment with small coils so the pieces hold together securely. The benefit of geometric designs is that they look great in everyday wear because they’re bold but not heavy. Try a metallic finish that matches your accessories for a pulled-together look, and consider adding a tiny crystal at the arrow tip for extra shine.
17. Wrapped Hoop Pendant With Beaded Fringe Bottom
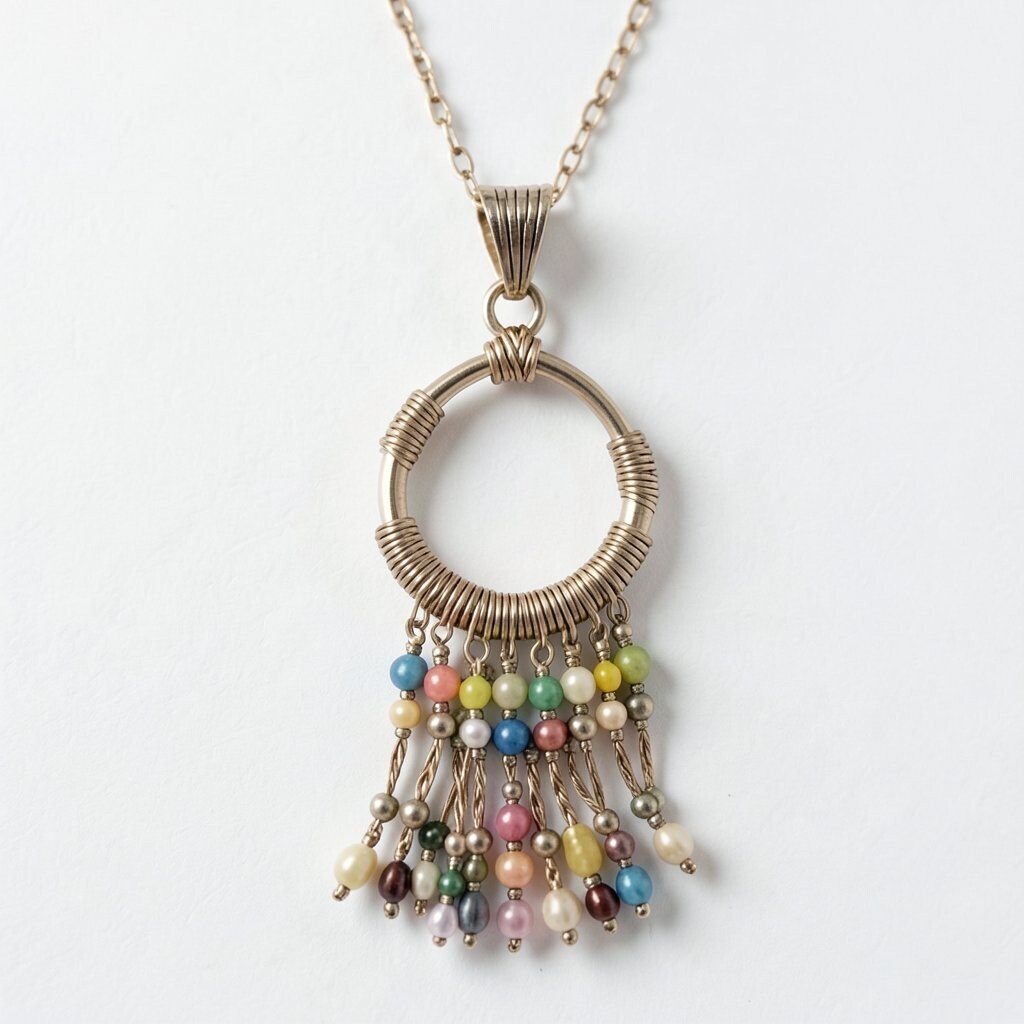
Create a hoop by forming a circle, then wrap it with wire so the outer surface looks thicker. Once the hoop is sturdy, you can attach a cluster of small beads at the bottom like fringe.
This pendant looks fun and festive without needing a lot of materials. The movement is a real benefit because each bead shifts gently and catches light as you walk. Personalize by choosing fringe bead colors based on seasons, like warm gold for fall or cool blues for summer.
Use lightweight beads so the pendant sits comfortably. If you want cost savings, use a mix of bead sizes you already have, since variety can look intentionally designed. Secure the fringe with tight wraps so nothing slips over time.
18. Wrapped Butterfly Pendant With Wing Spiral Highlights
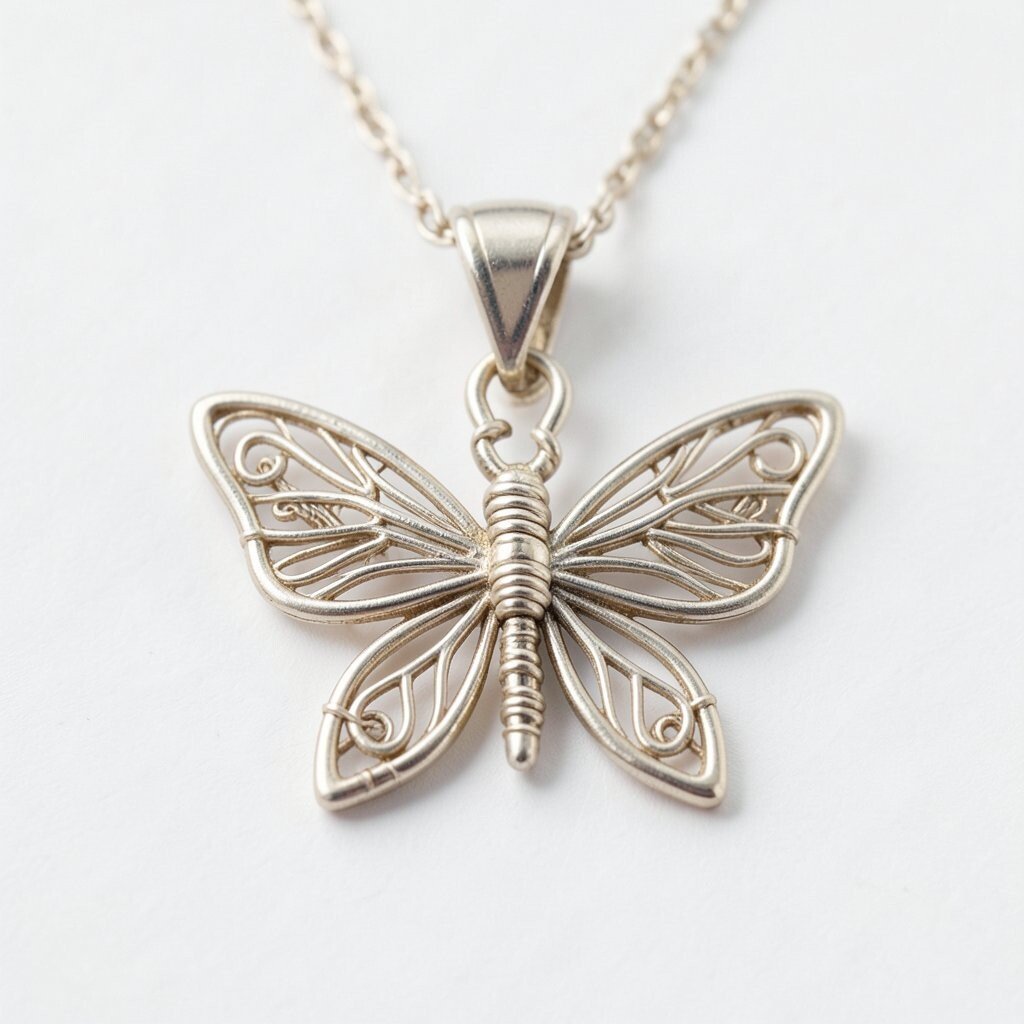
Shape two wings by bending wire into teardrop curves and leaving a small gap in the middle. The look becomes butterfly-like as soon as the wing tips taper and the center is neat.
Wrap tiny spirals on each wing to act like highlights, then add a small body bead in the middle. This design is uniquely readable even with simple wirework, and it gives you a clear focal point. For a practical tip, practice on a spare wire first so your wings match in size and symmetry.
19. Multi-Texture Pendant With Round Wraps and Twisted Bands
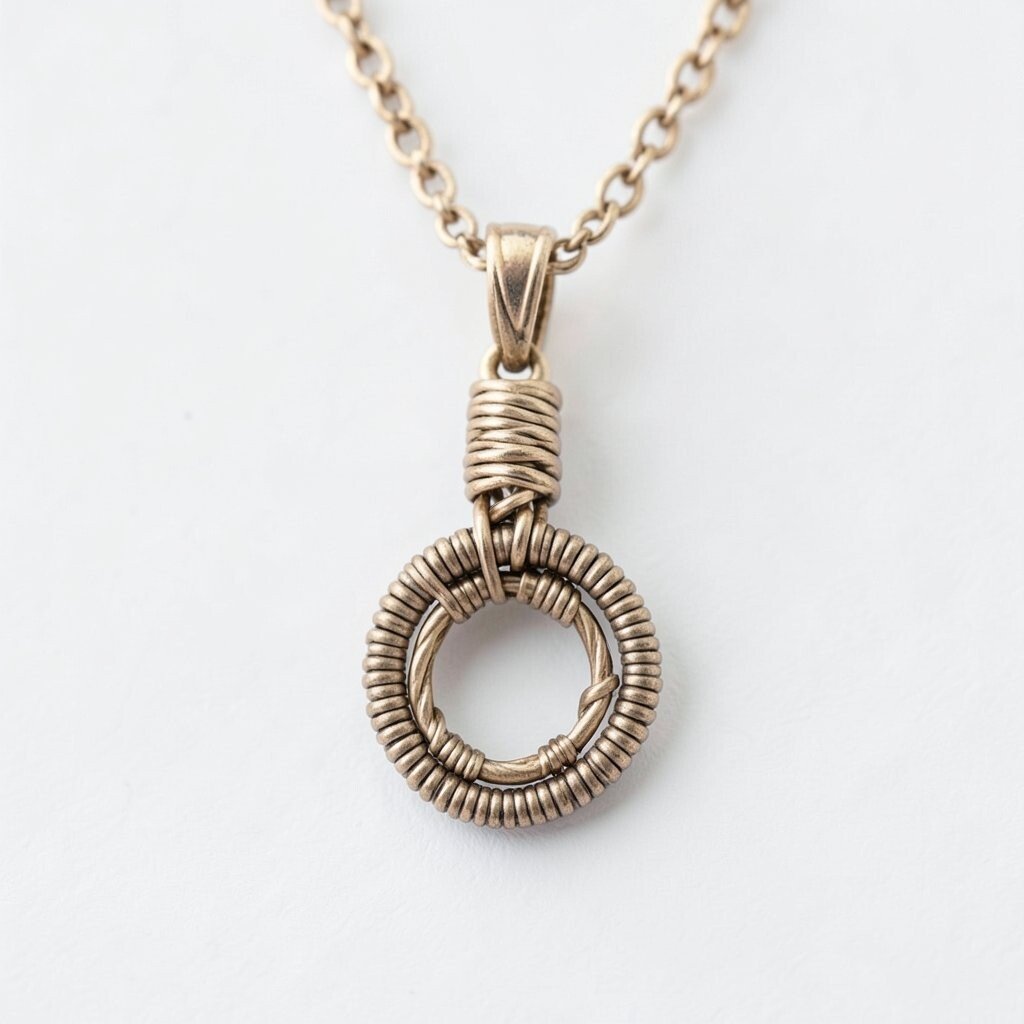
Pick a base stone or flat bead, then plan three textures around it: smooth wraps, round coils, and a twisted band. You’ll be amazed how much depth you get from switching wire techniques in one piece.
Start with simple loops to hold the stone, then alternate texture sections to create a layered look. The benefit is that the pendant looks complex without actually requiring complicated steps. Personalize by selecting wire color combinations, like silver-toned wire with copper twists for a modern accent.
Keep each texture section clean and separated so the pendant doesn’t look messy. If you want to manage cost, use one good center stone and fill the rest with inexpensive beads. This pendant also pairs well with current “texture-forward” jewelry styles that emphasize handmade character.
20. Simple Oval Pendant With Cage Wrap Around Stone
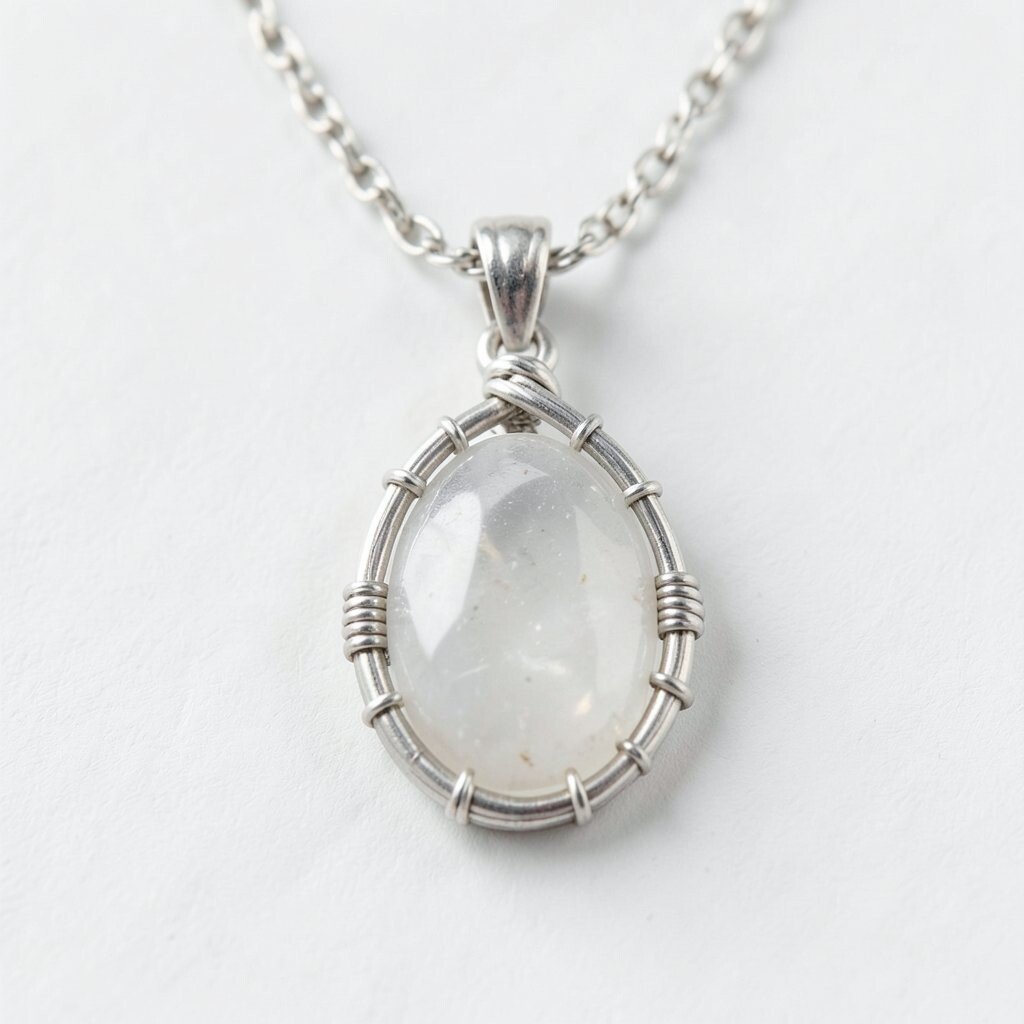
Make an oval outline by bending wire around a round object like a bottle cap. Then place your stone in the center and plan a cage around it so it sits protected.
Wrap vertical wires across the oval to create a cage effect, then secure them with neat top and bottom wraps. This pendant is beginner-friendly because the oval shape is forgiving and the cage pattern is easy to repeat. Personalize by choosing a center stone that matches your favorite necklace or earrings, so everything feels coordinated.
21. Wrapped Burst Pendant With Starburst Loops
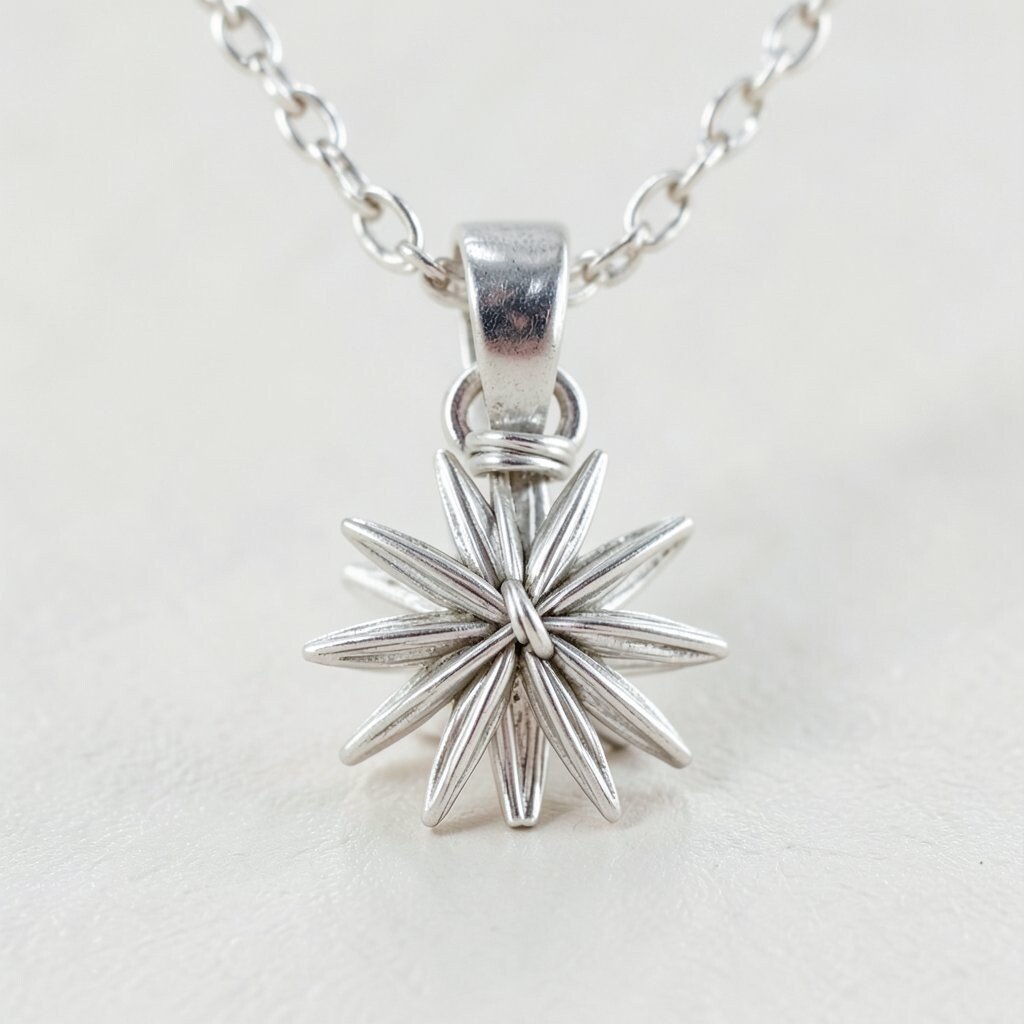
Create a small starburst by folding wire into a circle and shaping points outward like rays. You can keep the points short for a subtle look or extend them longer for a bold statement.
Wrap the burst points with tiny loops so they shine and feel more detailed. This style feels unique because it’s energetic, and it matches the current trend of playful jewelry with strong shapes. Use a small dangling bead or crystal at the center to pull the eye inward and make the burst feel balanced.
For cost considerations, you can keep the center stone tiny and let the wire work do the heavy lifting. Secure all ends carefully, since sharp wire can ruin the comfort. When it’s finished, it looks great on a short chain and gives a confident sparkle with minimal materials.
22. Beginner Wavy Pendant With Wrap Knots and Bead Cap
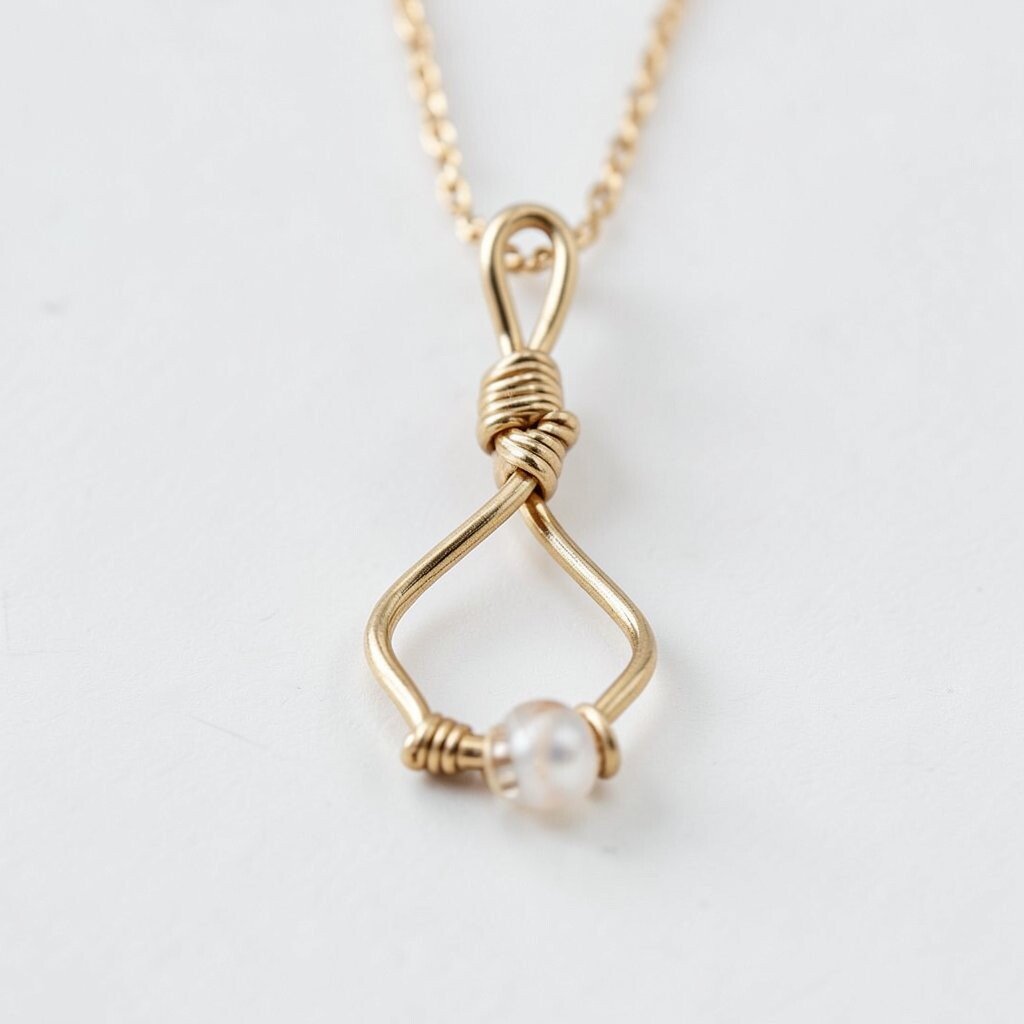
Bend wire into a wavy line, then add a gentle loop at each end to form a pendant backbone. The visual feel is relaxed, like a ribbon, and it instantly looks handmade.
Create small wrap knots along the wave to add texture, then cap the top with a neat loop bail. This pendant is unique because the knots create an “intentional imperfection” look that many people love in modern designs. Personalize by adding a tiny bead cap at the top that matches your favorite color theme.
For practical tips, use consistent spacing between knots so the pattern looks balanced even if your waves aren’t perfect. If you’re keeping costs low, choose inexpensive seed beads and one standout center bead so the pendant stays affordable. Finish by smoothing the wire and giving the whole piece a gentle polish so it catches light beautifully.