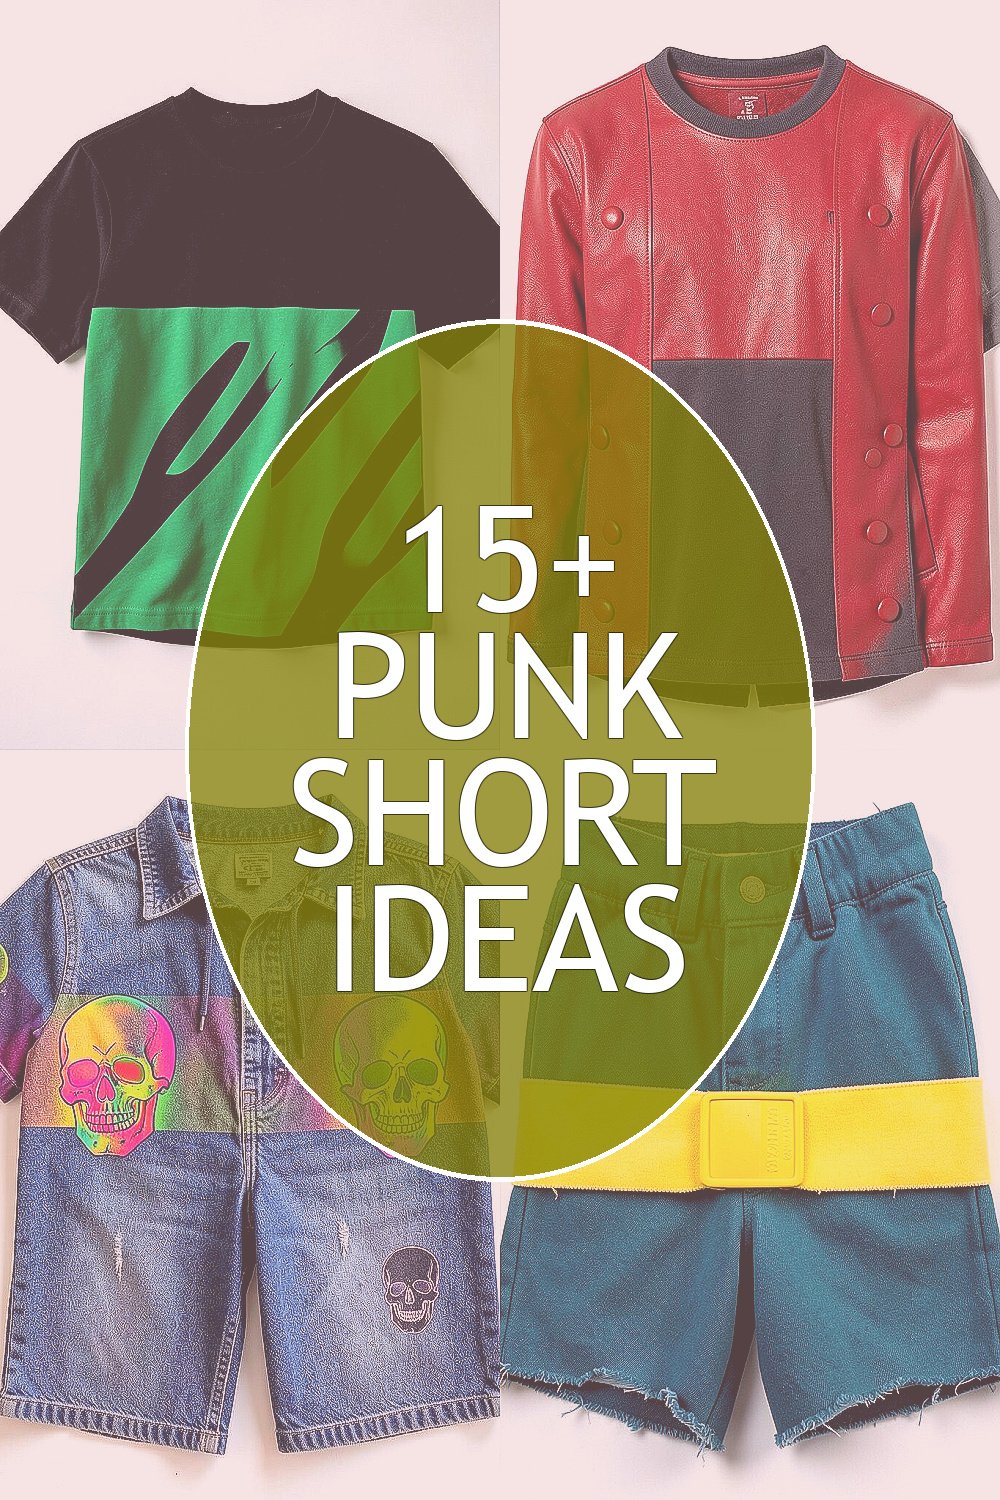
The loudest outfits often fit the shortest cuts. Color blocking turns a classic punk vibe into something you can wear today.
Pick a pair of classic punk shorts and treat them like a blank stage for bold shapes, sharp edges, and practical comfort.
1. Safety-Pin Stripes in Black and Safety Green

Picture your shorts in matte black, then add straight safety green stripes that look like they were stitched by a mischievous road crew. The result feels fast, graphic, and instantly punk.
Use fabric paint or iron-on vinyl stripes, keeping the edges crisp so they read from far away. Add a couple of diagonal bands near the hem for extra motion, and keep at least one area unpainted so the stripes look like they’re floating. For comfort, choose breathable shorts and paint only the outer panels so you don’t stiffen the inside seams.
2. Red Bolt Panels with Charcoal Side Windows

Start with charcoal shorts and build red “bolt” shapes across the front like lightning caught in fabric. The red pops hard, while the charcoal side areas feel like dark frames.
Stencil the bolt using a cardboard template, then fill it with thick paint for a raised, poster-like texture. To make it wearable, keep the bolt away from the waistband and focus on the flat front so rubbing is minimal. If you like movement, angle the bolts toward the outer leg so your steps look sharper.
You can personalize by matching the bolt color to a favorite hoodie or band tee. For cost, stencils made from scrap cardboard are basically free, and you can get a strong look with one small tub of paint if you use it carefully. A current trend is using “sports poster” energy, and bolt panels fit right into that graphic mood.
3. Neon Blocked Skulls on Washed Denim

Imagine washed denim shorts with neon skull faces placed like punchy stickers, each one surrounded by bold color blocks. The mix of vintage fade and bright shapes makes the punk attitude feel playful, not precious.
Lightly sketch the skull shapes with chalk, then paint neon outlines and fill selected sections so the skulls look like they’re made from panels. For practical wear, keep the skull design to the outer thigh and avoid the inner leg where friction happens. If your denim already has stains, let those marks become part of the skull background and you’ll save time.
Make it unique by picking one neon color for outlines and using a second color only for the eyes or highlights. This keeps the look punchy even if you add small details like dots or tiny starbursts. To stay on budget, use one neon shade plus black for the rest, and build the intensity by layering thin coats.
Right now, people are leaning into “street museum” graphics, where old textures meet new glow colors. Neon skulls on denim are a perfect match for that trend, especially for summer shows and festival days.
4. Yellow Safety Band with Torn-Edge Teal Underlay
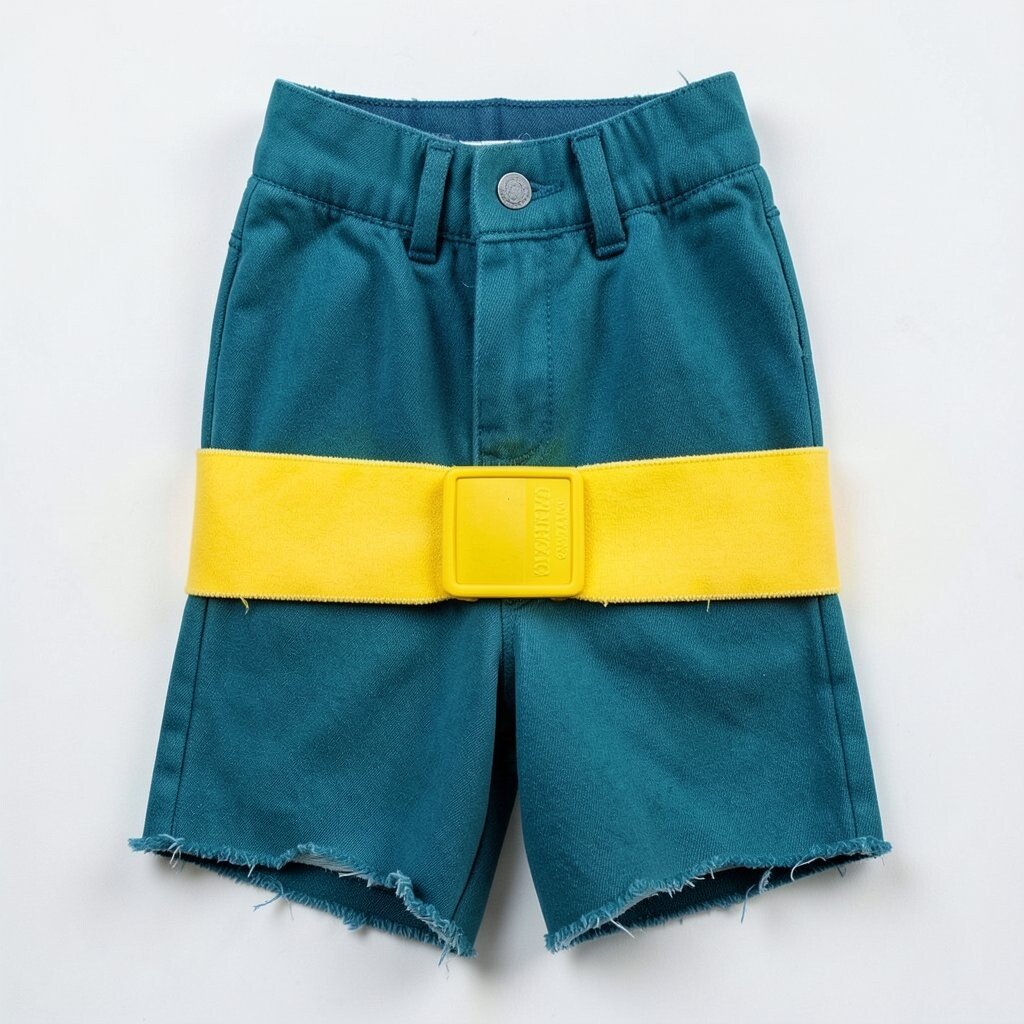
Choose shorts that already have a clean hem, then add a wide yellow safety band across the front. Under it, paint a teal shape with torn edges so it looks like a ripped poster peeking through.
Use tape to keep the yellow band straight, then freehand the teal torn area so it looks raw and alive. This pairing is great because yellow reads loud and teal adds depth without feeling messy. A practical trick is to seal your paint with fabric medium if you’re wearing the shorts often, since punk styling can mean lots of movement.
5. Monochrome Mesh Blocks with One Hot Pink Stripe
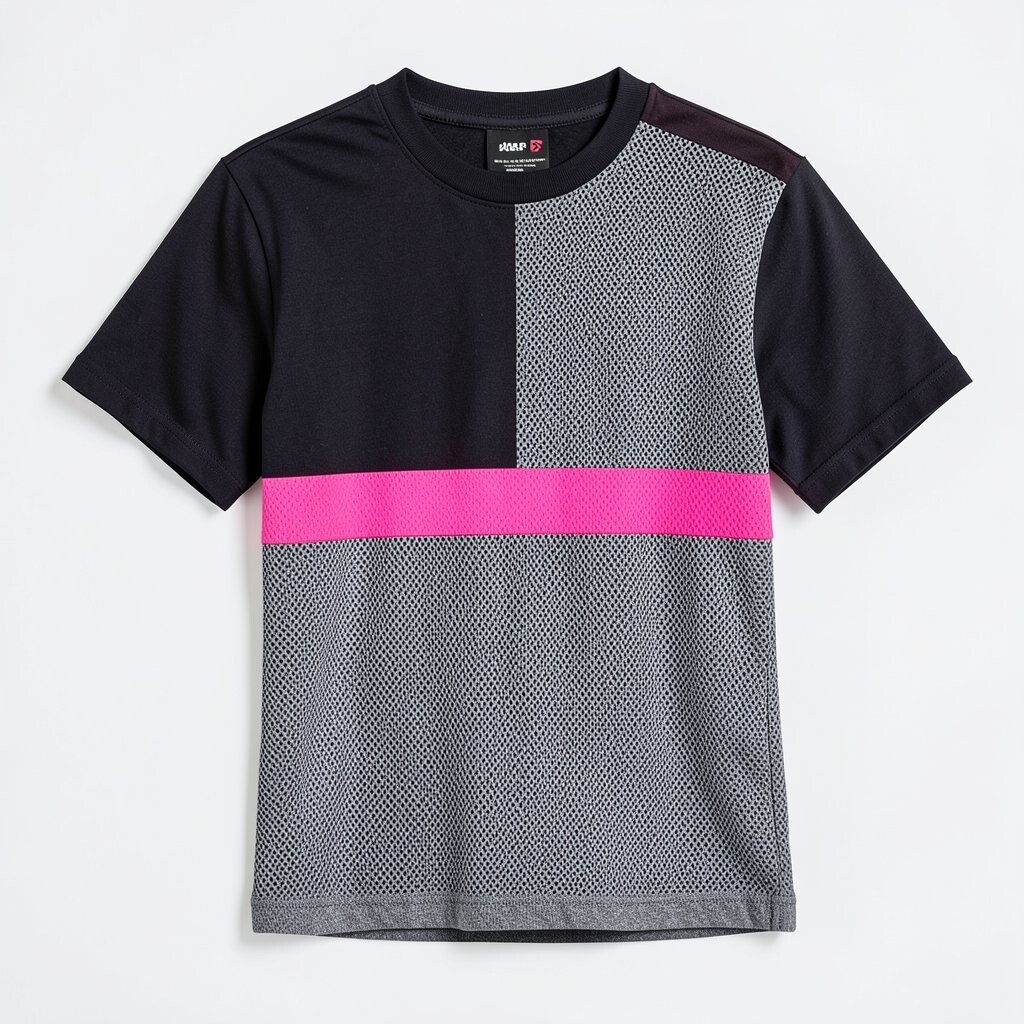
Think monochrome shorts, mostly black or dark gray, with a single hot pink stripe slicing across like a runway flash. The hot pink becomes the “statement,” while the rest stays cool and wearable.
Create a color-block layout by using small sections of fabric that match your base shade, then glue or stitch them in panels for a textured look. If you want a budget-friendly option, use old T-shirt scraps as patch panels and hem the edges so nothing frays. Personalize by picking a stripe direction that matches your body lines, such as diagonals that visually elongate your legs.
This style fits current trends because minimal punk is having a moment, especially when it still feels bold. To keep it comfortable, avoid heavy layers directly over seams and keep the stripe slightly wider at the outer leg.
6. Denim Cut-Offs with Electric Blue Checkerboard Hem

Use classic denim cut-off shorts and add an electric blue checkerboard strip along the hem. The checkerboard looks like a skate graphic, and it makes even simple shorts feel designed.
Draw a small grid with chalk, then paint alternating squares, letting each square dry before adding the next to avoid smudges. The hem placement is practical because it’s visible when you walk, and it also helps disguise any little paint mistakes. If you’re worried about stiffness, seal the paint lightly and keep layers thin.
You can personalize the checkerboard with one accent color, like white or lime, for a “playful hardware” look. For cost, you only need a small amount of paint since the design is limited to the bottom edge. This approach is also perfect for beginners because the pattern stays consistent and forgiving.
7. Patchwork Band Bands in Red, White, and Black
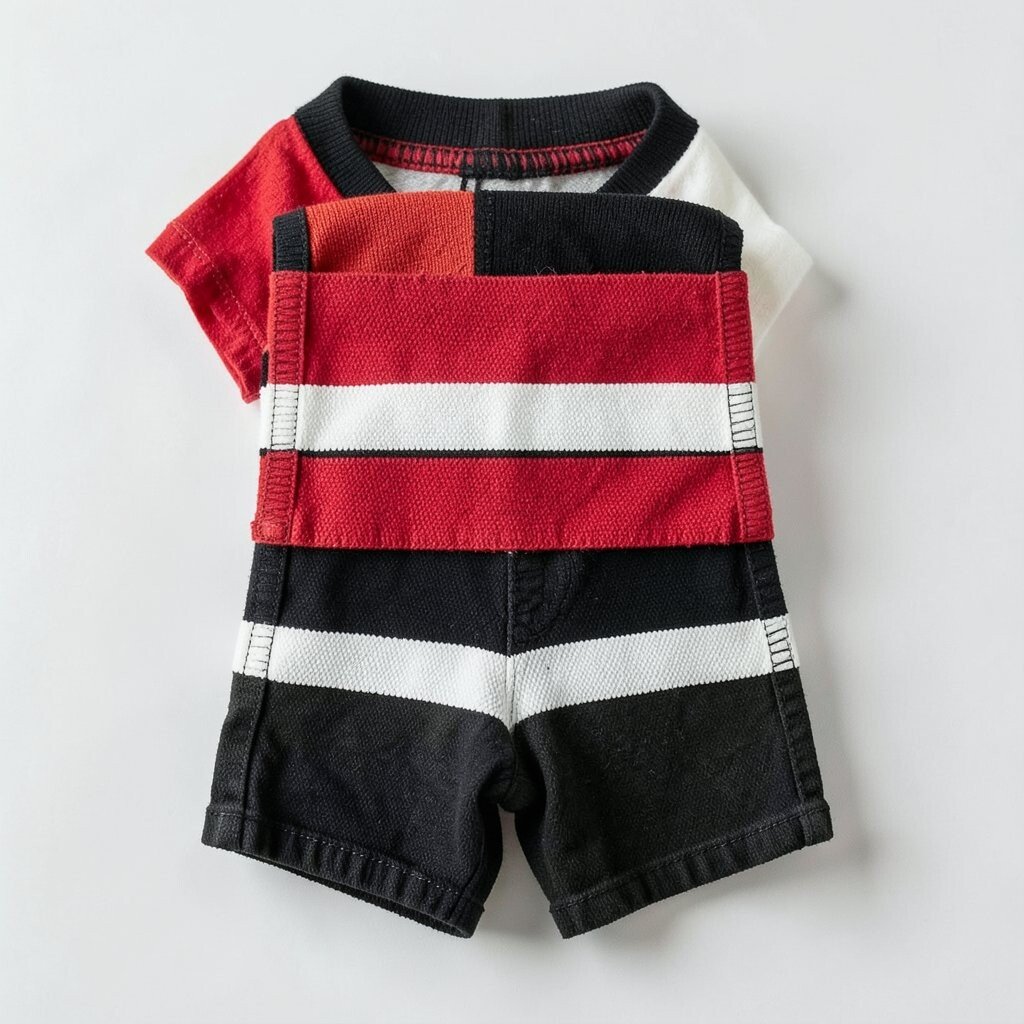
Imagine shorts covered with patch shapes that resemble mini band flyers, stacked and overlapped in red, white, and black. It feels classic punk because it looks like you took a bunch of street posters and stitched the best bits into one outfit.
Cut patch shapes from scrap fabric or use painter’s tape to simulate patch borders, then paint inside each patch with bold solid color. Overlap the edges slightly so your design looks layered rather than flat. For personalization, mirror the patch layout on the back pocket area so the front and back feel like a set.
These patches are also practical because you can choose thicker fabrics for durability where your legs rub most. Keep cost in check by using clothes you already own or getting cheap fabric remnants from a craft store. The uniqueness comes from your arrangement, since no two patch layouts look exactly the same.
8. Black Shorts with White “Razor” Corner Blocks

Start with plain black shorts and add white blocks only in the corners where the fabric changes shape. The look feels like sharp typography without needing letters, and it’s clean enough for everyday wear.
Use fabric tape to mark triangular or angled “razor” corners at the front and back, then fill with white paint or a thick fabric marker. The benefit of corner-only color blocking is that it keeps the shorts versatile while still looking bold. If you want extra punk edge, add tiny scratch lines around the corners with a thin brush.
This is a great personalization idea if you’re trying to match shorts with multiple outfits. Because the palette stays limited, you can pair it with almost any band tee or hoodie without it fighting your top. It also fits current minimal punk trends where simple geometry does the heavy lifting.
For cost, choose one white paint and commit to fewer shapes rather than multiple colors, and you’ll keep the project affordable and fast.
9. Purple Halo Circles with Black Center Dots
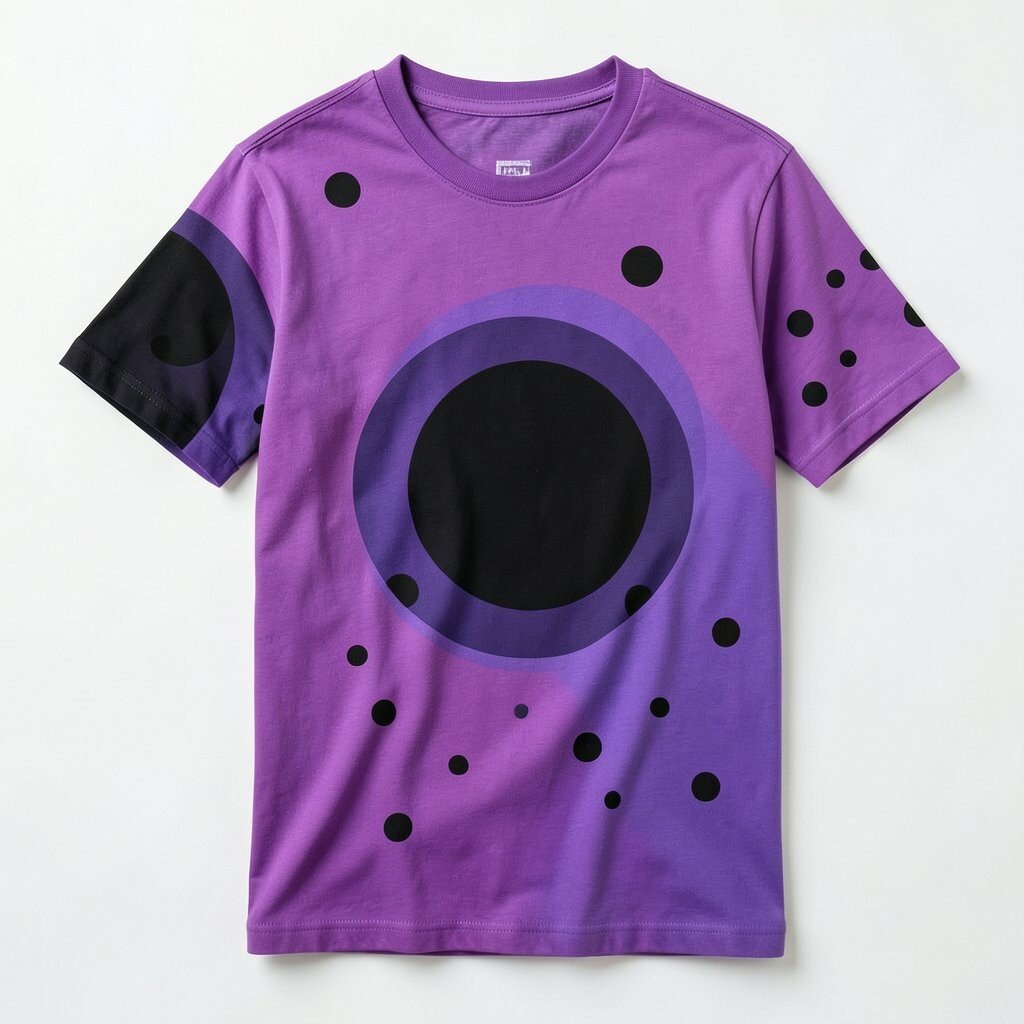
Picture purple halo circles floating on your shorts, with black center dots like angry little planets. The design is bold, fun, and still easy to understand at a glance.
Paint the halos first using a round stencil, then add black dots in the center for contrast. Keep the circles spaced so you get a clean layout, and avoid putting all the circles near the waistband where they can warp from tension. This style is unique because it’s punk with a “comic sci-fi” vibe, and it looks great under stage lights.
Personalize it by mixing purple shades, like deep violet plus bright magenta halos, or add tiny lightning bolts around one circle for extra attitude. The benefits include good visibility from a distance and a playful look that doesn’t require complex lettering. For cost considerations, stencils can be reused and a single bottle of purple paint can cover a lot if your circles are medium-sized.
10. Orange Slice Blocks with Charcoal Triangle Joins
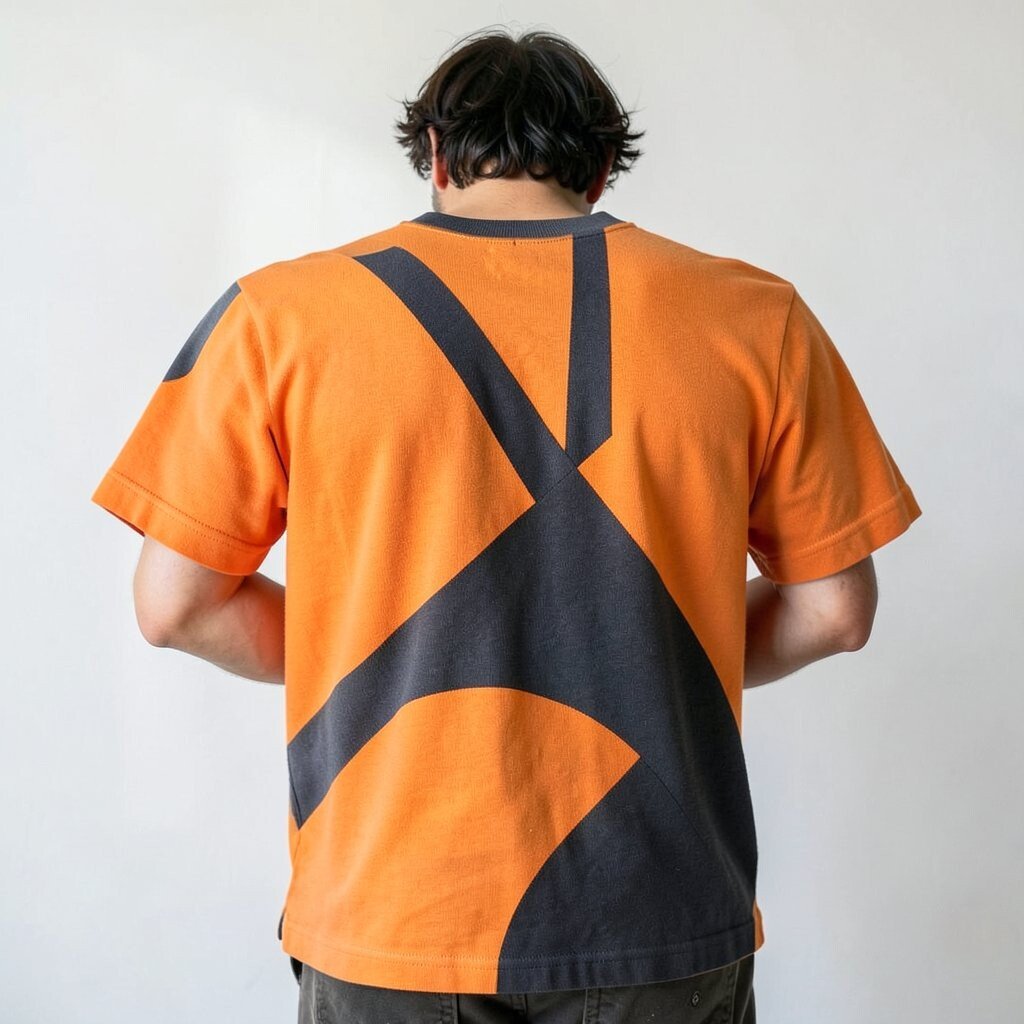
Use orange slice shapes across the front, then connect them with charcoal triangle joins like a patchwork of angles. The visual reminds you of fruit slices or traffic signage, which is pure punk energy with a clever twist.
Stencil orange segments so they curve slightly, then paint charcoal triangles where the segments meet. This makes the design look intentional and adds visual structure, which is helpful for keeping your shorts looking sharp after washing. For practical wear, keep the “join” lines on the outer thigh areas where there’s less friction.
You can personalize by repeating the slice pattern on the side seam panel, or by making only one big slice on the front for a focal point. Cost is usually low because orange is often a common paint color, and triangle joins let you use small amounts of charcoal. A current trend is “high-contrast signage art,” and these slice blocks match that street-bright style well.
11. Turquoise Color Blocking with a Rust Pocket Frame
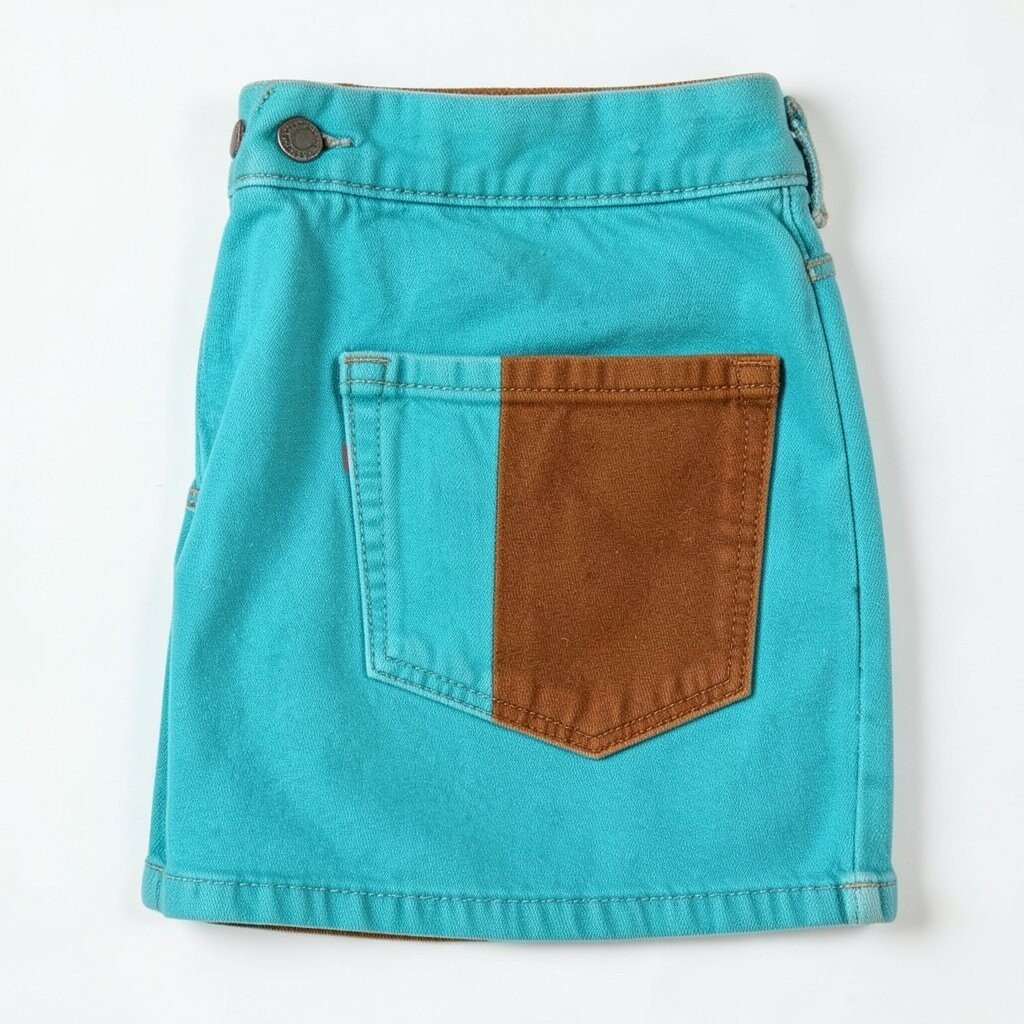
Think turquoise shorts with a rust-colored frame around each pocket, like the pocket area is its own little gallery. The color combination feels vintage-industrial, and it makes everyday shorts look like they came from a punk workshop.
Paint the pocket frames carefully with a small brush, then fill the turquoise blocks on the main panels. To make the look cleaner, let the pocket paint dry fully before adding any extra layers. This design is practical because it keeps your bold color mostly in areas that don’t stretch as much.
Personalize by choosing rust tones that match your accessories, like a belt buckle or nail polish shade. For cost considerations, you can do a strong version using two paint colors plus black for any tiny outlines. Uniqueness comes from focusing on pockets, which people often ignore, and that’s where your shorts start to feel special.
12. Black-to-Blue Panel Shift with Ragged Edge Fade
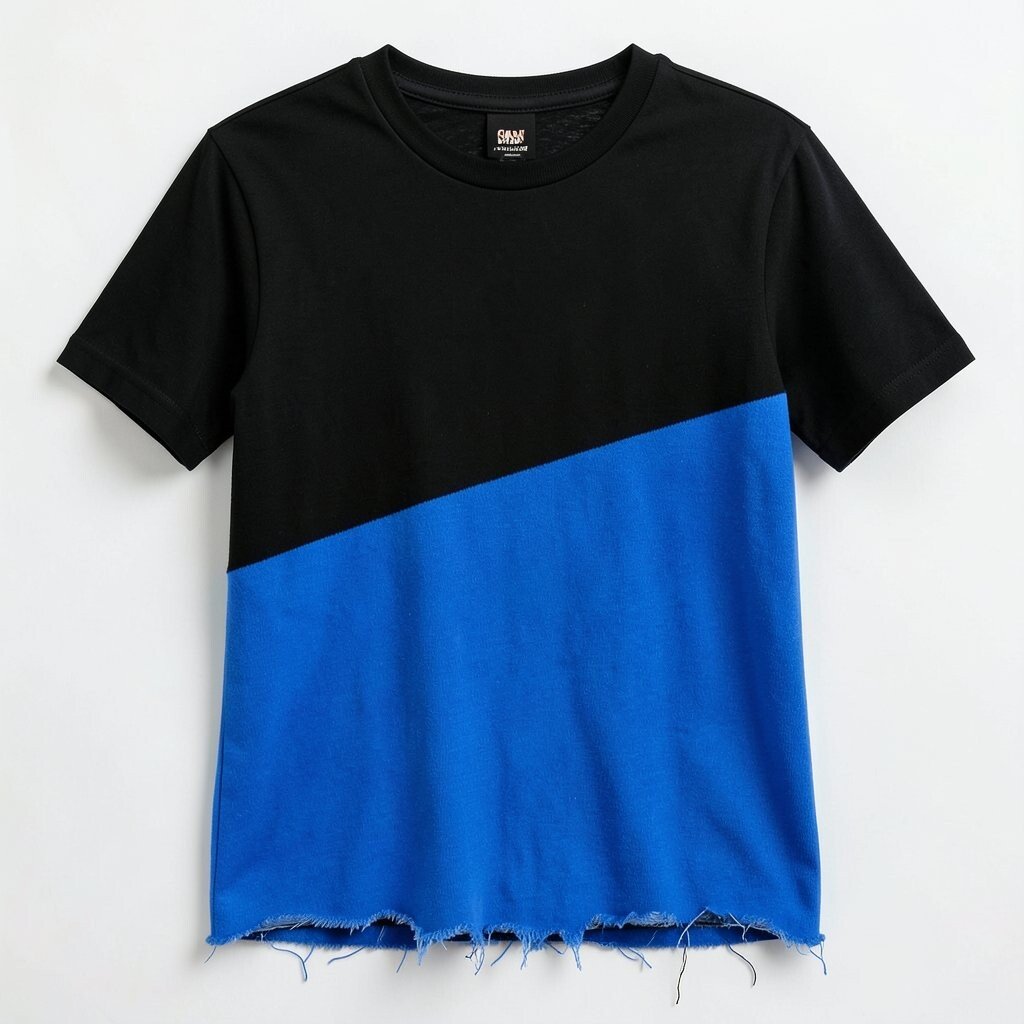
Create a black-to-blue panel shift across the shorts, but make the boundary ragged like torn newspaper. This gives you a punk ombré feeling without needing a perfect gradient.
Use sponge painting to blend the blue into black, then stop the blend with irregular edges. The benefit is that imperfect ragged lines look intentional and edgy, which makes the technique forgiving. For personalization, pick your blue shade to match your shoes or jacket, and consider adding a tiny matching detail on the back for balance.
If you’re on a budget, sponges and basic craft paint will do the job, and you can limit the blue area so you don’t run out. This also fits current trends because contrast fades are popular right now, especially in streetwear looks that mix rough texture with bold color.
To keep the shorts comfy, avoid heavy coats and let each layer dry so the fabric stays flexible.
13. Red and White Striped Side Panels with Black Center Cutout Feel

Imagine red and white striped side panels that run down the leg, while the center area stays mostly black like a bold stage curtain. It’s classic punk geometry with a modern clean layout.
Apply tape along the side seams to guide your stripes, then paint alternating red and white blocks. Leave a clean black center area by covering it with paper or tape, so your stripes look like they’re moving. This layout is practical because it doesn’t require art on the seat area, which gets more wear from daily movement.
Personalize by adjusting stripe width based on your style, such as skinny stripes for a sharper look or wider stripes for louder impact. Cost stays friendly since it’s mainly two colors, and you can reuse tape multiple times. The uniqueness comes from the negative space center, which is a popular trick in current graphic fashion.
14. Lime Green Underlayer with Black “Sticker” Overprints

Start with black shorts, then paint a lime green underlayer that peeks through like a sticker corner. Over that, add a few black shapes that feel like “overprints” slapped on in a hurry.
The effect looks layered and messy in the best way, like street art on fabric. Use tape to create sticker corners first, then paint the lime so it shows at the edges, and finally add your overprint shapes with a contrasting black. For benefits, the design hides small scuffs because the busy layering makes wear less noticeable.
Personalize by choosing overprint shapes that match your interests, such as tiny starbursts, bolts, or simple rectangles. For cost considerations, lime paint can be potent, and a small amount goes far if you limit it to underlayer edges. This also matches a current trend where “print error” aesthetics are celebrated and worn on purpose.
15. Pink and Cream Half-Blocks with Stitch-Like Border Lines

Picture half-block color blocking where pink covers one side and cream covers another, separated by stitch-like border lines. The contrast feels cute and punk at the same time, like a badge you earned.
Use painter’s tape to divide the halves cleanly, then paint the blocks in flat solid colors. Add stitch-like lines around the border using a thin brush and a darker outline color, so the separation looks sewn rather than painted. This is practical because simple two-color layouts are easy to maintain and quick to redo if you want a change later.
Personalize by adding tiny symbols along the border, like dots or simple X marks, so it feels like your own signature. Cost considerations are simple since you only need a couple paint shades and a brush you already own. Uniqueness comes from the stitch effect, which gives classic DIY punk energy even if your painting stays neat.
The current trend toward “clean DIY” makes this especially wearable, since it reads bold without looking chaotic.
16. Classic Punk Band-Logo Blocks Without Letters

Recreate the energy of band logos using color blocks only, avoiding letters but still capturing that poster look. Think thick rectangles and jagged shapes that feel like a logo you’d recognize, even without any text.
Plan your layout like a puzzle, combining one big block, two medium blocks, and a few tiny accents, then paint them in bold colors like red, black, and white. This approach benefits you because it’s faster than detailed lettering and easier to correct if you make a mistake. For personalization, choose colors that match your band tee set, your jacket, or your favorite pair of sneakers.
Cost considerations are friendly because block shapes use less paint and require fewer tools, and you can often reuse stencils or tape templates. Keep it unique by varying the shapes on the front and back so each side feels like a different “poster print.” This fits current trends too, since graphic minimalism and typeless design are showing up everywhere in street style.
To make it practical, keep the shapes away from heavy friction zones and focus on the outer panels where the design stays crisp longer.