There’s something oddly satisfying about seeing your small stuff lined up and easy to reach. Pegboards turn everyday accessories into a wall display you can actually use.
If you like practical projects with personality, this list is for you.
1. Tiny Towel + Scrunchie Ribbon Rail
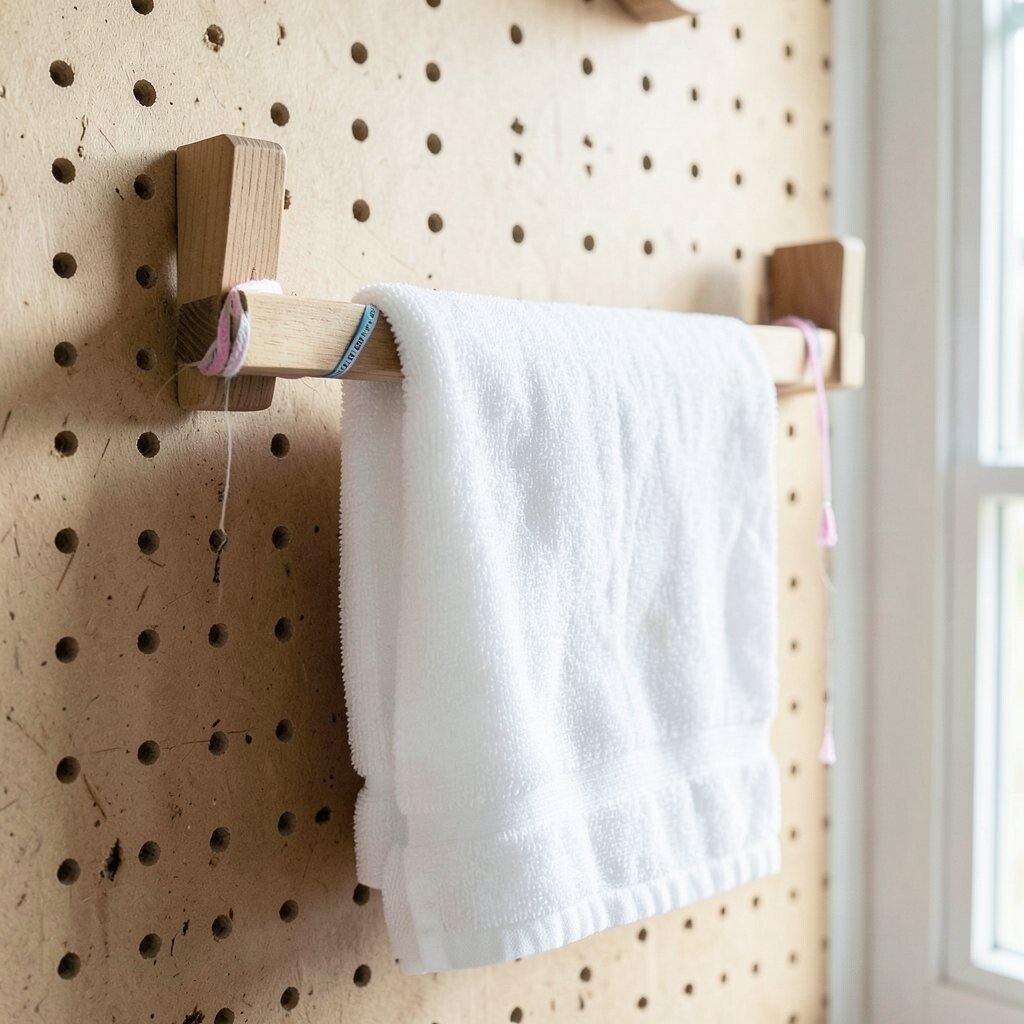
Picture a neat strip of pegboard with small hooks holding hair ties, scrunchies, and ribbon rolls. Next to it, a few miniature clips can catch tiny towels, washcloths, or hand towels for quick grabs.
Use a grid spacing that matches the thickness of your cords and ribbons, so everything hangs straight instead of tangling. Add a small label tag for each color family or style so you can grab what you need in seconds.
Choose hooks with smooth edges to protect delicate fabric. For a quirky look, paint only the border area a bold accent color and leave the main board a warm wood tone.
2. Necklace Orbit Display With Adjustable Hooks
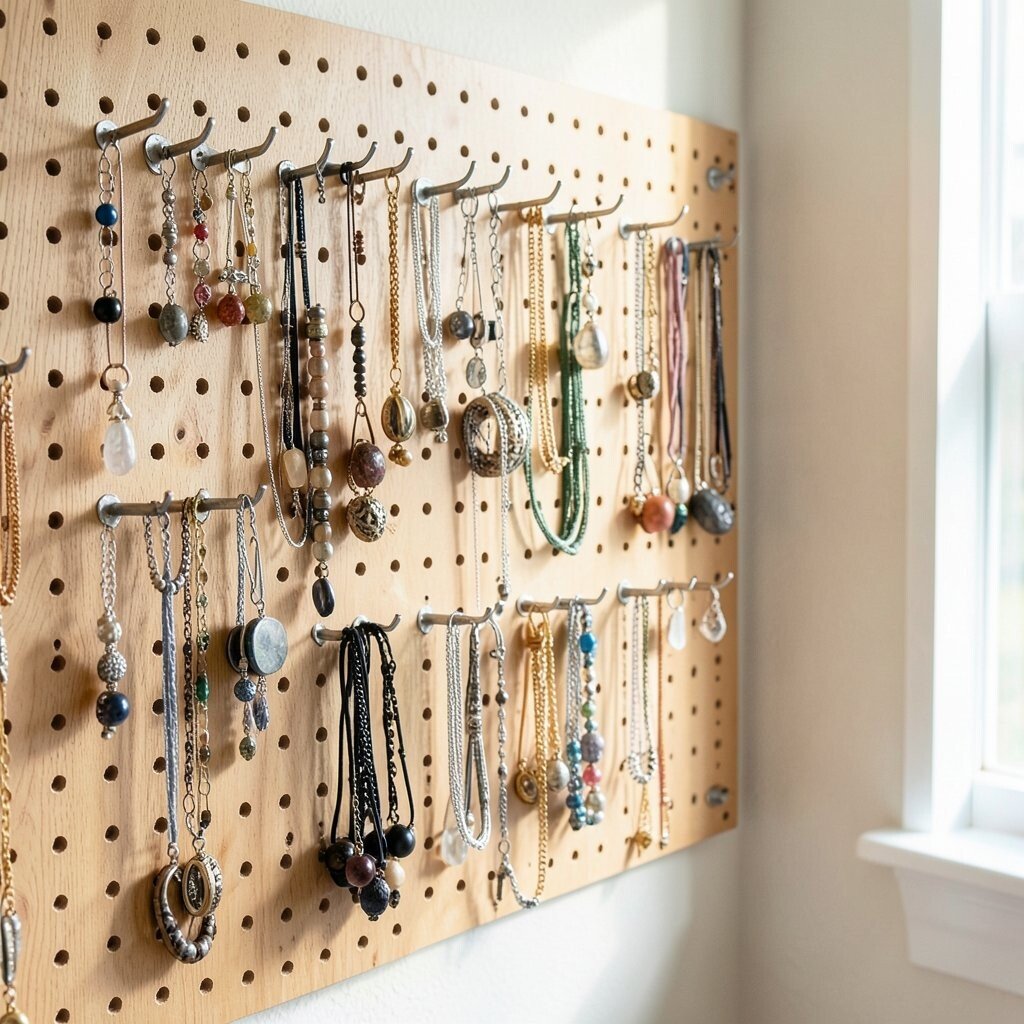
Imagine your necklaces floating in an orbit-like pattern, each one hanging at a different height. A pegboard makes it easy to keep chains from knotting because each piece gets its own spot.
Mount rows of hooks so longer necklaces sit lower and shorter ones sit higher. Use adjustable peg accessories when you can, since you will rearrange as your collection grows.
For personalization, group by vibe, like everyday wear, event pieces, and seasonal charms. This arrangement also helps you spot gaps, so you can decide what to swap in without opening drawers.
3. Earring Ladder With Color-Coded Pegs
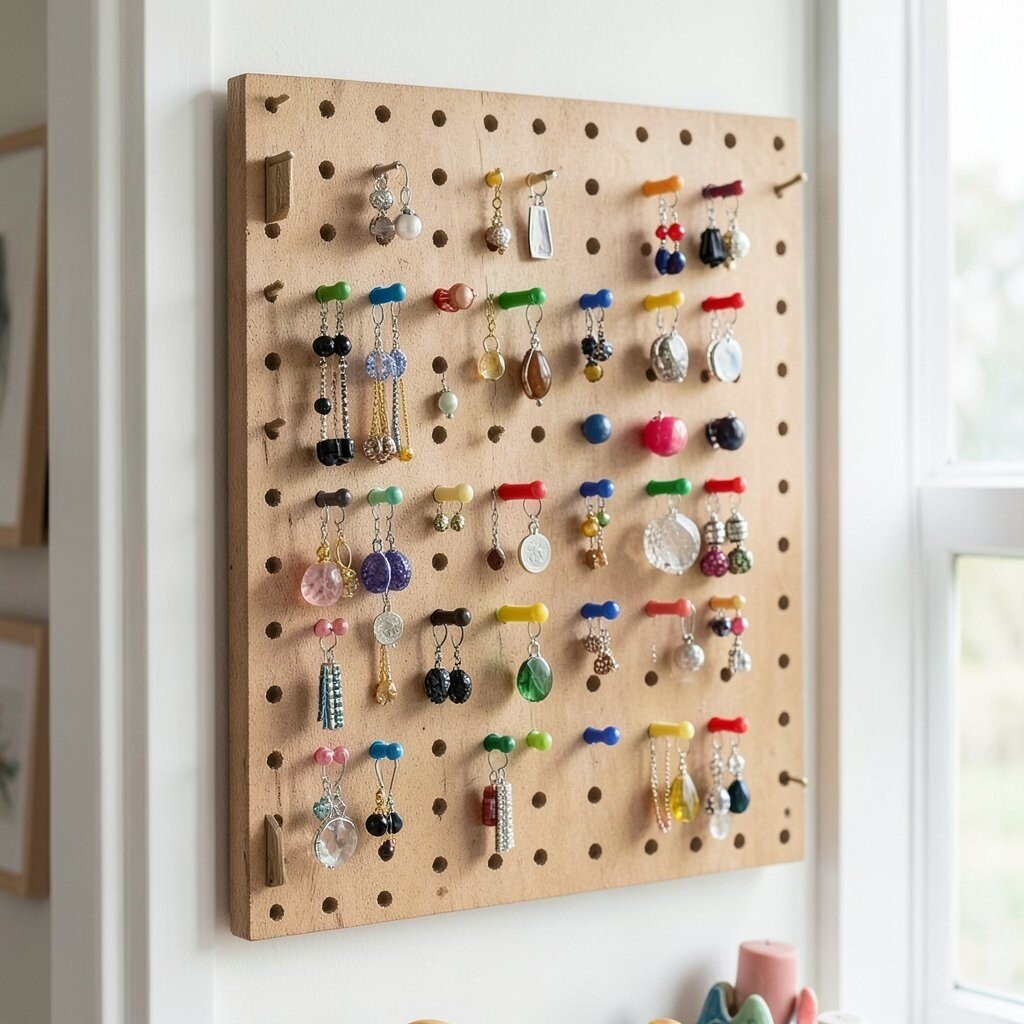
Think of a small ladder built from peg rows where hoops, studs, and dangly earrings hang like steps. The visual rhythm makes jewelry feel organized but still fun.
Start by sketching an easy layout on paper, then place pegs at heights that match your earring backs. Use a matte finish for the pegboard so metallic earrings don’t look washed out in bright light.
Make it personal by painting some pegs to match the dominant colors in your jewelry box. You’ll also find it cuts down on time because every pair is visible at a glance.
Set aside a weekend evening to hang everything while you’re in a calm mood. If you want lower cost, use mixed hook styles from your craft stash and refine the look with a matching paint job.
4. Bag Charm Bar For Keychains and Pendant Sets
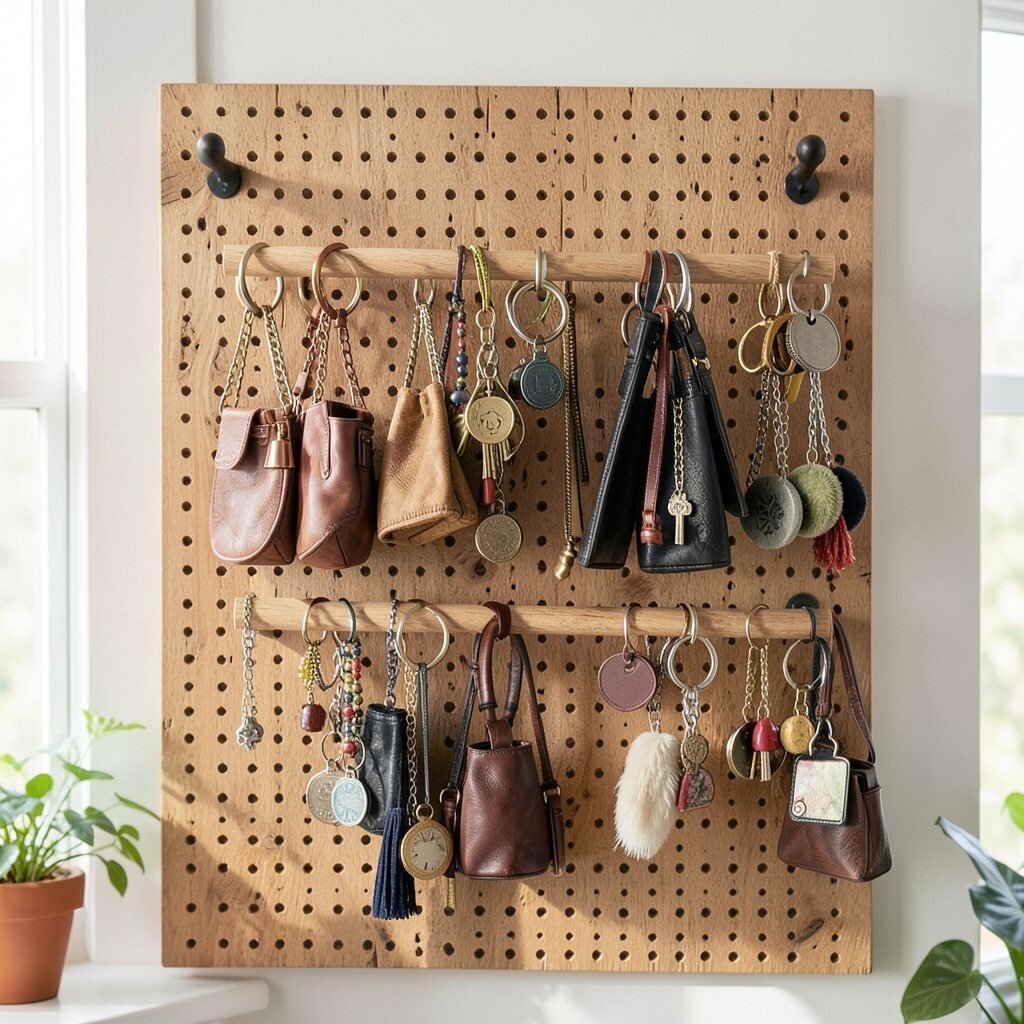
Picture a wall bar of hooks where bag charms, keychains, and small pendants line up like mini trophies. Instead of living in a bowl, these pieces become part of your everyday setup.
Use small S-hooks or flat peg hooks so charms hang without spinning and getting tangled. This also makes it simple to switch charms when you change bags.
5. Makeup Brush Shelf With Built-In Drying Flow
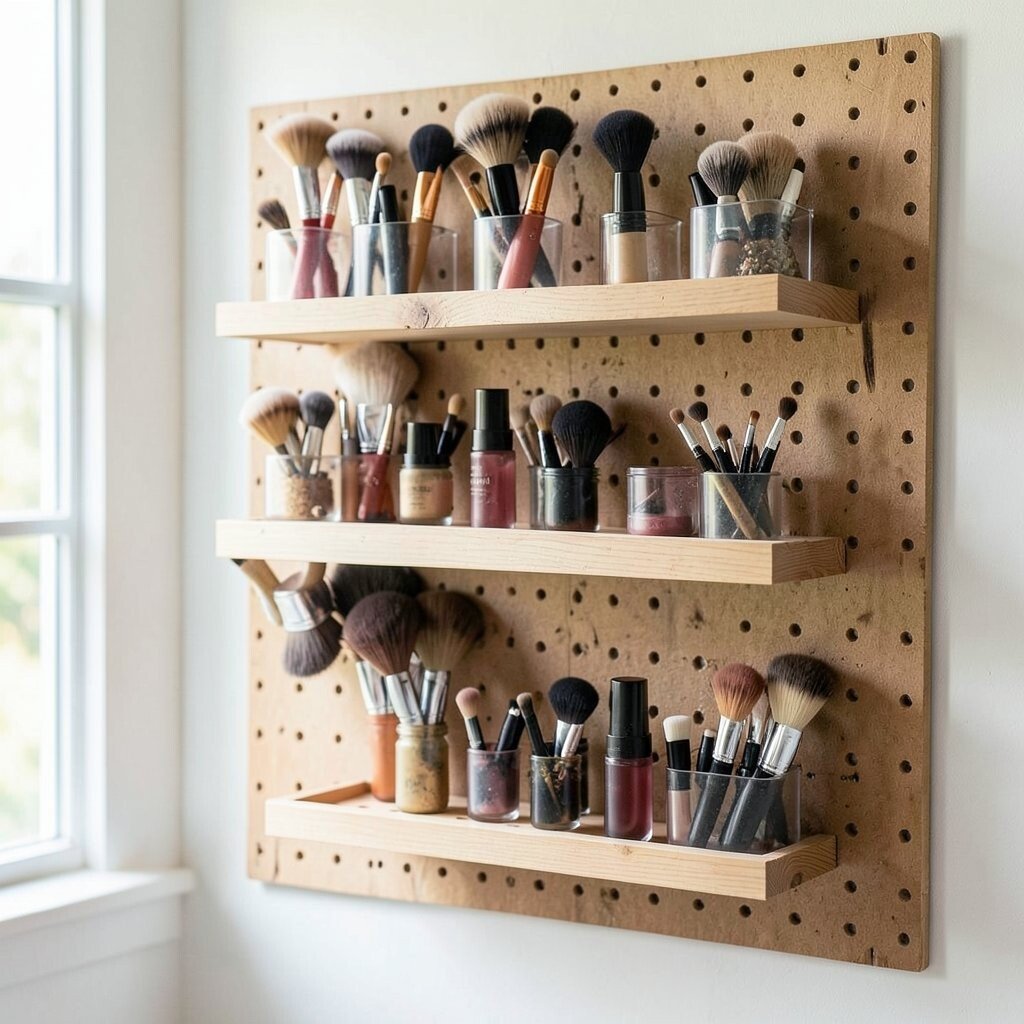
Imagine a pegboard section holding your makeup brushes while a few nearby pegs support tools and accessories. You get airflow and visibility, which feels especially helpful if you do your makeup near a mirror.
Place brush holders made for pegboards at an angle so bristles dry faster after washing. Use shallow ledges or small bins for sponge cases so they stay protected and easy to grab.
Keep costs in check by reusing cups or jars with peg-compatible brackets. Personalize the vibe with a soft pastel paint on the frame and a little doodle pattern on the corners.
For current trends, many people now mix function with aesthetic storage, like pairing pegboards with warm wood tones and minimal hardware. A clean, coordinated look will make your vanity feel fresh without extra clutter.
6. Craft Room Tape and Marker Catch-All
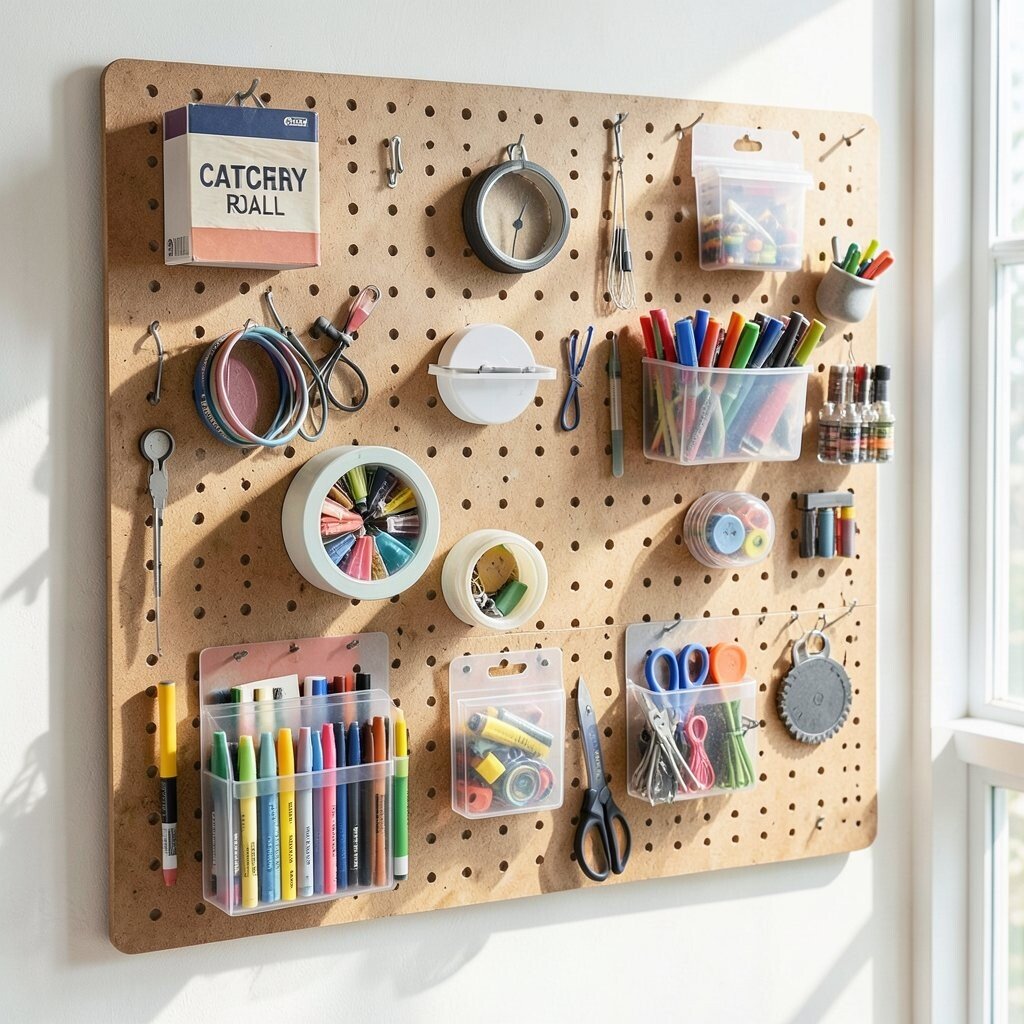
Picture rolls of tape and marker caps lined up on a pegboard like a colorful control panel. It’s the kind of storage that makes you stop searching and start creating.
Use pegboard holders designed for small tools, or improvise with wire clips that grip the rim of tape rolls. Keep a top row for frequently used markers and a lower row for backup packs.
7. Hair Tool Charging Station With Cable-Friendly Layout
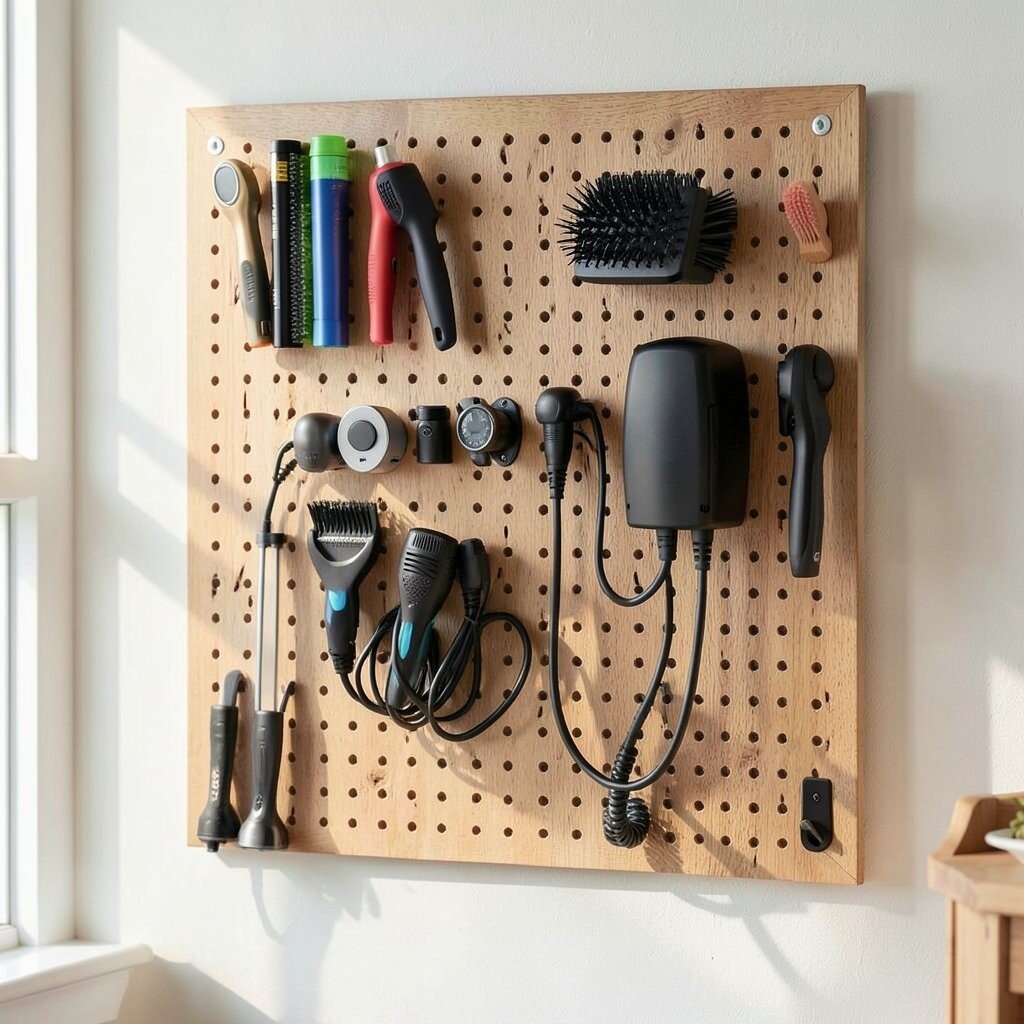
Imagine styling tools hanging neatly while cords stay managed instead of looping around furniture. A pegboard can hold your hairdryer attachments, heatless curl accessories, and clip sets while keeping the space tidy.
Plan a layout where chargers and cords run down behind the board, then use small cord hooks to guide the line away from hanging items. This reduces tangles and keeps your tools ready for the next use.
Personalize by adding a small holder for styling clips and bobby pins in matching containers. The benefit is clear when you can grab a set and go, without rummaging through a drawer.
8. Sunglasses and Reading Glasses Display With Soft Stops
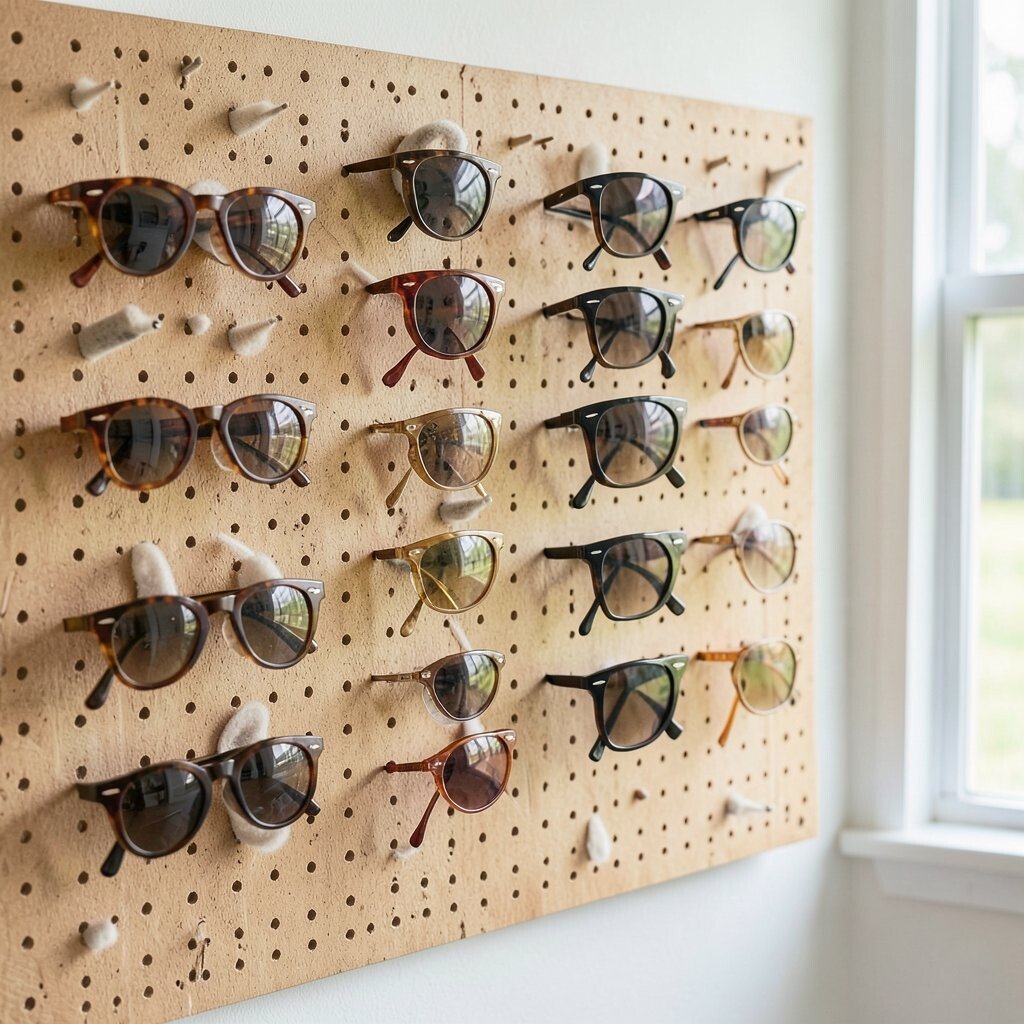
Picture sunglasses hanging with space between them so lenses stay safe from scratches. A pegboard can be set up with gentle stops using felt-backed hooks or rubberized clips.
Use wider hooks for sunglasses and smaller ones for reading glasses, so everything fits comfortably. This arrangement also prevents the annoying moment when you can’t remember where you laid them.
9. Scarf + Belt Windmill Hooks With Rotating Feel
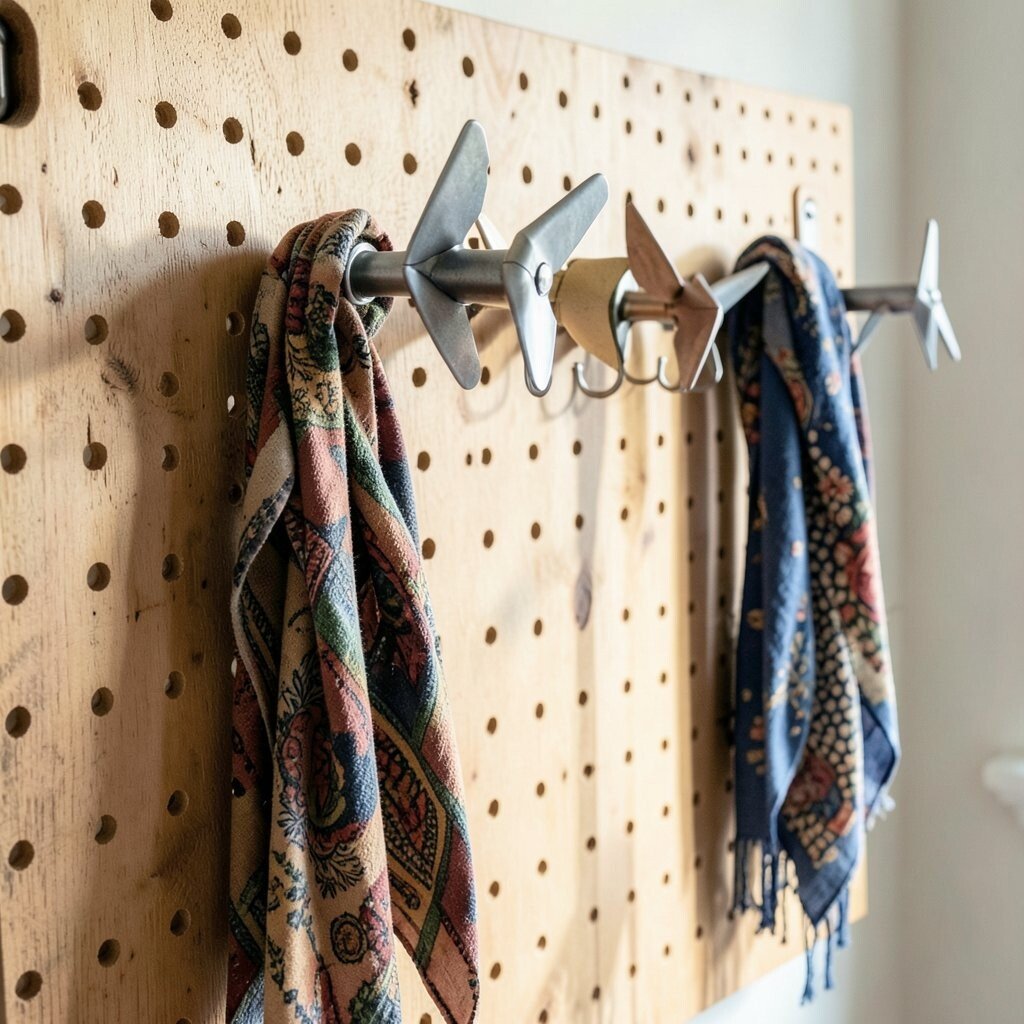
Picture scarves and belts hung like a windmill, with layers fanning outward in a lively pattern. It’s an easy way to store soft accessories without messy folds.
Use larger pegs and spaced hooks so fabric hangs fully and doesn’t bunch. If you hang belts with a slight angle, you’ll see every buckle and color, which helps you match outfits faster.
For uniqueness, alternate hook colors or paint some pegs in bold shades while keeping the board neutral. Cost can stay reasonable when you use off-the-shelf hooks and paint them instead of buying everything brand new.
10. Perfume Sample Wall With Tiny Latch Holders
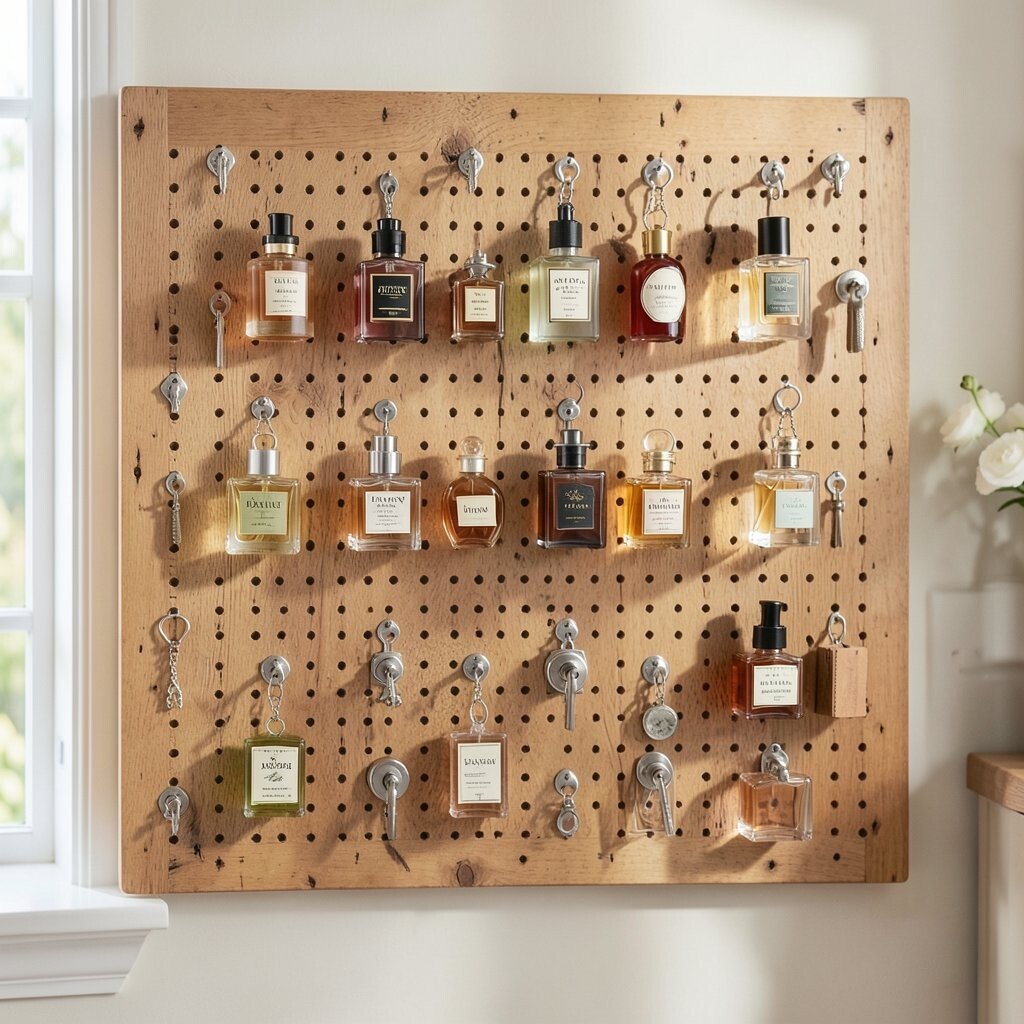
Imagine a perfume pegboard where each sample bottle sits visible and easy to swap in. You’ll get that boutique vibe without using display shelves that collect dust.
Use small latch holders or clear clips to keep bottles from slipping while still letting you see labels. If you have larger bottles, add a few sturdy hangers built for weight.
Personalize by arranging fragrances by mood, like fresh, cozy, and bold. The benefit of this setup is that choosing a scent takes less time because you can read every label from across the room.
If you’re mindful about spending, start with the bottles you use most and leave room for new samples. Over time, your wall will grow naturally with your collection.
11. Watch Organizer With Depth Labels and Time Zones
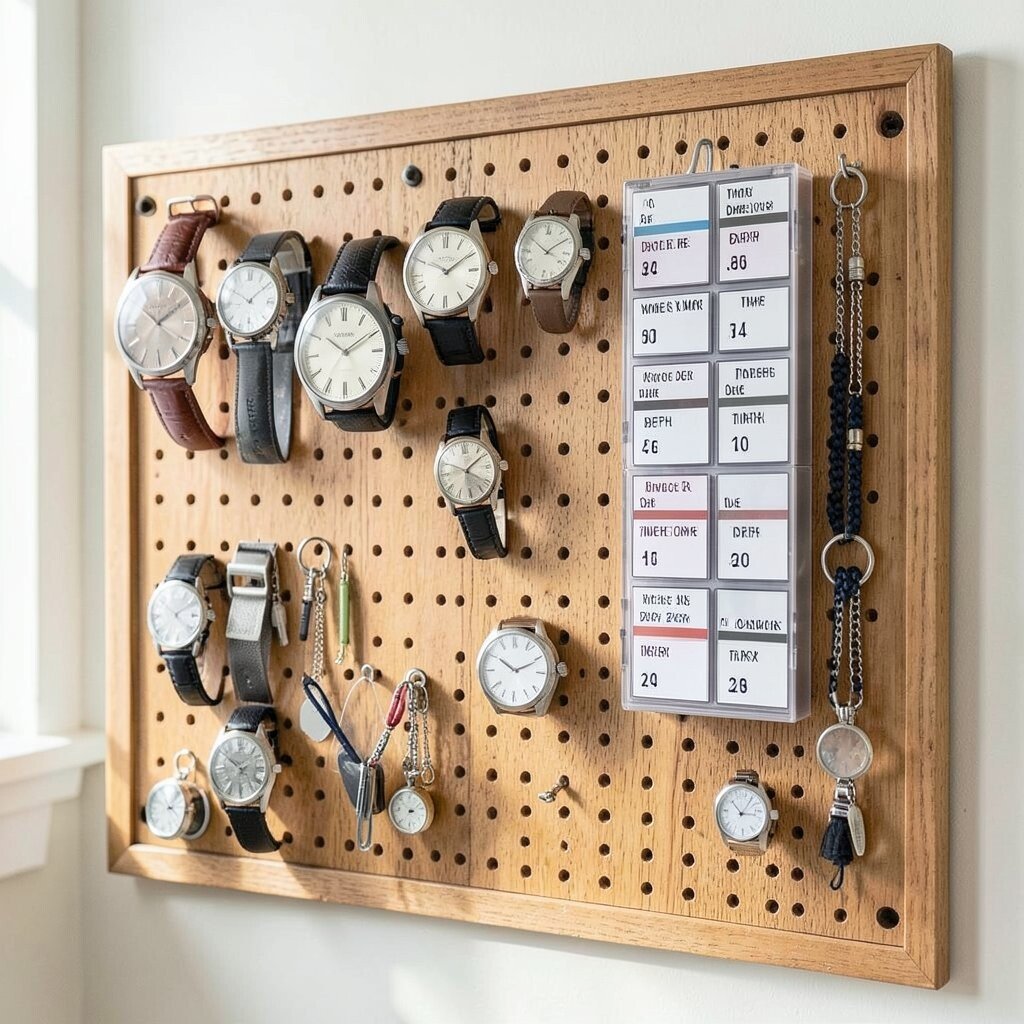
Picture watches lined up in neat rows, each one hanging at a height that makes the face easy to see. This is one of those setups that looks impressive but is genuinely practical.
Use hook spacing that supports the strap width, and try to keep heavier watches on stronger hooks. Add small label tags behind or beside each spot so you can remember which watch fits which schedule.
For personalization, group watches by style or by season, and paint the pegboard with a subtle color that matches your desk or dresser. When you can spot your favorite quickly, you’ll wear more of what you already own.
This type of storage also fits current trends where personal organization blends with decor. A tidy watch wall makes your morning routine feel a little more special.
12. Key + Tag Board For Bag Switching and Room Access
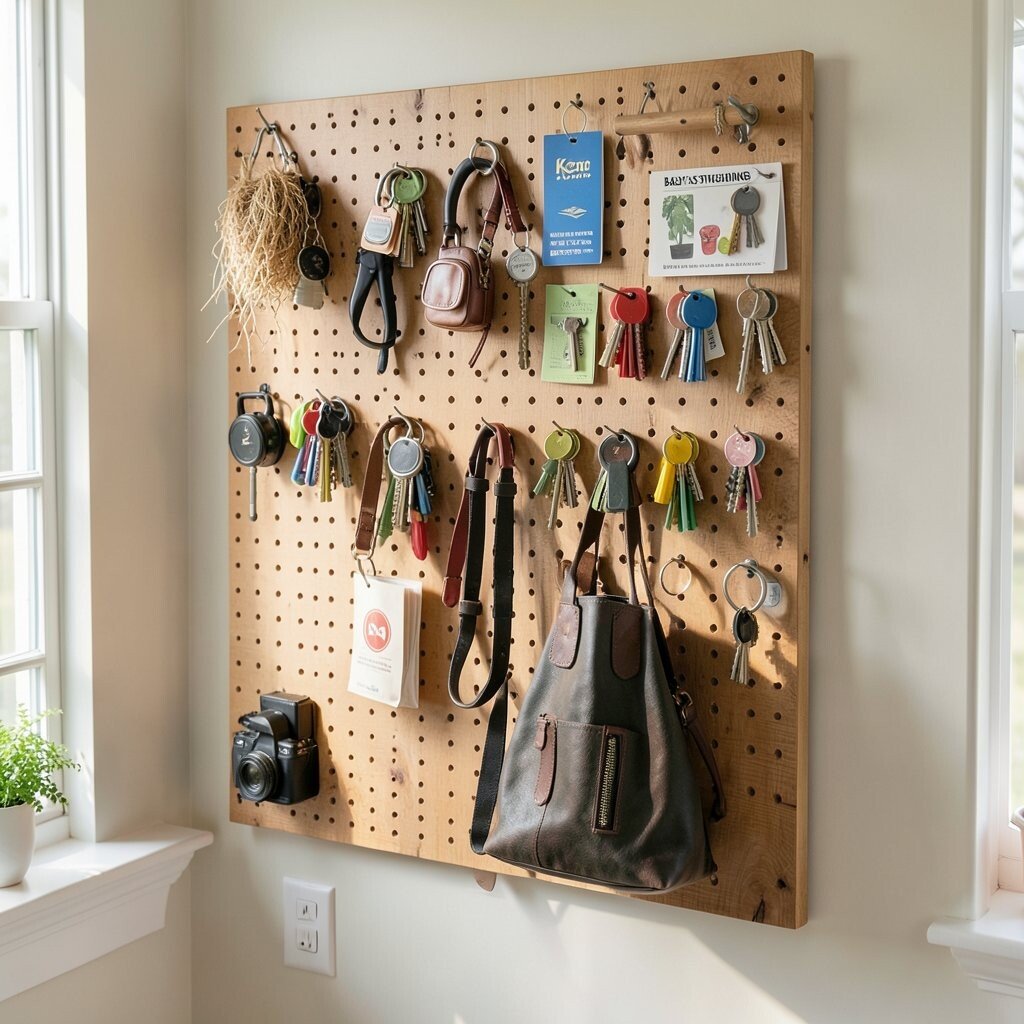
Imagine a pegboard where each key and tag has its own spot, like a small station for your daily life. It’s great for people who constantly swap bags, move between rooms, or manage shared spaces.
Use a mix of hook sizes and add flat key tags so you can tell keys apart fast. Place the most used keys at eye level and store less used items higher up or lower down.
13. Hobby Nook Storage For Buttons, Beads, and Spools
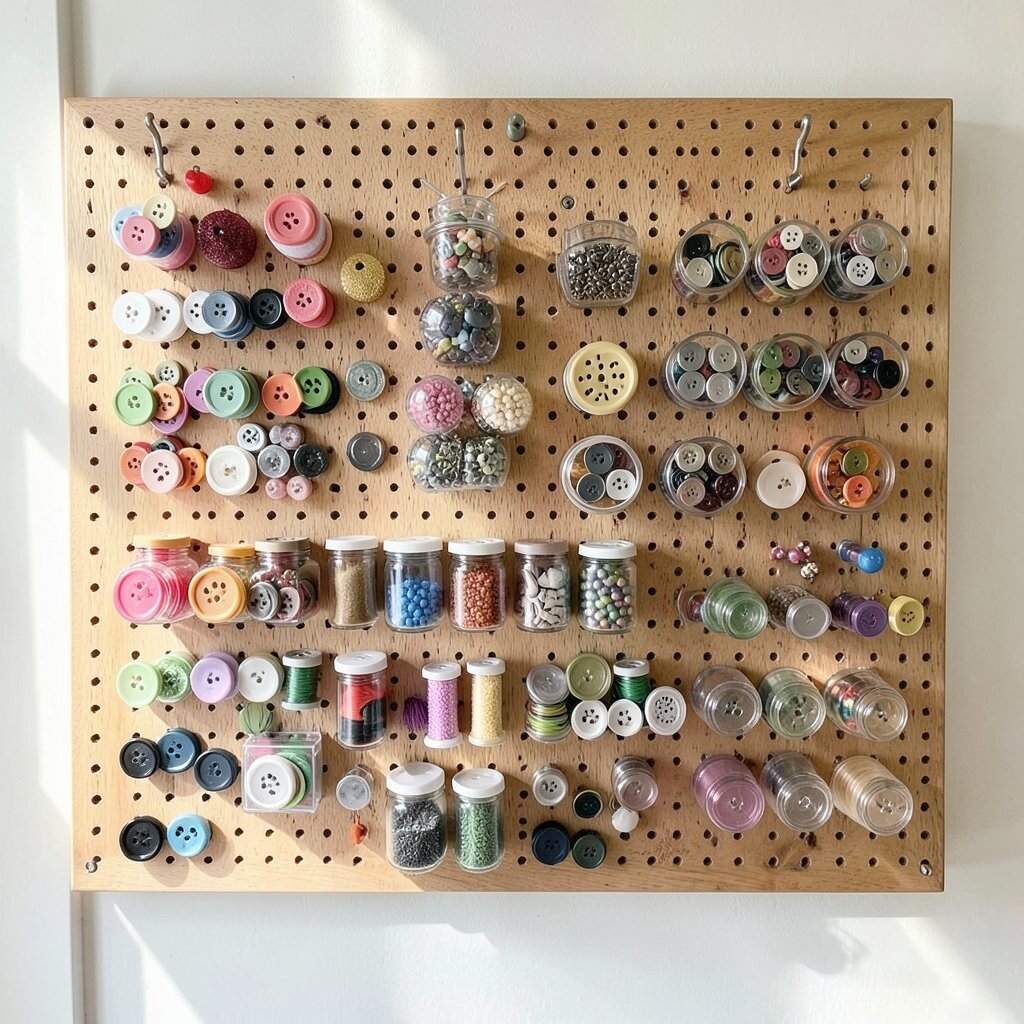
Picture rows of small containers clipped to peg hooks, with buttons and beads visible at a glance. Spools of thread can hang alongside, making your crafting area feel ready to use.
Choose clear or semi-clear containers so you can see what’s inside without opening everything. Add a few peg-mounted trays for tiny tools like needle packets or safety clips.
For personalization, color-code by project type, like sewing repairs, holiday crafts, or jewelry making. This keeps your supplies from mixing, which saves time and reduces frustration.
To control costs, repurpose jars, small plastic boxes, and cord organizers you already have. The benefit is that your pegboard becomes a flexible craft hub instead of a one-time project.
14. Tuck-In Travel Accessory Wall With Passport Holder Clips
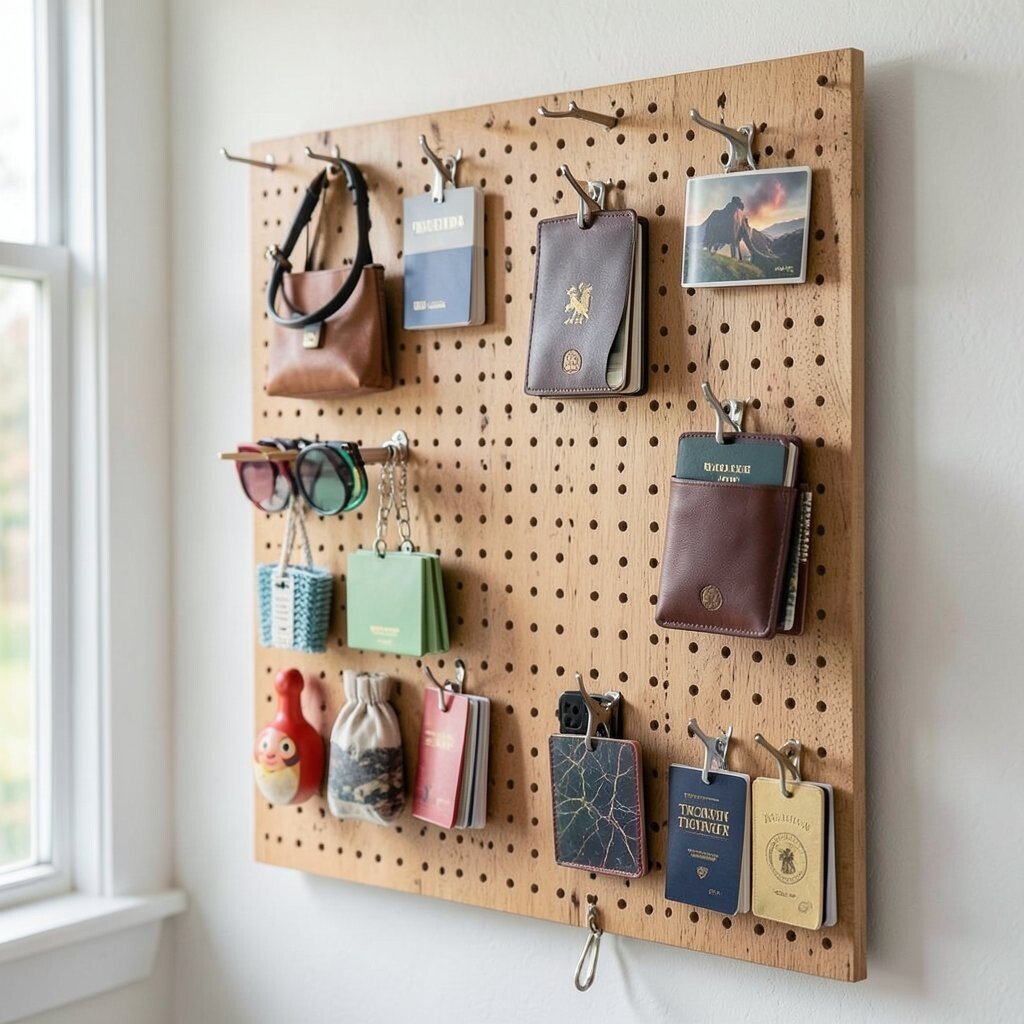
Imagine a travel corner where luggage tags, passport pouches, and small adapters hang neatly. It’s the kind of setup that makes packing feel calmer because everything has a home.
Use peg clips or small hooks for passport cases, and add a pocket or slim bin for adapters and charging cords. A layout with a “grab-first” zone helps when you’re heading out the door.
15. Plant Propagation + Sticky Clip Wall For Tiny Tools
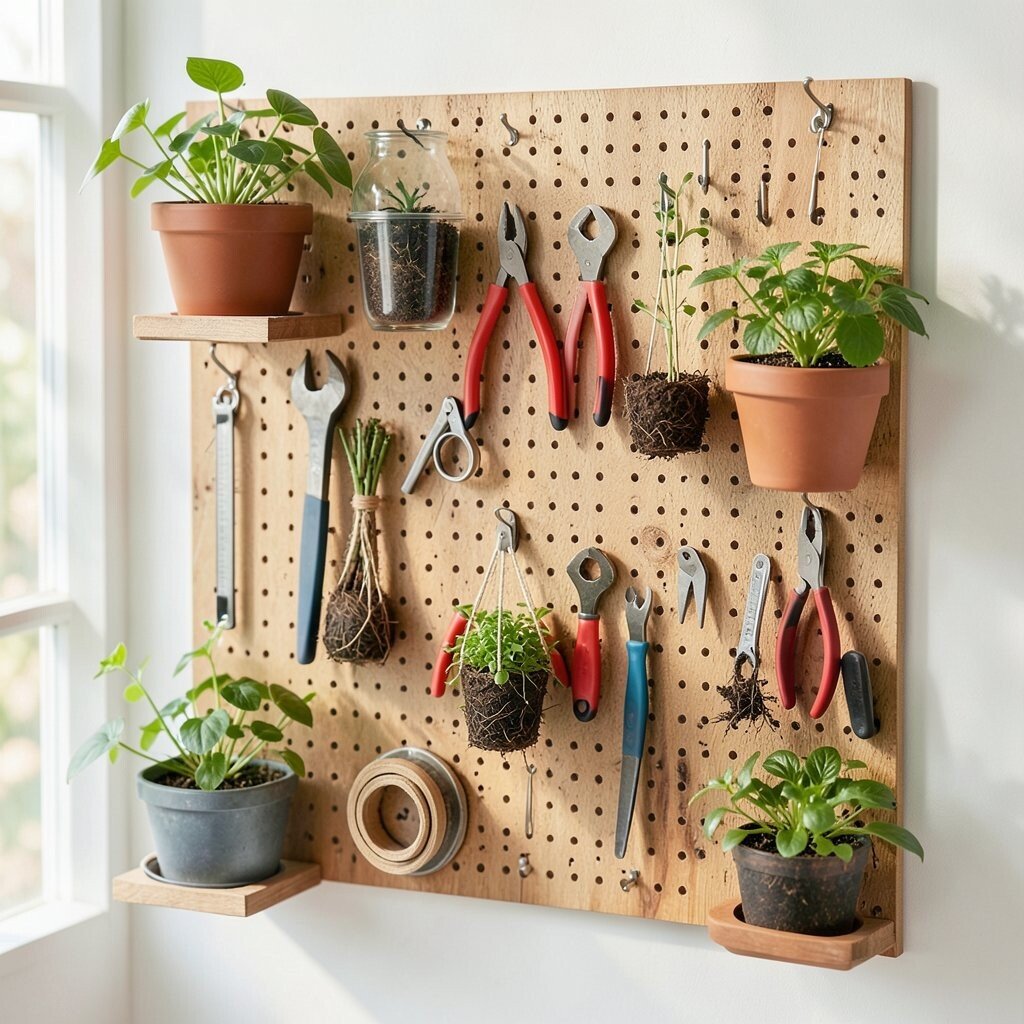
Picture small plant tags, plant twine, and propagation tools hanging on a pegboard near a bright window. The idea is to keep your plant care supplies visible and ready, so watering and labeling happen more often.
Use hooks for lightweight tools like mini pruners, plant markers, and twine spools, and add a small tray for seed packets. Try a weather-friendly finish if the area gets humidity, so the board lasts longer.
For uniqueness, attach a few small clip boards where you can store care notes or sketch growth plans. You’ll feel the benefit when you can label a plant the moment you pot it, instead of forgetting later.
Keeping costs down is easy when you use inexpensive peg accessories and add only a few higher-quality holders. This setup matches a current trend of turning everyday spaces into multipurpose corners that look lived-in and warm.
16. Festival Accessory Board With Festival-Ready Rings and Clips
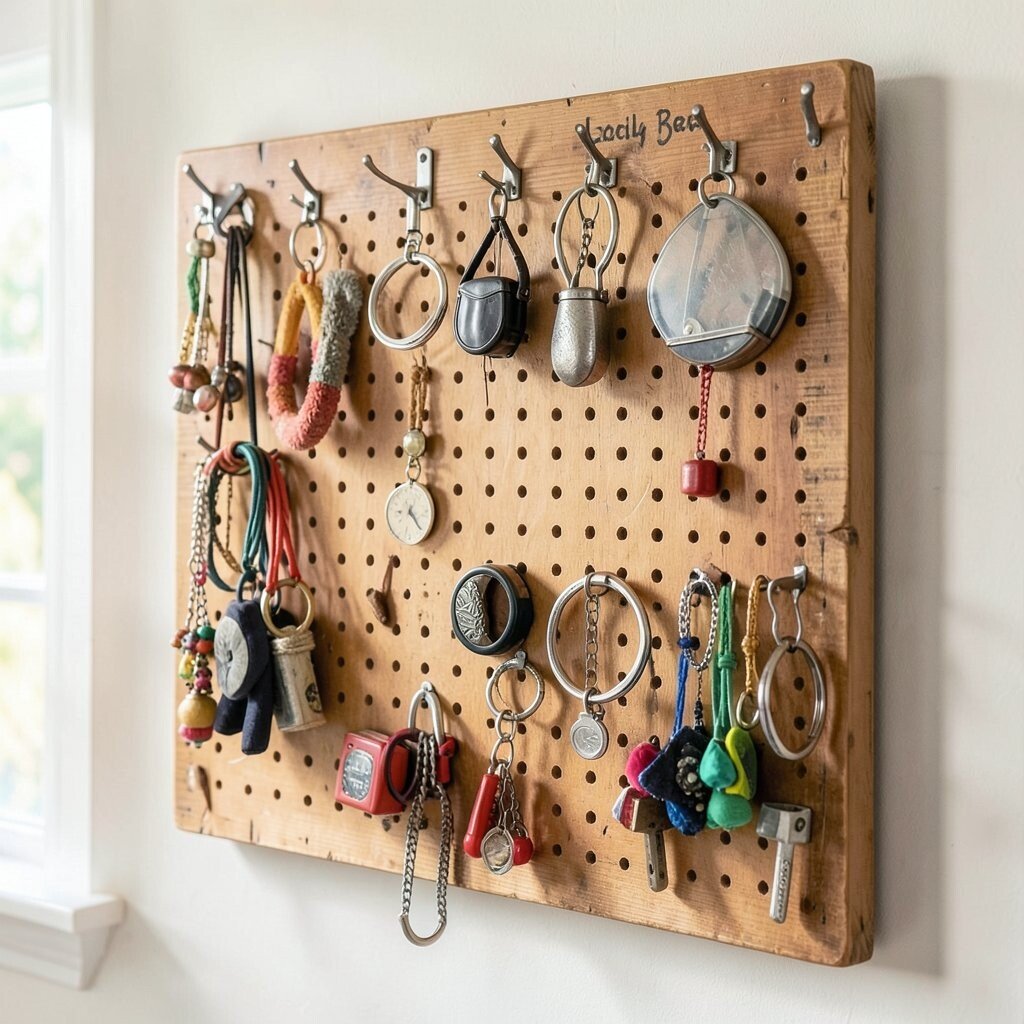
Imagine a pegboard staged for events, with rings and clips holding hair accessories, wristbands, and small costume add-ons. It’s like having a ready-to-go kit that also looks cute when friends stop by.
Use flexible hook sizes so items like chain belts, sparkly clips, and lightweight lanyards can hang without stretching. Add a few small baskets to hold extra bands, charm refills, or backup safety pins.
Personalize the board with a theme, like neon accents, galaxy colors, or a simple black-and-gold look. The benefit is that you’ll stop scrambling before a show because everything sits in one view.
For cost considerations, start with a compact section and build outward after your first event season. This keeps the project budget-friendly while still letting you make the wall feel totally yours.