Ready to wake up and feel cute before the first bell? These hairstyle ideas are simple, comfy, and school-friendly.
You’ll find looks that work with bangs, ponytails, braids, and all kinds of hair textures.
1. Half-Up Bow Pony
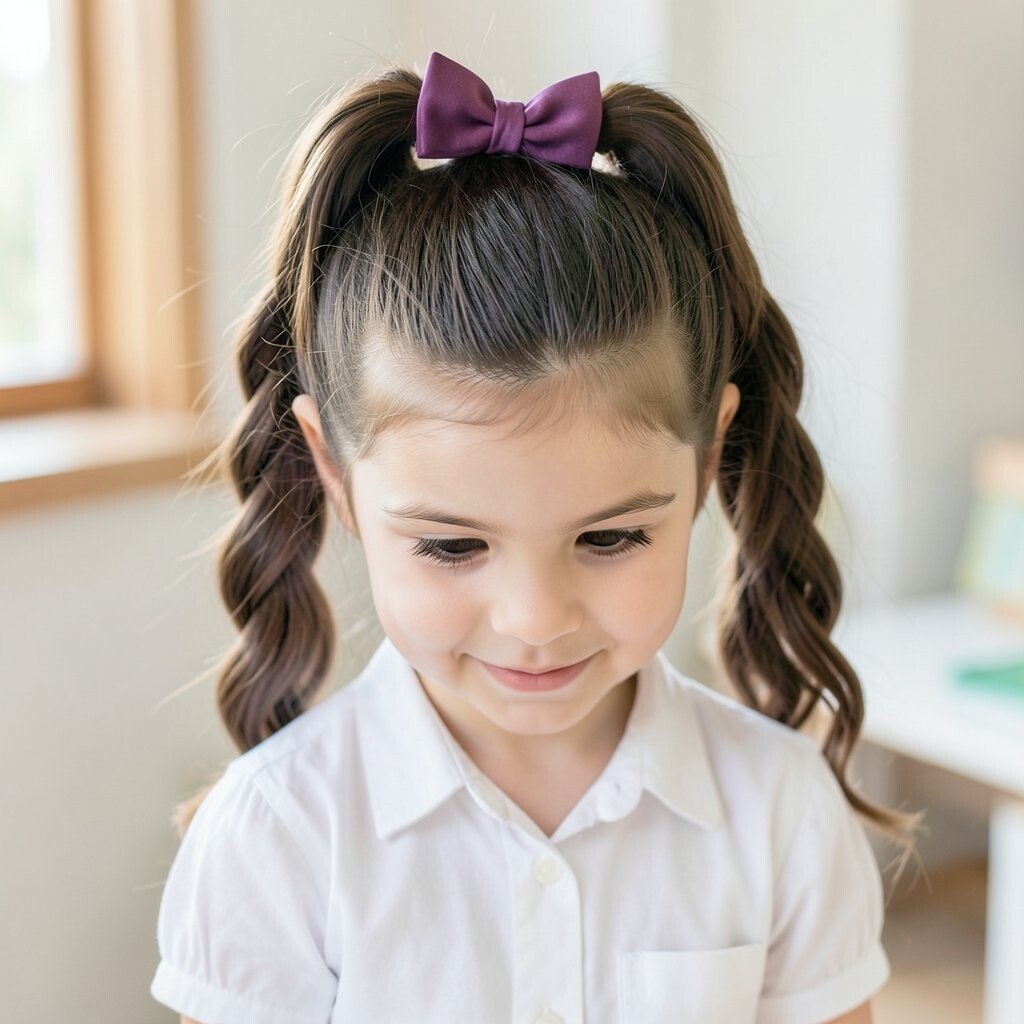
Start with a half-up section from your temples to the crown. Pull it into a ponytail, then add a small bow clip or a ribbon tied around the base.
This style looks sweet and neat, and it keeps hair out of your face during class. For a smoother finish, lightly mist the top section with water or a tiny bit of leave-in conditioner before you gather it.
2. Bubble Braid Ponytail
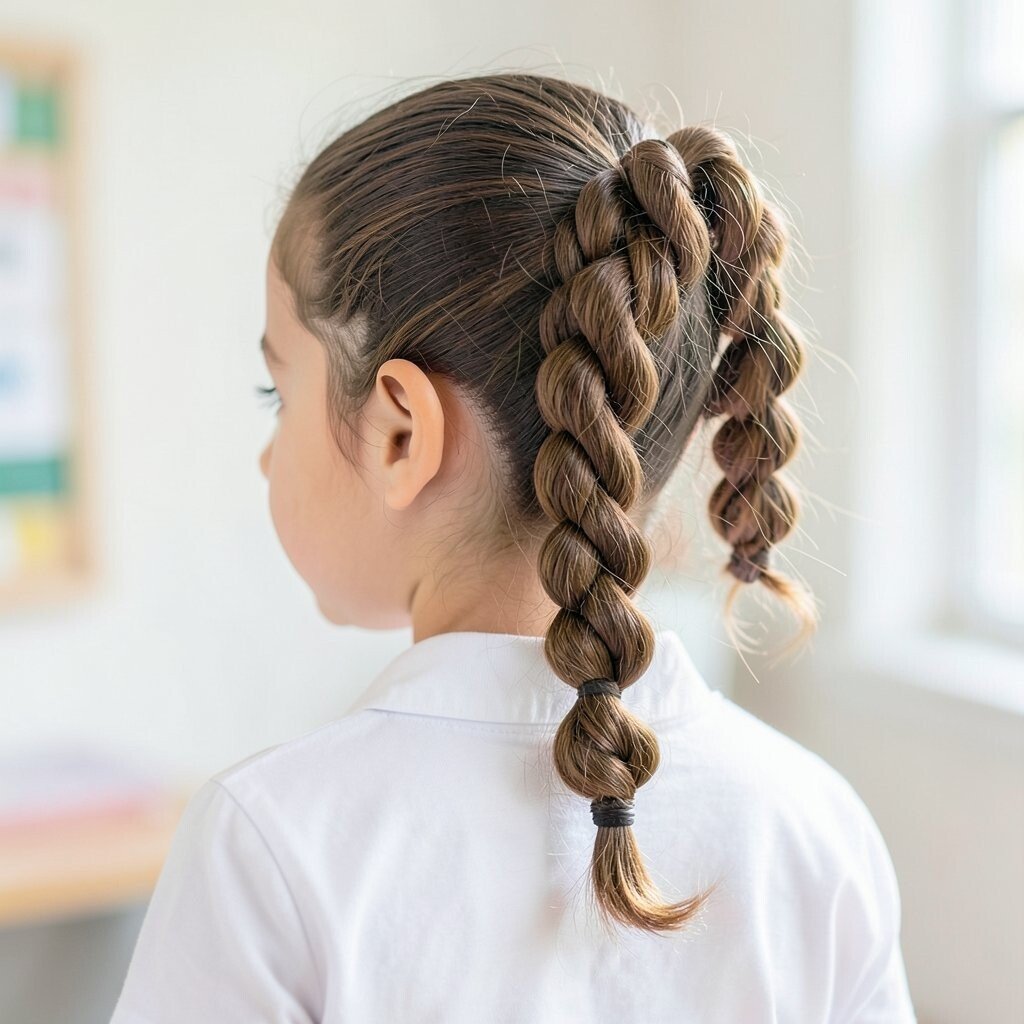
Create a regular ponytail first, then divide the ponytail into small loops using hair ties. Slide each tie down slightly to form “bubbles,” adjusting until the shape looks even.
The bubbles add a playful, modern vibe while still holding strong for gym days. Keep it comfy by using thin elastic ties and avoiding tight tension on the scalp.
If you want it more personal, try matching the hair ties to your scrunchies or adding one contrasting clip near the top. This look is budget-friendly because the main supplies are elastic ties and a brush.
3. Two French Braids With Ribbon Ends
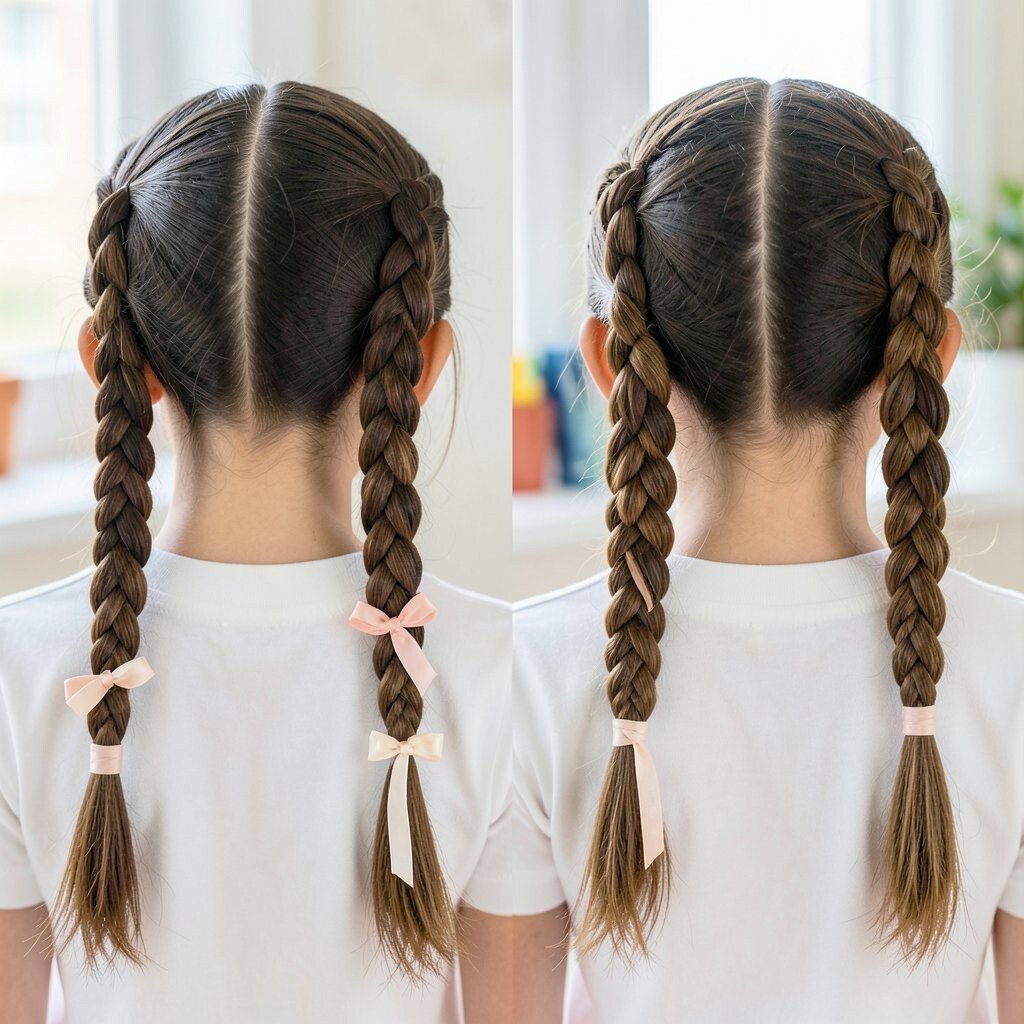
Part your hair down the middle, then braid two French braids from the front. When you reach the ends, tie in a ribbon or wrap a slim strip of fabric around the braid tip.
French braids keep hair secure all day, and the ribbon gives the classic style a cute twist. To make the braids look fuller, gently pull the outer edges after they’re finished.
This is unique because the ribbon adds color without needing extra products. Choose lightweight ribbon so it doesn’t feel scratchy, and match it to your favorite hoodie or backpack.
4. Messy Low Bun With Side Part
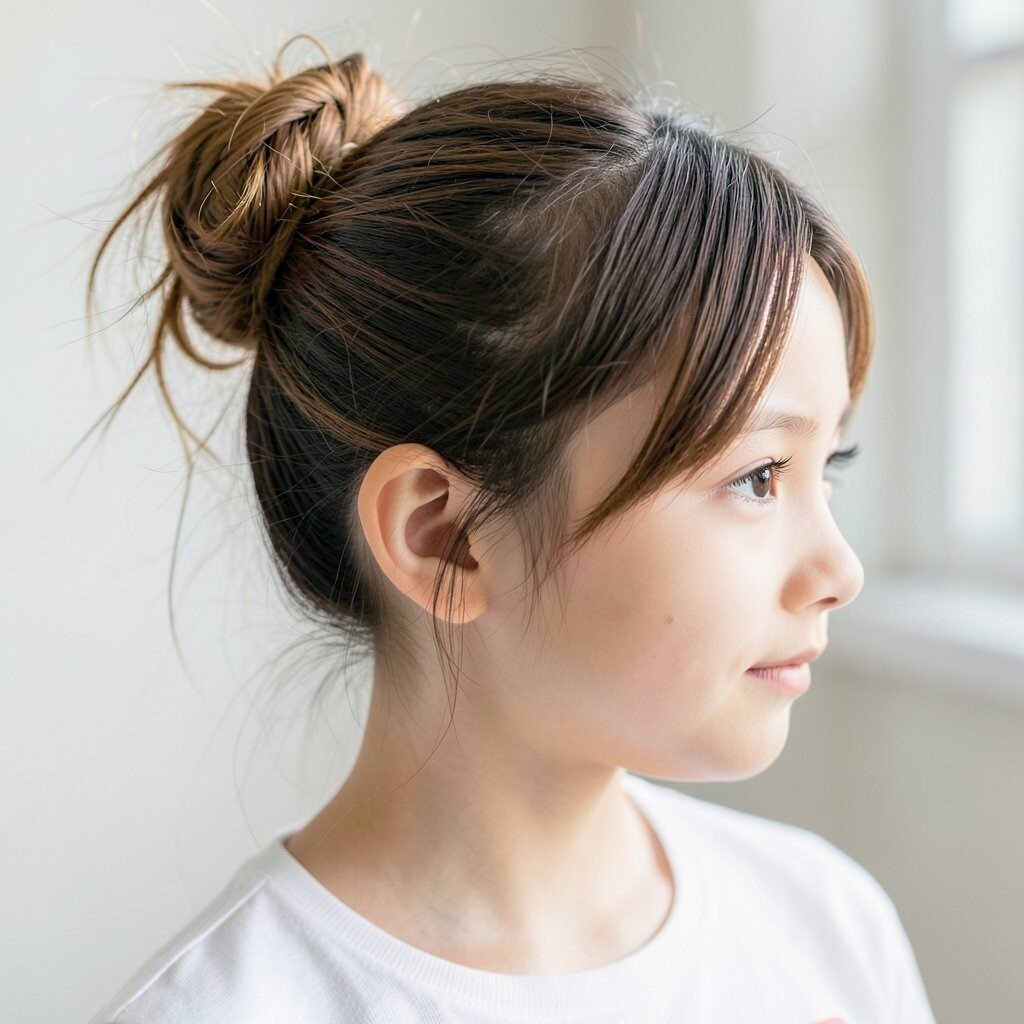
Flip your hair into a low position, then gather it for a loose bun at the nape of your neck. Leave a few soft pieces around your face and secure with bobby pins.
That “messy but intentional” look is super trending, and it still works for school because it’s out of the way. For extra hold, use one light mist of hairspray on the flyaways and press them down gently with your hands.
5. Claw Clip Twist Updo
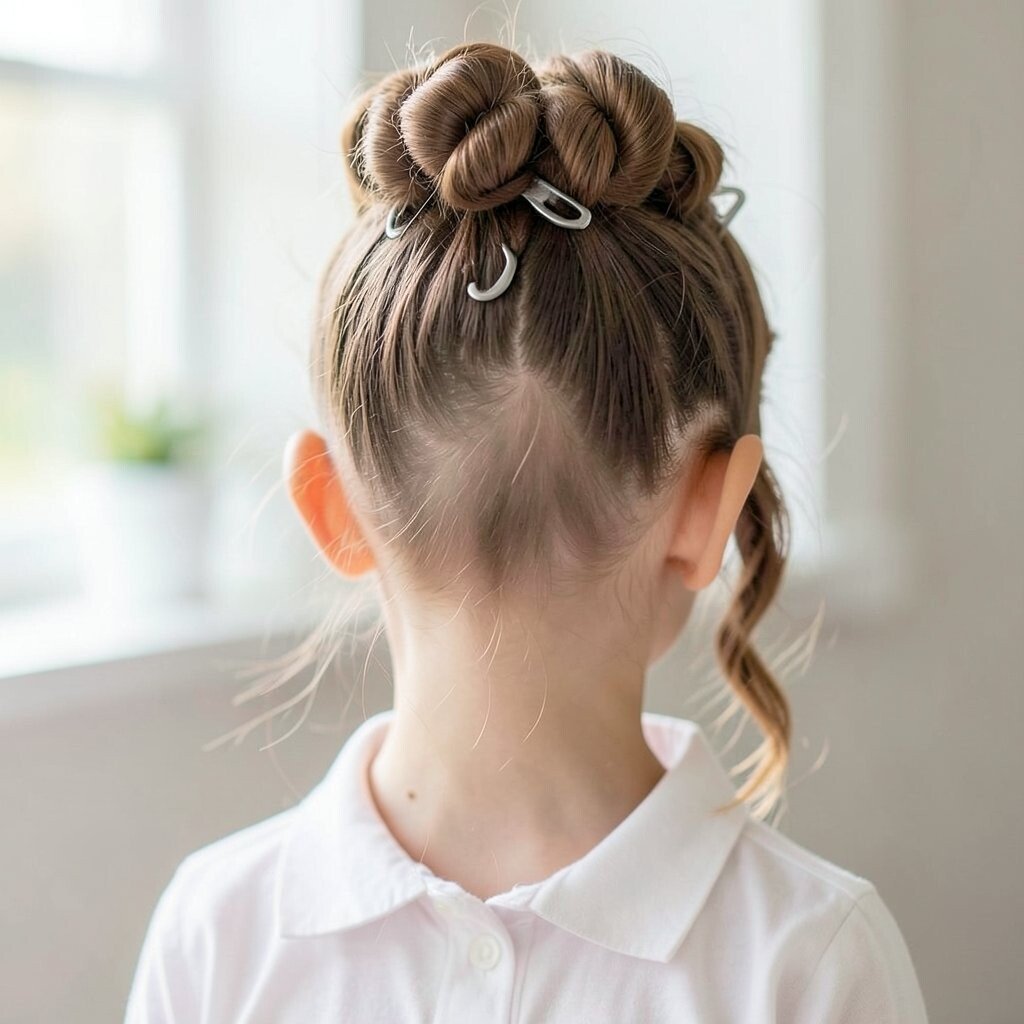
Pull your hair back into a low twist, then tuck the twist under itself. Secure it with a claw clip placed slightly off to one side for a fresh, stylish angle.
This is an easy grab-and-go hairstyle that looks polished even when you’re running late. It’s also low cost since a good claw clip can do the work of several accessories.
To personalize it, add two small face-framing waves by curling only the front sections and leaving the rest natural. Choose a clip size that matches your hair thickness so it holds without sliding.
6. Crown Halo Braid
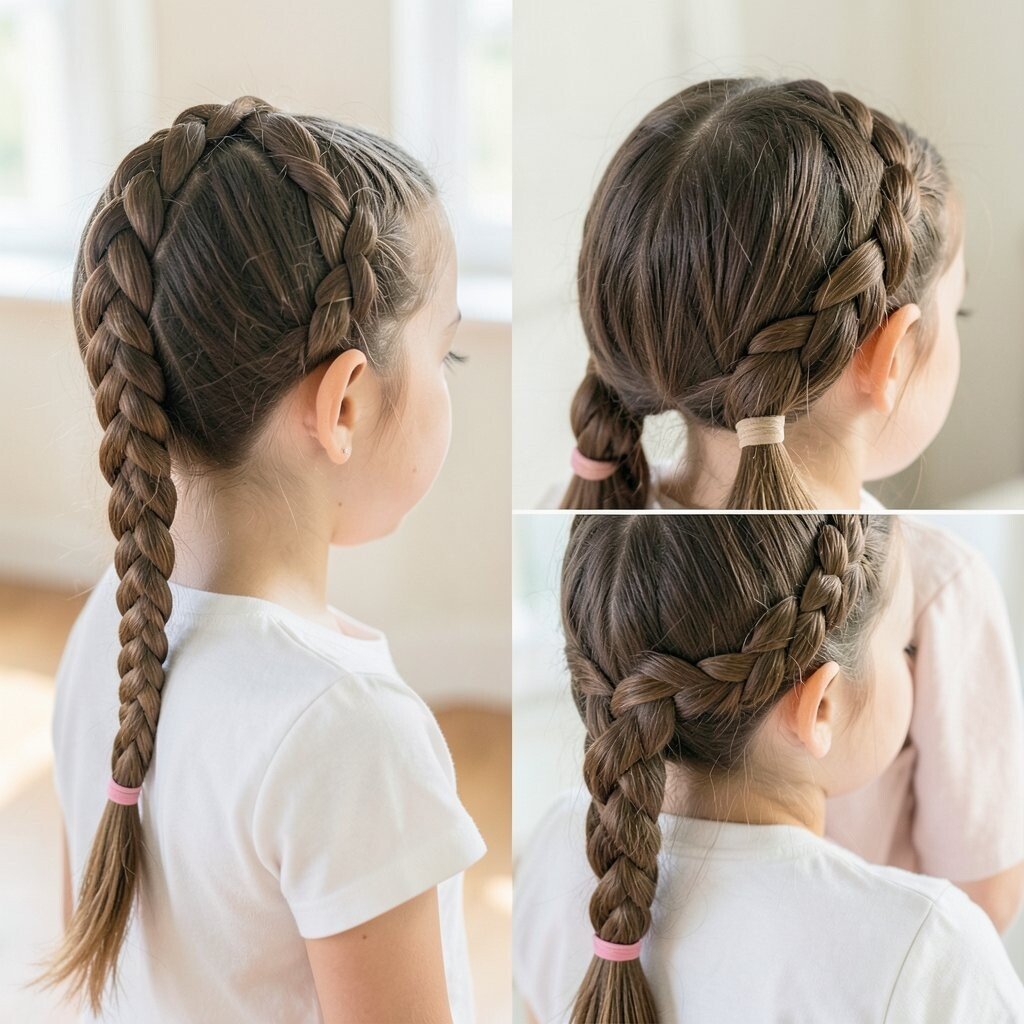
Start braiding near one ear and continue around the top like a headband. When you reach the other side, secure the braid with pins so it forms a soft crown.
This hairstyle is beautiful and different because it puts the braid right where people notice it. It also helps reduce tangles by keeping most strands contained during the school day.
Use a comb to smooth the roots before you braid, which makes the halo look extra clean. If your hair is fine, tease the crown slightly for a fuller base without adding extra weight.
7. Twist-And-Pin Waterfall Fringe
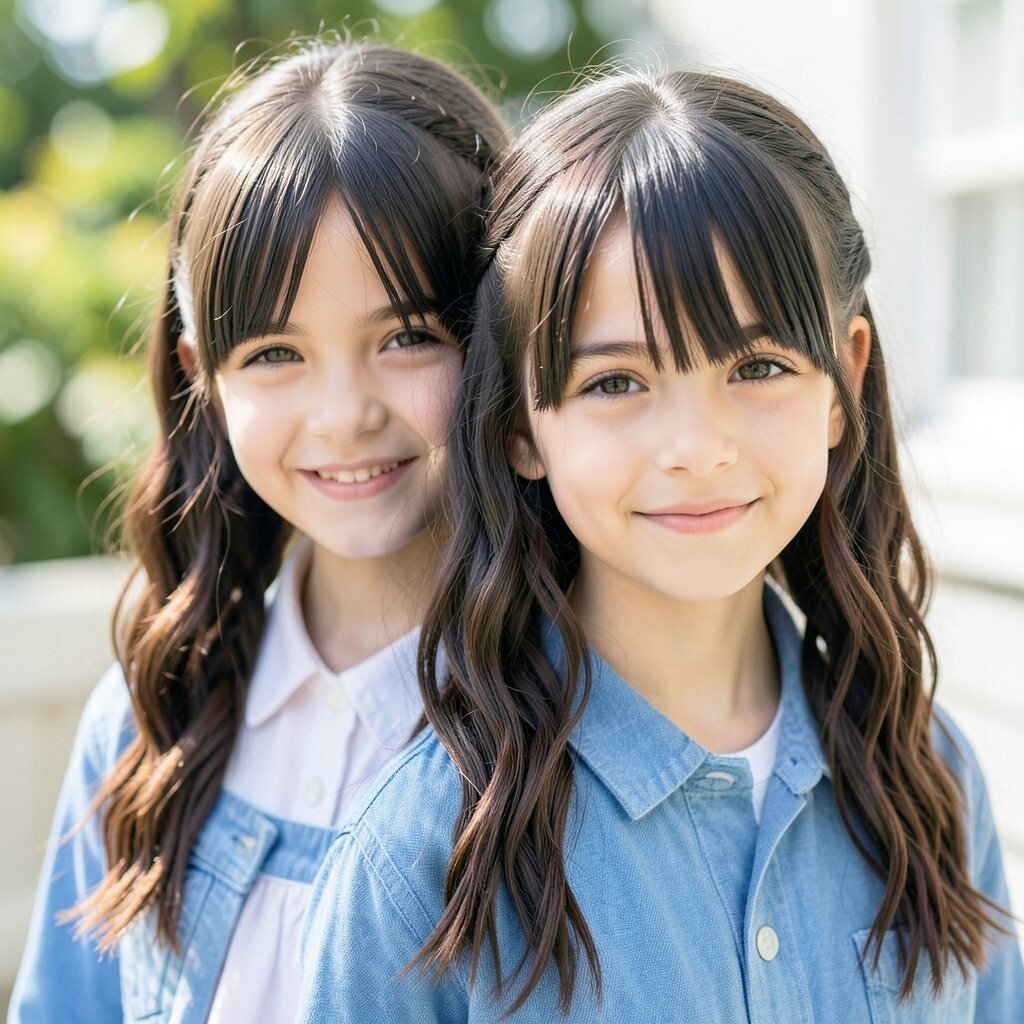
Take a small front section and twist it back, then pin it loosely at the side. Repeat with another section right below it, letting a few strands fall like a gentle waterfall.
The soft waterfall effect looks romantic while still being practical for long hours. It’s great if you’re growing out bangs because it guides attention away from awkward lengths.
For personalization, switch the twisting direction so it slants slightly toward your cheek. A few mini bobby pins in a matching color keep everything secure without looking bulky.
8. Top Knot With Micro Braids
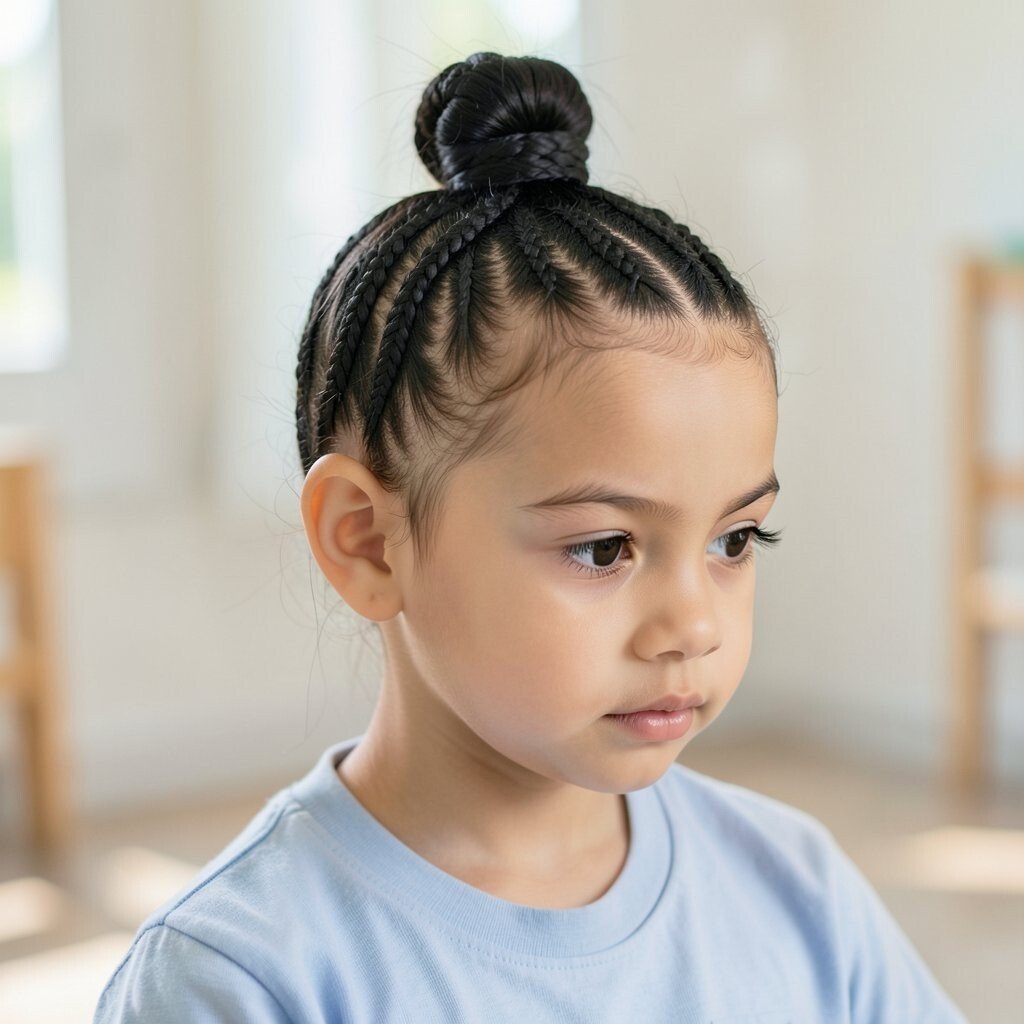
Make a high ponytail, twist it into a top knot, and secure with pins. Before knotting, braid two tiny sections from the sides and wrap them around the base like bracelets.
This combo is playful and unique, and it gives you a fresh look without needing a full hairstyle redo. If you have thick hair, secure the top knot with an extra pin for a stronger hold.
9. Side Ponytail With Braided Wrap
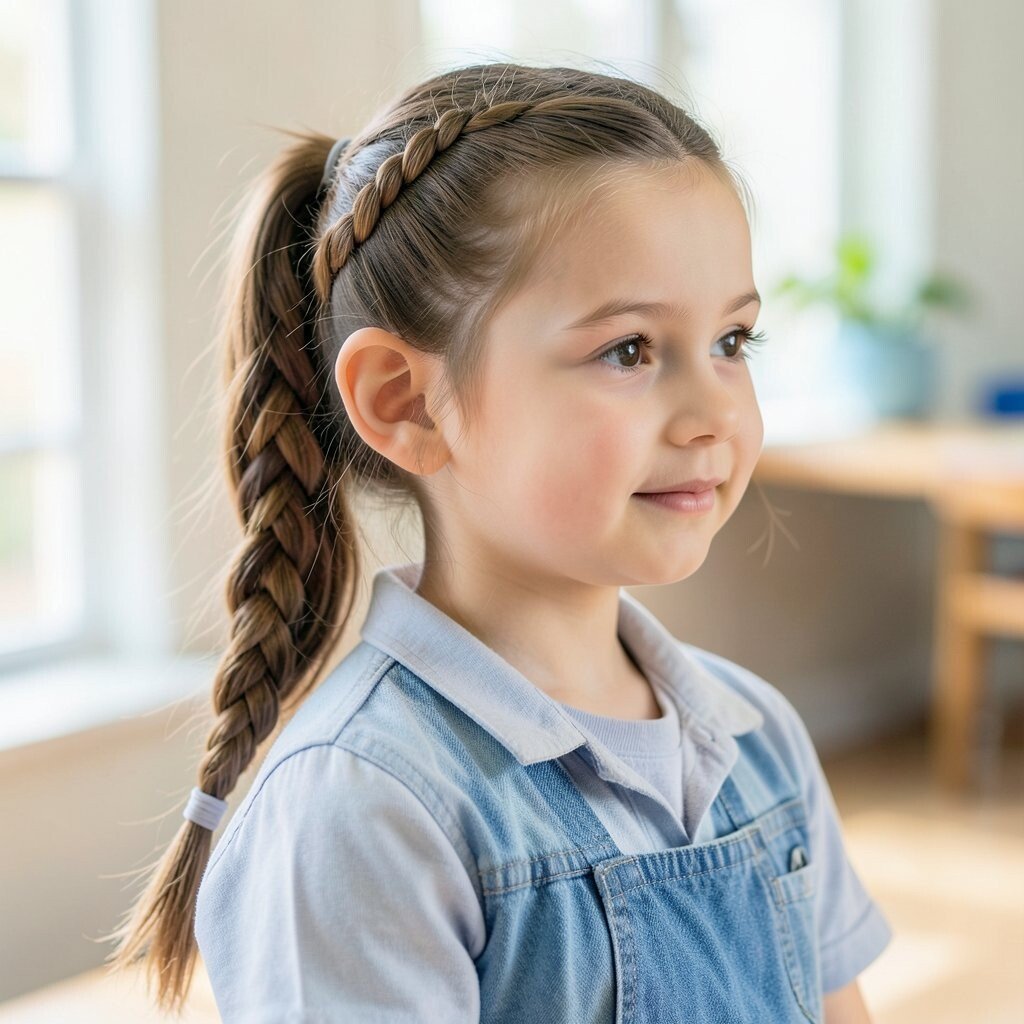
Smooth hair into a side ponytail and tie it low. Braid a thin strand from the ponytail, then wrap that braid around the hair tie and pin the end under.
This style feels polished and cute while still being fast. It’s also a great way to hide the hair tie, which helps the ponytail look neat in pictures.
Choose a braided wrap color by using a ribbon or clip that matches your outfit. Keep it school-friendly by using light hold spray so it doesn’t get sticky from heavy product.
10. Skinny Dutch Braid Headband
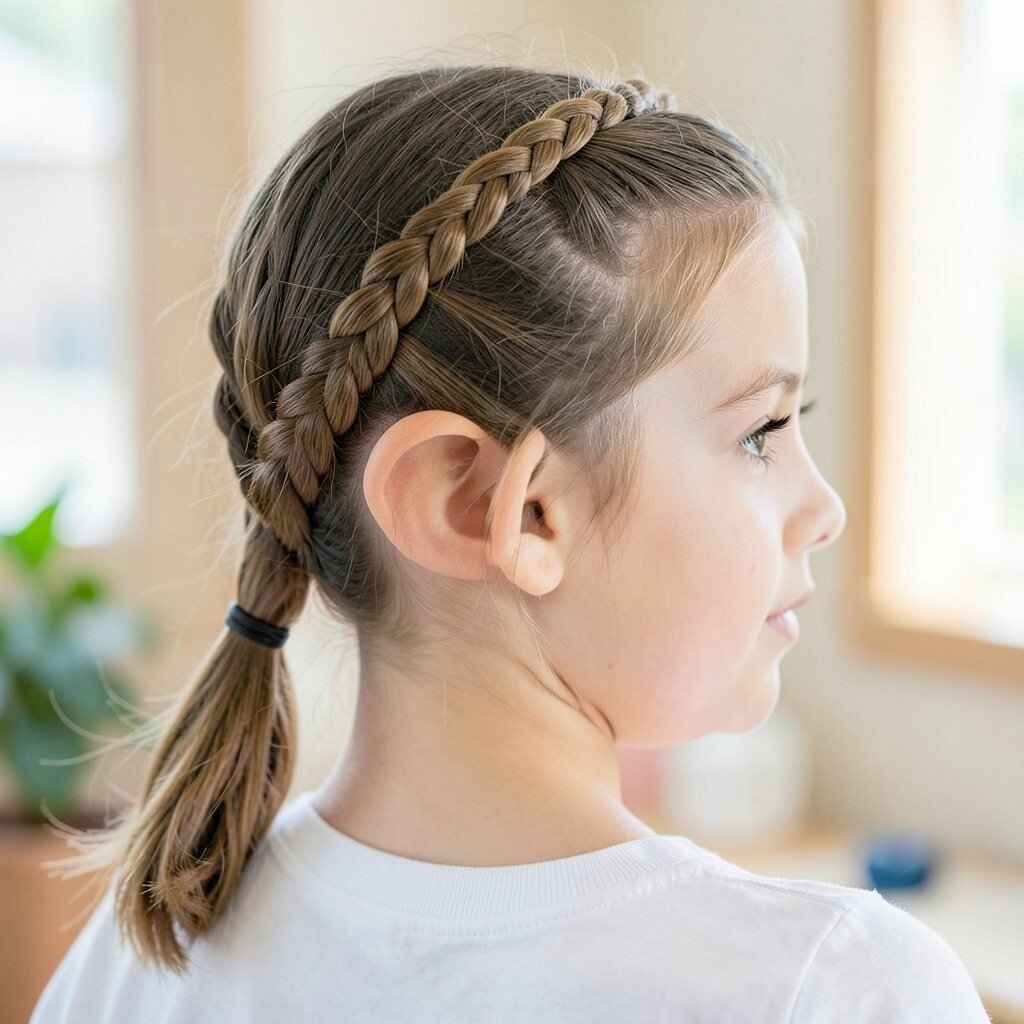
Part your hair slightly off center, then braid a narrow Dutch braid along the top like a headband. Secure the ends behind the ear with pins and blend them into the rest of your hair.
Because Dutch braids sit up and stand out, they look bolder than a regular headband braid. This also helps keep hair off your forehead during hot days.
For a trendier look, gently tug the braid edges to make it look wider. If your hair is short, pin the braid so it looks like a stylish crown rather than trying to reach the nape.
11. Half-Up Twisted Tie-Back
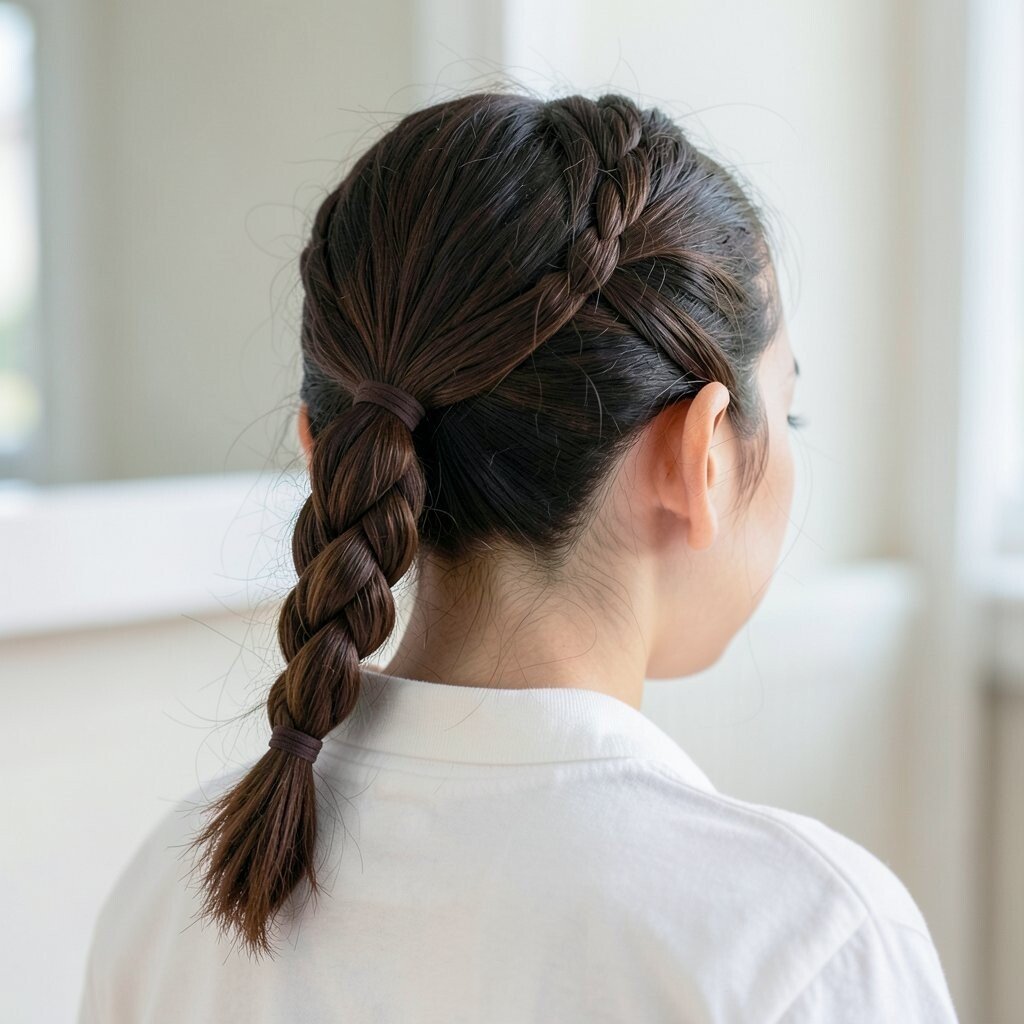
Take two small sections from the front and twist them toward the back. Connect them with a scrunchie, then let the rest of your hair fall naturally.
This is simple, flattering, and perfect for school because it opens up your face while keeping hair manageable. Try pulling the twists slightly higher for a lifted look, especially with shoulder-length hair.
If you want it more unique, add a tiny charm clip near the tie-back or use a patterned scrunchie. It’s also cost-friendly since it mostly uses what you already have in your drawer.
12. High Ponytail With Bubble Layers
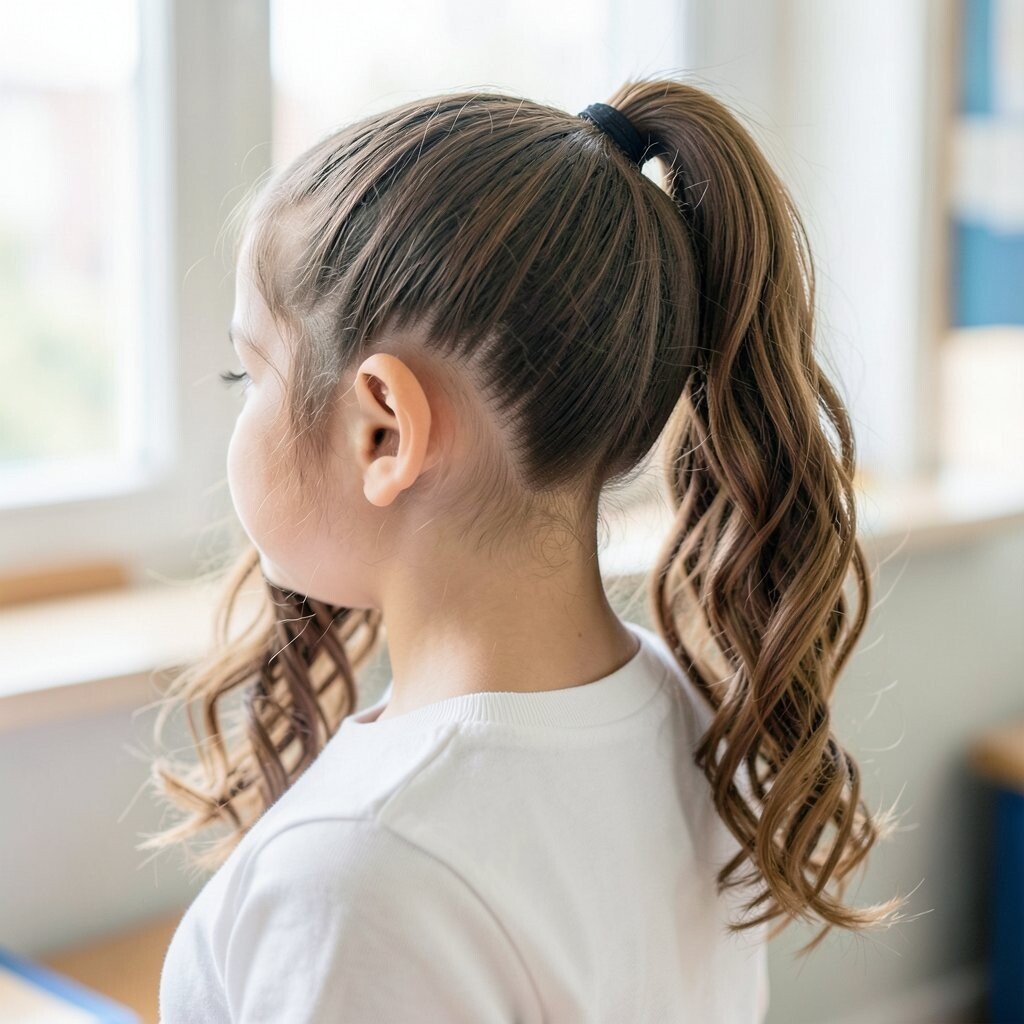
Gather your hair into a high ponytail, then add several small elastics down the length. Space the elastics evenly and gently pull the hair between each tie to create bubbles.
The high position feels fun and energetic, and the layers give it a modern shape. For school, it’s great because it keeps tangles away and holds well for movement.
Personalize the look with one ribbon tied to the last bubble or a matching hair clip near the base. If your hair is very long, use fewer bubbles so it doesn’t feel heavy.
To keep it comfortable, avoid tying the elastics too tight and use a soft elastic that won’t snag.
13. Side Braided Bangs Merge
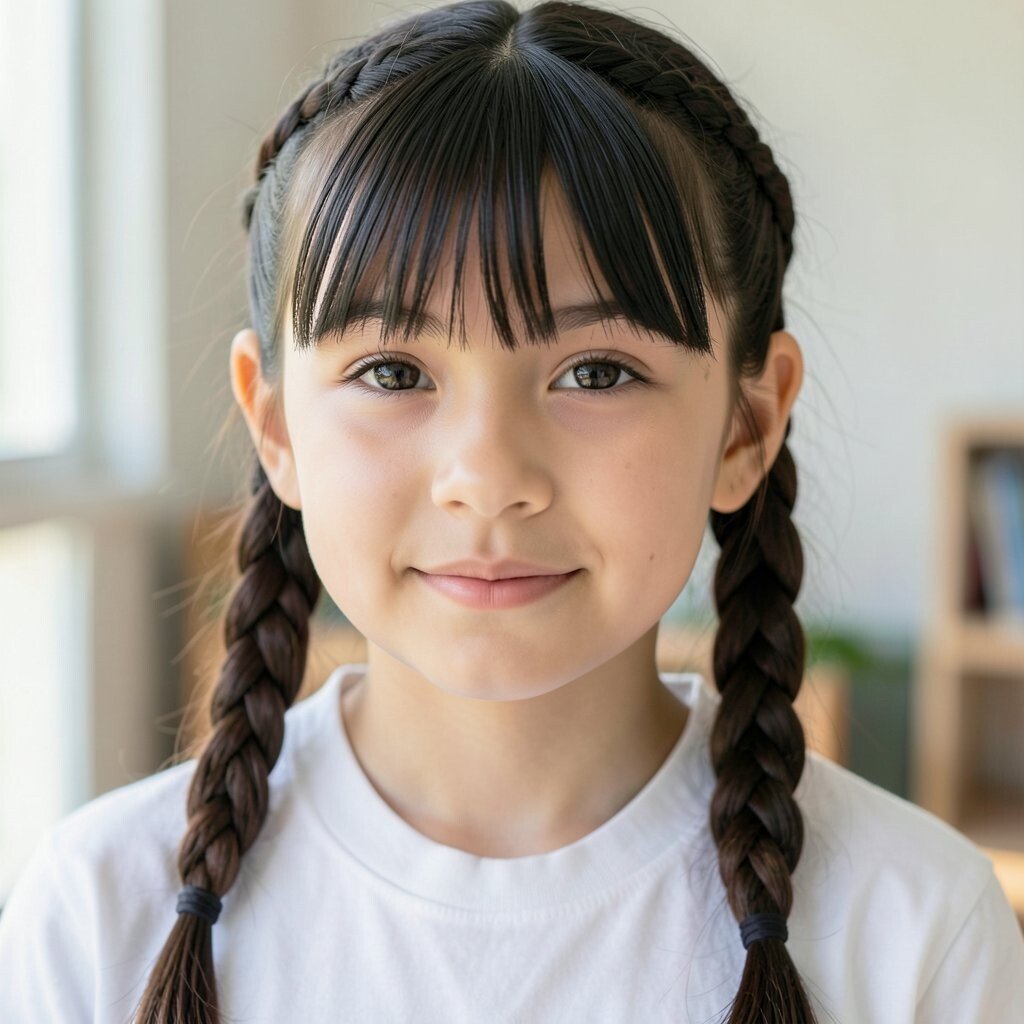
If you have bangs or shorter front pieces, braid them lightly and sweep them to the side. Then blend the braid into the rest of your hair using pins so it looks like one smooth section.
This makes your front area look tidy, which helps your whole hairstyle feel intentional. It’s also a nice option when you don’t want to wear your hair all the same way every day.
14. Low Loop Ponytail
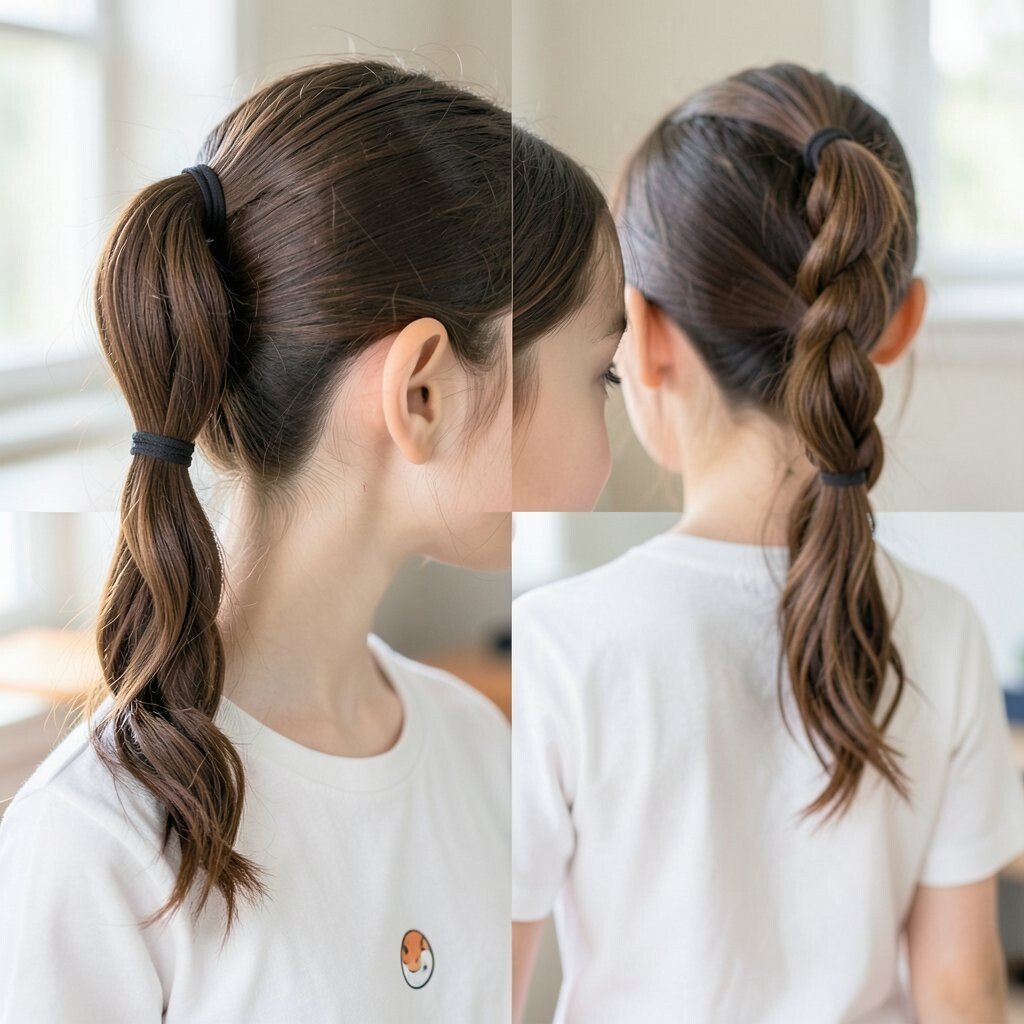
Create a low ponytail and secure it with an elastic. When you go through the last loop, stop halfway so it forms a soft loop, then tuck the loose end underneath and pin it.
That “looped” shape looks cute and slightly different from a regular ponytail, and it’s surprisingly quick. It’s also a good choice for beginners because you can adjust the loop until it sits right.
15. Sleek Straight Pony With Hidden Pin Curl
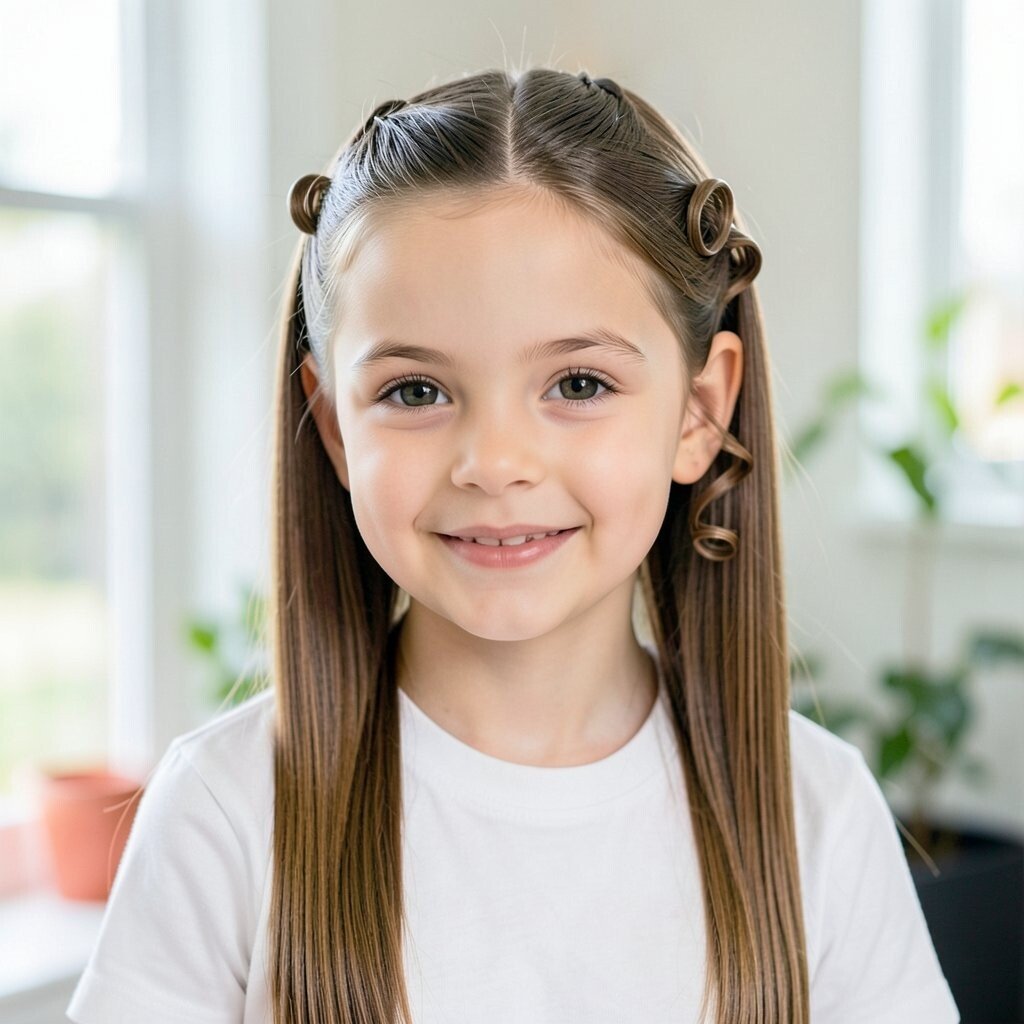
Brush hair smooth into a ponytail, then wrap a thin strand around the tie and secure with a pin underneath. Curl just a tiny piece near the base so it peeks out like a secret little wave.
This style looks classy for school and works well with any outfit color. For a current feel, keep the rest of your hair straight and let that one curl be the star.
If you want it to stay in place, use a light smoothing cream on the mid-lengths before brushing. It’s a great way to personalize without adding extra braids or layers.
Cost is usually low because you only need a brush, pins, and maybe a small smoothing product you already own.
16. Wrapped Twin Dutch Braids
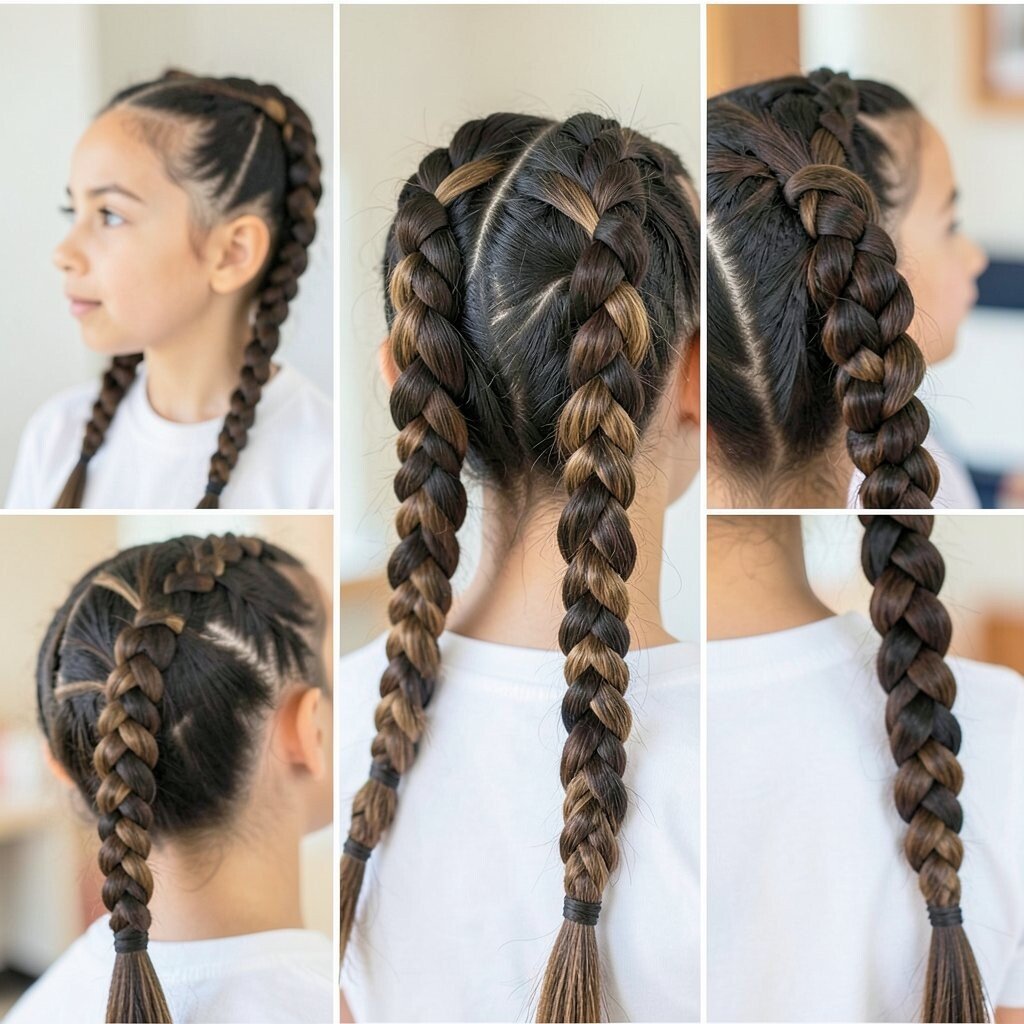
Make two sections and do Dutch braids on each side, starting near the roots. When you reach the middle, wrap each braid across the back to form a crisscross shape, then pin securely.
This is unique because it turns braids into a decorative back feature while still keeping everything secure. It’s also practical for school since braids help prevent frizz and keep your hair from tangling.
To personalize it, experiment with how high or low you start the Dutch braids based on your part. Use bobby pins that match your hair color so they disappear as the pins do their job.
17. Retro Victory Rolls Pony
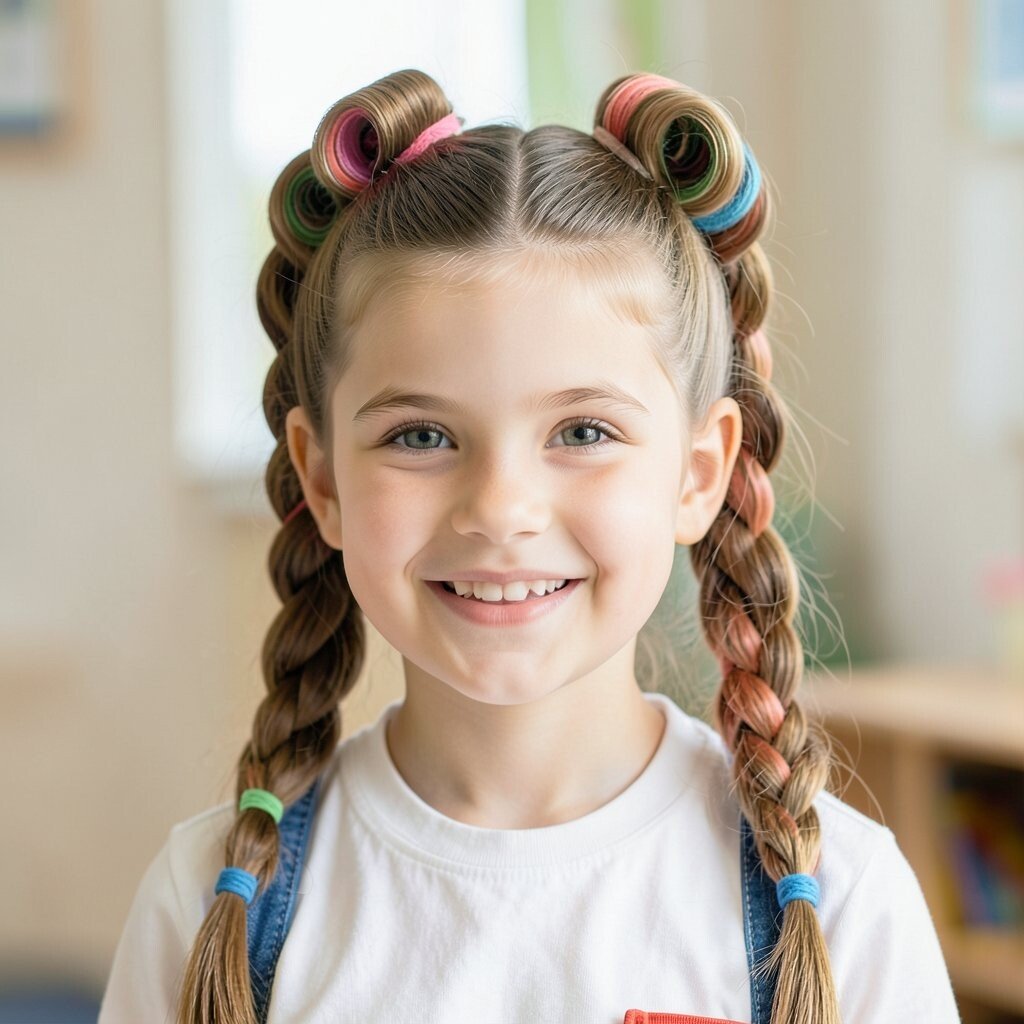
Create two small rolled sections near the front by curling them under and pinning them in place. Once the rolls hold, gather the rest of your hair into a ponytail and secure over the pins.
This look feels fun and vintage, and it’s a great way to stand out in a crowd without being complicated. It also helps keep shorter pieces controlled because the rolls pin them neatly.
For best results, use a setting spray or a little styling mousse before you roll, especially if your hair is slippery. If your hair is thick, use extra pins and place them where you won’t feel them.
To keep the cost down, rely on bobby pins and a hair tie, then add a cute scrunchie or ribbon for the finishing touch.