The camera loves hair that looks polished and feels comfy. These ideas help you show up confident, even if you’re rushing in the morning.
You’ll find styles that work with different hair types, school dress codes, and time limits.
1. Sleek Low Pony With a Hidden Clip
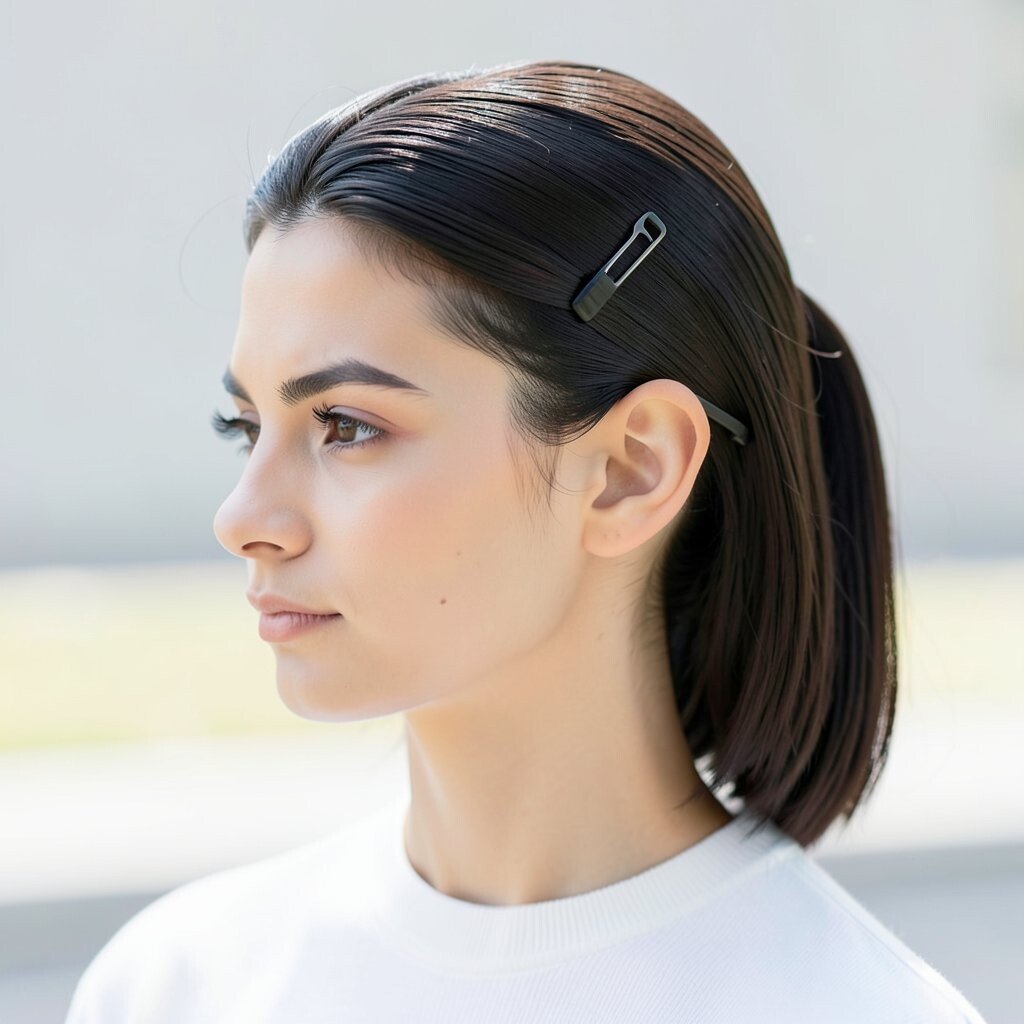
A sleek low pony can look sharp in every photo, from straight-on smiles to side angles. The trick is to keep the base smooth and cover any flyaways with a tiny amount of styling gel.
Gather your hair at the nape of your neck, then brush it until it shines. Tuck a small section under the elastic and secure it with a hidden bobby pin so the style stays neat all day. For extra hold, finish with a light mist of hairspray from a distance, then smooth with your hands.
2. Bubble Ponytail With Center Part
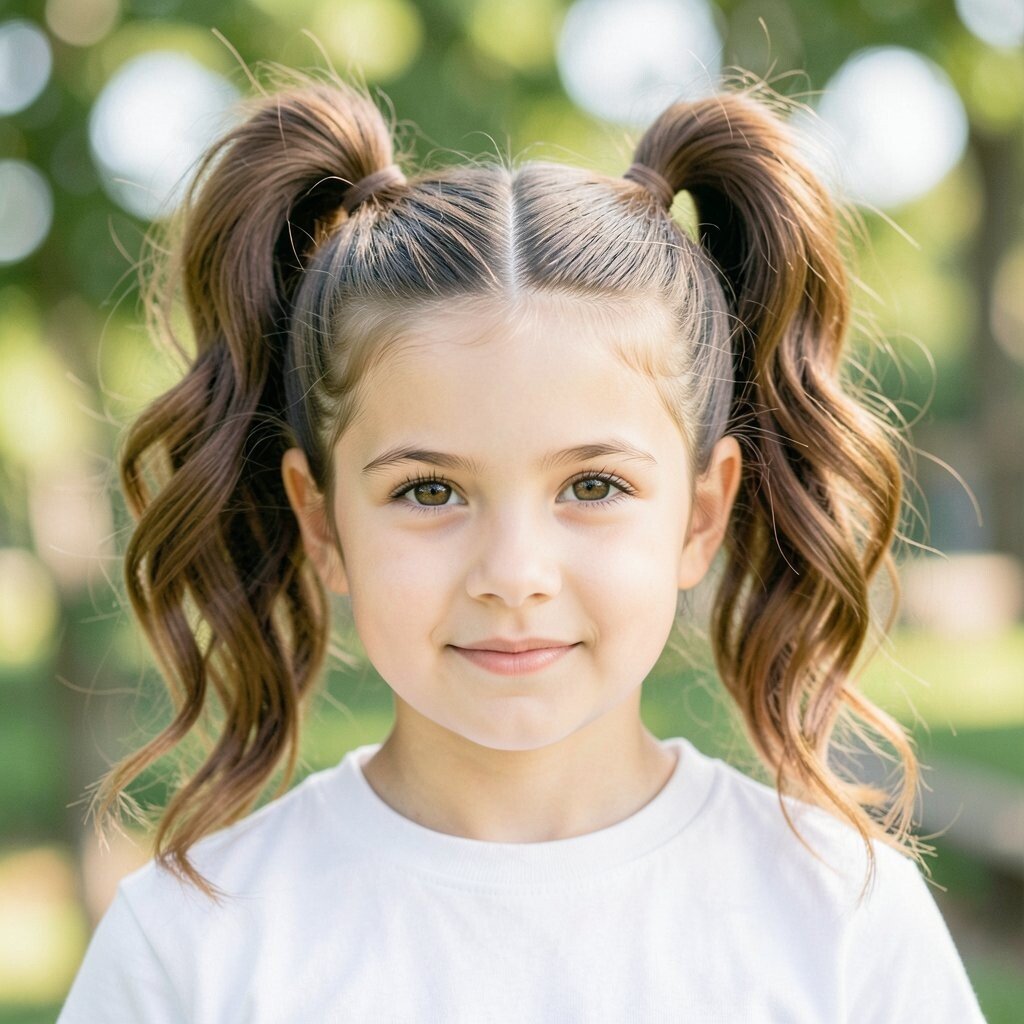
This playful look makes your hair look bouncy and full on camera. It also gives structure, so it won’t fall flat halfway through the day.
Part your hair in the middle, then tie a ponytail at the crown or mid-head. Wrap small elastics at spaced intervals down the length to form bubble sections. If your hair is fine, use slightly thinner elastics so the bubbles look even and photo-ready.
Want a more personal vibe? Add a small hair ribbon that matches your outfit or choose elastics in a soft neutral shade. For cost, regular clear elastics and a basic ribbon are enough, and you can reuse them for sports days too.
3. Half-Up Twisted Crown
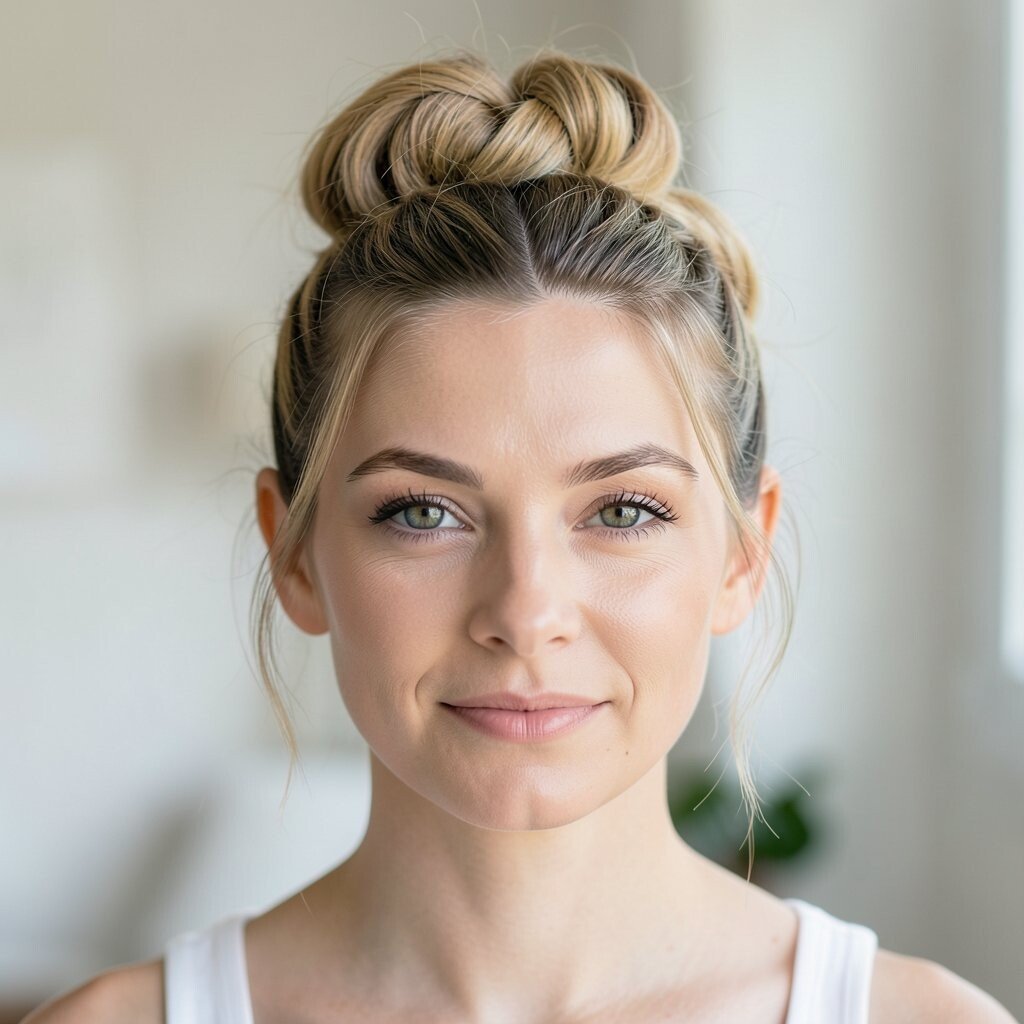
This style frames your face in a way that looks extra “put together” without being stiff. It’s also great for pictures because the twists catch light and show texture.
Take two sections from the front and twist them back on each side, then pin them together slightly above the ears. Make the twists snug but not tight, so your scalp feels comfortable. For a neat finish, press stray hairs into the twist and add one more bobby pin if needed.
To personalize, leave the bottom hair straight for a clean look or add loose waves for softness. If you have thicker hair, use larger pin placements so the style holds without pulling.
If you’re short on time, do this in under five minutes with a comb, pins, and a quick smoothing brush. It’s a low-cost style because bobby pins are usually already in your drawer.
4. Messy Top Knot With Baby Hairs
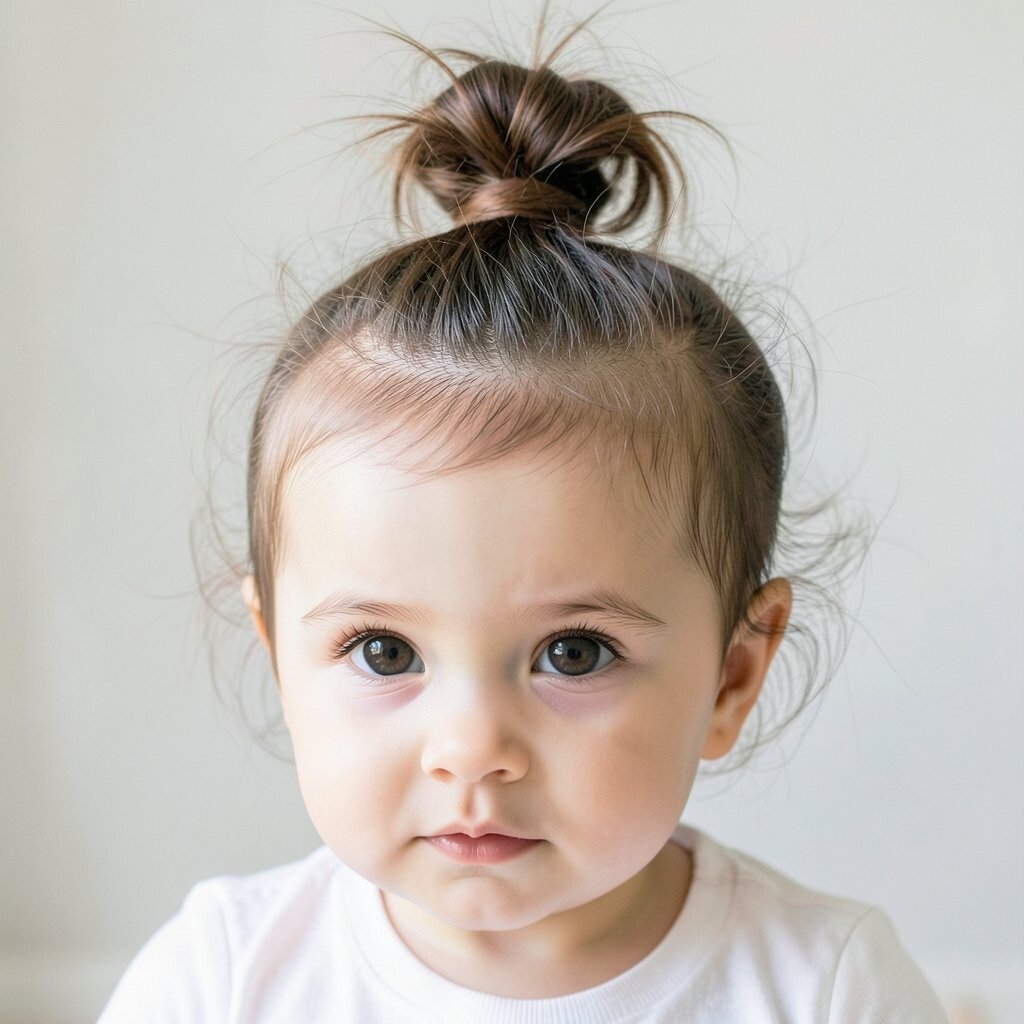
A messy top knot gives off confident, effortless energy in photos. The best part is that it hides little imperfections and looks intentional.
Pull your hair into a high bun, then tug gently at the edges to loosen it. Leave a few soft strands near the forehead, and use a tiny bit of gel to define them. Finish by fluffing the bun so it looks round and bouncy rather than flat.
If your hair is naturally curly, embrace your texture and let the knot look airy. For straight hair, lightly tease the roots before tying for extra lift.
Cost stays friendly too, since you only need a hair tie and a couple of pins. Just remember to check in the mirror before you leave to make sure the bun sits where you want it for the camera.
5. Braided Headband Crown
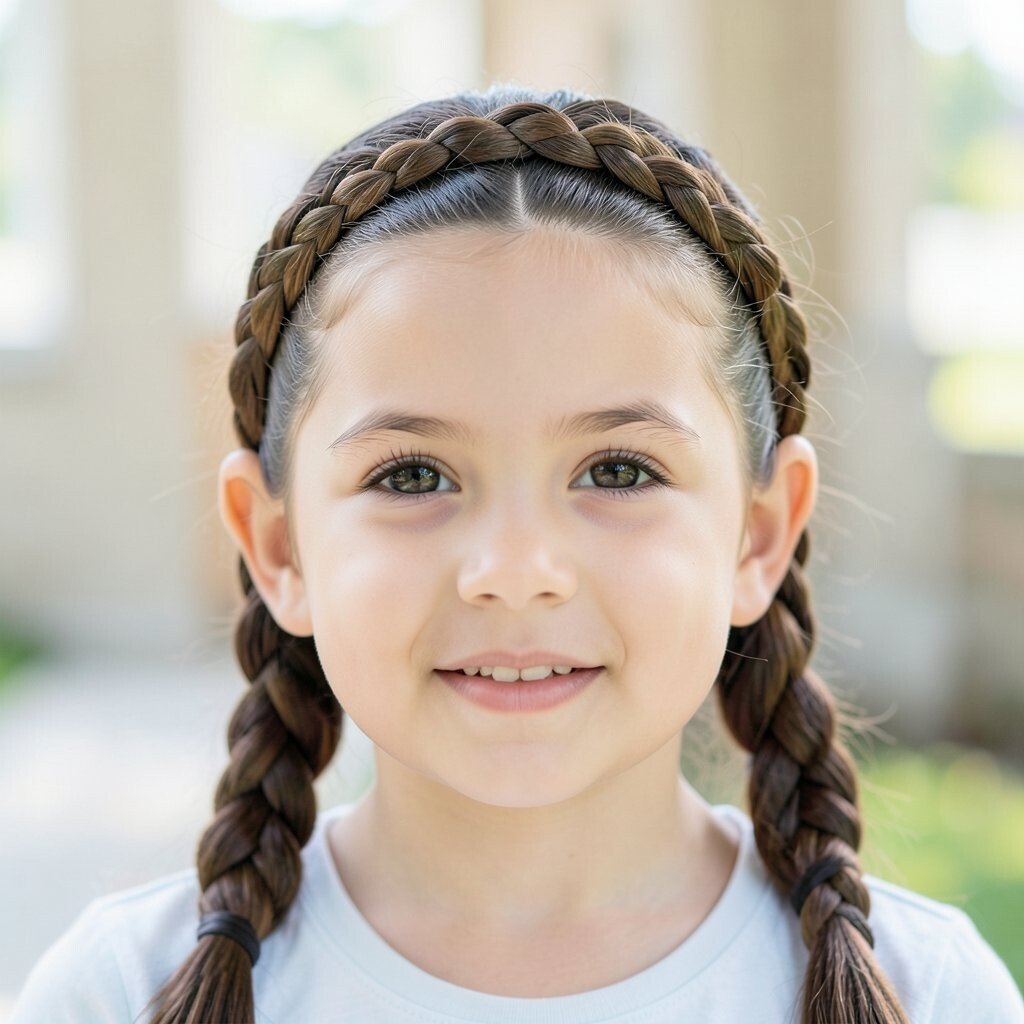
This look turns a simple braid into a crown that looks sweet and unique. In pictures, it adds a clean line around your face and makes your eyes stand out.
Create a side braid from one ear to the other, then pin it across the top like a headband. If you want it thicker, split your braid into three sections and braid a bit more hair into it. Use small pins and press them down so they don’t show.
To personalize, choose a braid style you already know, like fishtail or three-strand, then match your hair color with a similar pin shade. For a trendy touch, add a tiny clip near the crown for sparkle without being flashy.
6. Ribbon-Laced French Braid
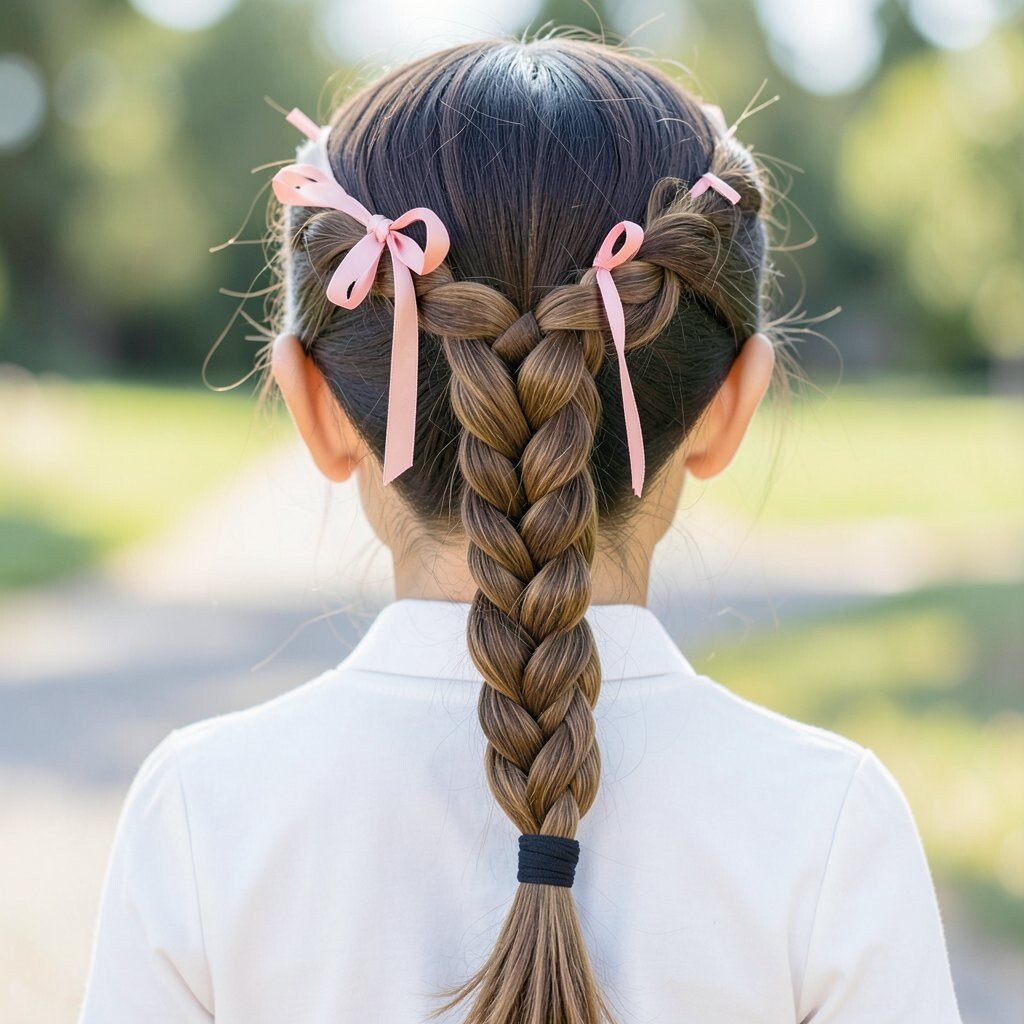
A French braid with a ribbon instantly looks special and photo-friendly. The braid keeps everything tidy, even if you have wind or gym class later.
Weave a thin ribbon into the braid near the top so it follows the braid path. Keep the ribbon snug but not tight, and braid as you normally would by adding hair from each side. At the end, secure it with a small tie and gently tug the braid sections for a slightly fuller look.
For personalization, pick a ribbon color that matches your school theme or your favorite hoodie shade. If your hair is fine, use a light volumizing spray at the roots before braiding so the braid doesn’t look too thin.
This style can cost next to nothing if you reuse ribbon from craft supplies. If you buy new, choose a soft satin ribbon that doesn’t snag hair.
7. Side-Swept Waves With Glossy Finish
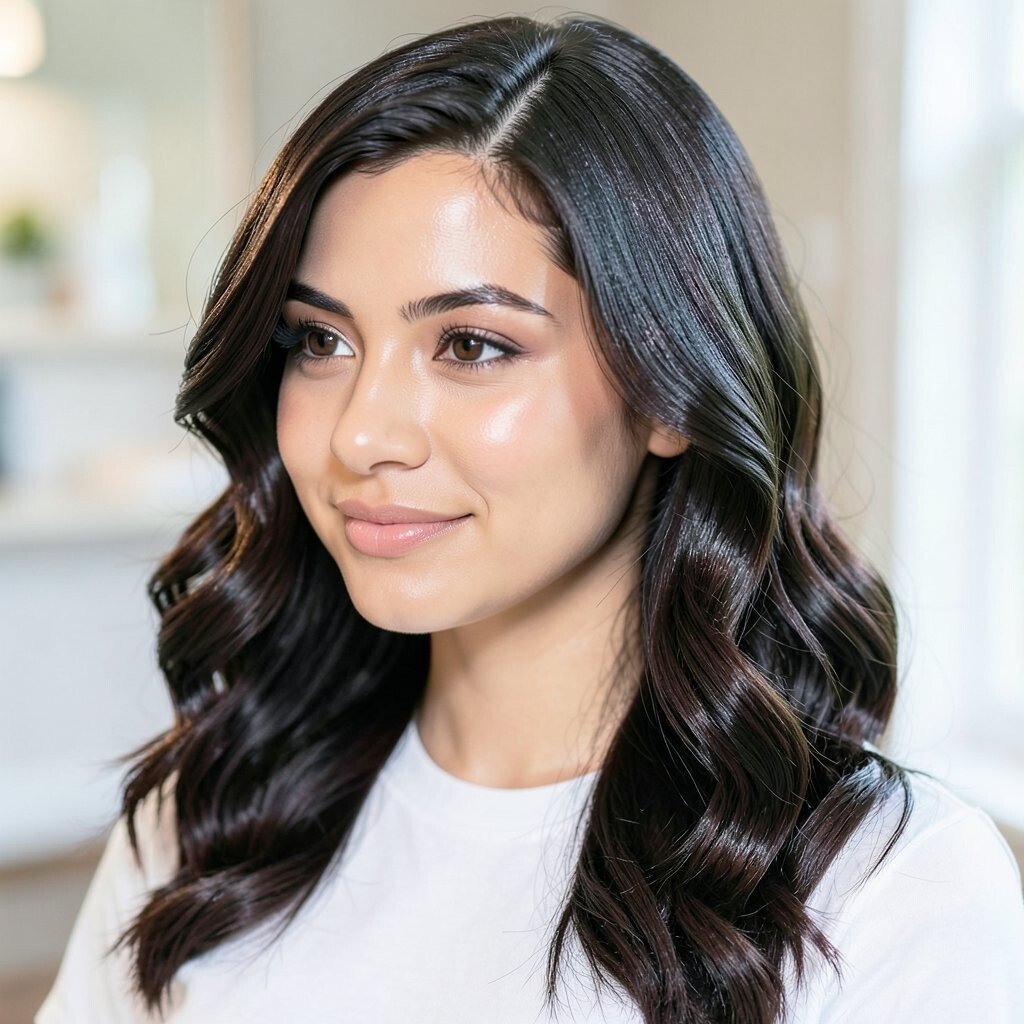
Soft side-swept waves look natural in photos and feel fancy without extra work. They also help hide any uneven haircut layers by blending them into the wave pattern.
Start with a side part, then curl only the lower half of your hair. Brush through gently for loose waves, and apply a small shine serum to the top for a glossy look. Keep the wave direction flowing toward your shoulder so the picture looks polished.
To make it more personal, choose a wave size that fits your vibe. Bigger waves look glamorous, while smaller waves look bouncier and cute.
8. Half-Up Clip With Sleek Top
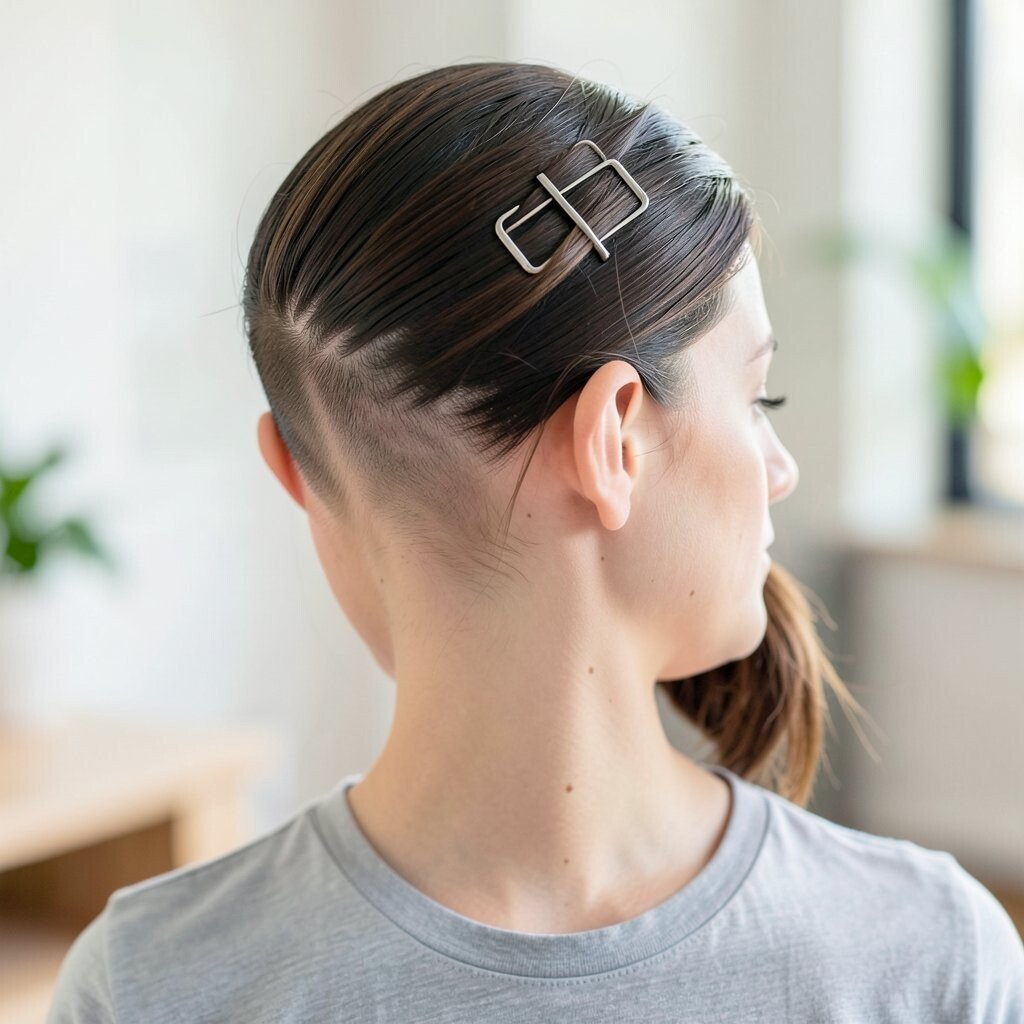
A half-up clip is simple, but it looks like you tried a lot. It keeps hair out of your face, so you can focus on smiling, not fixing strands.
Smooth the top section back and secure it with a decorative clip near the crown. If you have flyaways, lightly dampen your hands and smooth over them. Leave the rest down and let it fall naturally for an effortless look.
Personalization is easy here because you can choose clips in colors, shapes, or patterns you love. A matching clip can also tie in with your outfit accessories.
For cost, a few good clips go a long way, and you can swap them for different events. This is also a great “quick fix” style if your morning feels chaotic.
9. Tight Micro-Braids Into a Low Bun
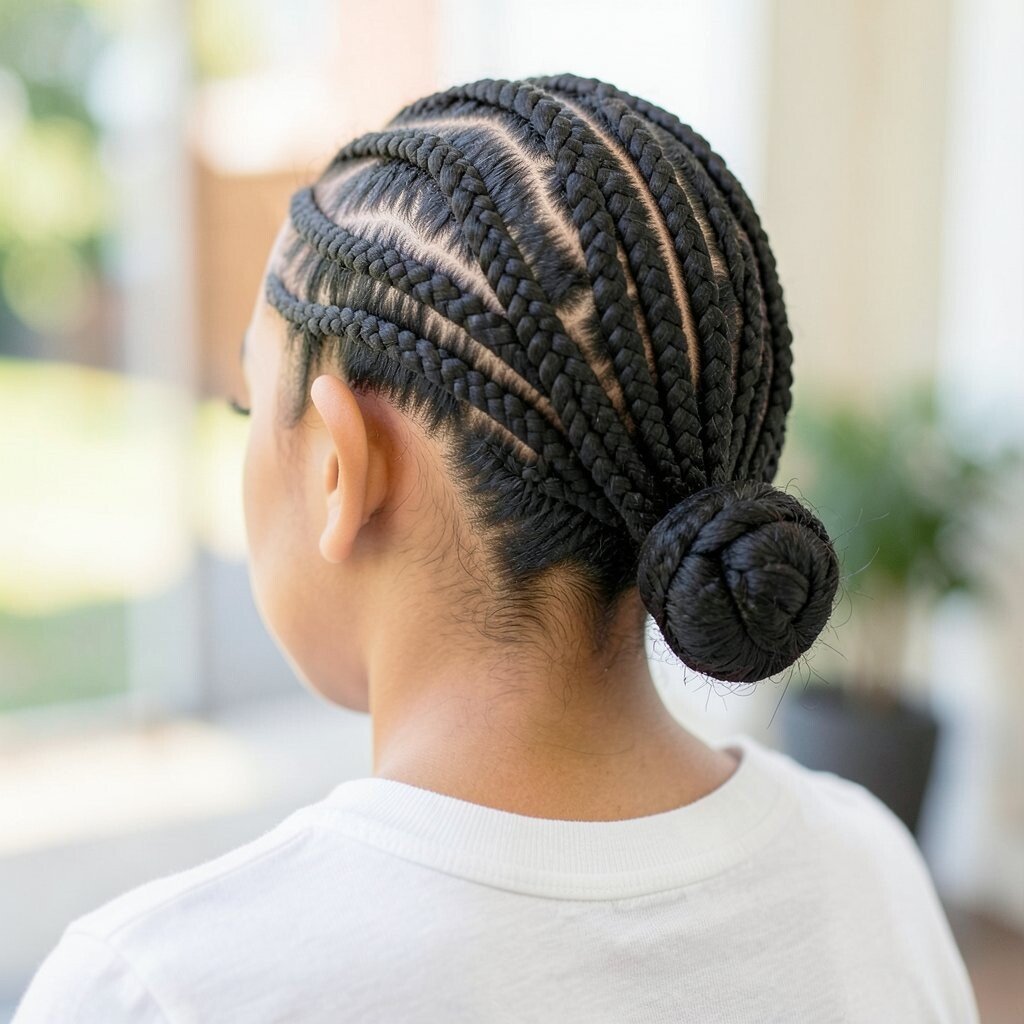
Micro-braids look detailed and clean, and they hold up beautifully in photos. A low bun also keeps everything centered, which helps the style look intentional on camera.
Create small braids all over, then twist or wrap them into a low bun at the nape. Secure with pins and a band that matches your hair color. If you’re doing this yourself, start with the easiest sections first and take your time so the braid size stays consistent.
Uniqueness shows in the fine texture, but comfort matters too. Make sure the braids don’t pull too hard, especially near the scalp.
10. Waterfall Braid With Loose Ends
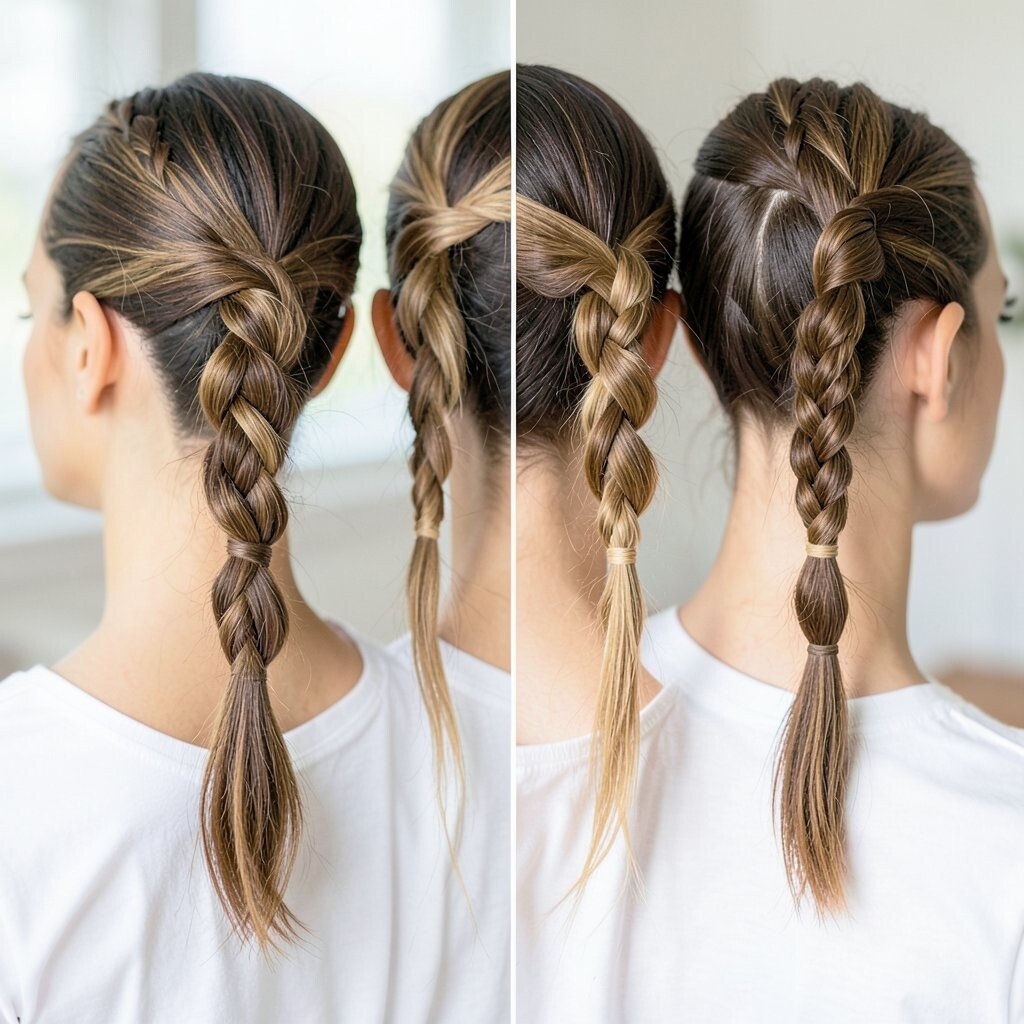
A waterfall braid has an open, flowing look that feels romantic in pictures. The “waterfall” effect creates movement, so even a still photo feels alive.
Begin a braid on one side, then drop a small section each time you add new hair. Use a gentle hold so the dropped strands blend into your loose ends instead of snapping them into place. Finish by pinning the braid off near the other side or at the back of the head.
To personalize, add a tiny barrette where the braid ends or tuck the last section behind your ear. For thick hair, use slightly looser sections so the braid doesn’t feel bulky.
This style doesn’t have to cost extra if you already own bobby pins. If you want a more polished finish, use a lightweight hairspray so the braid stays neat.
11. Side Part With Straightened Volume Roots
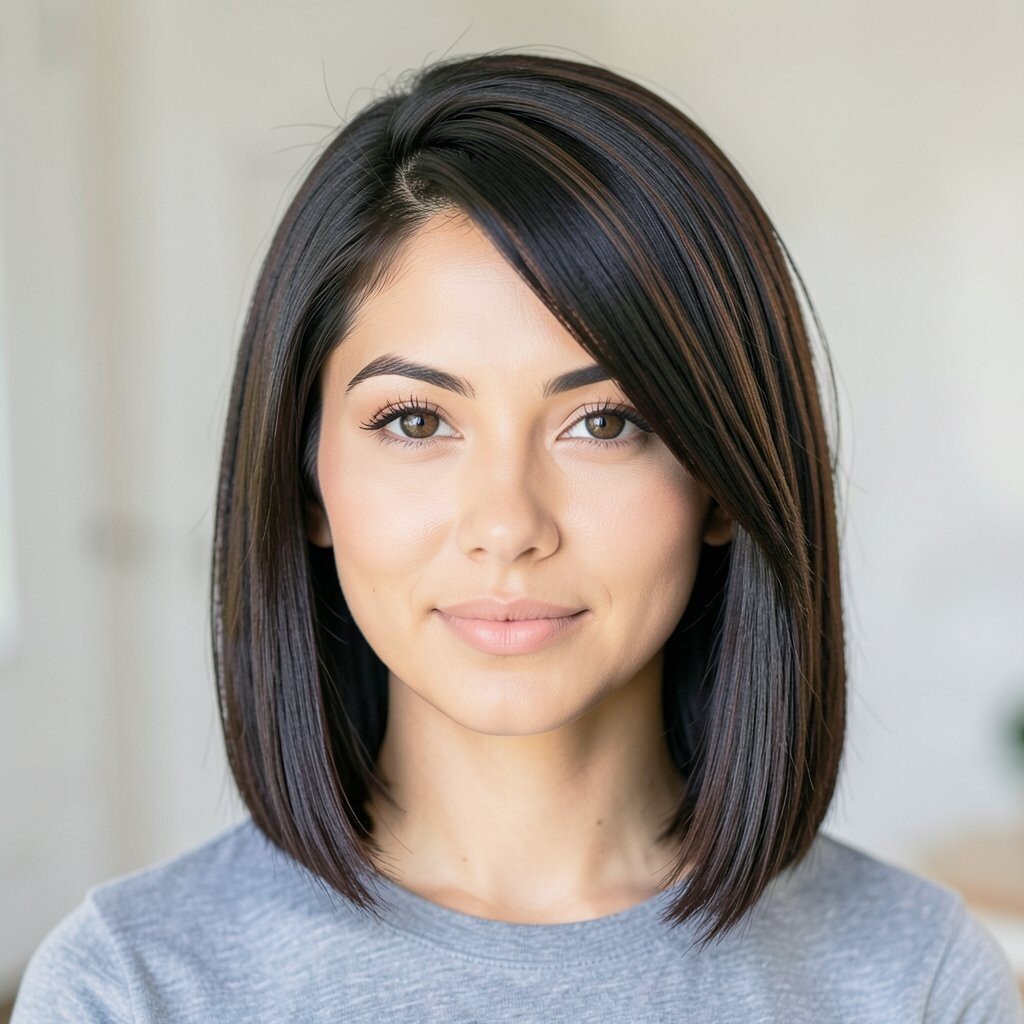
Sometimes the simplest style looks the most expensive in photos. A side part with volume at the roots can give your hair a flattering shape instantly.
Part your hair deep on one side, then use a blow dryer to lift the roots. If you straighten, keep the ends slightly soft so they don’t look too flat. Add a small amount of heat protectant first, especially if you use hot tools.
For personalization, choose how smooth or textured you want it. A brush-out for sleek perfection feels classic, while light waves at the ends feel trendy.
Cost is low because it’s mostly about technique and a few tools you already have. Even a basic brush and blow dryer can get you camera-ready results.
12. Crown Braids With Two Space Buns
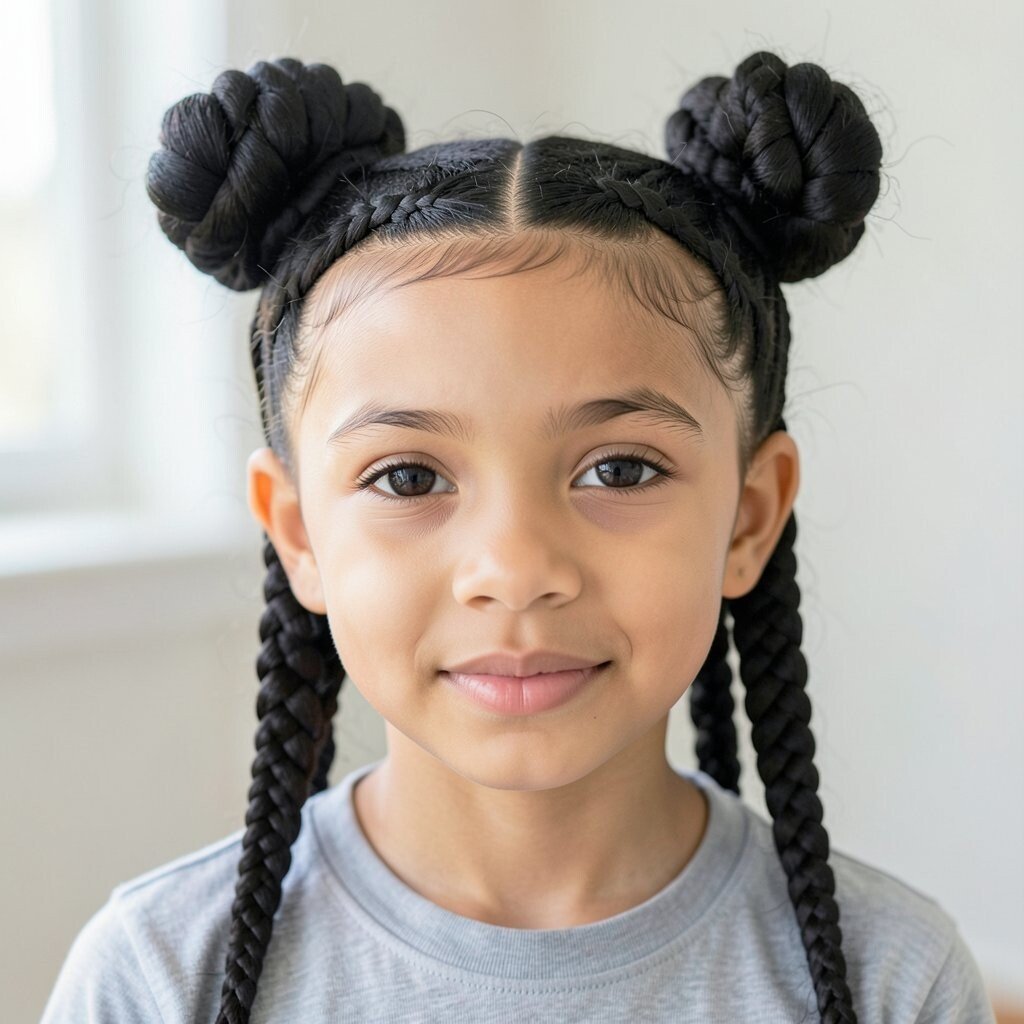
Space buns are fun, and adding braided crowns makes them look extra styled. In photos, the braids create a neat pattern that pops, especially with bright lighting.
Create two space buns by sectioning hair into left and right halves. Add a braid across each section’s crown area, then tie or pin it into the bun shape. Keep the braid tight enough to stay put but gentle enough that you don’t feel pulling.
Uniqueness is built in, because most picture day photos won’t have your exact braid-and-bun combo. If you want a softer look, leave a few face-framing strands out on each side.
13. Twisted Low Bun With Face-Framing Strands
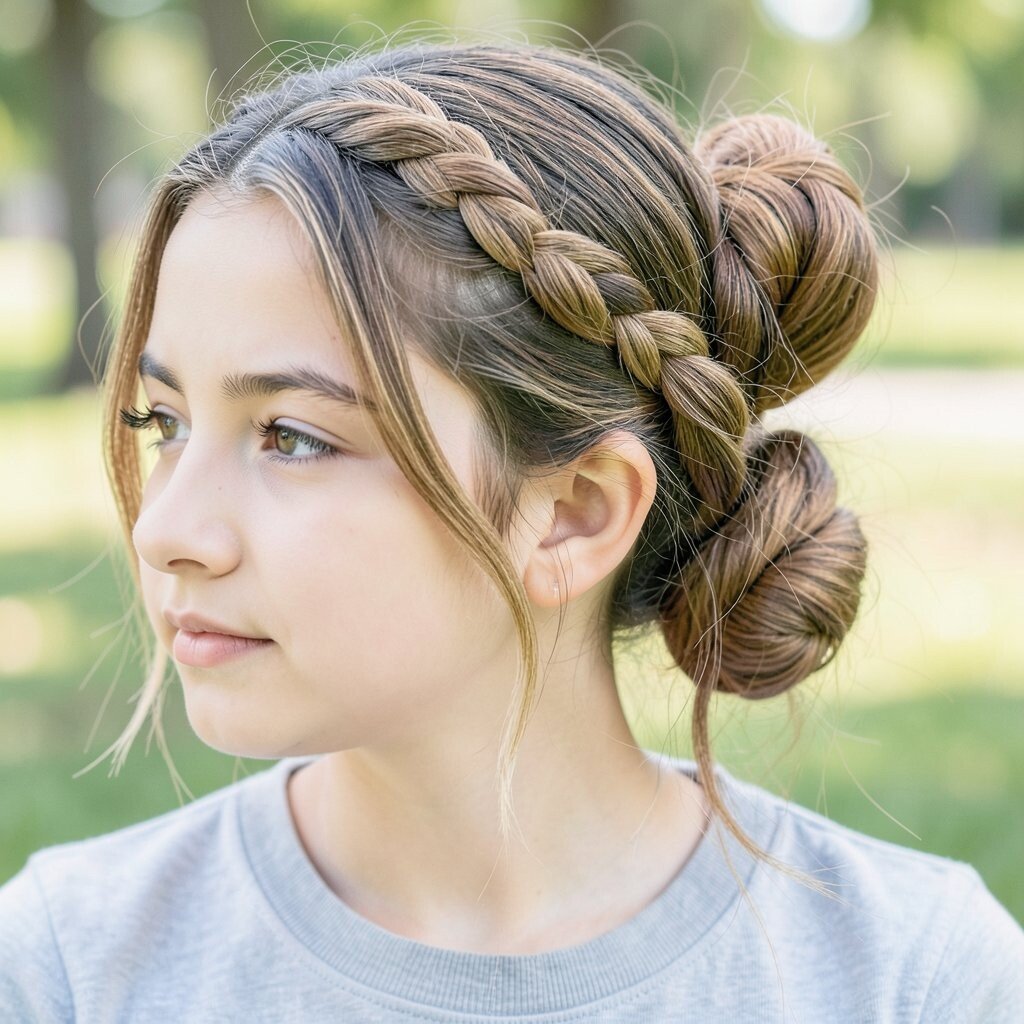
A twisted low bun looks elegant and tidy, while face-framing strands keep it warm and youthful. This is a great choice when you want your hair off your neck but still want softness around your smile.
Gather hair at the nape and split into two sections, then twist each side and wrap them together into a bun. Secure with pins, then loosen the bun slightly for a relaxed shape. Pull out a couple of thin strands near your cheeks and curl them lightly if you like.
Personalization is simple because you can make the twists tighter for a sleek look or looser for a more casual vibe. For cost, you only need a few pins, and you can use a small styling cream if your hair is dry.
If you have curly hair, this style will look extra full with minimal effort. Just make sure the bun is secured firmly so it doesn’t shift during the day.
14. High Ponytail With Braided Belt Detail
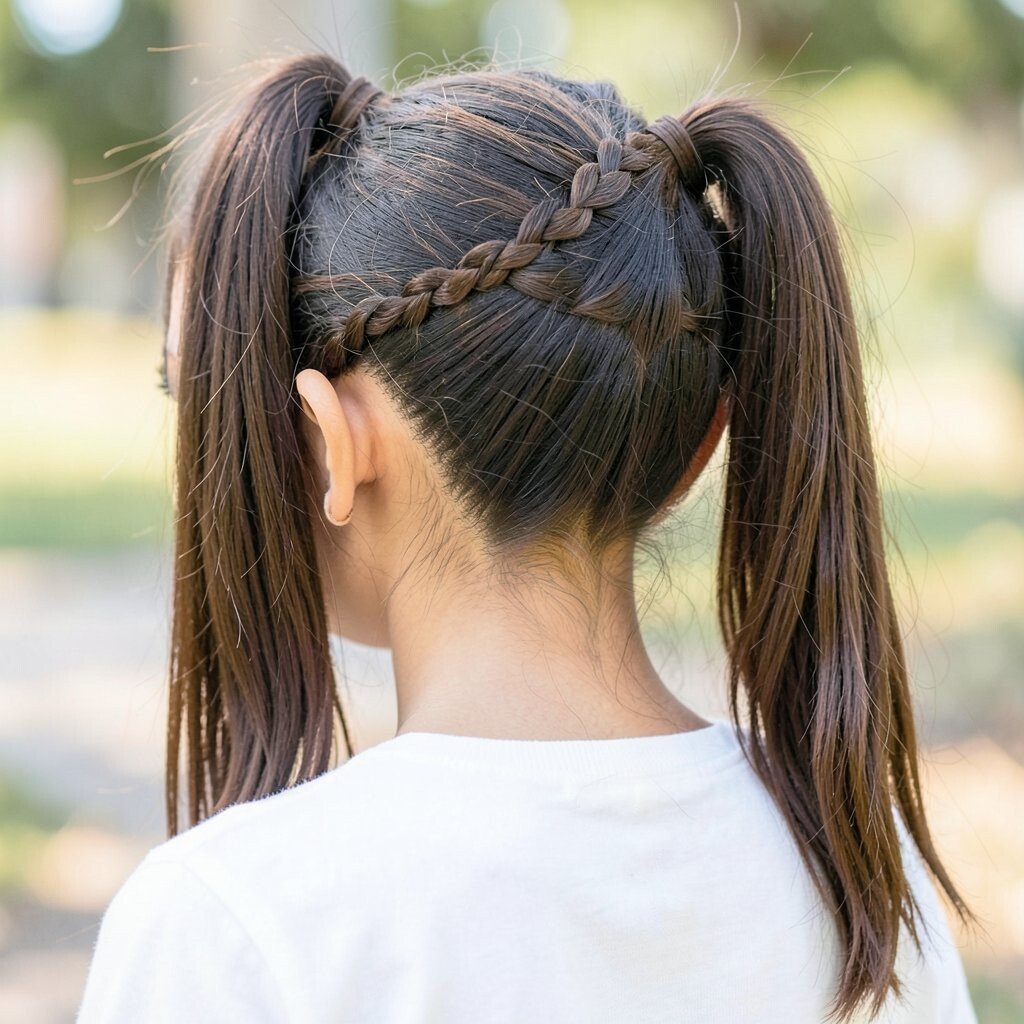
A high ponytail is bold and photo-ready, and the braided belt detail makes it feel unique. The braid adds texture and gives your ponytail a polished finish from every angle.
Tie your hair into a high ponytail, then braid a small thin section around the base like a belt. Wrap the braid around the elastic and pin it in place. Smooth the ponytail with a brush and add a quick mist of hairspray to tame flyaways.
If your hair is straight, you can add a few curls to the ponytail ends for extra bounce. If your hair is curly, keep it natural and let the ponytail show off your texture.
15. Side Ponytail With Two Matching Braids
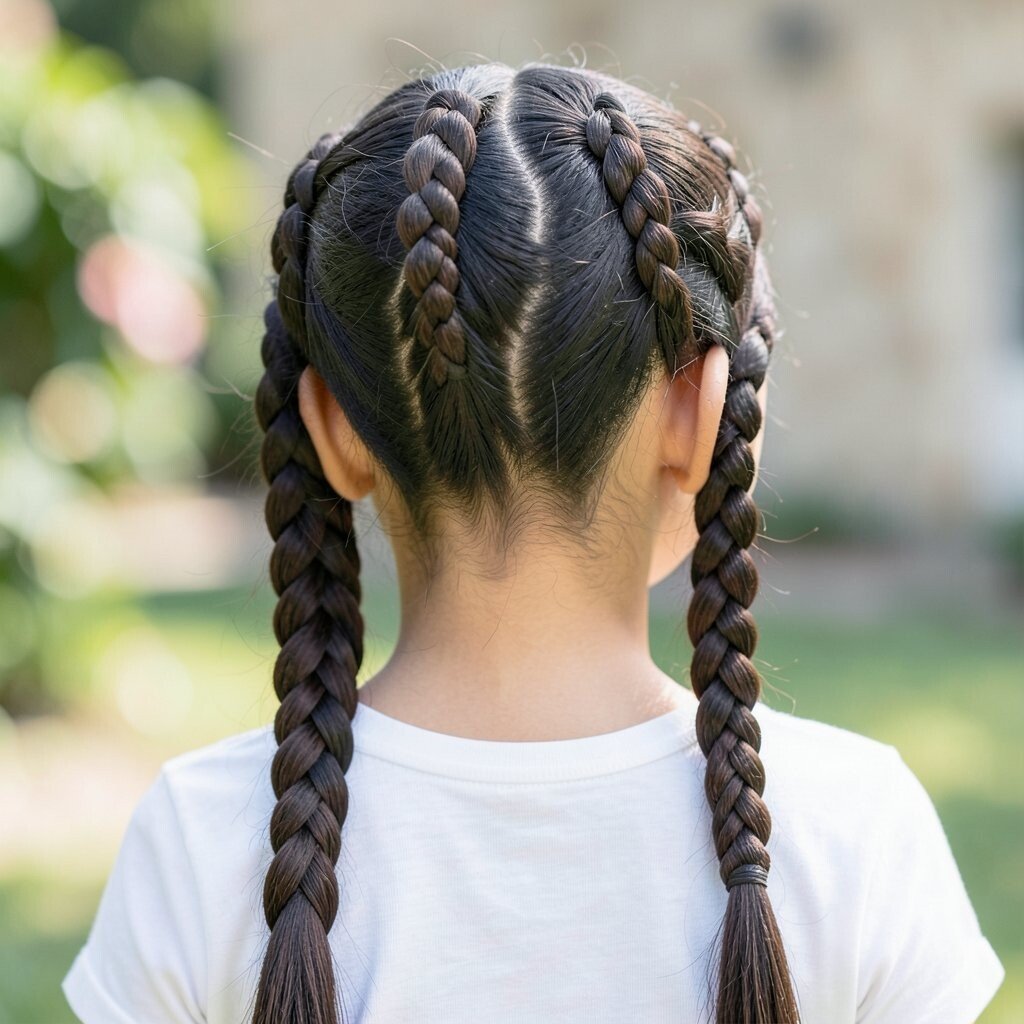
A side ponytail looks stylish and keeps hair from covering your face. Adding two matching braids underneath makes it feel more creative and less basic.
Start with a side part, then gather hair into a low side ponytail. Braid two small sections from under the ponytail, wrap them around the elastic, and pin to secure. This creates a layered look that holds up well in pictures.
To personalize, choose braid thickness based on your hair type. Thinner braids look delicate on fine hair, while thicker braids look bold on thicker hair.
Cost stays manageable because it mainly uses elastics and pins. If you want extra sparkle, add a small charm clip at the base.
16. Curtain Bang Flip With Soft Layers
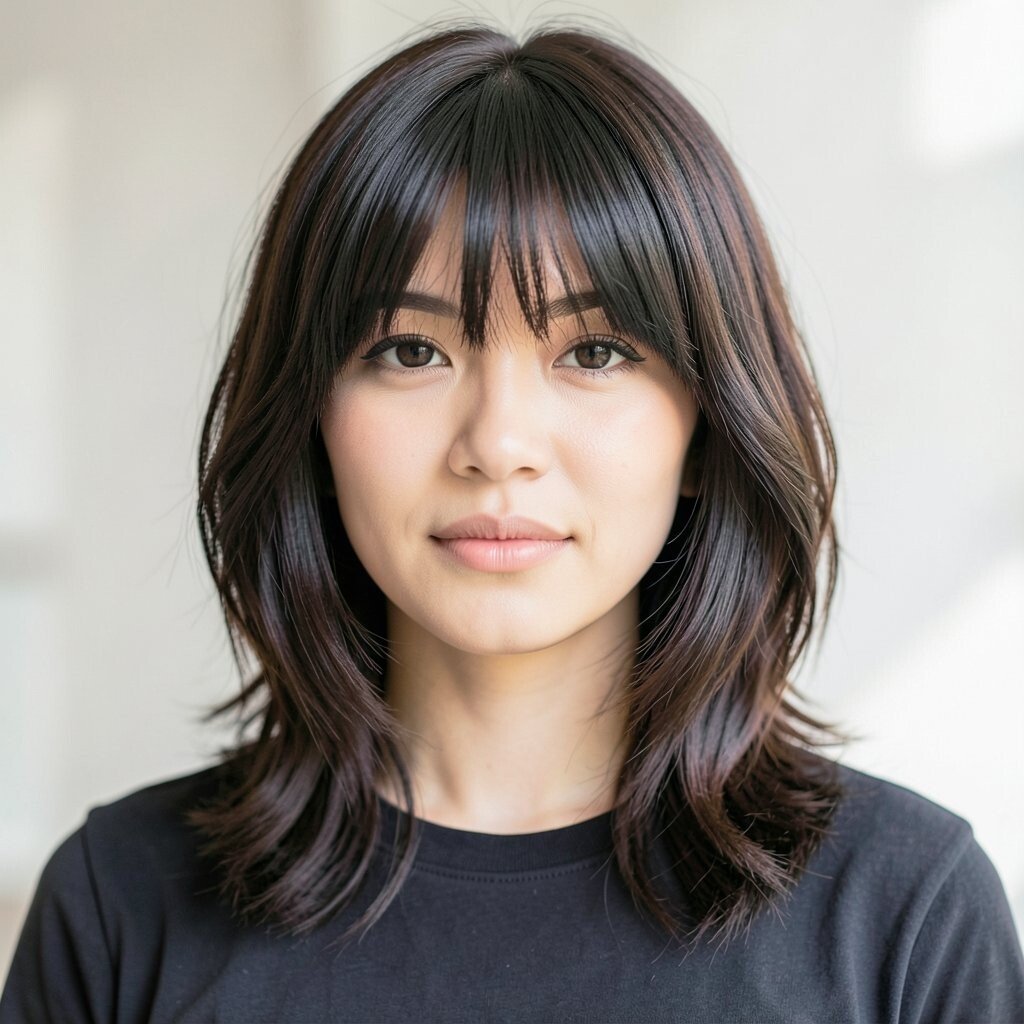
Curtain bangs with a gentle flip can make your hairstyle look trendy and flattering in photos. The face-framing pieces catch attention without covering your eyes.
If you have bangs, blow dry them from the roots outward and flip them slightly away from your face. For longer layers, add a soft curl at the ends and blend them into the bangs so everything looks connected. Use a light hold spray so the shape stays for the school day.
Personalization comes from how dramatic you want the flip to be. A small flip looks natural, while a bigger flip feels more playful.
For cost, this is mostly heat work and styling product, so you can keep expenses low. Just invest in heat protectant if you don’t already have it.
17. Faux Bob Using a Chin-Length Roll

A faux bob is a clever style that creates a cute, short look without cutting your hair. It’s also different enough that it can make your picture day stand out.
Gather hair at the nape and roll it inward under like you’re making a tucked bob. Secure with pins along the roll, then smooth the top so it looks even. If your hair is long, you may need a second layer of rolling, but the goal is a clean, chin-length shape.
Uniqueness is in the illusion, and it works especially well with straight or gently waved hair. If you want extra personalization, part it slightly to one side for a more stylish finish.
For cost considerations, all you really need are pins and a good elastic. Use a light styling cream to keep the roll from looking dry.
18. Sleek Braided Ponytail Tailored for Lights
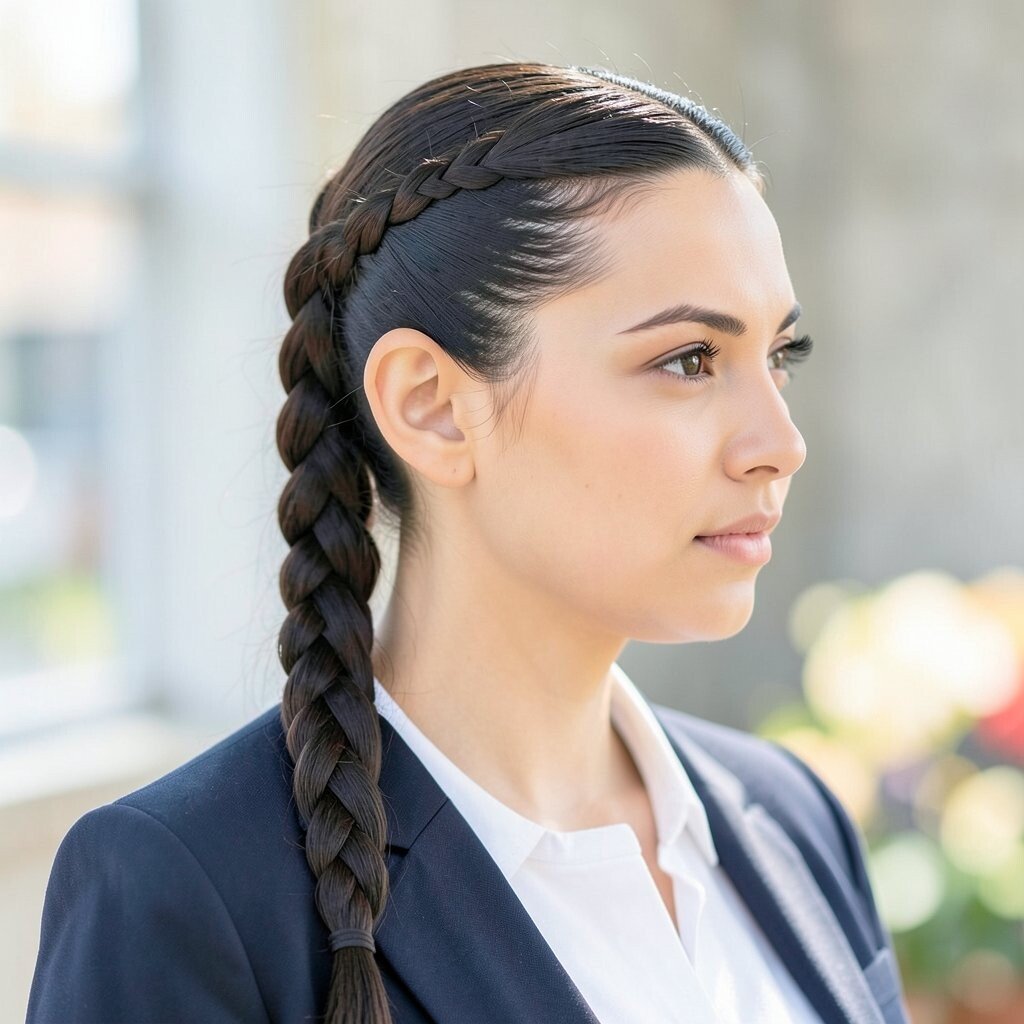
This style looks glossy and crisp, which means it photographs beautifully under bright indoor lighting. The braided ponytail tail makes your hair look neat from the back, too.
Brush hair smooth, then tie it into a ponytail and braid it down to the end. Add a light serum or gel before braiding so it stays shiny. At the end, secure with a small elastic and lightly tug the braid for a fuller look.
To personalize, choose a braided pattern you like, such as a simple three-strand braid or a more intricate-looking variation if you’re comfortable. If you’re in a hurry, the simple version still looks polished and modern.
This can be very budget-friendly since it uses basic tools. A shine product might be the only extra item, and you can use it sparingly.
19. Crown Knot With Side Sweep
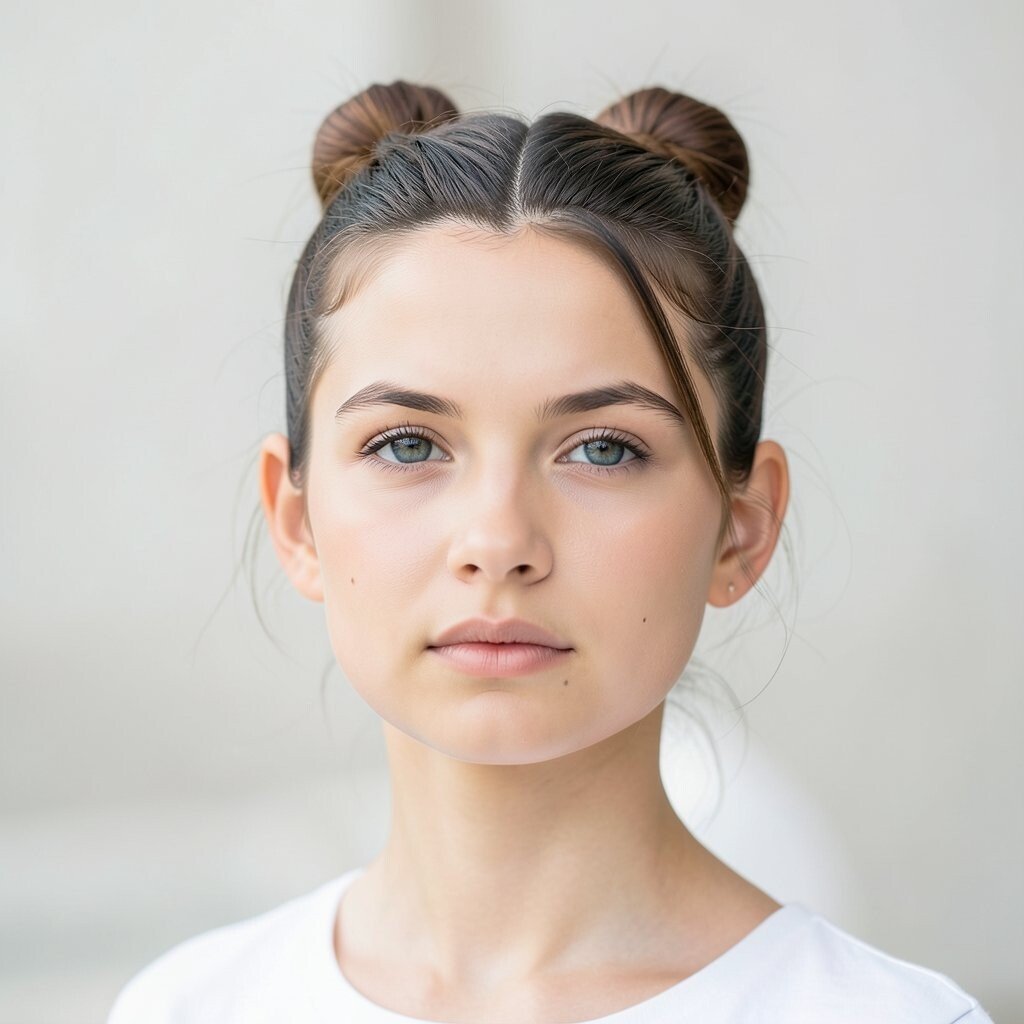
A crown knot with a side sweep creates a classy, balanced look that feels special. The side sweep adds personality while the knot keeps everything tidy and secure.
Pull hair to one side, then twist it into a knot at the crown or upper back of the head. Secure with pins, then sweep a few strands across your forehead to soften the look. Finish with a gentle hairspray so your side sweep holds without stiffness.
Personalization is easy because you can adjust how high the knot sits and how thick the side sweep feels. For a trend-forward twist, add a small decorative clip near the knot, or use a scarf tie for a unique touch.
Cost stays low since you can make this with pins and an elastic, plus optional clip accessories. Make sure the knot feels comfortable, because photos often involve holding still and smiling for a bit.