
That crusty, colorful Halloween vibe from the 90s is still unbeatable. These projects bring back big nostalgia energy with plenty of crafty payoff.
1. Glow-In-The-Dark Spiderweb Jar Candles
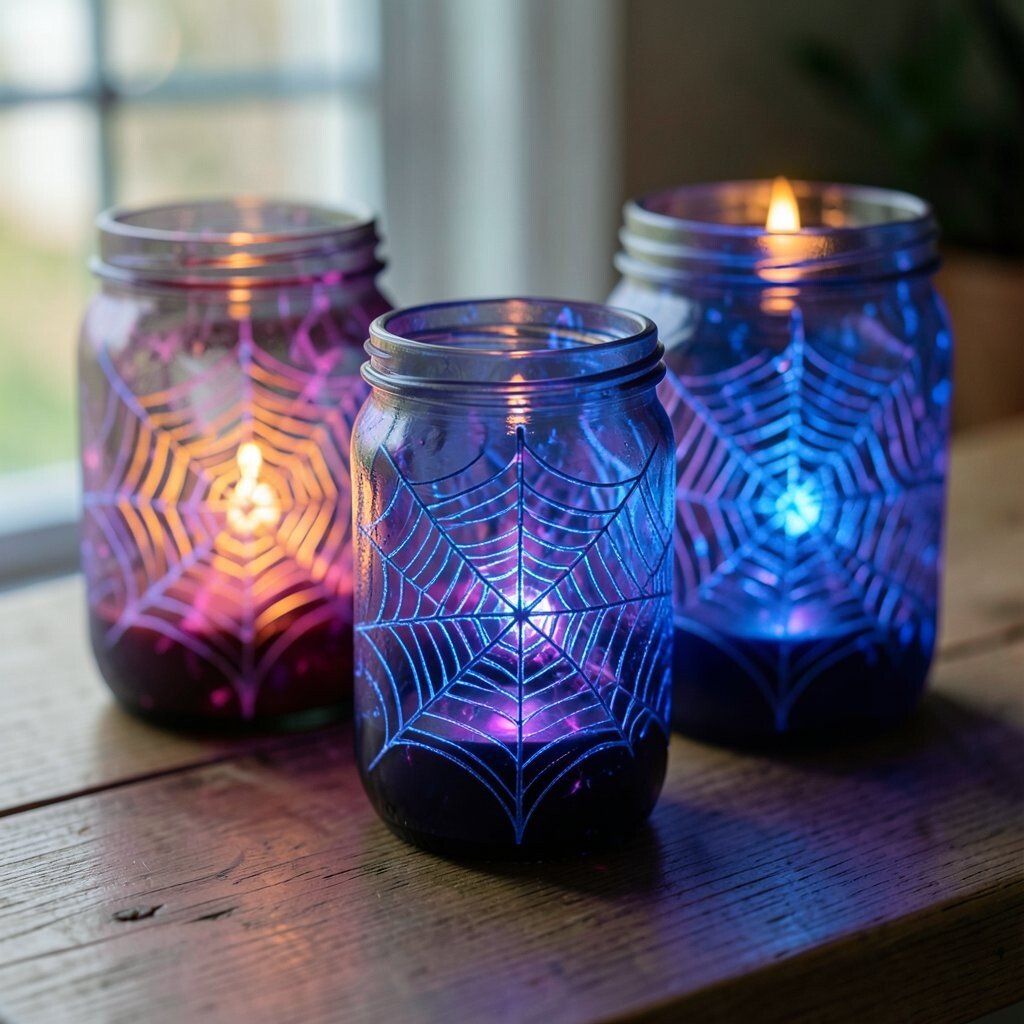
Imagine a clear jar with a web pattern wrapped around the inside, then the whole thing quietly glowing when the lights go out. You’ll get that soft, spooky shine that feels straight out of a late-night Halloween movie.
To make it, start by cleaning and drying glass jars so the glue sticks well. Paint thin white lines to hint at web strands, then add a few irregular anchor points so it looks organic. Finish by brushing over parts with glow paint and placing a small LED tea light inside for a safe, flickering effect.
2. Cereal-Box Haunted House Door Hangers
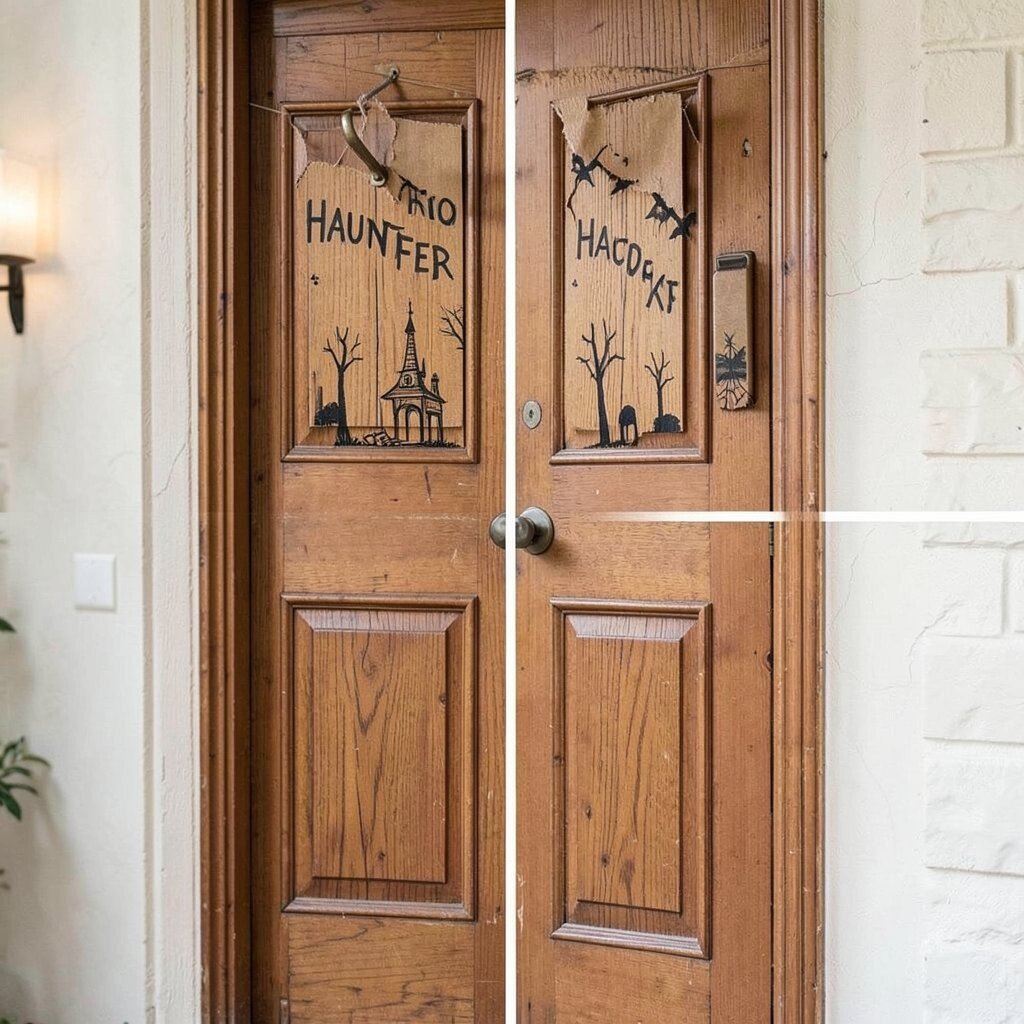
Picture a chunky house silhouette cut from an old cereal box, with shiny marker “windows” and a spooky front door. It looks playful, not scary, and that’s very 90s in the best way.
Cut a door-hanger shape, then layer creases to form depth so it stands out. Add stickers, glitter, or foil paper accents for that slightly overdone Halloween sparkle. Punch a hole at the top, tie it with ribbon, and hang it on a doorknob or porch hook.
For personalization, mix themes like a haunted bakery, a ghost mailroom, or a monster’s workshop. Try using black construction paper backing so the bright colors pop. If you don’t have cereal boxes, similar thick packaging works too, so the cost stays low.
3. Raggedy Coffin Pillow Pals With Frayed Trim
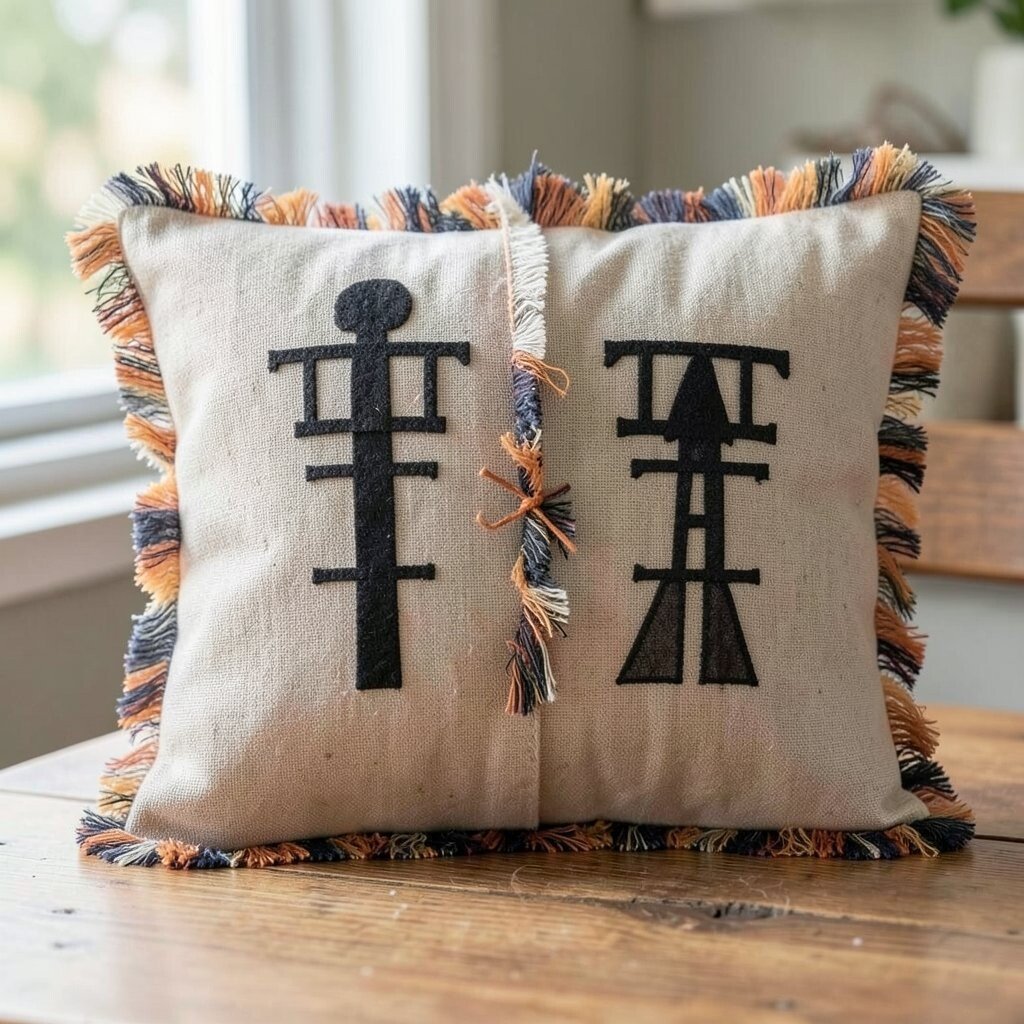
Think of a small coffin-shaped pillow with messy seams and a hand-made look that feels cozy. It gives you spooky decoration you can actually snuggle with.
Make the body from fabric scraps or an old shirt, then stuff it lightly so it keeps its shape. Sew or glue on frayed trim along the top edge for a worn-out “graveyard” style. Add a stitched-on label-like detail using thread dots so it looks homemade and charming.
Personalize with simple faces, like one side smiling and the other side grumpy. Choose fabrics in muted greens, dusty purples, and worn black for a nostalgic palette. This is budget-friendly because you can use what you already have, and you can stop as soon as it looks finished to you.
4. Vintage-Style Chunky Pumpkin Wall Collage
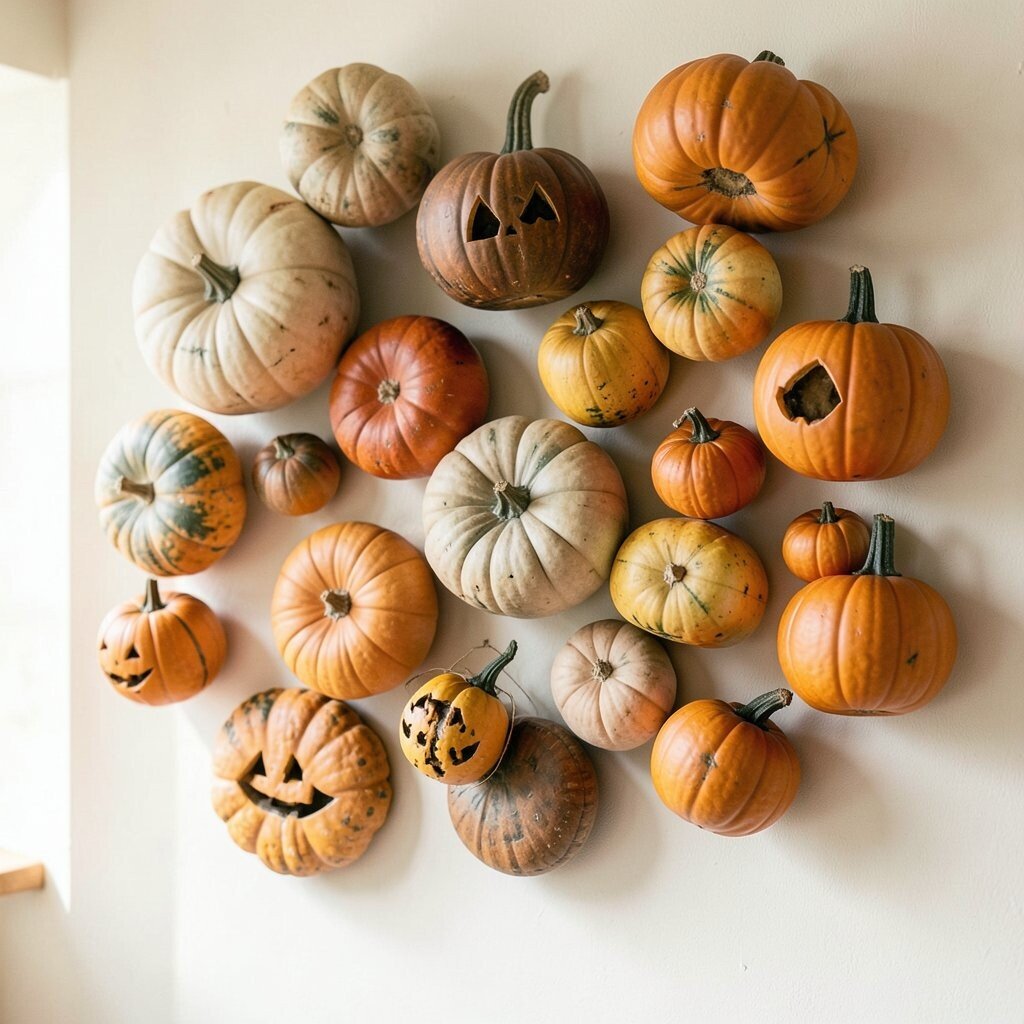
Set a few wall spots on your entryway to look like a 90s craft show display. You’ll get a bright, layered pumpkin scene that feels lively instead of stiff.
Use cardboard cutouts, foam sheets, and printed pumpkin images, then stack them with hot glue or mounting squares. Add texture with fabric scraps or paper fringes so the pumpkins feel chunky. Seal everything with a light coat of matte spray if you want it to resist scuffs.
5. Scary-Sweet “Beware” Window Streamers

Picture long paper streamers fluttering by your front window with big playful words and spooky icons. The vibe is bold, busy, and totally 90s, like a party poster taped to the glass.
Create a banner-style look by cutting strips of colored cardstock and folding them accordion-style. Write phrases in thick marker, then add simple silhouettes like bats, cats, and pumpkins. To make it feel current, use a mix of classic black and orange plus one modern neon accent.
Hang the streamers with removable tape so you can move them around. This project is fast, and it keeps costs down because cardstock and tape are usually already around. If you want extra shine, add a few glossy stickers for that lightly glam Halloween moment.
6. Mini Retro Witch Hat Planters
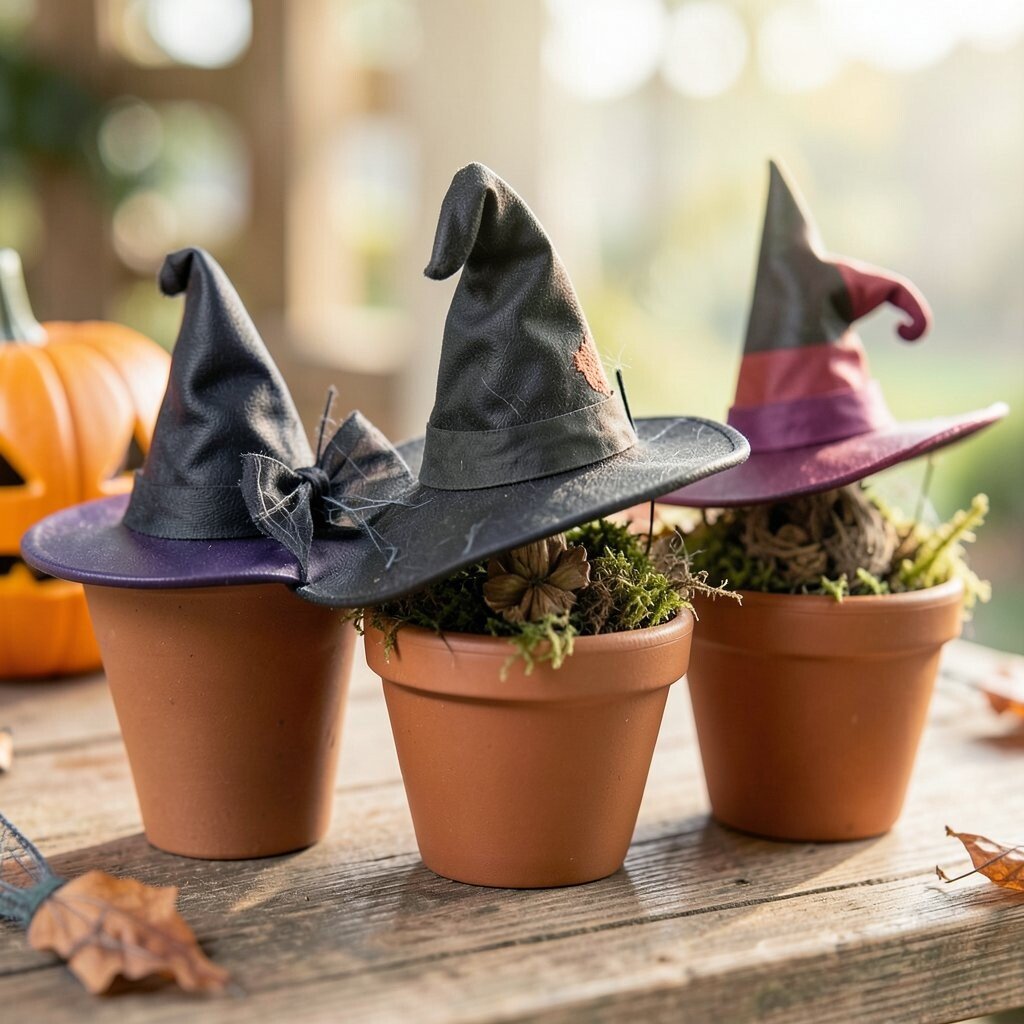
These look like tiny witch hats sitting beside your door or on a shelf, and they’re surprisingly charming. The small size makes them easy to place anywhere.
Start with a thrifted hat, a craft felt hat, or even a cone shape wrapped in felt. Add soil to a small liner like a plastic cup, then plant hardy greens like succulents or small herbs. Paint the hat bands with metallic paint, and finish with a pom-pom or tiny bow for that classic late-century whimsy.
For personalization, add a tag with your family name, a favorite color, or a playful nickname. Choose plants that can handle dry spells so you’re not constantly watering. Cost stays reasonable because you can use small pots and cuttings instead of expensive nursery plants.
7. Faux Stained-Glass Ghost Window Frames
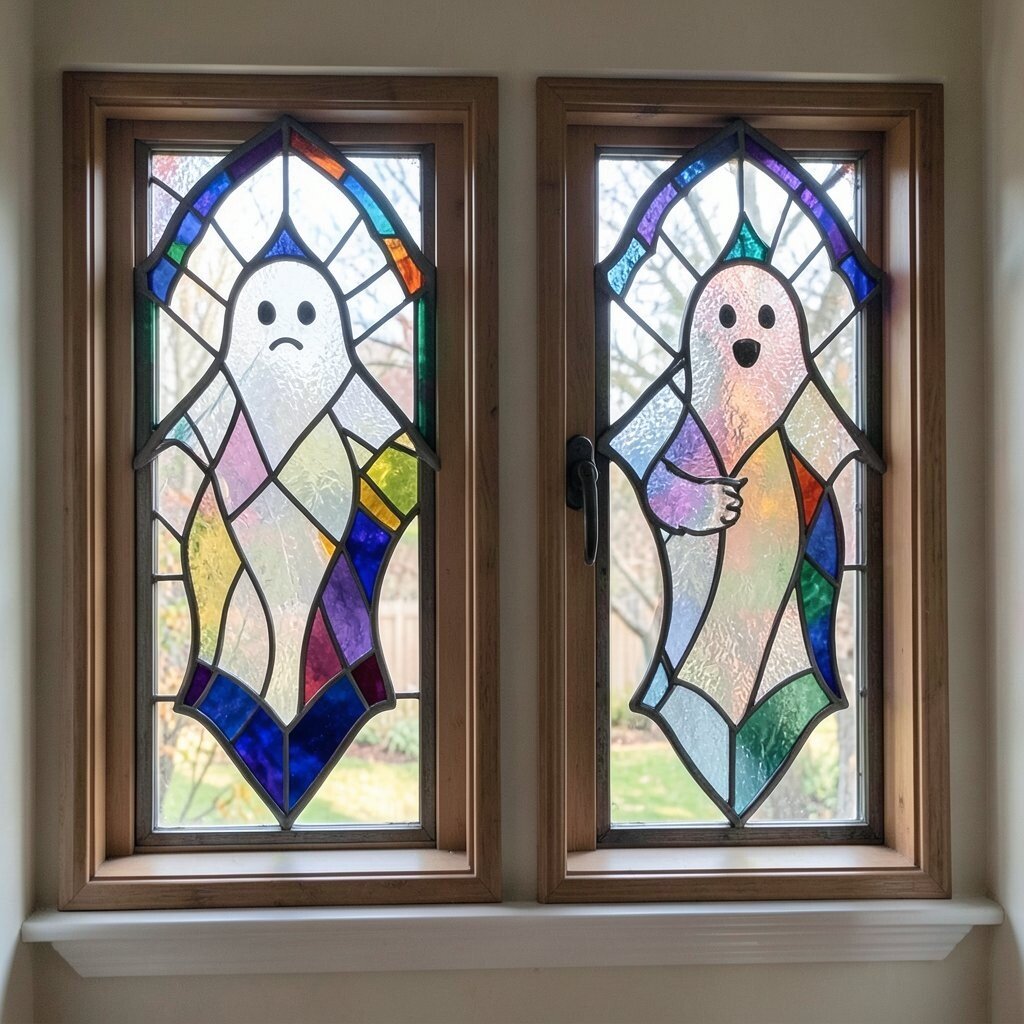
Imagine a ghost shape outlined in bright “stained glass” pieces that glow in daylight. It makes your windows feel magical without needing heavy tools.
Cut translucent colored paper or thin plastic from packaging into small shapes, then glue them onto a ghost outline. Layer a thicker backing behind the outline so it holds shape and reads clearly from outside. Use black paper for the leading lines to mimic classic stained-glass borders.
To personalize, pick ghost sizes like one big dramatic one and a few smaller shy ones. For current styling, keep the colors slightly toned down rather than neon, so it feels modern while staying retro. This can be done with craft supplies you already own, and it saves money versus buying new window art.
8. Taped Glow “Neon Bones” Floor Markers

When guests come in, your hallway can look like it’s lit by retro neon without any complicated wiring. It’s one of those small touches that makes the whole space feel themed.
Use painter’s tape to outline bone shapes on the floor, then apply glow-in-the-dark tape or glow paint over the sticky edges. Make sure you keep paths clear so the decor works with foot traffic. Add a few small arrow markers pointing toward a doorway or photo spot for extra fun.
For personalization, vary the bone sizes and add little hearts, stars, or tiny bat wings near the “ends.” If you have pets or kids, test a small area first so tape won’t damage flooring. This project is budget-friendly because tape is cheap, and glow products last a long time.
9. Book-Safe Skeleton Scene With Vintage Spines
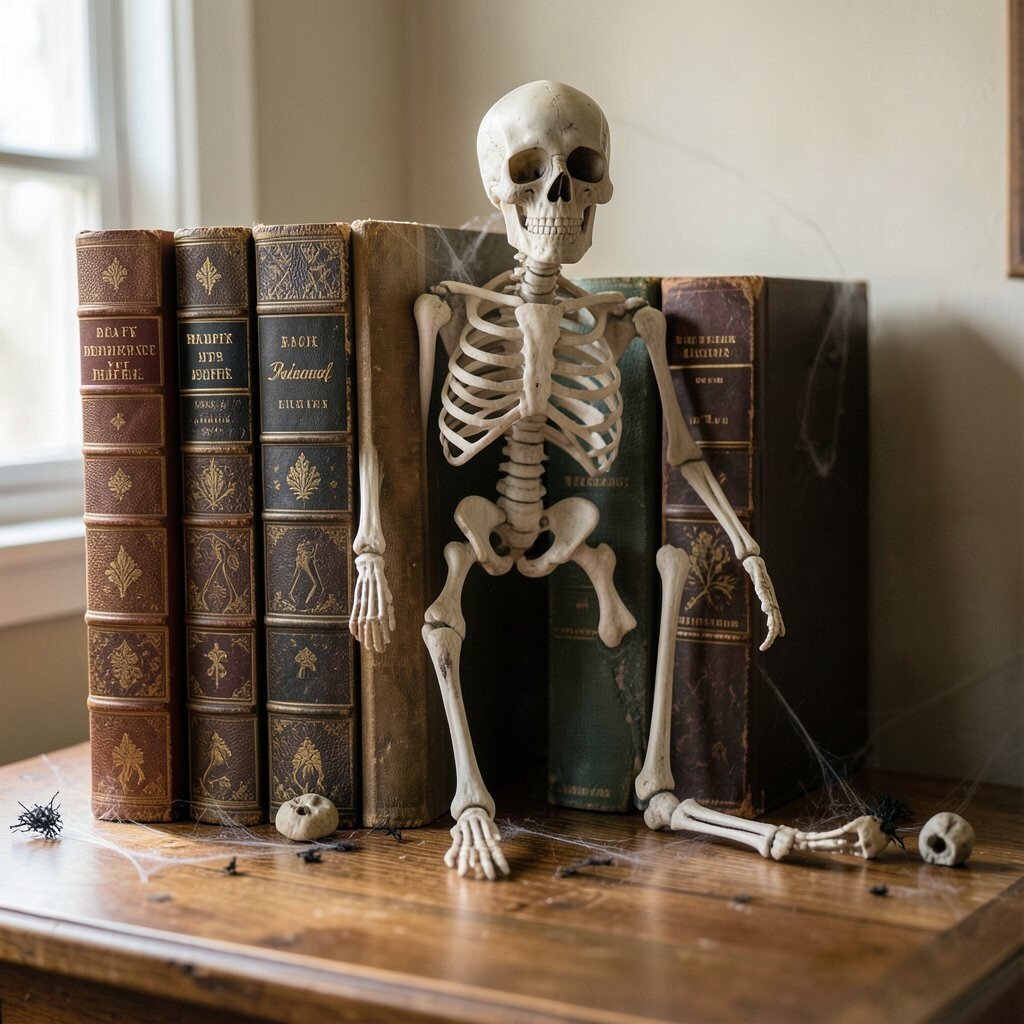
Think of a skeleton made from old paperback spines arranged like a little stage in your bookcase. It looks clever, tidy, and spooky without turning your shelves into clutter.
Choose lightweight paper or foam pieces to shape a head, ribs, and arms, then wrap them with strips cut from old books. Add tiny details with marker, like eye dots and a smile, and place the “skeleton” in front of a single dark back panel. Use a small lamp or LED candle nearby to create that late-night glow.
Personalize by picking your favorite characters from the books you already have, or by using book covers that match your color palette. This trend of styled book displays is popular lately because it looks thoughtful, not random. Cost stays low since the main materials are paper, markers, and a few basic craft pieces.
For a practical touch, keep it stable by anchoring pieces with museum putty. Add one small prop like a tiny skull keychain or a mini “grave” sign made from cardstock. You’ll end up with decor that looks intentional from every angle.
10. CD Disc-Ball Bat Spinner
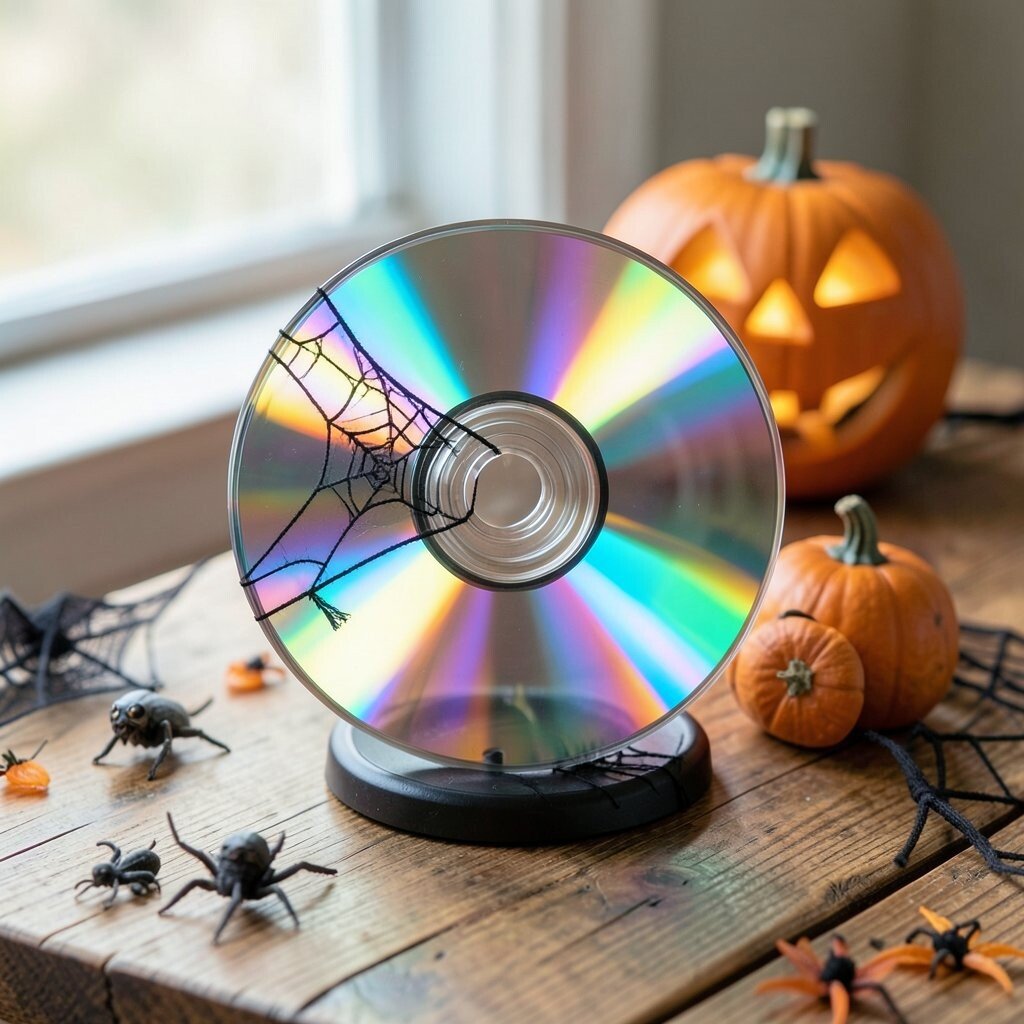
Those shiny CDs catch light and throw it around like a mini disco ball, which is very 90s. A bat-shaped spinner turns your ceiling or window into a moving party scene.
Cut a simple bat silhouette from cardstock, then attach multiple CD fragments or reflective strips to the bat’s wings. Use a sturdy hook or hanging string so it spins gently. Add a small weight at the bottom for smooth movement and hang it where airflow can make it move.
Personalize with different bat expressions or by choosing a color theme like black and silver with a single punch of orange. This is trending because reflective decor looks great on camera and in photos. For cost, recycling old CDs is the best option, and the other materials are usually just paper, glue, and string.
11. Paper Bag Monster “Grocery” Treat Station

Set a treat station that feels like it came from a nostalgic shopping trip, except the monsters are in charge. The paper bag style looks rustic, playful, and totally doable for any skill level.
Use brown paper bags as the base, then decorate with monster faces drawn in bold marker. Staple or glue a handle to make it look like a mini grocery bag, then add labels using stickers and cut-out letters. Place candy jars or small treat containers inside, and top with a simple “treat” sign made from cardboard.
Personalize by making each bag a different monster type, like a grumpy green one, a purple one with stripes, or a friendly ghost. Choose durable craft glue so the paper holds up to repeated opening. This project is budget-friendly because paper bags are cheap, and using leftover jars keeps everything organized.
For a practical upgrade, line the inside with plastic wrap or a liner bag so sticky candy doesn’t ruin the paper. You can also swap the candy for small prizes like stickers or mini toys. It’s a fun way to make your Halloween decor feel interactive without extra effort.
12. Photo Booth Tinsel Background in Classic Halloween Colors

Picture a tinsel curtain behind your doorway or in a corner of the living room where people can snap photos. It instantly creates a “party zone” and looks right at home with older Halloween aesthetics.
Hang tinsel garlands from a rod, shower curtain rings, or strong command-style hooks. Choose black, orange, silver, and a few green accents to match that nostalgic color vibe. Add a simple frame on one side with cardboard covered in glitter tape so it feels like a themed photo booth.
Personalize by attaching small cutouts like bats, pumpkins, or ghost footprints at eye level so they show up in pictures. For a current touch, keep the overall look slightly cleaner by using fewer colors but stronger contrast. Cost considerations are easy here because tinsel can be reused year after year, and you can buy only what you need to cover your space.
If you want it to feel extra 90s, add a few metallic dangling chains or reflective ribbons near the center. Use LED fairy lights behind the tinsel so it glows without getting hot. You’ll end up with a photo spot that feels celebratory all season long.