
Neon pumpkins and crackly jack-o’-lanterns are calling your name. These classic scenes bring spooky fun without feeling messy or complicated.
1. Static-Television Ghost Corner
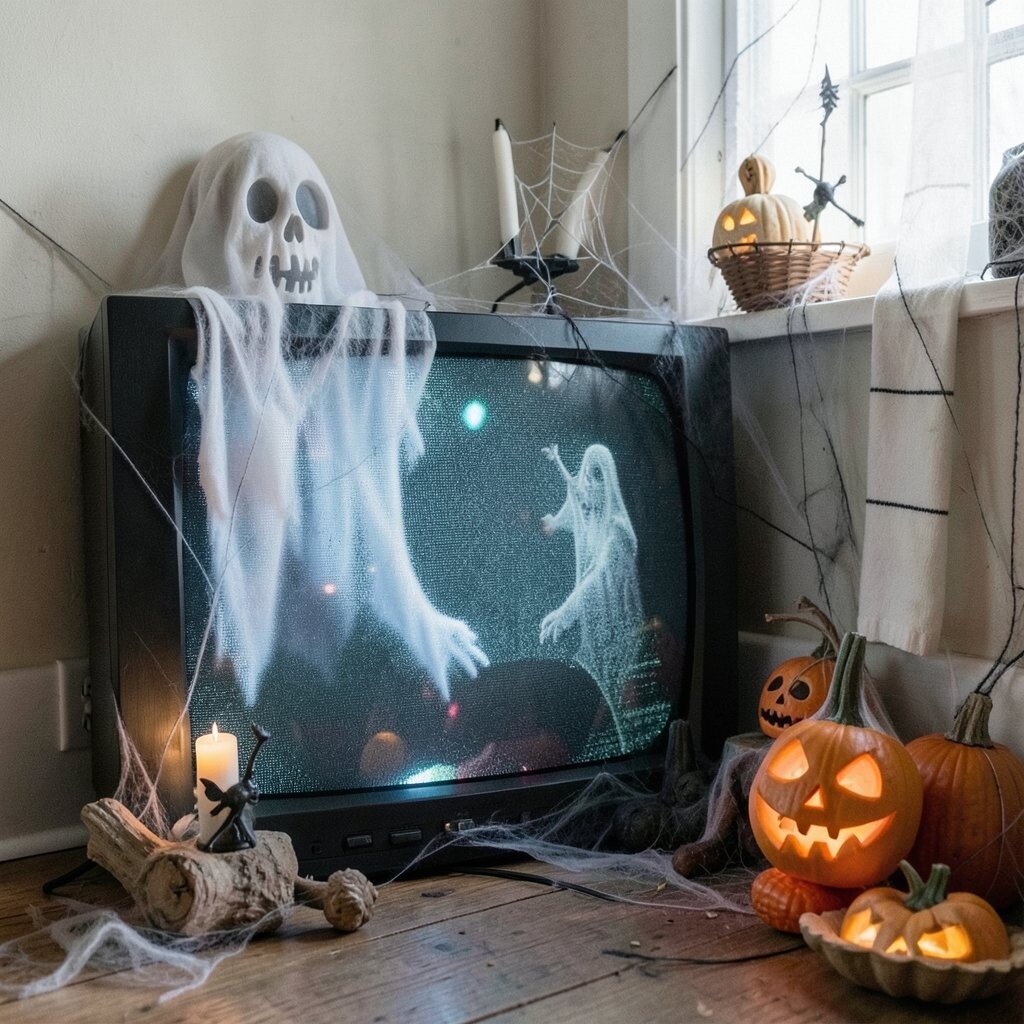
Set an old CRT-style TV in a dim corner and let a grainy “ghost signal” loop play. The flickering glow makes nearby cobwebs look like they’re moving, even when nothing touches them.
Use a small tripod or stacked books to aim the screen slightly upward so the light hits curtains and wall molding. Add a sheer black scarf behind the TV for a soft, smoky look, and sprinkle a few faux cobweb strands across the frame for texture.
2. Neon Cemetery Path With Jar Lanterns
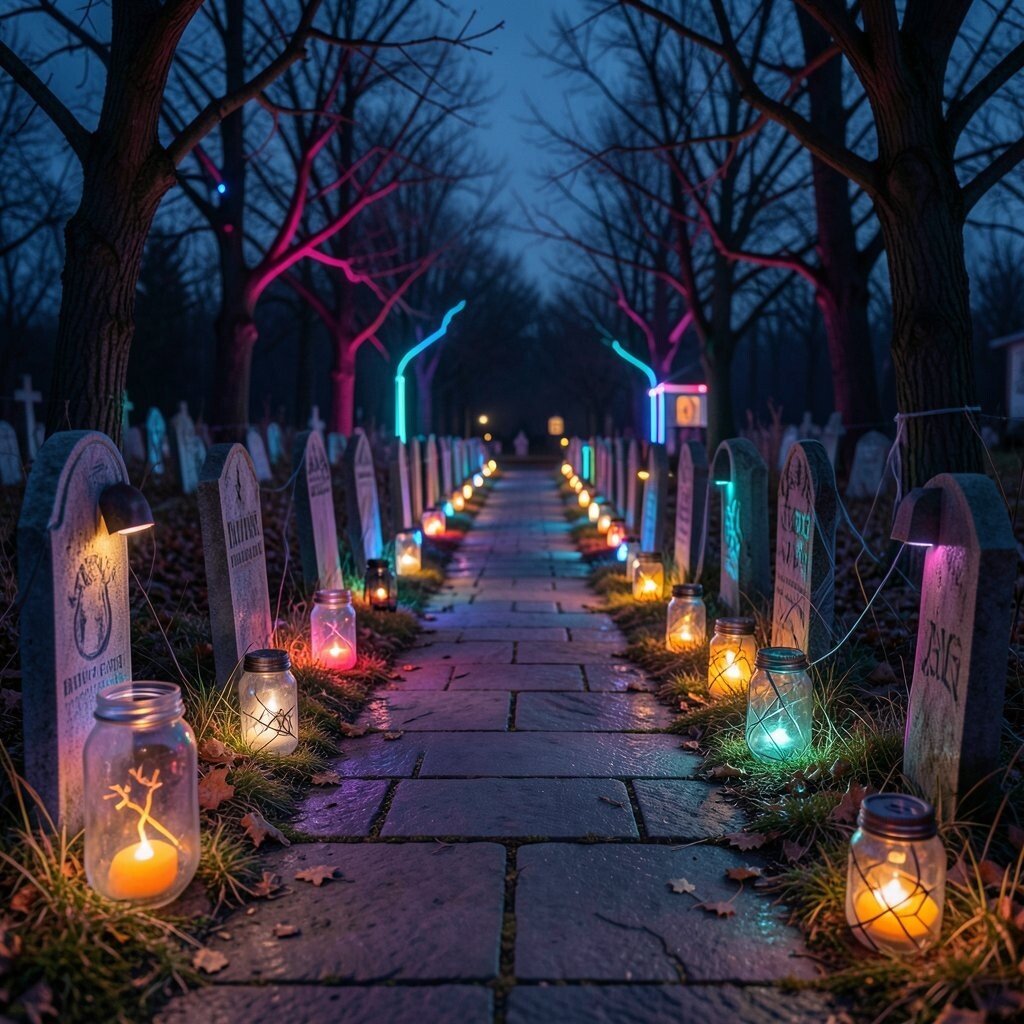
Lay down a narrow “grave path” using black felt or dark fabric runners. Then line it with clear jars holding battery tealights, and add a few drops of green-tinted glow gel for that late-night vibe.
Light the jars at dusk so the road looks like it disappears into mist. For extra realism, place one jar on the ground slightly crooked and add a tiny label tag on the lid like it’s an old memorial keepsake.
To keep it safe, choose stable jars with wide bases and keep them away from fabric edges that can catch light. If you want to personalize, mix in one or two amber jars so the scene feels warm and haunted instead of only eerie and cold.
3. Inflatable Cemetery Gate With Waving Welcome Lights

Hang an inflatable cemetery gate near your porch steps and let it “breathe” gently as it inflates. For the 90s look, pair it with a string of multicolored outdoor lights so it feels cheerful and spooky at the same time.
Position the inflatable so it doesn’t block the doorway, then tuck small packs of fake leaves around the base. This tiny detail gives the gate a grounded, lived-in appearance rather than looking like it was dropped there for decoration.
Keep the power cords hidden by running them along the wall edges and securing them with clips. If you’re budgeting, use one strong inflatable focus piece and add simple lighting around it rather than buying multiple big items.
Personalize with a removable banner on the gate arch, using cardstock letters you can store in a folder. Each year you can swap the message, so the same scene feels new again.
4. VHS Horror Tape “Haunted Shelf” Inside the Living Room
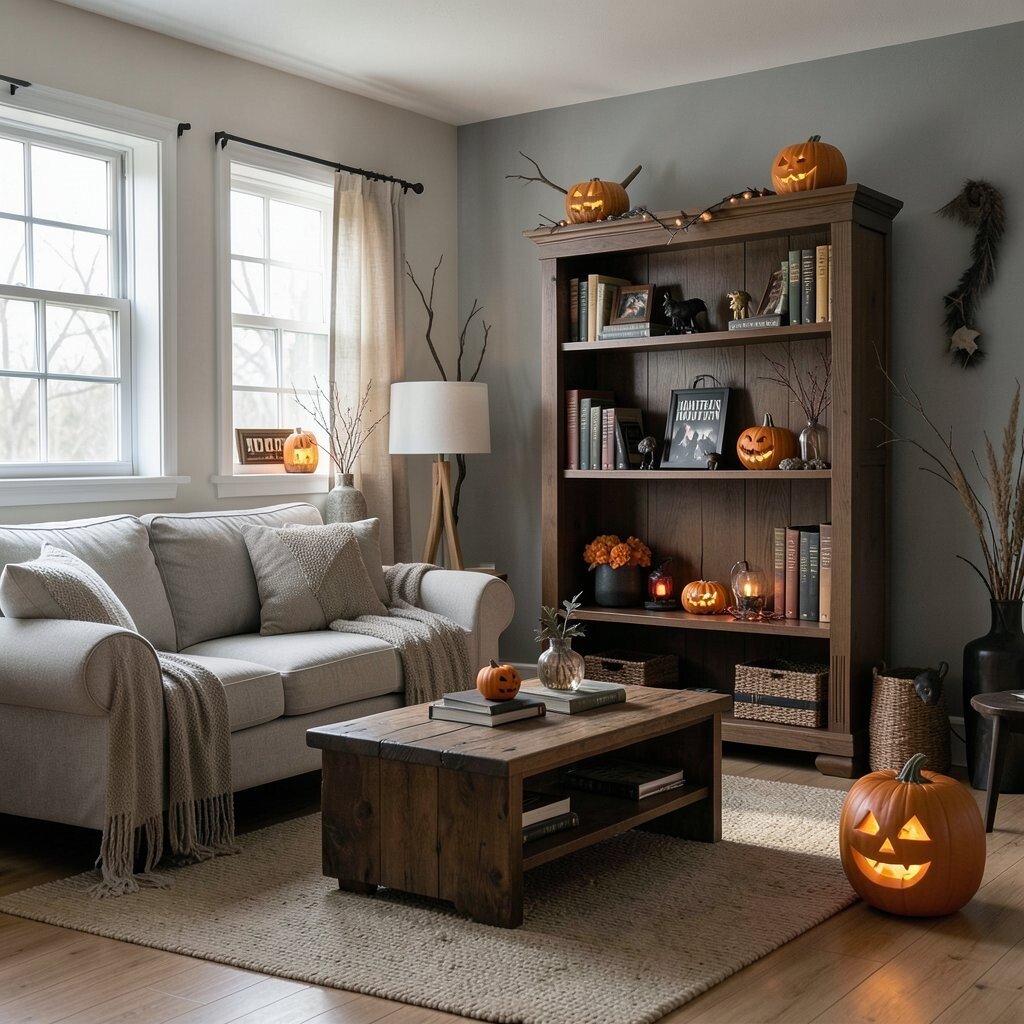
Arrange a faux haunted shelf using old-looking VHS tapes, a remote, and a few paperback spine covers on a bookcase. Add a small red night-light behind the shelf so the “library” glows like it’s late at night in a movie theater lobby.
Place one tape slightly forward and one slightly crooked to create that “someone just touched this” feeling. Dust the shelf edges with a pinch of gray craft foam or fake ash to make everything look aged.
Try a mix of matte and glossy surfaces for contrast, like keeping the tapes matte but using shiny foil for a tiny “warning” sign. If you want a current twist, use a subtle color-changing LED candle in a hurricane lantern to keep the mood modern while still nostalgic.
5. Ghostly Wind Chime Crew Over the Front Door
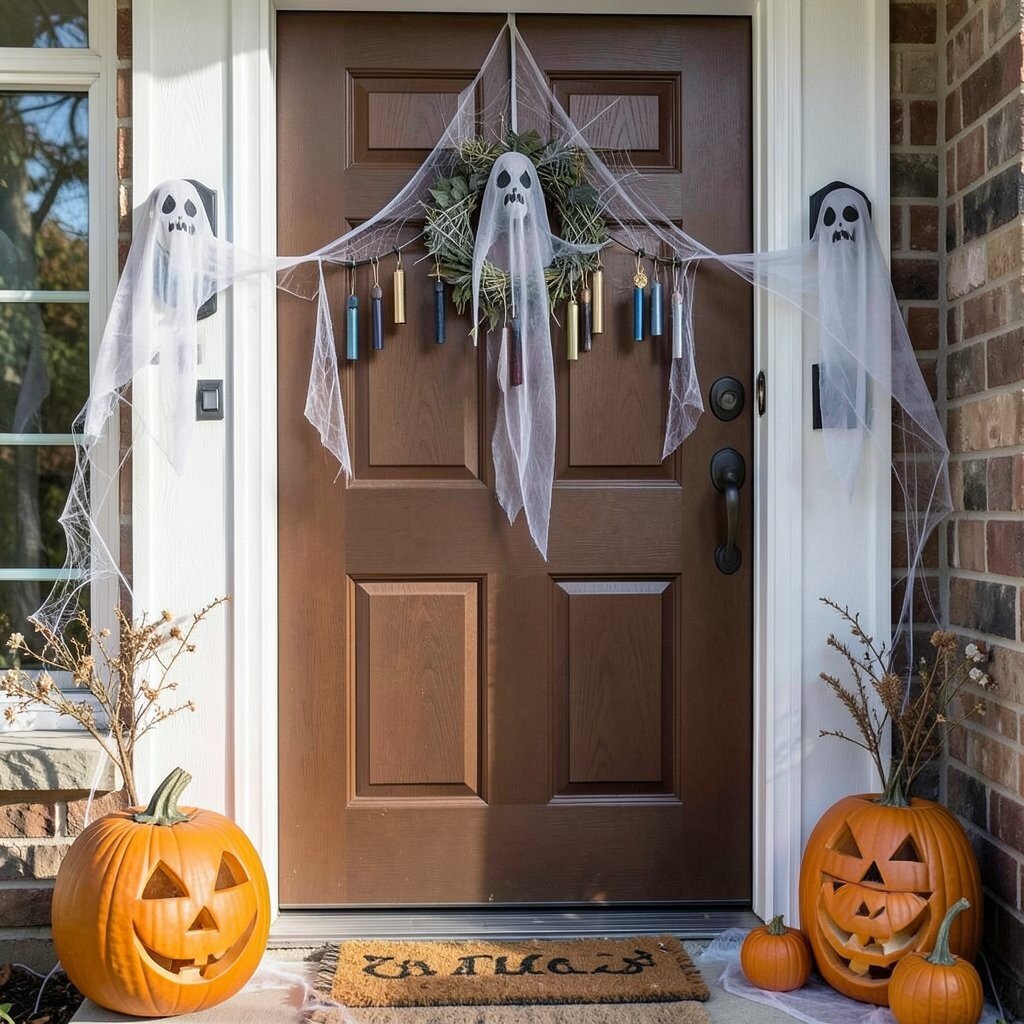
Hang a row of wind chimes, then add a few ghost cutouts made from thin plastic or lightweight cardstock. When the breeze moves them, the ghosts look like they’re drifting in and out of sight.
Use clear fishing line to suspend the ghosts at different heights so the motion feels layered and lively. To personalize, draw faces in permanent marker with slightly different expressions, like one is friendly and one is mischievous.
For cost-smart shopping, check dollar stores and thrift shops for spare chime pieces, then just add the ghost decorations yourself. If your area has strong winds, use heavier chime weights so the whole setup sways without becoming a tangled mess.
6. Tattered Black Drape “Portal” Behind a Chair
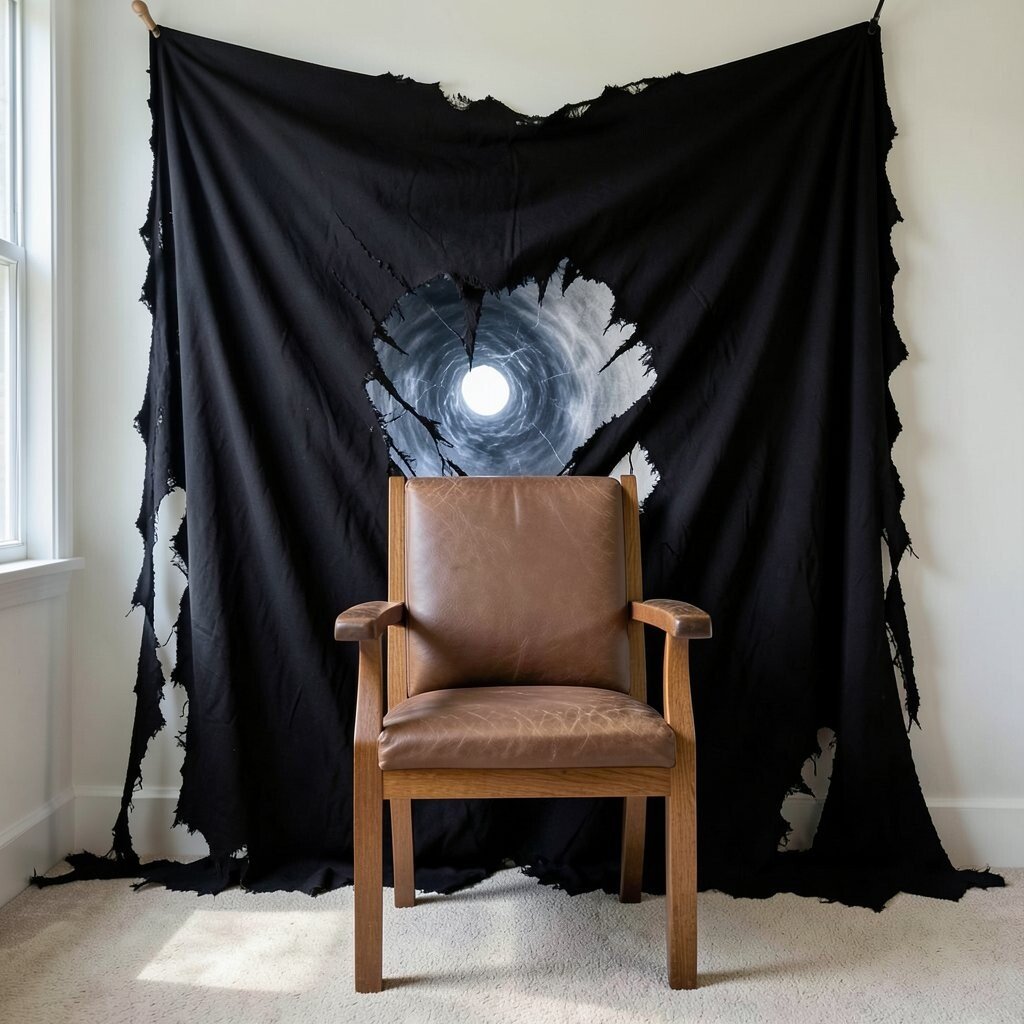
Pull a wide black curtain behind a chair or standing coat rack and let it drape like a hidden portal. Add a thin ring of warm white lights at the top edge so the opening glows gently, like a doorway you shouldn’t step through.
Stick a few faux spider legs into the curtain folds and add one small skull prop near the chair leg for a playful jumpy vibe. This scene works great in apartments because you can keep everything in one corner without filling the whole room.
For practical setup, use removable hooks or command-style clips so you can take it down quickly. If you want personalization, swap the skull for a pumpkin-shaped lantern or a tiny raven figurine each year so it never feels identical.
7. Pumpkin Patch With Glow Spray and Spooky Faces
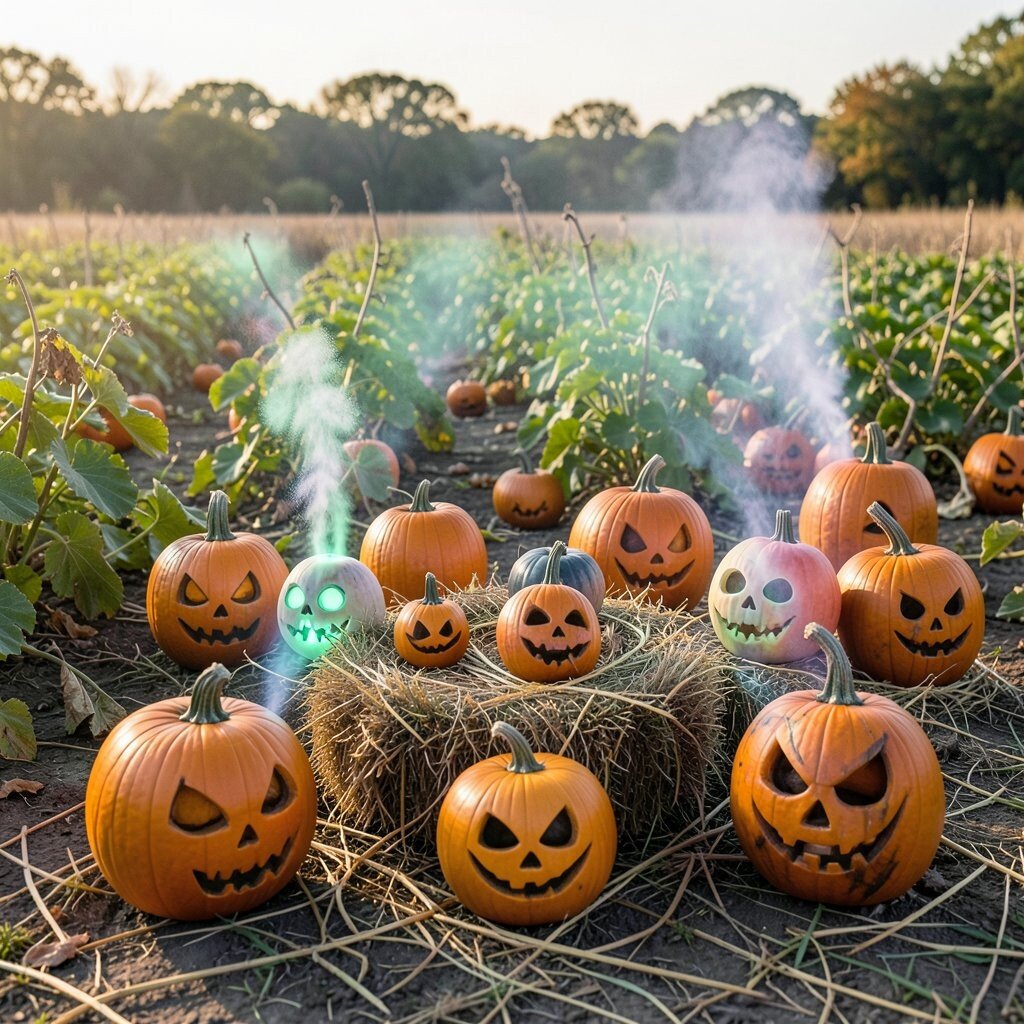
Create a mini pumpkin patch by grouping several pumpkins of different sizes along a walkway. Carve or paint classic 90s-style faces with simple shapes, then add a thin layer of glow spray on the edges.
Use battery LED tea lights inside the pumpkins, because it keeps the patch bright without worrying about flames. The glow edges make the scene look “electric,” like those old late-night Halloween commercials.
Choose one color theme to keep it cohesive, such as orange, black, and a small pop of green. If you’re on a budget, use paint instead of carvings on a few pumpkins so they’re ready in minutes and still look custom.
Personalize by adding tiny stickers or stenciled numbers to the stems, like your own spooky “collection” mark. It’s a fun detail for visitors and makes photos feel like a themed set.
8. Skeleton Disco Ball Dance Floor on the Porch

Place a small disco ball or mirrored orb near your porch and shine a color LED spotlight toward it. Add a few skeleton figurines or skeleton-themed yard stakes so the whole area looks like a Halloween party crashed into a graveyard.
Cover part of the ground with a black tablecloth or shiny plastic so the light bounces more. This gives your scene that 90s club-energy feel, but still keeps the spooky vibe close by.
For practical lighting, use an LED light with a timer so you don’t have to remember to turn it off. If you want personalization, swap one skeleton for a ghost or a “band” theme by adding mini toy instruments.
9. Haunted Bedtime Stack With Monster Under-Curtain Glow
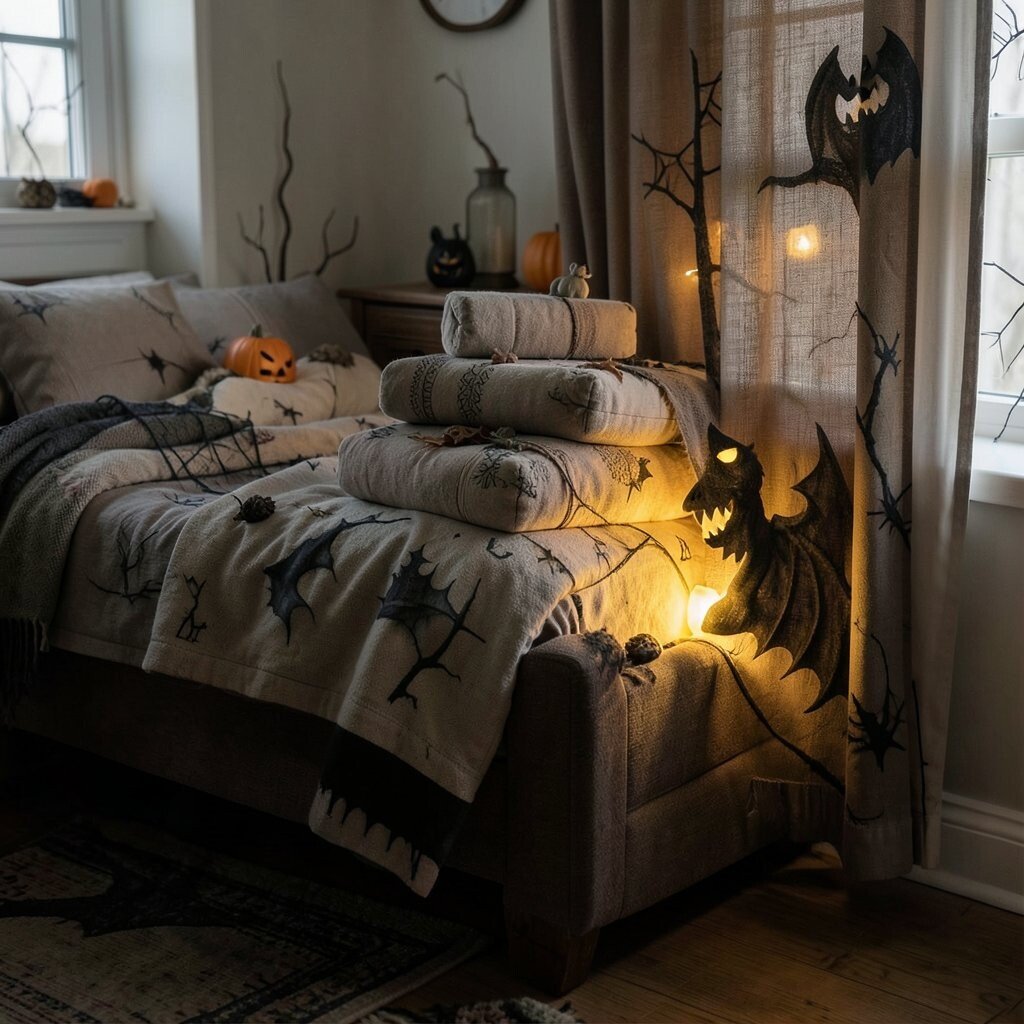
Set up a “bedtime haunting” by draping a small blanket over a chair like a covered bed. Then tuck battery LED fairy lights under the blanket so they glow like something is hiding underneath.
Add a plush monster or a paper cutout of a creature at the edge of the blanket for a playful scare. This scene is especially good for kids and families because it looks fun and not too intense.
Keep it practical by using safe, low-heat LED lights and securing the blanket with simple clips. Personalize with seasonal colors, like purple lights one year and green lights the next, so the mood changes without rebuilding everything.
10. Haunted Playground Swing With Hanging “Web” Lights

Hang a few strands of faux cobweb ribbon from a porch swing, chair, or sturdy ceiling hook. Then drape warm string lights in a gentle arc so it looks like the “web” is wrapping the swing in glow.
For a 90s touch, add a couple of cheap plastic skeleton hands or spooky ball ornaments near the bottom of the lights. The layered shapes make the scene feel fuller even if you’re using simple materials.
Safety matters, so keep cords clipped along the structure and avoid placing lights where they can pull loose. To personalize, attach small fabric tags or tiny “story” cards to the webbing so it feels like a mini haunted playground with its own legend.
11. Dark Room Window With Silhouette Monsters
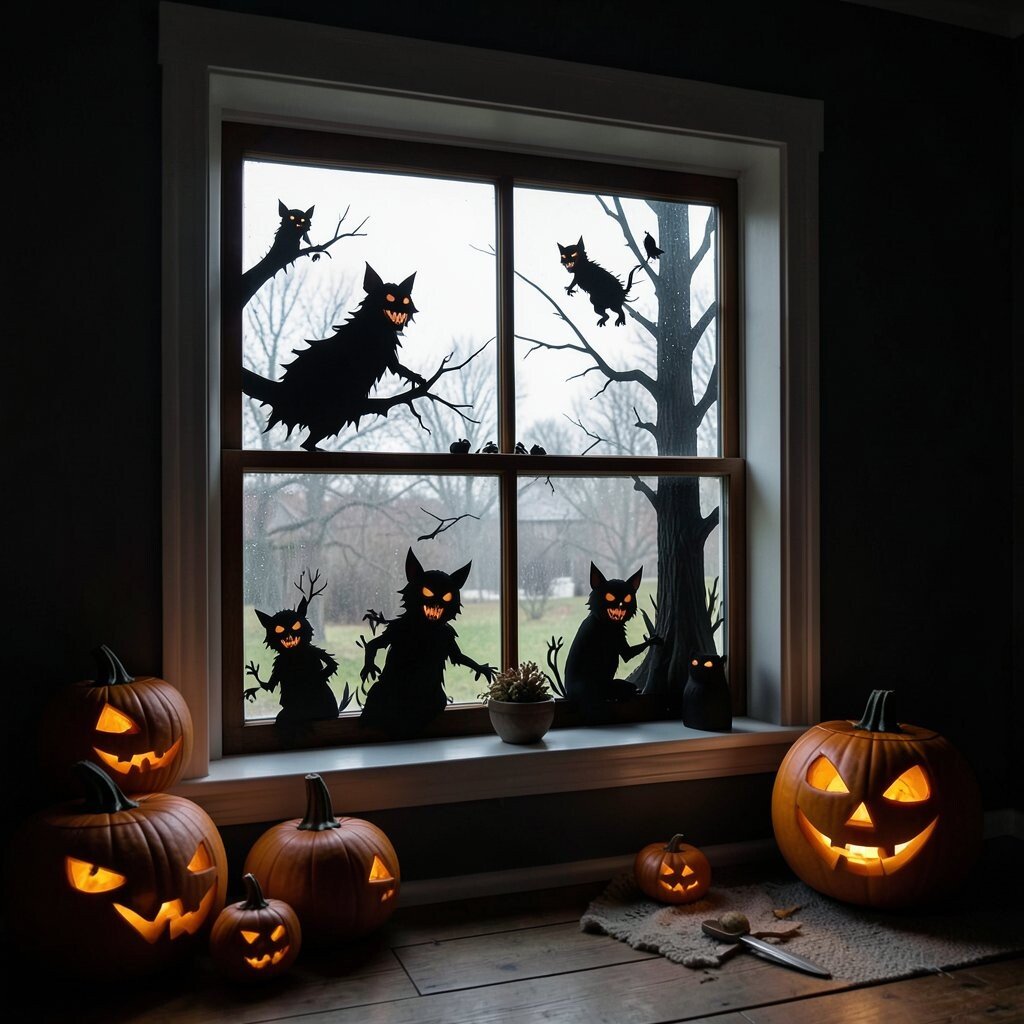
Use black paper silhouettes or foam cutouts placed behind a window for instant spooky drama. Add a dim lamp inside and aim it so the silhouettes cast sharp shapes outside, like a Halloween movie still frozen in place.
Choose a few monster designs and place them at different distances from the glass so they look layered. This makes the view look more detailed in photos, especially when viewed from the sidewalk.
Keep it practical by using painter’s tape or suction-style window anchors so you don’t damage glass. If you want a trend-forward twist, add one small color-shifting LED candle in the corner for a subtle modern glow.
Personalize with your family’s silhouettes, like a tiny “witch” that matches your hair color or a little “cat” that resembles your pet. It turns a simple window into a yearly tradition.
12. Old-School Fog Machine With Low-Table Cauldron Scene
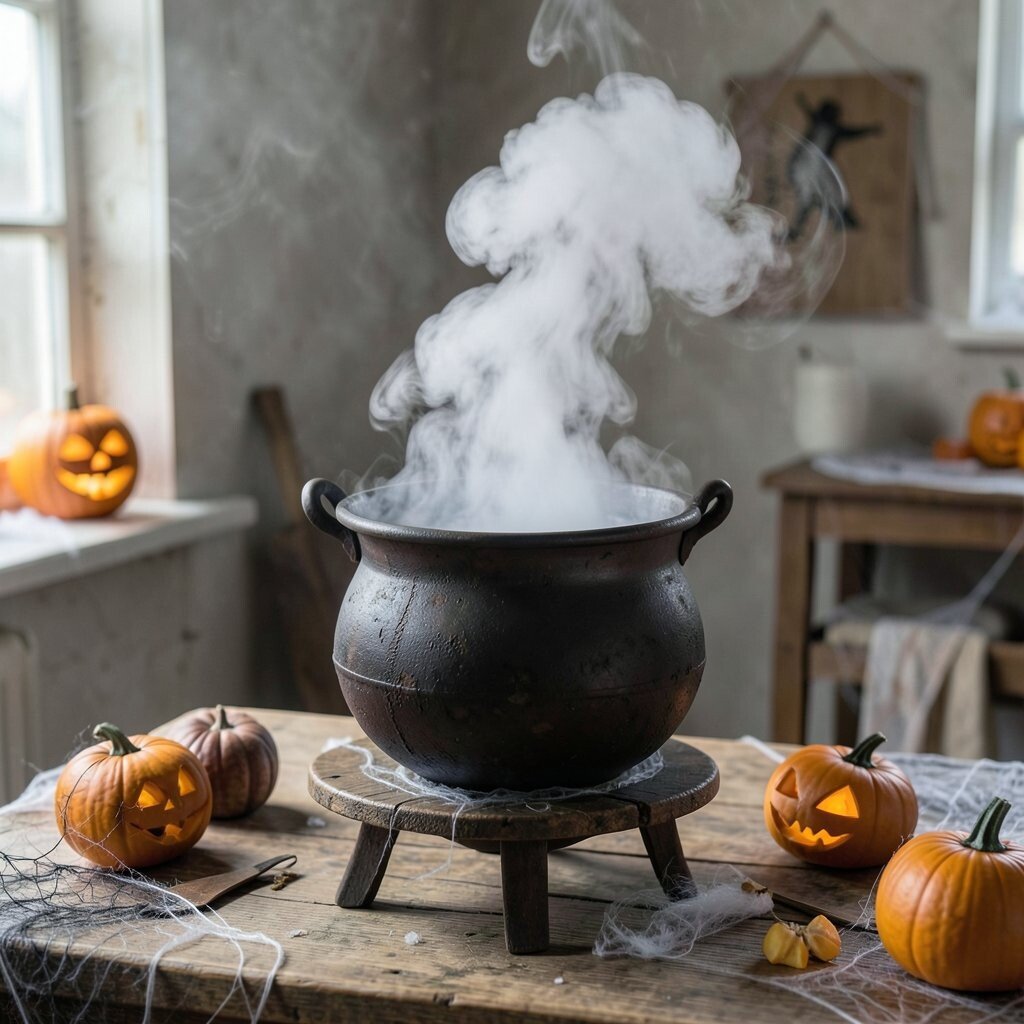
Use a fog machine or even a strong haze mist effect near a low table topped with a cauldron prop. The fog makes everything look bigger, and the cauldron lights look like they’re brewing up the whole night.
Place a lantern or battery candle inside the cauldron and add a ring of small skull figurines around the base. For a 90s feel, keep the color palette classic, like sickly green and warm orange, rather than mixing too many bright shades.
For cost considerations, you can borrow or rent a fog machine instead of buying one, especially if you only use it for a short season. If you already have one, use it in brief bursts so the scene feels dramatic without turning your whole house into a cloudy hallway.
Personalize by adding a “mystery potion” bottle made from a glass jar, colored water, and a label you print or handwrite. Guests will love the little details, and it makes the scene feel like it belongs to you.
13. Halloween Morning Kitchen With Creepy Cornucopia and Cereal Props

Give your kitchen a spooky 90s twist by placing a cornucopia basket filled with fake fruit, candy, and snack props on the counter. Add a few faux spiders and a small skeleton hand grabbing for treats so it looks like Halloween arrived mid-morning.
Use a Halloween runner or placemat beneath the basket to anchor the scene. Then place a set of mini pumpkins near the toaster or coffee corner so everything looks coordinated rather than scattered.
For practical setup, keep items elevated so nothing gets crushed, and choose decorations that wipe clean if someone bumps the counter. Personalize with the snacks you actually like, such as candy corn in a clear jar or themed cookies in a glass bowl, so it feels personal and not generic.
If you want to stay on budget, use jars and bowls you already own and fill them with inexpensive candy and paper cutouts. It keeps the vibe fun and full without needing a big shopping spree.