The chalkboard always feels like a fresh start. It turns everyday tasks into something you want to look at again and again.
1. Feather-Soft Weekly Schedule
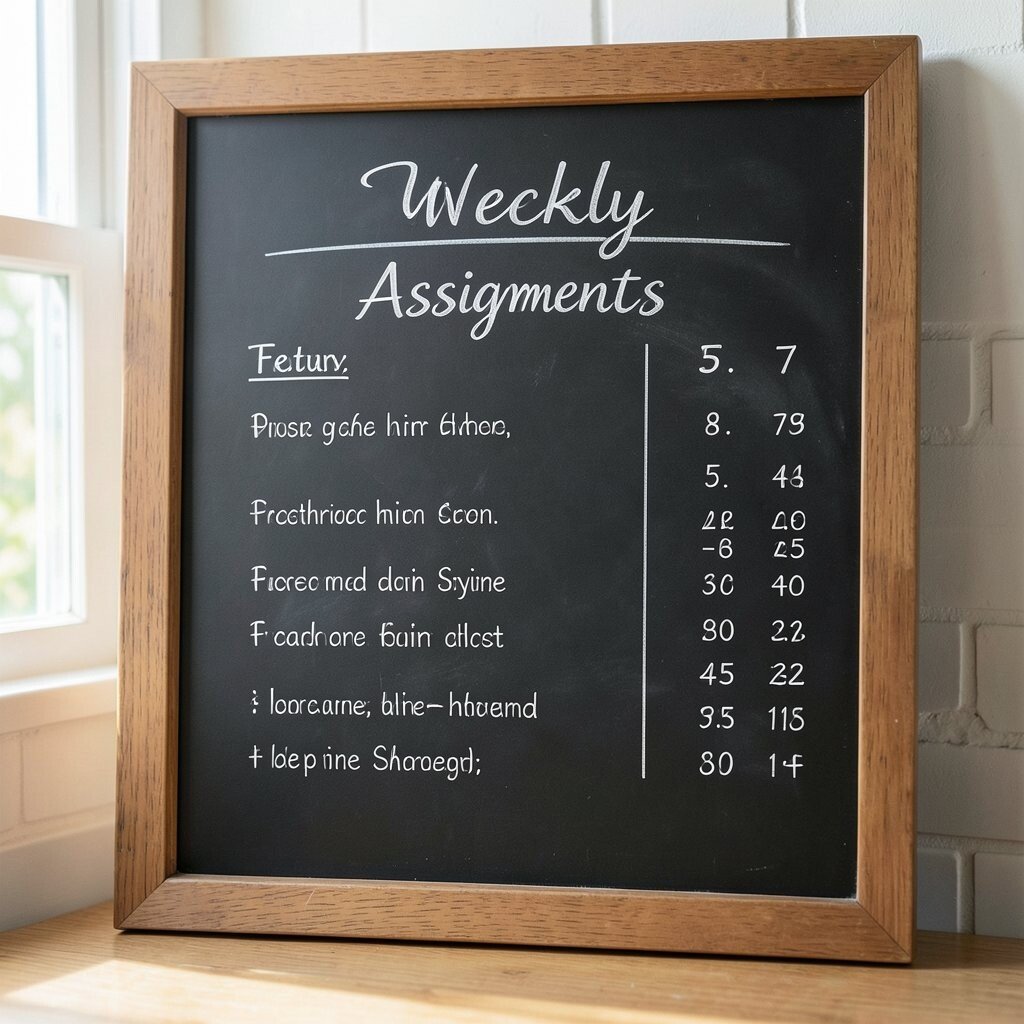
Write the days across the top in light chalk strokes, then add a gentle feather shape behind the heading. Keep the background simple so students’ eyes rest on what matters.
Use two columns for “Must Do” and “Nice to Do,” and keep each line short enough to read at a glance. Add a tiny leaf icon next to each day to make the page feel warm and calm. Personalize by using favorite colors of chalk for highlighting, like mint for homework and soft gold for projects.
2. Morning-to-Evening Task Bands
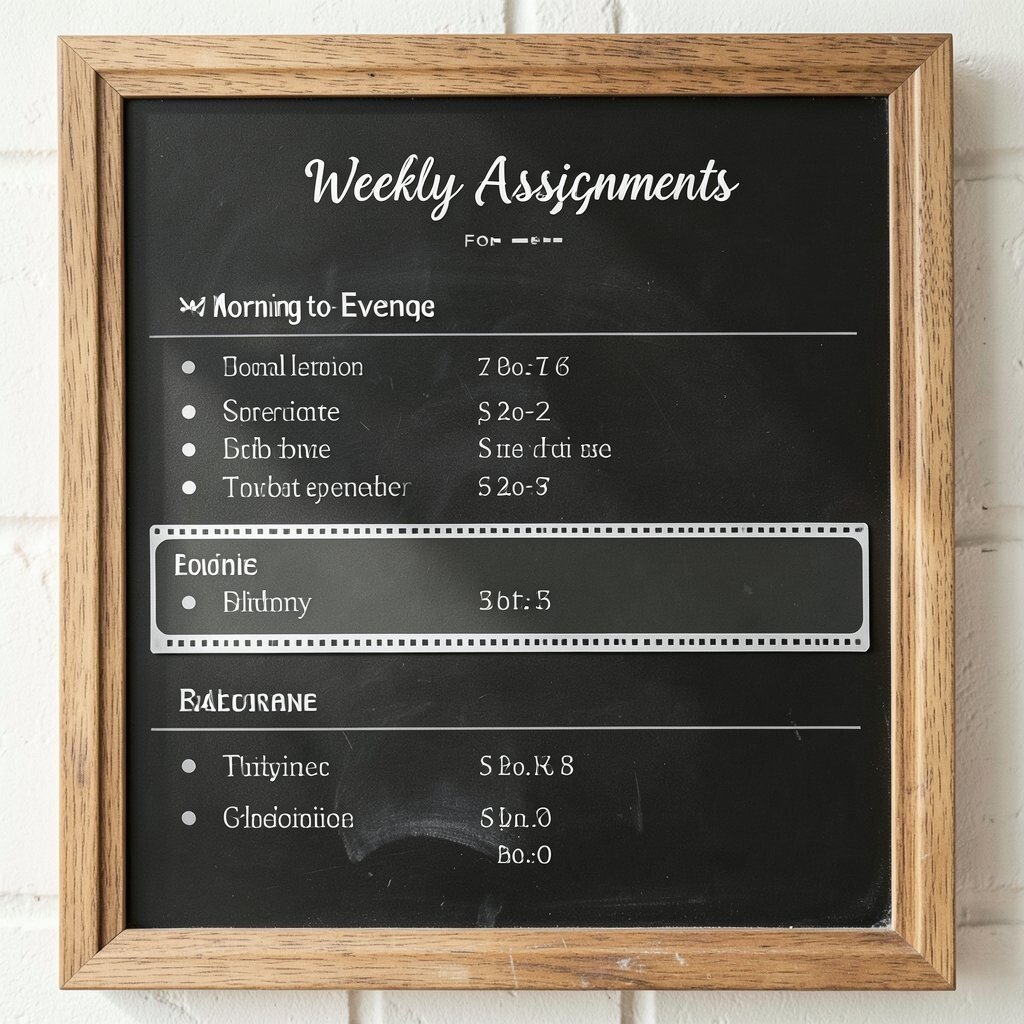
Split the chalkboard into wide horizontal bands that match the day’s rhythm. Label the bands with times using small, neat lettering so the whole schedule looks like a calm flow.
Place reading work, practice, and chores into the band that fits their energy level. This helps kids plan ahead without feeling rushed when the evening starts. Keep the chalk marks thick for easy visibility, especially in busy kitchens or classrooms.
For a modern feel, use a slightly arched font for the time bands and add small doodles like suns and moons. Try cost-friendly upgrades by using one good chalk set and a matte chalkboard cleaner so the board stays smooth. Personalize the bands with a small star count tracker for each completed task.
3. Minimalist Script With Doodle Corners
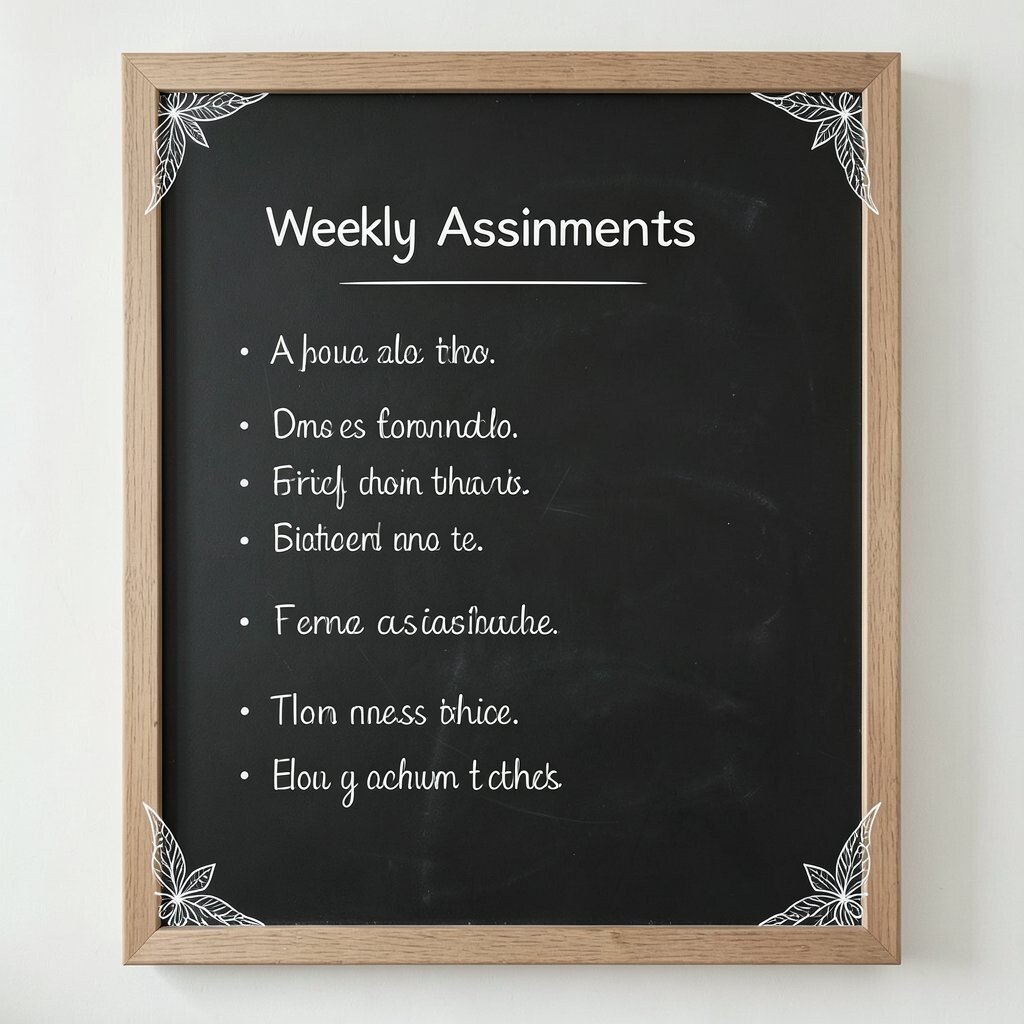
Write weekly assignments in simple blocks, then soften the corners with two or three doodles like little crowns or cloud edges. Leave plenty of blank space so it never feels crowded or stressful.
When the board is airy, students can focus on the next step without scanning too much text. Use consistent spacing between tasks so the layout feels steady and tidy. Add a small heart near subjects that feel extra fun, like art or science.
To keep it practical, put each assignment on its own line and erase only what’s needed each week. This reduces clutter and keeps handwriting looking crisp over time. Personalize with one doodle theme per month, such as flowers, planets, or friendly animals.
4. Chalkboard Menu With Color-Coded Subjects
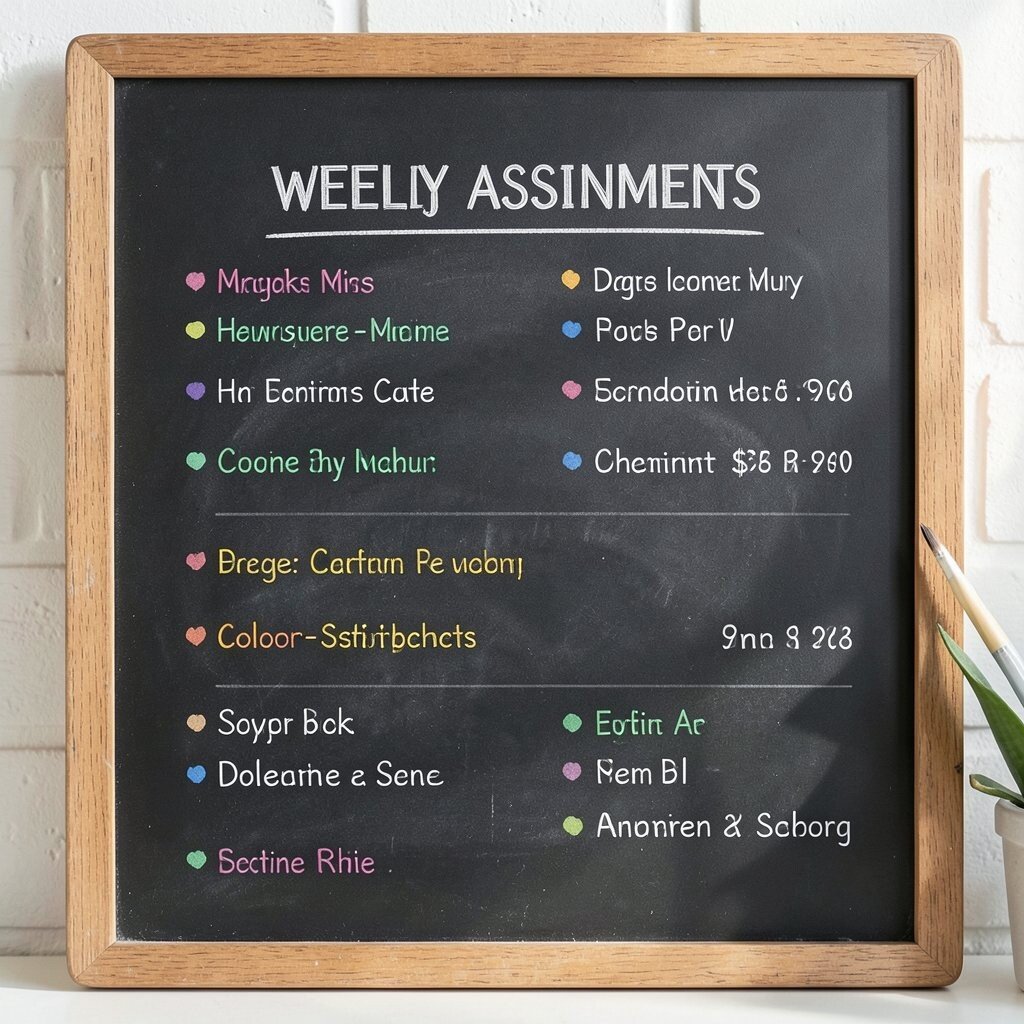
Create a menu-style layout where each subject gets its own color lane. Use colored chalk or colored chalk markers for the subject headers so the board reads like a tidy map.
Students benefit because they can quickly find what they need, even if they only have a minute. Keep the assignments limited to a manageable list per lane so the board stays realistic for the week. Add a small checkbox square at the start of each line to make progress feel tangible.
5. Ribbon Header and Curved Checklist Lines
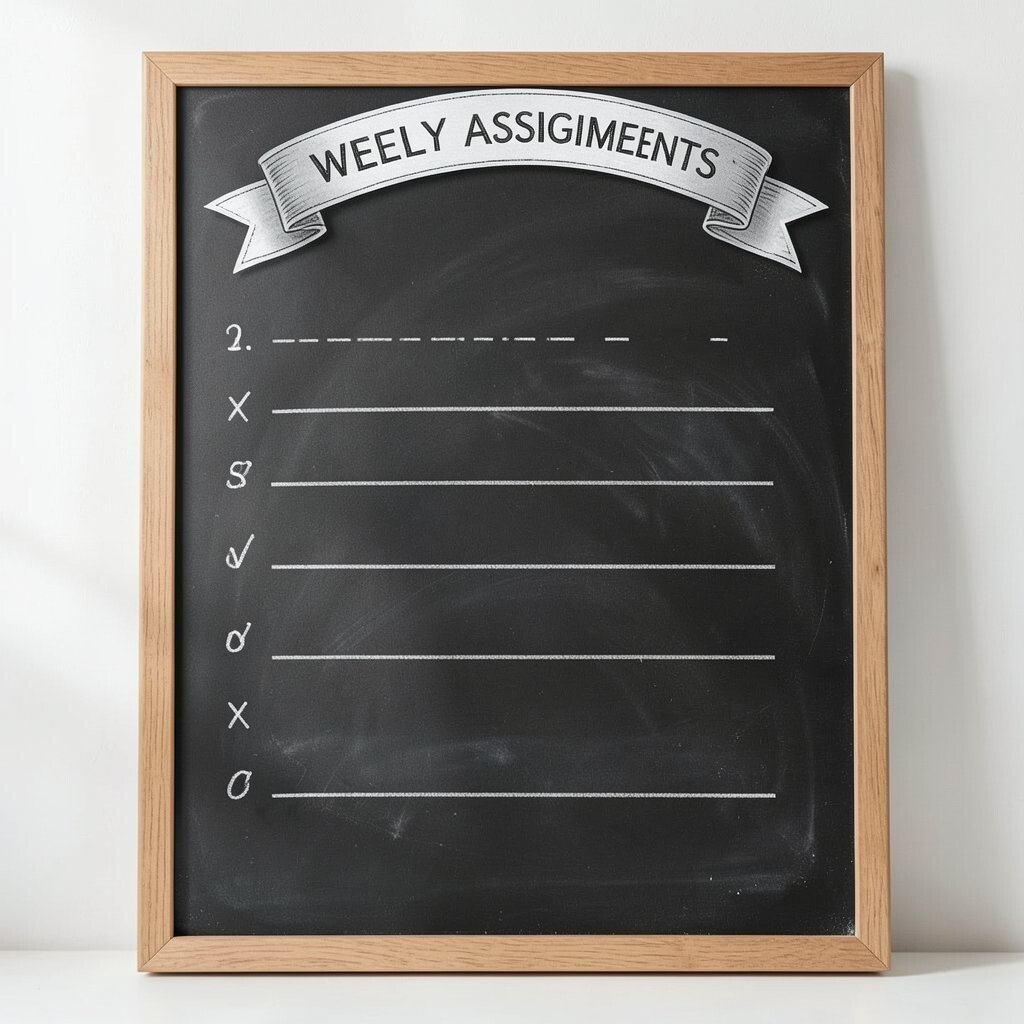
At the top, draw a ribbon banner around the week’s title in flowing script. Then connect each assignment to a curved checklist line, like gentle rails guiding the eye.
This layout feels elegant and helps kids see the order of tasks without confusion. Keep the checklist lines spaced evenly so handwriting doesn’t crowd the page. Add a personal touch by using a favorite school color for the ribbon and a contrasting chalk for each checklist item.
For current trend vibes, use rounded icons such as checkmarks, tiny clocks, and book symbols. Cost stays low because most chalkboards only need quality chalk and a soft eraser. Erase on a schedule, like every Sunday evening, to prevent ghosting and maintain clean lines.
6. Star-Quest Board for Weekly Assignments
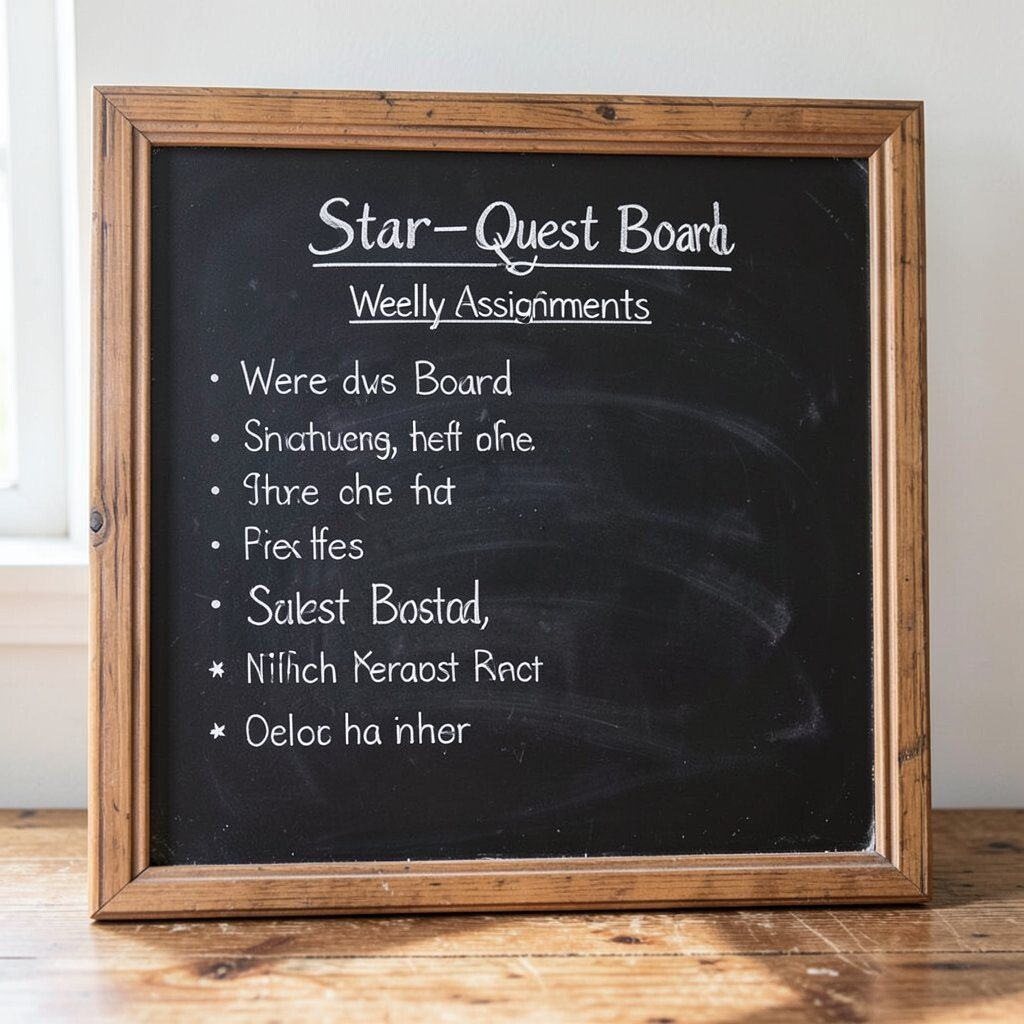
Design the board like a quest map, with stars marking the top row and tasks beneath them. Each star can represent a subject or a goal, creating a game-like feel.
This makes completing assignments feel rewarding instead of heavy. Try writing the easiest task first, then the longer one, so momentum builds quickly. Personalize by letting students choose which star gets drawn for their favorite achievement.
7. Calendar Tiles With Short Assignment Notes
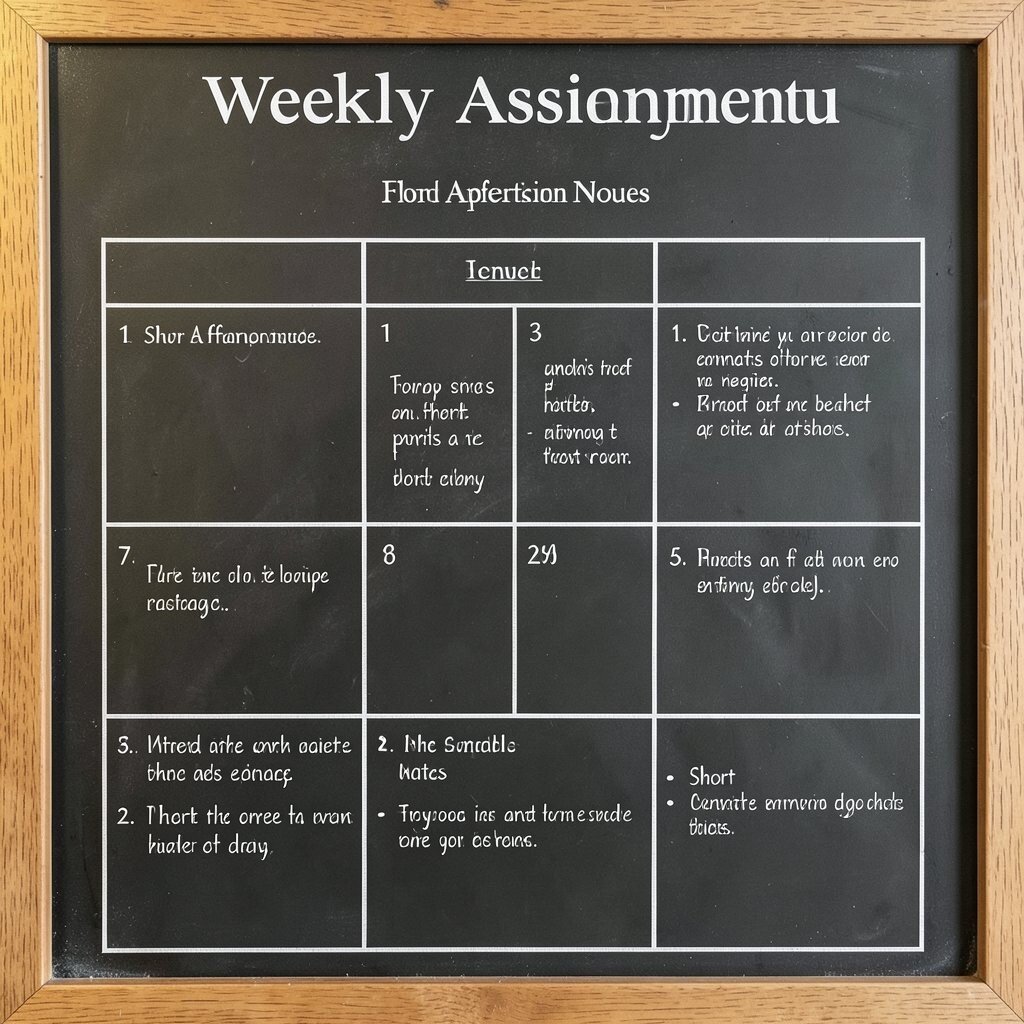
Turn the chalkboard into a grid of small calendar tiles, one for each day. In each tile, add one or two short assignment notes in a smaller font.
Grid layouts help because students can locate the right day fast, even when life gets busy. Use tiny corner icons like a pencil for writing days and a ruler for math days. For personalization, allow a rotating “board maker” who adds a small emoji-style doodle in their tile.
If you want a current look, keep tiles rounded and use subtle shading with light chalk smudges. For cost, use standard chalk and a microfiber cloth for quick touch-ups. Make it practical by keeping blank space in the tiles for last-minute updates.
8. Vintage Chalkboard Menu With Framed Corners
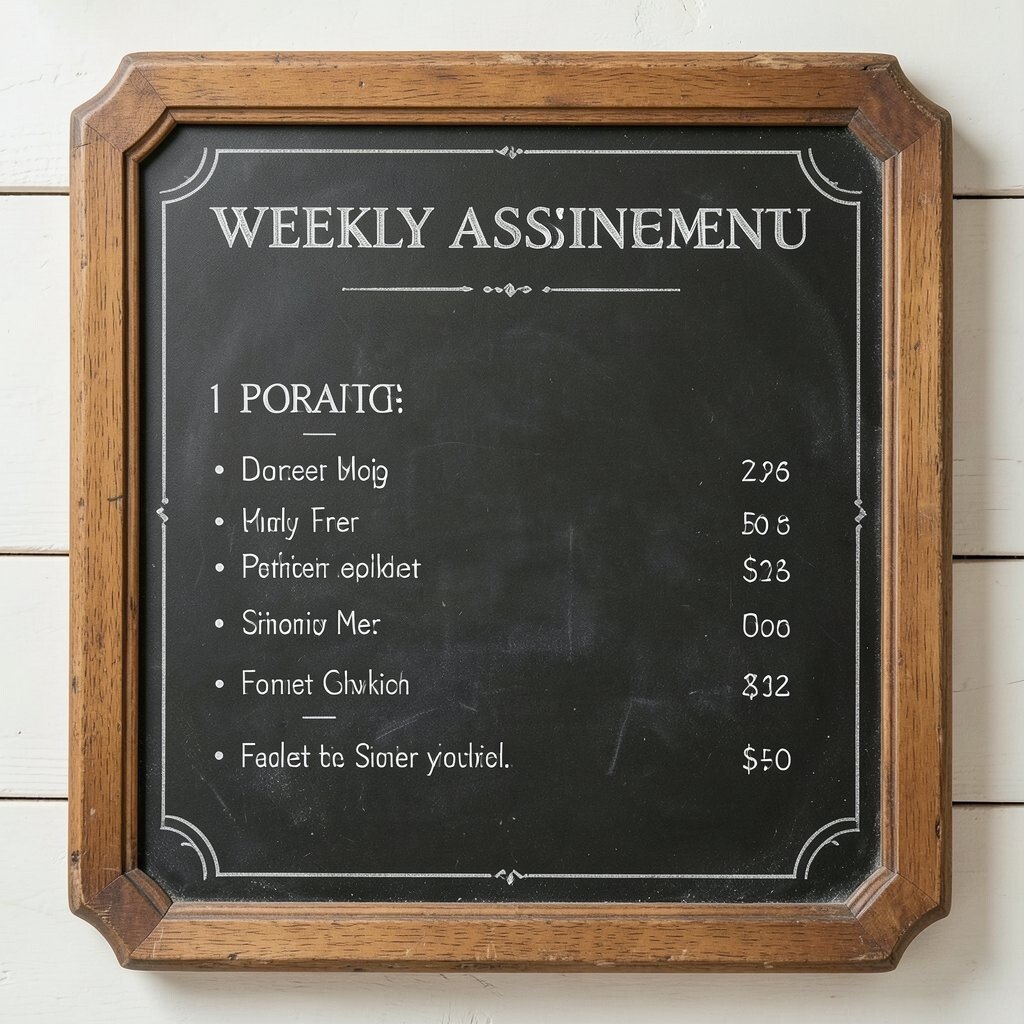
Draw a thin frame around the board and place “Weekly Menu” centered near the top. Add vintage-style corner flourishes that look delicate but not busy.
This style feels special and turns homework planning into a daily ritual. Include a short list of assignments grouped by subject, using the frame to keep everything tidy. Use an eraser that clears cleanly to preserve the vintage look.
9. Garden-Path Layout With Steps and Leaves
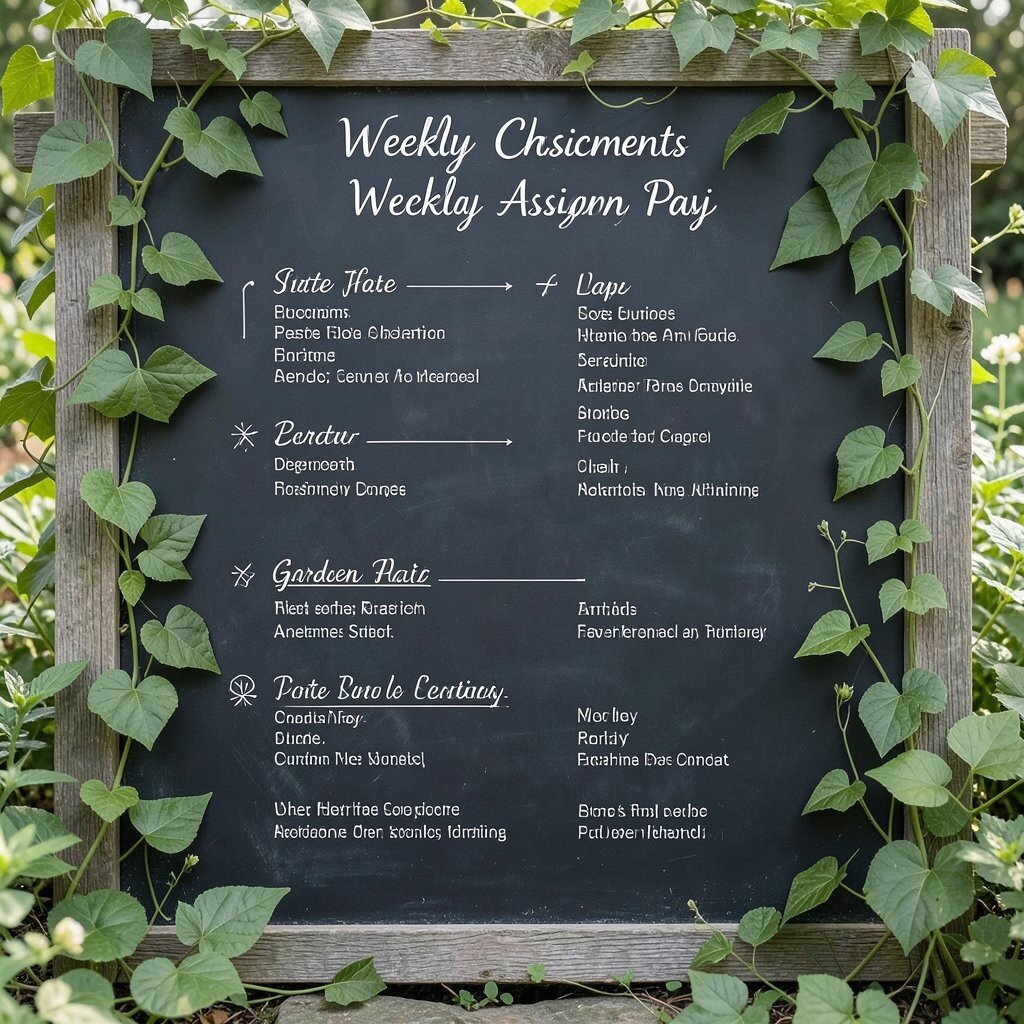
Draw a curved “garden path” starting at the top and leading down through the tasks. Place each assignment along the path like stepping stones, and add leaves near the ends of the week.
Kids respond well to this kind of visual storytelling because it feels like progress. Benefits show up when tasks stay ordered and easy to remember during transitions. Personalize the leaves to match seasons, such as spring buds or autumn shades, using different chalk tones.
For a practical workflow, write each task with a verb like “Read,” “Practice,” and “Sort,” so it’s action-focused. Cost stays friendly since it mainly uses chalk and a simple eraser. Keep the path smooth by lightly sketching first, then pressing only when you like the placement.
10. Geometric Blocks With Clean Handwriting Zones
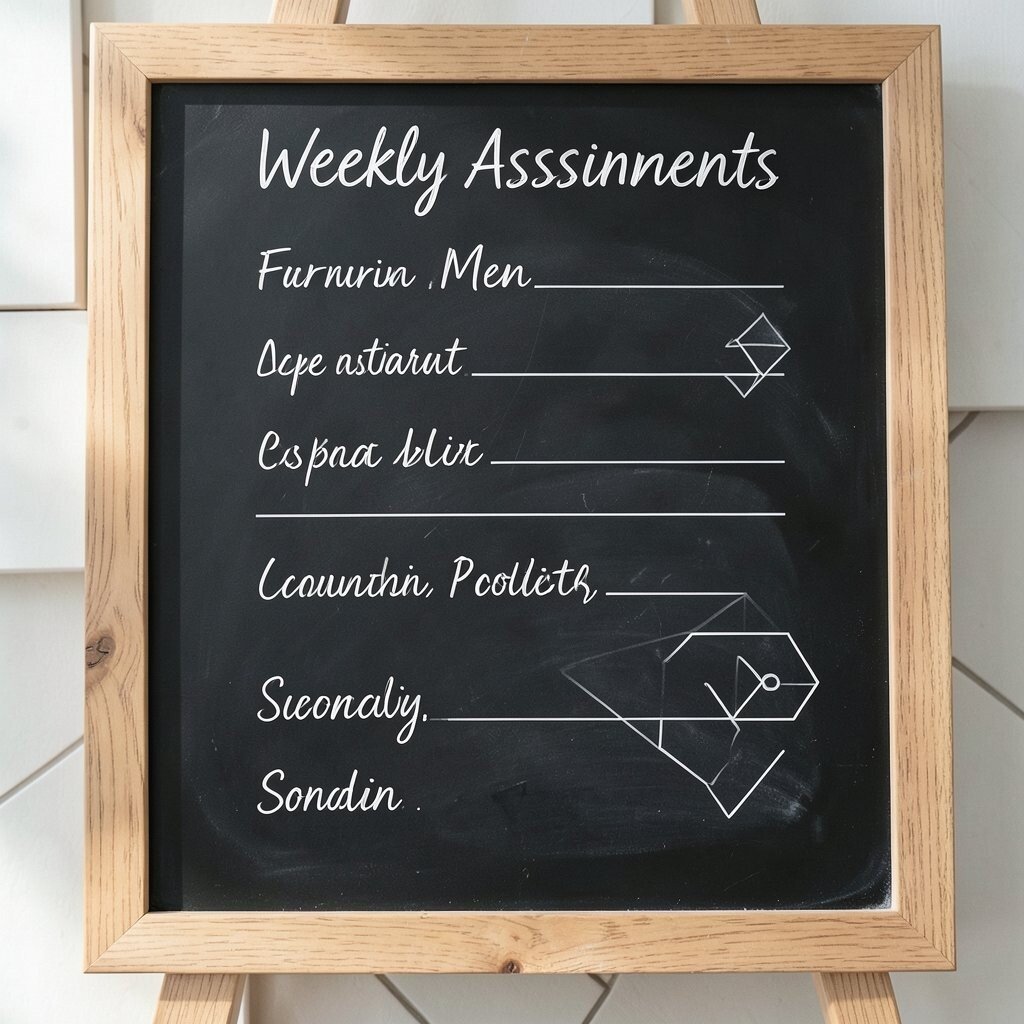
Use geometric blocks to separate assignments into clear zones, like rectangles for schoolwork and circles for fun activities. Keep handwriting inside each shape neat and consistent in size.
This helps reduce overwhelm because students see categories instantly. Use borders drawn with ruler lines if you want extra crisp edges. Personalize by adding one patterned shape per student, such as stripes or polka dots, around their favorite zone.
11. Chalkboard Menu With Monthly Goals Under the Week
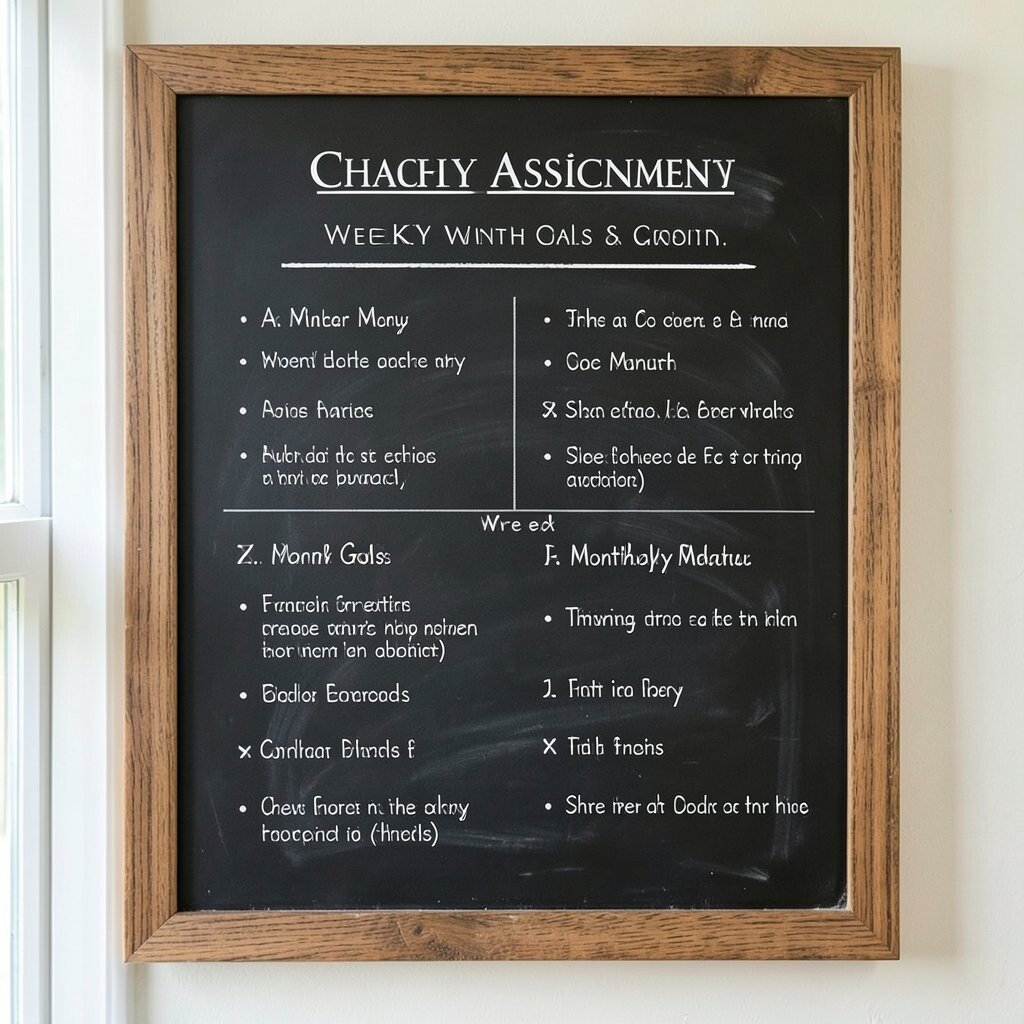
Place weekly assignments in the center, then add a small strip at the bottom for monthly goals. The goals should be simple and steady, like “Build reading stamina” or “Improve math confidence.”
This gives kids a bigger picture without making the weekly board too busy. When students can connect weekly tasks to longer goals, motivation usually rises. Personalize by letting each student pick one goal phrase and one tiny icon to match it.
To keep it practical, change only the weekly part each week and keep the goals strip for the whole month. For cost considerations, a single chalk set with consistent colors is enough to make the strip stand out. Use trend-friendly spacing with lots of air between the weekly list and the goal line.
12. Cozy Cabin Style With Icons for Every Subject
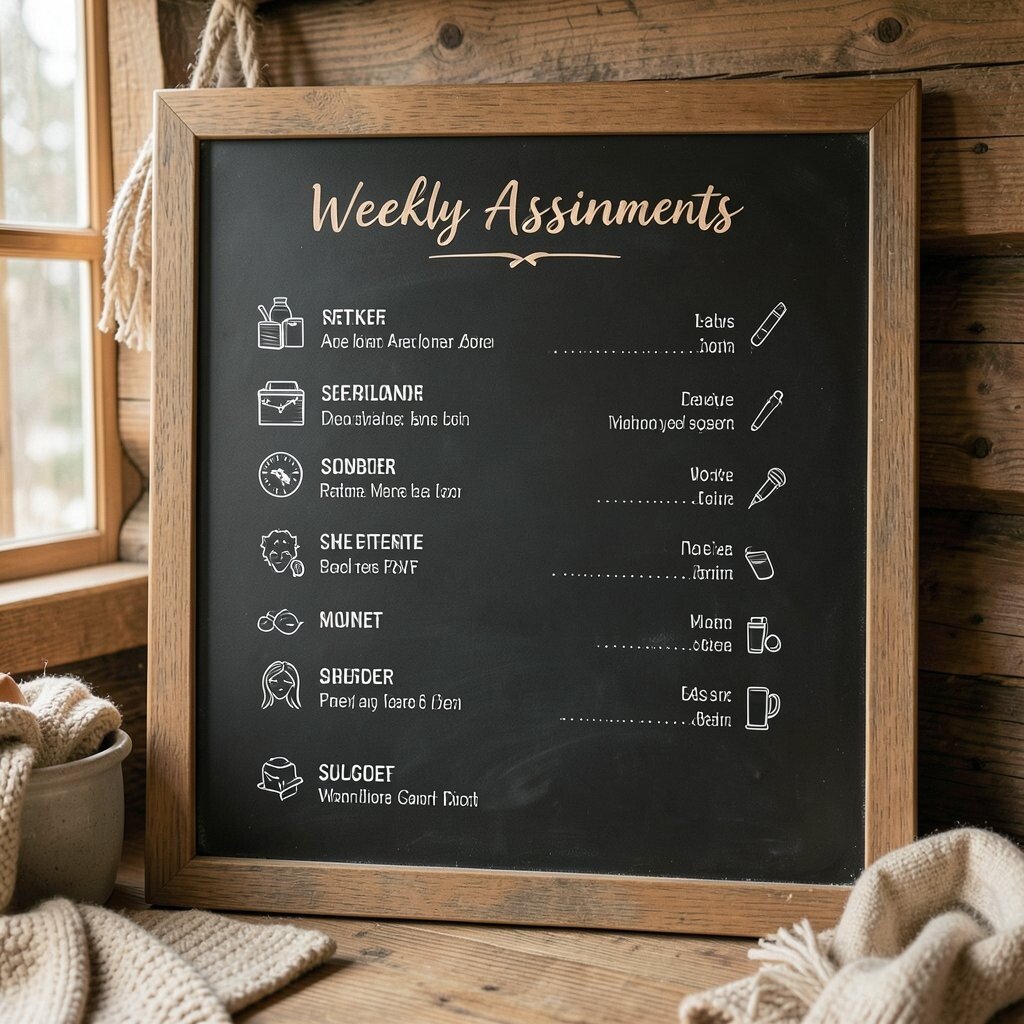
Draw small cabin-like houses or simple wood planks as a backdrop for the weekly schedule. Then add subject icons such as a book, a pencil, and a globe next to each assignment.
This board feels cozy and welcoming, especially for students who dislike formal homework lists. The icons help with quick reading, so students don’t have to decode long text. Personalize the cabin theme with their favorite animal mascot or a tiny “homework stove” doodle near practice tasks.
For a practical approach, keep each icon the same size so the board looks balanced. Cost stays low because most themes only need chalk and a steady hand. If the board lives in a high-traffic place, use thicker chalk to keep icons visible from across the room.
13. Minimal Headlines With Big Check Boxes
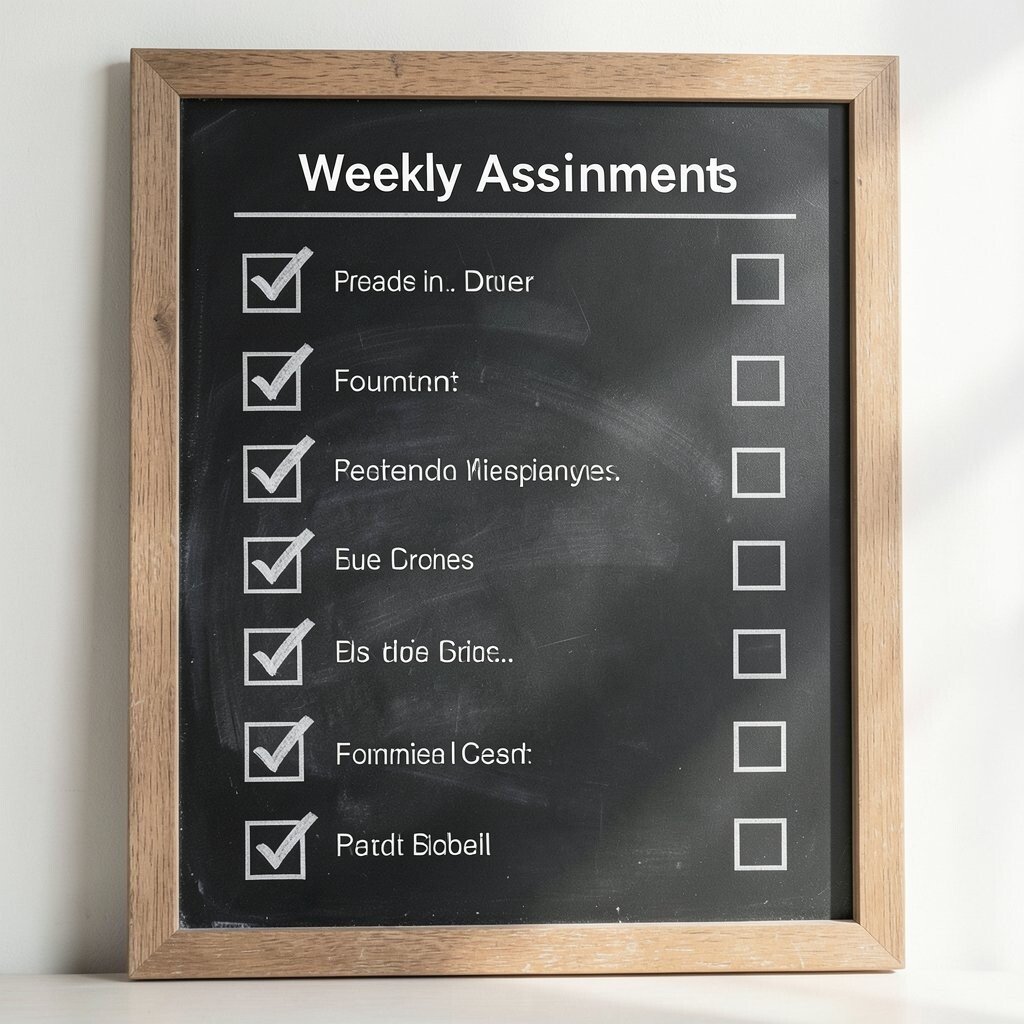
Write one clear headline for the week and then list assignments below with large check boxes. The boxes should be big enough to feel satisfying when they’re marked.
This design is great for focus because the check boxes guide attention to completion. Use short assignment lines, and avoid writing paragraphs that eat space. Personalize by choosing one accent color for the check boxes that matches a student’s favorite backpack color.
14. Chalkboard Menu With “First, Next, Last” Flow
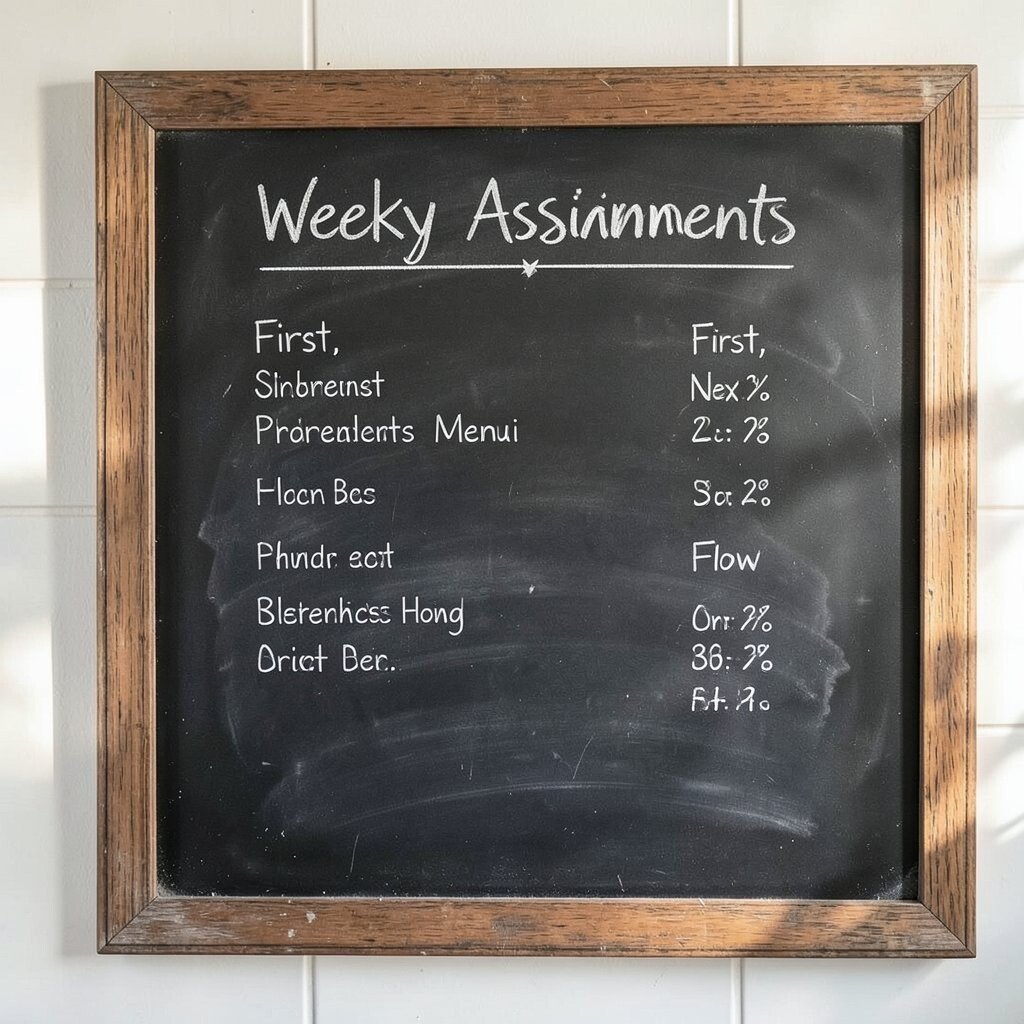
Create three sections that show the order of the week using “First, Next, Last” wording written in different chalk shades. Add small arrows or curved connectors between the sections for extra clarity.
Students benefit because they always know what should happen right after school. When order is clear, work time often feels smoother and calmer. Personalize the colors by letting the student choose which shade feels like “go time.”
15. Storybook Character Theme for Weekly Assignments
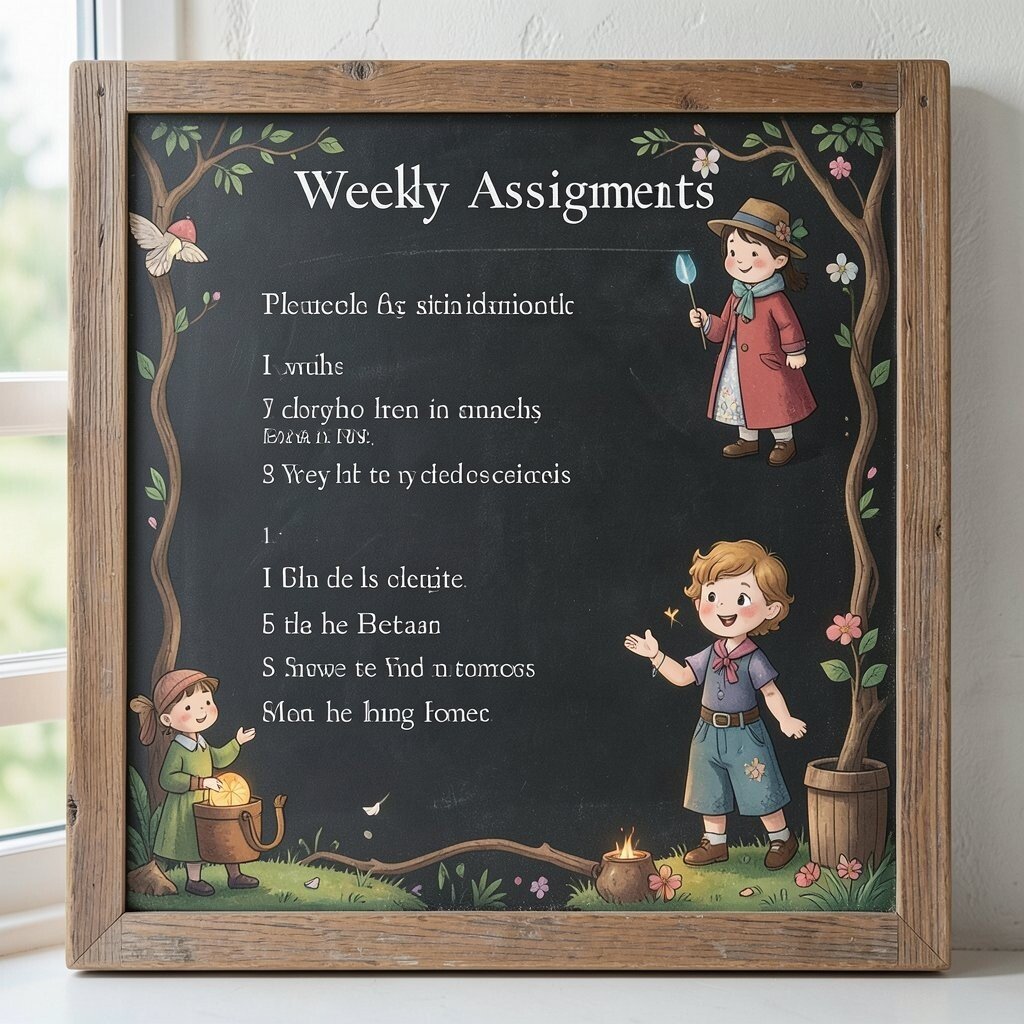
Pick a simple storybook style and give each subject a character, like a little detective for mystery reading or a builder for writing. Keep the characters small so the board remains functional.
This theme makes assignments feel friendly and helps kids remember what each task is about. Use a short line under each character to describe the assignment in kid-friendly language. Personalize by letting students draw one character on their chosen day, using light chalk first and thicker chalk for final lines.
For practical cost considerations, use stencil shapes or draw with simple circles and triangles to save time. Trends in classrooms often include playful visuals, so your theme will feel current while still being easy to update. Erase the character details carefully so the board background stays clean and uniform.
16. Ombre Chalkboard Shading Behind Subject Headers
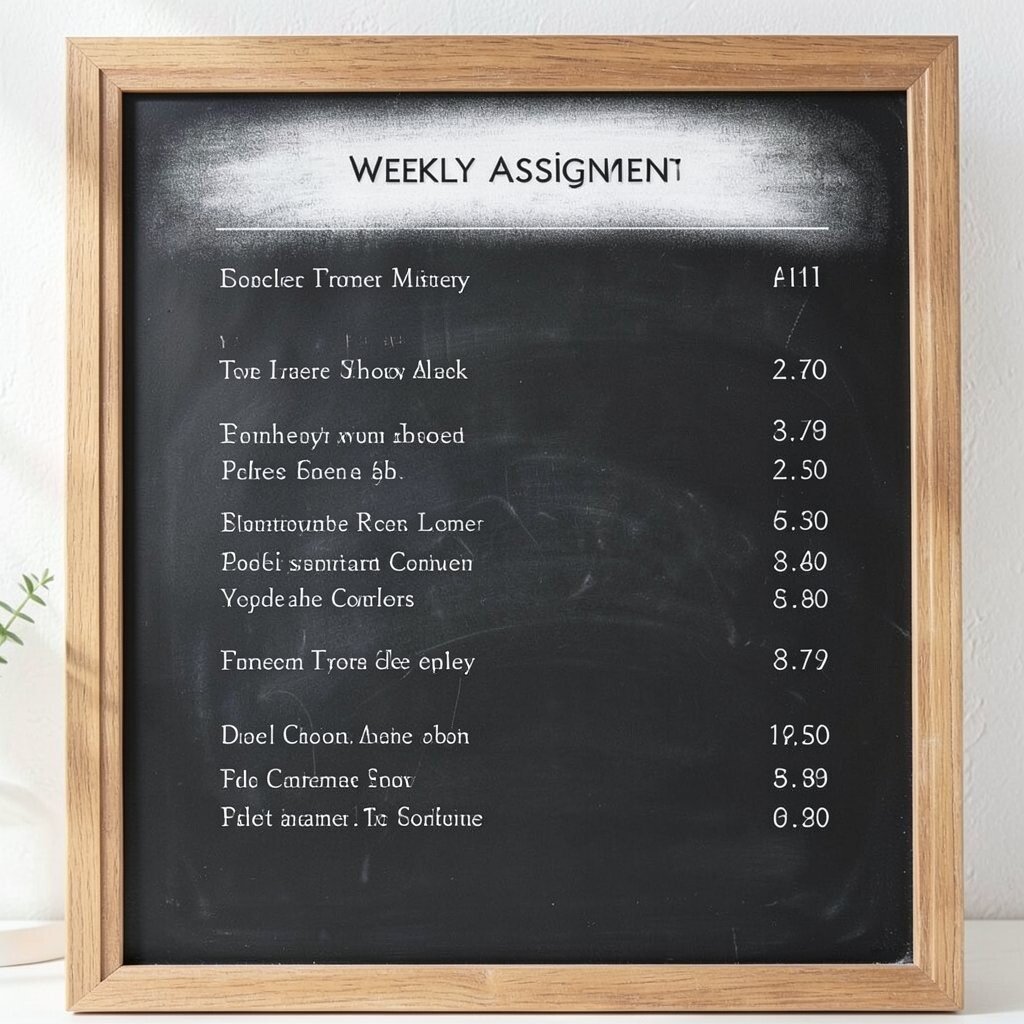
Soften the look with an ombre-style shading behind the subject headers using light chalk smudges. Write the text on top of the shading so it pops without needing heavy lines.
This creates a smooth, elegant background that feels modern but still easy to read. Students benefit because the headers stand out clearly, helping them find the correct tasks quickly. Personalize by matching the ombre colors to classroom vibes, like cool blues for calm or warm oranges for energizing.
For practical tips, start with very light chalk layers and build gradually so mistakes are easier to erase. Cost stays manageable because you don’t need expensive supplies, just a few chalk colors and a soft cloth. Keep the shading limited to header areas so the board never becomes too dark.
17. Seating-Chart Inspired Weekly Assignments Layout

Design the board like a seating chart with simple circles or rounded name tags, each holding one assignment group. Add small lines that connect the circles into an easy path down the page.
This layout is unique because it feels organized like a classroom, not like a messy list. It also helps kids see how tasks link together during the week. Personalize by using each student’s preferred shape or by labeling sections with their initials and a friendly nickname.
To keep it practical, write only a few tasks per circle and reserve space for quick updates. Cost is low since it relies on standard chalk and a consistent board cleaning routine. For current trends, keep lines thin and shapes neat, creating a clean modern vibe.
18. Night-Sky Board With Constellations of Assignments
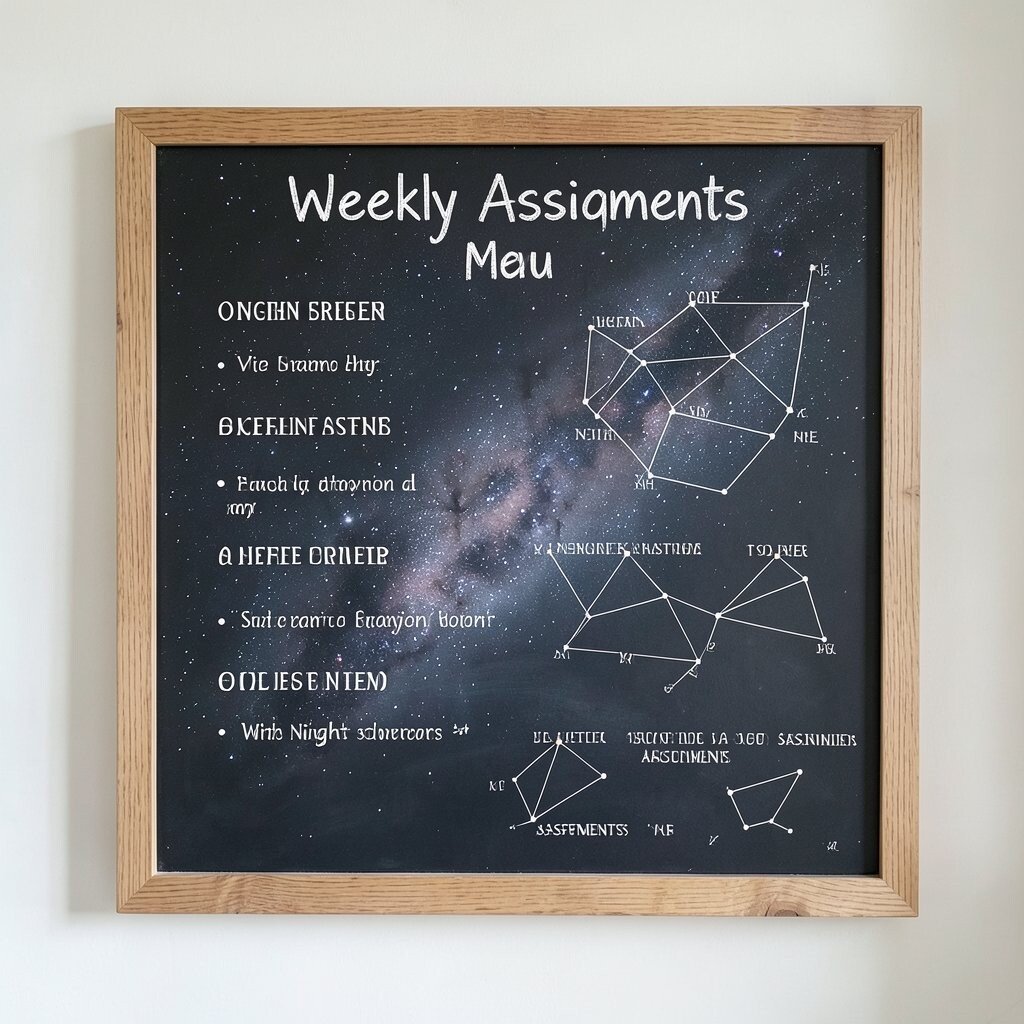
Draw a night-sky background with tiny dots and connect them into constellation lines above the weekly tasks. Place assignments beneath each constellation point like they belong to a bright little map.
This theme can feel calming at the end of the day, especially for families who plan at night. The visual separation helps students focus, because each section looks like a separate star cluster. Personalize by letting kids pick a “favorite constellation” theme and assigning one subject to each cluster.
For practical tips, use a light hand for star dots and thicker chalk only for the assignment text. Cost considerations stay simple because you can get the full effect with a few chalk colors and a reliable eraser. If you want it to feel extra crisp, avoid smudging and keep the board dry before writing new lines.