The moment your backpack is packed, your day feels lighter. With a few clever systems, everything you need stays in the right place.
1. The “One Pocket Per Mood” Packing Rule
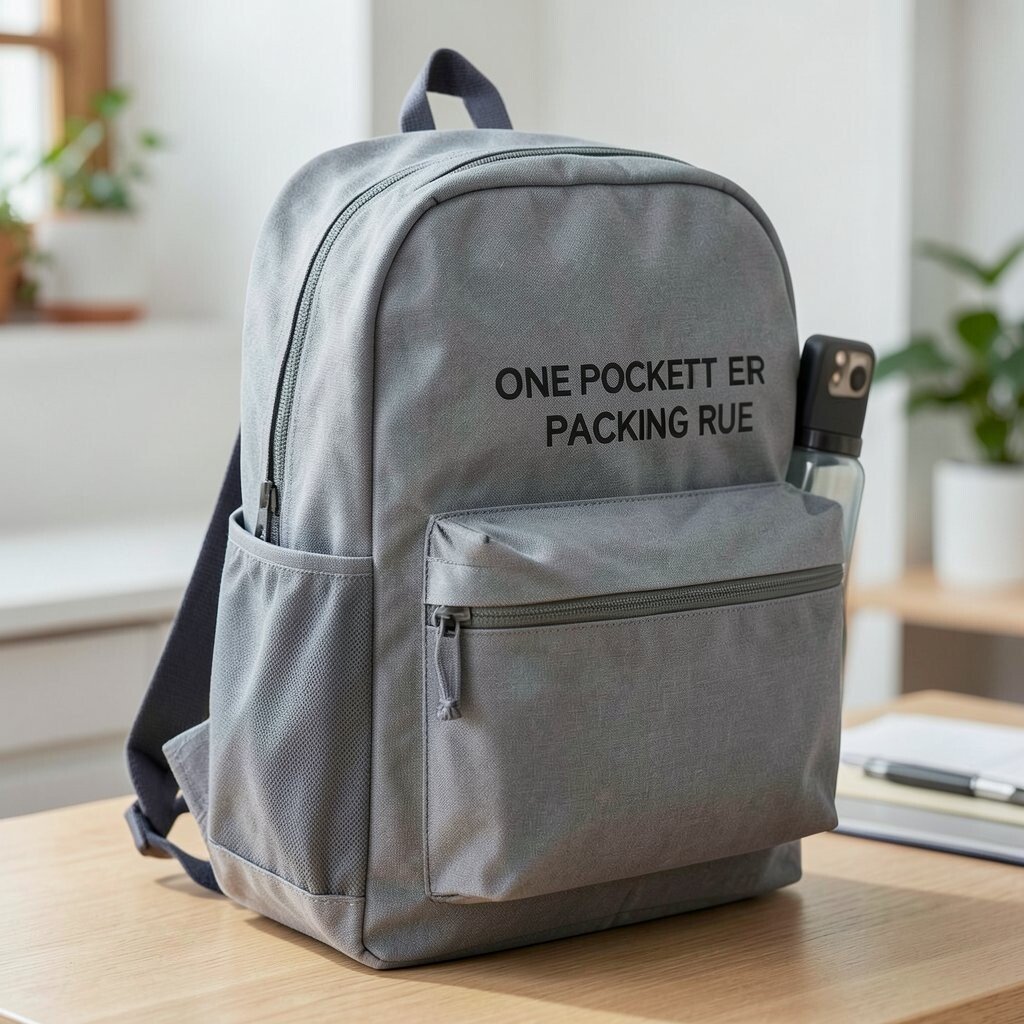
Pick pockets in your backpack and assign each one a mood for the day. One pocket holds calm items like a small notebook and pen, while another stores energy items like headphones and a snack bag.
You’ll love how it looks and feels when you open the zipper and instantly know what’s inside. To make it work, keep the same items in the same pocket every time, and use small pouches so they slide neatly.
2. Color-Coded Packing with Washable Labels
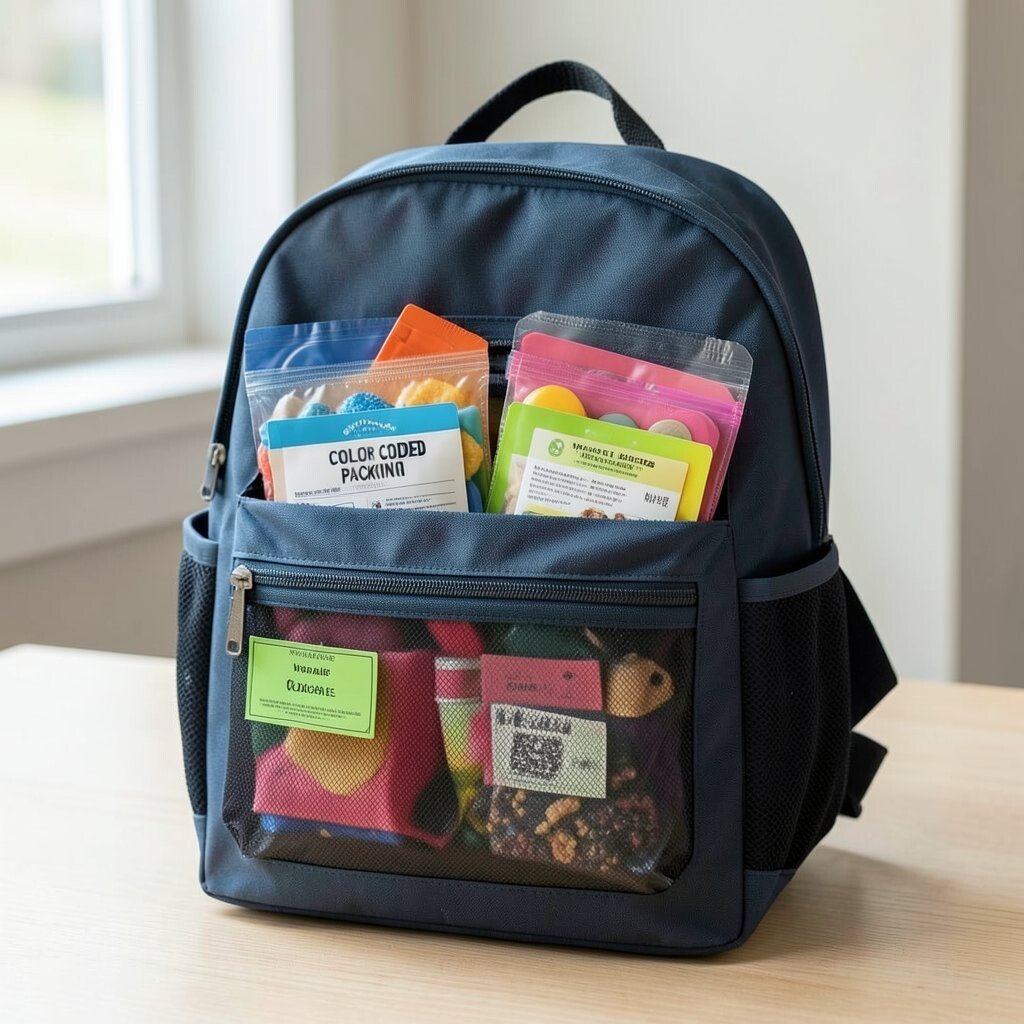
Use colored tape or washable labels to mark the inside pockets with simple visual cues. Bright colors make it easy to spot a compartment even when you’re rushing.
Choose a palette that matches your life, like blue for school, green for gym, and yellow for personal items. Keep the labels large enough to read quickly, and place them on the edge of the pocket so you don’t cover zippers or seams.
This approach is great for new routines because it reduces thinking. If you share a backpack with someone else, color-coding also helps prevent mix-ups.
3. Roll-and-Stack Fabric Tubes for Clothes
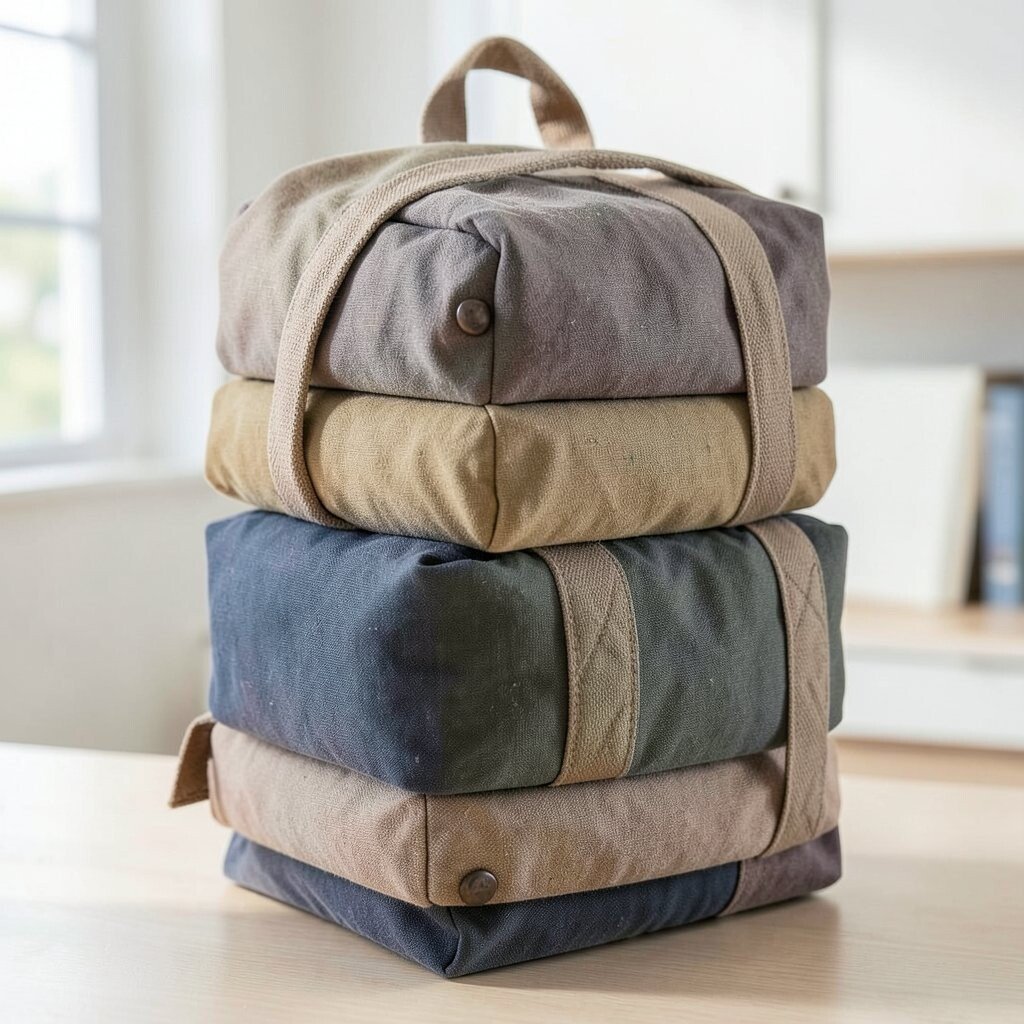
Instead of folding flat, roll clothes into tight fabric tubes that stack like building blocks. You can picture neat cylinders sitting side by side, each one easy to grab.
This method helps you pack faster because you can see exactly what you have at a glance. Try rolling shirts one direction and socks the other so you can recognize layers without opening everything.
For personalization, add a small rubber band around each category, like “tops” or “sleep,” so the roll stays tidy. If you travel often, invest in a lightweight set of compression straps, since they keep rolls snug without expensive gear.
When you’re ready to unpack, pull one roll at a time and keep the rest stacked. That saves time and keeps your clothes from getting messy in the seat pocket.
4. A Dedicated “Wet Weather” Corner
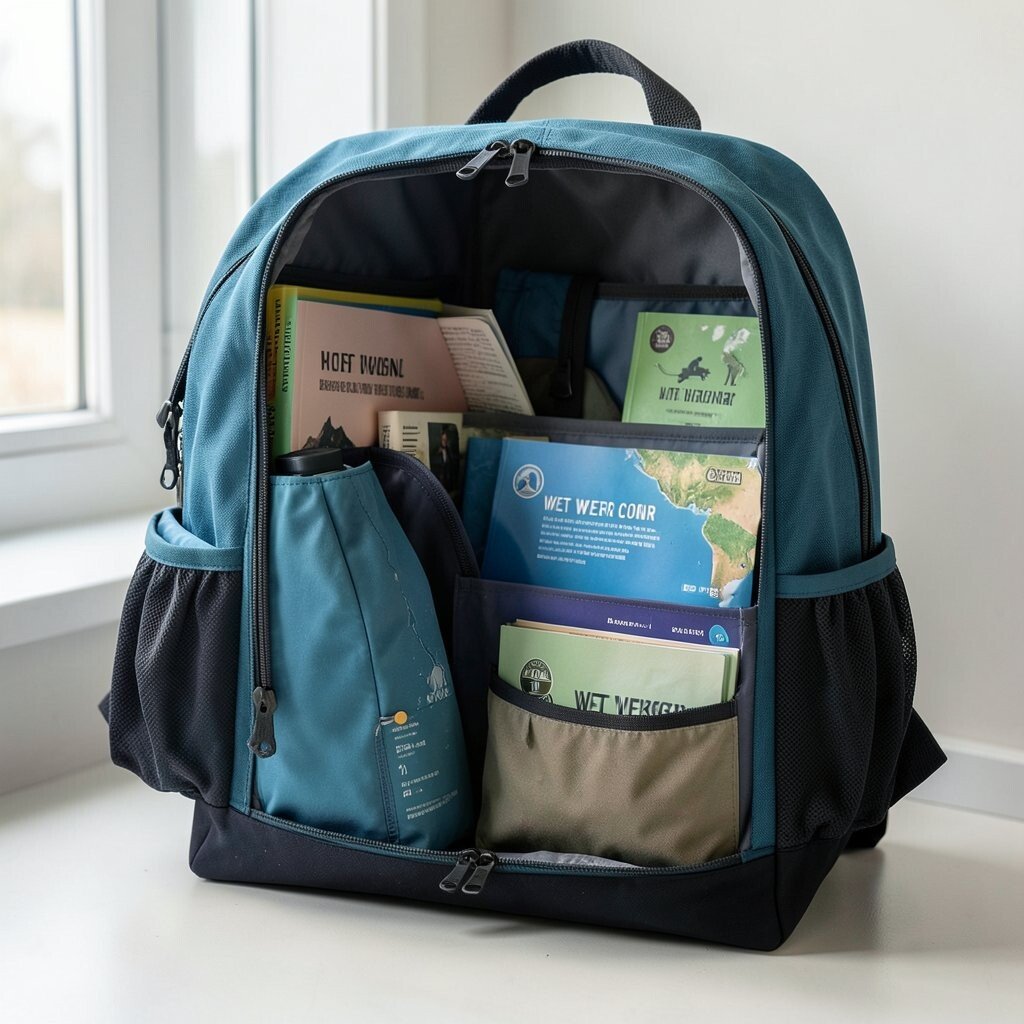
Keep a waterproof pouch or dry bag in one section for rain gear, wet wipes, and anything that might get damp. It creates a visible pocket of protection, so you never worry about leaks spreading.
This is especially helpful if you commute, live in a place with sudden showers, or carry a small umbrella. Place the wet items close to the outside of the bag so access is quick when the weather changes.
5. Cable Tidy Bands for Every Charger
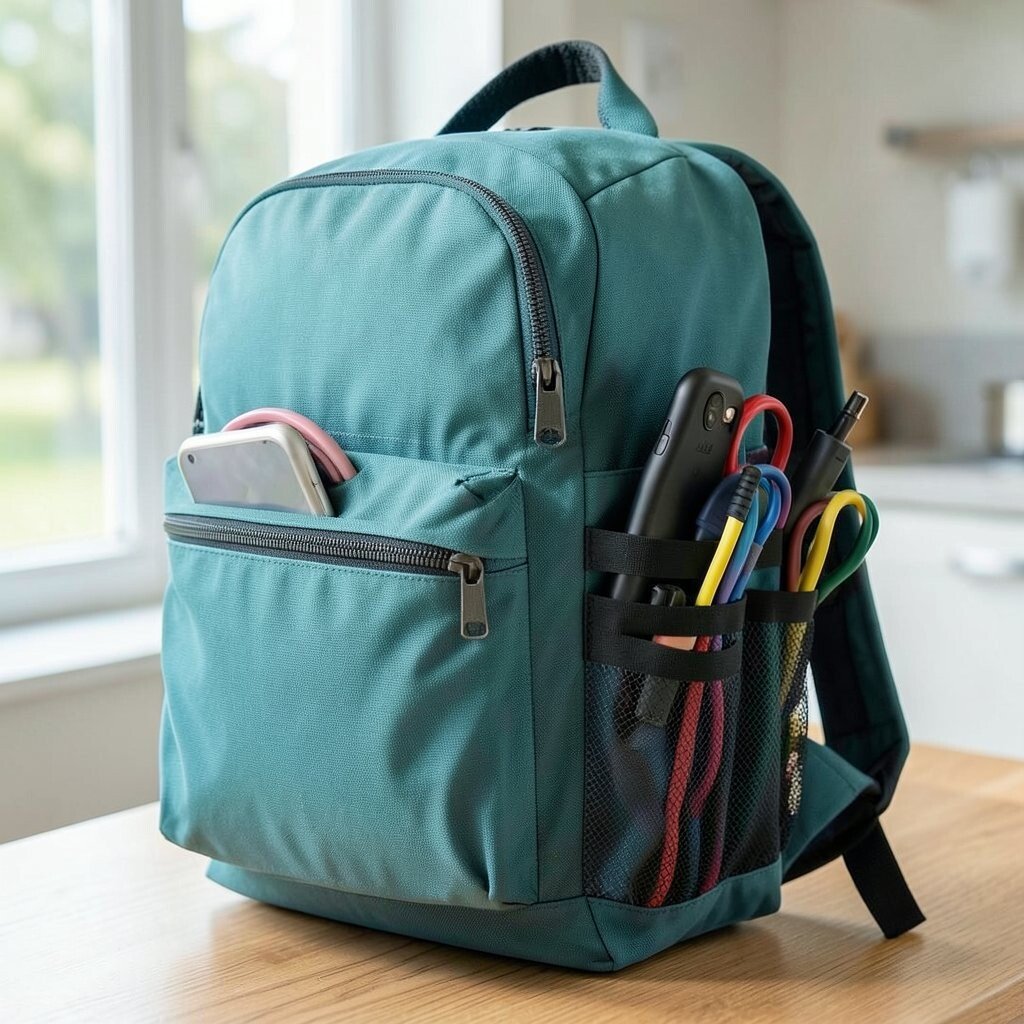
Wrap cables with tidy bands or even clean strips of fabric, then slide them into a small organizer pocket. You’ll feel the difference when each cable sits neatly like a folded ribbon instead of a tangled knot.
Separate chargers by device so you don’t hunt for the right one later. A simple label written on masking tape works well and costs very little.
If you want a trend-friendly look, use matching cable clips that snap on the outside of pouches. Just remember to keep the ends protected so the connectors stay clean.
6. The “Daily Grab” Window Sleeve
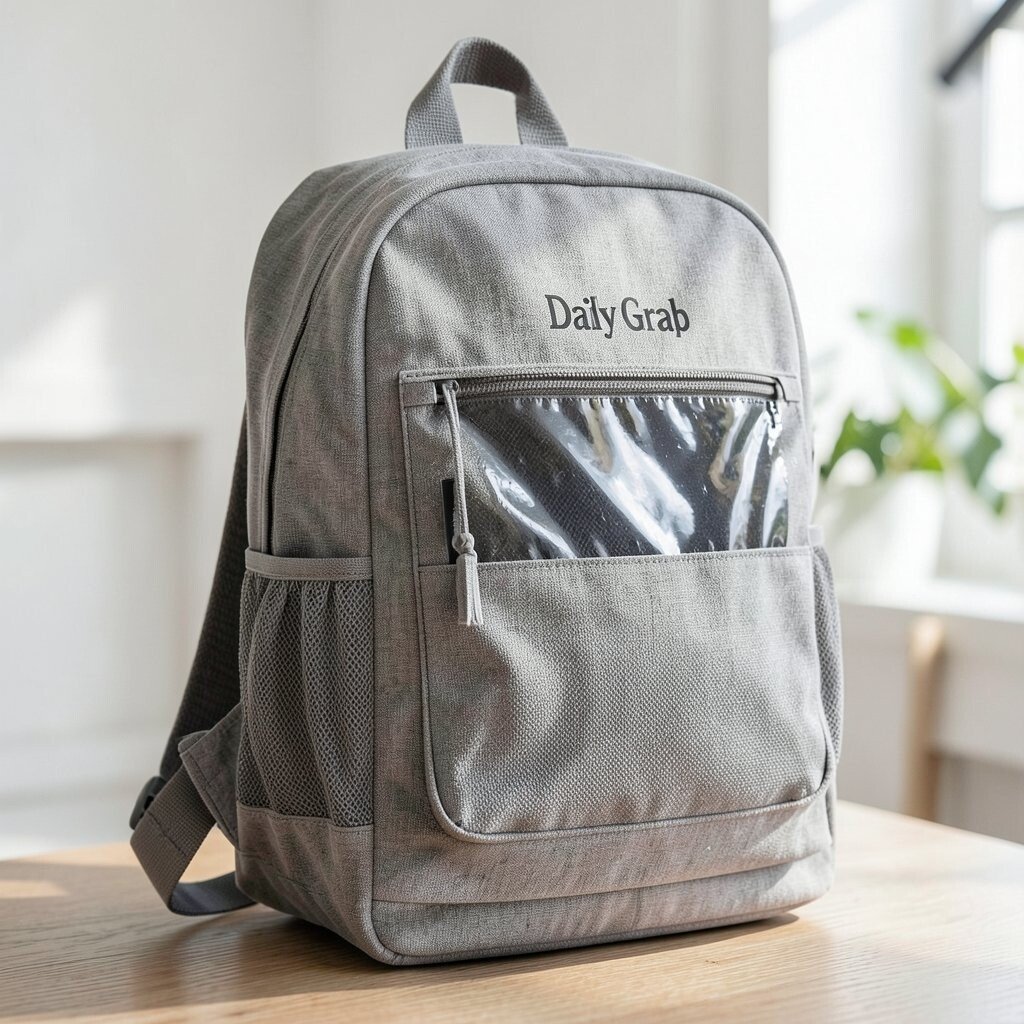
Put your most-used items into a sleeve section near the top of the bag, like a front organizer that opens wide. Think of it as your grab window where you can reach for keys, a transit card, or a lip balm without moving everything else.
This reduces the frustration of digging through layers when you’re at the door. For personalization, choose a sleeve that fits your phone size and place a small microfiber cloth in the same spot.
If you carry a tablet sometimes, add a thin divider so the sleeve stays organized. It can be as simple as cutting a piece of sturdy foam or using a folded folder insert.
7. Shoe Bag Separation with a “Soles-Only” Rule
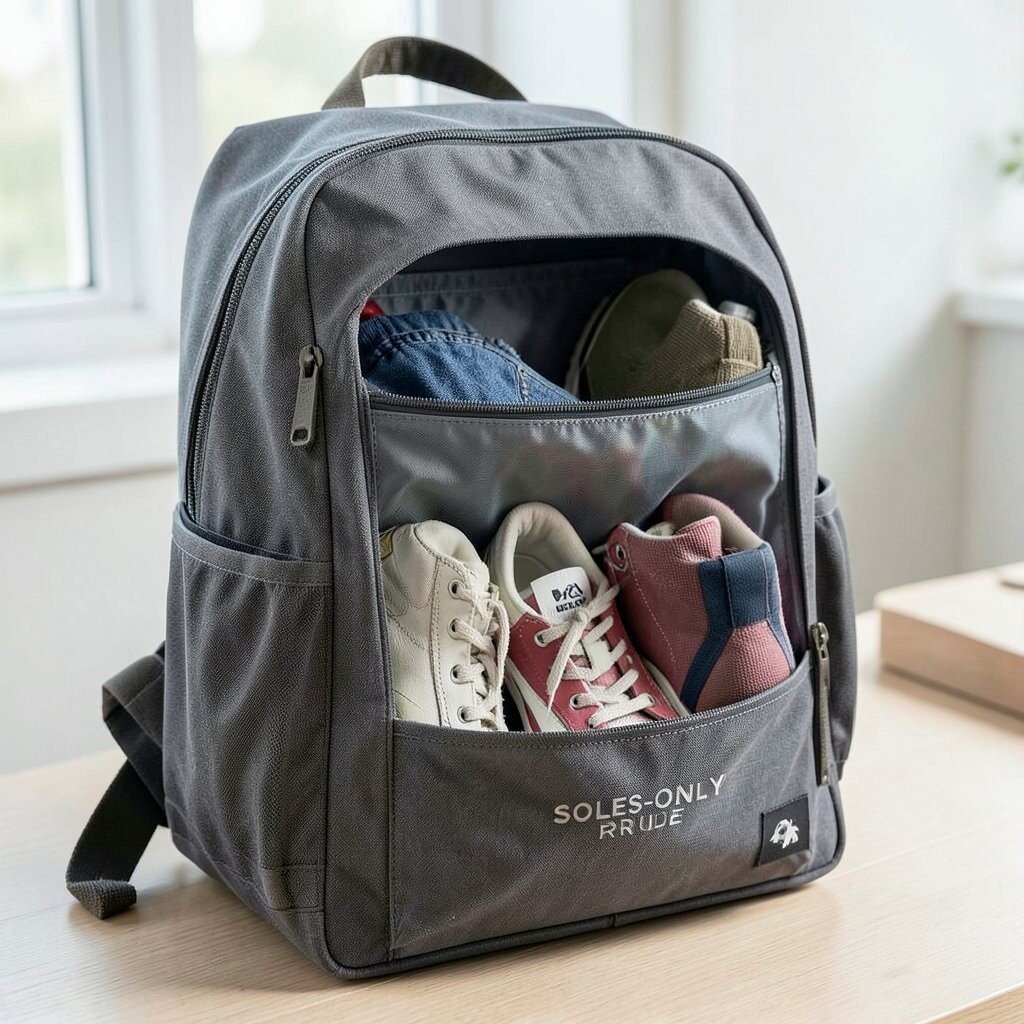
Store shoes in their own bag so your backpack stays clean and the rest of your items stay fresh. You can picture the shoe bag as a little barrier that keeps dust and smell contained.
This helps with hygiene and also protects delicate items like notebooks and electronics. Keep the bag toward the bottom so weight distributes well and the center stays steady.
For practical packing, use a small towel inside the shoe bag to absorb moisture if you sweat. If cost matters, reuse a plastic grocery bag lined with a cotton bag, and replace it often.
8. Use a Mini Binder Clip for Loose Notes
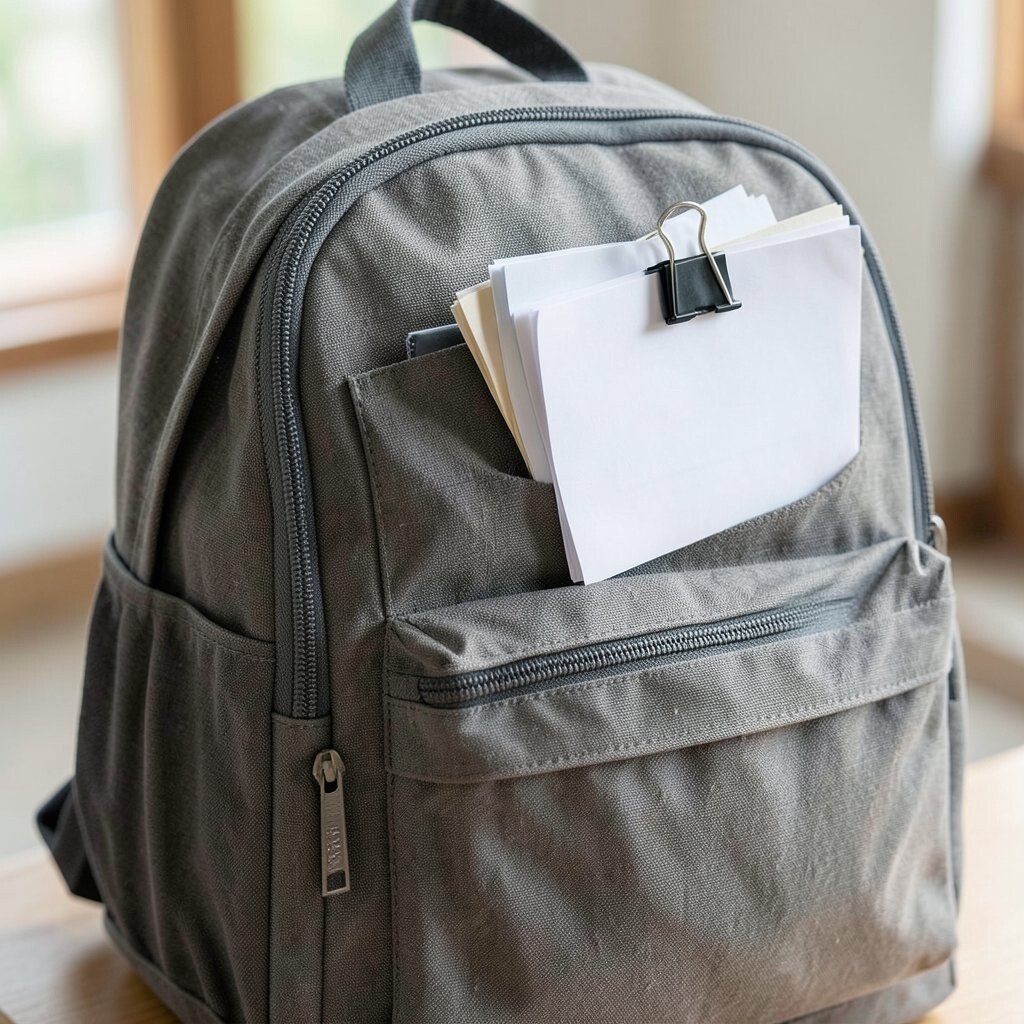
Instead of letting receipts and notes float around, clip paper into a stack with a small binder clip. The sight of everything pinned together feels satisfying and easy to manage.
You’ll avoid the tiny chaos of losing important pages in the bottom of the bag. Try placing the clip in an interior pocket so it stays flat and doesn’t bend.
9. The “Layered Access” Strategy for Long Days
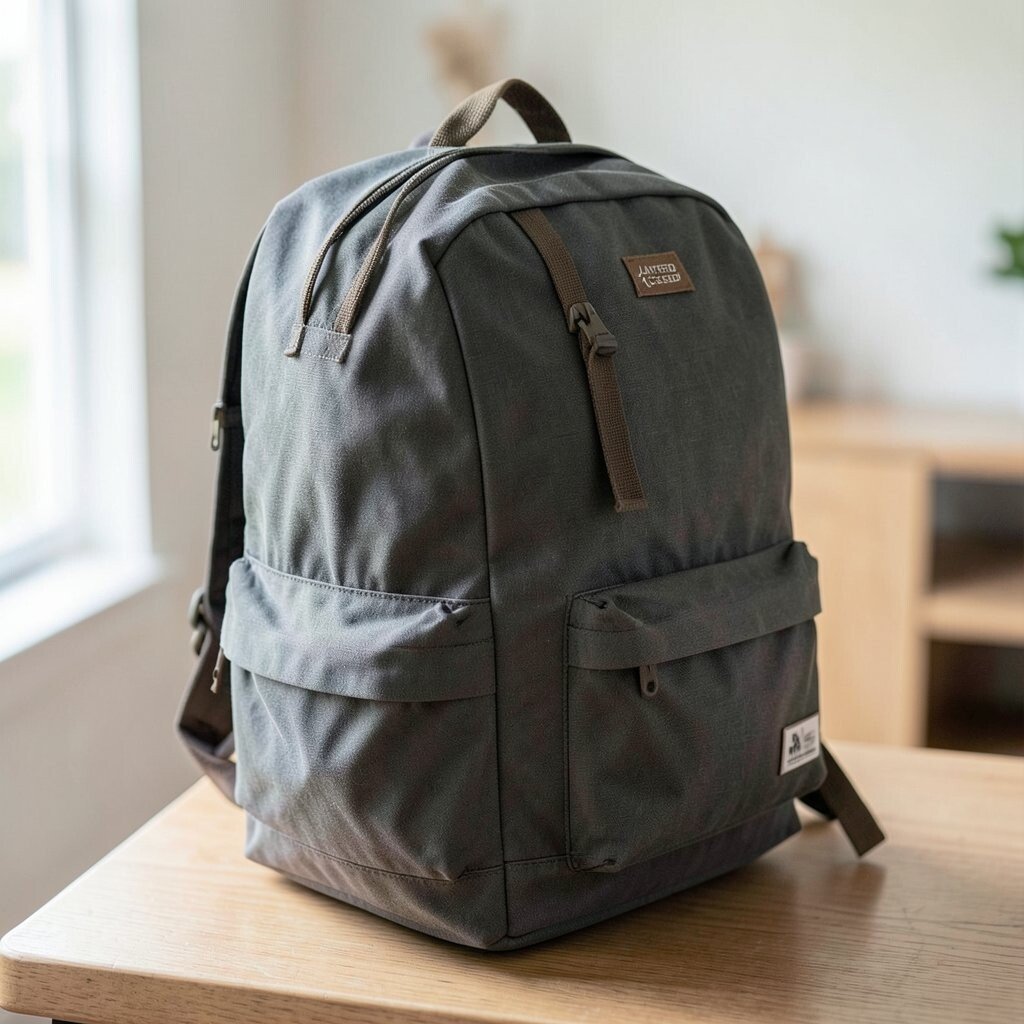
Plan your bag like a set of layers: items you need first near the top, and items you need later near the back. You can visualize a staircase of access where each layer is easy to reach.
This helps you avoid unpacking everything when you only need one item. A practical trick is to keep a small flat pouch at the top for daily items like a wallet, earbuds, and a pen.
For personalization, adjust your layers by season. In winter, put gloves near the top, while in summer, keep sunscreen and a mini fan within easy reach.
10. Micro-Pouch System for Toiletries and Small Basics
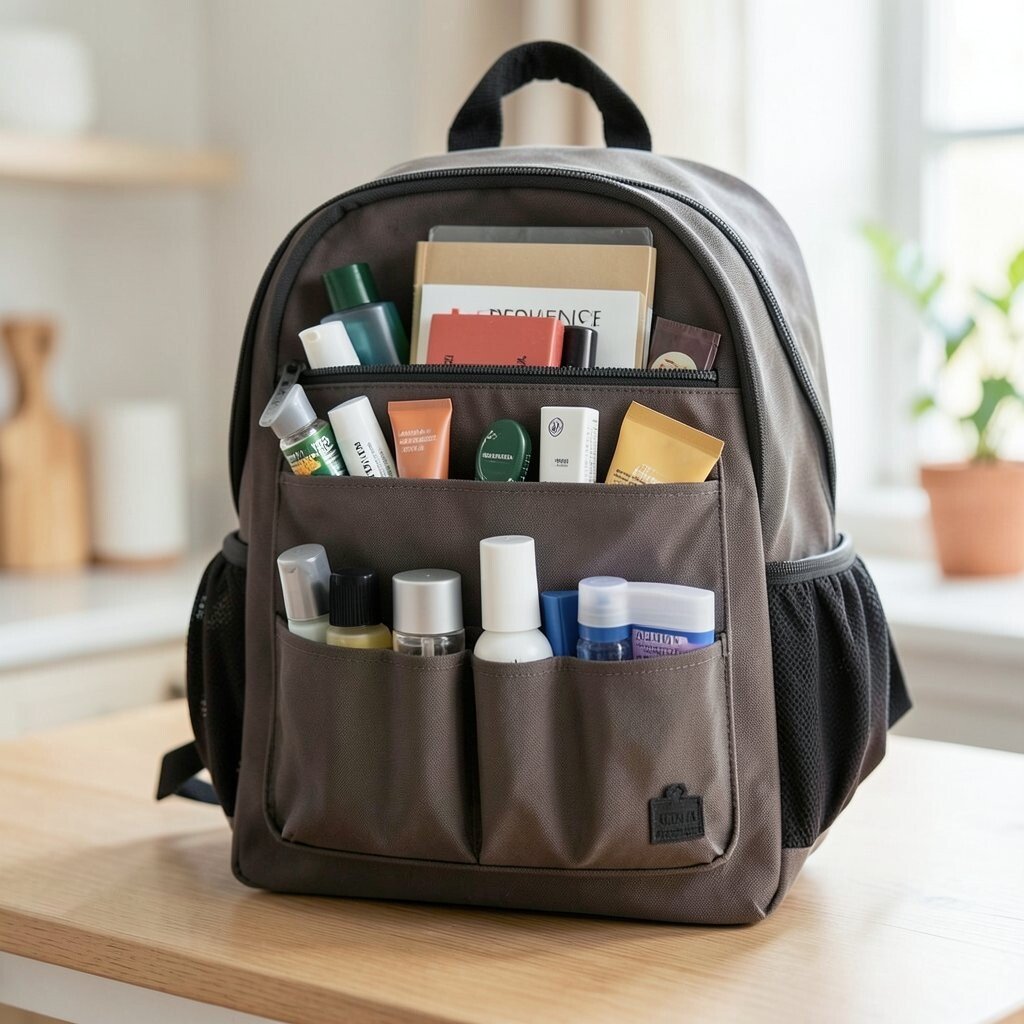
Use several small pouches for toiletries so liquids don’t mingle with dry items. When you open the bag, each pouch looks like a tidy mini drawer.
This is great for preventing spills and for staying calm when you’re in a hurry. Choose one pouch for liquids, one for brushes and tools, and one for meds, then keep them in the same compartment each time.
11. The “Book Spine” Organizer for Paper Items
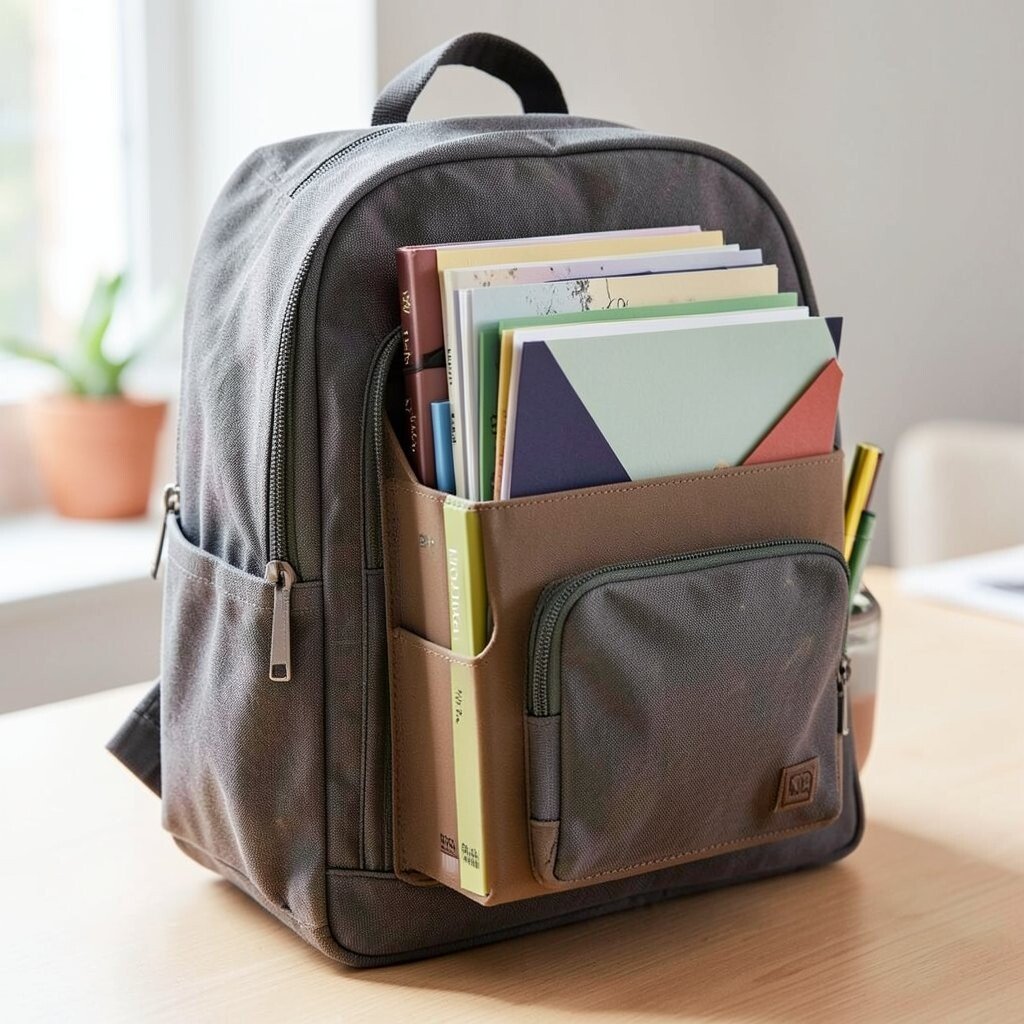
Place notebooks and paper items in a vertical space so they stand like a little library inside your backpack. It’s a clean visual system that stops papers from curling and bending.
This helps you keep assignments, letters, or travel documents ready without digging through fabric. If your backpack has a thin back pocket, use that area for paper so it stays protected against contact with your clothes.
To personalize, add a bookmark ribbon to mark your most important page. It also makes grabbing the right paper feel quick and smooth.
If you want budget-friendly options, repurpose a folder sleeve or a sturdy plastic document holder. It costs less than many commercial organizers and still works well.
12. Transform One Pocket into a “Trash and Keep” Zone
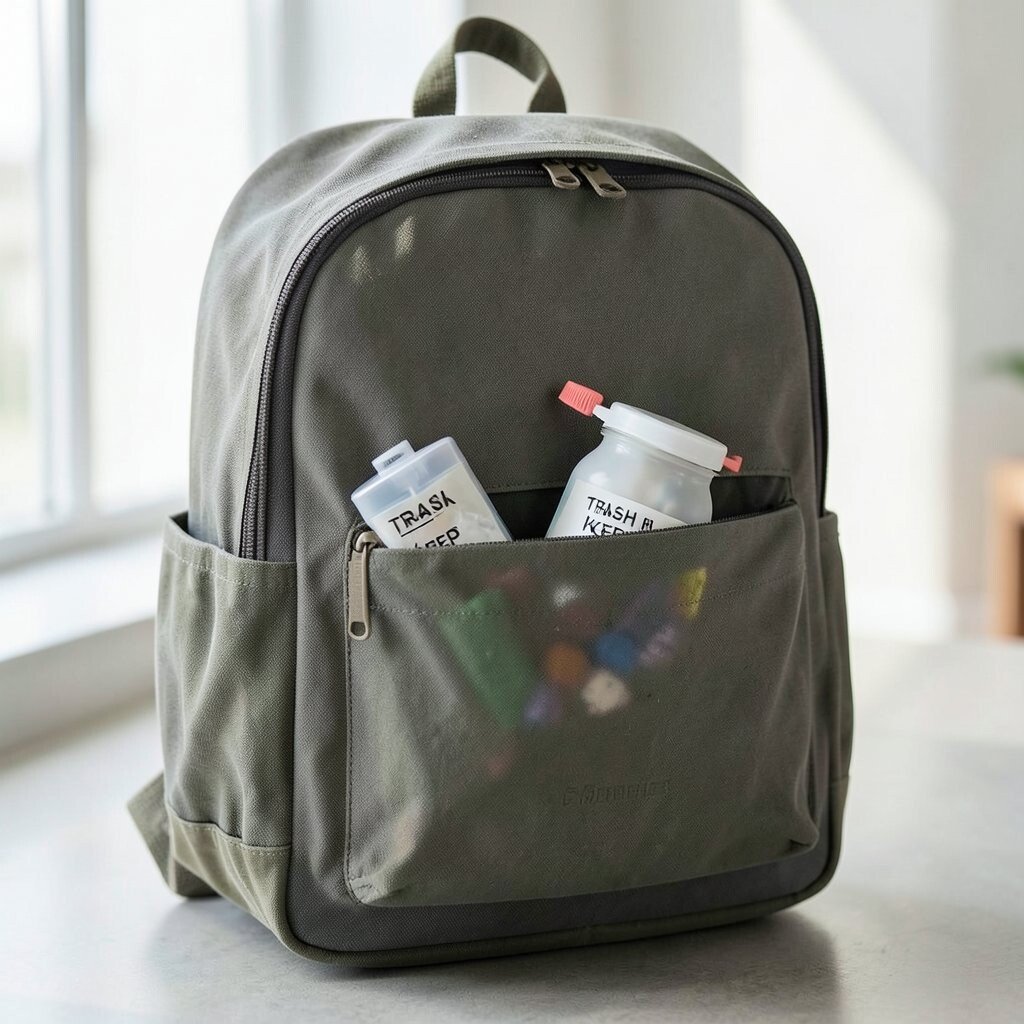
Keep a small zip bag inside your backpack for wrappers, trash, and things you plan to discard soon. You’ll notice how the bag stays neater because waste no longer mixes with clean items.
For the keep zone, store reusable items like a water bottle strap or an extra hair tie in a separate section. This split helps you stay organized during busy days without extra effort.
13. Keep a Sunglass Sleeve That Never Gets Crushed
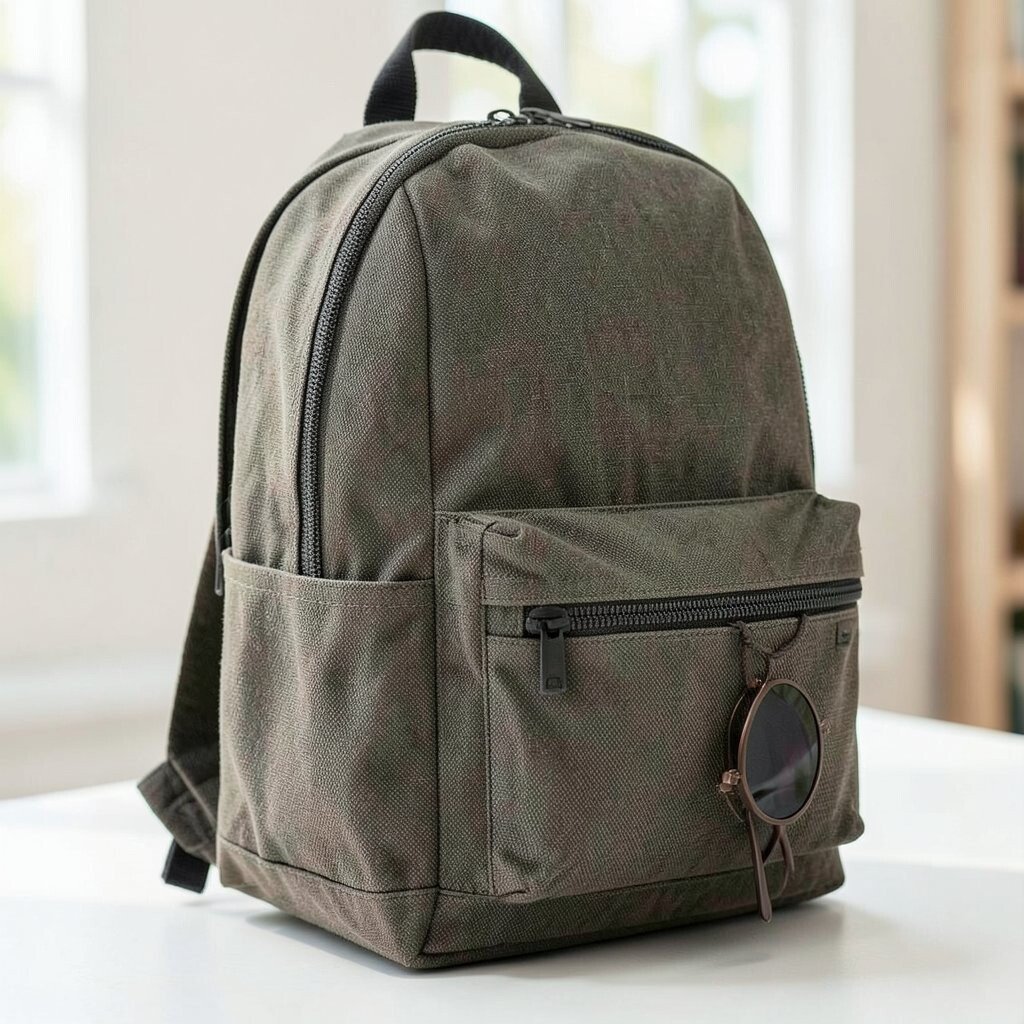
Place sunglasses in a hard case or a soft sleeve near the top so they don’t get pressed by heavy items. You can picture the case as a little shield that stays close to the opening.
This prevents scratches and keeps the lenses clear. If your backpack tends to be packed tight, choose a sleeve with a bit of padding and keep it away from chargers and keys.
A fun personalization idea is to match the sleeve color to your backpack or theme. Current trends show more people using sleek, minimal cases rather than bulky pouches, and it looks great.
14. The “Favorite Finds” Pocket for Small Joy Items
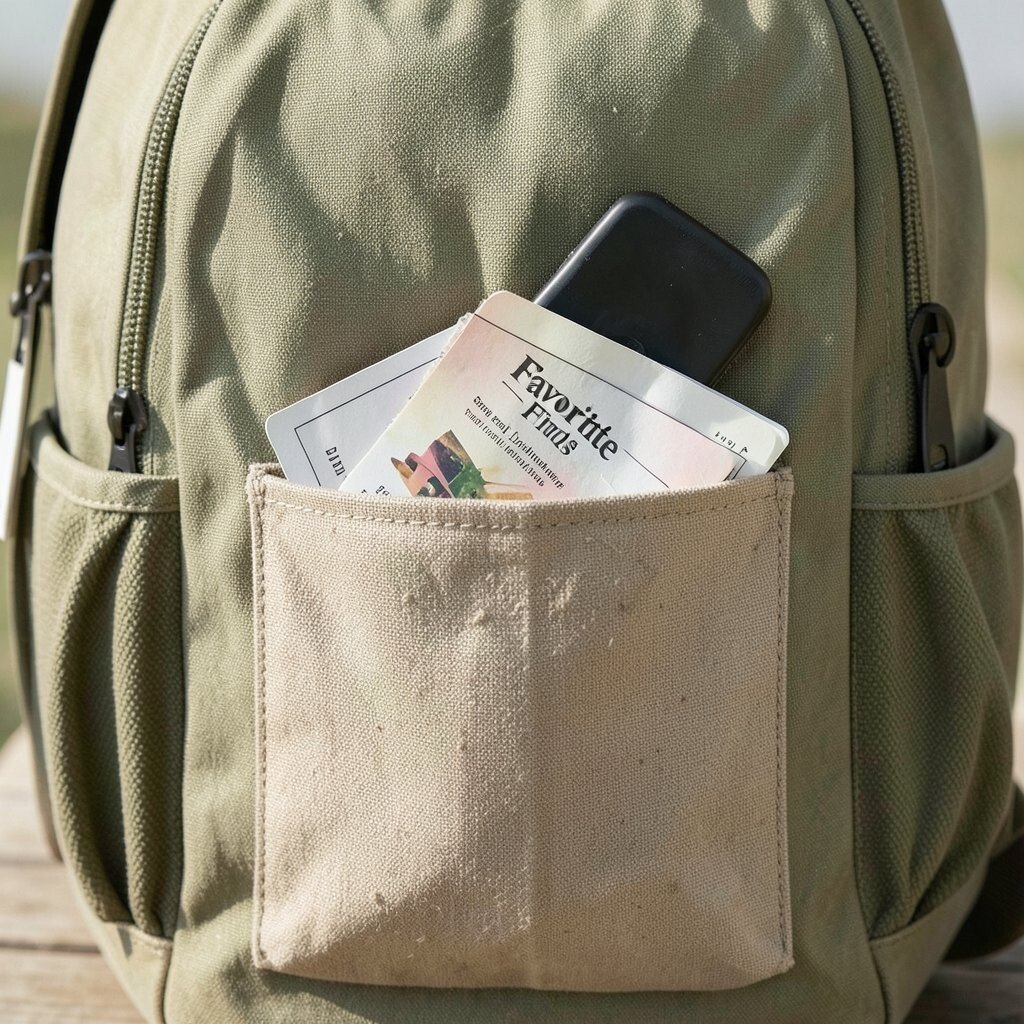
Make one pocket your stash for tiny happiness items like a deck of cards, a travel game, or a small sketch pencil. The visual of that pocket always stocked feels like a comfort spot you can reach anytime.
This keeps your backpack from becoming only practical gear. When you have downtime, you’ll be ready, and you won’t have to search around for something fun.
To personalize, rotate the items weekly so your bag matches your mood and schedule. It’s also a low-cost way to add variety because small games are easy to find secondhand.
Keep this pocket light so it won’t weigh down the bag, and place it where you can access it easily. Over time, it becomes part of your routine.
15. Compression Straps for “Stay Put” Packing
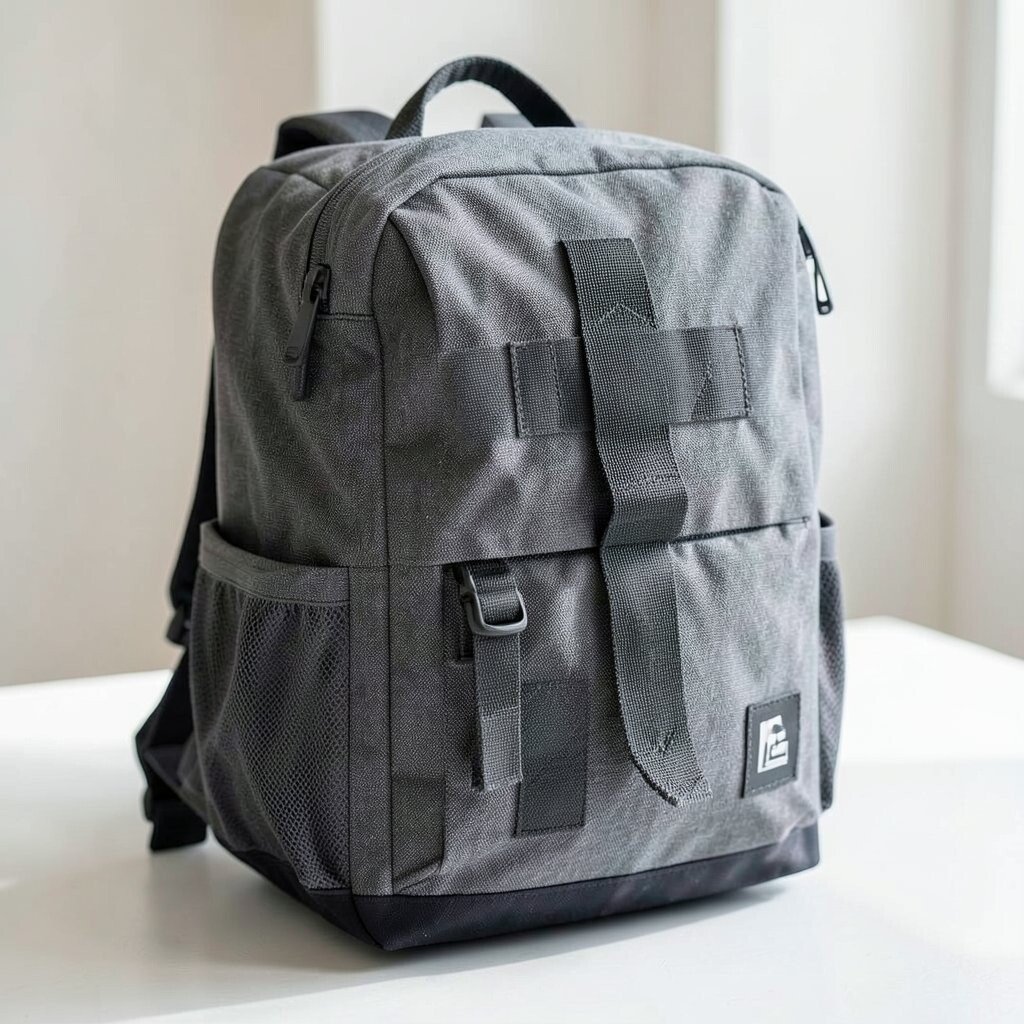
Use lightweight compression straps to keep bulky items from shifting once you pack. Imagine your clothes and pouches sitting firm instead of sliding around with every step.
This reduces wrinkles and protects items like sweaters during travel. For practical setup, strap the bag’s main compartment so everything tightens toward the center rather than the bottom.
If cost is a concern, you can use reusable cinch straps or even sturdy fabric belts. Just make sure they’re secure and won’t scratch your hands.
16. Pocket-Sized First Aid with a Clear Layout
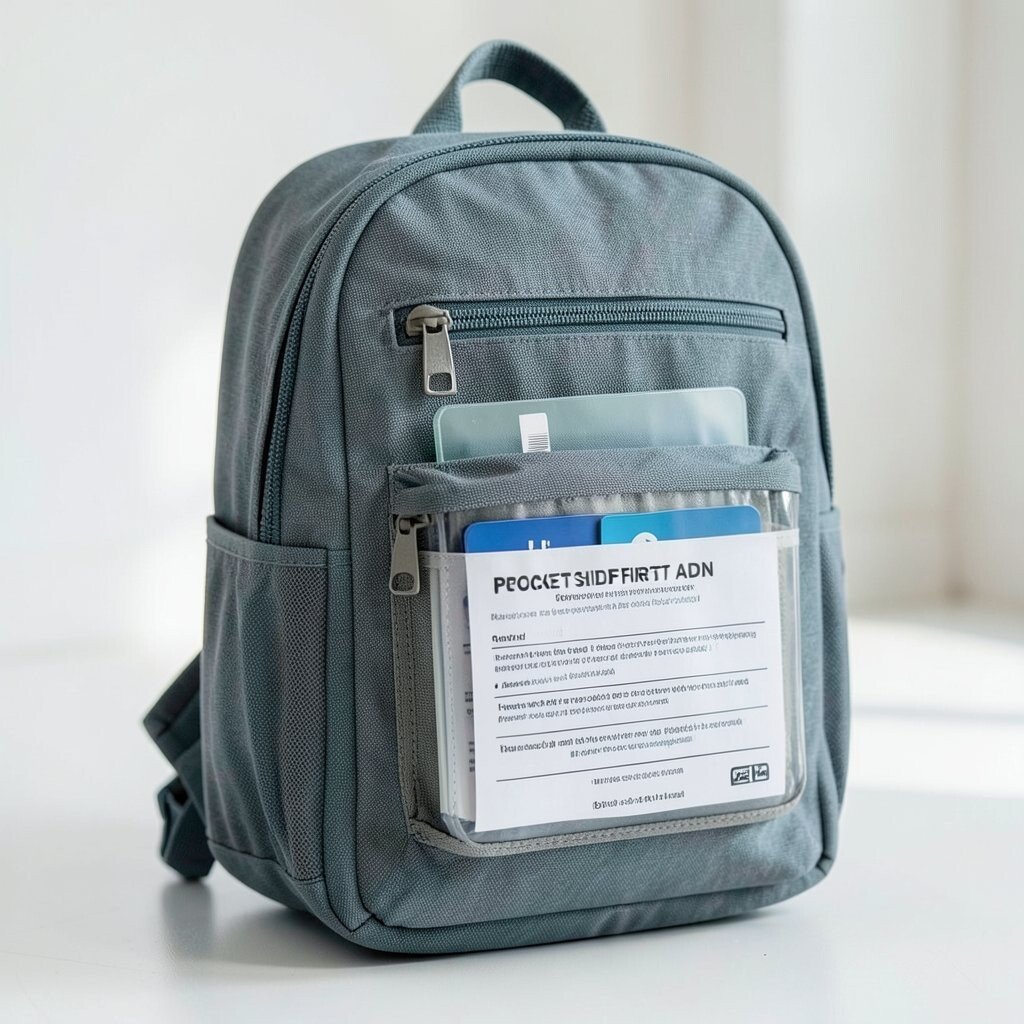
Build a small first aid pouch with basics like bandages, antiseptic wipes, and pain relief. A clear layout helps you find what you need fast, even with shaky hands.
This is a comforting system because minor problems stop from becoming big ones. Keep the pouch in a consistent location so you don’t search during emergencies.
To personalize, add items you personally use, like blister pads for your shoes or allergy meds for your needs. Many people are moving toward compact, clear pouches because they look neat and help you check supplies quickly.
For cost considerations, store your basics in a container you already own and replenish as needed. It beats buying a lot of separate kits over time.
17. The “Season Swap” Organizer for Clothing Changes
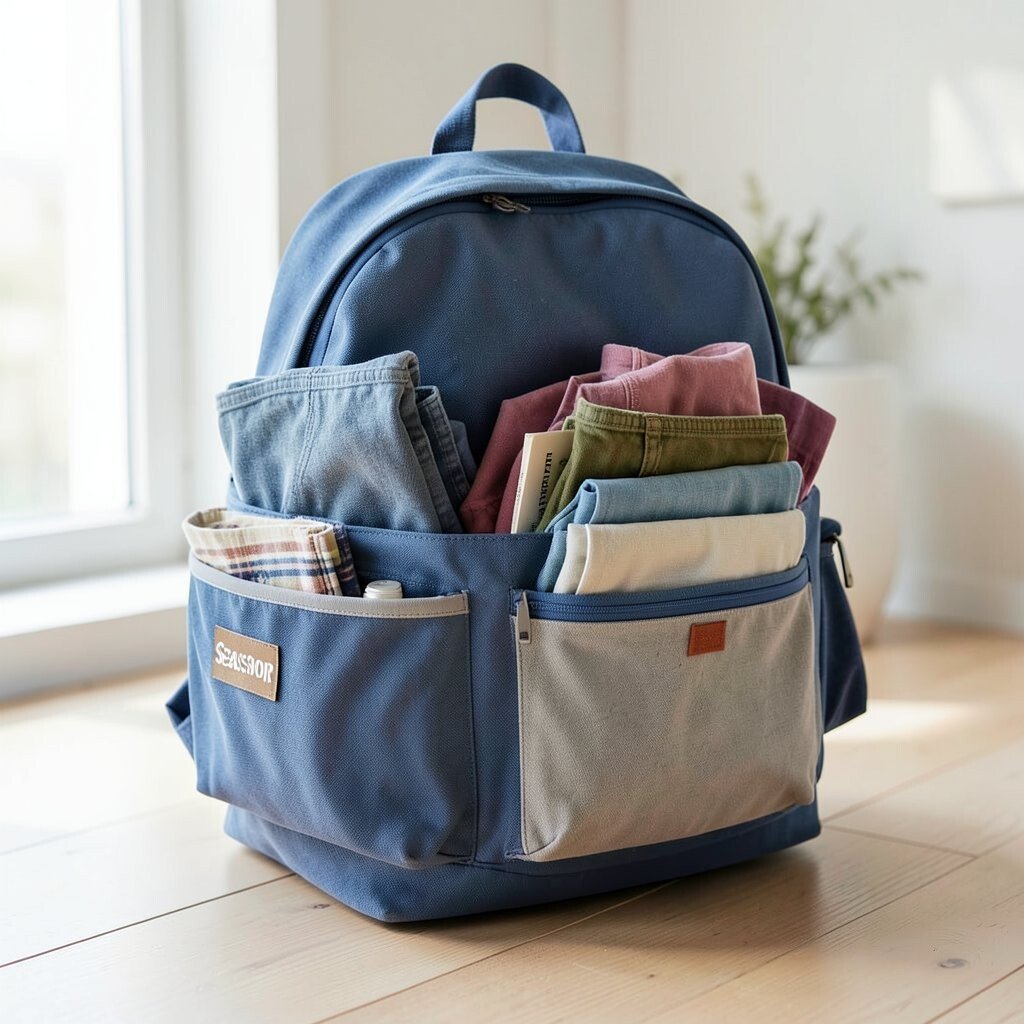
Create a dedicated pouch that holds seasonal extras like a light jacket, a beanie, or a packable umbrella. It keeps your backpack flexible while still organized, like a ready-to-go seasonal pocket.
This is helpful because weather changes can happen fast, and you want the right layer without digging. When the season ends, swap the pouch contents and keep the pouch structure the same.
For personalization, choose a pouch size that fits your lifestyle. If you commute in windy areas, pack a compact shell; if you visit places with sun, add sunscreen and a hat.
Current trend-friendly packing often uses modular pouches like these because they reduce the stress of repacking. They also help you keep your main clothes space tidy.
18. Flat Divider Insert Made from a Folder
Use a stiff folder or thin foam insert to create separate zones inside the backpack. You’ll see clear boundaries where items can sit without slipping into each other.
This works well for keeping electronics away from chargers, and keeping pens away from soft fabric. Position the divider vertically so it creates a front and back space that matches your daily access.
For practical tips, slide small pouches into the zones rather than stuffing items loose. If you want a cost-friendly approach, any sturdy folder from home can become the divider.
Personalize by marking the zones with colored dots or a tiny fabric patch. It makes your bag feel like yours.
19. Pack-by-Theme Using a Checklist Card
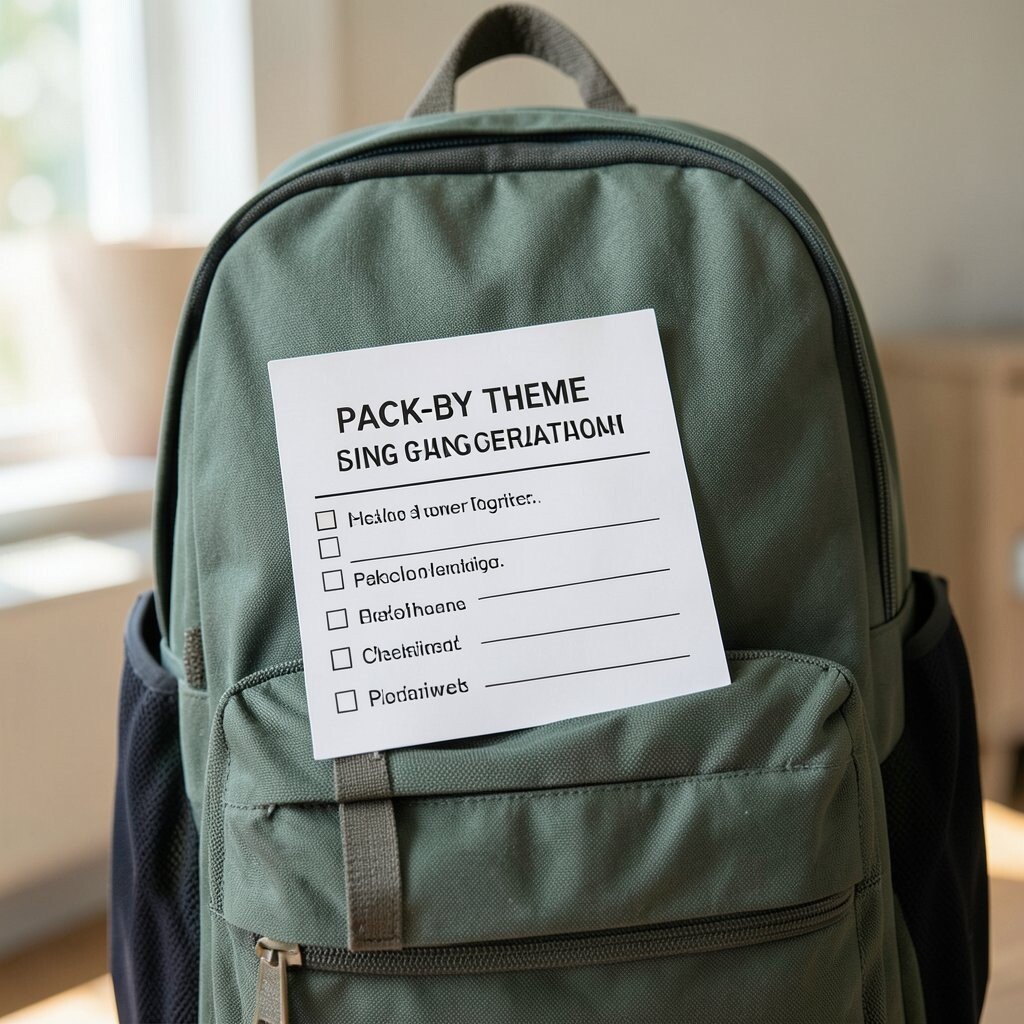
Write a short checklist on a card and keep it in your organizer pocket so you pack the same essentials in the same order. The card acts like a steady reminder, and it makes your routine feel smooth.
This helps you avoid forgetting small items that can ruin the day. For example, keep separate checklists for school, work, gym, and travel so you can swap quickly.
To personalize, add tiny symbols you like, such as a star for must-have items or a heart for comfort gear. Many people follow this trend because it reduces decision time and keeps packing consistent.
For cost considerations, you can use a recycled card sleeve and a pen you already own. It’s a simple system that saves effort every time you step out the door.