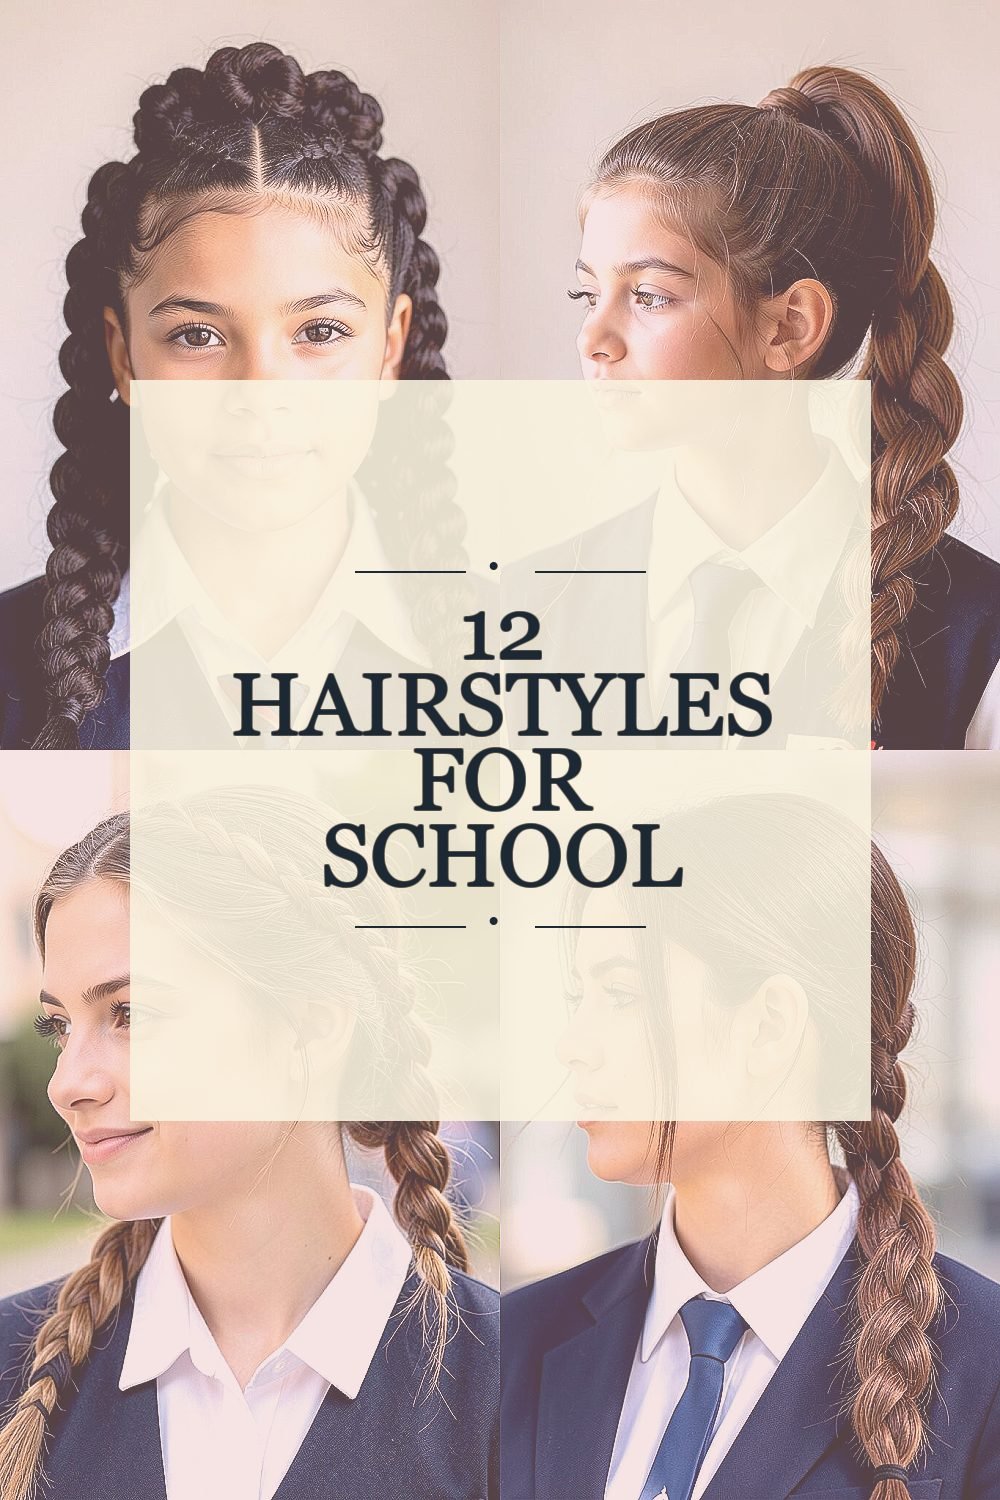
Your school mornings can feel rushed, but your hair doesn’t have to suffer. Small style choices can make you feel more confident the moment you step out the door.
These ideas are simple, school-friendly, and easy to adjust for your own hair and routine. Use them as inspiration for a look that feels like you.
1. Bubble Braids With a Soft Crown
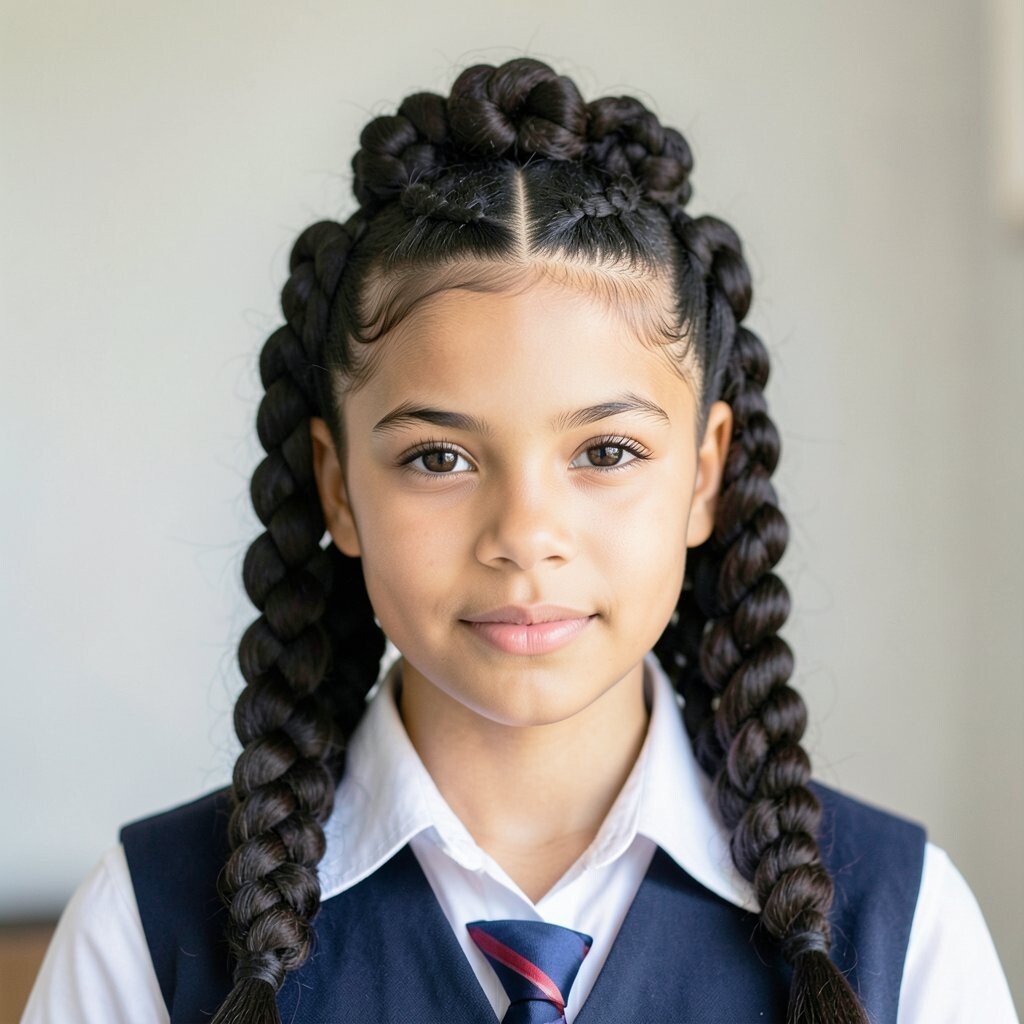
Start by parting your hair into two sections and grabbing a small piece near the front. Create a loose braid, then “bubble” the braid by gently pulling the sections outward.
Repeat that on both sides so they sit like a soft crown around your head. This style looks playful and neat even in windy hallways, and it stays comfortable because it isn’t too tight. For a practical upgrade, secure the ends with small elastics and tuck the last bit under so nothing pokes you during class.
To personalize it, add one tiny ribbon, use a clip that matches your backpack, or keep the bubbles larger for a more dramatic look. If your hair is fine, use a light styling spray so the bubbles hold their shape. If your hair is thick, braid a bit higher to avoid bulk around the neck.
Most of the supplies are affordable, like elastics and bobby pins, and you can reuse them for many school days. Right now, bubble-inspired braids are trending because they look cute in photos and still feel easy to wear. Try it for days when you want your hair to look styled without taking forever.
2. High Ponytail With a Twisted Wrap
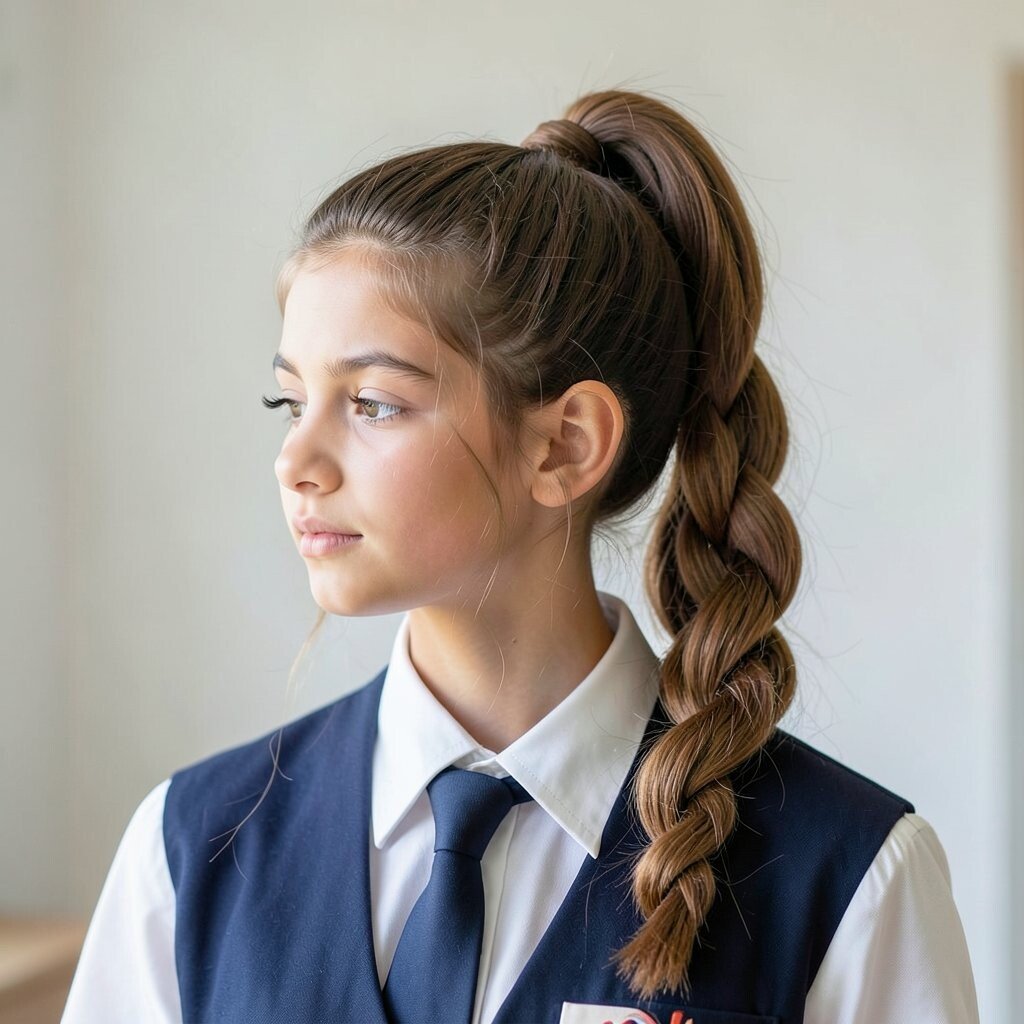
Gather your hair into a high ponytail and secure it firmly with a soft elastic. Then take a thin strand from the ponytail and wrap it around the elastic.
Twist the strand as you wrap so it looks smooth, then pin it underneath. This gives a clean, polished finish that doesn’t fall apart during gym or lunch.
It’s also unique because the twisted wrap turns a basic ponytail into something that looks intentional. For practical tips, brush the crown before you tie and use a tiny drop of hair gel or cream to tame flyaways. If your school has strict dress rules, keep the ponytail slightly lower for an extra natural vibe.
3. Half-Up Curtain Braid for Everyday Shine
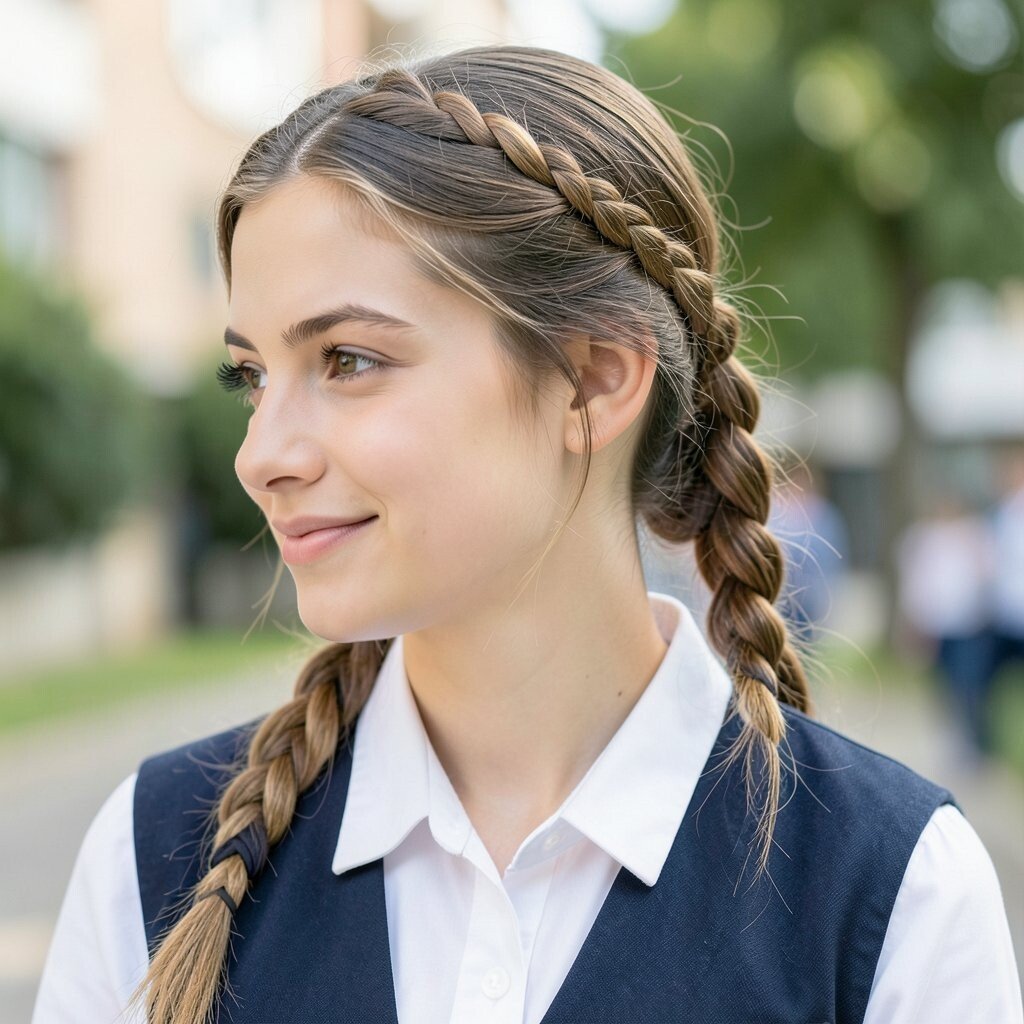
Part your hair down the middle and take two small sections near your face. Braid each section lightly, then connect them at the back with a clip.
Let the rest of your hair fall like curtains so it frames your features. This style is great because it balances “put together” with comfort, and it’s easy to adjust if you have bangs. It also works for both straight hair and wavy hair, so you can match your texture instead of fighting it.
To personalize it, weave a little hair accessory into one braid or keep the braids thinner for a delicate look. If your hair gets frizzy, apply a small amount of leave-in conditioner and avoid heavy oils that weigh hair down. For a school-friendly finish, secure the clip well so it holds through movement.
If you want a budget option, use a simple claw clip you already have and focus on neat braids. Current trends favor soft, face-framing styles, and curtain-like hair is popular because it feels fresh and bright.
4. Dutch Fishtail at the Side
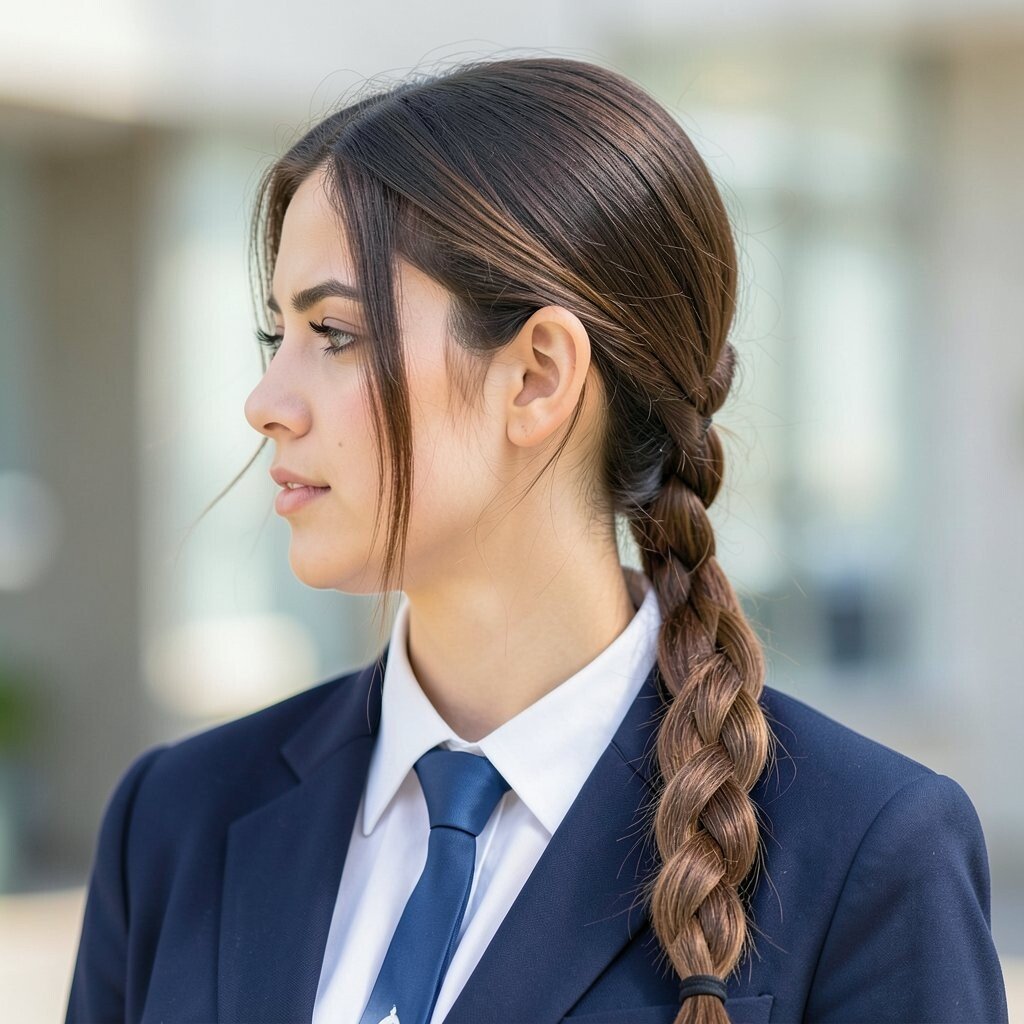
Start with hair pulled to one side and create a simple Dutch braid using a fishtail pattern inside it. Cross the strands under instead of over so the braid pops up against your hair.
The side position makes the look feel special while still being practical for school. It helps keep hair out of your eyes, and the texture hides small imperfections if you’re not perfect at braiding.
Uniqueness comes from the fish-bone shape, which looks fancy even when your hair is simple and plain. For practical tips, braid slowly at first, and keep the strand sizes even so it doesn’t look messy. If your hair is short, try a tighter side style with smaller sections and pin the loose ends securely.
To keep it comfortable, use soft elastics and avoid pulling too hard near the scalp. This can also be a low-cost style because you only need a comb, elastics, and bobby pins. If your school day includes sports, spritz a little hairspray near the end so it stays put longer.
5. Classic French Braid With a Low Finish
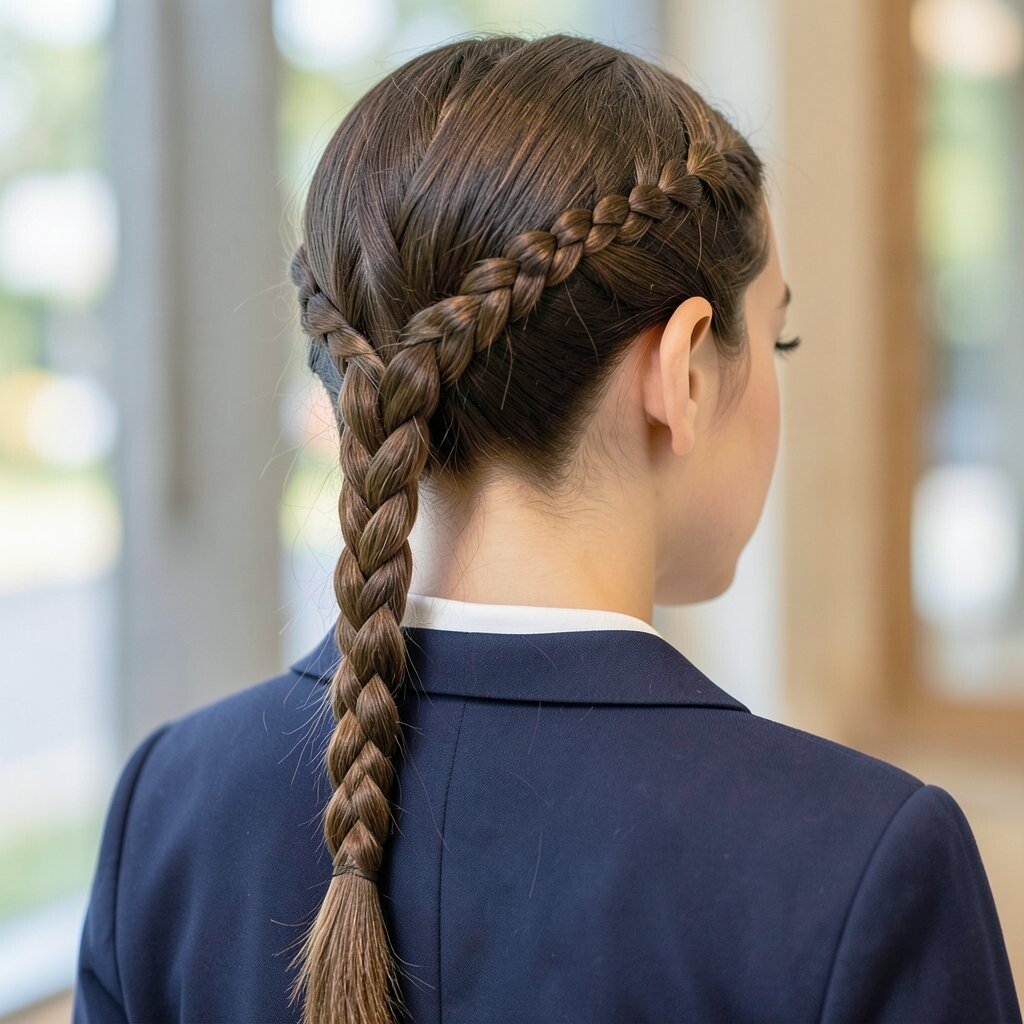
Comb your hair smoothly and gather it into a low section at the back of your head. Begin a French braid by adding small pieces as you move downward.
A low French braid looks classy and tidy, which is perfect for early classes and busy schedules. It’s also a benefit for anyone who hates constant hair touching their face.
For personalization, try a slightly looser braid so it looks modern, or leave a tiny face-framing strand on each side. If your hair is curly, you can let some natural texture show at the top, then braid the rest for a neat result. If your hair is straight, use a light texturizing spray so the braid grips better.
Cost is usually minimal because braiding uses basic supplies. French braids remain popular because they fit almost any school dress code and work for every season. Make it extra secure with a final pin near the ends so your braid doesn’t loosen at lunch.
6. Two-Minute Twisted Front Pieces With Clip-Back
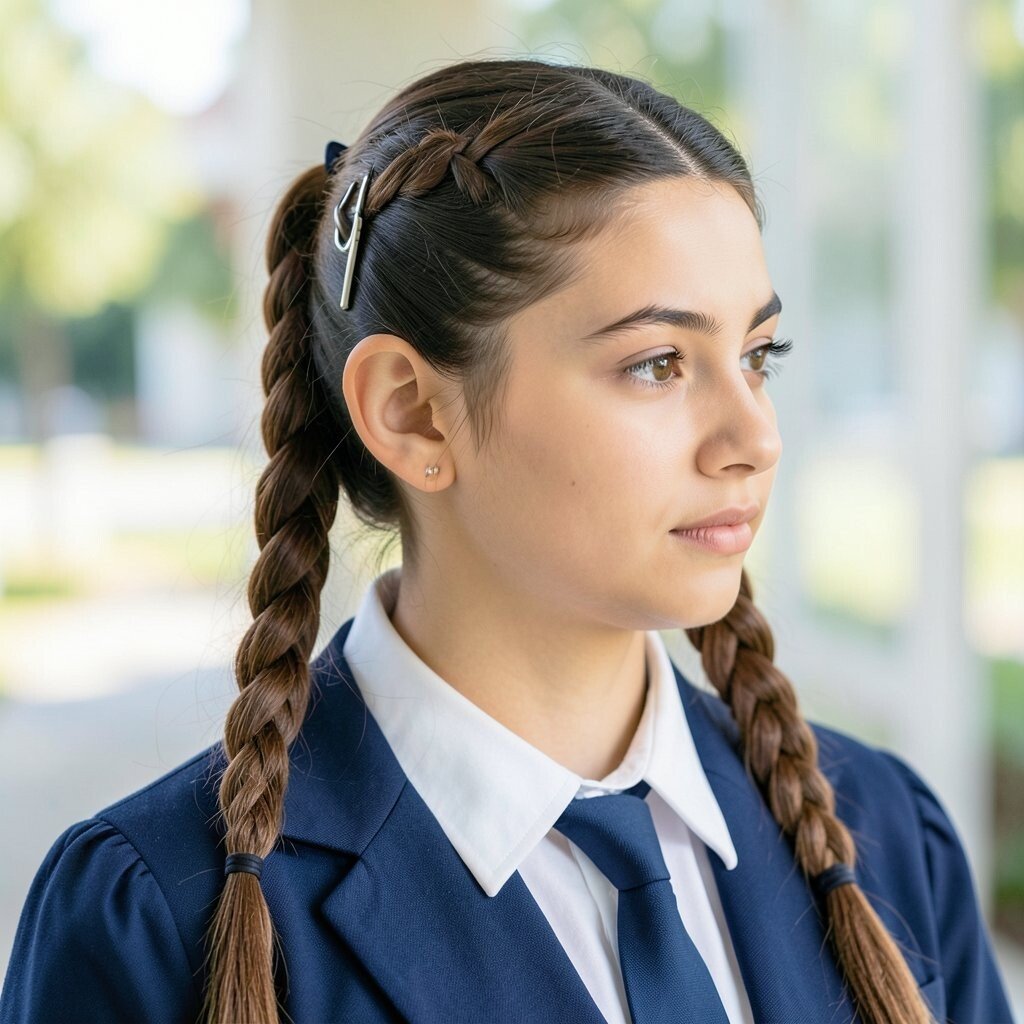
Take two small sections from the front on both sides and twist them back. Secure them with a single clip at the back of your head, keeping the rest of your hair down.
This style is quick, but it still looks cute and intentional in photos. It’s a benefit for school mornings because you don’t need complicated techniques or extra time.
Its uniqueness comes from how the twists frame your face without fully braiding your whole head. For practical tips, twist toward the back and smooth the hair around the twist with your fingers so it stays tidy. If your hair is fine, use a tiny bit of mousse to help the twists hold.
7. Sleek Side Part With a Half-Up Bun
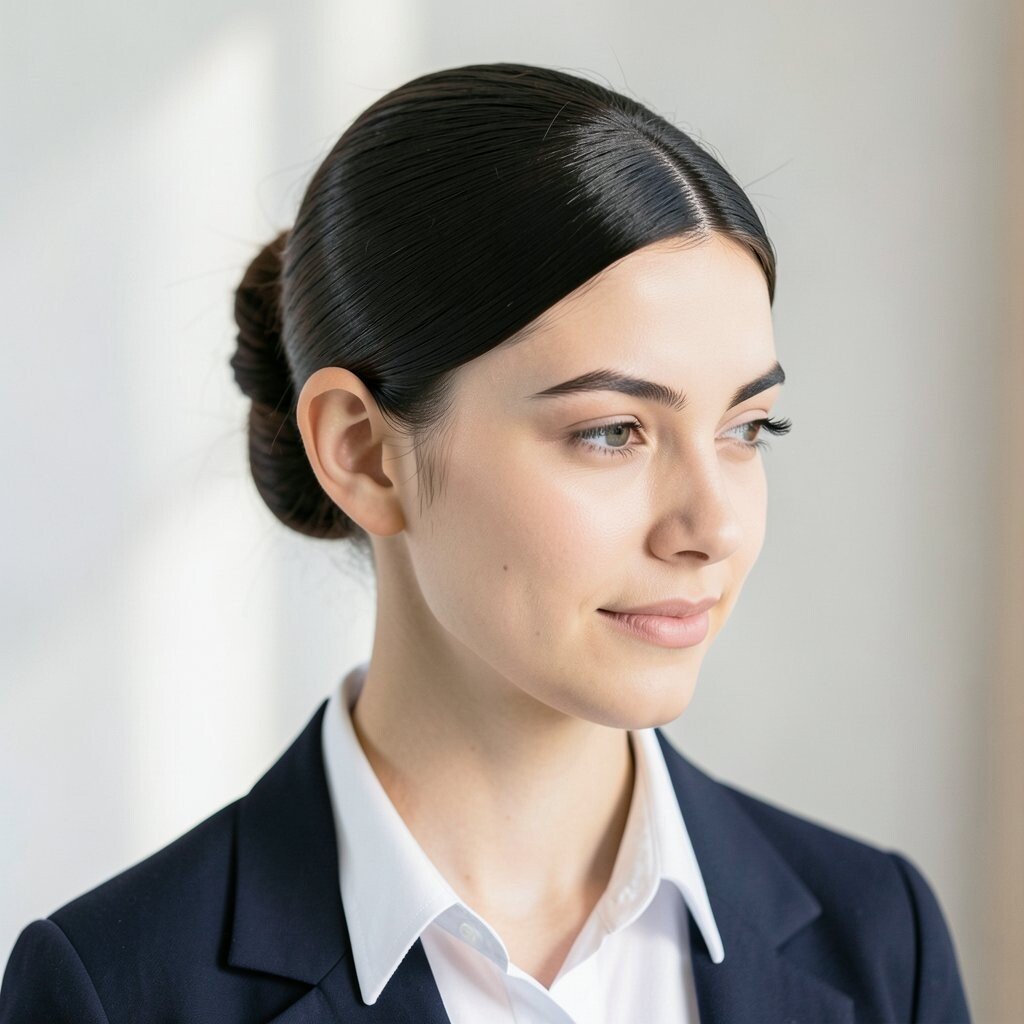
Create a deep side part and brush your hair so it lies flat. Pull the top section back and twist it into a small half-up bun.
This look feels modern and neat, and it keeps hair away from your neck and cheeks. It also helps control flyaways, which is a real life-saver on humid days.
To personalize it, add a slim headband, choose a bun shape that’s tighter for a sharper look, or leave a few wispy pieces around your forehead. If your hair is thick, make the bun slightly larger so it doesn’t feel bulky. If your hair is thin, add a little teasing at the crown before you bun it for more volume.
The cost is low because you can use a hair tie and a couple of pins, plus any clip you already own. Current trends love clean lines and “effortless neat” styles, and this one fits right in. For extra staying power, finish with a smoothing spray on the brushed sections.
8. Rope Twist Ponytail With a Mini Bow
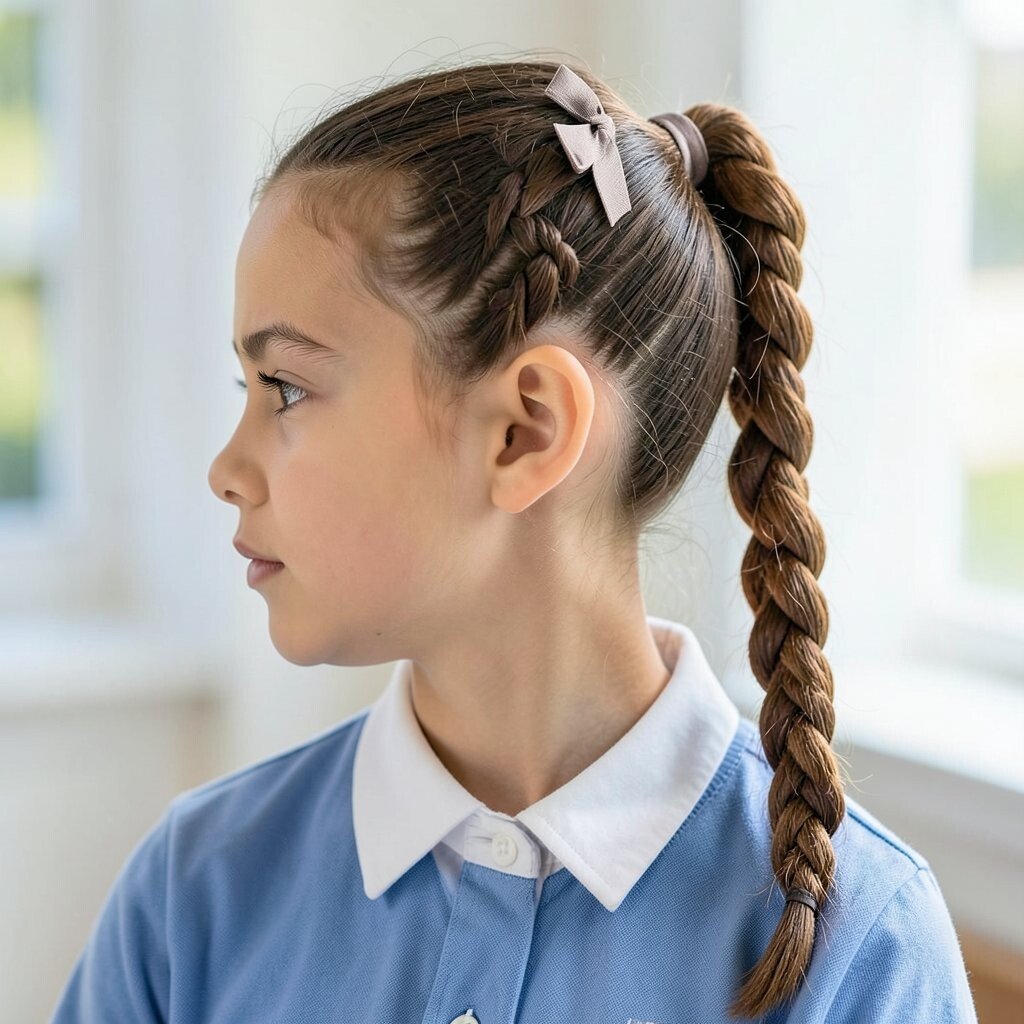
Start with a ponytail in the middle or slightly off to one side, then split it into two equal parts. Twist each section in the same direction and then twist them together as one rope.
Secure the end with a small elastic and add a mini bow if your style mood is sweet. This hairstyle looks different from a standard ponytail, so it feels special without being hard.
The benefit is that the rope twist holds shape better than you’d expect, especially when you keep tension gentle. For practical tips, use a light hair cream so the twist looks shiny and smooth. If your hair is curly, you may want to stretch it slightly first so the rope twist looks defined.
Uniqueness can also come from color choices like a bow that matches your shoes or a scrunchie in your favorite shade. Most items are budget-friendly, and you can reuse the bow for other hairstyles too. This look is popular because it gives “done” energy while still feeling comfy for school.
9. Messy-But-Organized Top Knot
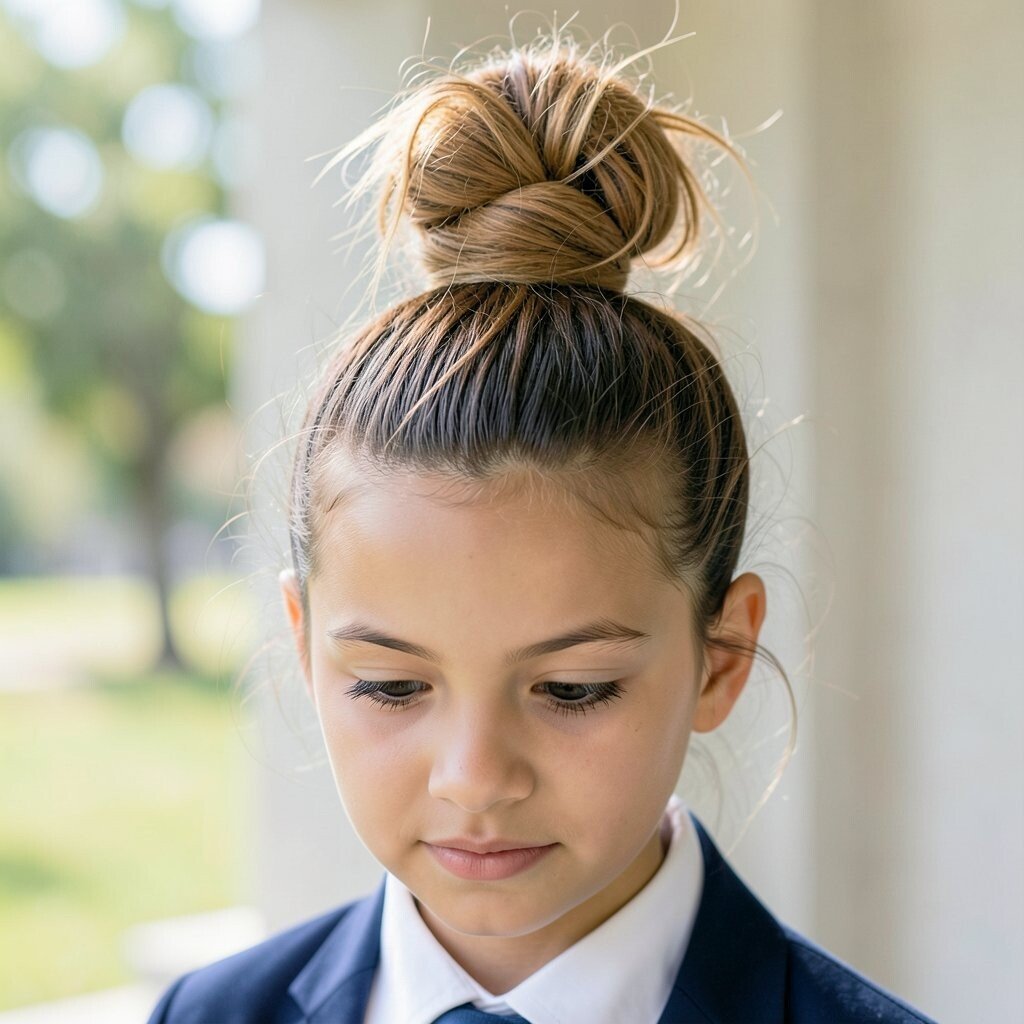
Gather hair into a high gathering and twist it around itself to form a top knot. Pull a few pieces loose at the front and crown so it looks intentionally relaxed.
It’s a benefit because it works on days when you don’t want to spend time perfecting every strand. The look still reads stylish, especially if you keep the top knot secured and not too loose.
To personalize it, choose a tighter knot for a sporty vibe or loosen it for a softer, artsy feel. If your hair is thick, you can use two elastics to help hold the knot. If your hair is short, try a mini top knot and pin the ends underneath for a clean finish.
Cost considerations are simple since you can do this with elastics and pins. Messy styles are trending because they look effortless, and “controlled mess” is the key word for school. Pair it with a cute scrunchie to make it feel like an accessory moment.
10. Waterfall Braid With Side Layers
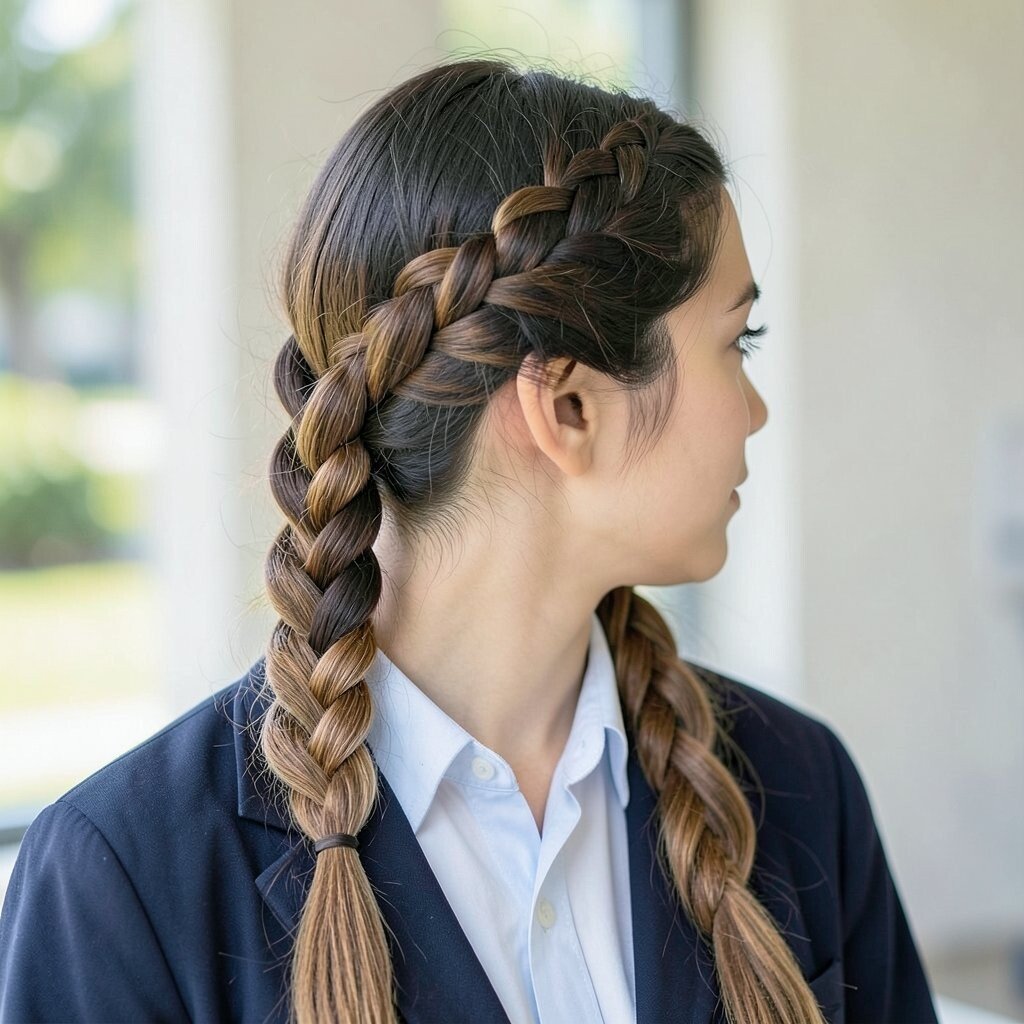
Begin a braid near the temple and keep adding hair while letting a few strands fall to create a waterfall effect. Each time you braid, drop one strand and pick up a new one.
The result looks elegant and fluid, and it makes your hair look extra shiny. This is a benefit for school days when you want something pretty but not heavy.
For uniqueness, keep the waterfall braid narrower for a delicate look or wider for extra wow. Practical tips include using a small elastic to hold the braid’s base and keeping your dropped strands smooth so they don’t tangle. If your hair is straight, mist with water first so it’s easier to braid.
Cost is minimal because you only need a comb, elastics, and maybe a bobby pin for finishing. Waterfall braids are popular because they look fancy without being stiff. Try this on days you have a presentation, photo day, or any moment when you want your hair to steal a little attention.
11. Braided Crown Halo (Two Side Braids Meet in the Back)
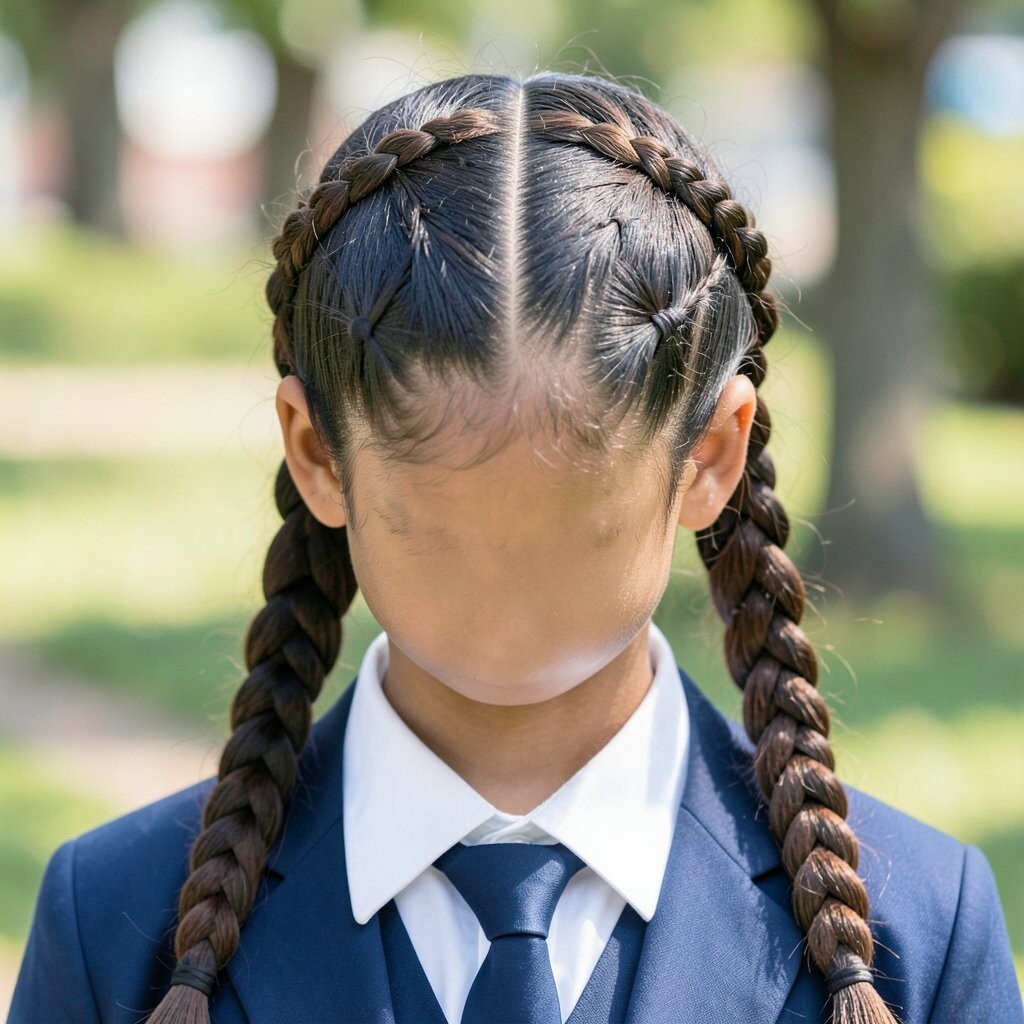
Create two braids on both sides of your head, starting near your part. As you reach the back, bring the braids together and pin them so they form a crown across the top.
This hairstyle looks magical and stands out while still staying secure for school routines. It’s also a practical choice because the braids help keep hair off your face during class.
To personalize it, use a different braid style on each side, like a simple braid on one and a fishtail on the other. If your hair is thin, adding a little volume at the crown helps the halo look fuller. If your hair is thick, braid a touch tighter so the crown sits flat instead of lifting.
Cost considerations stay friendly since most people already have pins and elastics at home. Crown braids are still in style because they look decorative and can be adjusted for every hair type. Finish with a light mist so it looks fresh and doesn’t get frizzy on the walk to school.
12. Smooth Slick-Back Pony With Wrapped Ends
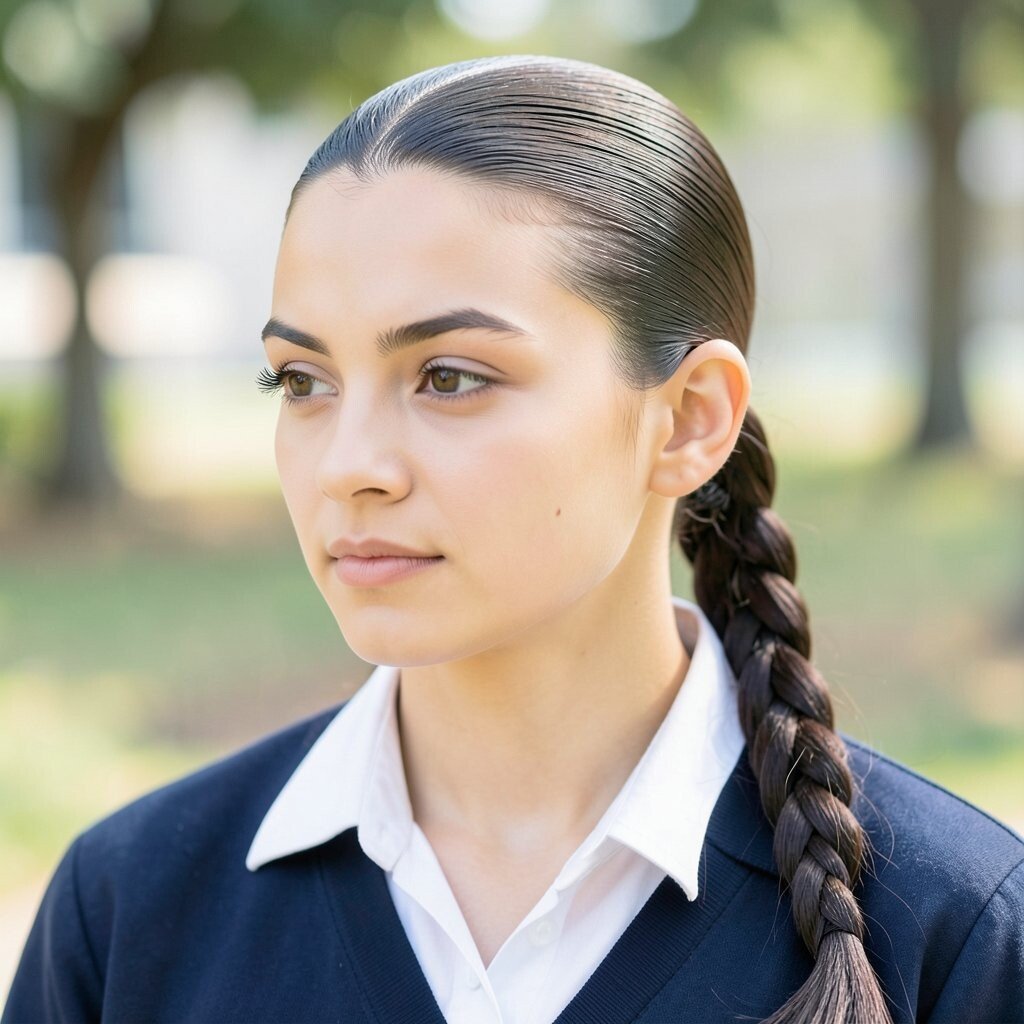
Use a comb to brush hair back smoothly and gather it into a ponytail. Apply a small amount of styling product to help your hair lay flat, then secure it firmly.
Wrap a strand around the elastic and pin it underneath so everything looks neat. This style is a benefit because it keeps hair under control and reduces tangles during the day.
Its uniqueness comes from the slick finish, which looks sleek without needing fancy accessories. For practical tips, start with a little product on your hands and press it through your hair instead of rubbing too hard, which can cause frizz. If your school is hot, choose a light gel or leave-in styling cream so your hair doesn’t feel heavy.
Cost is usually low and you can make it feel more expensive by using a matching hair tie or a nice pin. Smooth ponytails are trending because they look clean and modern, and they work for straight, wavy, or even curly hair when you style carefully. Keep the ponytail height based on your comfort, higher for a bolder look and lower for a more classic feel.