Heat-free styling can look amazingly polished and still feel relaxed. These braided bun ideas help you get that pretty finish with zero hot tools.
They’re perfect for busy mornings, workdays, dates, and weekends. You’ll find styles that look unique, feel comfy, and let you personalize your vibe.
1. Loose Milkmaid Braids into a Soft Bun
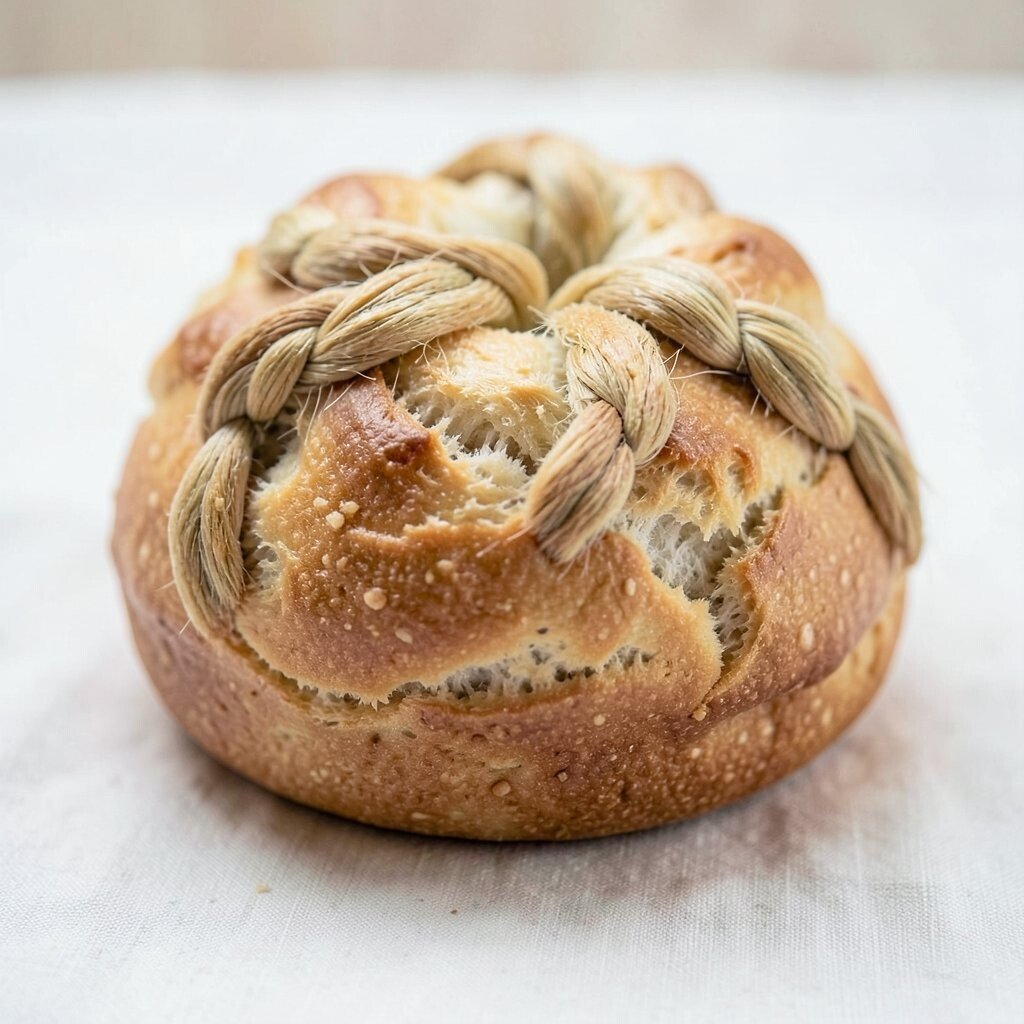
Picture two gentle braids draped toward the center, then tucked into a low bun that looks airy. The shape frames your face while still giving your hair a secure, comfortable hold.
This style feels effortless because the braids do the work of shaping the bun. Use a light styling cream or leave-in conditioner to help pieces braid smoothly and reduce flyaways.
Start with slightly damp hair so sections behave better, then braid loosely. When you wrap the braids around the bun, pin with bobby pins in an X pattern for extra grip. Finish with a flexible hold hairspray to keep the bun in place without stiffness.
2. Dutch Braid Crown Bun with Side Texture
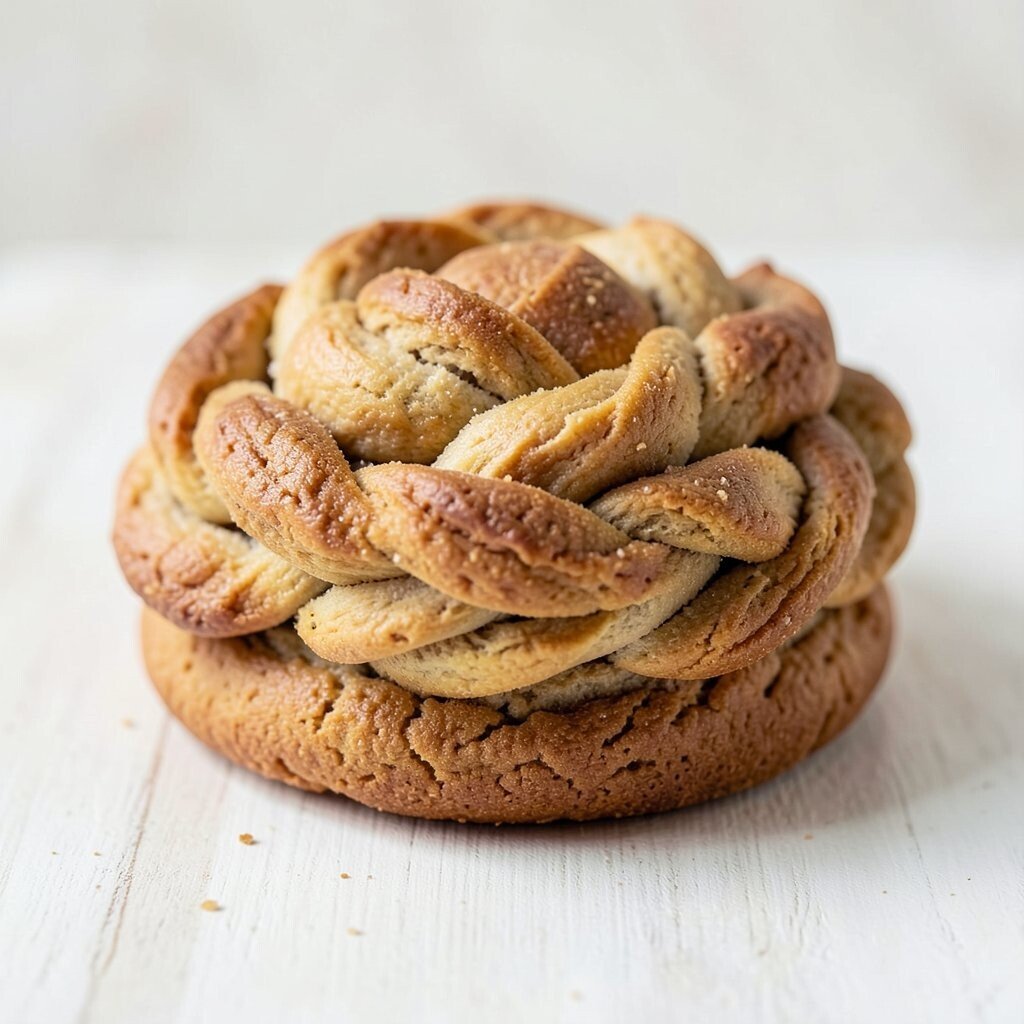
A crown braid that sits high and glossy can look fancy, and this one stays playful. The braided base creates lift at the roots, while the bun stays neat but not too tight.
This is a great choice when you want your hair off your neck on warm days. It also hides uneven growth because the braid adds structure to the shape.
Pull the crown braid slightly to one side as you wrap the bun, so it looks intentionally asymmetrical. For a modern touch, leave a few wispy strands out near your ear and tuck them with pins.
To keep cost low, grab a pack of simple bobby pins and a satin scrunchie. If your hair is fine, tease the bun area lightly before pinning so it looks fuller.
3. Three-Strand Twist Rope Bun
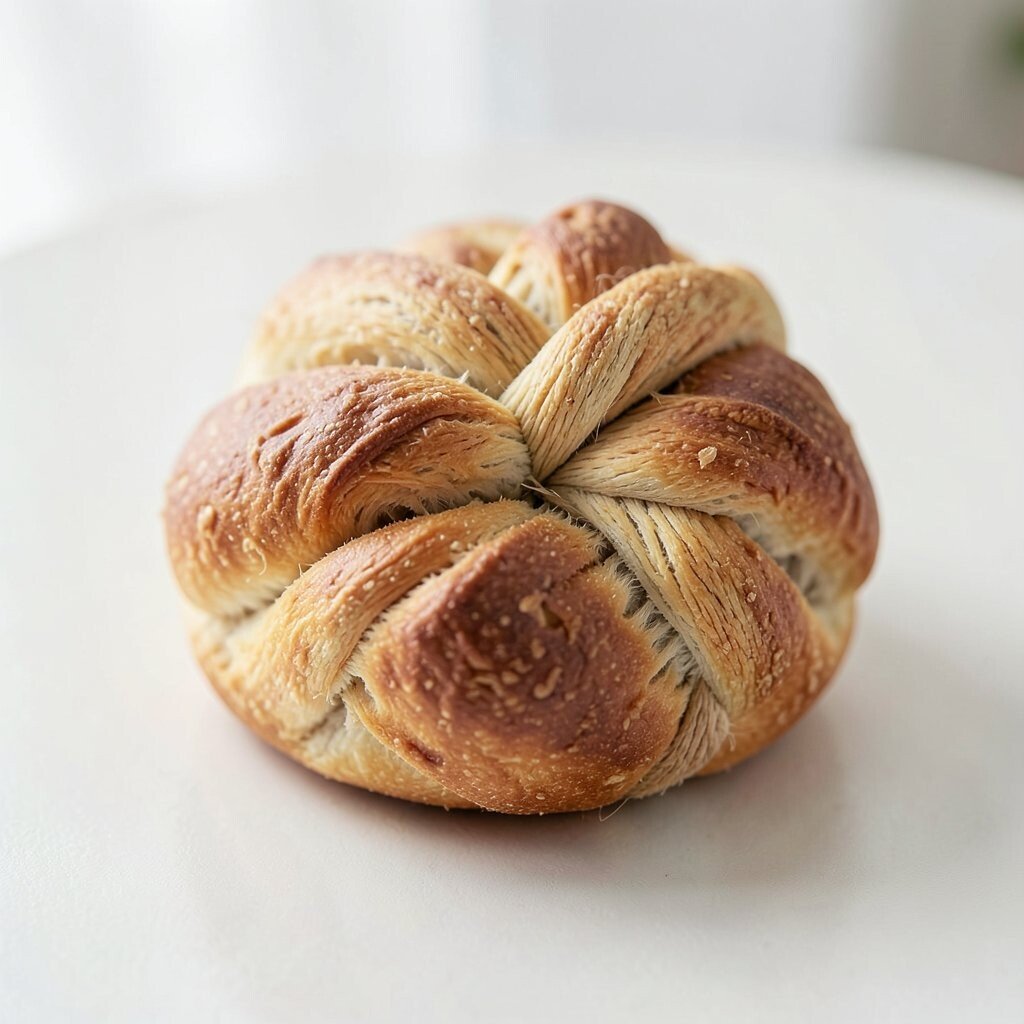
Imagine a rope-like twist made from three sections, then coiled into a smooth bun. The texture looks detailed even when your hair is simple and straight.
This option is unique because the twist gives a braided look without needing lots of tiny braids. It’s also handy when you’re short on time but still want a styled finish.
Gather your hair into a medium ponytail, then split into three sections and braid with a consistent rhythm. Coil the braid into a bun and secure with pins, then gently tug the braid to widen it for a fuller look.
If you want extra hold without heat, mist with sea salt spray before braiding. Pair it with a hair scarf or clip for a trendy finish that feels current.
4. Waterfall Side Braids into a Mini Bun
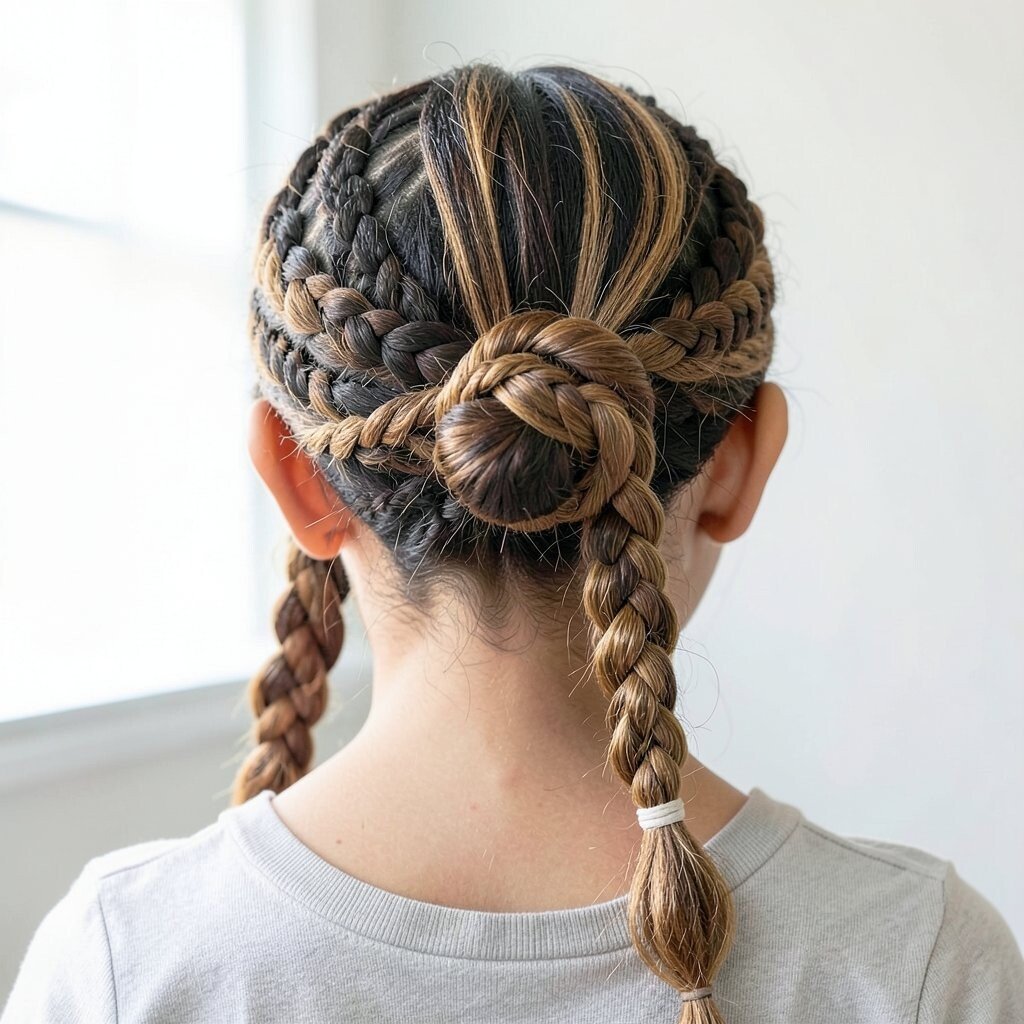
Waterfall braids have that soft, flowing vibe, and they look extra sweet when gathered into a mini bun. The strands cascade down, while the bun keeps everything tidy.
This style gives you movement and openness at the front, so it’s great for bangs and layers. You’ll also get an easy upgrade for casual days when your hair needs something more.
To build the waterfall effect, braid across the side and drop one section at a time, then pick up a new hair piece. At the end, wrap the remaining braid into a small bun and pin securely.
Use a lightweight gel or smoothing cream so the waterfall pieces look crisp. If your hair is thick, add more pins at the base so the bun stays comfy all day.
5. Braided Space-Bun Crossover with Thin Plaits
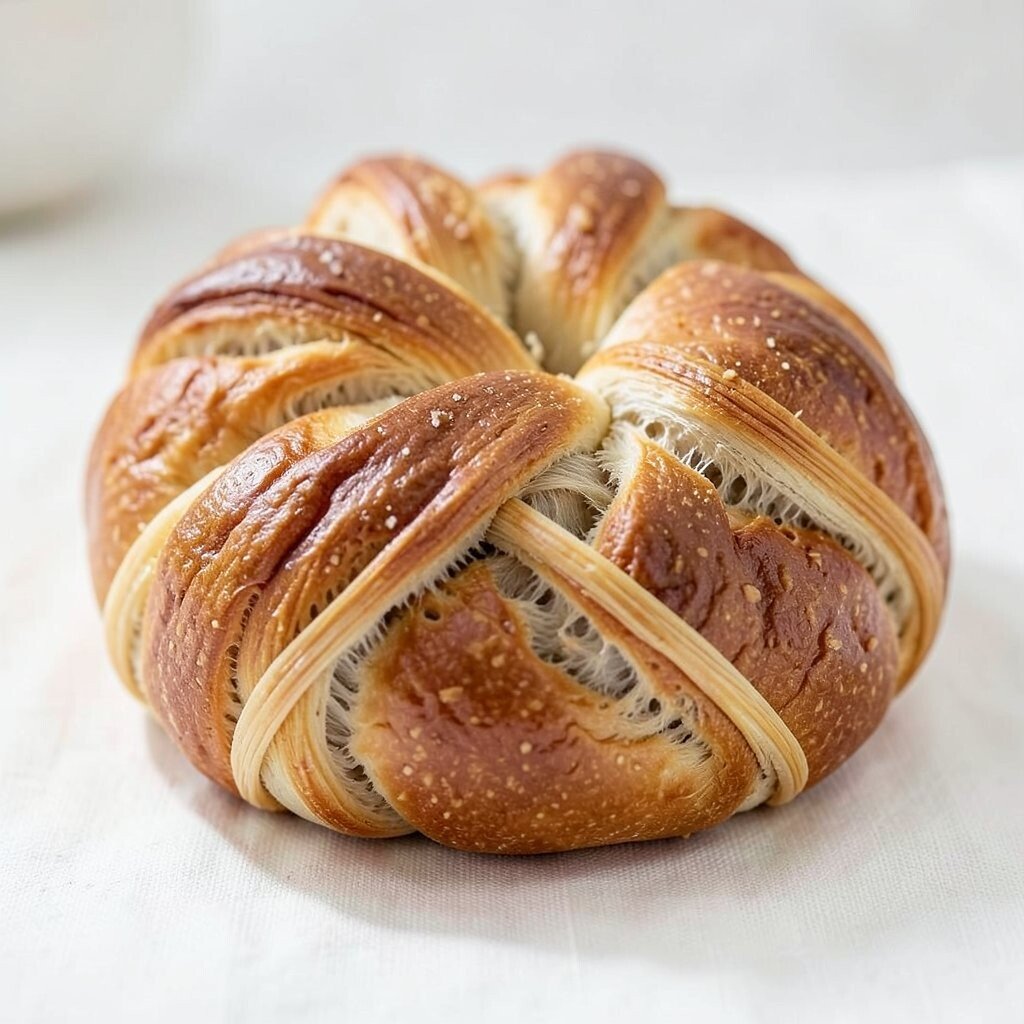
Two mini buns that cross over each other can look playful like a hairstyle from the trend pages. Thin braids make the design feel intricate without needing heat.
This is a fun choice for festival weekends, school spirit days, or when you just want to feel extra cute. It’s also practical because the braids help distribute tension evenly.
Part your hair into two high sections, then braid each into thin plaits and wrap them into space buns. Cross the buns slightly before pinning so the shape looks intentional, not accidental.
6. Low French Braid into a Center Knot Bun
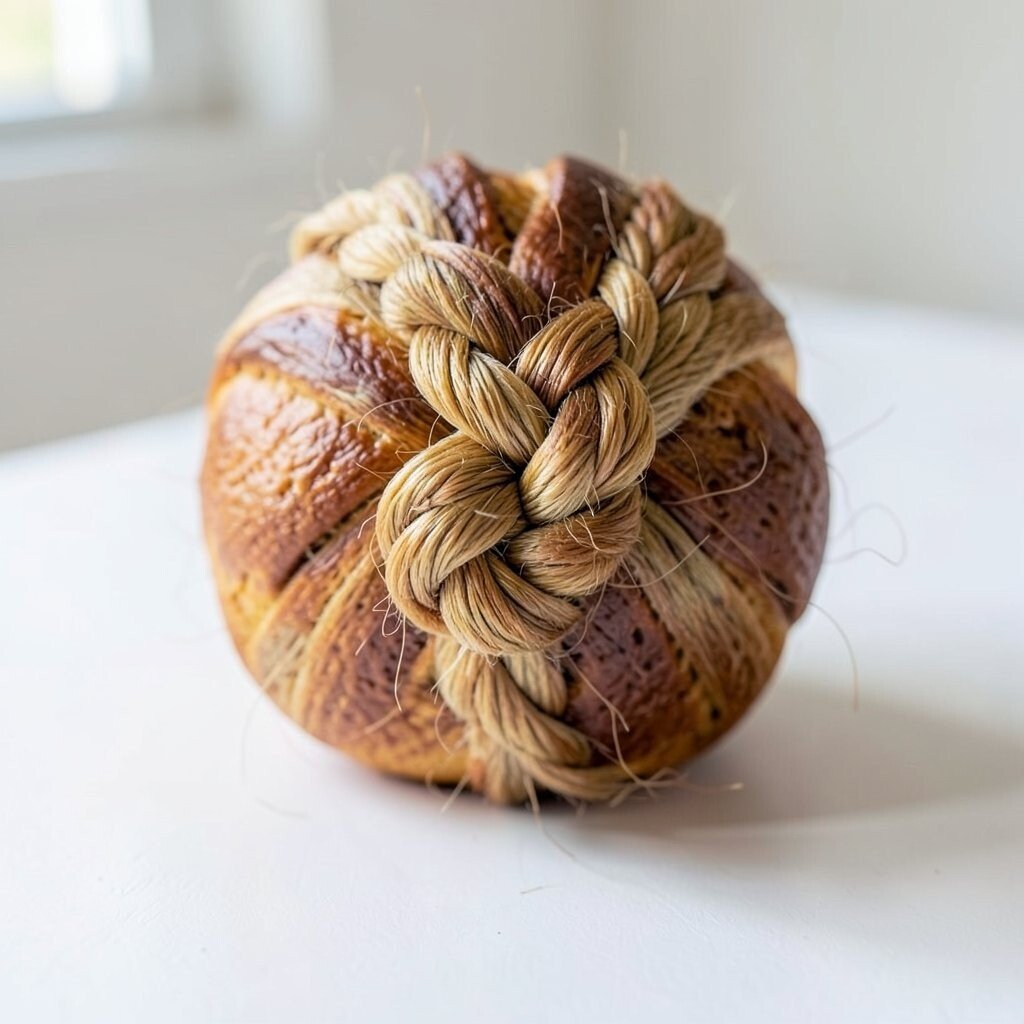
A low French braid that ends in a center knot bun looks polished and calm. The braid acts like a frame, so the knot bun looks secure and clean.
This style benefits you on days when you want a neat look that still feels soft. It’s also a good way to manage hair that tangles easily, because braiding reduces knots.
Start French braiding at the back of your head as you move downward. When you reach the end, twist the braid around itself into a knot and pin the center firmly.
For personalization, add a small braid ribbon or a charm clip near the knot. If you have shorter hair, use hair donut styling sponge lightly under the bun for fullness.
7. Fishtail Micro Braids Around One Bun
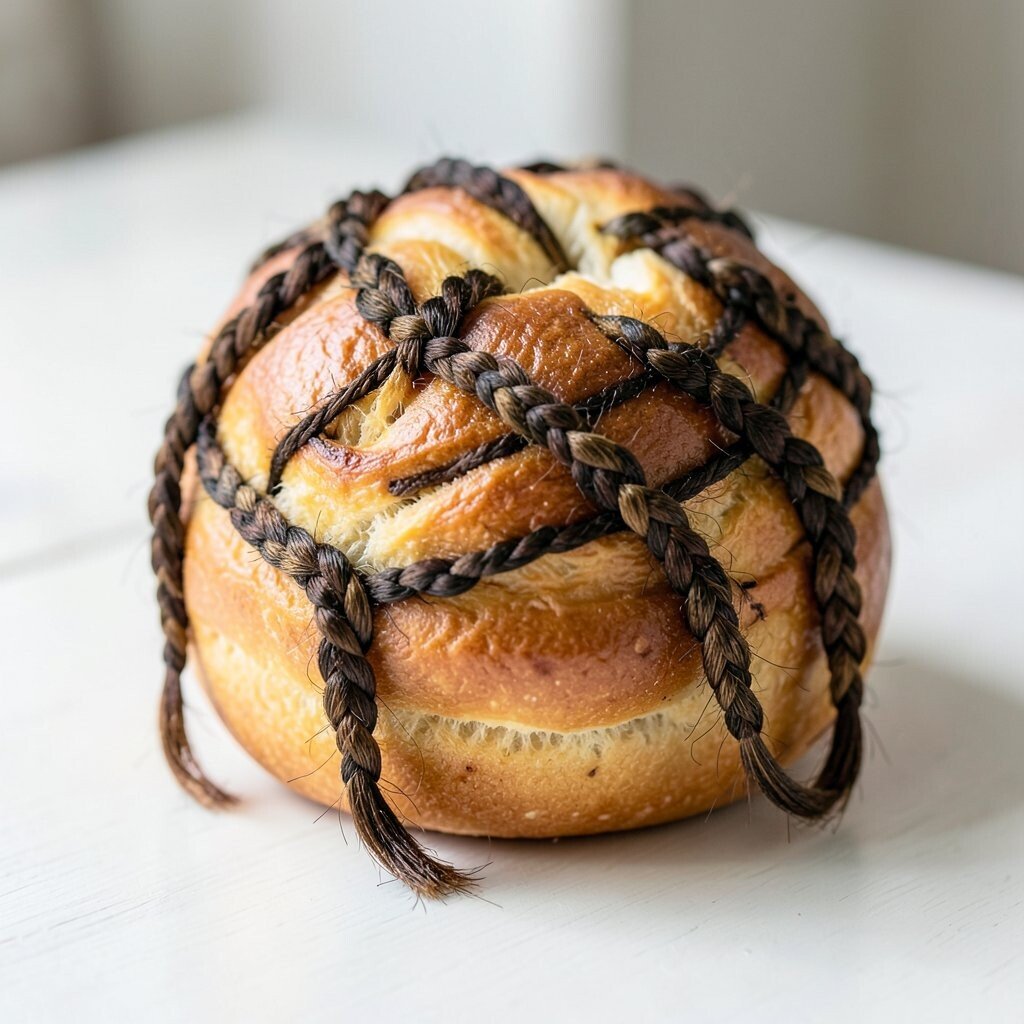
Micro fishtail braids look like tiny waves, and they surround the bun like a decorative halo. Even one bun can feel high-fashion when the braids are small and tidy.
This design is unique because the fishtail pattern adds visual detail from every angle. It’s also great for special events since it photographs beautifully.
Divide your hair into several small sections, then fishtail each section lightly. Wrap the braided sections around a base bun and pin at the root of each braid so nothing slips.
Keep the cost down by using only elastics that match your hair color. For a trendier vibe, pull a few strands loose at the front to make it look effortless.
8. Rope-Braid Bun with a Twisted Crown Band
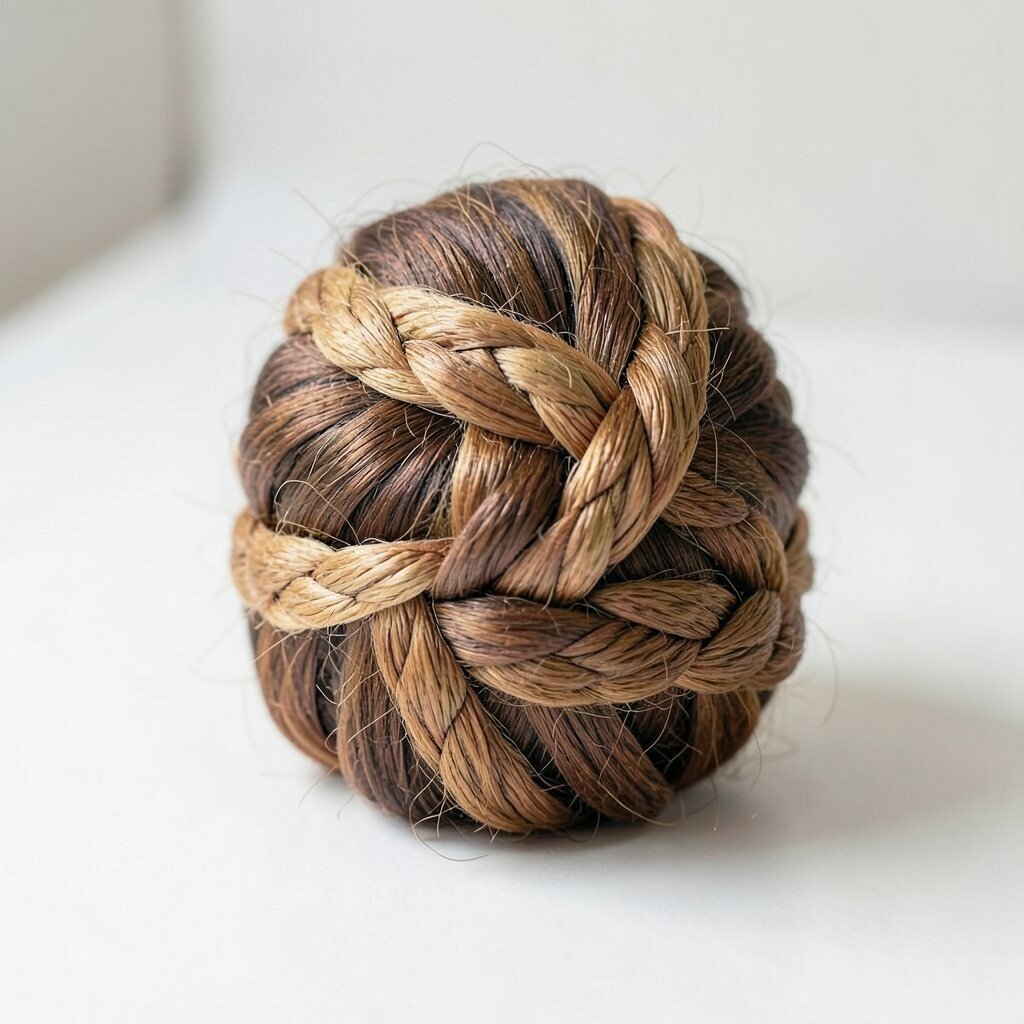
Picture a rope braid bun at the back, plus a twisted crown band across the top. The contrast of smooth twist and braided coil creates a styled look that feels modern.
This style is comfy because the crown band supports the bun without tugging too hard. It also benefits you by reducing flyaways since the band keeps hair in place.
Make a rope braid by twisting two sections while gradually adding small pieces. Then tuck that crown twist around the top and secure, while your main rope braid coils into the bun below.
For personalization, change the part line from center to side and let the crown band follow that angle. If your hair is naturally wavy, embrace the texture and use a mousse lightly for hold.
9. Braided Fringe Bun with Curled Ends
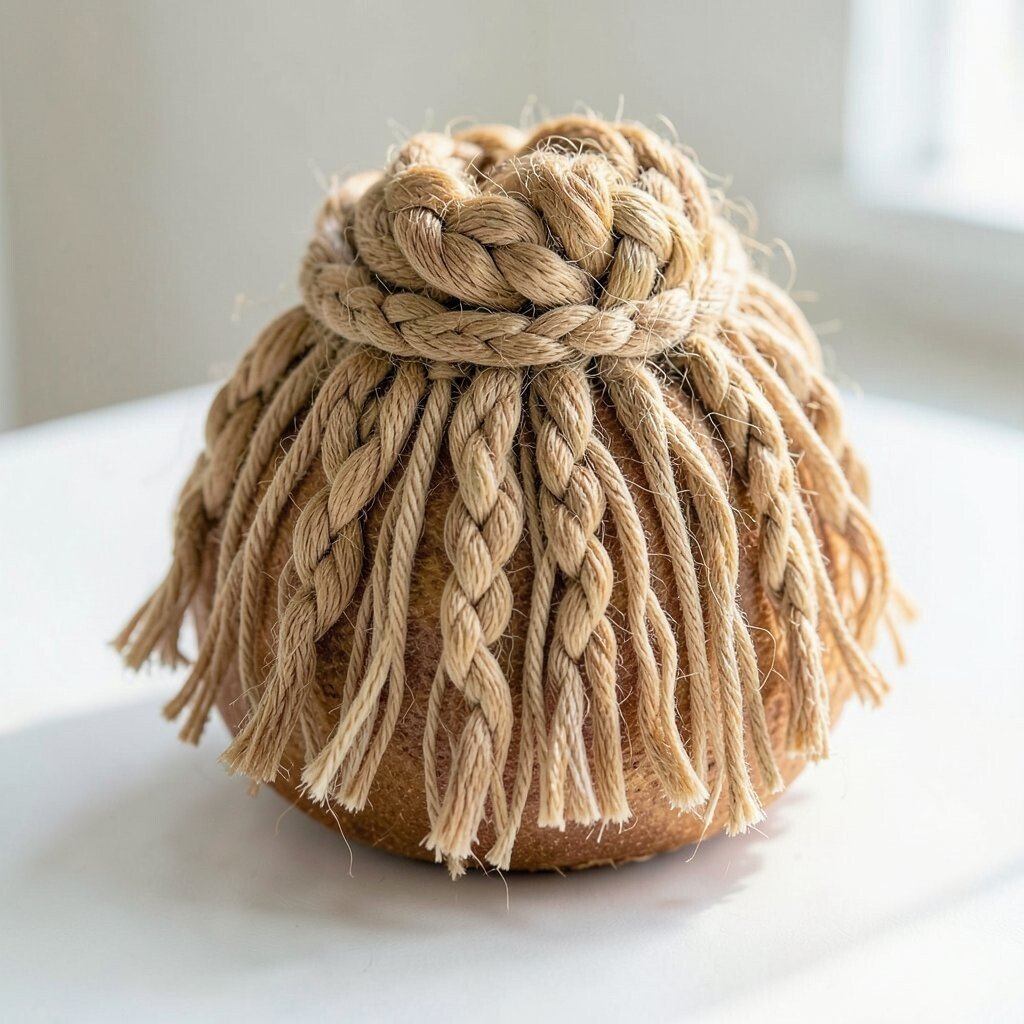
A braided fringe bun gives you a sweet face-framing effect without needing any heat curls. The front braid keeps your hair back, and the rest gathers into a soft bun shape.
This style works especially well if you like your hair to look gentle and romantic. It also helps hide a day-old hair situation because the braid refreshes the front.
Create a small braid along the fringe area, then secure it while you gather the rest into a bun. For curled ends without heat, twist the loose ends with gel and pin them into the bun so they set as they dry.
Use a light shine serum on the outer braid so it looks sleek in photos. Choose pins that match your hair color so the style looks clean.
10. Side Braid into a Knotted Low Bun
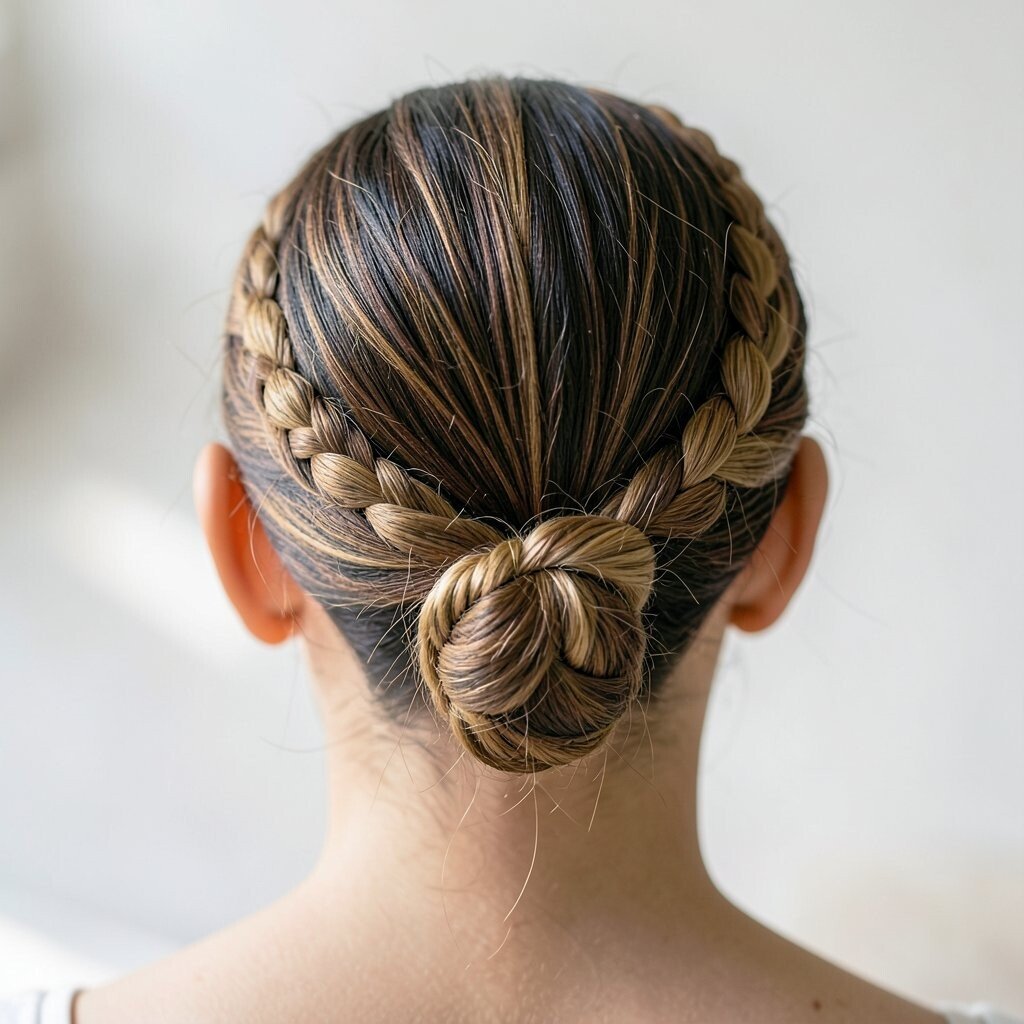
A side braid that ends in a low knotted bun looks chic and effortless. The asymmetry adds interest, while the knot keeps everything feeling secure.
This is a smart choice for workdays because it looks neat but not too strict. It also benefits you by keeping one side smoother when your hair tends to fall forward.
Start with a deep side part, then braid across the side of your head. Coil the braid into a low bun and tie it together with an elastic if needed before pinning.
To make it feel more personalized, swap the braid style from standard three-strand to a loose braid. A spritz of flexible hairspray helps the knot stay in place without feeling crunchy.
11. Double Dutch Braids into a Single Bun
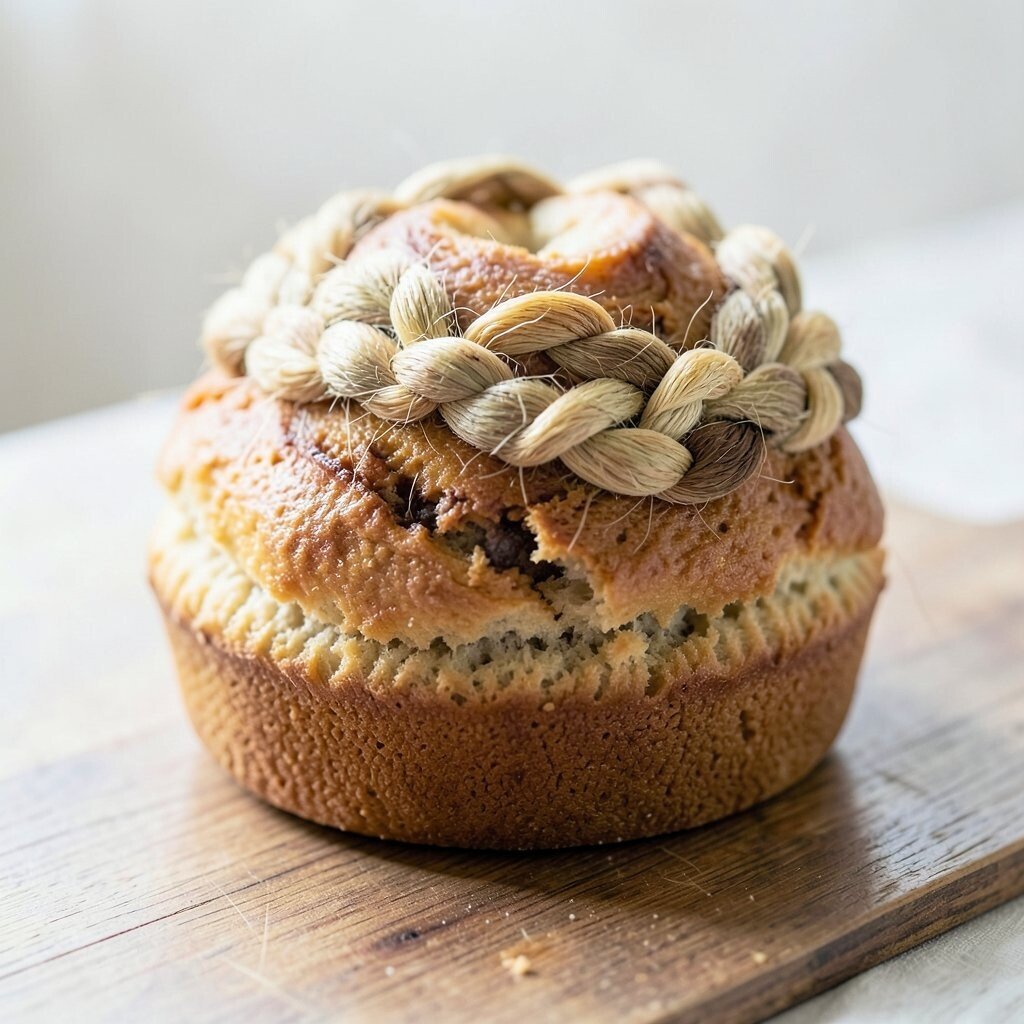
Double Dutch braids bring bold shape, and merging them into one bun looks clever. You get strong structure at the top and a soft, centralized finish at the back.
This style feels both unique and practical because it keeps braids from getting in your way. It’s also great for thicker hair since the double start makes the bun feel balanced.
Make two Dutch braids from the top down, keeping them snug but not tight. When you reach the ends, join both braids into a single coil and pin around the base.
For a trendier look, tug the middle sections of each Dutch braid to create a fuller shape. If your hair is fine, add a small puff at the crown before braiding to build volume.
12. Box Braids Without Heat into a Stacked Bun
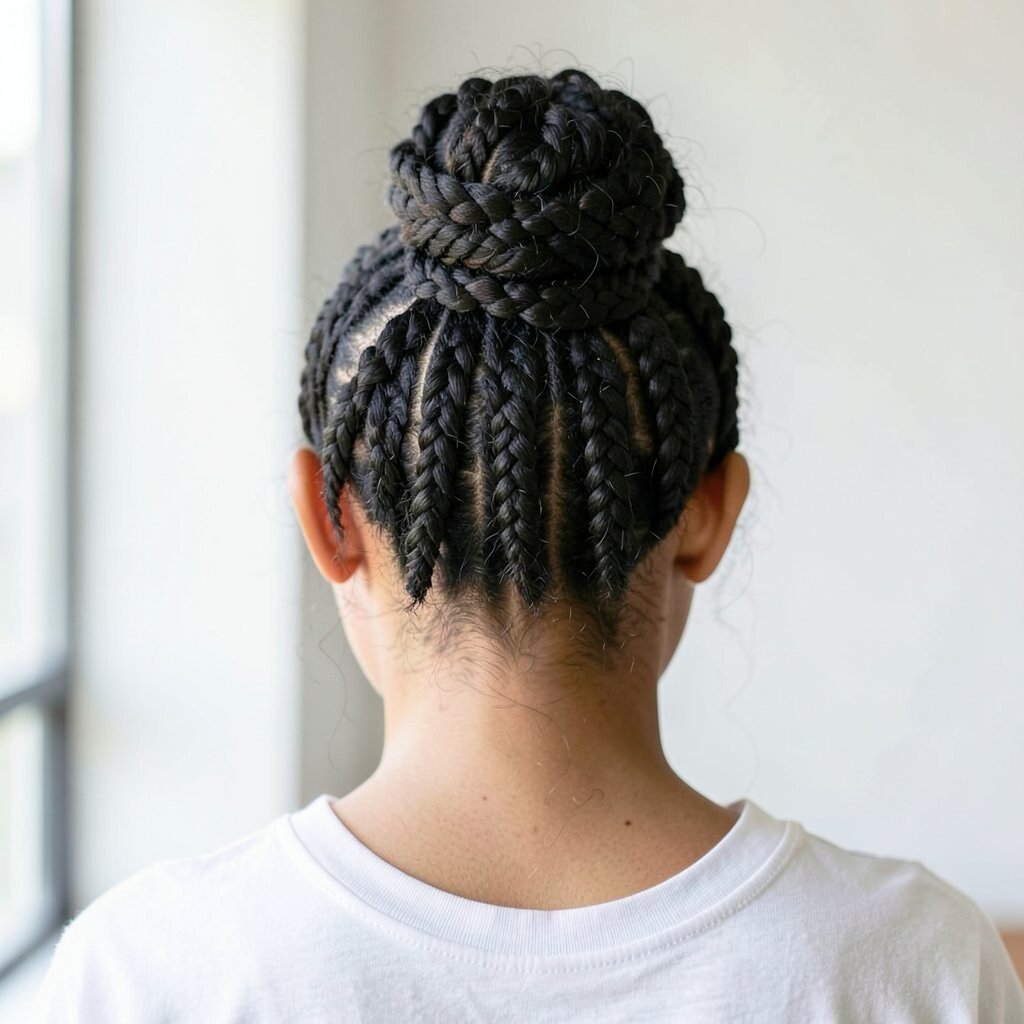
Even without heat, stacked braided buns can look like you spent way more time than you did. This idea uses box-braid inspired sections, then layers them into a bun that feels dimensional.
This is a great choice when you want a style that lasts longer through the day. It also benefits you by protecting strands while still showing off your creativity.
Create neat sections, then braid each section into a simple three-strand braid to get that box-braid vibe. Arrange the braids in layers, like a small tower bun, and pin as you go.
For personalization, add colored hair cuffs or small beads that match your outfit. Keep costs reasonable by using accessories you can reuse for future styles.
13. Twist-and-Tuck Halo Bun with Micro Braids
A halo bun looks angelic, and micro braids make it feel detailed and sweet. The twists hold everything around your head like a soft frame.
This style benefits you on windy days because the structure keeps hair from flying. It also looks unique because the micro braids add sparkle texture even when your hair is plain.
Twist small sections along the hairline, then braid a few tiny pieces within the twist. Tuck them around into a bun ring, securing with plenty of pins so the halo stays comfy.
If your hair is short, you can build the halo higher and secure with a snag-free comb. Add a tiny ribbon at the back for a gentle personalized touch.
14. Headband Braid into a Low Chignon
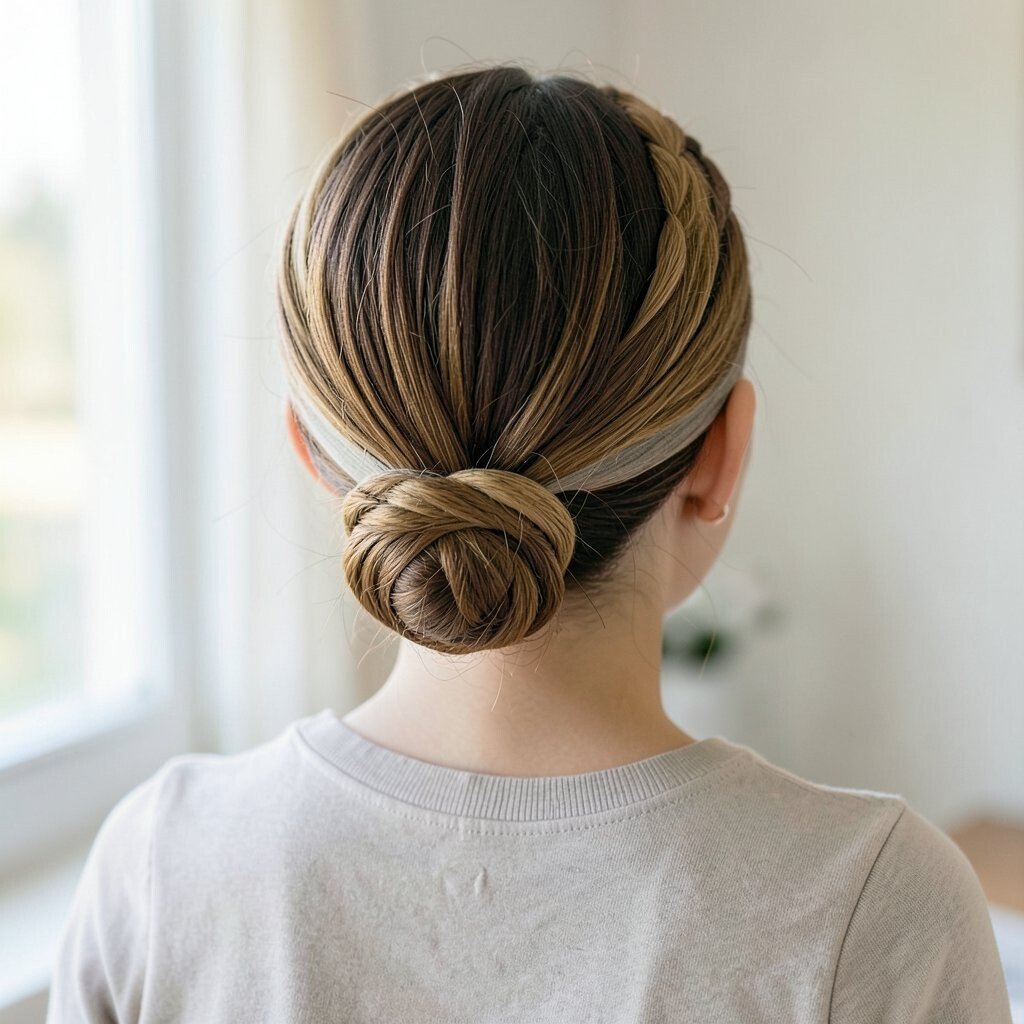
A headband braid is like an easy crown, and it pairs perfectly with a low chignon. The bun stays sleek, while the braid adds that “put-together” feeling.
This option is practical because it uses just a front braid, so it’s faster than full braids across your whole head. It also benefits you by preventing face-framing hair from sticking to your cheeks.
Start braiding at one side of the head, wrap it across like a headband, and pin at the other side. Then gather the rest of the hair into a low bun or chignon and secure.
For personalization, tuck the ends of the braid under the bun for a hidden finish. If you want more volume, lightly tease the bun area before pinning.
15. Side Dutch Braid with a Wrapped Bun Coil
A side Dutch braid looks bold, and wrapping it into a bun coil creates a tidy, fashion-forward shape. The braid gives you movement, while the coil gives you that neat finish.
This style is unique because the bun looks wrapped like a gift ribbon, not just pinned in place. It’s also a good choice if you want a style that stays put during errands.
Make a side Dutch braid, then secure the braid with an elastic near the end. Wrap the braid around itself into a coil and pin the underside to lock everything.
For cost considerations, use regular bobby pins and a single elastic, rather than fancy accessories. Add a shine mist or gloss spray to make the braid look fresh and current.
16. Braided Ponytail Base into a Bun Knot
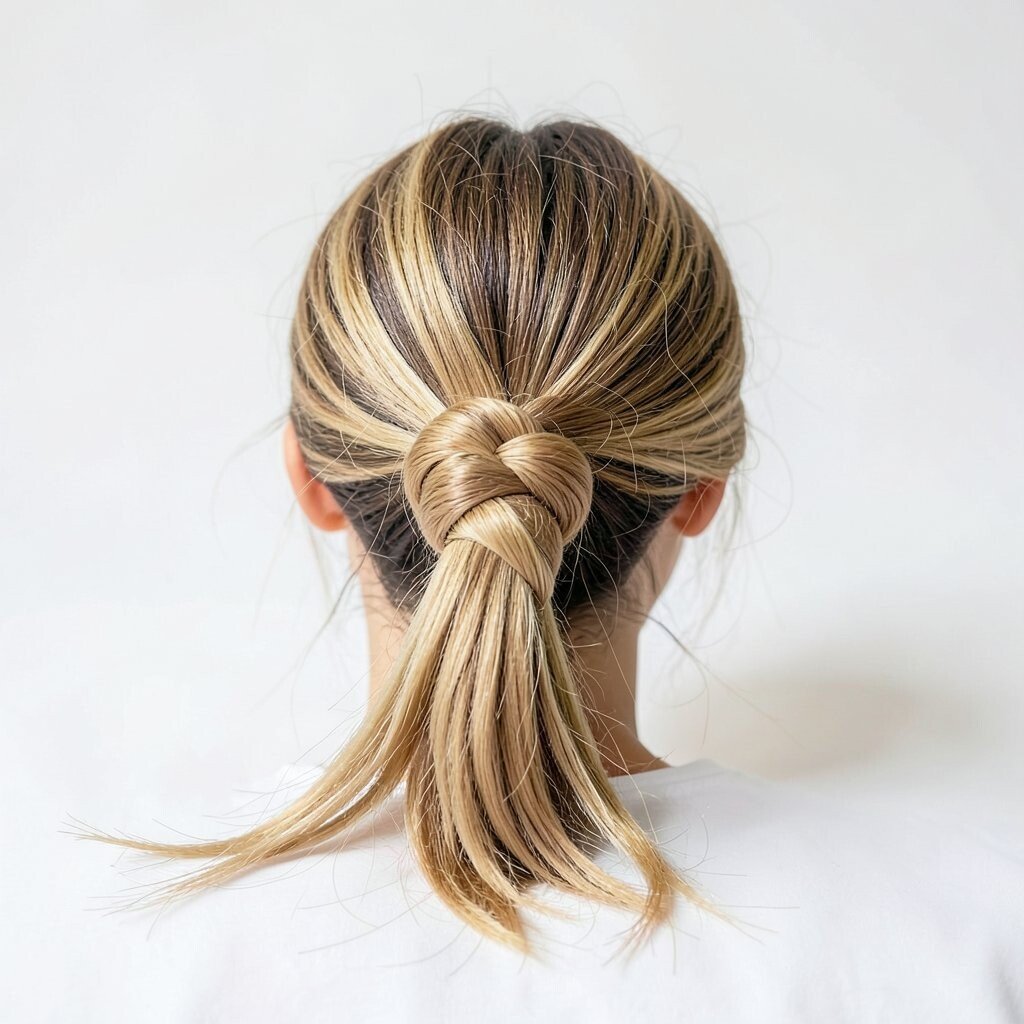
A braided ponytail base gives you a strong foundation for a bun knot. Once it’s wrapped and pinned, it looks like you have more hair volume than you actually do.
This is a practical choice because you can build it quickly even on busy mornings. It also benefits you by keeping your bun from sliding since the braided base is grippy.
Gather hair into a ponytail, then braid the ponytail into a simple braid. Twist the braid into a knot bun and secure with pins around the base.
For personalization, add a small twist of ribbon through the ponytail braid before you knot it. If you want a softer look, gently loosen the braid a bit before wrapping.
17. Zigzag Braids into a Center Bun
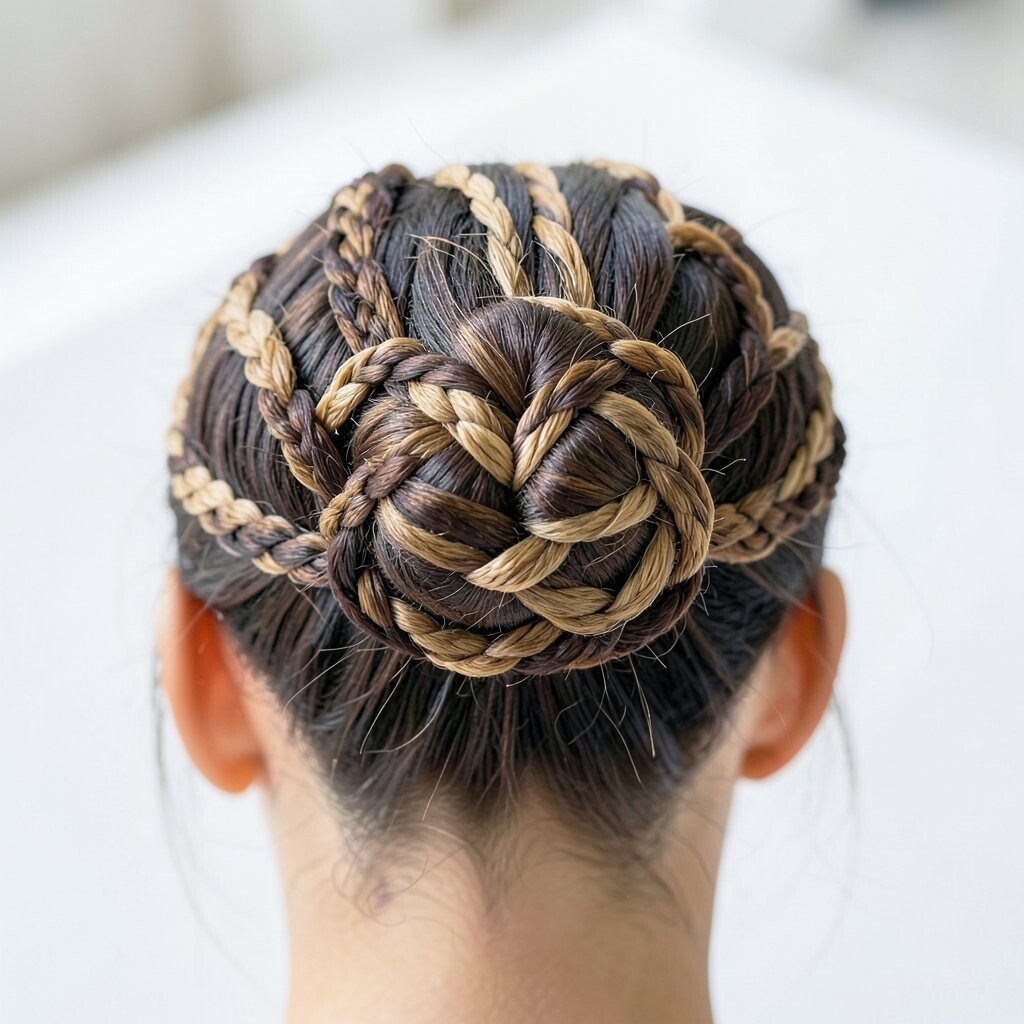
Zigzag braids create a sharp, graphic look that still feels cute. When gathered into a center bun, the pattern becomes a stylish focal point.
This style is unique because the braid direction changes create movement and depth. It also benefits you by helping hair lie flatter, which is great for thick or frizzy strands.
Work in sections that alternate directions, then braid each section and stitch them into place as you move. When you reach the end, gather the braids into a center bun and pin firmly.
To keep the look clean, smooth hair with a light serum before braiding. Add an on-trend hair clip to match your outfit for extra charm.
18. Crown Braid into a Braided Bun Loop
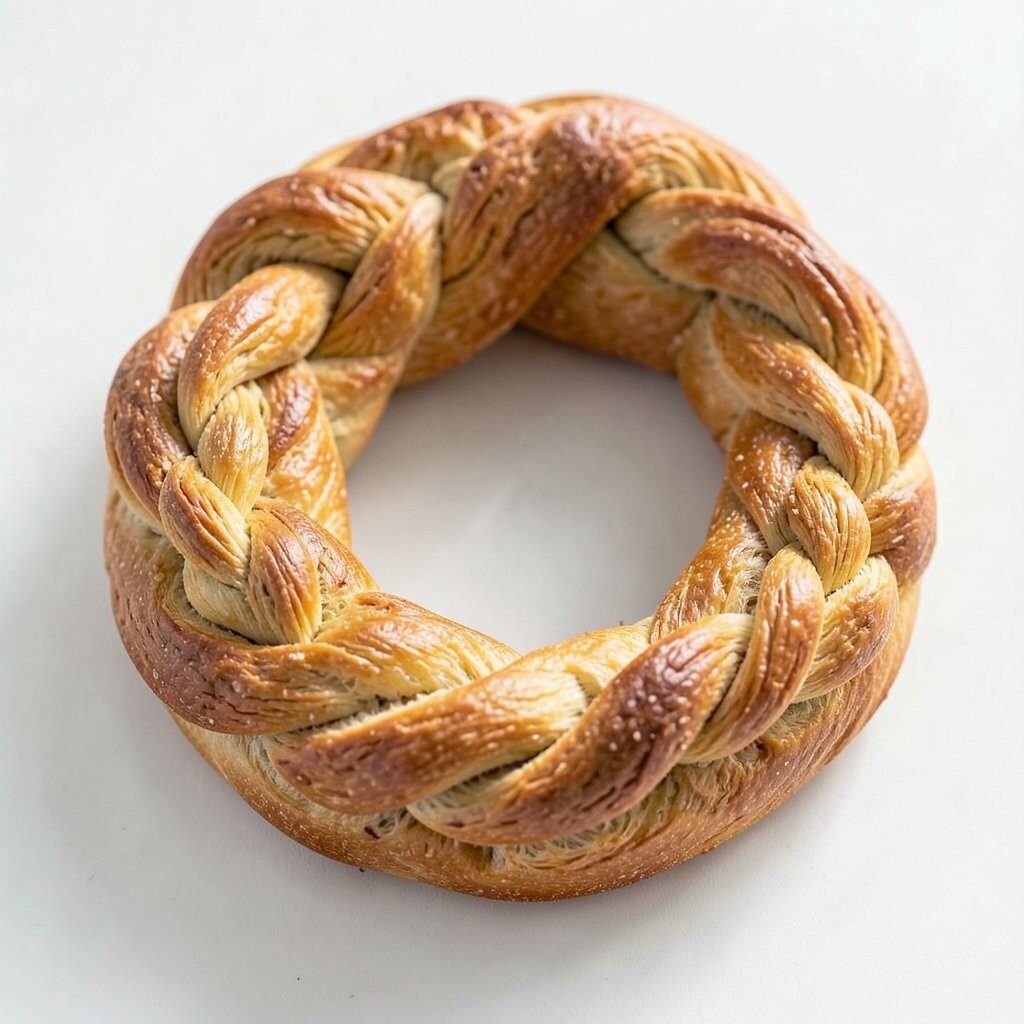
A crown braid with a looped bun looks elegant without feeling heavy. The loop adds a soft, sculpted shape that catches light beautifully.
This style benefits you when you want something special but still comfortable. The crown braid helps distribute tension, so you can wear it longer.
Make a crown braid around the top of your head, then gather remaining hair and braid it into a thicker braid. Form the thicker braid into a loop bun and secure around the base with pins.
For personalization, keep the loop slightly larger for a bold look or smaller for a delicate one. A light hold spray will help the loop stay defined through the day.
19. Pull-Through Braid into a Messy Braided Bun
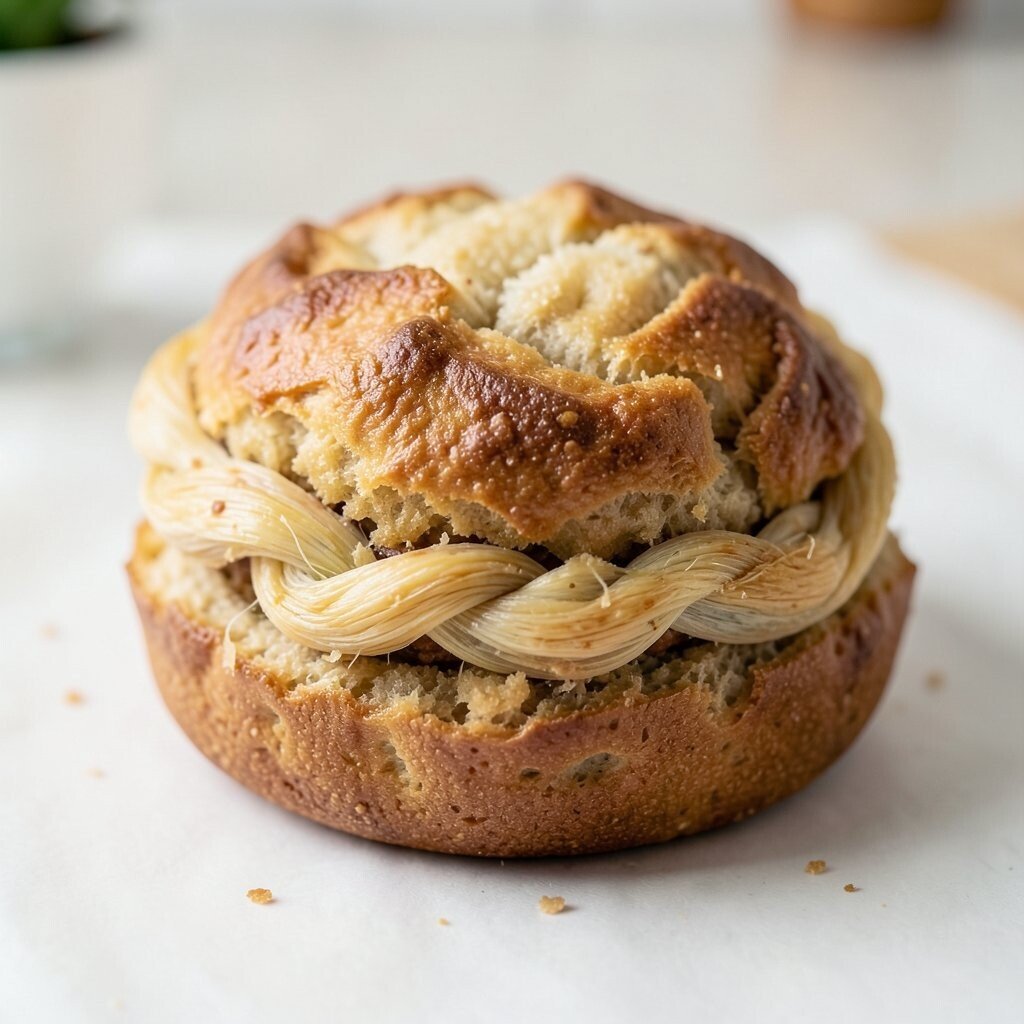
Pull-through braids have that airy, ribbon-like feel, and they look amazing in a messy bun. The braid texture makes the bun feel artistic instead of sloppy.
This is a unique option because it’s both structured and intentionally relaxed. It also benefits you by giving volume even if your hair is fine.
Create a pull-through braid by making loops and passing sections through, then widen them gently. Wrap the braid into a bun, pulling out a few strands for that “just right” messy look.
Use a texturizing spray or dry shampoo lightly at the roots to boost grip. Keep costs low by relying on everyday hair ties and bobby pins, then finish with a nice-smelling styling spray.
20. Triple Twist Braids into an Oversized Low Bun
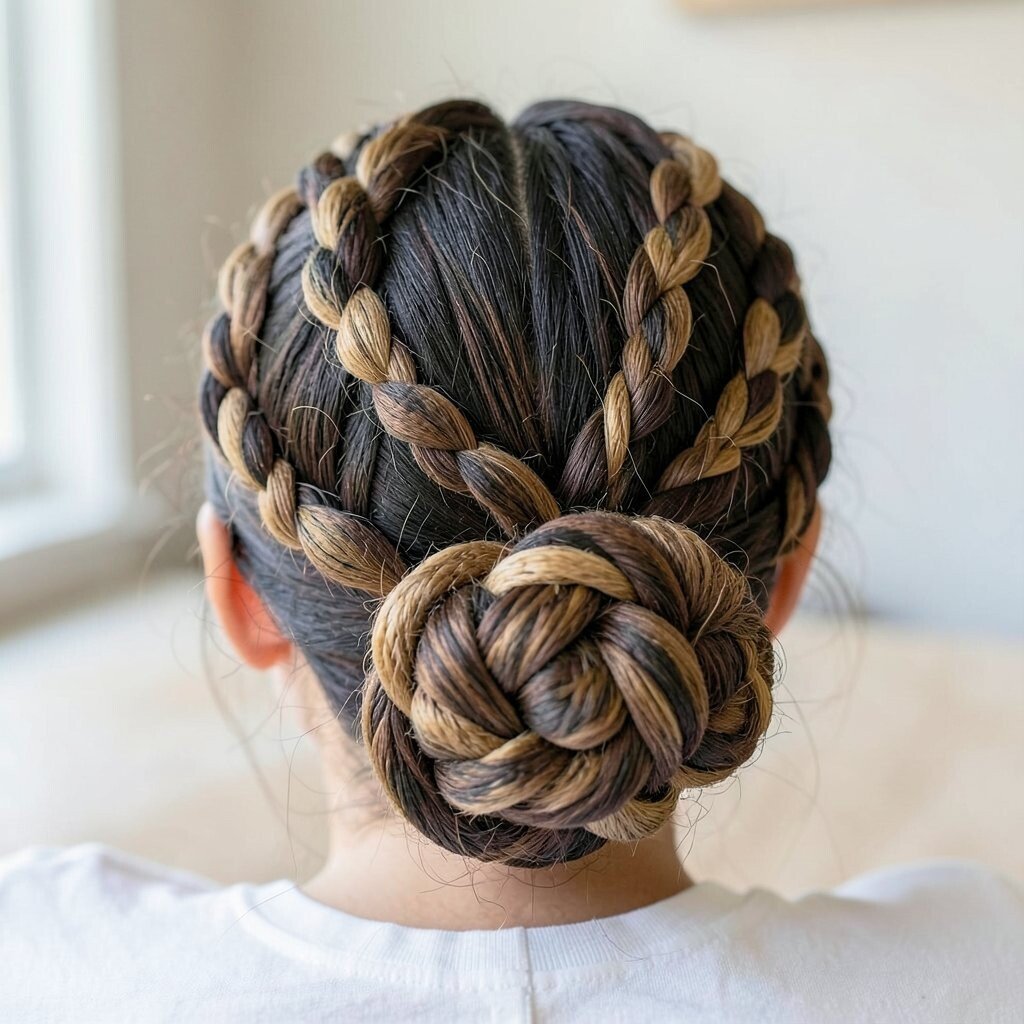
Triple twists stacked into an oversized low bun look bold, soft, and totally trendy. The twist texture gives the bun depth, while the size makes it the main event.
This style benefits you because oversized buns hide flyaways and uneven lengths with ease. It also feels unique because the triple twist pattern adds visual interest even in simple outfits.
Split hair into three sections, twist each section, then twist the three twisted pieces together. Coil the result into a low bun and pin around the edges until it feels secure.
For personalization, tuck a braided strand around the bun like a decorative belt. If you want a more polished finish, smooth the outside with a tiny bit of gel and keep the center soft.