
The prettiest clean girl art looks feel effortless, like they belong on your wall and in your day. With the right ideas, you can make space feel brighter, calmer, and more you.
1. Soft-Line Figure Drawings
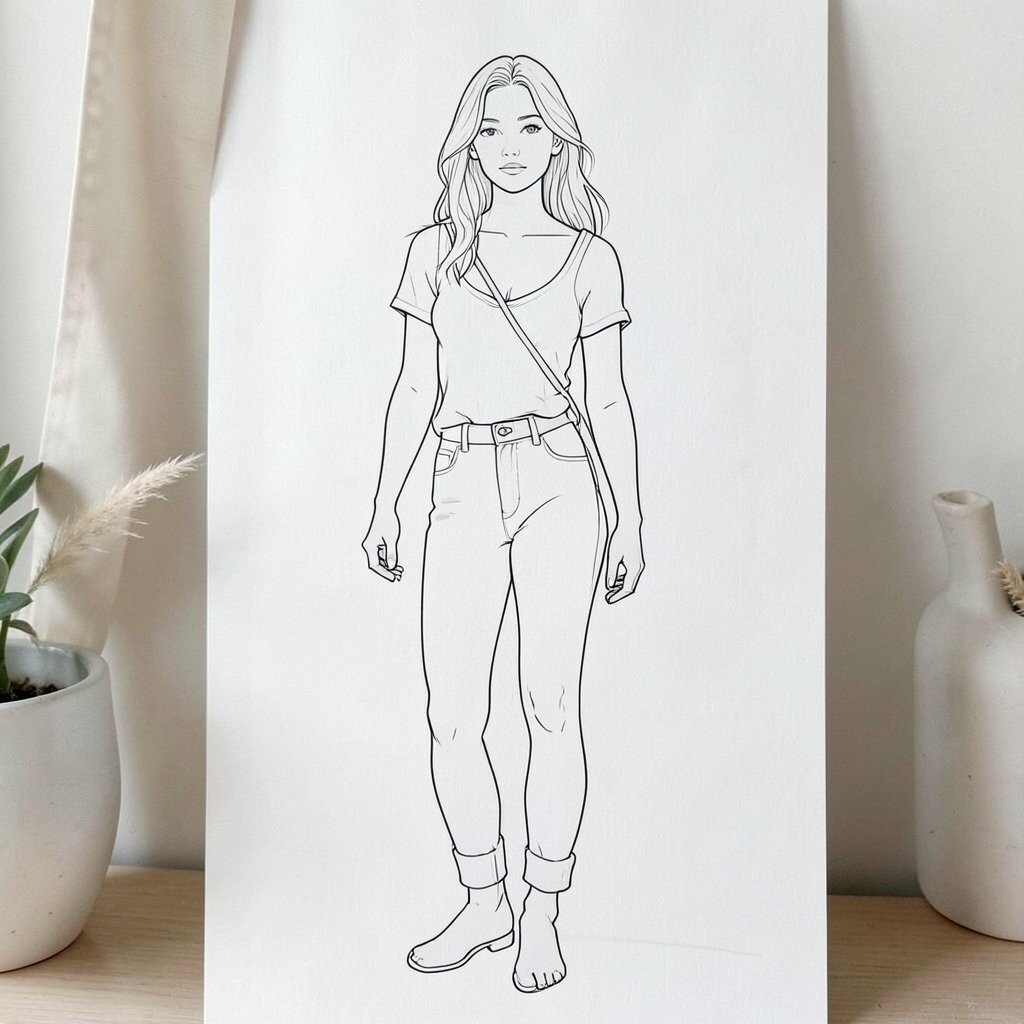
Start with simple people drawn using gentle, thin lines. Keep the faces minimal and let the shape do the work for a clean, airy look.
Choose one color for the lines, like warm gray or muted black, and add tiny hints of blush with a soft pencil. Try drawing a small series in different poses, then place them close together to look intentional. This style feels unique because your lines can be imperfect in a pretty way, and that makes it look real.
2. Framed Pressed Flower Sketches
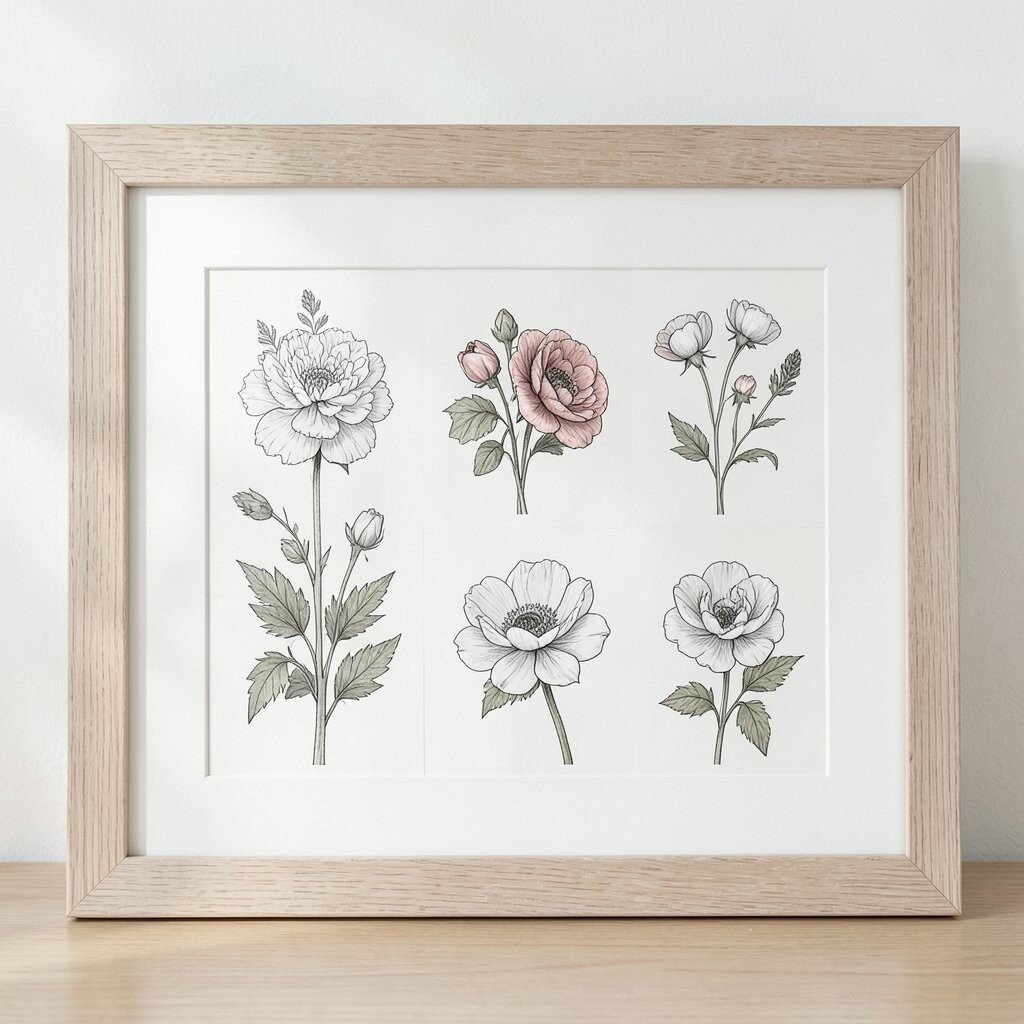
Press a small flower or a leaf, then sketch around its outline with a fine pen. The result looks delicate, like nature is gently holding the art in place.
For a practical upgrade, use one flower per frame and leave extra white space around it. Pick seasonal stems so the artwork feels current, and consider matching the frame color to your room. This idea also stays budget-friendly since dried blooms cost very little if you gather them yourself.
You can personalize it by mixing two flower shapes in one frame, or by writing a short date in very light pencil near the bottom edge. It also helps your art feel personal without adding clutter.
3. Monochrome Doodle Corners

Draw tiny doodles in the corner of a page, like a leaf, a small heart, or a simple star. Keep everything in one shade so the page still feels clean and calm.
Use a gel pen for crisp lines, then keep the rest of the page mostly blank. If you want it to look modern, place the doodles on the left or bottom edge instead of centered. This technique is simple but feels fresh because it turns everyday paper into something styled.
Personalize it by adding doodles that match your mood, like little waves for calm days or small suns for bright ones. You can also try repeating one doodle across a series for a matching set you can hang later.
Costs stay low because pens and plain paper are easy to find, and you can use scrap sheets for practice first.
4. Minimalist Abstract Washes
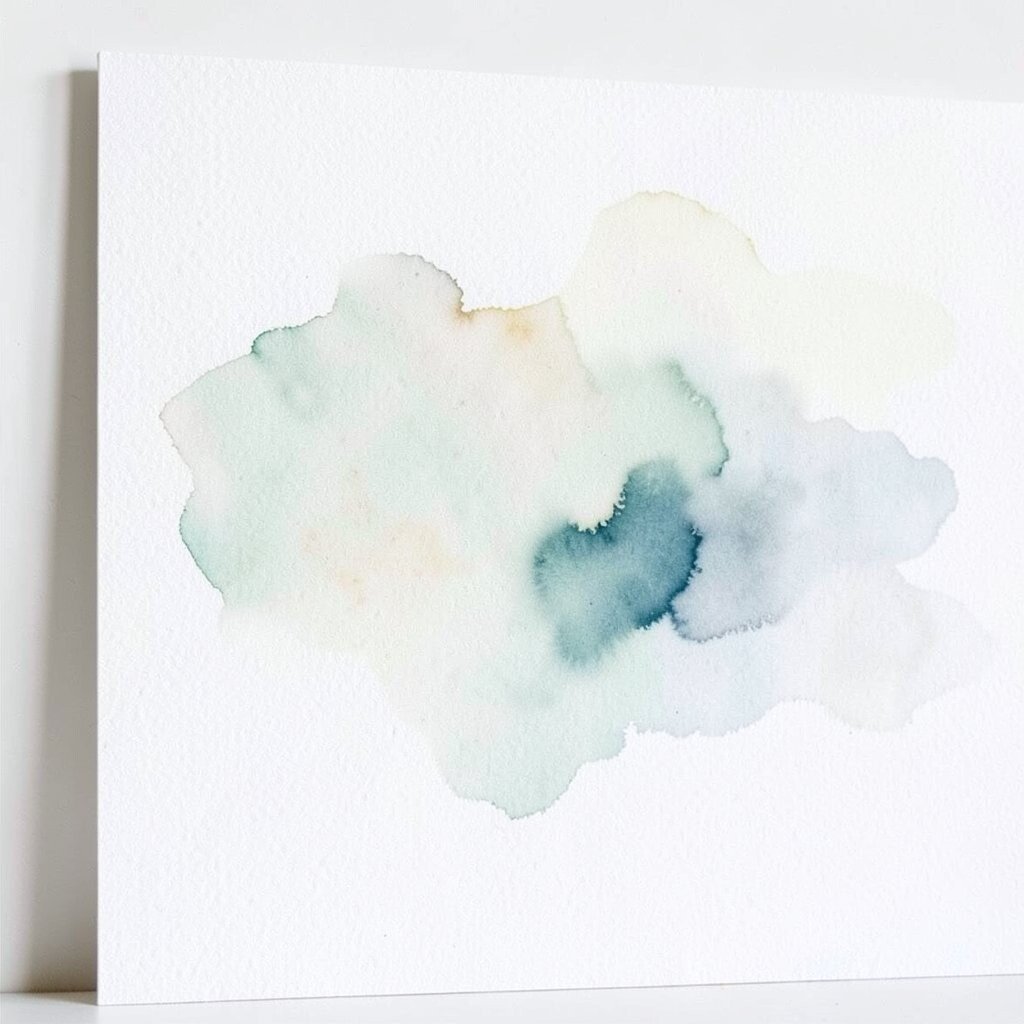
Use watercolor or watered-down acrylic to make soft shapes with lots of breathing room. Think clouds, gentle blobs, or simple swirls that stop before they get busy.
Pick two tones only, like cream plus pale sage, and let the edges fade naturally. To keep the look clean, use thick paper and rinse your brush often so the colors stay neat. This style is trending in simple home decor because it feels calm, not cluttered.
Personalize it by adding one faint line through the wash, like a horizon or a curve that hints at movement. Keep the painting small if you want it to stay low cost.
5. “Quiet Quotes” in Hand Lettering
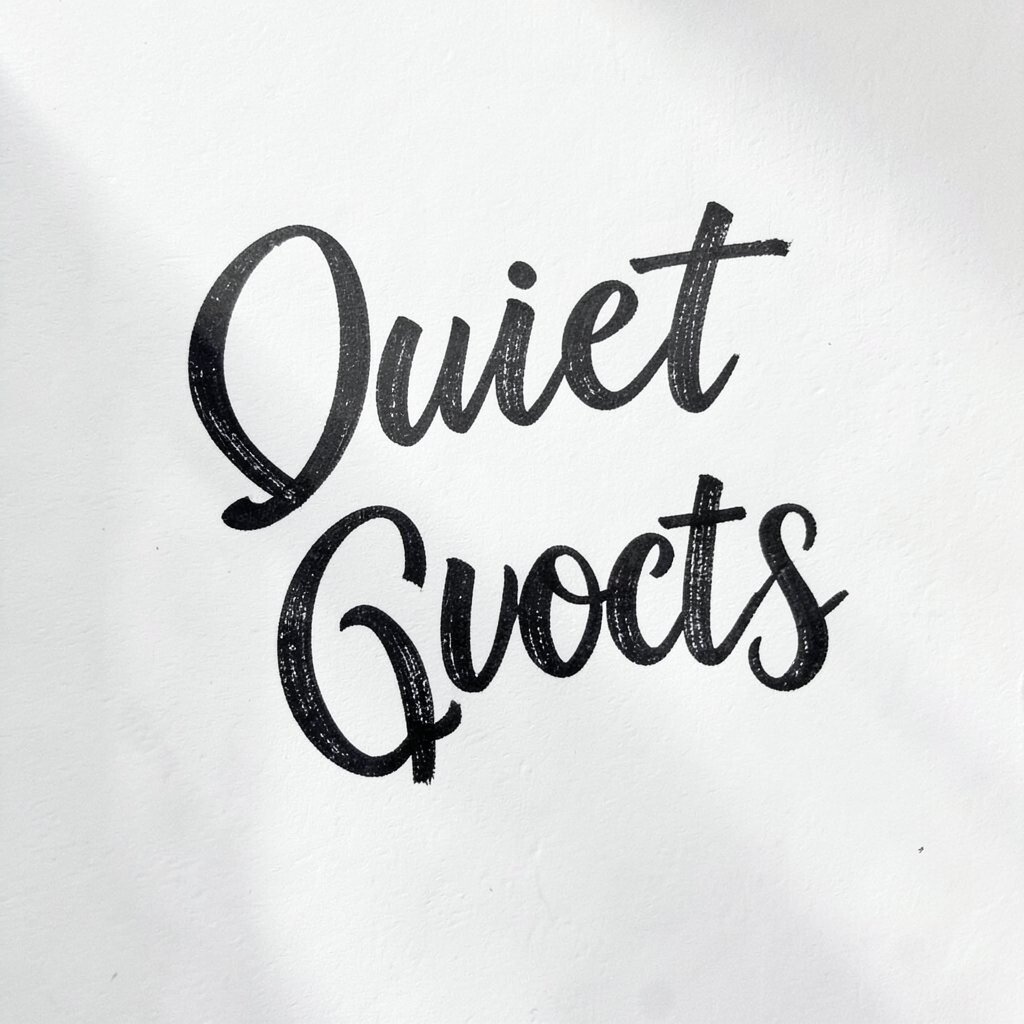
Write short phrases in neat handwriting, like “soft days” or “slow mornings,” and pair them with blank space. Choose a simple script or block letters and keep the ink color light and warm.
Use thick paper and a black-brown pen so the words feel friendly. For a practical touch, place the quote off-center and leave a wide margin so it looks stylish instead of packed. This idea works well for personalization because your exact words shape the mood.
Keep it budget-friendly by using printable paper backgrounds or plain cardstock, then mounting your favorite piece in a cheap frame.
6. Calm Still Life Collage
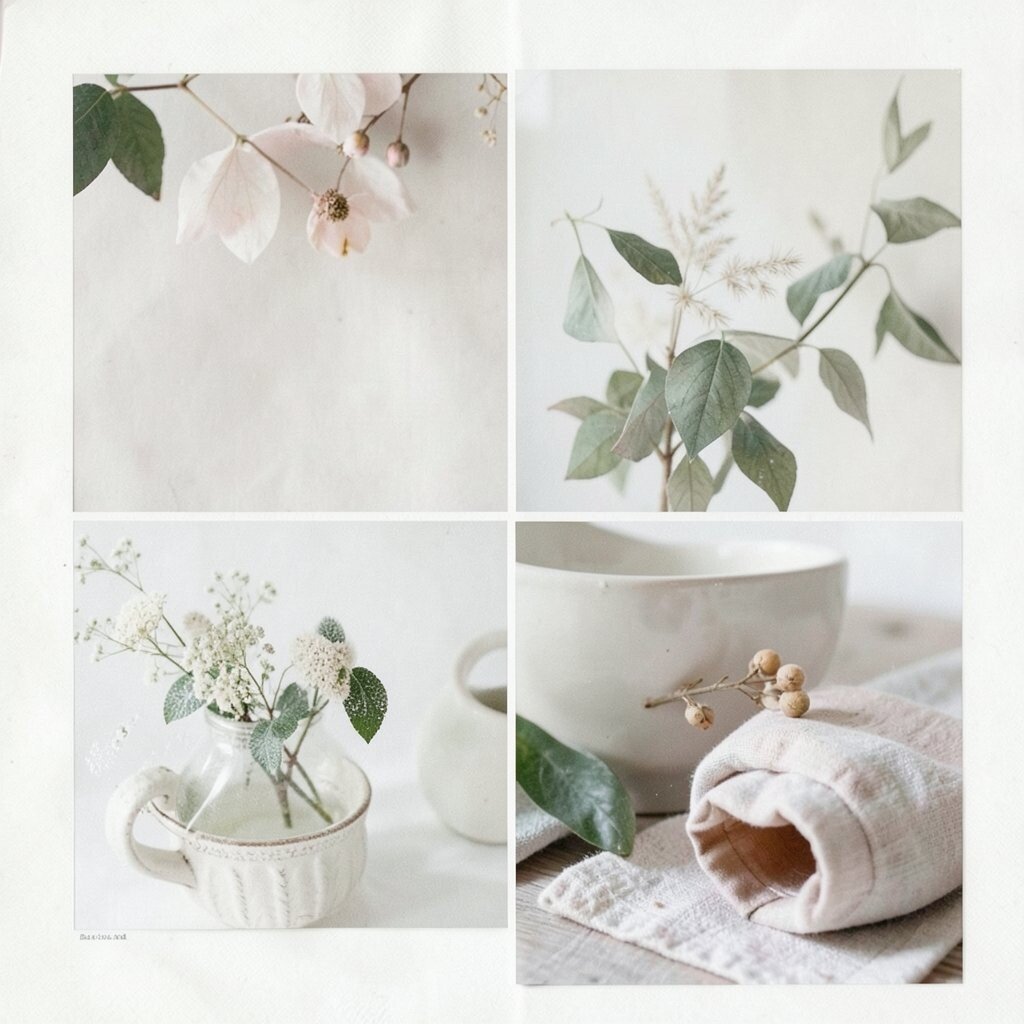
Gather a few small objects you already own, like a spoon, a tiny vase, or a folded scarf. Arrange them neatly and either draw them or glue printed photos into a clean collage.
Keep the color palette soft, like beige, ivory, and one gentle accent. This makes the art feel unique because your everyday items become a mini scene with personality.
Try using thin paper strips to “frame” each object, which helps the collage look crisp. You can also personalize by choosing items that match your hobbies, like a paintbrush, a tea bag, or a seashell.
7. Simple Geometric One-Color Prints
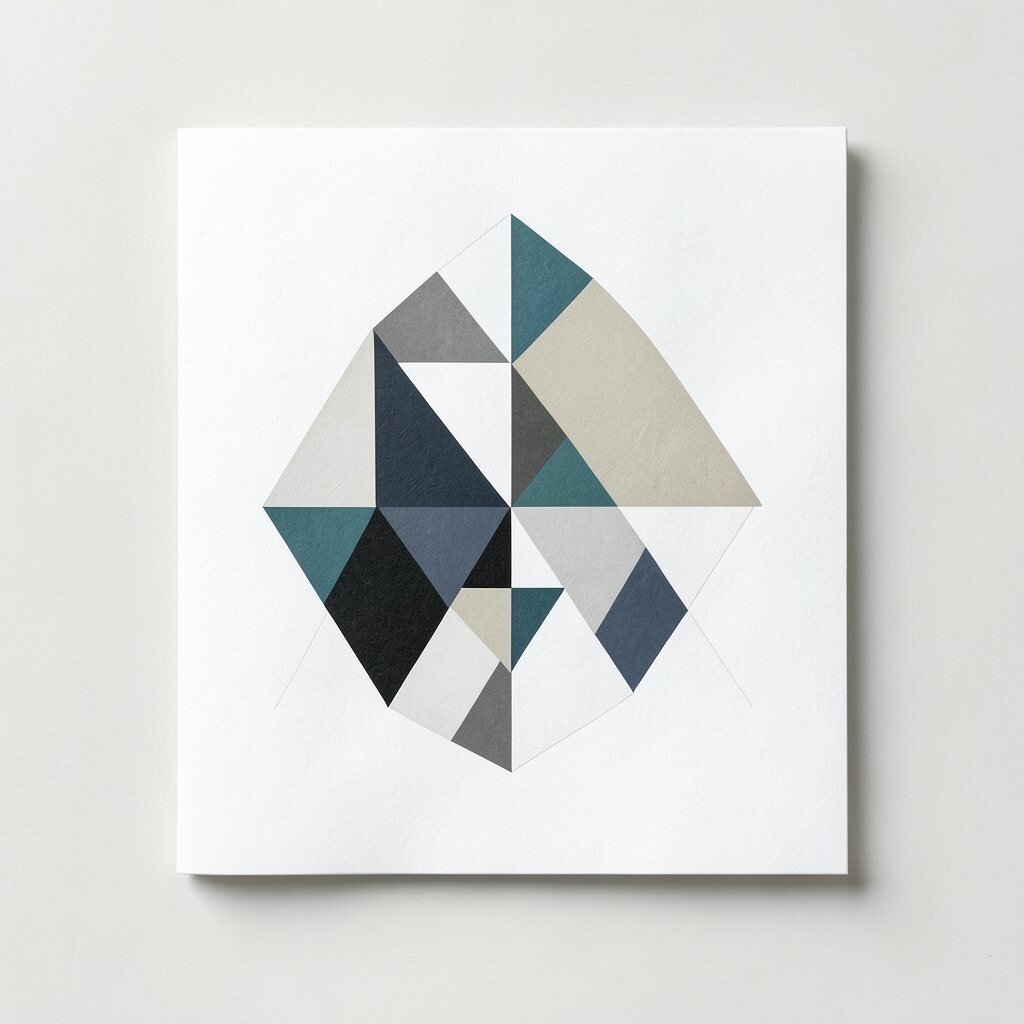
Create a pattern using one color and a few shapes, like circles, squares, and thin lines. The trick is to keep the shapes spaced so the page stays calm.
You can make these with markers, stencils, or even tape as a guide. Use off-white paper to make the color pop without feeling harsh. This style feels fresh because it looks structured, but still soft enough to feel clean girl.
For practical results, plan the grid lightly with pencil first, then go over it with a steady hand. Personalize by choosing a color that matches your wardrobe or room decor, like terracotta, dusty rose, or sage green.
8. Skin-Tone Portraits With Soft Highlights
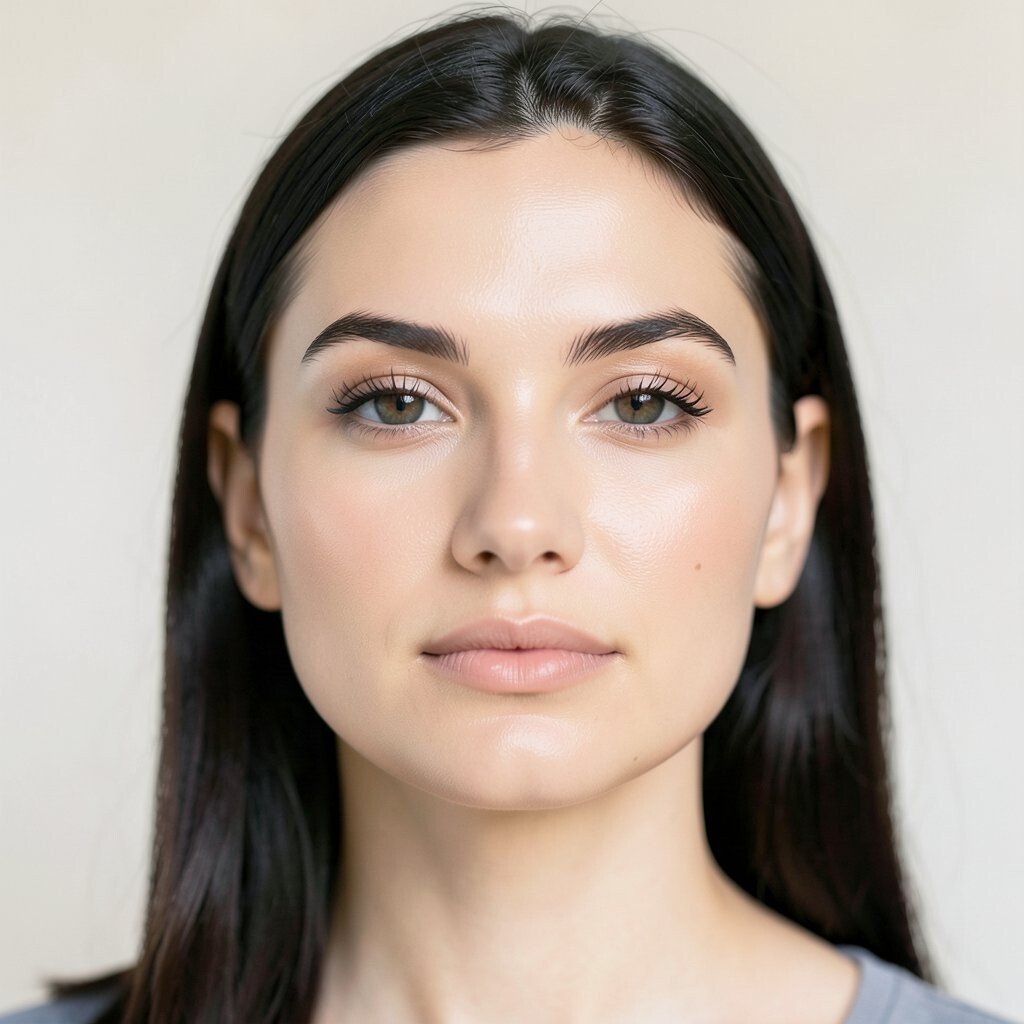
Draw a face using gentle shading and focus on highlights around the eyes and cheeks. Keep the hair simple, using small strokes that look light and airy rather than detailed.
Use three tones only, such as light, medium, and shadow, to avoid a messy look. This keeps the portrait unique because the style depends on how you blend, not on complicated details.
If you want it to look more current, try adding a thin line border in a neutral color. Cost stays manageable since you can use affordable sketch pencils and a blending tool you might already have.
9. Line-Art Hands and Everyday Gestures
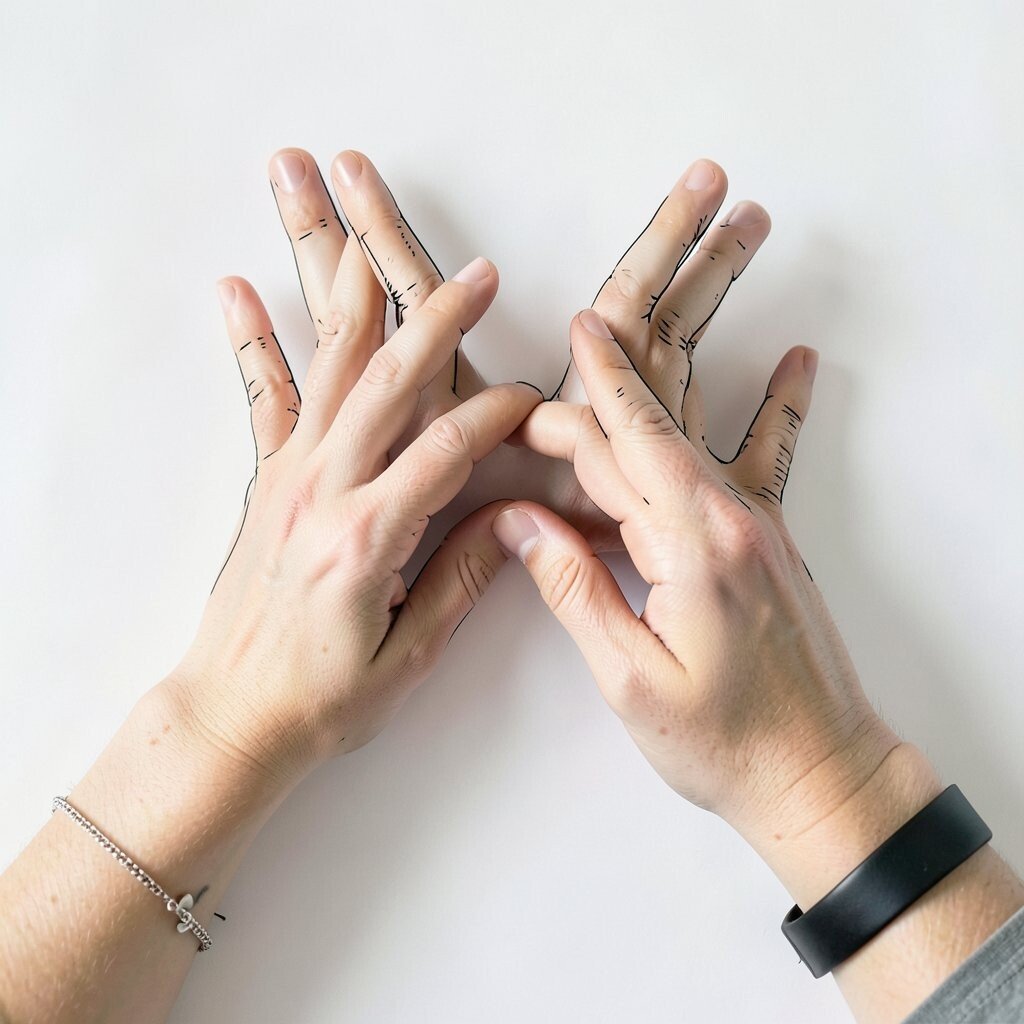
Draw hands doing simple things, like holding a cup, brushing hair, or resting on a table. Hands look expressive even when the drawing is minimal.
Use thin lines and keep the background blank so the gesture stays clear. Try one practice page for accuracy, then do a final piece with cleaner curves and better spacing. This idea feels desirable because it turns everyday moments into art without needing fancy supplies.
Personalize it by choosing gestures that match your life, like writing, braiding, or tying shoes. If you want to keep costs low, use a single pen and simple paper.
10. “White Space” Character Posters
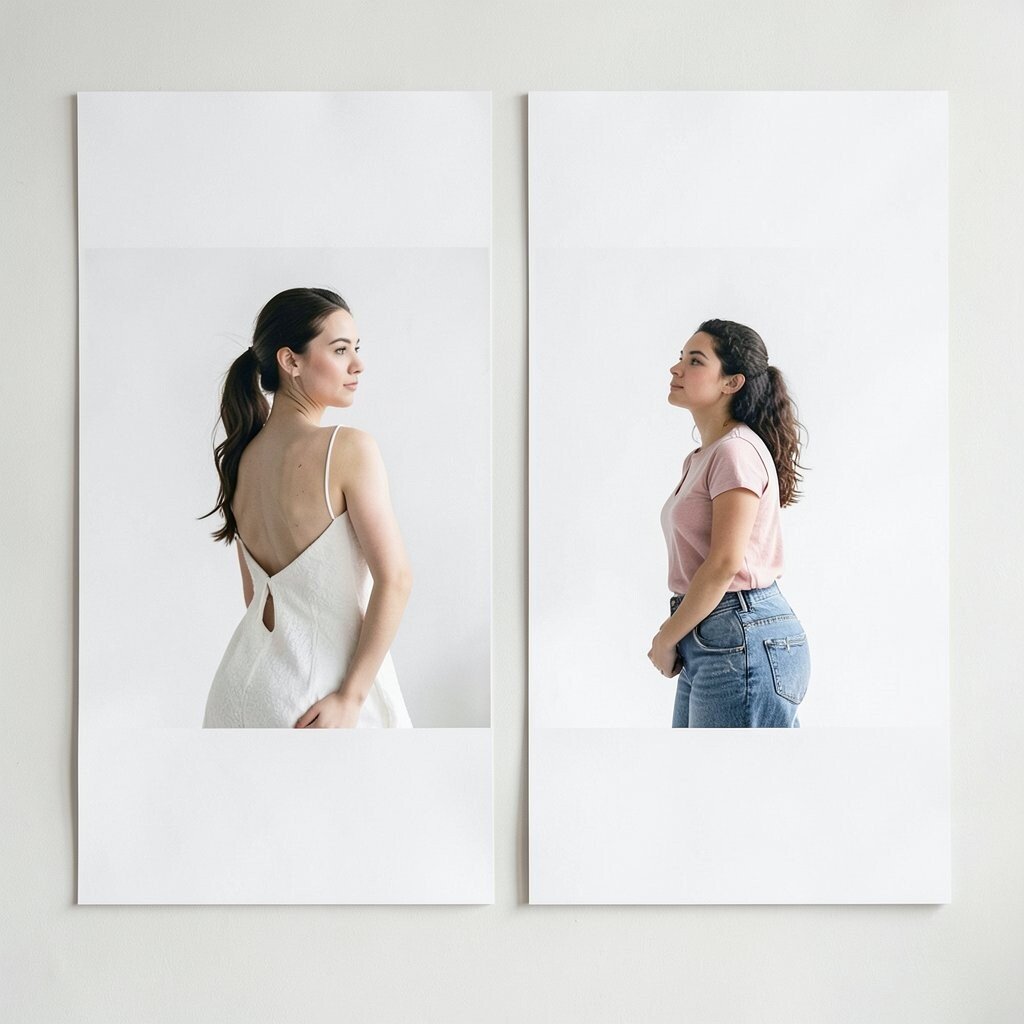
Create a character silhouette, then surround it with wide empty space. Add one tiny detail, like a small flower or a dot pattern, to make it feel playful but still neat.
Make your silhouette using a dark pencil or ink, then keep all other marks minimal. The benefit is that your poster will always look clean because it avoids visual overload.
Personalize it by giving the character a theme, like a dancer with a small rhythmic line or a reader with a simple bookmark icon. You can also match the theme to current aesthetics by using soft, muted colors and gentle shapes.
11. Pastel Photo Transfer Art
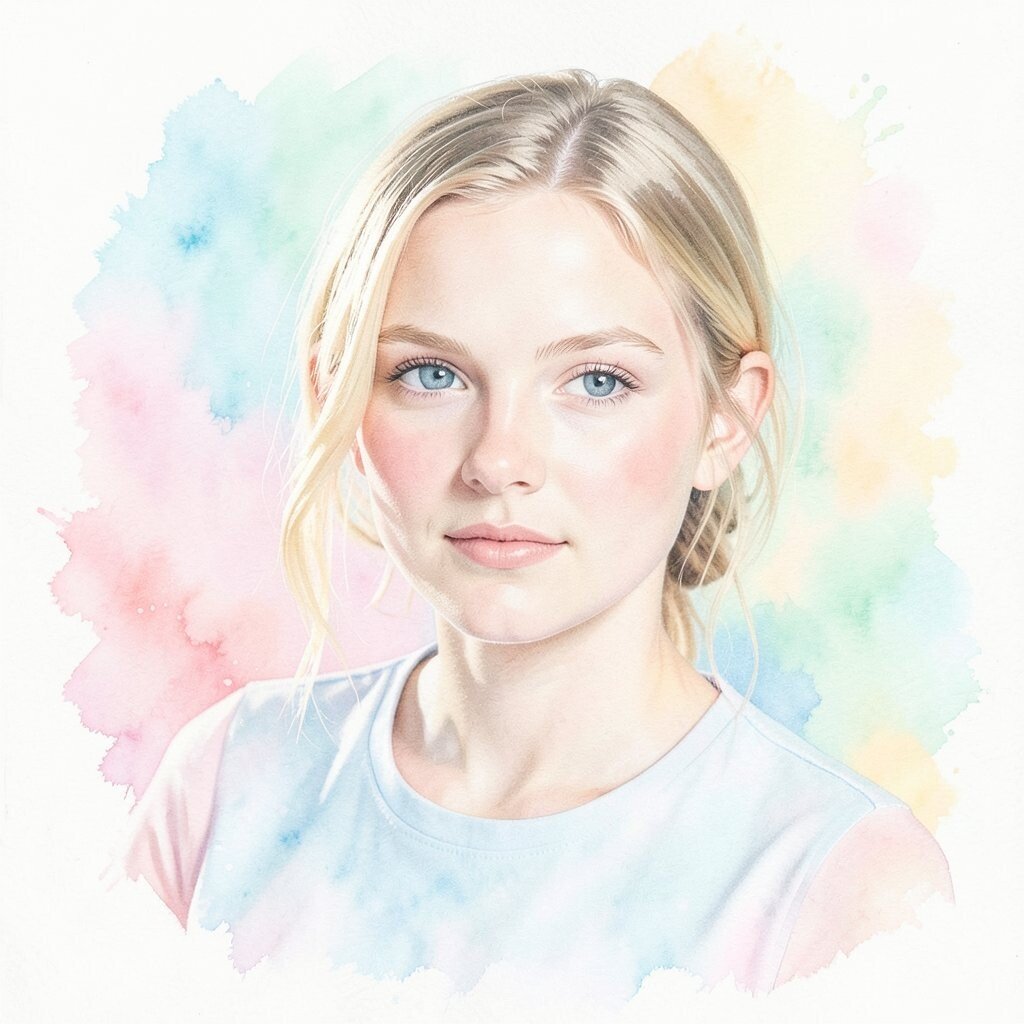
Use a photo transfer style to move a small image onto textured paper, then lightly paint over it. Choose a photo with soft lighting, like someone holding a mug or standing near a window.
When you want a clean girl vibe, keep the image small and add light pastel strokes only where it helps. This feels unique because the photo becomes part of a dreamy surface instead of staying flat and literal.
For practical tips, test the transfer on scrap paper first so you learn how your medium behaves. Personalize by choosing images that match your personality, like a favorite outfit detail or a city street sign.
12. Monogram Scrapbook Page Art
Turn your initials into the main art by drawing them big and clean on a scrapbook page. Add a few small shapes around the letters, then stop before it feels crowded.
Use letter stickers, then trace them lightly with pencil for a handmade look. This helps your art feel polished while still personal.
For a budget-friendly approach, use whatever paper scraps you have and match them with one matching ribbon or thin tape. Personalize with tiny symbols that matter to you, like a star for a hobby or a leaf for your favorite season.
If you want the look to feel current, keep everything muted and avoid bright neon colors.
13. Minimal Botanical Line Prints
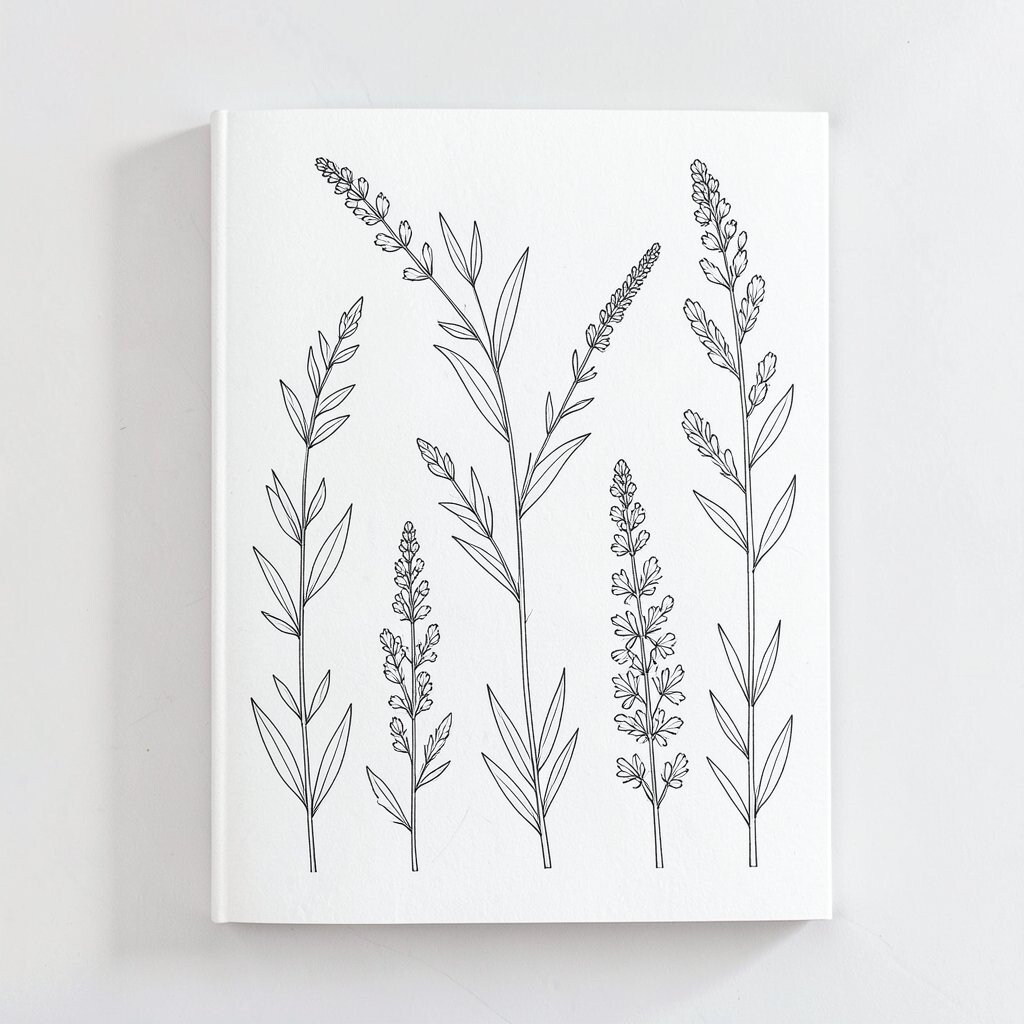
Draw single stems, leaves, or small branches in line art on plain paper. Keep the line thickness consistent so it looks neat and modern.
Pick a background color like cream, then use black-brown ink for a softer feel than pure black. This benefits your art by keeping it calm and easy to pair with any wall color.
Make it unique by choosing plants that feel personal, like basil from your kitchen or a flower you saw once on a walk. Practical tip: vary leaf sizes so the drawing looks alive even without shading.
Personalize by repeating one plant across a series and making a matching set of prints.
14. Tissue Paper Texture Flowers
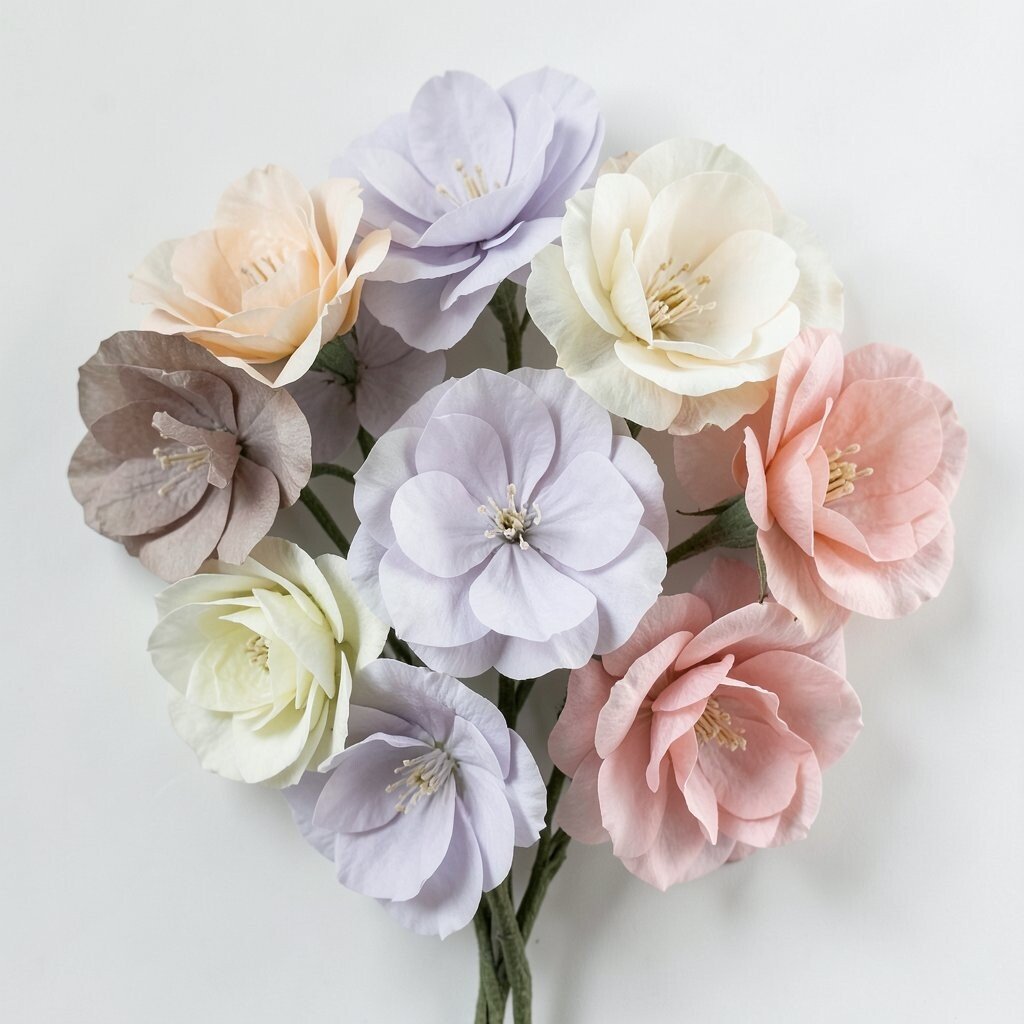
Cut tissue paper into petal shapes and layer them on top of cardstock to form a flower. Press the layers gently so the edges look soft rather than sharp.
Use two or three pastel colors only to keep everything clean and sweet. This style is unique because the texture makes the art feel tactile, even from far away.
For practical tips, glue with a small amount and let the pieces overlap just slightly. Personalize it by choosing colors that match your room or by adding a tiny metallic dot in the center for a subtle glow.
Costs stay low because tissue paper is usually inexpensive and you can reuse scraps.
15. Dainty Patterned Tabletop Trays
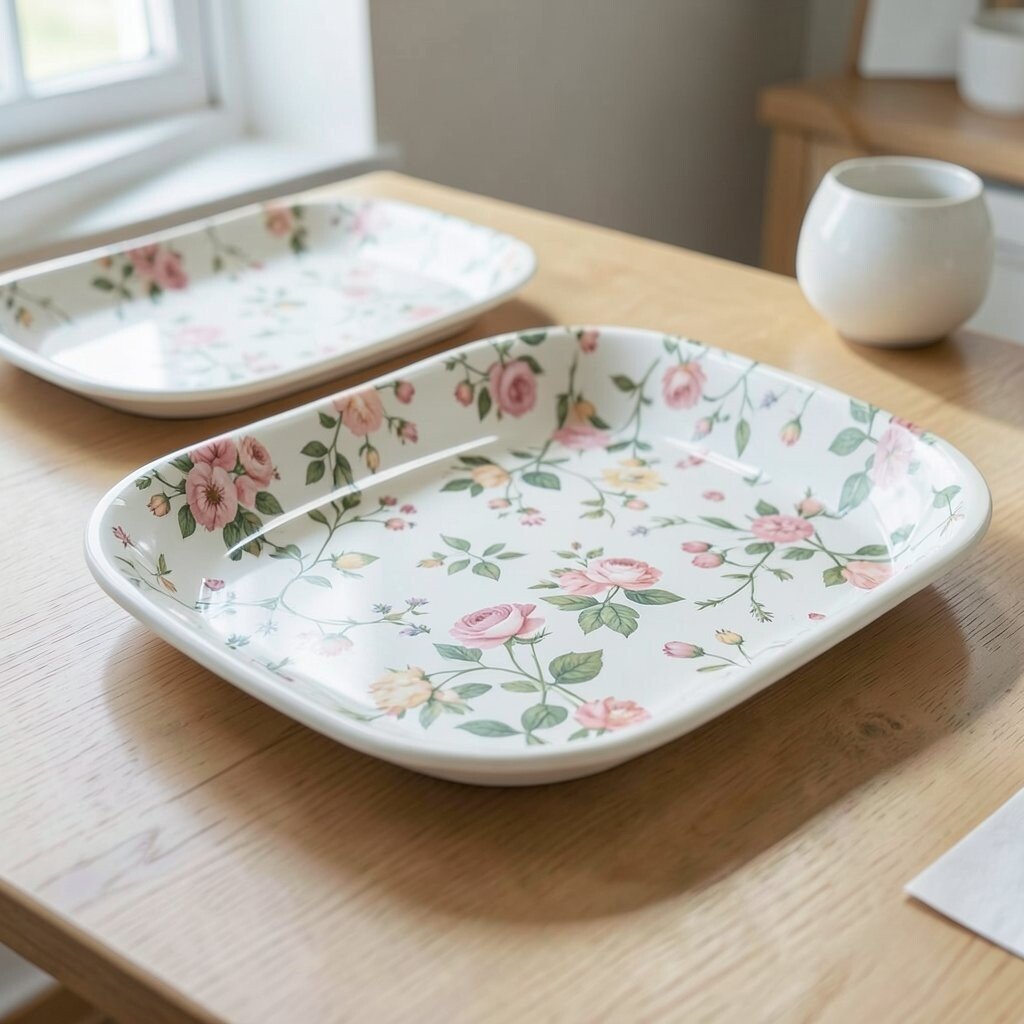
Design a tray “poster” by drawing a top-down view of a clean tabletop setup. Include a cup, a plate, and one small plant, then add a simple pattern to the tray surface.
Use gentle stripes or tiny dots instead of busy textures. The benefit is that your art feels styled and cozy without looking messy.
Make it practical by taking a quick photo of your real setup and using it as a reference for shape and proportion. Personalize by swapping items with what you actually use, like a tea mug or a candle.
To match current trends, choose soft neutral palettes and include a little negative space around the objects.
16. Simple Color-Block Landscape Scenes
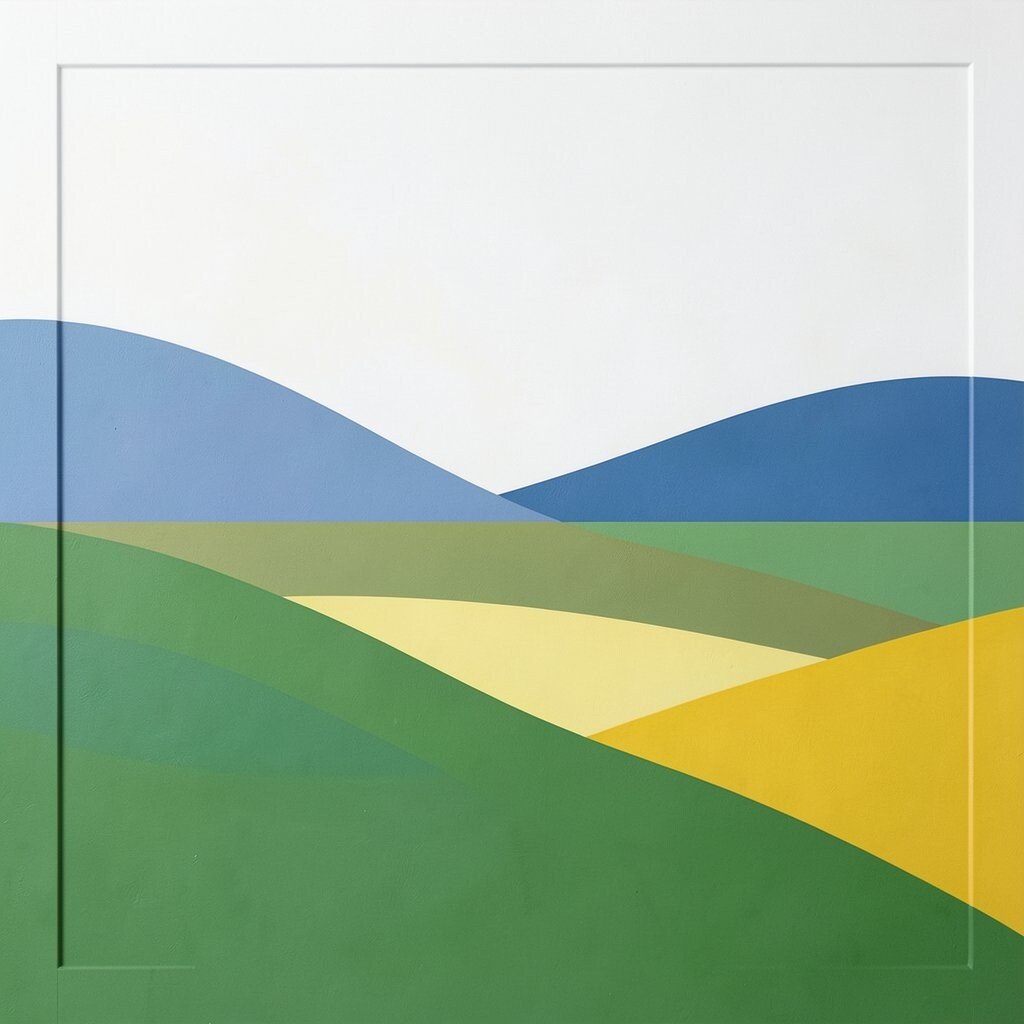
Paint a landscape using flat shapes, like a sky block, a hill block, and a small sun or tree shape. Keep the edges clean so the whole piece looks organized.
Try a two-tone sky and a muted green hill, then add one warm accent. This creates a fresh look because clean color blocking feels modern and easy to read at a glance.
Personalize it by changing the main shape each time, like making the horizon curve slightly or adding a simple wave line. Practical tip: use painter’s tape for crisp boundaries if you struggle with straight edges.
17. Tiny Scrapbook “Memory Windows”
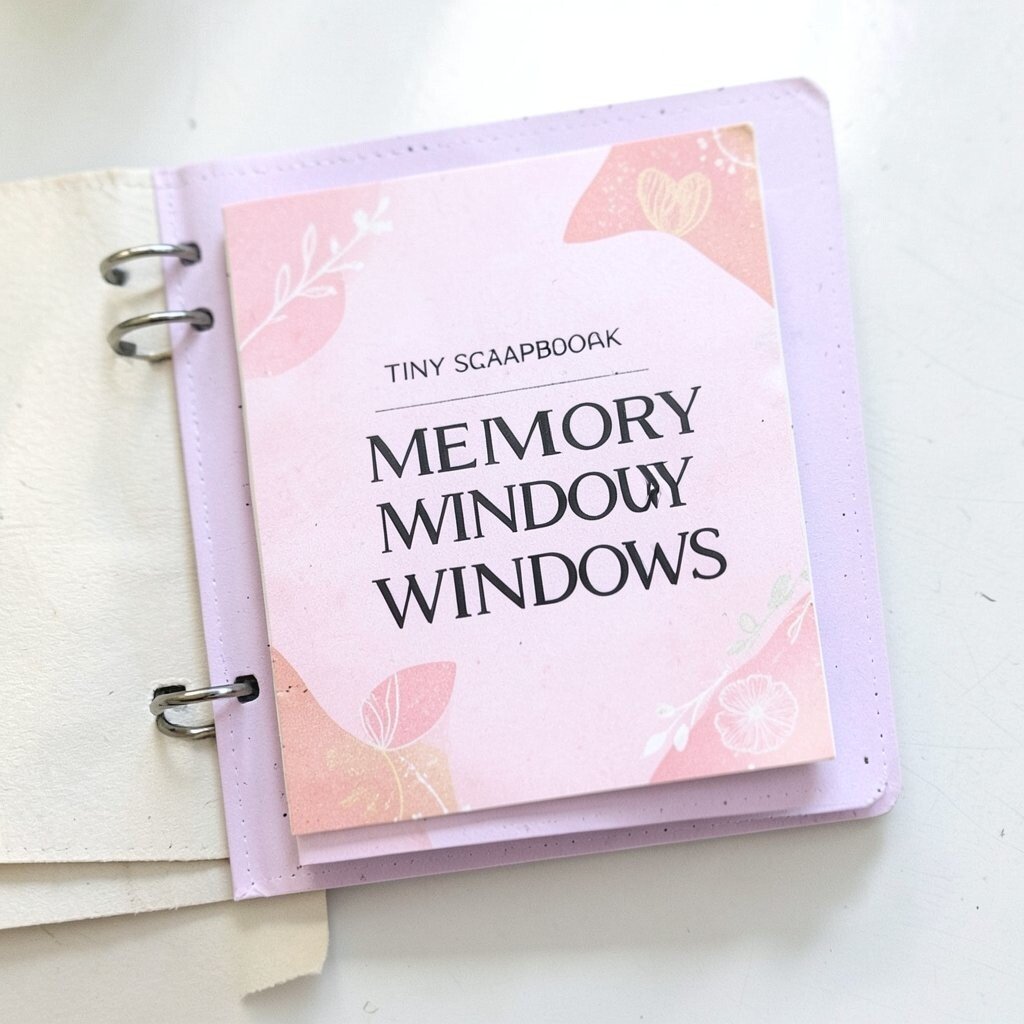
Create a small window frame on paper, then glue a tiny memory inside like a ticket stub, a photo, or a pressed leaf. Leave plenty of white around the window for a clean, gallery feel.
This idea feels unique because it blends art and life without making the page too busy. For practical tips, choose one memory only and keep the colors neutral so the focus stays on the window.
Personalize by adding a soft watercolor wash behind the memory so it looks cohesive. Costs can be very low because you can use scraps and small prints from your phone.
If you want a current look, add a thin gold or beige frame line and keep the rest plain.
18. Clean Water Droplet Typography
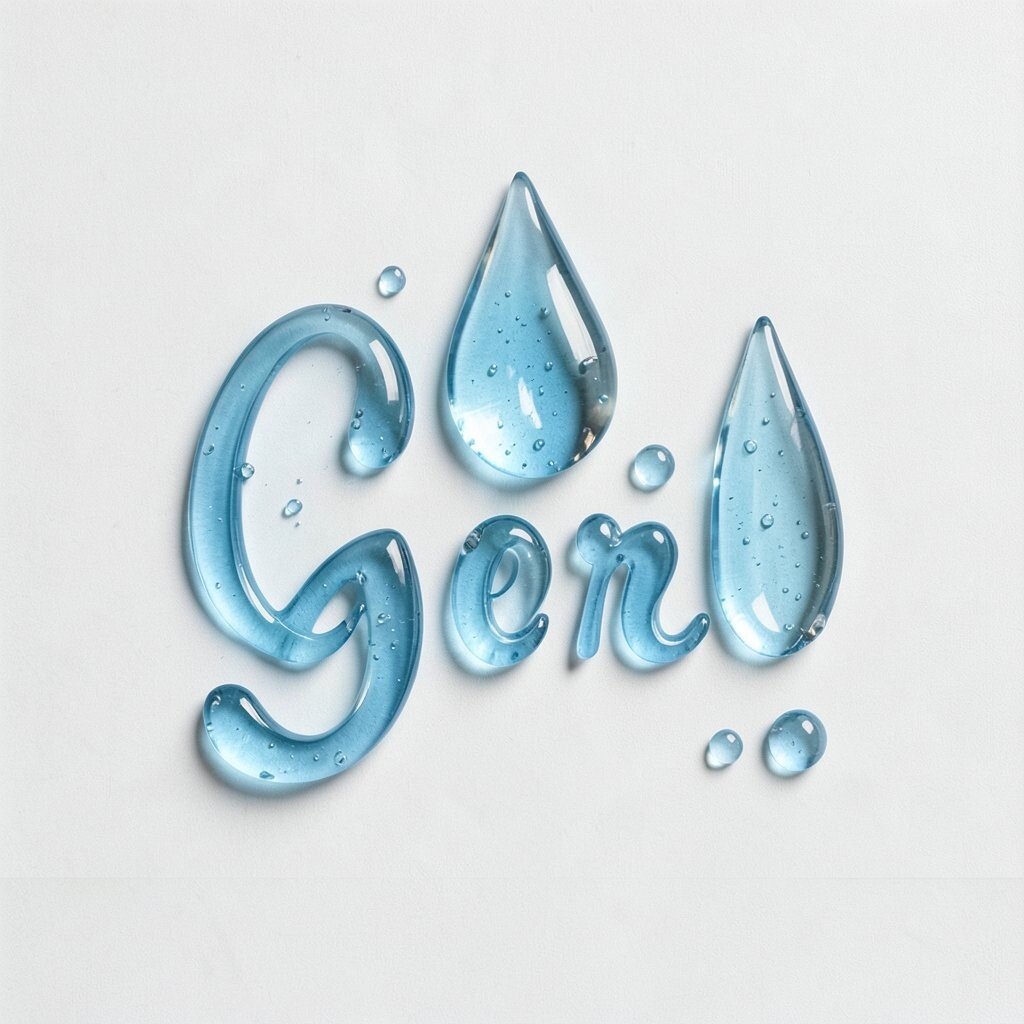
Draw simple droplet shapes and make them look like they hold letters floating inside. Use one or two fonts and keep the droplet outlines neat.
This is a fun way to make your art feel fresh while still staying minimal. The benefit is that it gives a playful twist to typography without needing a detailed background.
Personalize by writing your favorite word in each droplet, like “breathe,” “calm,” or “ease.” Practical tip: lightly sketch the droplet positions first so the letters fit nicely.
For cost considerations, a basic pen and a few colored markers are enough to start.
19. Soft Shadow Still Life Studies
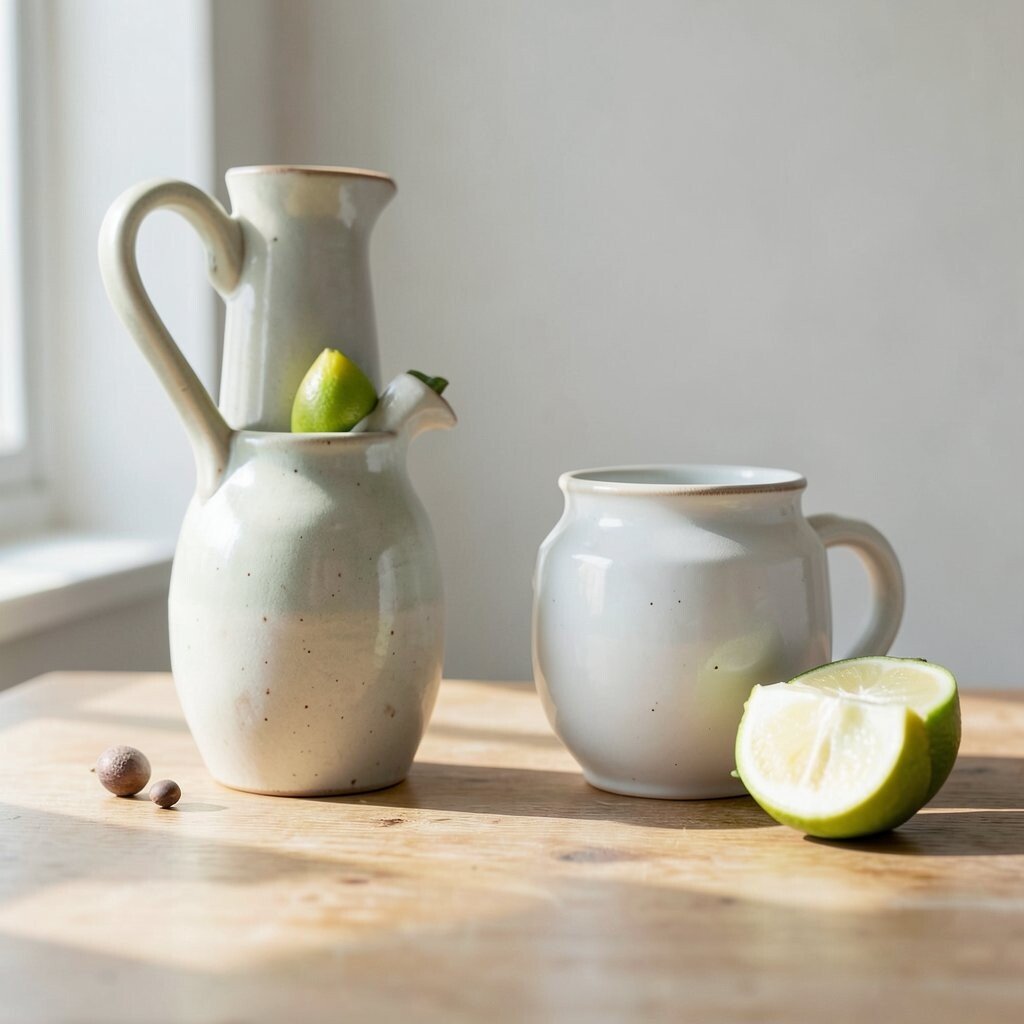
Place one object under a strong light source and trace the shadow onto paper. You can draw the object too, but the shadow can be the main artwork.
Use one warm pencil tone for the shadow shape and keep everything else blank. This looks clean because shadows are naturally simple and graceful.
Personalize it by choosing objects with meaningful shapes, like a key, a ceramic bowl, or a simple plant pot. Practical tip: move the light slightly between sketches for a series that still feels coordinated.
Costs are low because you only need paper and a pencil or pen, plus a lamp if you want more control.
20. One-Page “Mood Color” Exercises
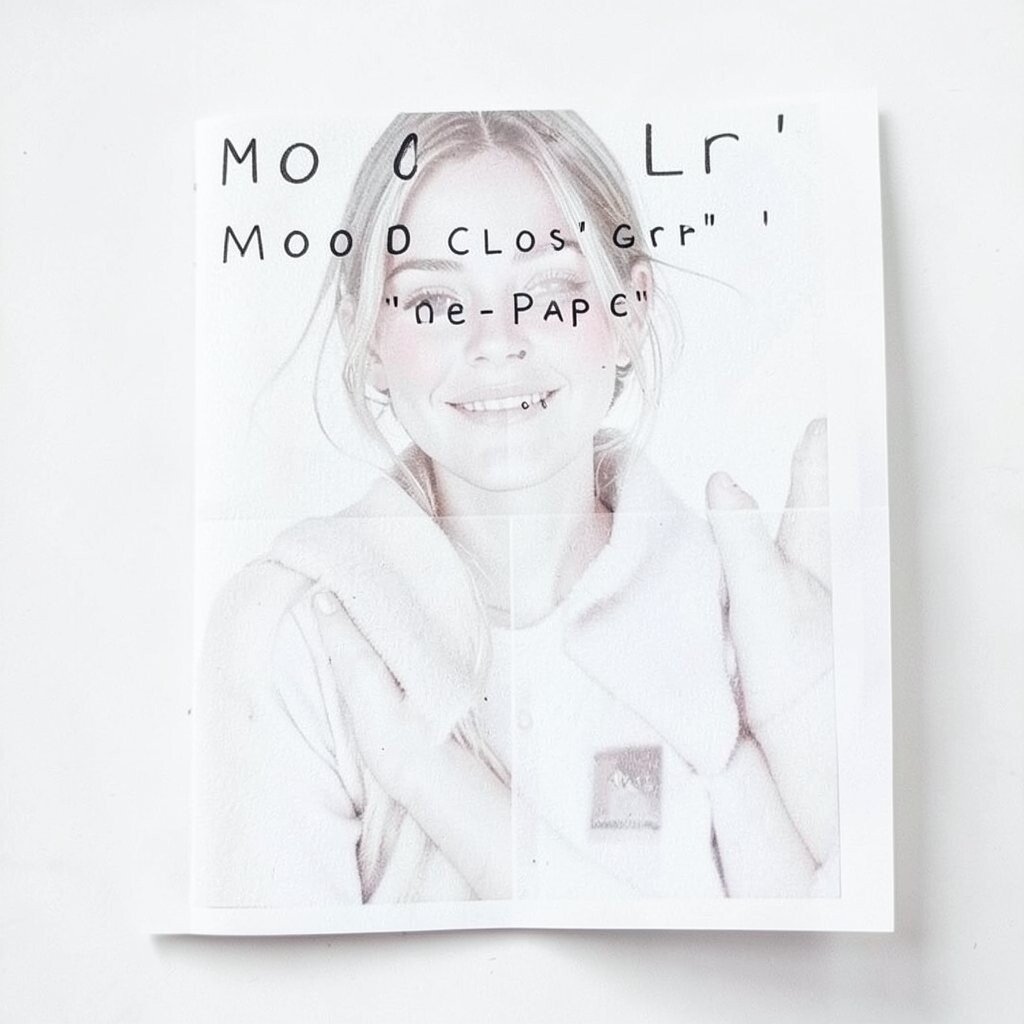
Pick a mood for the day and choose a few colors that match it. Paint thin stripes, small blocks, or gentle circles across one page, then leave a big margin.
This style is unique because it turns feelings into visuals you can actually see. The benefit is that it gives you a fast creative outlet that still looks intentional on your wall or binder.
Personalize by adding one tiny symbol that repeats across pages, like a star or a leaf. Practical tip: keep a color palette card nearby so you stay consistent and the results look cohesive.
For trends, muted pastel and earthy tones are popular right now, and this method makes it easy to match them without overthinking.
21. Minimal Ceramic-Inspired Pattern Drawings
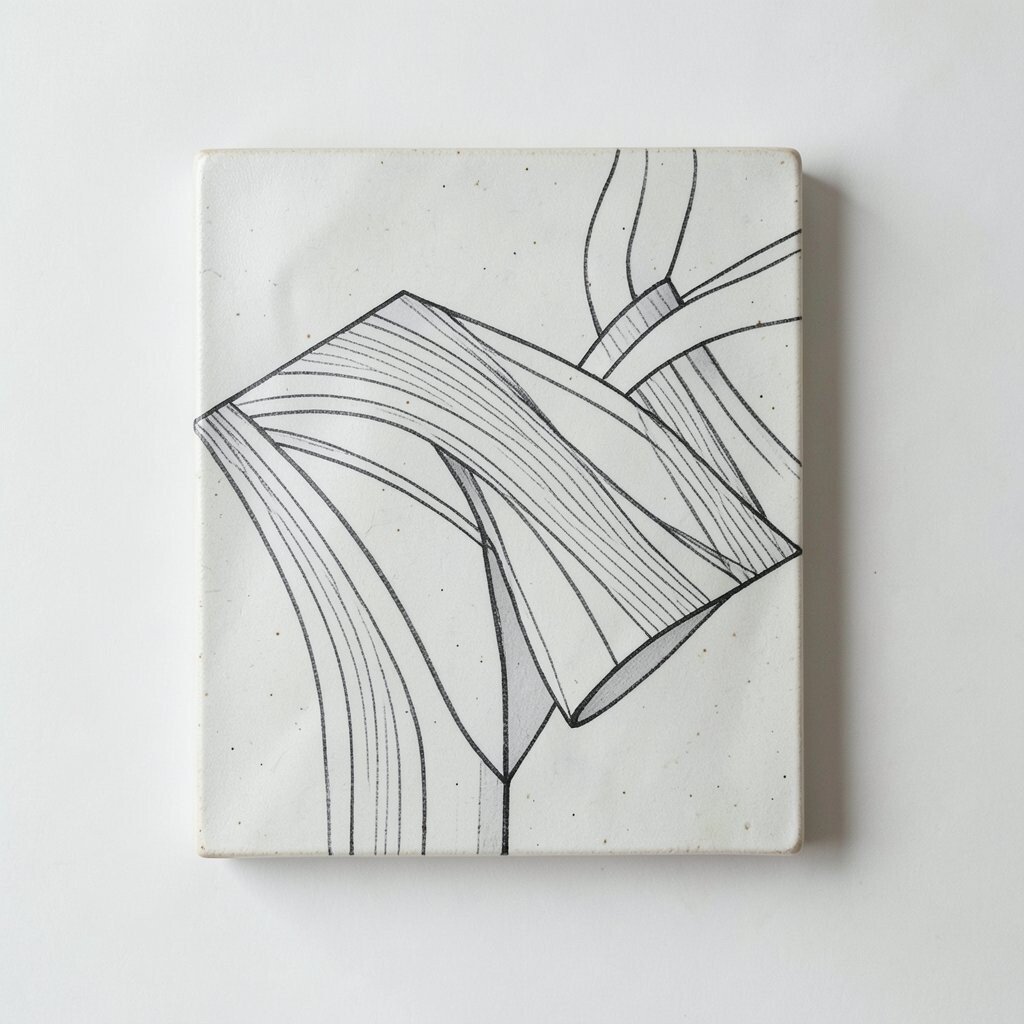
Draw simple patterns inspired by ceramic tiles, but keep them soft and spaced. Use small repeating shapes like dots, tiny arcs, or thin lines, then leave wide gaps.
Choose one base color and one accent color to keep the piece clean. This helps the artwork feel unique because it looks like a handmade pattern, not a copied design.
Personalize it by making the pattern match your favorite dish or the color of a mug you love. Practical tip: use a ruler for a straight grid, or draw the grid lightly so it doesn’t show through too much.
Costs stay low since you can start with marker and paper, and later upgrade with better paints if you enjoy it.
22. Elegant Border Frames With Tiny Motifs
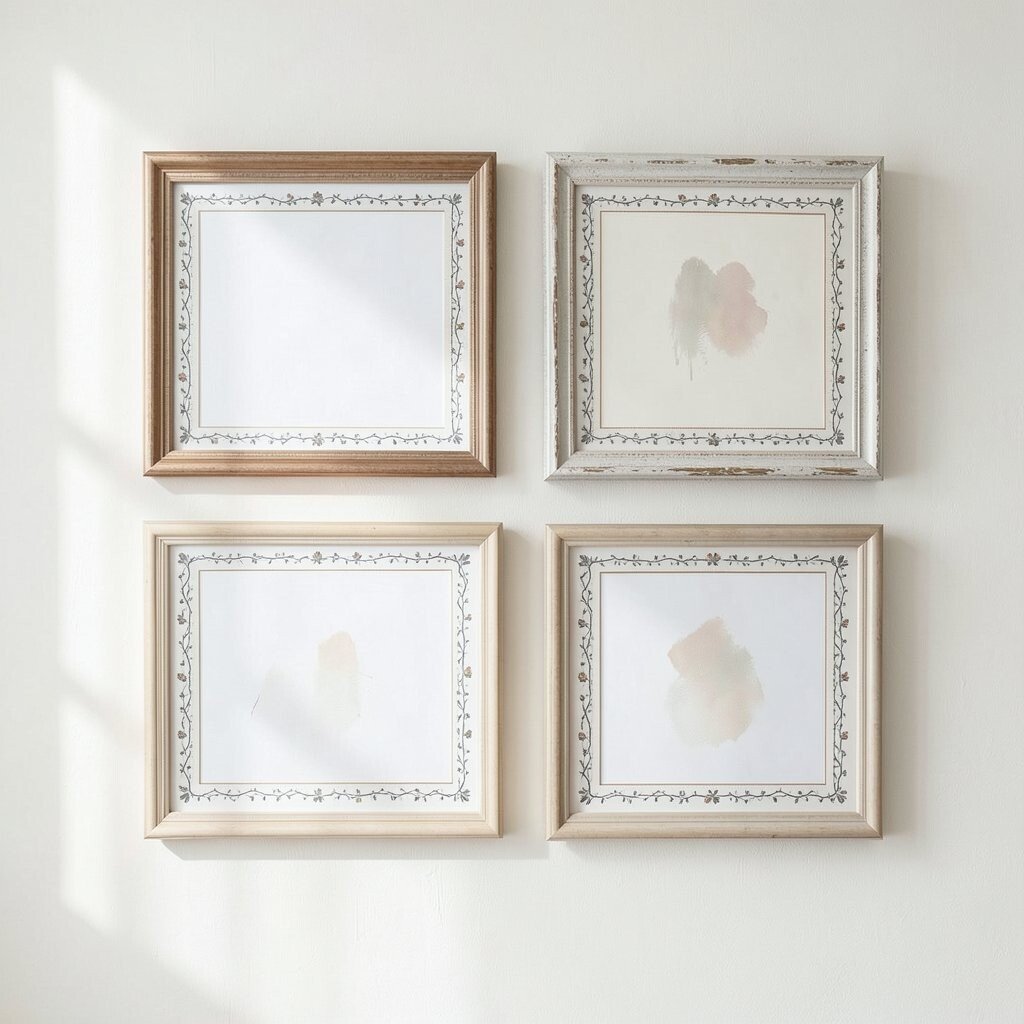
Create a blank central area, then add a thin border around it. Inside the border, place tiny motifs like a single flower, a curved line, or a dot cluster at the corners.
Keep the border simple and the motifs small so the whole piece feels polished and uncluttered. This benefits your art by making it look finished, even if the center stays mostly empty.
Personalize it by selecting motifs that reflect your life, like a tiny music note, a tea cup shape, or a soft heart. Practical tip: trace a circle or use a compass for round motifs if you want them to look crisp.
For cost considerations, all you need is a pen and paper, and you can use cheap washi tape for a border if you prefer that look.