Seashell jewelry has a special kind of magic. Each piece feels like it carries a little shoreline memory with it.
You can keep it simple or go all in with color, texture, and shine. Either way, you’ll end up with something that looks personal and earns compliments.
1. Shell-Edge Charm Necklaces
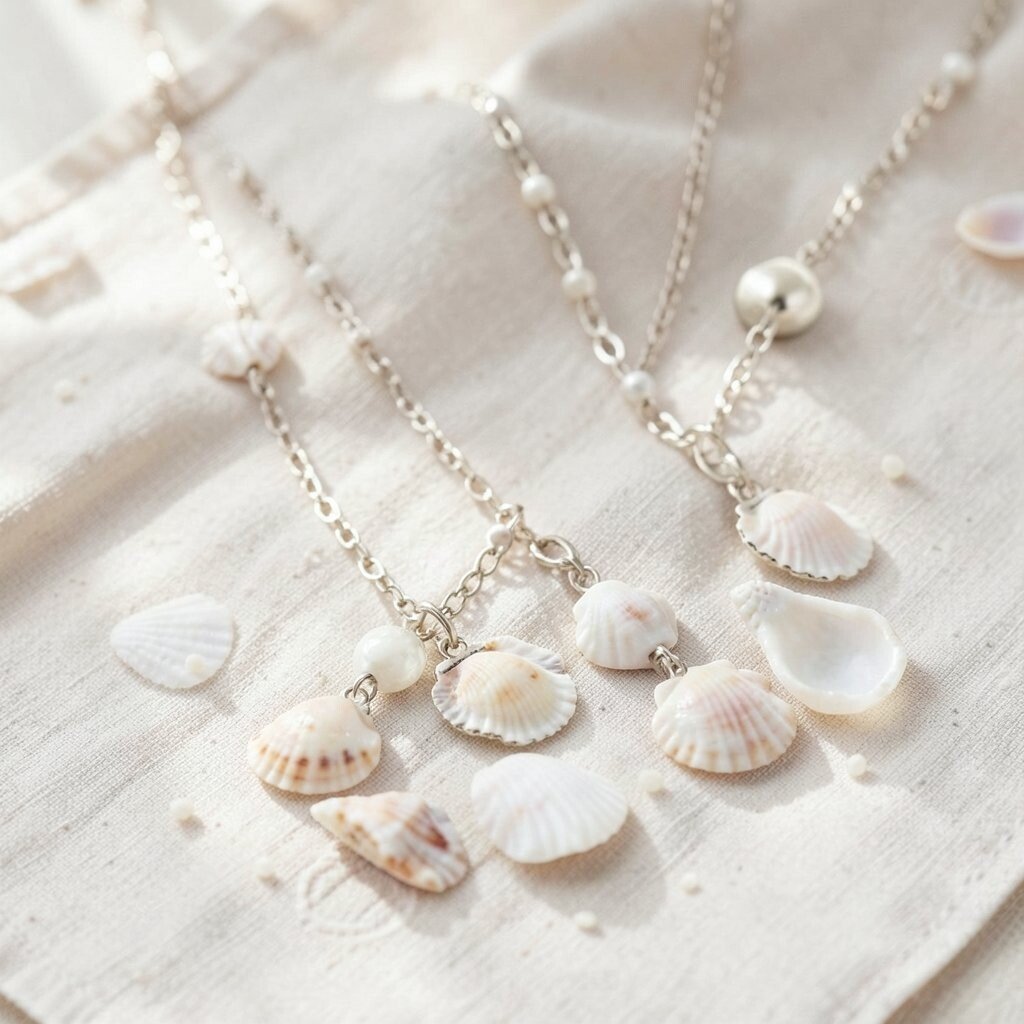
Pick a few smooth shells with interesting edges, then lightly sand the rim so it feels neat against skin. Thread a small jump ring through a drilled hole near the top and attach it to a short chain.
Choose shells that match your vibe, like tiny scallops for a delicate look or thicker shells for a bold charm. This style looks lovely layered over a T-shirt or worn with a dress because the edges catch the light as you move. To keep it comfortable, use a jump ring that doesn’t scrape and check that the shell sits flat against the chain.
2. Beach-Inspired Stack Bracelets
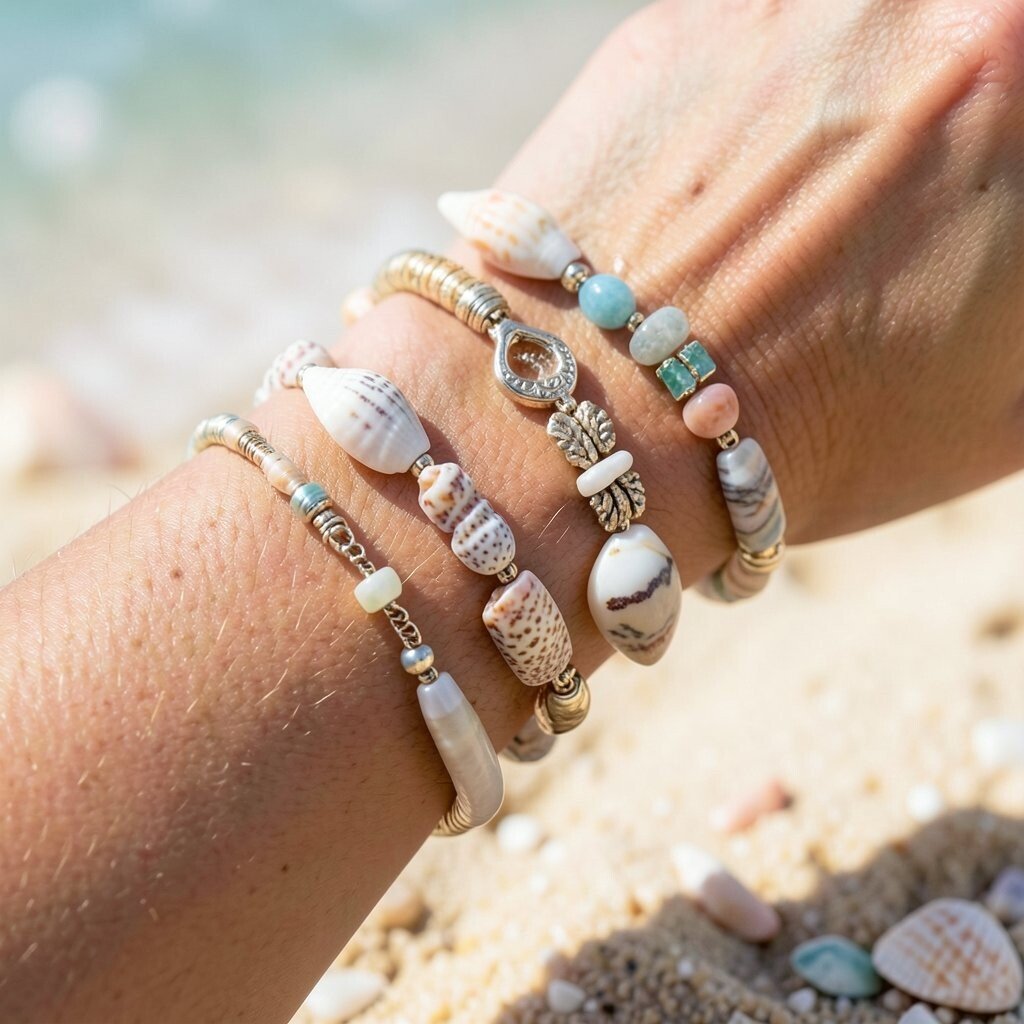
Start with several bracelets you already own and add shells as accents rather than trying to replace everything. Glue or wire wrap tiny shells onto existing bangles, then secure with a clear sealant for everyday wear.
This method is great when you want instant variety without buying lots of new tools. Try mixing shell sizes and colors, like sandy beige with creamy white, so the stack feels curated instead of random. For personalization, add one shell that matches a birthstone color ribbon or thread you love.
Use light glue and let it cure fully so pieces stay firm during washing and daily life. Cost stays low because you can repurpose old jewelry, and the look still feels fresh and trendy. If you want a current vibe, pair neutral shells with a single bright charm like a tiny star to add contrast.
3. Faux Sea-Glass Rings From Shell Slices
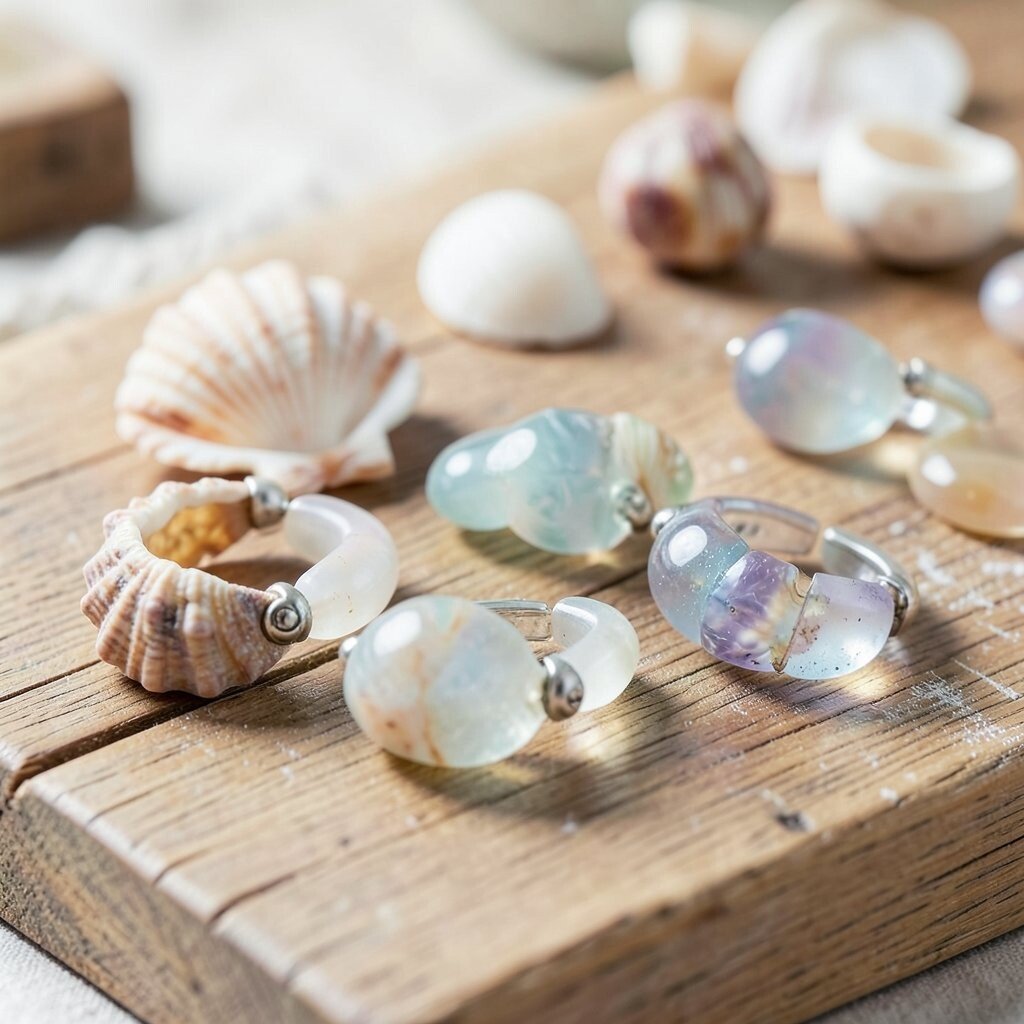
Thin shell slices can be sanded and polished until they resemble sea-glass, especially when you choose shells with pale, translucent layers. Drill a small hole at the center or near the edge, then mount the slice into a ring setting or wrap it with wire.
This creates a ring that feels airy and coastal without needing expensive glass beads. For visual impact, polish one side extra bright and keep the edges slightly frosted. Personalize the ring by stacking two shell slices with a different tint for a soft gradient effect.
Go slowly with sanding so you don’t crack the slice, and wear a dust mask for comfort. If you want a cost-friendly approach, use smaller settings and plan to make several rings from one shell. Current ring trends lean toward chunky shapes with subtle texture, and this style delivers that mix.
4. Nautical Pendant With Thread-Wrapped Twine
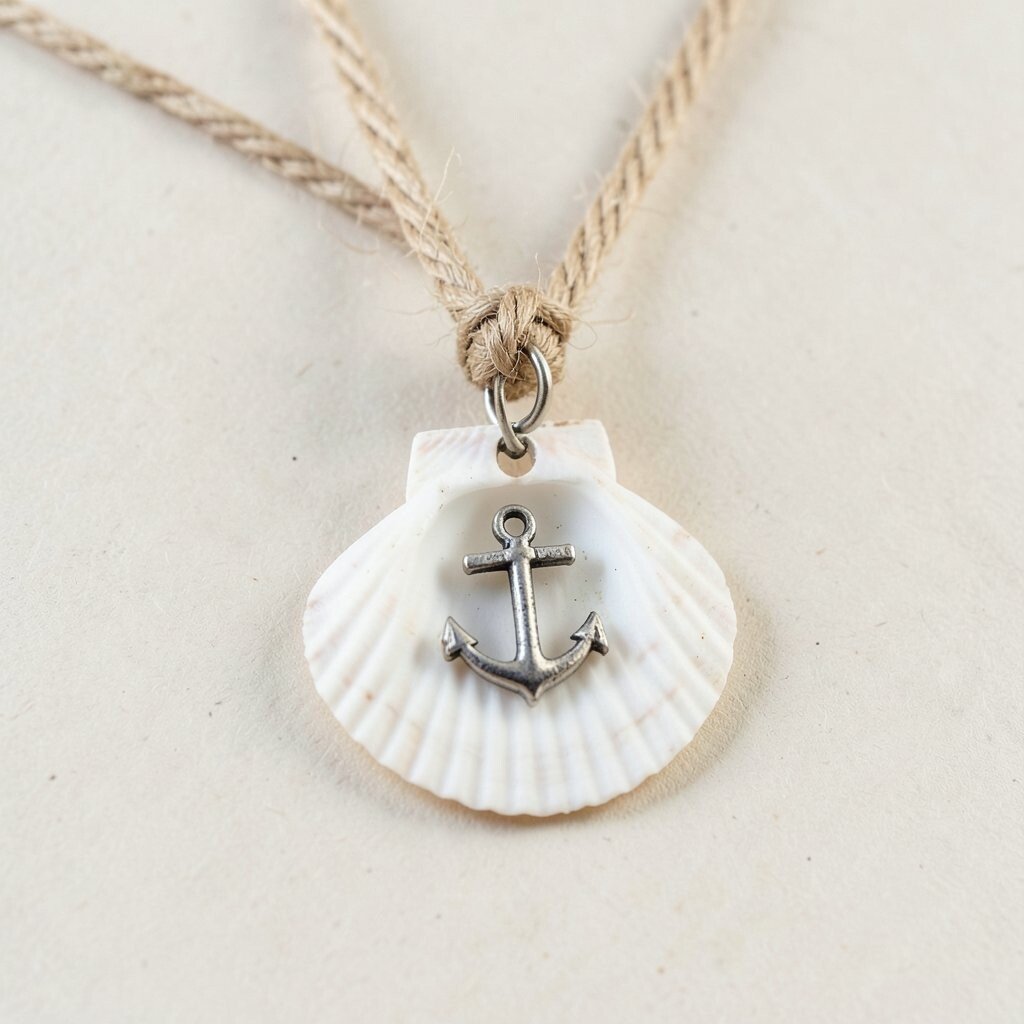
Choose a larger shell, then drill a hole and tie it onto a pendant by wrapping twine around the top. You can keep the twine natural and rustic, or dye it a soft blue or seafoam green for a gentle pop.
This jewelry looks warm and handmade, with visible fiber texture that complements the shell’s natural grooves. Add a tiny bead at the bottom for a little sparkle, and seal any knots so they stay tight. Personalize it with a letter charm beside the shell if you want it to feel extra meaningful.
5. Dainty Shell Stud Earrings With Minimal Hardware
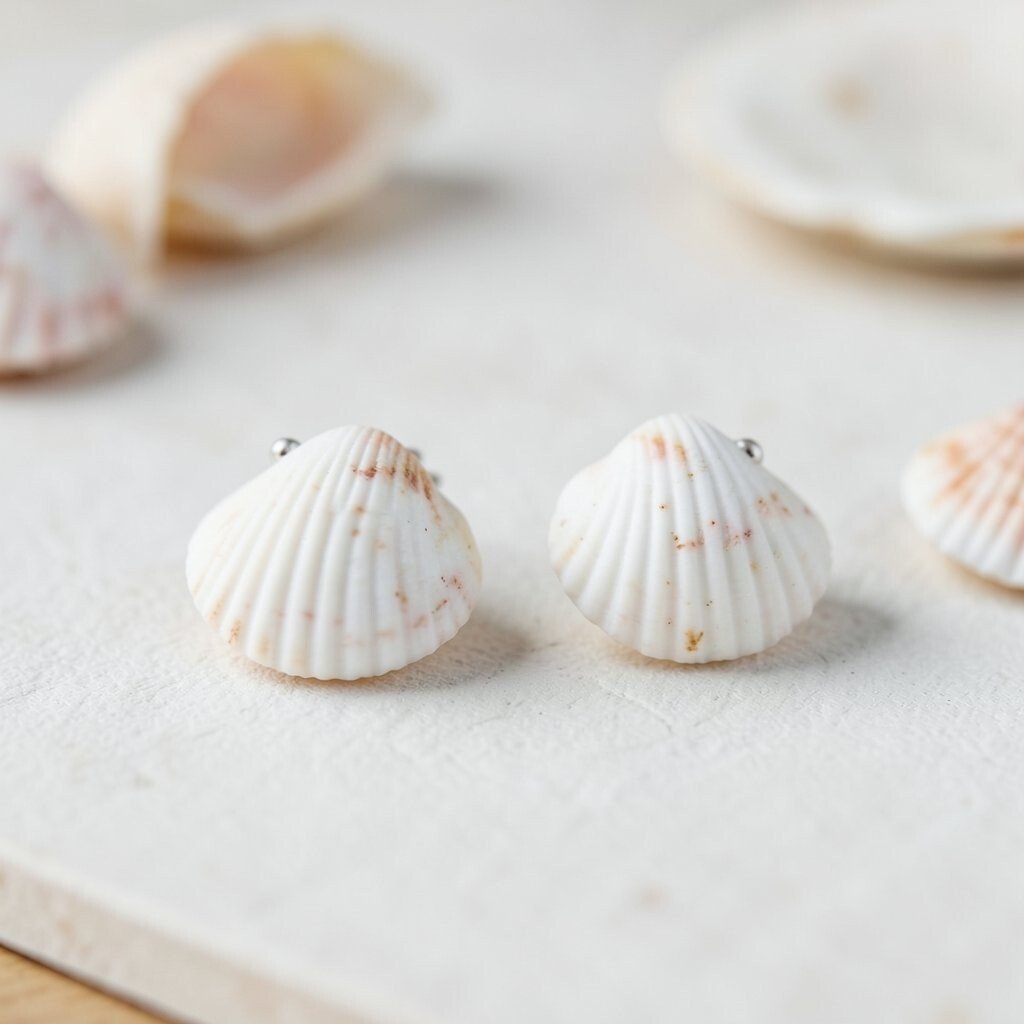
Pick flat-backed shells or small pieces that sit neatly, then glue them onto earring studs with epoxy made for crafts. Finish by adding a thin clear top coat so the surface stays smooth and shiny.
These earrings are lightweight and easy to wear, which makes them perfect for daily outfits. For uniqueness, choose shells with natural speckles and let the pattern do the work instead of covering everything with paint. If you want personalization, match the shell color to your favorite nail polish shade.
Cost is usually low because stud backs are inexpensive, and you can make multiple pairs from one shell batch. Right now, many people like “quiet sparkle,” where small details shine without feeling loud, and these studs fit that trend well.
6. Layered Shell and Pearl Statement Necklace
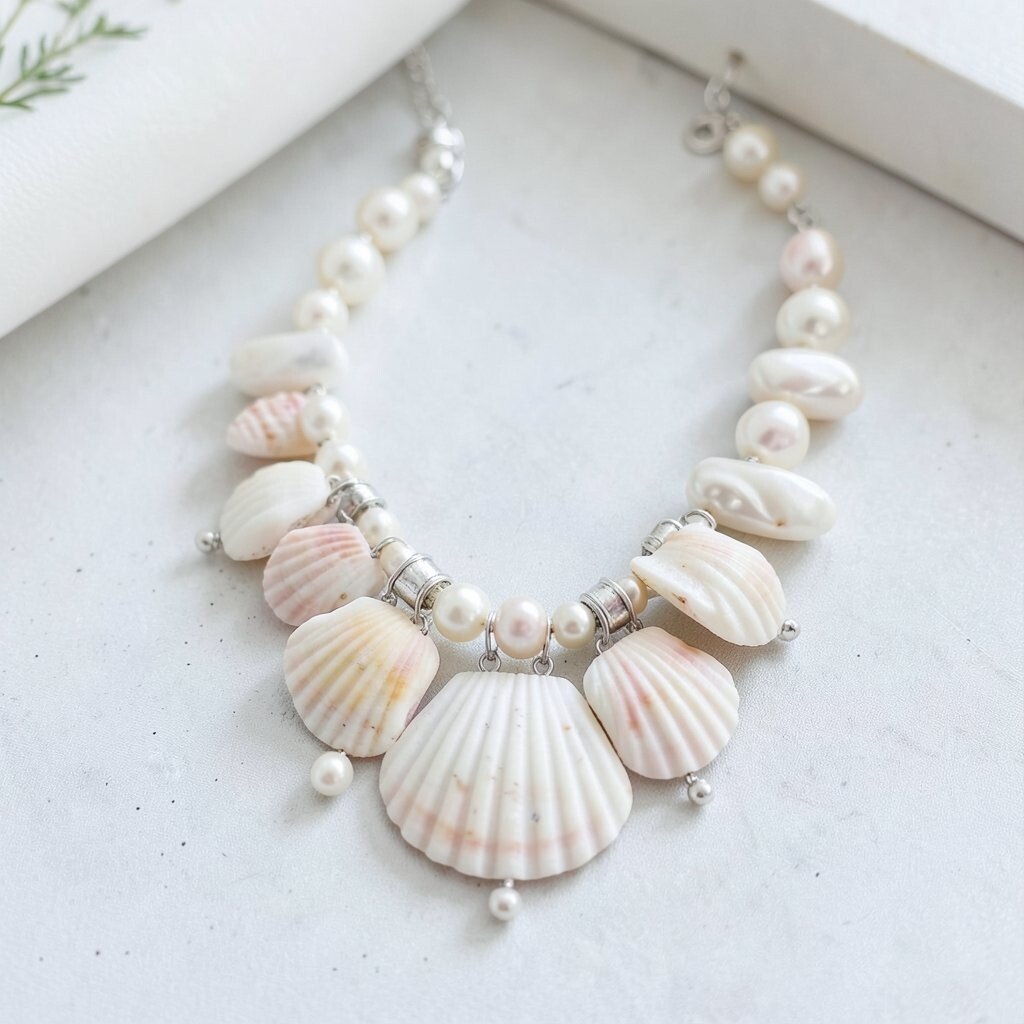
Use a string of freshwater pearls or pearl-like beads along with mixed shell charms to create a statement necklace that still feels elegant. Alternate shell shapes every few pearls so the design looks intentional from the front.
This piece gives you visual depth because pearls add softness while shells add texture. To keep it comfortable, use a clasp that holds securely and consider adding a short extender chain. Personalization is easy, since you can choose shells in one color family like cream, blush, and pale gold tones.
Think about cost by using fewer pearls and placing them only at key points, like around the center or near the clasp. This also keeps the necklace from becoming too heavy. For a current look, aim for asymmetry by placing one larger shell slightly off-center.
7. Shell Bead Dangles for Movement
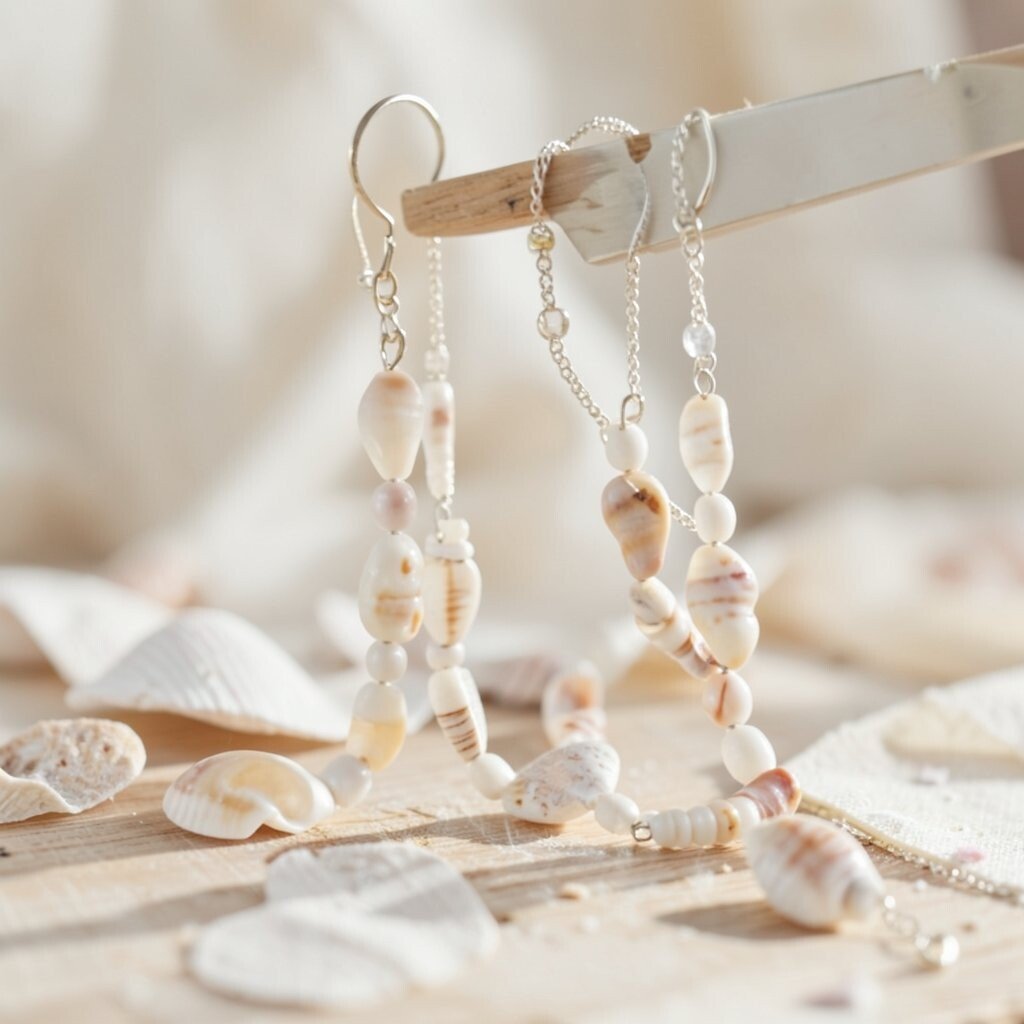
Drill holes into small shells, then thread them onto head pins or tiny wire loops. Attach them to hoop or hook earrings so they sway as you walk.
You’ll love how the motion makes even simple shells look lively, almost like they’re singing with each step. This style is unique because many shells have tiny patterns that only show when they rotate. If you want personalization, color the wire or use a metal tone that matches your rings and bracelets.
To make them sturdier, reinforce the loop with round-nose pliers and add a small drop of clear sealant inside the drill hole. Cost considerations are friendly because a few shells can create a complete set of dangles. This design also fits current preferences for jewelry that feels playful and slightly artsy.
When you store them, keep the dangles separated so they don’t tangle and scrape the shell edges. A quick wipe with a soft cloth after wearing helps maintain the shine.
8. Shimmer-Coated Shell Keychains
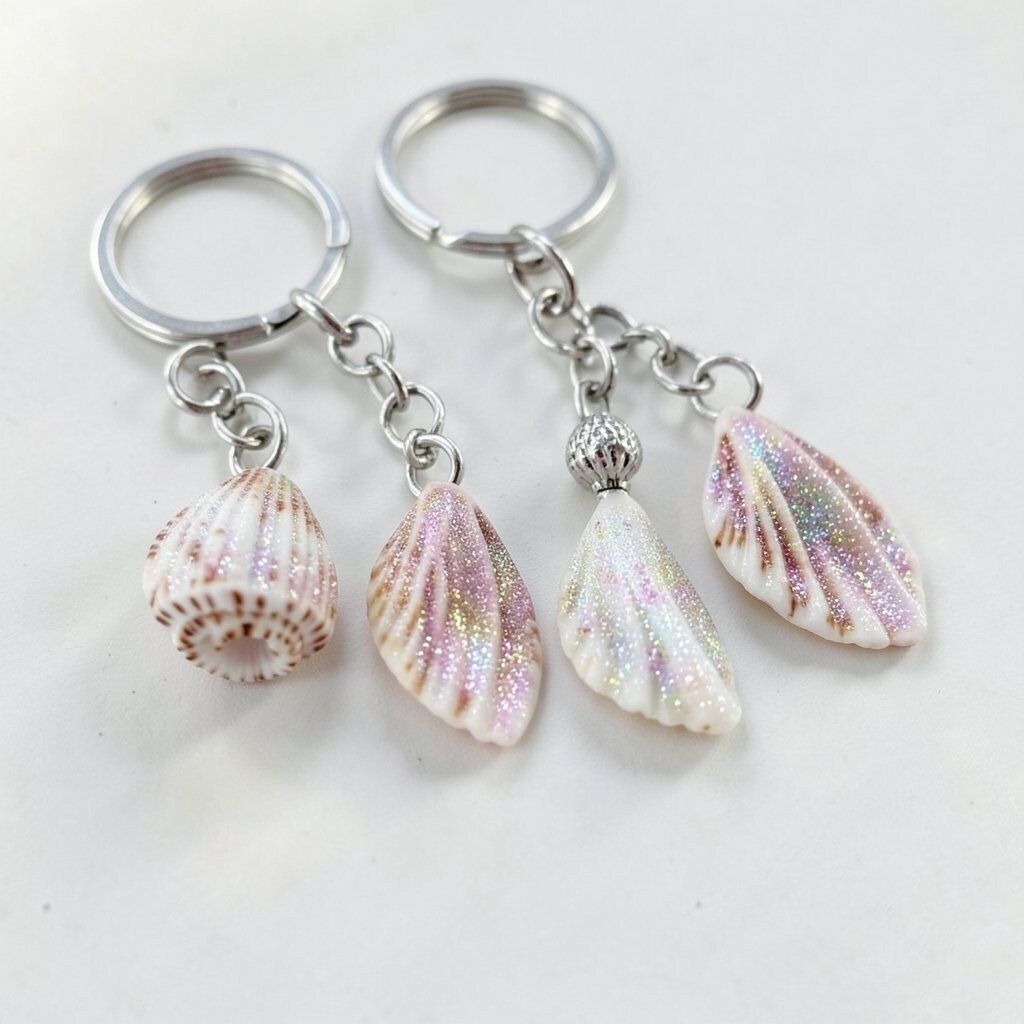
Seal shells with a craft varnish, then add a fine glitter top coat or a metallic sheen for that bright shoreline sparkle. Attach a keychain ring through a drilled hole or by using a small loop glued near the top.
This makes a useful accessory that doubles as a charm and gives your keys a cheerful look. It’s also a great gift because the style feels thoughtful even when it’s quick to make. For uniqueness, mix one glittery shell with two matte shells so the texture contrast feels intentional.
9. Shell Mosaic Bracelet With Resin Sparkle
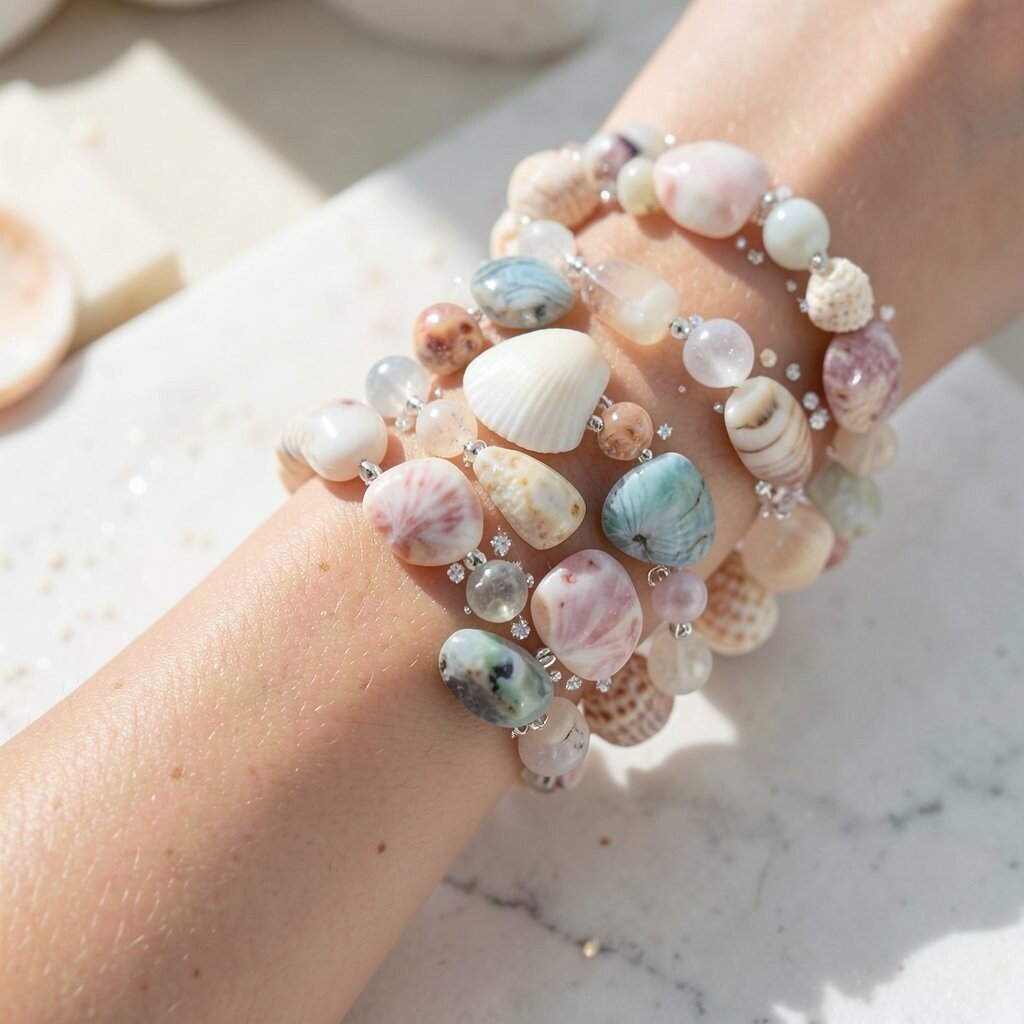
Arrange tiny shell fragments on a bracelet blank, then press them into a thin layer of resin or clear glaze. Let it set until the surface becomes smooth and glossy like a little piece of tide pool.
This creates a jewelry moment that looks high-end because the fragments sit under a glassy finish. The benefit is that you can control layout, from neat rows to an abstract scatter that mimics sand. Personalization shines here too, because you can choose fragment colors to match a theme like “sunset shells” or “winter pearls.”
Plan for cost because resin and sealant can add up, but you can stretch supplies by making smaller bands. Current trends love layered shine, and a resin top makes the shells catch light in a modern way. Work in a ventilated area and take your time so the finish looks clear rather than bubbly.
10. Spiral Shell Wire-Wrap Pendants
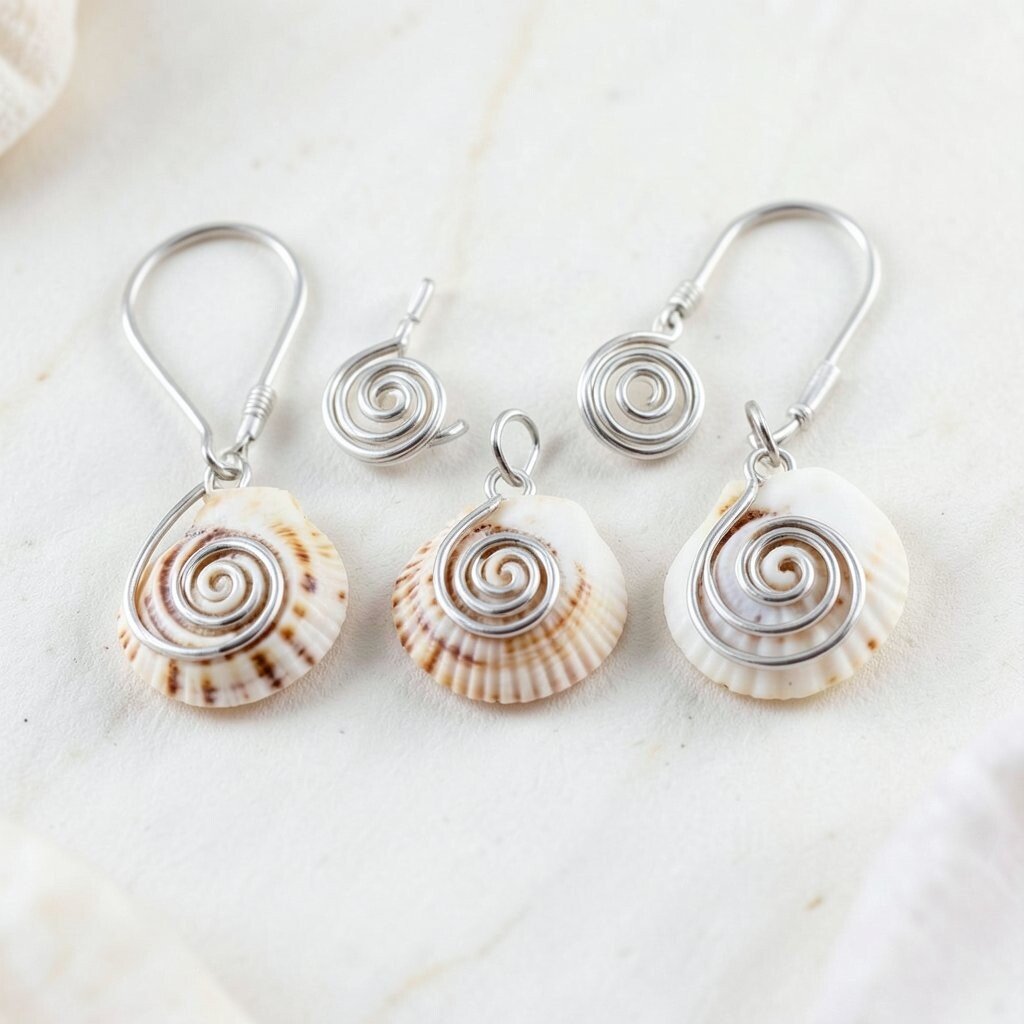
Wrap thin craft wire around a shell, starting with a secure loop at the top and spiraling down toward the bottom. Add small wire coils between curves so the shell gets framed from multiple angles.
This wire-wrap look feels handmade and very unique, especially because each shell shape affects the spiral pattern. The benefit is that you can adjust fit and size without buying special hardware. For personalization, choose wire color like warm gold, cool silver, or even rose-tone for a softer look against pale shells.
If you want it more durable, crimp the wire ends tightly and use a dab of clear glue inside the spiral near the shell. Cost stays manageable because wire is inexpensive compared with metal findings. This style also matches current jewelry trends that highlight texture and visible craftsmanship.
11. Shell and Fabric Ribbon Wrap Bangles
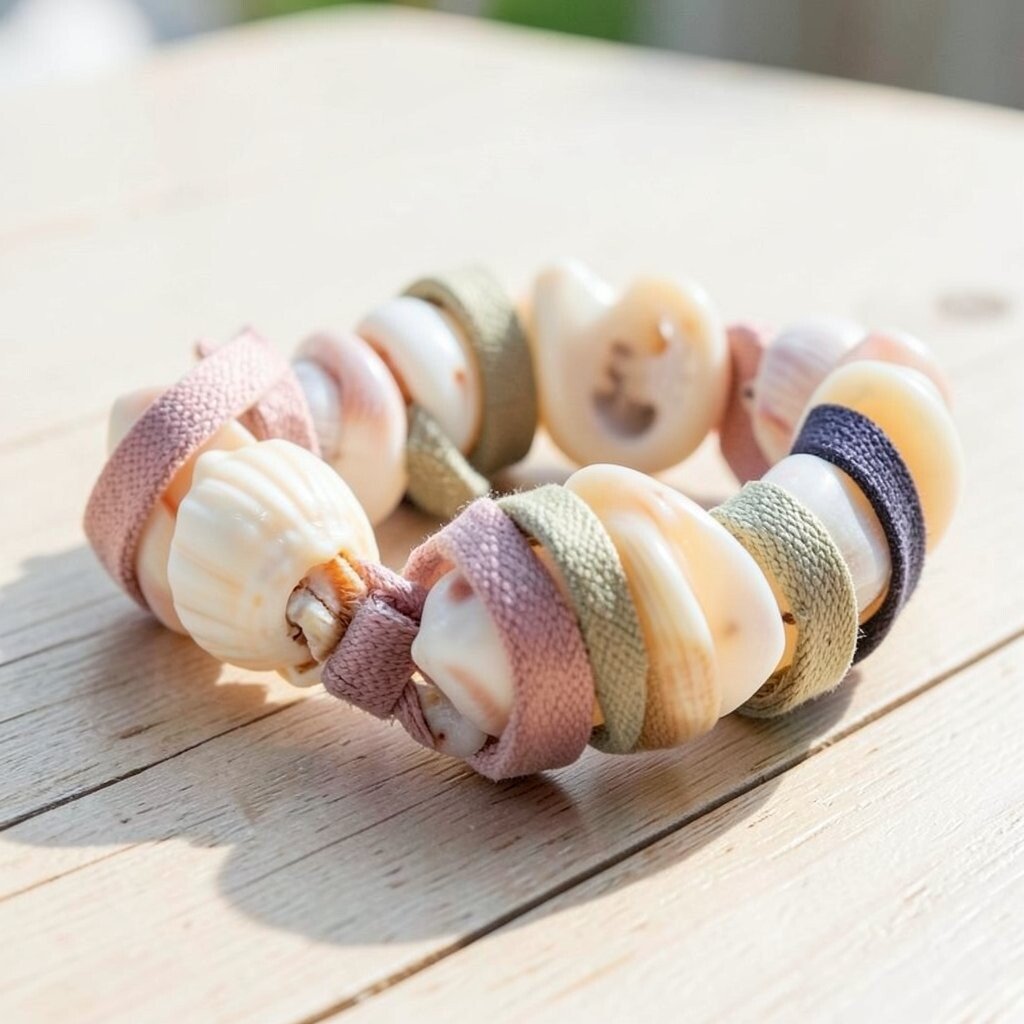
Cut a ribbon or strip of soft fabric, then wrap it around a bangle base and stitch or glue it in place. Add shell charms near the clasp area so the jewelry looks neat even when it turns.
This offers comfort because fabric feels gentle against the skin, which is a real benefit for bracelets you’ll wear often. It’s uniquely coastal, since ribbon patterns like stripes or floral can make the shells feel like part of a bigger outfit story. Personalize the ribbon with colors that match your wardrobe, like cream with navy, or seafoam with coral.
12. Mini Shell Mandala Charm With Thread Netting
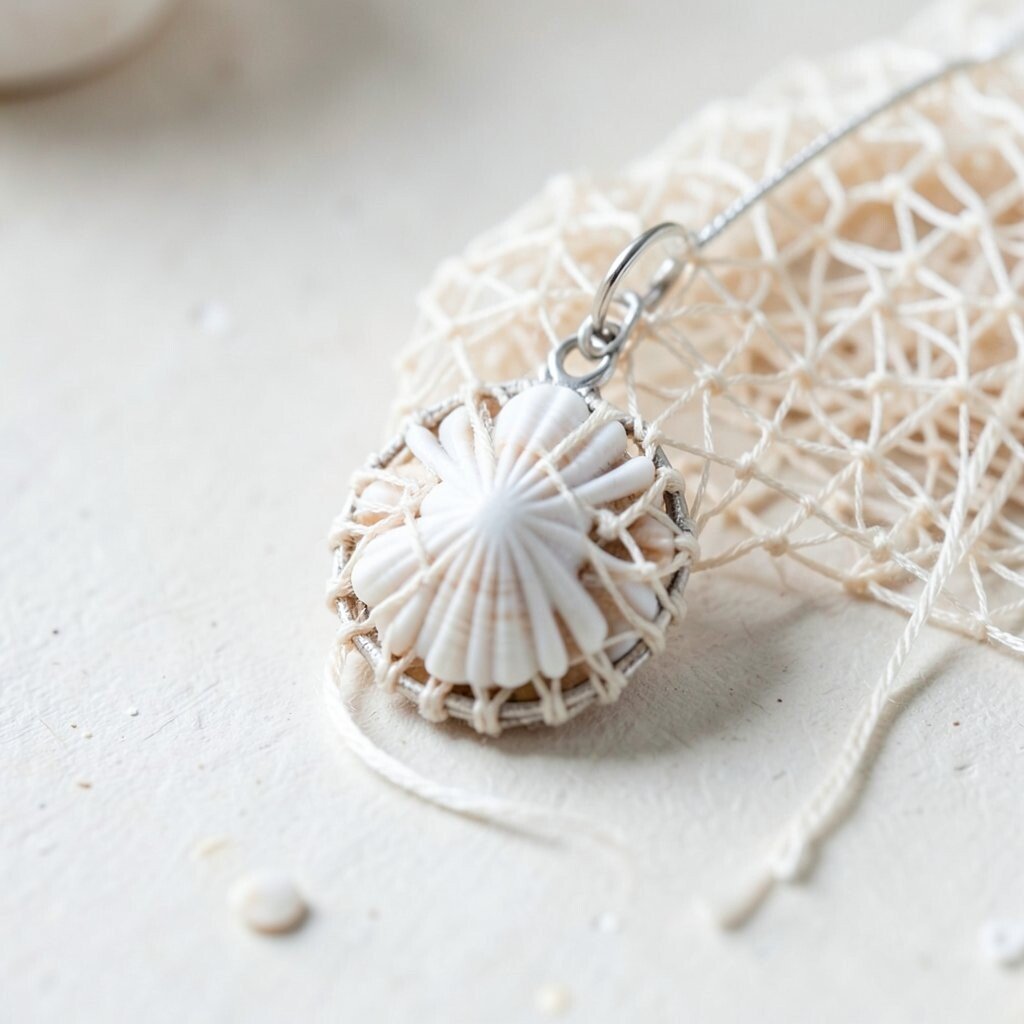
Build a small mandala using shells around a central bead, then connect them with thin thread or fine cord. Work in a radial pattern so the shells appear like petals around a calm center.
This gives a delicate, lacy effect that looks stunning on necklaces or as a bag charm. The benefit is that thread netting can hold lightweight pieces safely, and you can adjust tension as you go. For uniqueness, mix one textured shell with several smooth ones so the center pops visually.
Cost considerations are easy since thread is inexpensive, but plan to use a strong adhesive to lock the knots. For personalization, pick a central bead that matches your favorite color or favorite memory, like a tiny pearl that reminds you of a special trip. Current trends include airy, handmade charm clusters, and this fits right in.
If thread frays easily, seal the knots with a tiny clear coat and let it dry fully before wearing.
13. Seashell Cameo Style Brooch With Acrylic Paint**
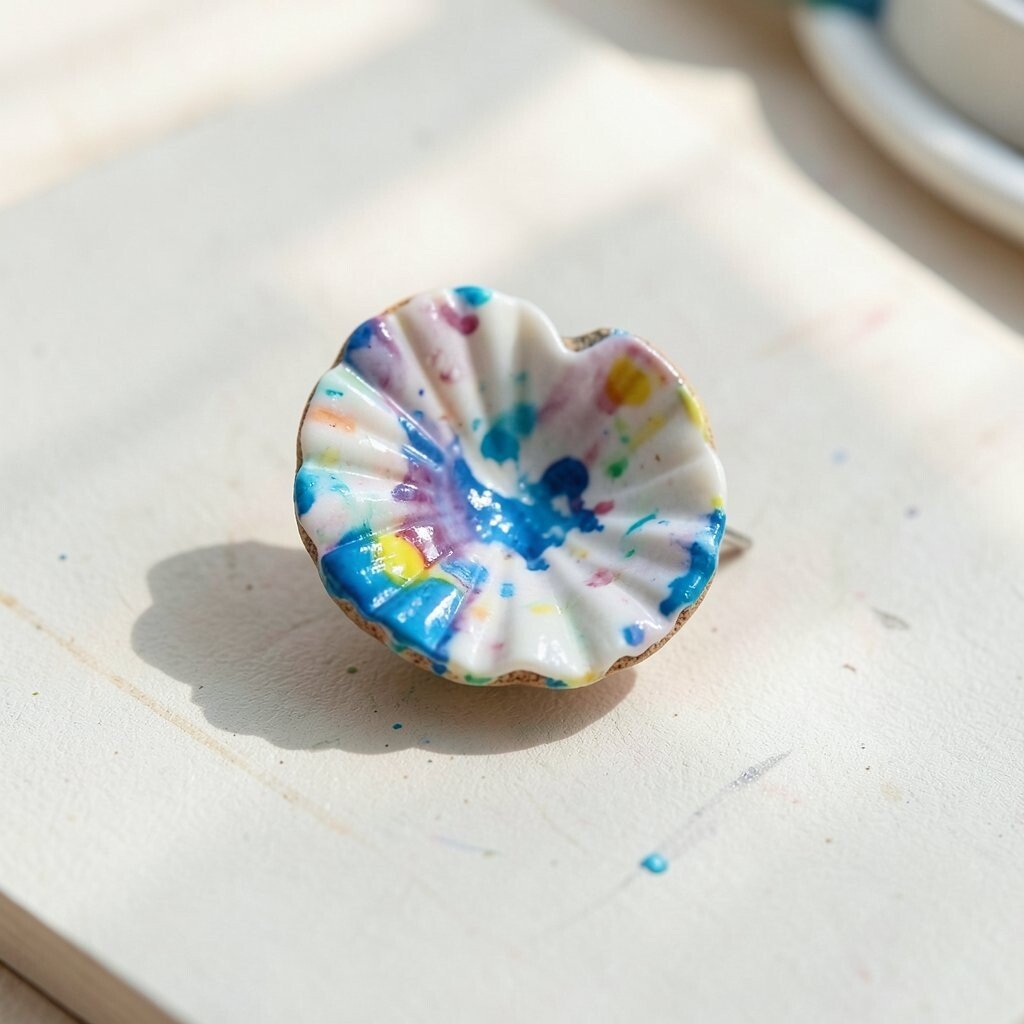
Select a shell with a natural curve, then outline its shape with acrylic paint and add a soft highlight along the ridges. Use a contrasting color for the background, then finish with a clear sealant for shine.
This creates a cameo-like look that feels vintage while still being coastal. The benefit is that paint lets you personalize everything, from tiny swirls to simple dots that echo shoreline waves. Try painting one edge in metallic gold for a trendy glow without covering the shell texture.
Consider cost by using craft paint you already own, and use only a small amount of sealant so you don’t run through supplies. To attach it, use a brooch pin glued to the back and reinforced with a second layer of adhesive. This style matches current love for antique-inspired jewelry that looks artistic rather than mass-made.
14. Shell Snowflake Or Starfish Pendant
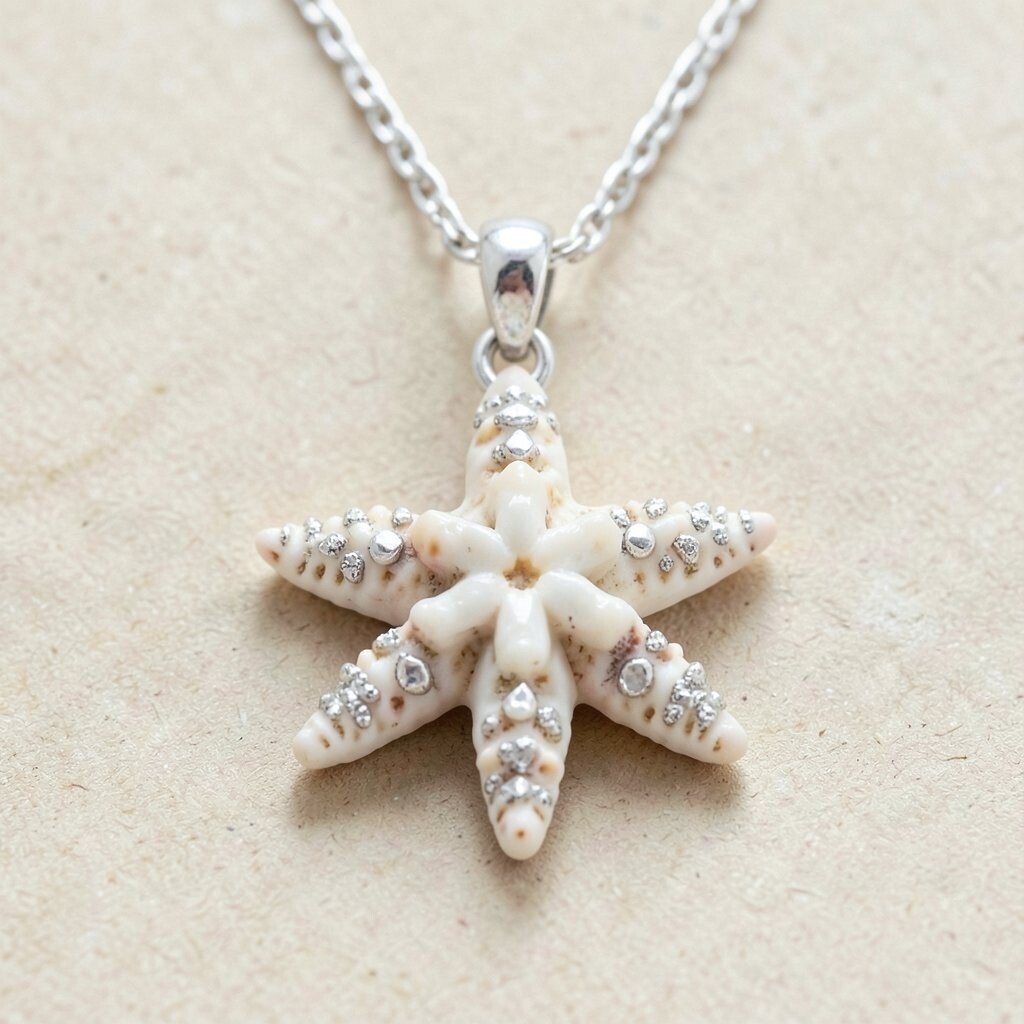
Choose a starfish-shaped shell piece or create a star-like arrangement using several small shells. Attach them to a flat backing, then drill and add a chain so it hangs evenly.
This design feels instantly recognizable and unique because the shapes bring a clear theme to your outfit. The benefit is that it’s visually bold without needing lots of tiny details. Personalize it with colored accents like tiny beads that mimic “sparkling sea foam,” or paint a few shells with pale silver.
Cost stays moderate since you might need a handful of shells for the shape, but it’s still cheaper than buying specialty charms. For a practical tip, reinforce the backing with a thicker glue layer so small shells don’t lift over time. Current trends often favor symbolic jewelry, and a shell star pendant gives that meaningful vibe.
15. Shell Ring With Antler-Like Split Band Look**

Carve a gentle split-band style by bending wire into an open ring shape, then wrap shell fragments along the band like natural ridges. The shell pieces can be small chips that add texture without making the ring heavy.
This ring feels unique because it mixes organic shapes with a sculptural band look. A clear sealant over the shell edges helps protect it from daily wear and keeps the surface smooth. For personalization, choose shells that match your preferred metal tone and adjust the spacing to make the ring feel airy or bold.
Cost considerations are friendly because wire is usually inexpensive, and you can use leftover shell bits from other projects. Keep comfort in mind by rounding the edges where your fingers touch. This style also aligns with current fashion that celebrates irregular, handmade textures.
To make it last, avoid soaking the ring for long periods and wipe it dry after cleaning.
16. Shell Alphabet Letter Charms
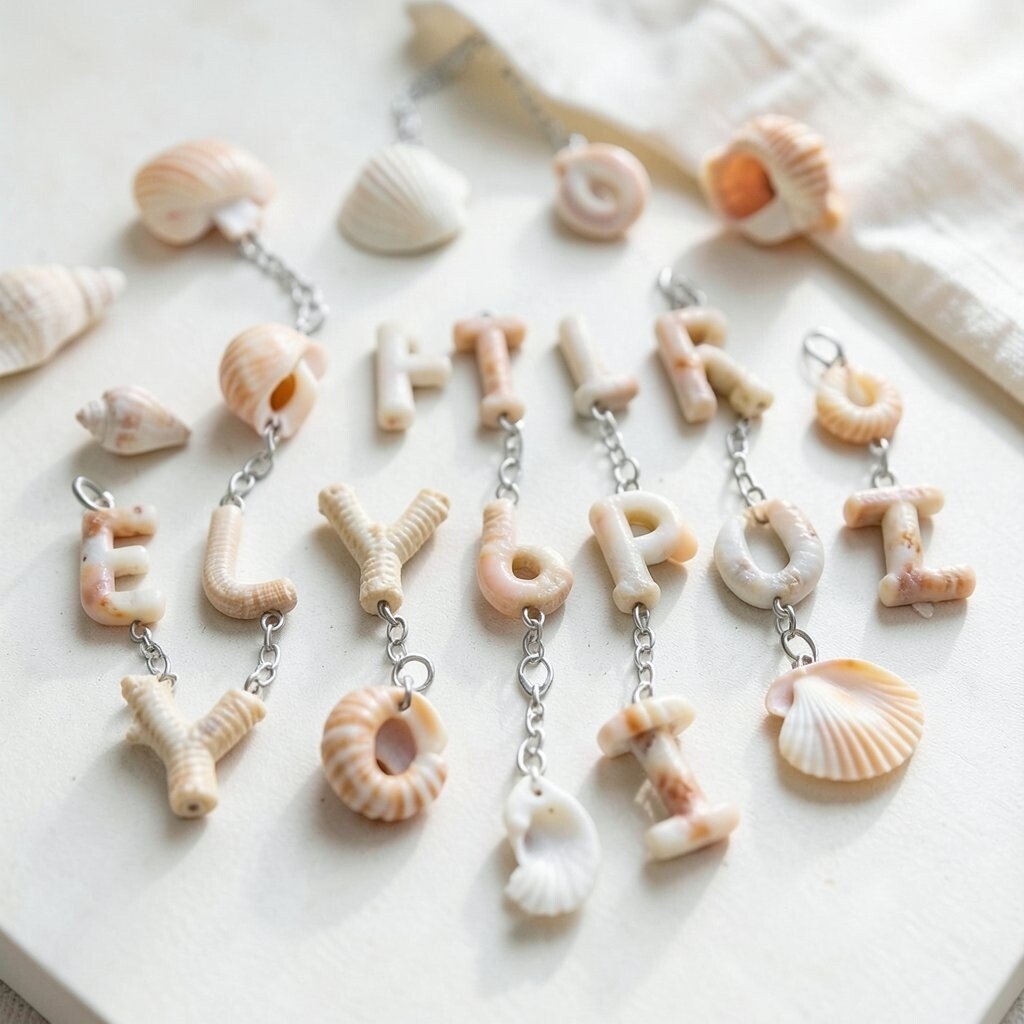
Cut or select small shells and attach them to letter charms made from wood or metal, then paint the letter outline with a coordinating sea color. You can also carve a shallow groove into a flat shell piece and glue it on as the “s” or “o” shape for a truly shell-first look.
This gives you a personalized way to carry names, initials, or meaningful words. The benefit is that you can mix and match shells for different letters, making each charm feel one-of-a-kind. For uniqueness, choose shells with different patterns for each letter so your set looks like a collection rather than duplicates.
Cost is easy to manage because letter blanks are often affordable and shell pieces can come from small scraps. Current trends lean toward personalized charms and capsule-style accessories, and this idea fits that mood perfectly. If you want a practical upgrade, attach a small protective top coat so the paint doesn’t chip.
17. Tidepool Trinket Bracelet With Hidden Messages
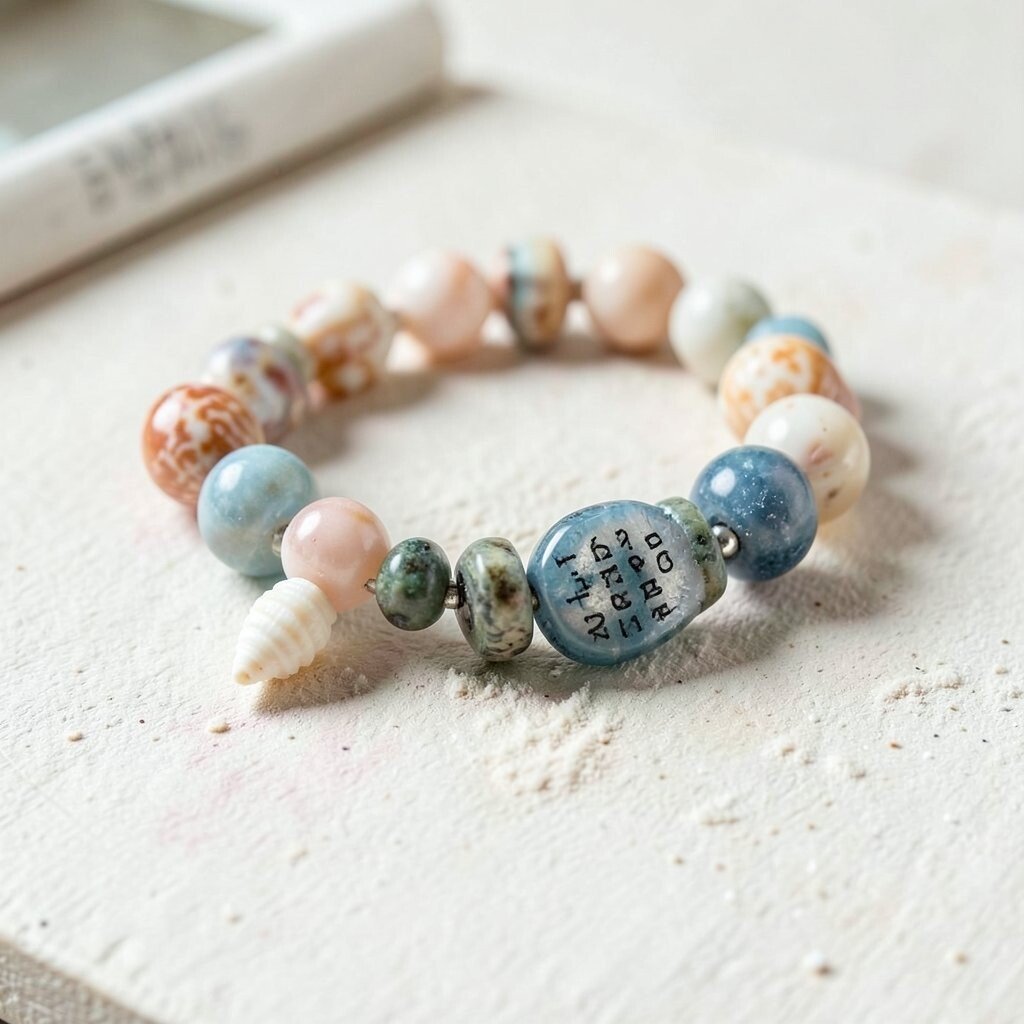
Create a bracelet that resembles a tiny tidepool by mixing shells, small beads, and a few smooth stones on one cord. Add one small charm that holds a secret meaning, like a miniature shell tag or a bead that represents a favorite month.
This style is unique because it feels like a little story on your wrist. It’s also beneficial for gifting because you can tailor the hidden meaning to the person’s taste and memories. Personalize the design by choosing a color palette that matches their wardrobe, then add one “signature” shell that appears on every piece you make for them.
Cost considerations are helpful because cord and beads can be inexpensive, and you can use smaller shells that don’t require special drilling. For a practical tip, tie secure knots and use a clear seal on the final knot so it won’t loosen. This also matches current jewelry trends that favor charm storytelling and textures that look layered and real.
After finishing, store it flat so the shells don’t rub together, and keep it dry to preserve the natural shine.