Your hair can look bigger than you ever imagined without feeling heavy. Voluminous braids give texture, shape, and a fun, camera-ready vibe that lasts.
Pick the styles that match your mood, your hair length, and your day ahead. Each technique below includes practical ways to get fuller results with what you already have.
1. The Bubble Rope Braid
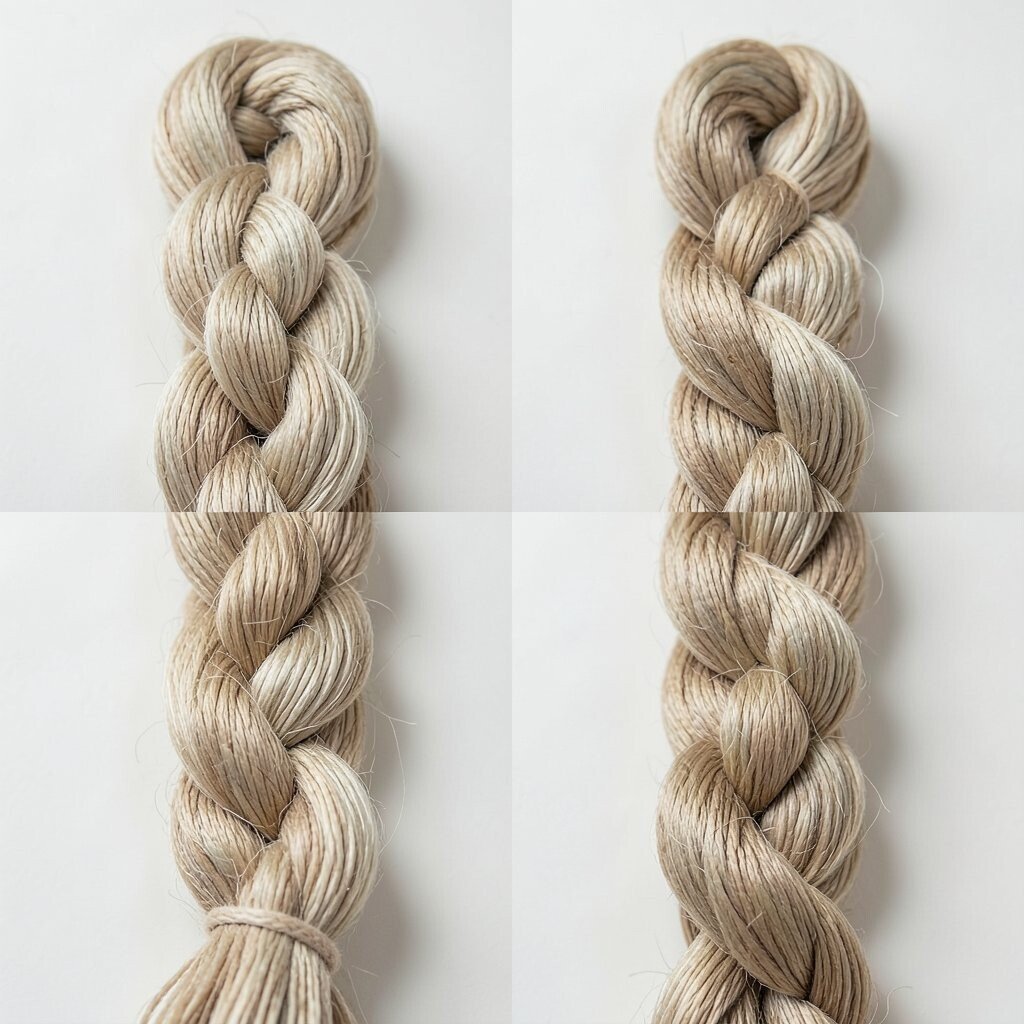
A bubble rope braid looks like soft beads floating along a rope. Start with a chunky three-strand rope braid, then pinch sections outward so the middle turns puffier and rounder.
This style adds instant volume and a playful texture you can dress up or down. Keep your braid tension gentle, and spritz a light styling mist so the “bubbles” hold their shape. Finish with a few tiny hair ties along the rope, then tug each segment outward for a fuller feel.
2. The Dutch Crown Overbraid
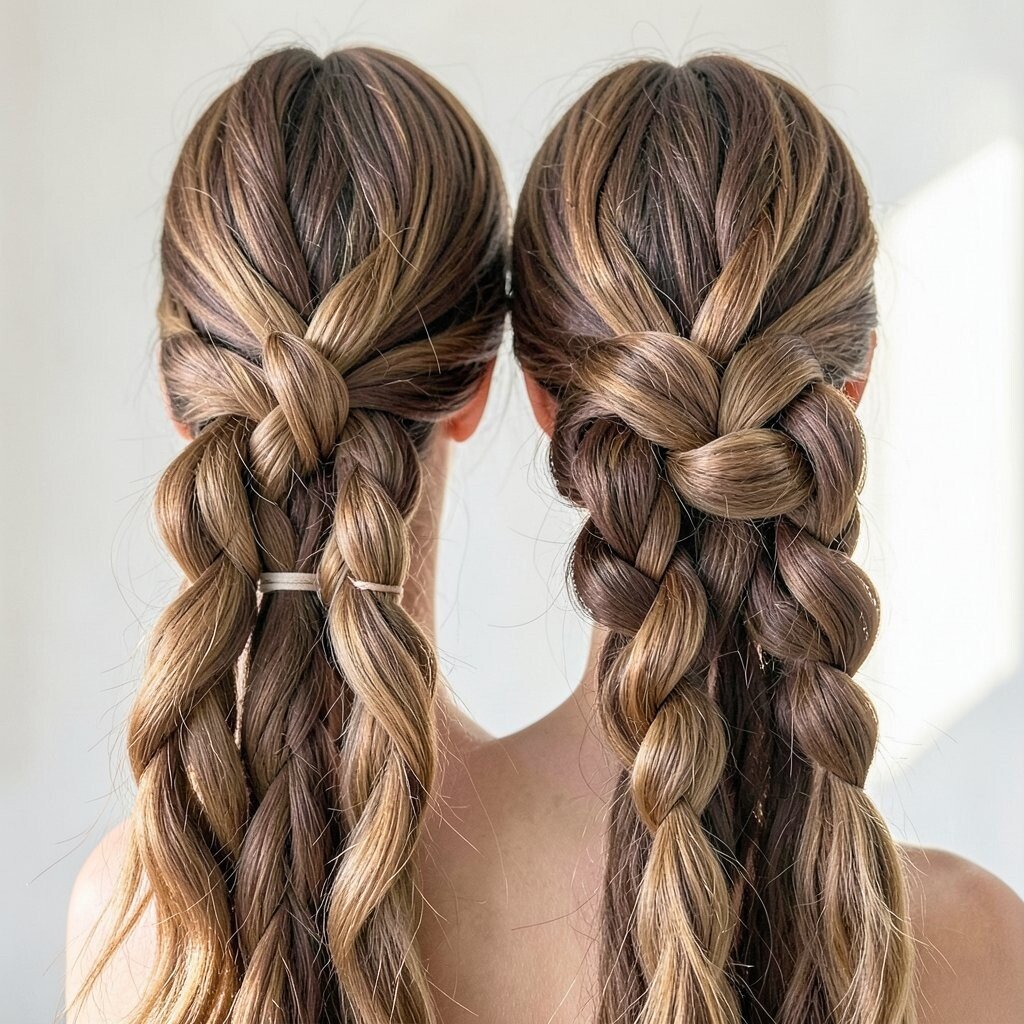
A Dutch crown braid frames your head like a lacy halo. Part your hair and create two Dutch sections that meet near the back, so the braid sits up and looks bigger.
Because Dutch braids go under instead of over, they lift at the roots and create a bold, voluminous line. Use a rat-tail comb to pick up thicker sections at the beginning, then keep adding evenly so the crown stays balanced. For extra lift, tease the roots lightly before you braid, and secure with strong pins rather than only elastics.
If you want a trendier look, leave a few face-framing pieces and lightly curl the ends. This technique works well on medium to long hair, but you can also use small extensions for fuller density. A pack of good bobby pins is usually all you need, so costs stay low.
3. Triple-Stacked Side Fishtail
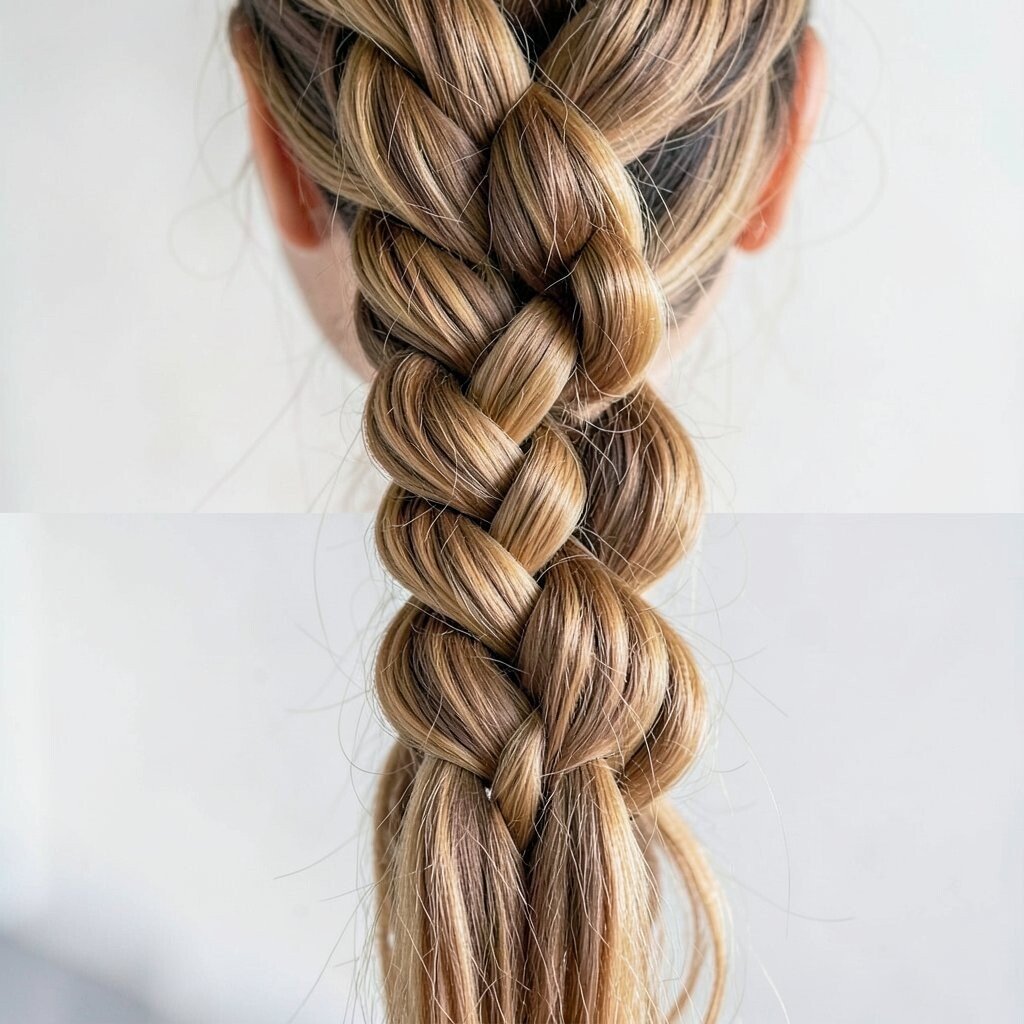
A triple-stacked side fishtail looks like layered ribbons of shine. Create one side fishtail, then braid the braid in two more sections so the whole shape rises and fattens.
This technique gives dramatic volume without needing a lot of products. Make each stack with slim, even pulls, and tug outward only after the braid is finished so it stays neat. The uniqueness comes from the “braid within braids” effect, which makes the texture pop from every angle.
For personalization, try adding a ribbon or small clip where each stack meets. If your hair is fine, braid when it’s slightly damp so strands grip each other better. Using a lightweight mousse and a flexible hold spray usually costs less than buying special tools.
4. Waterfall French With Root Lift
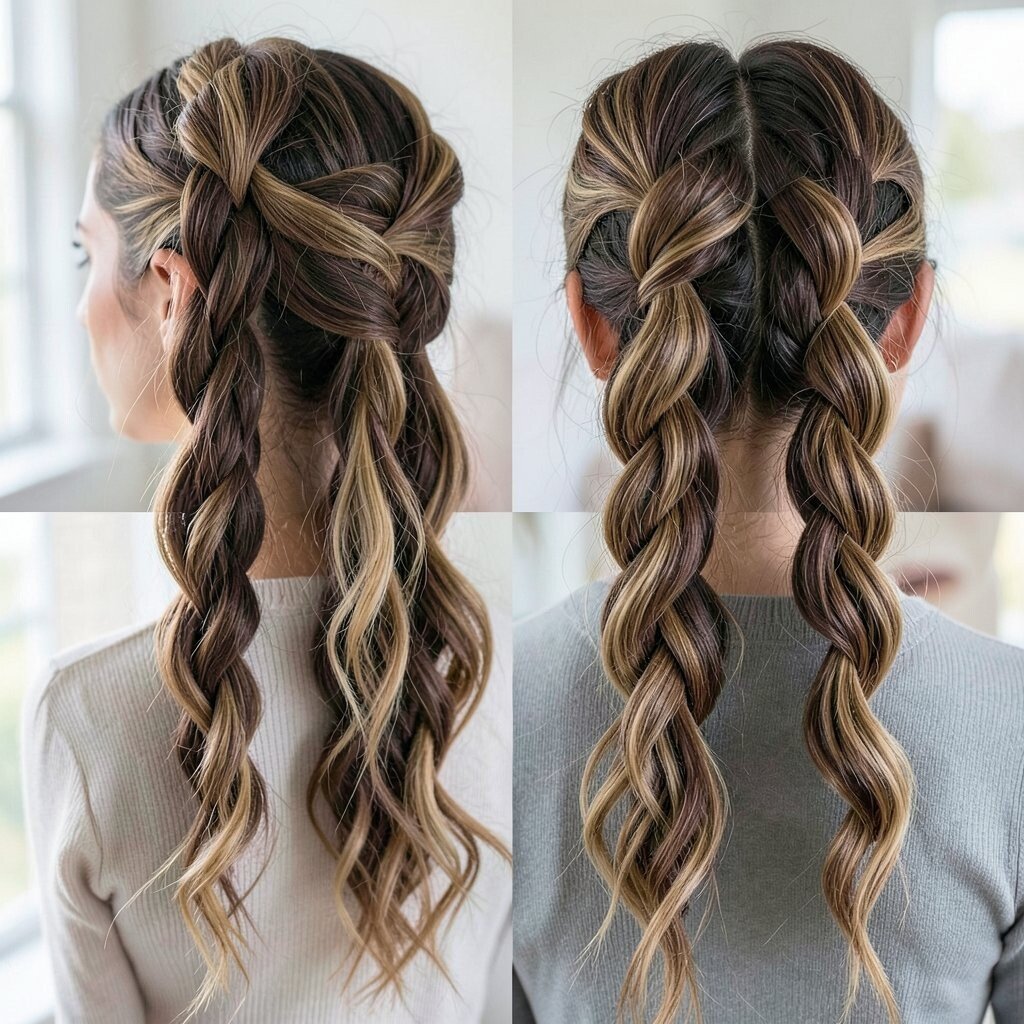
A waterfall French braid feels airy and romantic while still looking full. Begin with a French braid at the crown, then drop sections through the center so strands fall like glossy streams.
To get volume, focus on root lift by picking up slightly thicker chunks near the scalp. Alternate between letting a section drop and continuing the braid, then widen the braid gently with your fingers as you go. This helps it look lush even if your hair is straight or fine.
5. Rope Braid Knots at the Nape
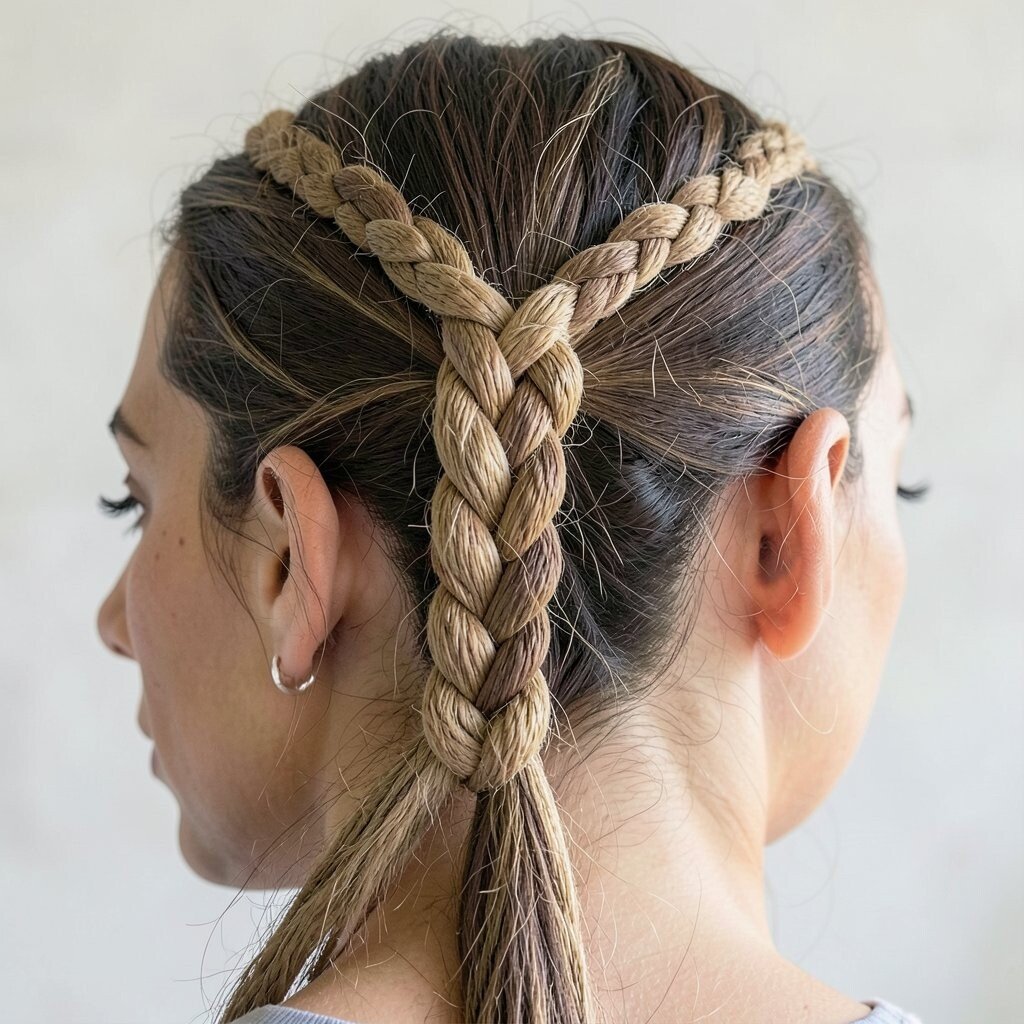
Rope braid knots at the nape create a bold, chunky anchor point. Make a rope braid down the back, then tie off and twist the length into knots close to the neck.
This style is unique because it mixes a smooth rope texture with an organized, voluminous bun-like base. Use a few elastics along the rope so the knots don’t slip, then pin the ends underneath. A medium hold hairspray helps, especially on humid days.
For personalization, wrap a thin scarf around the base knot for a pop of color. If you want extra thickness, use a braid bump pad or a little hair padding under the nape. These add-ons are usually inexpensive and can be reused for many looks.
6. Micro Braided Halo With Puffy Loops
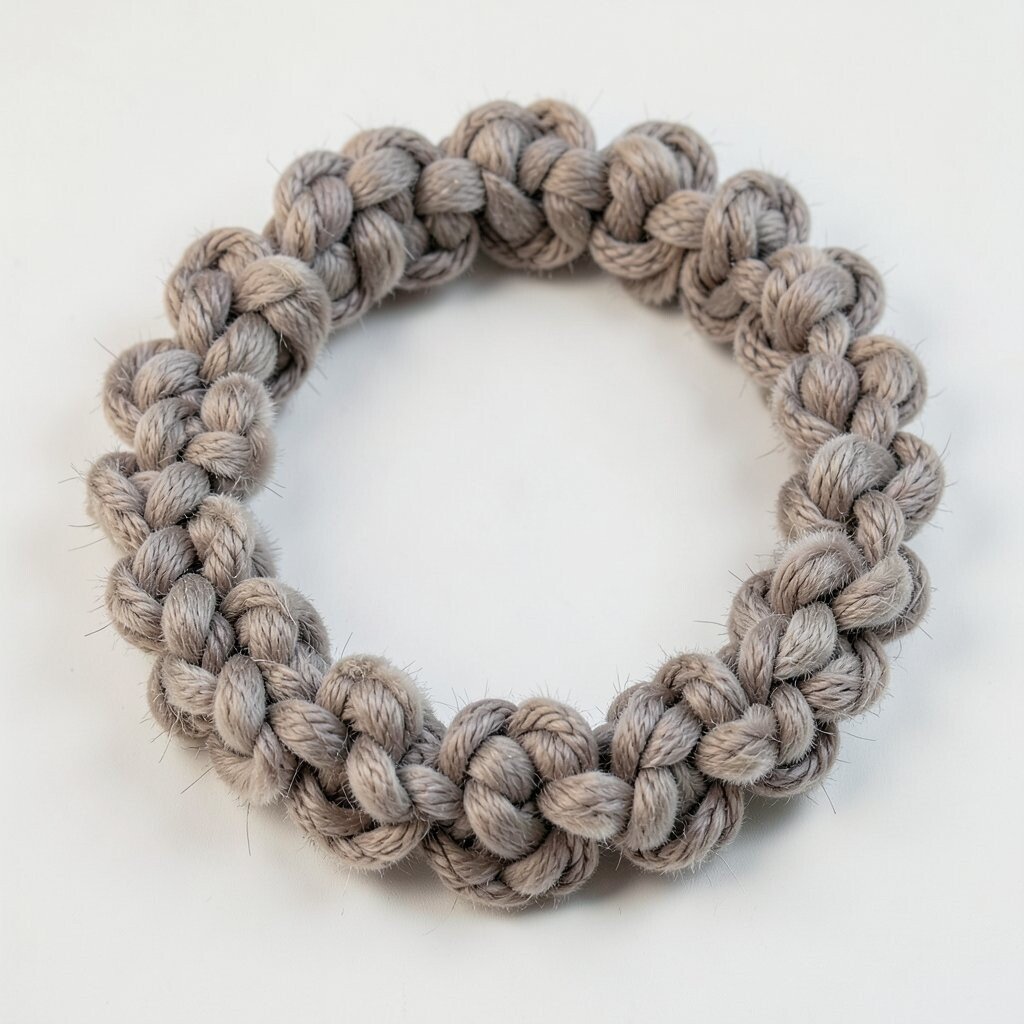
A micro braided halo can look delicate, but the right finishing makes it feel huge. Create a ring of small braids around your head, then pull tiny loops outward at each braid.
The volume comes from careful spacing rather than heavy teasing. Keep your braids uniform, and use light finger pulling instead of aggressive tugging so the pattern stays clean. This method looks extra trendy when you pair it with a middle part and a smooth crown.
7. Voluminous Lace Braid Across the Crown
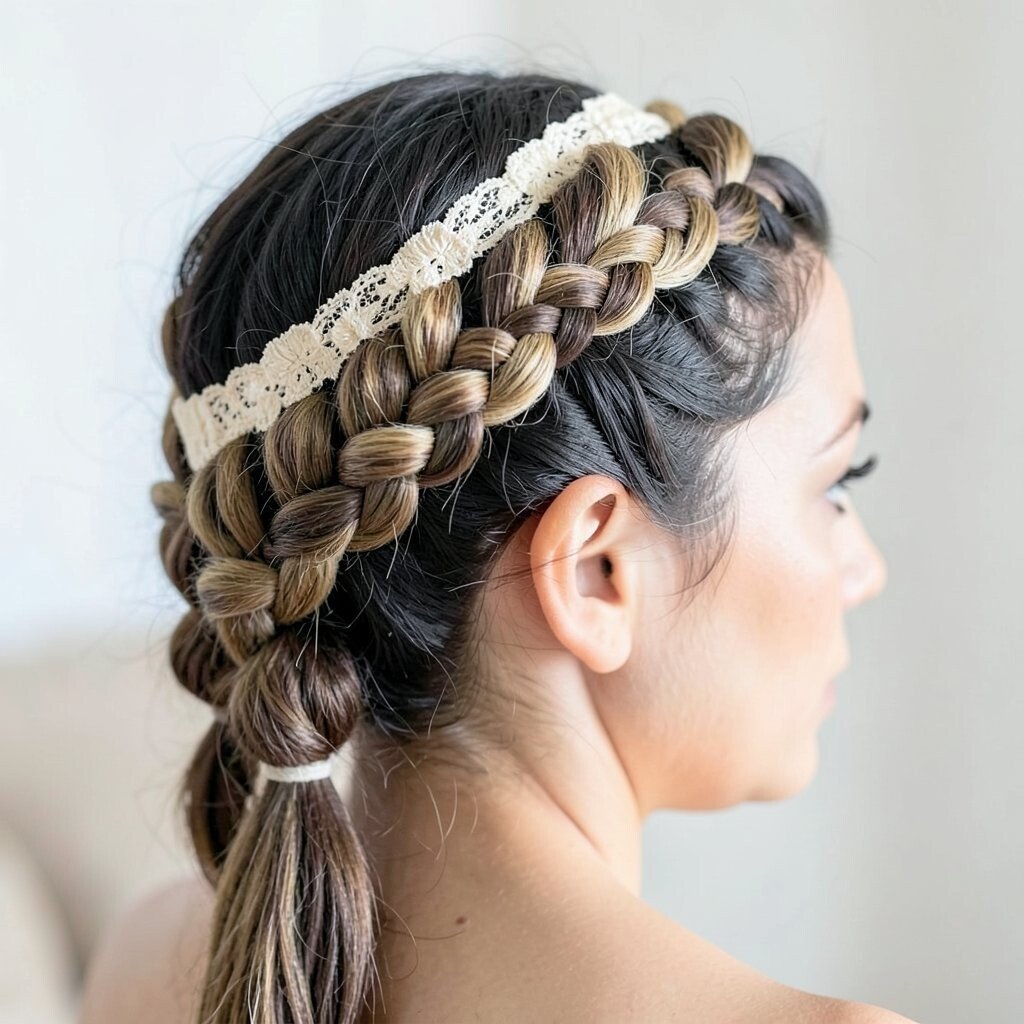
A lace braid across the crown makes your hair look like it has built-in structure. Work with a French braid concept, but pull side strands forward in small, soft arcs to form “lace” shapes.
This technique creates a wide, airy volume that sits high without feeling tight. Start with a little dry shampoo or root powder for grip at the scalp, then braid with even tension. Once you’re done, carefully widen each lace section for the most dramatic effect.
Personalization is easy since you can vary the spacing from subtle to bold. If your hair is thick, use smaller sections for a cleaner lace look; if it’s fine, use a volumizing cream to add slip. Costs stay reasonable since you likely only need basic clips and a good spray.
8. Side-Swept Chunky French Braid With Back Tuck
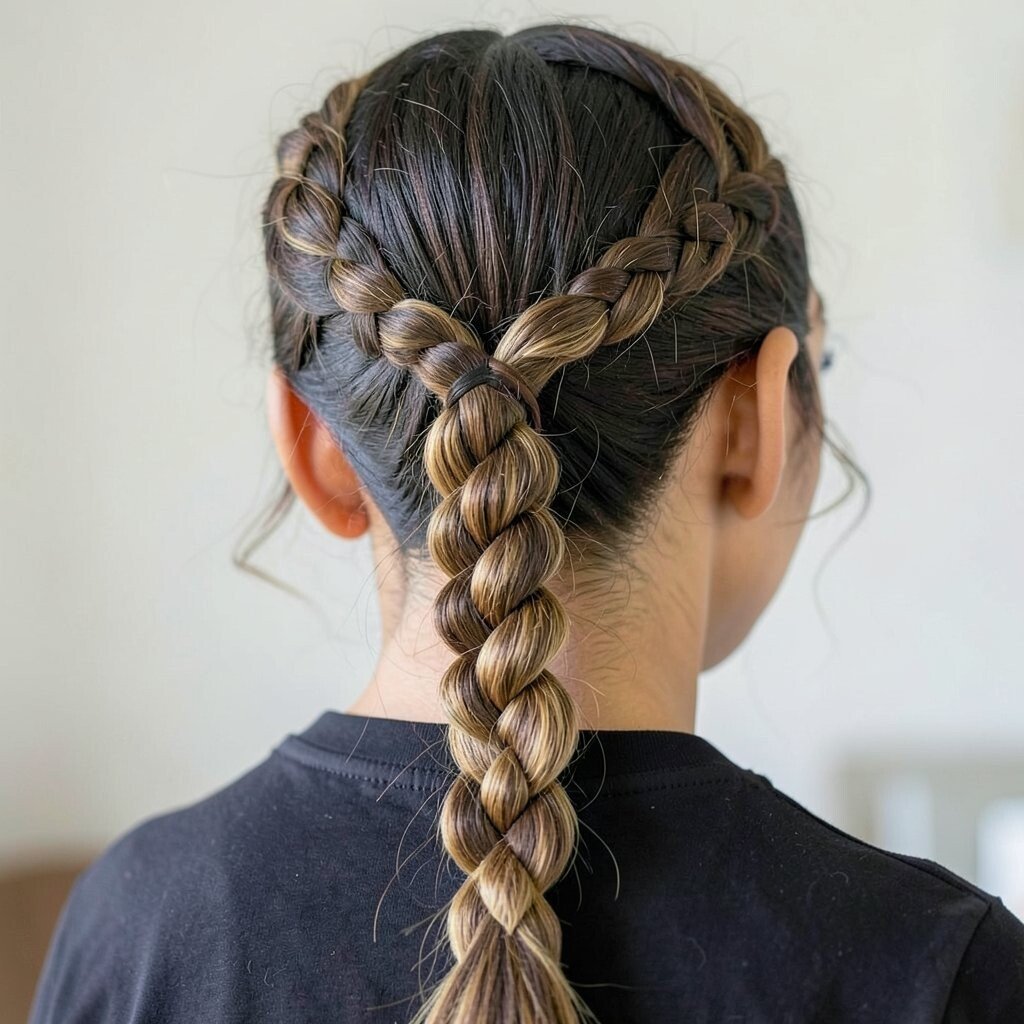
A side-swept chunky French braid looks glamorous and confident. Make a thick French braid over one shoulder, then tuck the tail under with extra lift so it sits higher than expected.
This style boosts volume by using larger sections and letting the tail create a second “layer” at the back. Keep the braid wide by pulling in a steady rhythm as you braid, not all at once. Finish with a few pins around the tuck point to hold the shape through the day.
9. Dutch Braid Ladder With Stretch Pulls
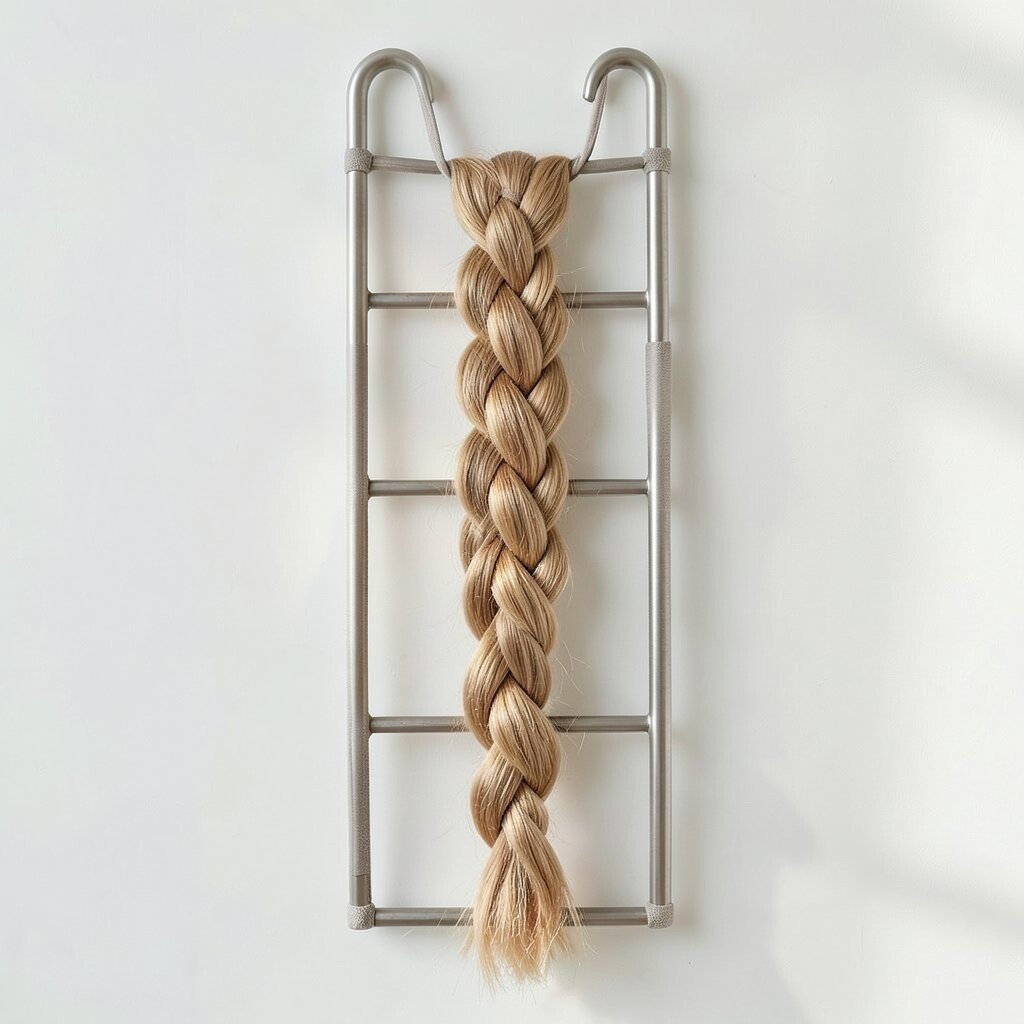
A Dutch braid ladder gives a bold, grid-like texture that’s fun to wear. Braid under with three sections, then after each segment, stretch the braid slightly so it forms rung-like gaps.
The benefit is a raised look that turns a simple braid into a statement style. Keep the stretching consistent so the ladder looks even, and use a light gel or styling cream to smooth flyaways. This is great for parties and events because the structure holds up well in photos.
10. Fishtail Fans With Elastic Placement
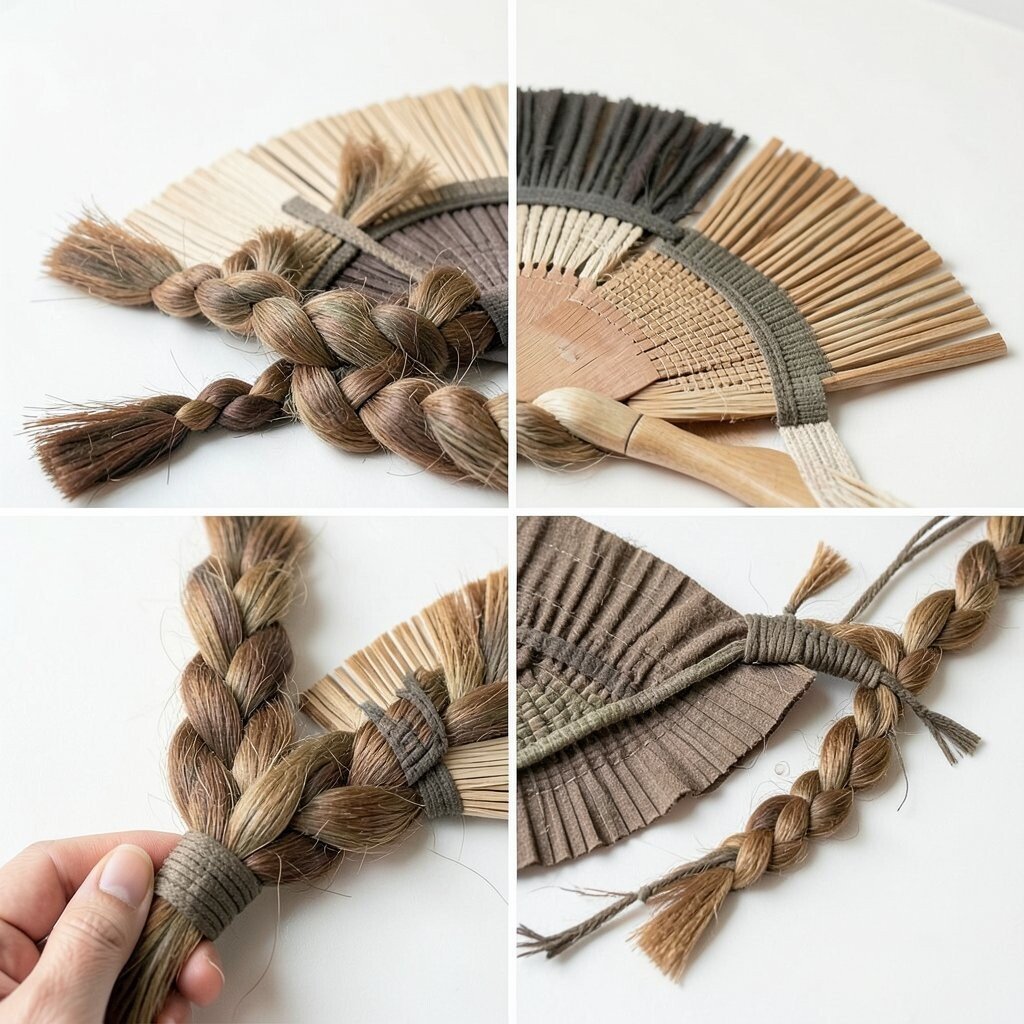
Fishtail fans look like folded paper that keeps expanding. Braid a fishtail down the length, but place small elastics at intervals, then fan out the sections between each elastic.
This technique creates multiple pockets of volume, which is perfect if your hair tends to flatten. Use thin elastics in colors close to your hair so they blend, and tighten each elastic firmly enough to lock the fan shape. After that, gently tug each side to build symmetry.
For personalization, vary the fan size by tightening some elastics closer together. Trend-wise, fan braids are popular because they photograph well and look different from classic braids. You can do this with basic elastics and a shine spray, keeping costs low.
11. Crown Braided Space Buns With Double Strands
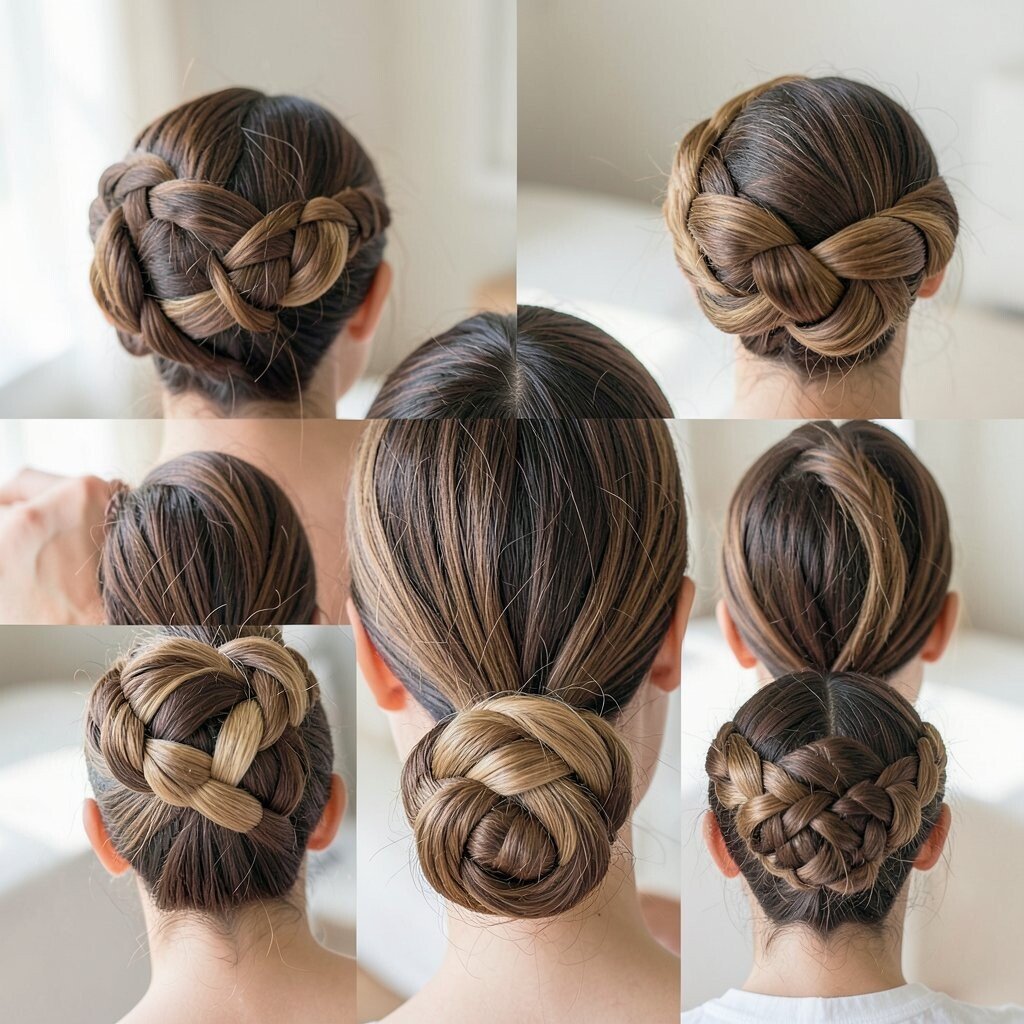
Crown braided space buns feel playful, youthful, and very voluminous. Create two mini crown braids at the top, then twist each into a bun high on the head for lift that’s hard to ignore.
The double-strand approach makes the buns look fuller since each bun has more braid texture to stack. Start with a slight top tease, then braid with thicker sections so the bun base has something sturdy to hold onto. Use hairpins in a crisscross pattern so the buns stay secure without looking lumpy.
12. Side Cornrow Fade Into Braided Volume
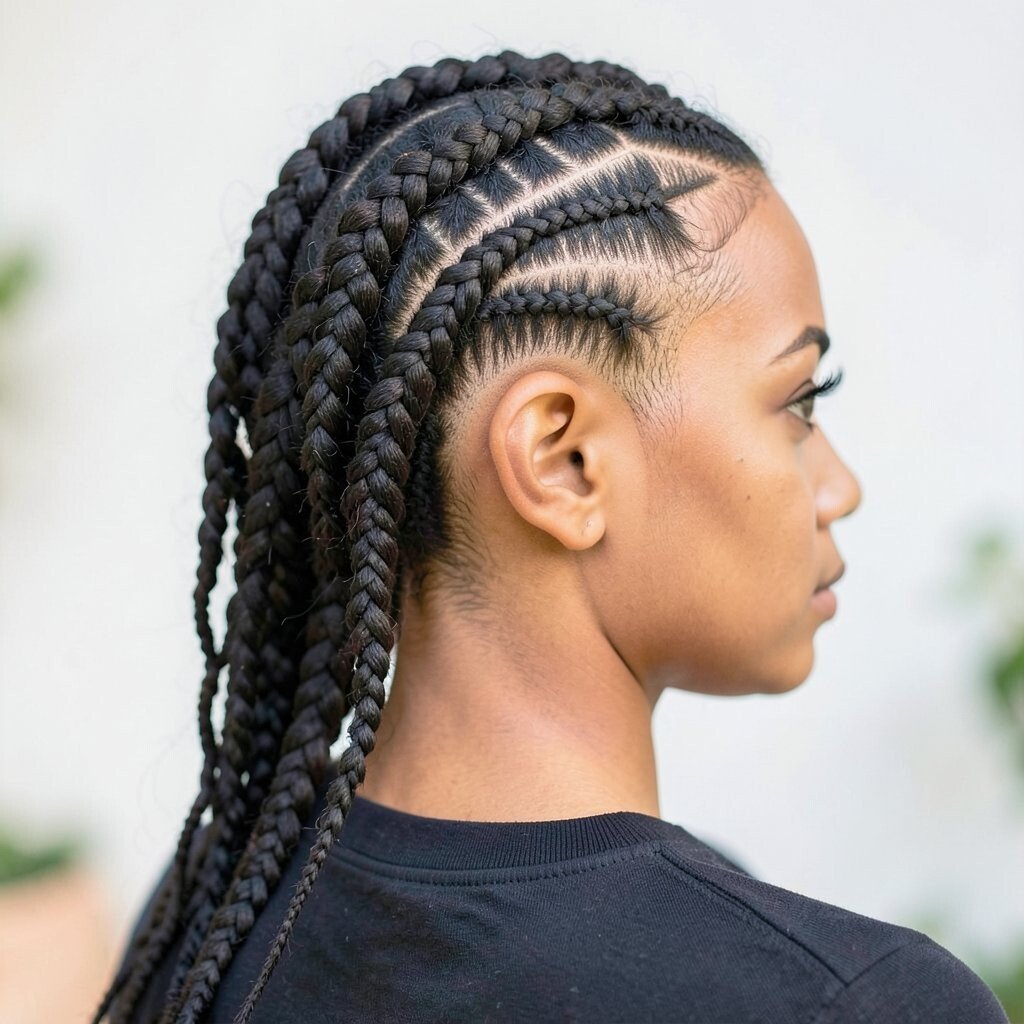
A side cornrow fade into a longer braid gives a sleek-to-lush vibe. Start with cornrows near the scalp, then transition into a wider braid down the side so the hair gradually gains thickness.
This method is unique because it combines tight, tidy rows with a voluminous finish. Keep cornrows snug for control, but let the larger braid become looser as you move away from the head. If you want extra body, braid larger sections on the outer side so the shape creates a soft curve.
For personalization, try a curved cornrow path that follows your eyebrow line, then add beads at the transition point. Costs are minimal since you only need clips and maybe a small pack of decorative accents. Current fashion often favors clean transitions, so this style fits right in.
13. Flipped-Out Morgan Crown Braid
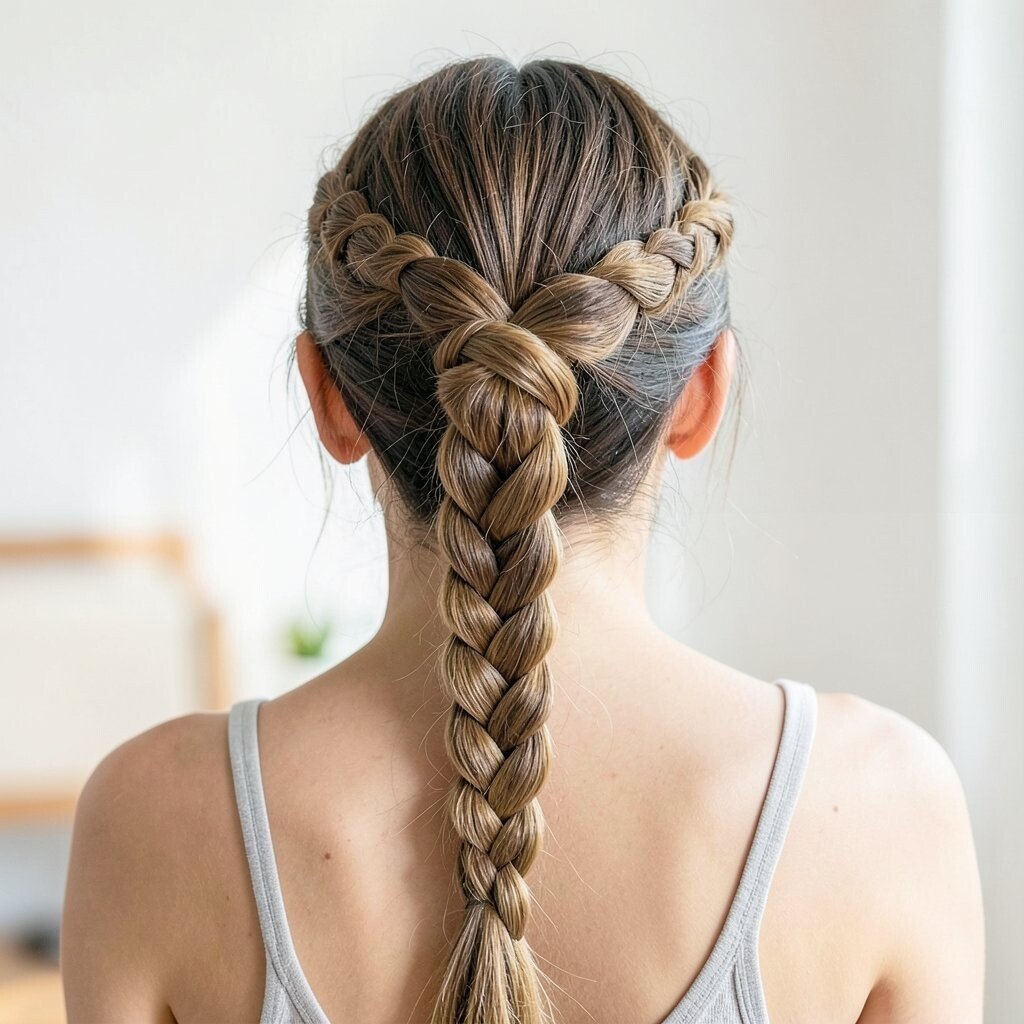
The flipped-out Morgan crown braid makes volume look intentional and sculpted. Create a French braid along the crown, then flip each side segment outward with your fingers as you secure it.
This gives a “scooped” effect that makes the braid stand out and widen your hair visually. Make sure you pin close to the scalp so the flipped edges don’t collapse. A little shine serum on the outer strands keeps everything looking polished.
14. Dutch Braid S-Curve With Puffy Center
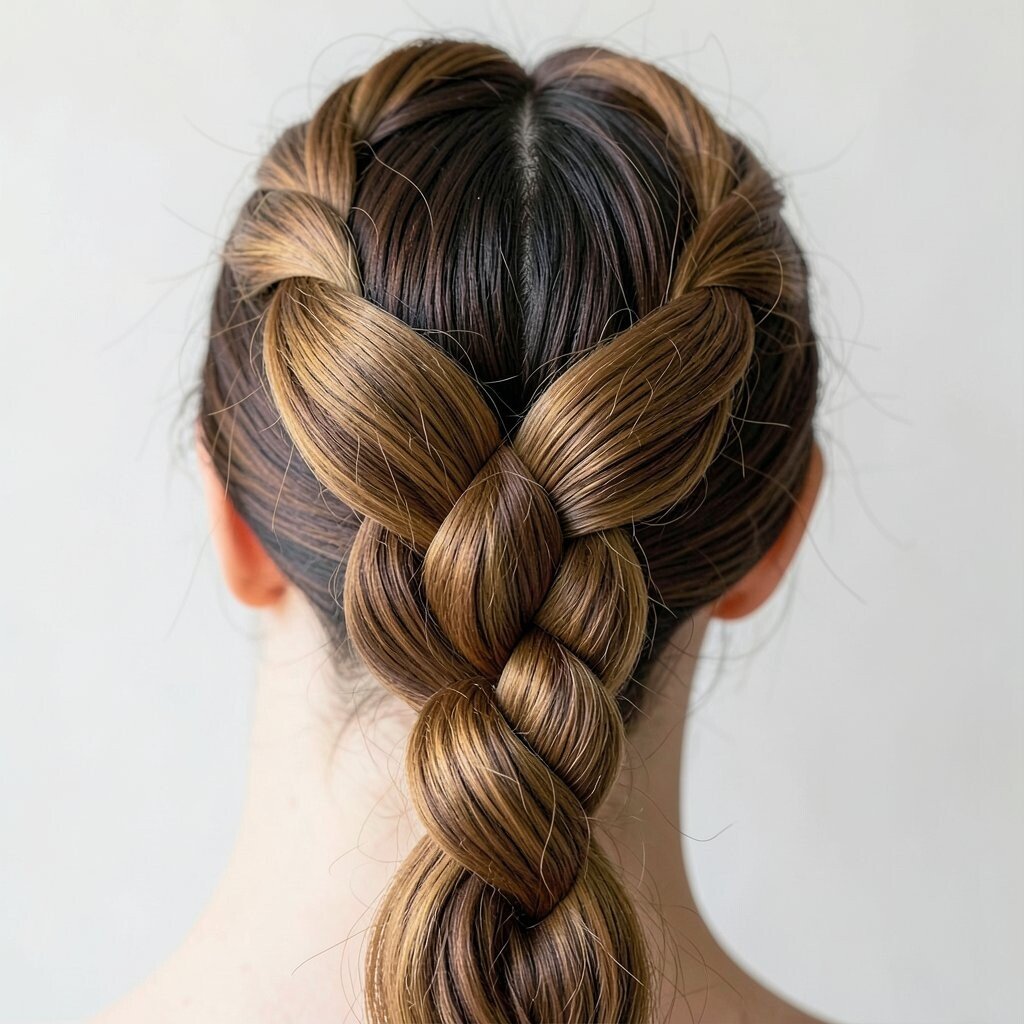
An Dutch braid S-curve looks like a flowing ribbon across your head. Braid under in an S-shaped path, then focus on building puffy volume at the center by tugging that section slightly more than the sides.
The benefit is a dynamic shape that’s more interesting than a straight braid. Keep your sections consistent while you follow the curve, and secure frequently so the style keeps its line. This is ideal if you want a bold look that still feels wearable for everyday plans.
For personalization, match the S-curve to your part for a more tailored look. If your hair is short, you can anchor the braid with extensions or hair toppers near the center for extra volume. Styling costs are usually low, since most of the work is technique and a few pins.
15. Braided Headband With Stacked Volume Strips
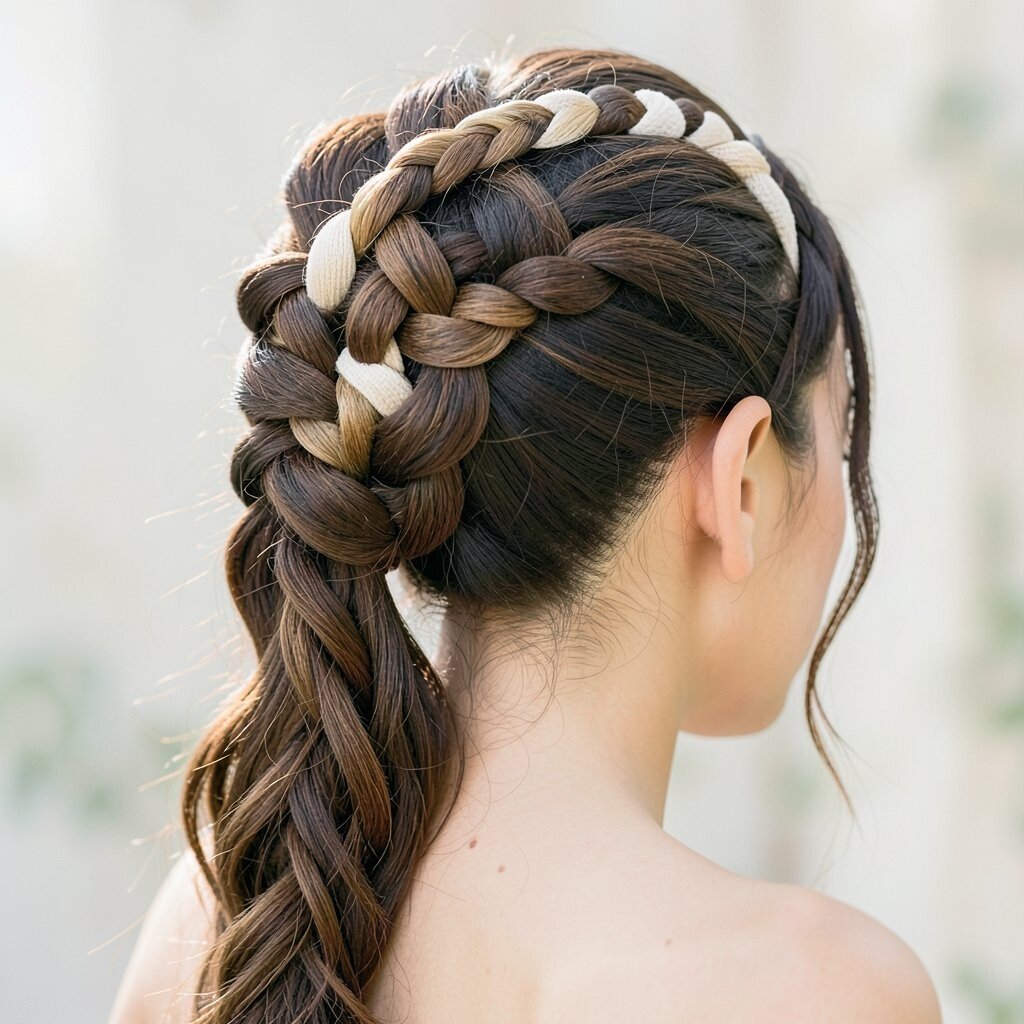
A braided headband style can look gentle, but stacked volume strips make it feel loud in the best way. Braid two thin sections along the front like a headband, then wrap the ends back and add volume around the mid-length.
This technique works great for hair that wants to fall flat because it creates structure at the front and height in the middle. Use a volumizing spray at the roots, then braid with a slightly wider pull so the headband looks thicker. Finish by loosening the braid slightly and pinning the ends so the volume stays centered.
16. Quilted Crown Braid With Interlocking Loops
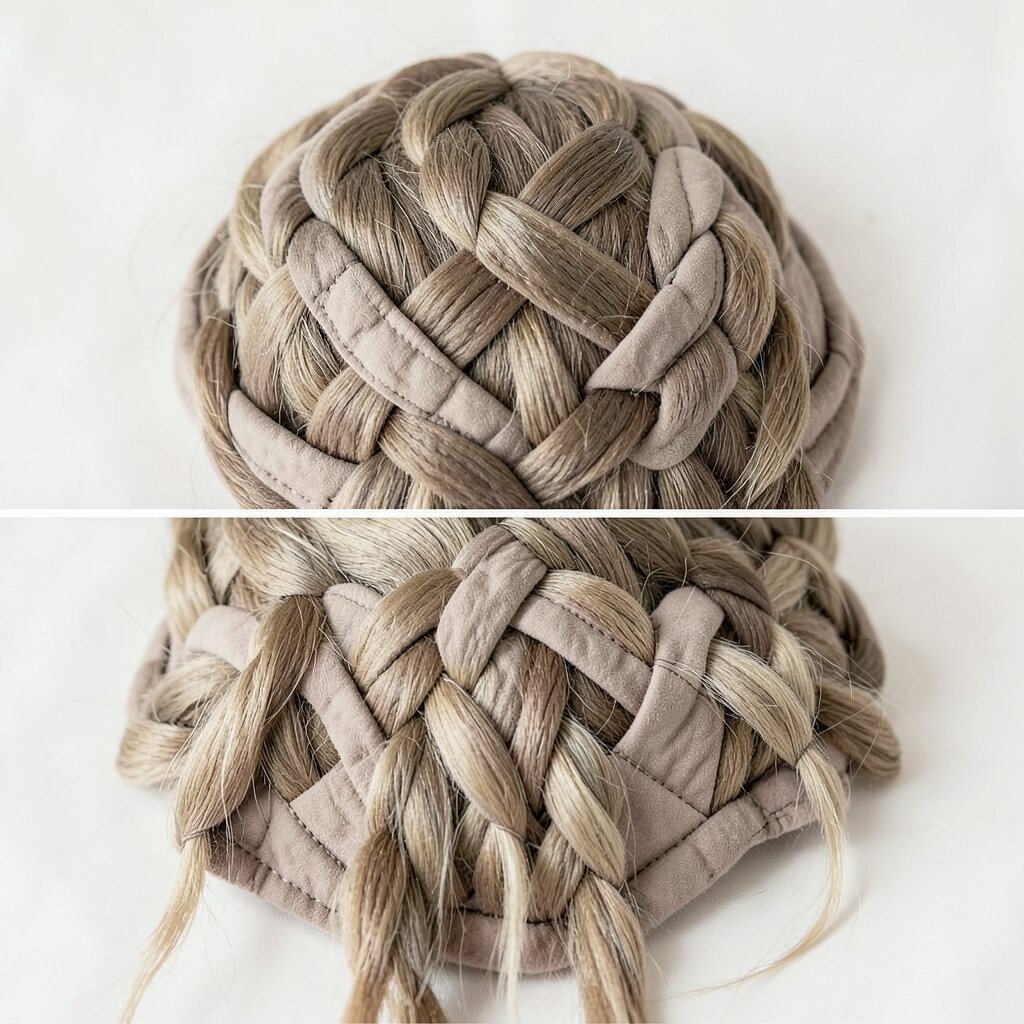
A quilted crown braid looks like stitched fabric because of its interlocking loop pattern. Create a base braid across the crown, then interlock small loops from side sections and pin them in place for a padded, high-volume effect.
The benefit is a heavy-looking finish that still feels light and movable. Work slowly so each loop sits flat, and use small bobby pins to lock the quilted pattern without bumps. For personalization, add a small hair accessory where the loops meet at the back for a focal point.
This style is trending because it looks intricate but doable with practice, and it photographs beautifully from every side. If cost is a concern, you can skip special tools and just invest in good clips and a reliable hold hairspray. With a little patience and the right tension, your quilted braid can look full all day.