Soft waves make hair look effortless, shiny, and full of life. Once you know a few simple moves, styling feels less like a chore and more like play.
Below are easy tutorials you can fit into real mornings, with tips for different hair types and budgets.
1. The Classic Two-Section Twist and Release
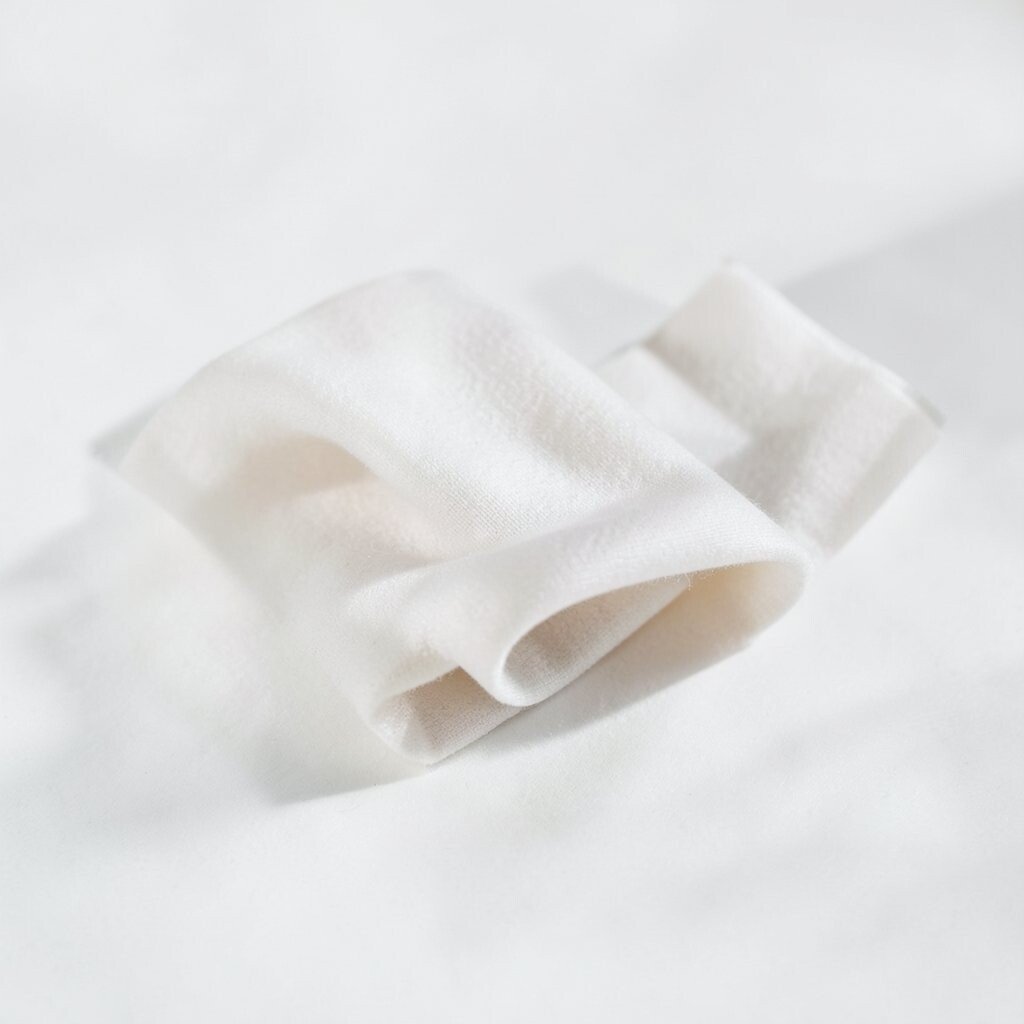
Start with clean, slightly damp hair and part it into two sections from ear to ear. Twist each section gently away from your face, then hold for a few seconds before releasing.
You will see loose, springy S-shapes appear near the top and soften down the length. Use a light mist of flexible hold hairspray so the waves stay touchable and not crunchy.
2. Blow-Dry Brush Waves for Smooth Shine
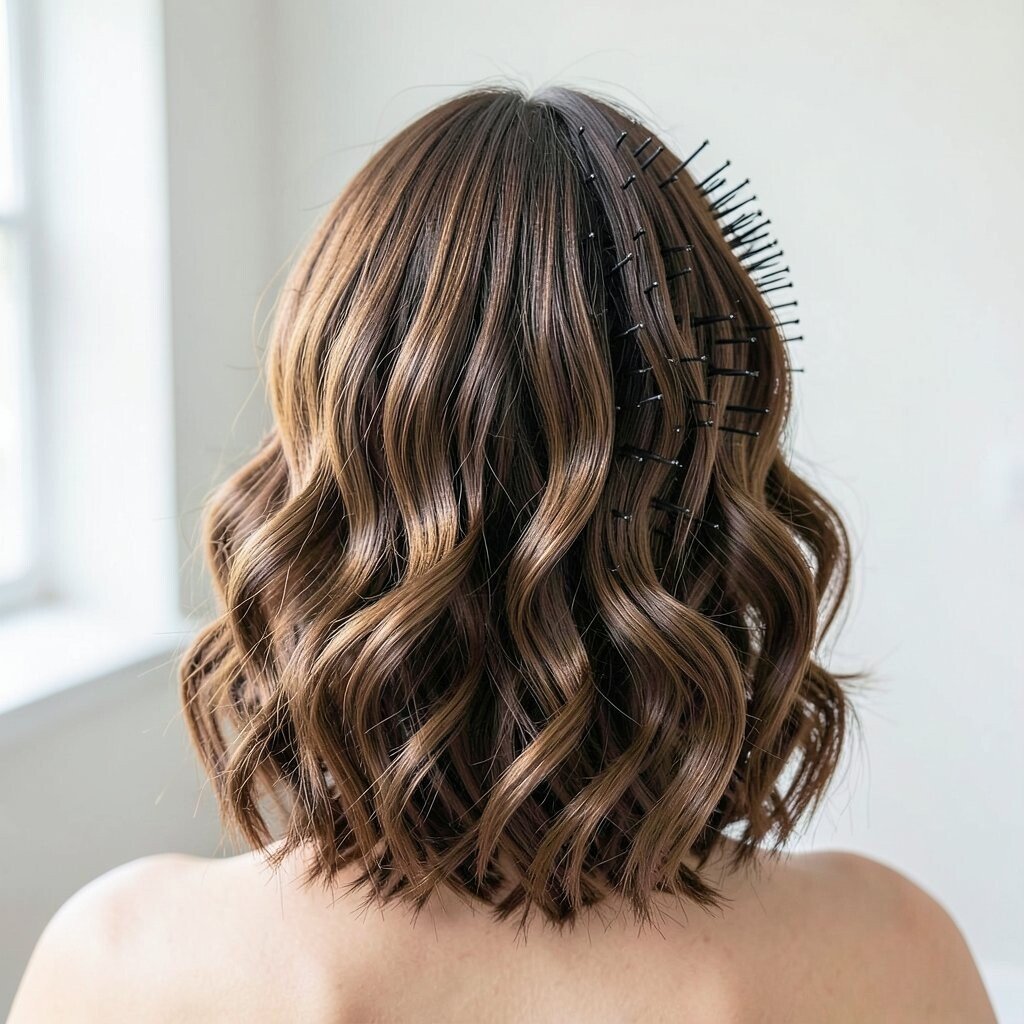
Tuck your hair into sections and use a round brush while blow-drying. Lift the roots a little, then roll the brush through the mid-lengths for a smooth bend.
Let the hair cool around the brush for a few seconds, then gently slide it out. The result looks glossy like you just stepped out of a salon, even if your routine is quick.
If your hair is fine, use a smaller brush and fewer passes. If your hair is thick, keep the tension steady and add a tiny bit more product so the pattern holds.
3. The Sock Roll for Overnight Soft Waves
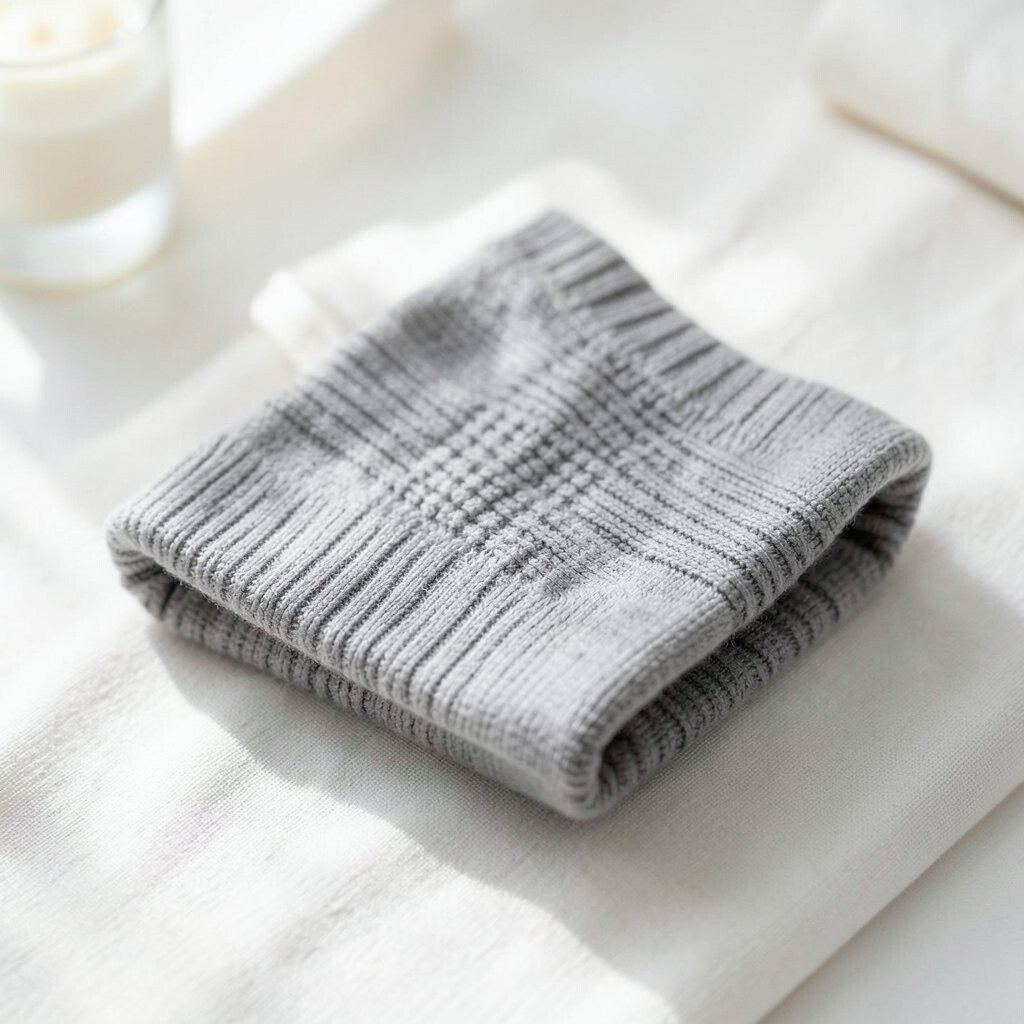
Take a clean, dry towel or soft sock and roll it into a donut shape. Dampen your hair lightly, then wrap small sections around the sock roll from ends to roots.
When you wake up, your hair should have fluffy waves with a natural, lived-in feel. Separate the waves with your fingers and finish with a tiny drop of hair oil on the ends.
This method is unique because it uses zero heat and gives a gentle texture. It is also easy on your budget since socks are basically free and always on hand.
4. Flat Iron Flicks for Effortless Beachy Texture
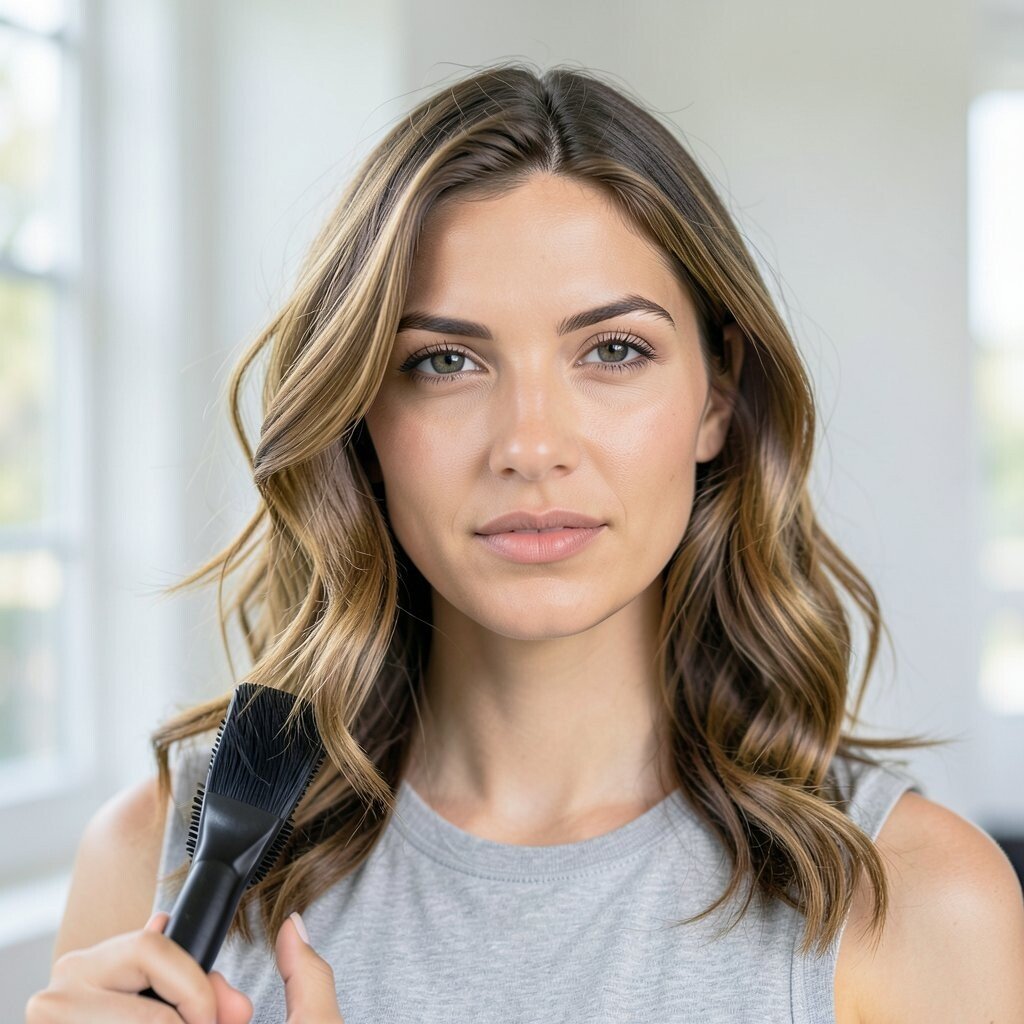
Use a heat protectant, then take a thin strand and clamp it lightly. Instead of holding straight, do small flicks as you move down the hair so the wave forms in the moment.
Keep the iron moving and vary the direction slightly from strand to strand. You will notice airy waves that look relaxed, not forced.
5. Velcro Rollers for Big Soft Bends
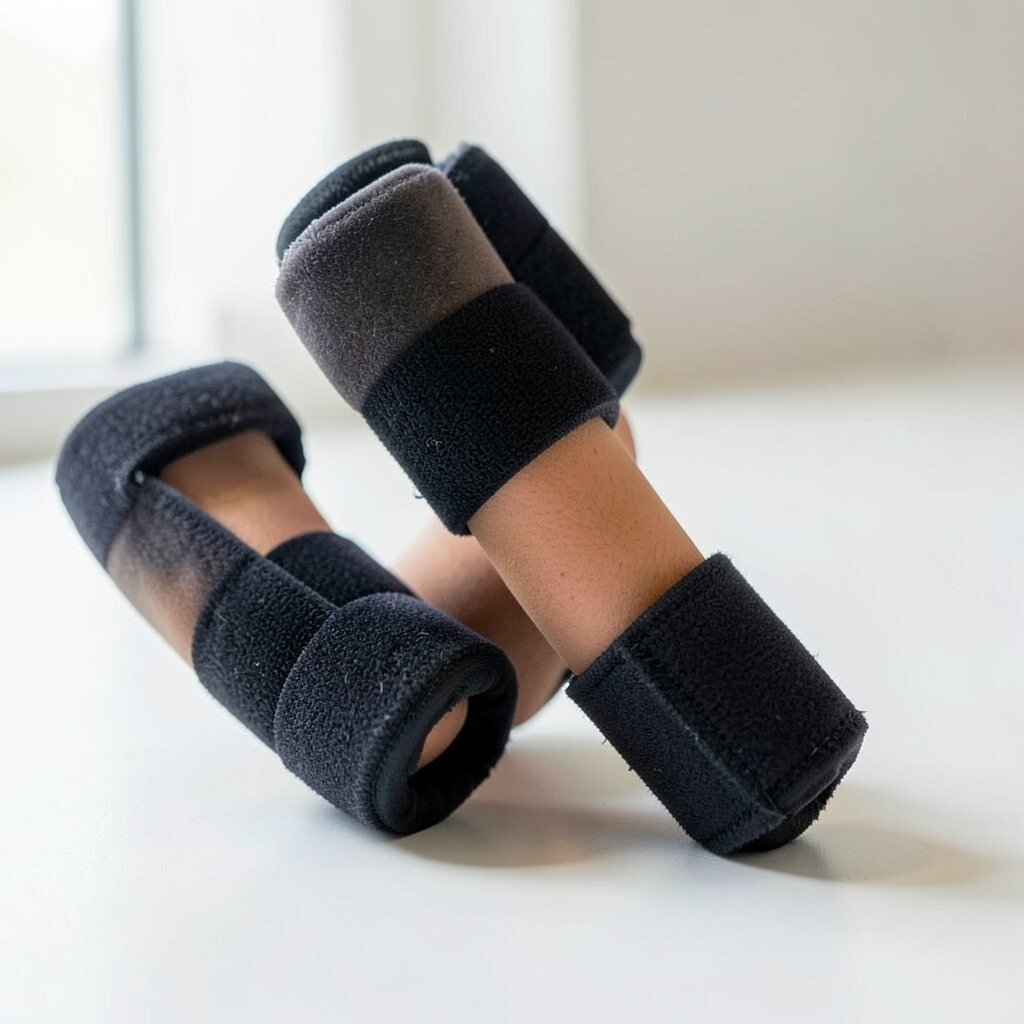
Work on damp hair, apply a light styling cream, and wrap sections around medium rollers. Roll them toward the scalp, then secure and let them dry fully.
When you remove them, you get bouncy bends that look full and slightly glamorous. For extra softness, brush lightly with your fingers instead of a stiff comb.
Velcro rollers are a current favorite because they give movement without tight curls. They also cost less than many hot tools, especially if you use only a couple of sizes for your hair.
6. Headband Waves for a Naturally Curved Shape
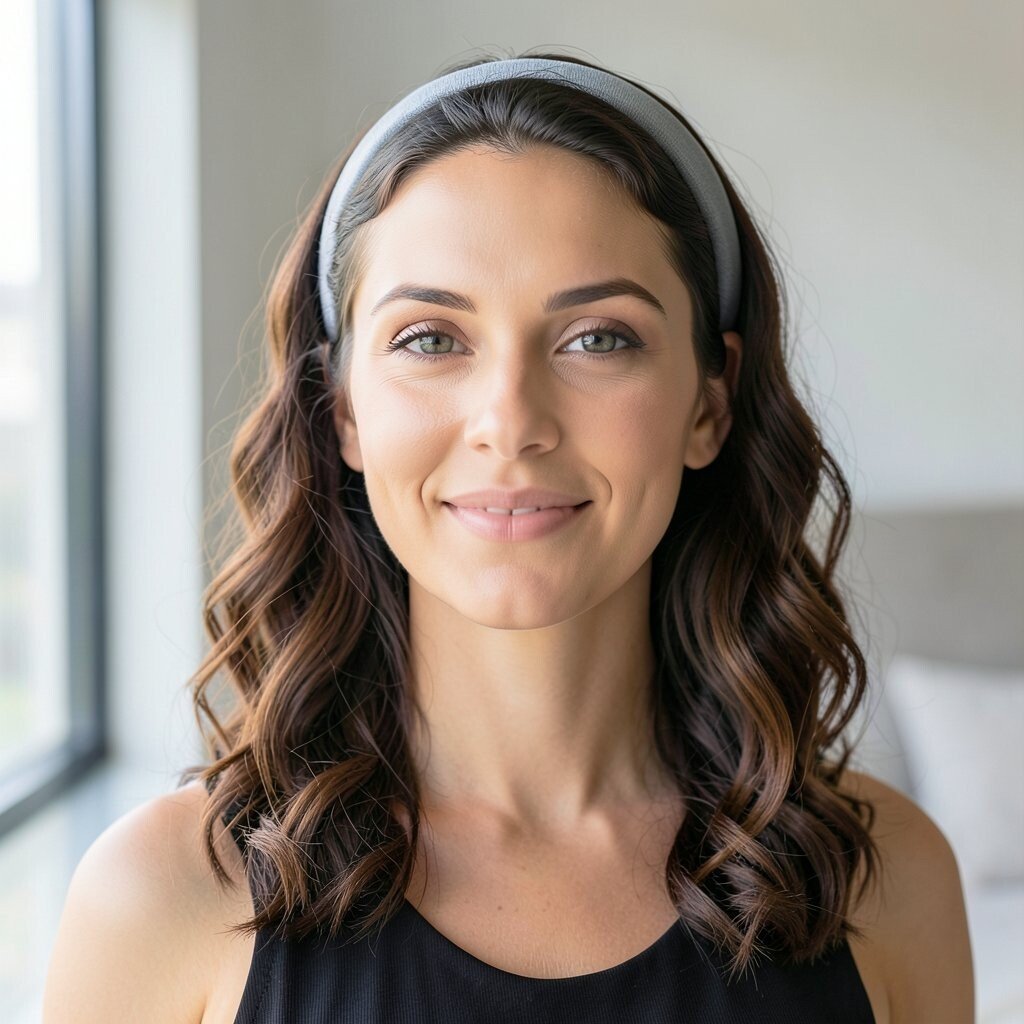
Put a stretchy headband over your head and dampen hair lightly. Take small sections and wrap them around the band, twisting as you go.
As your hair dries, the band encourages smooth, curved waves all around. When you remove it, finger-comb for an airy finish that still feels neat.
It is great for busy mornings because you can do it while getting ready. For personalization, make the sections thicker for looser waves or thinner for more definition.
If you have frizz, use a smoothing serum on the outer layer before wrapping.
7. Braided Root-to-End Waves for Real-World Texture
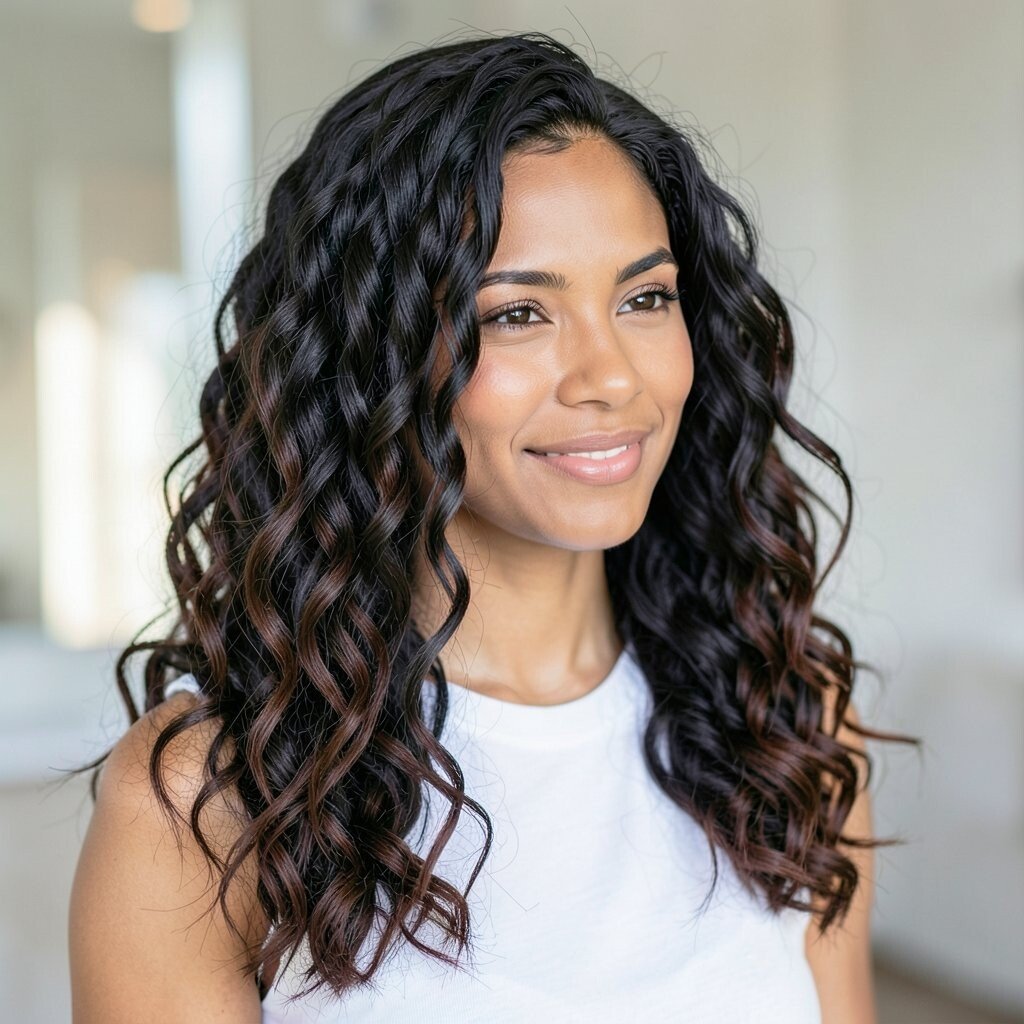
Start with slightly damp hair, add a little leave-in conditioner, and divide into two or three braids. Make each braid from roots to ends and keep it snug but not painful.
After fully drying or overnight resting, undo the braids carefully. You get soft waves that look natural because they keep the shape from the braid.
This technique feels unique because it blends wave and volume, especially at the crown. It is also low-cost since you only need hair ties and maybe a spray bottle.
8. Water Bottle Mist Technique for Controlled Softness
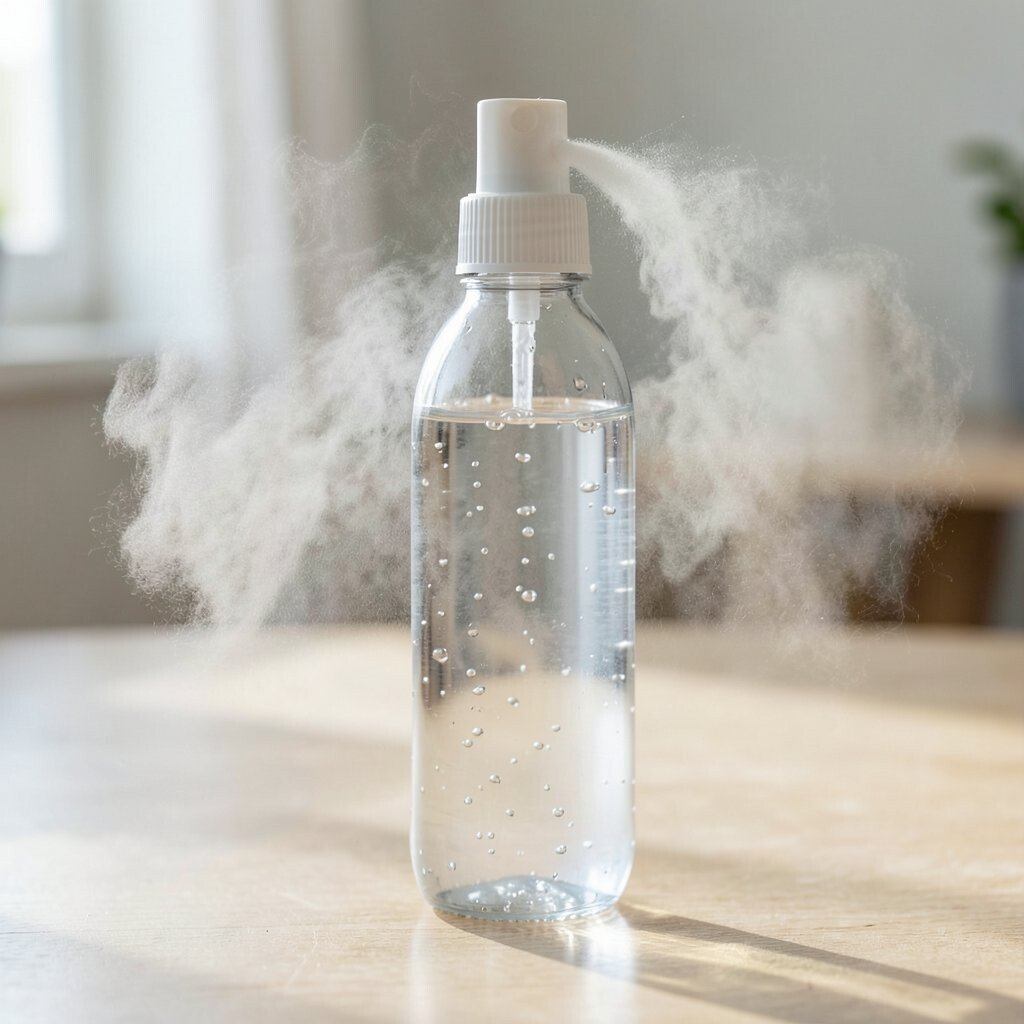
If your hair gets dry fast, keep a fine mist handy and lightly re-wet sections as you style. Use your hands to reshape the hair into a gentle wave and hold it for a few seconds.
You will notice the hair becomes easier to mold and less prone to flyaways. Finish with a soft hold spray to lock in the shape without making it stiff.
9. Curling Wand with Alternating Directions
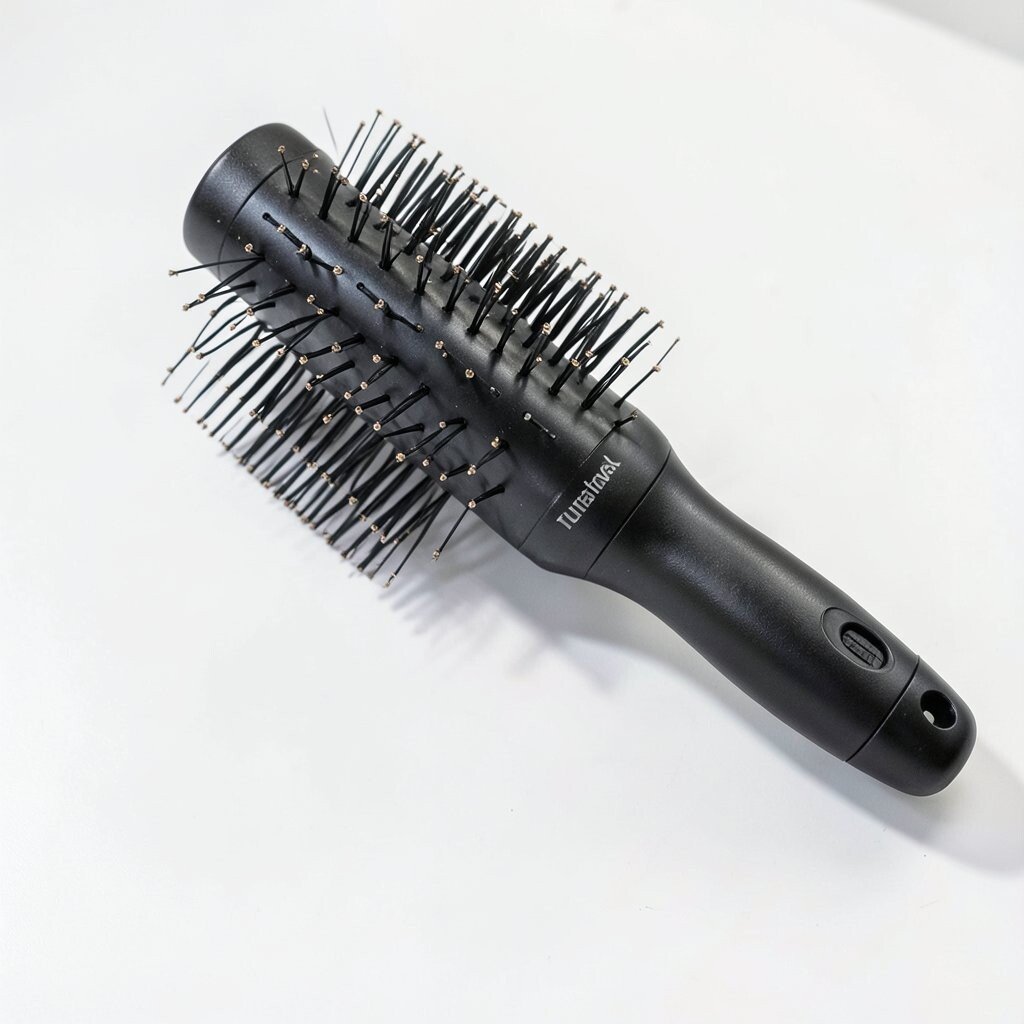
Use a curling wand on small sections and alternate the curl direction every other strand. Clamp, wrap, and release with a quick smooth motion to avoid harsh kinks.
Once the curls cool, brush through with a wide-tooth comb or your fingers. The alternating pattern creates waves that look like they came from the wind, not from a single perfect curl.
For personalization, choose a smaller barrel for tighter bends or a larger one for loose waves. Keep the ends slightly looser so the wave fades into a soft, pretty finish.
10. T-shirt Wrap for Gentle Wave Formation
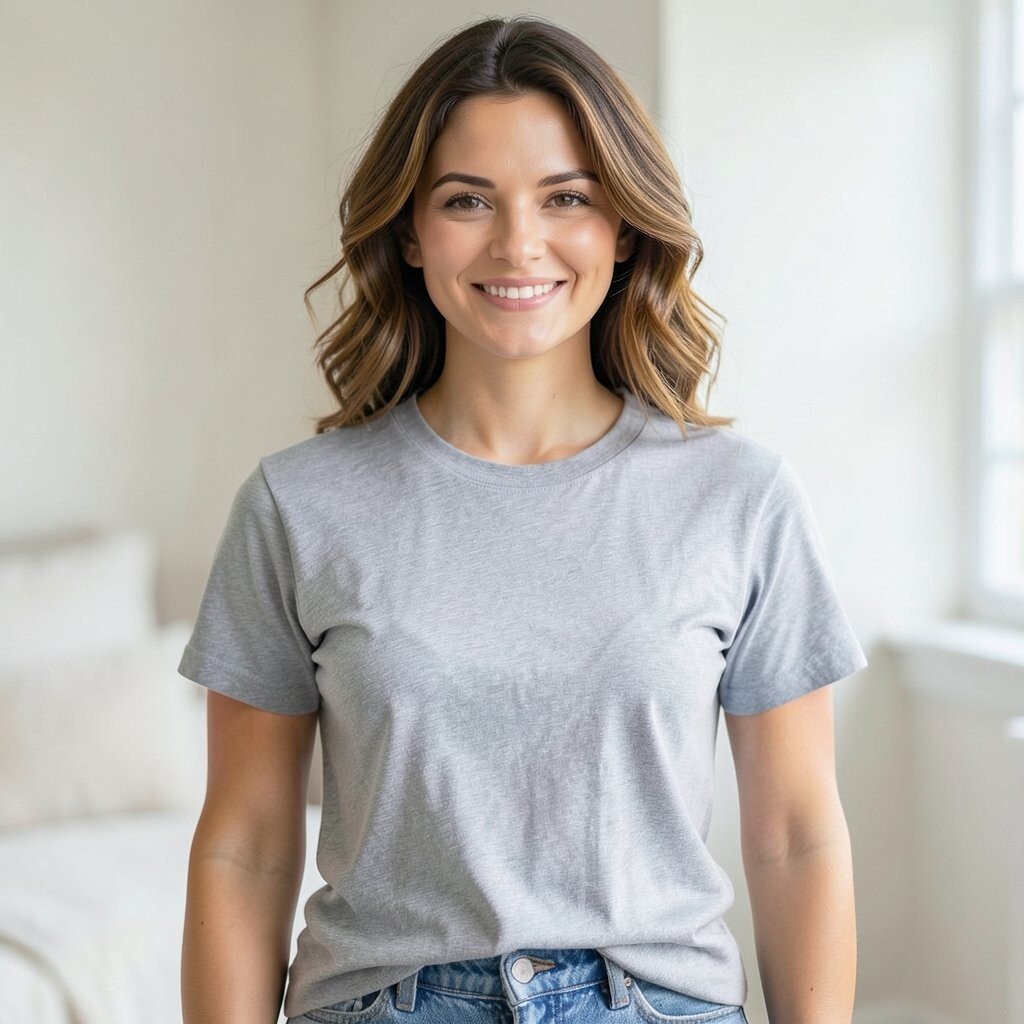
After washing, use a soft t-shirt instead of a towel and squeeze out extra water. Wrap your hair in the shirt turban for a few minutes, then release and start styling while it is still damp.
When you twist sections loosely and pin them under the shirt, the fabric helps reduce frizz. You will see smooth waves that look cozy and polished.
11. Twist Clips for Volume at the Crown
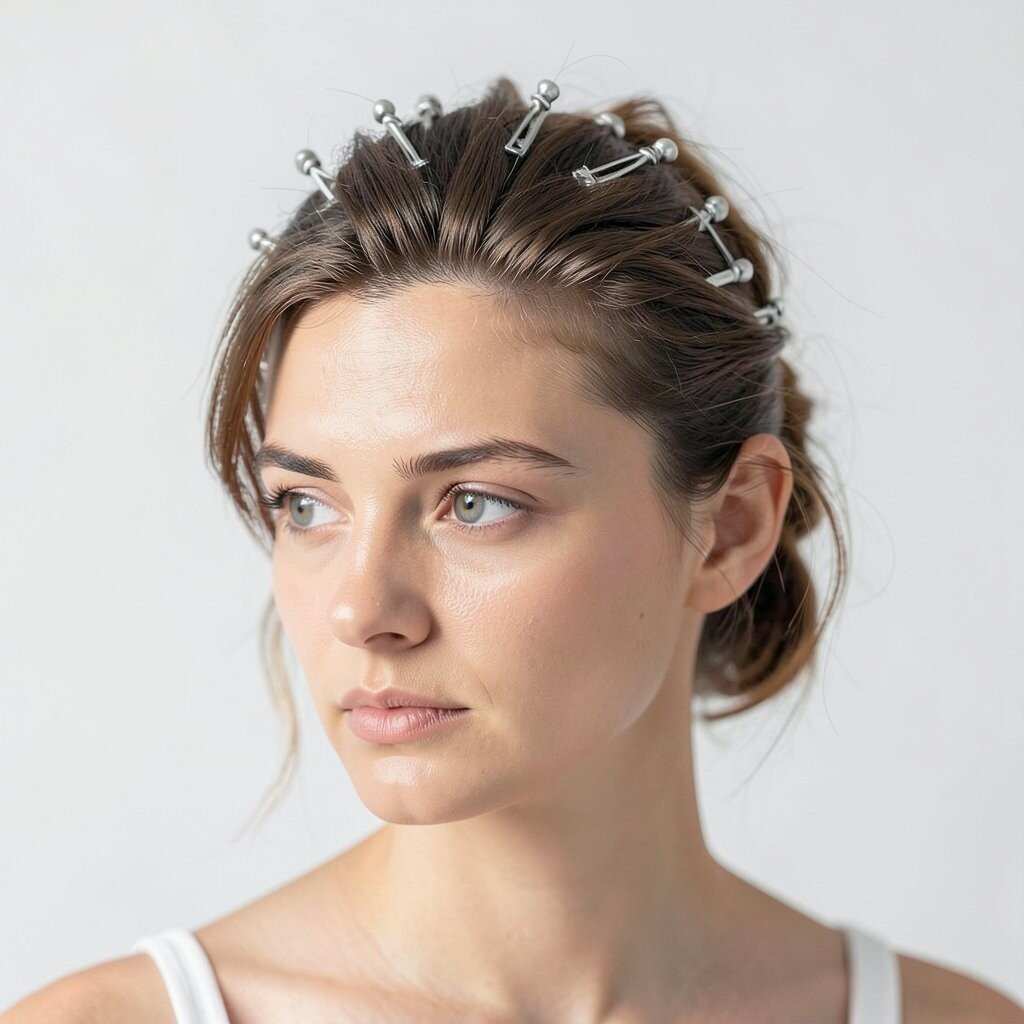
Section the top half of your hair, twist small sections upward, and clip them in place. Leave the ends free, then let the hair air-dry or lightly heat-dry the twists.
Unclip for soft, lifted waves with extra fullness near the roots. This is especially helpful if your hair tends to fall flat soon after styling.
To personalize, make the twists thicker for bigger volume or thinner for a delicate texture. If your hair is coarse, use a stronger conditioner and a tiny amount of styling cream.
12. Diffuser Method for Fluffy Soft Waves
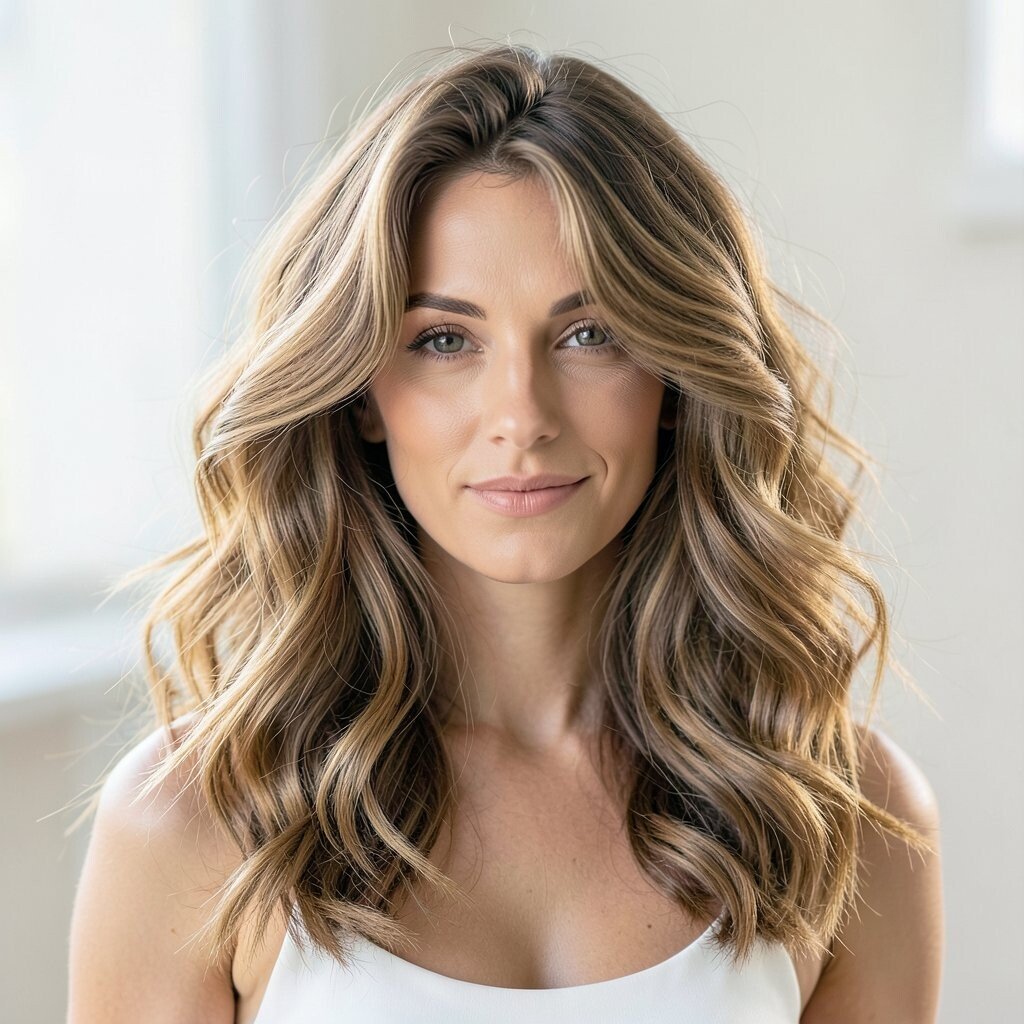
Apply mousse to damp hair, then use a diffuser on low heat. Lift sections toward the diffuser and let the airflow shape your natural texture.
When you scrunch gently afterward, you get bouncy soft waves that look lively and modern. This method is trending because it celebrates natural texture instead of fighting it.
For cost considerations, a diffuser attachment is often cheaper than buying more styling tools. If you already have a blow dryer, you can upgrade with a diffuser fairly easily.
13. Hair Roller Skelters for Ultra Easy Waves
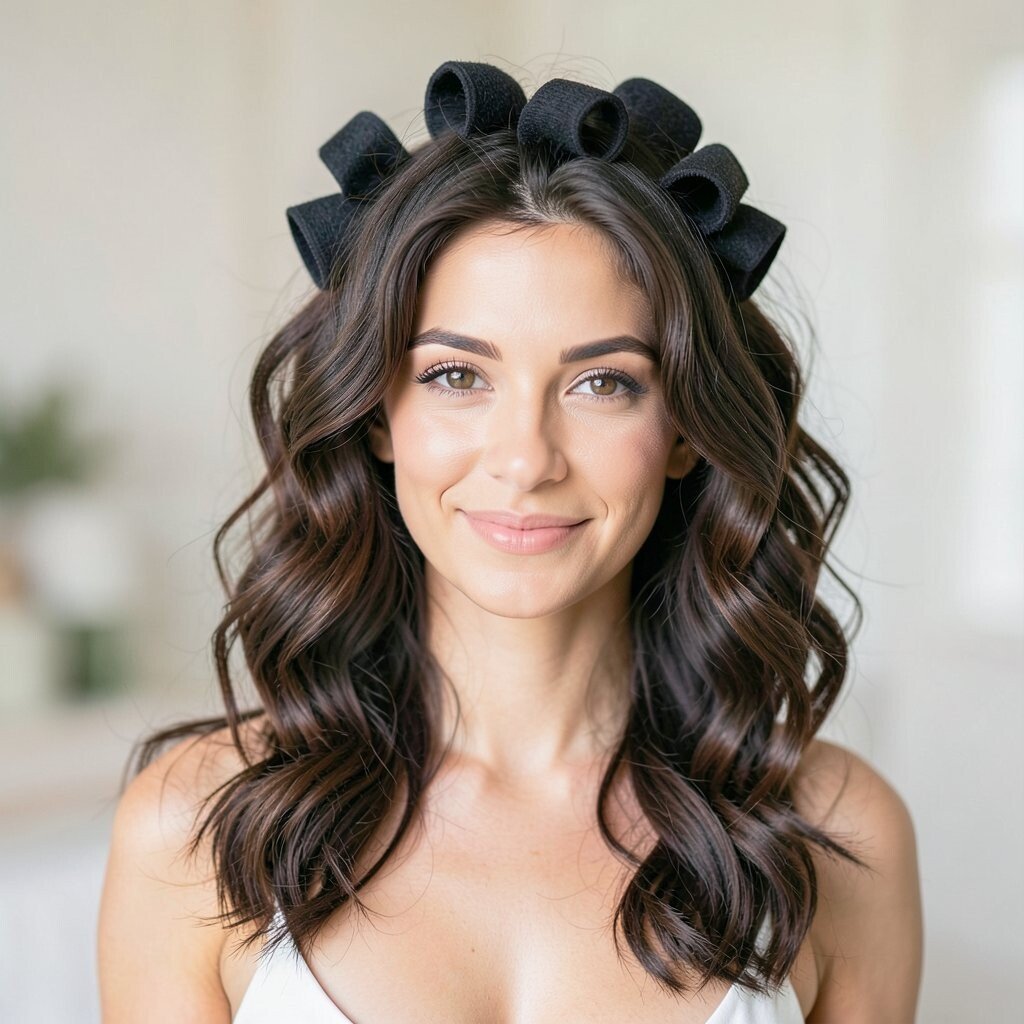
Use small roller skelters or foam rollers on damp hair, starting at the ends and rolling toward the roots. Secure each roller and keep spacing consistent for even waves.
Let them dry completely, then remove one by one. Your hair should show soft, defined waves with a touch of playful bounce.
This technique is unique because it feels like building wave shapes, not just curling random strands. Add a lightweight hair spray to hold without weighing anything down.
14. The “Press and Bend” Blow-Dry Shortcut
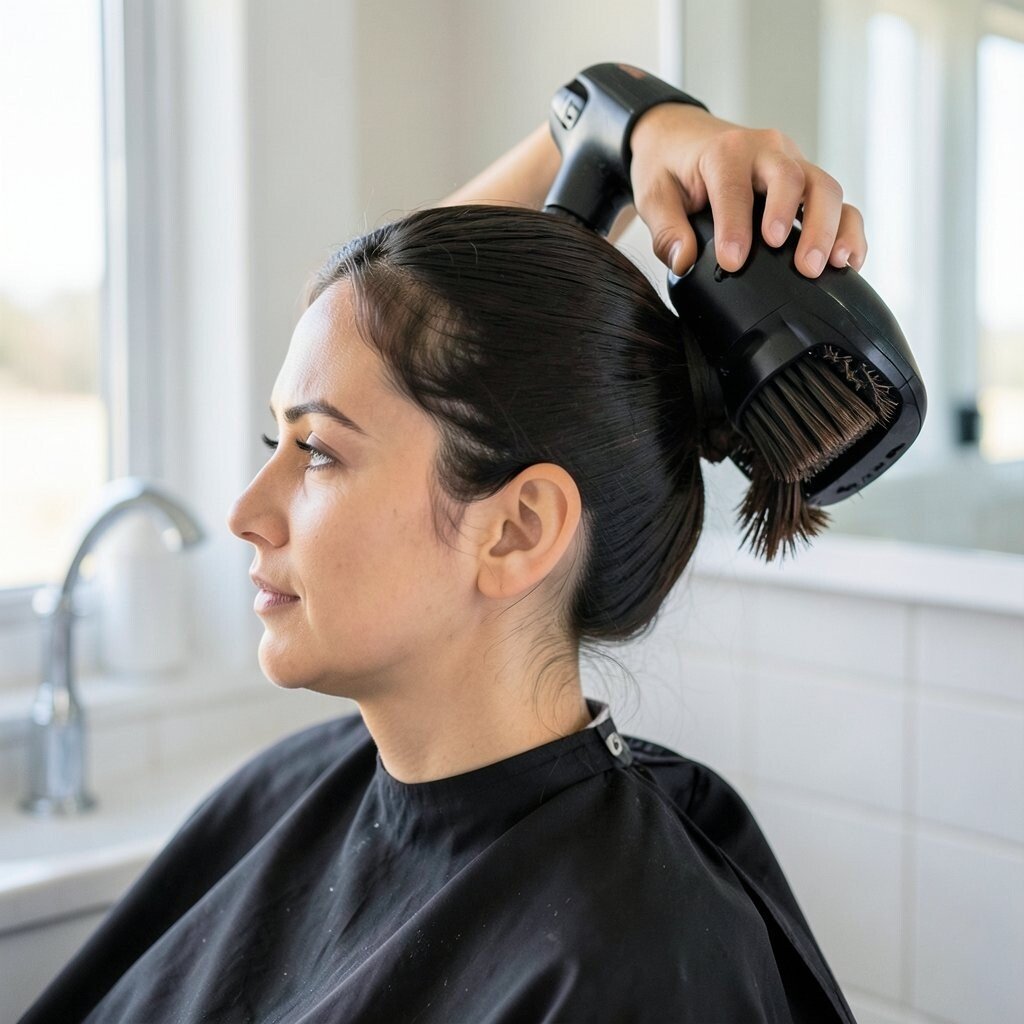
For a faster routine, rough-dry hair until damp, then use the brush to press and bend the mid-lengths. Keep the airflow aimed downward to smooth the cuticle.
Work slowly across the whole head and alternate bend directions for a natural pattern. The waves come out soft and glossy, and your hair looks styled even if you used minimal tools.
15. Heatless Pin Curls for a Classic Soft Finish
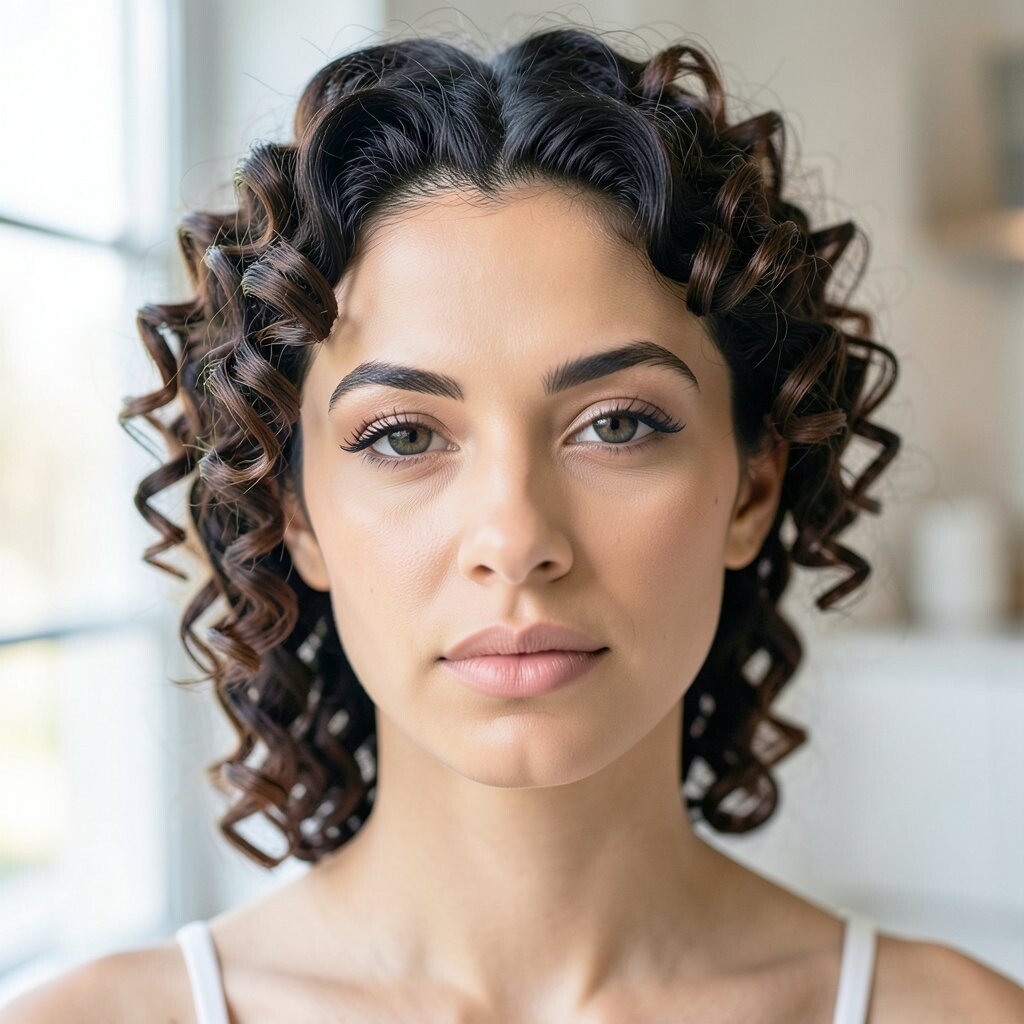
Take small sections, twist them into pin curls, and secure with bobby pins. Keep each curl flat against the scalp so the waves set gently.
Let them cool fully if you use light heat, or keep them overnight if you want the healthiest option. When you release, you get classic soft waves that look elegant and not too tight.
Personalize by changing the pin curl size, which controls whether your waves look airy or more defined. For budget, bobby pins are inexpensive and already in most drawers.
If your hair is slippery, apply a stronger hold mousse before pinning.
16. Seamless Ponytail Waves for Quick Weekend Hair
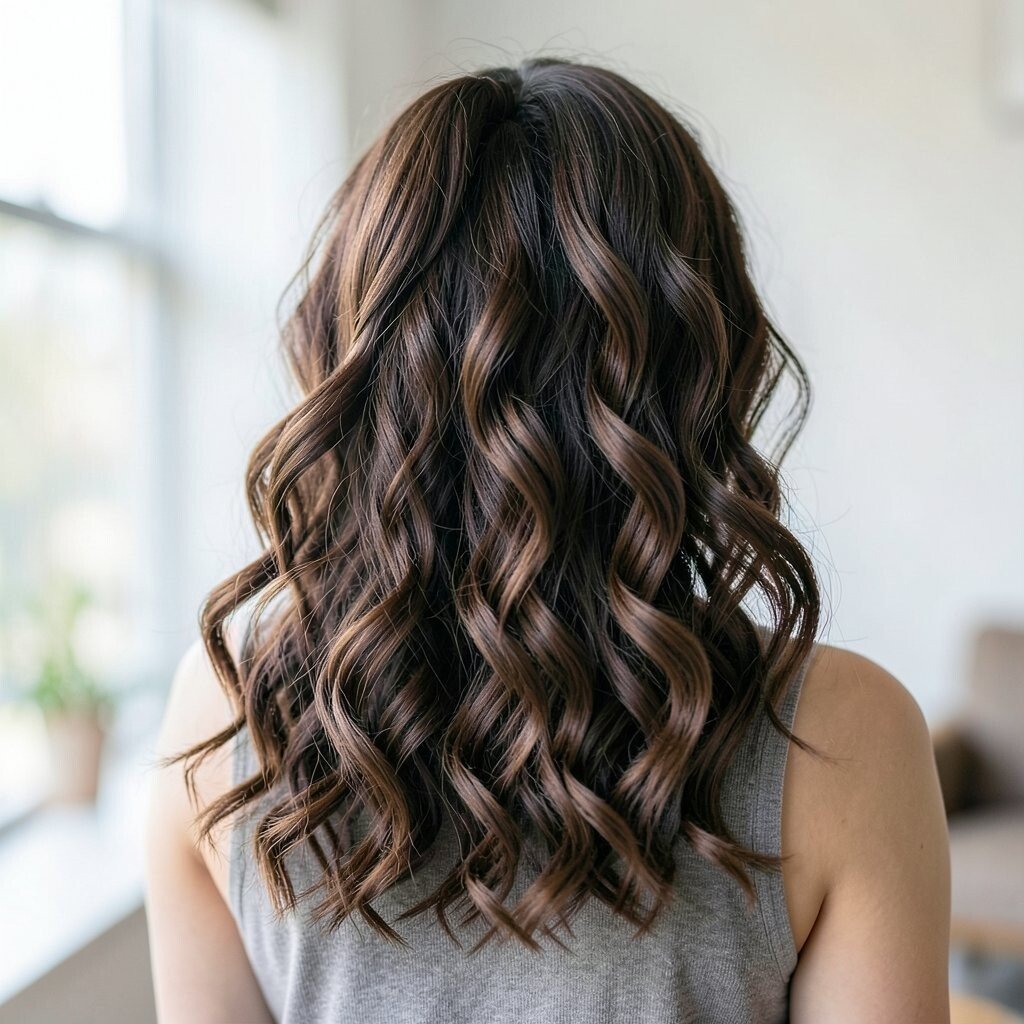
Make a mid or low ponytail, then twist the ponytail into a rope. Wrap it around the base and secure, then wait for the hair to set.
You get soft waves that look like a relaxed hairstyle rather than a strict curl. This method is great for anyone who wants minimal effort but still wants hair to look intentional.
Try different positions for personalization, since a higher ponytail makes waves lift and frame the face. Add a shine mist at the end so the waves reflect light.
17. Steamy Towel Sectioning for Wave Control
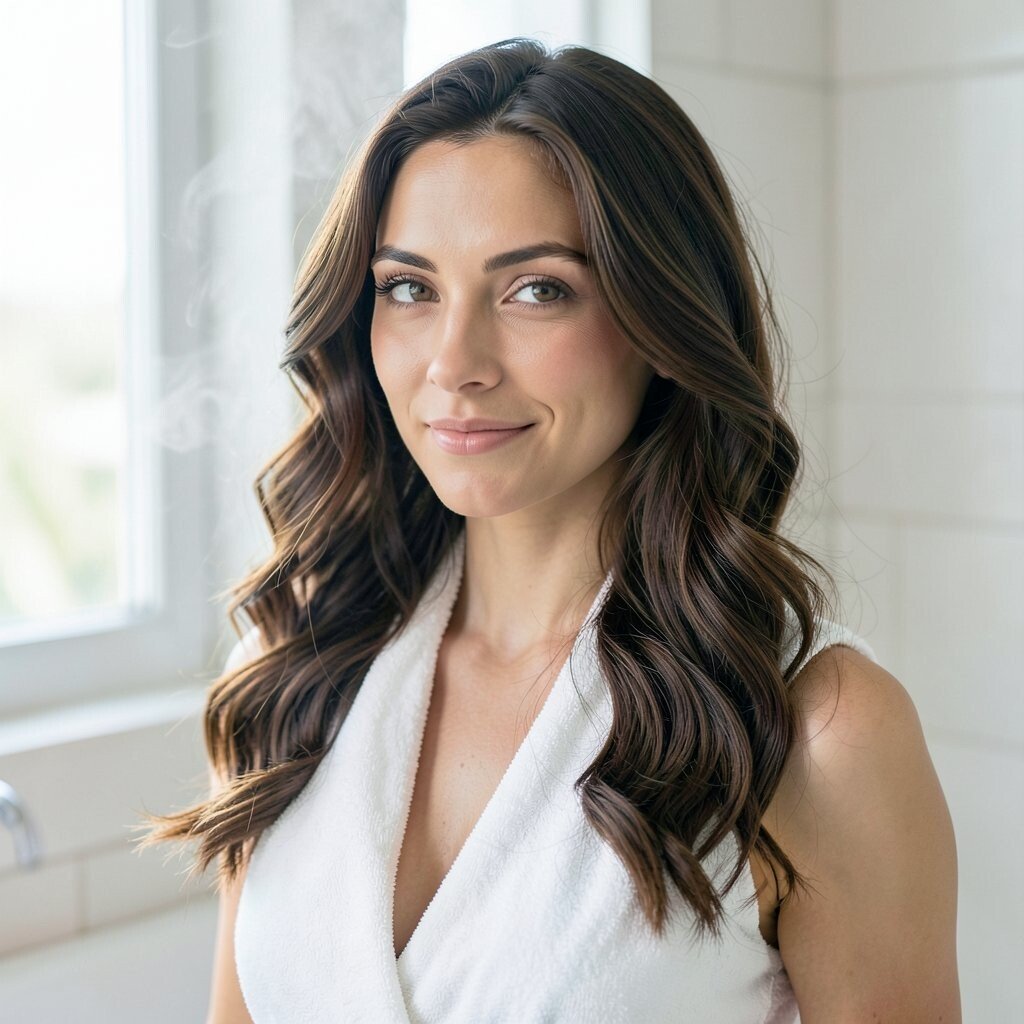
After styling product is on, place a warm damp towel around sections for a short moment. This soft steam encourages your hair to hold shape while staying silky.
Then release, twist gently, and let air finish the drying. Your waves will look smoother and more even because the hair had time to relax and reset.
It is unique because it uses gentle warmth rather than direct heat on every strand. For cost, it uses items you already own, like a towel and a spray bottle.
18. Layered Styling with Light Hold and Finger Shaping
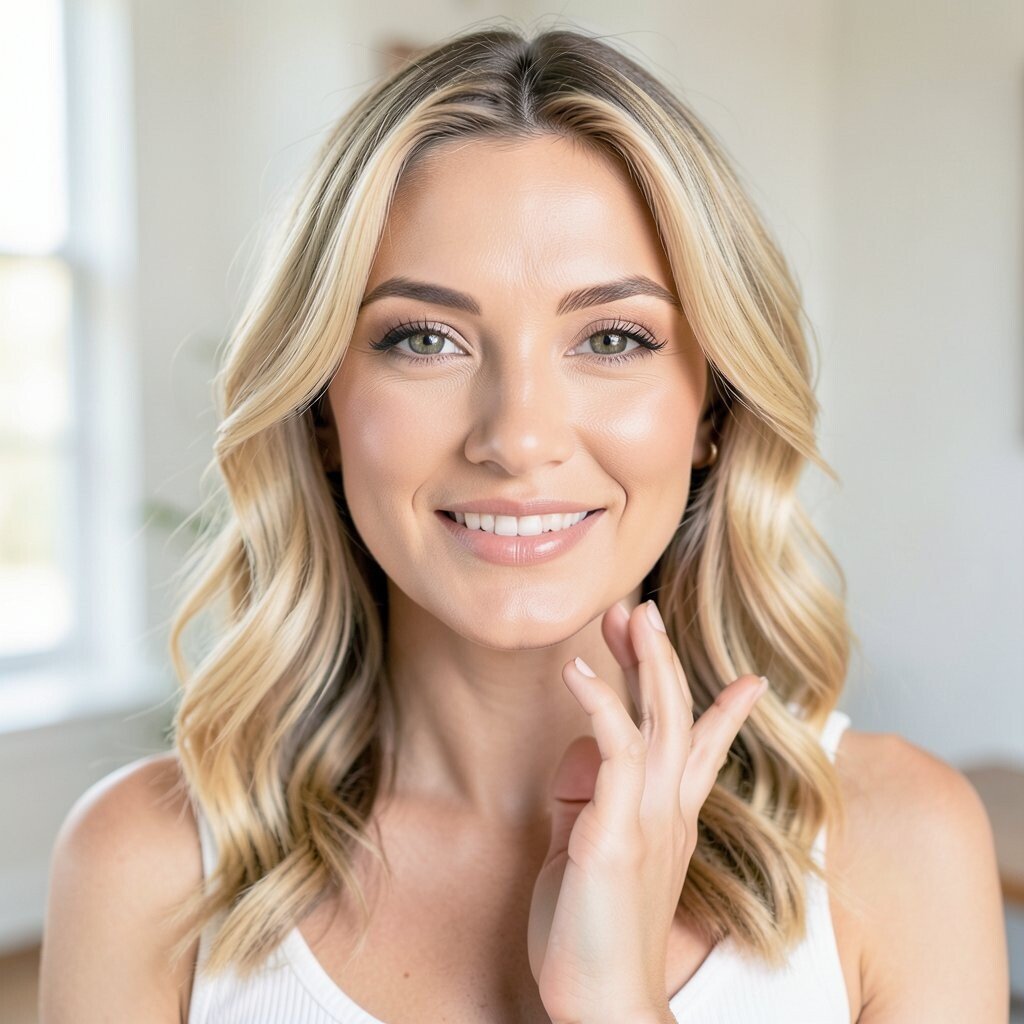
Use a lightweight styling cream or mousse, then style in thin layers. Keep the top layer slightly smoother and let the underneath create the wave pattern.
After drying, finger-shape each layer and shake out any overly perfect spots. This gives the waves a soft, realistic flow that looks current and effortless.
For benefits, layering helps your hair look fuller and prevents waves from collapsing quickly. If you want more hold without heaviness, choose a product labeled lightweight and finish with a tiny amount of hairspray focused on the roots.
Personalize by matching the wave size to your mood, with larger sections for casual days and smaller sections for more definition.