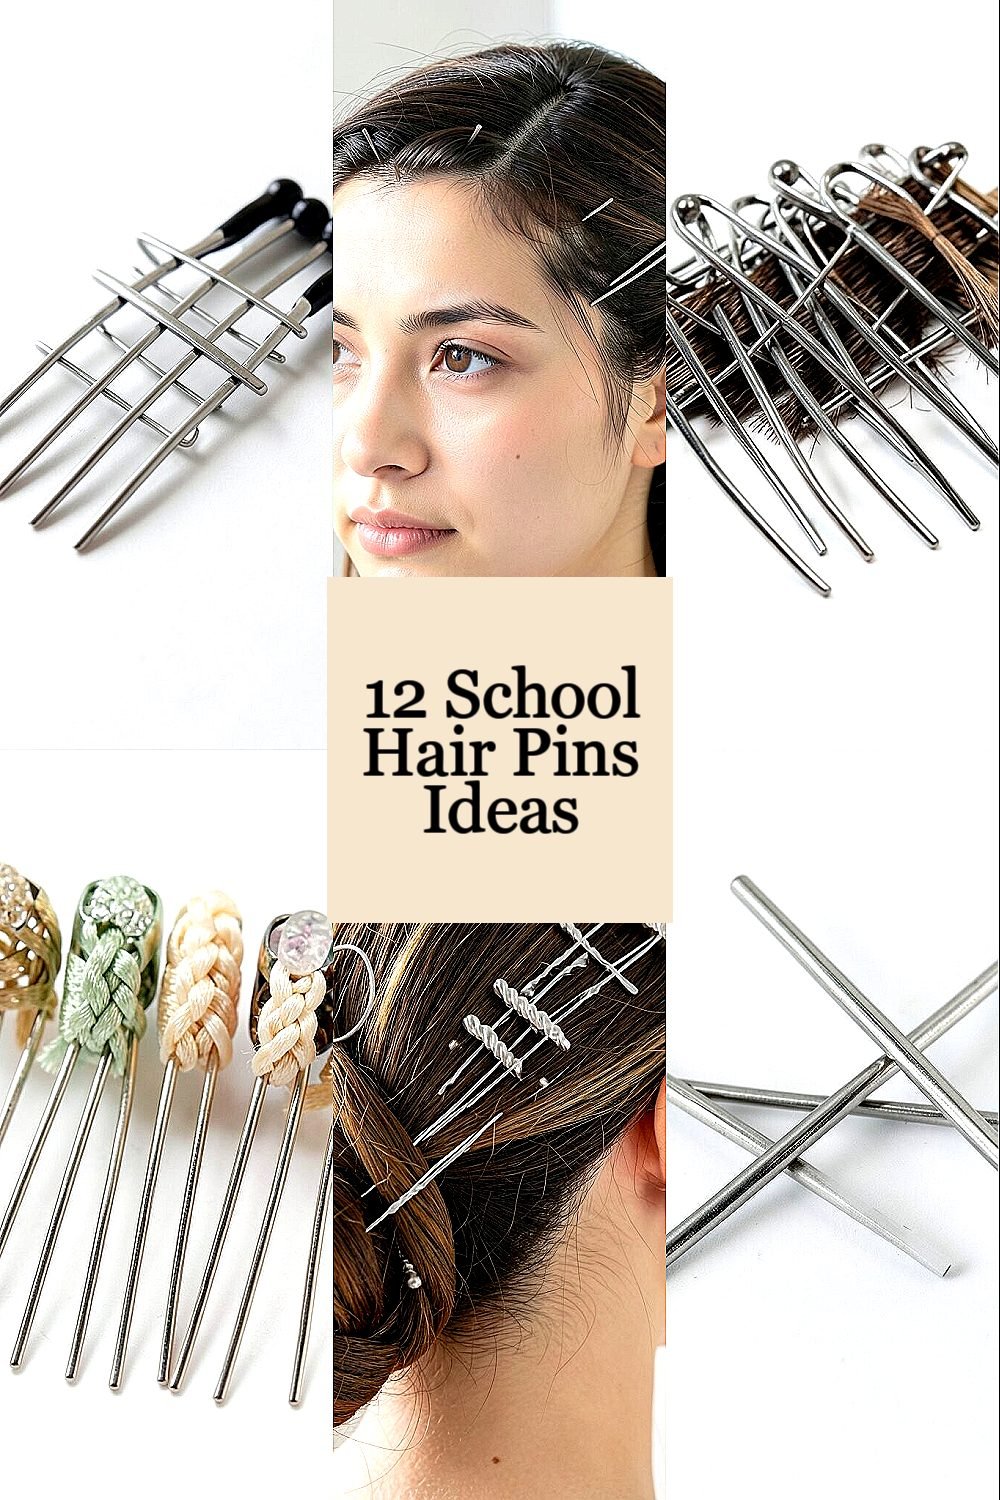
Some mornings call for quick fixes that still look polished. Hair pins can be the simplest magic for school-ready styles.
1. The Side-Sweep Pin and Tuck
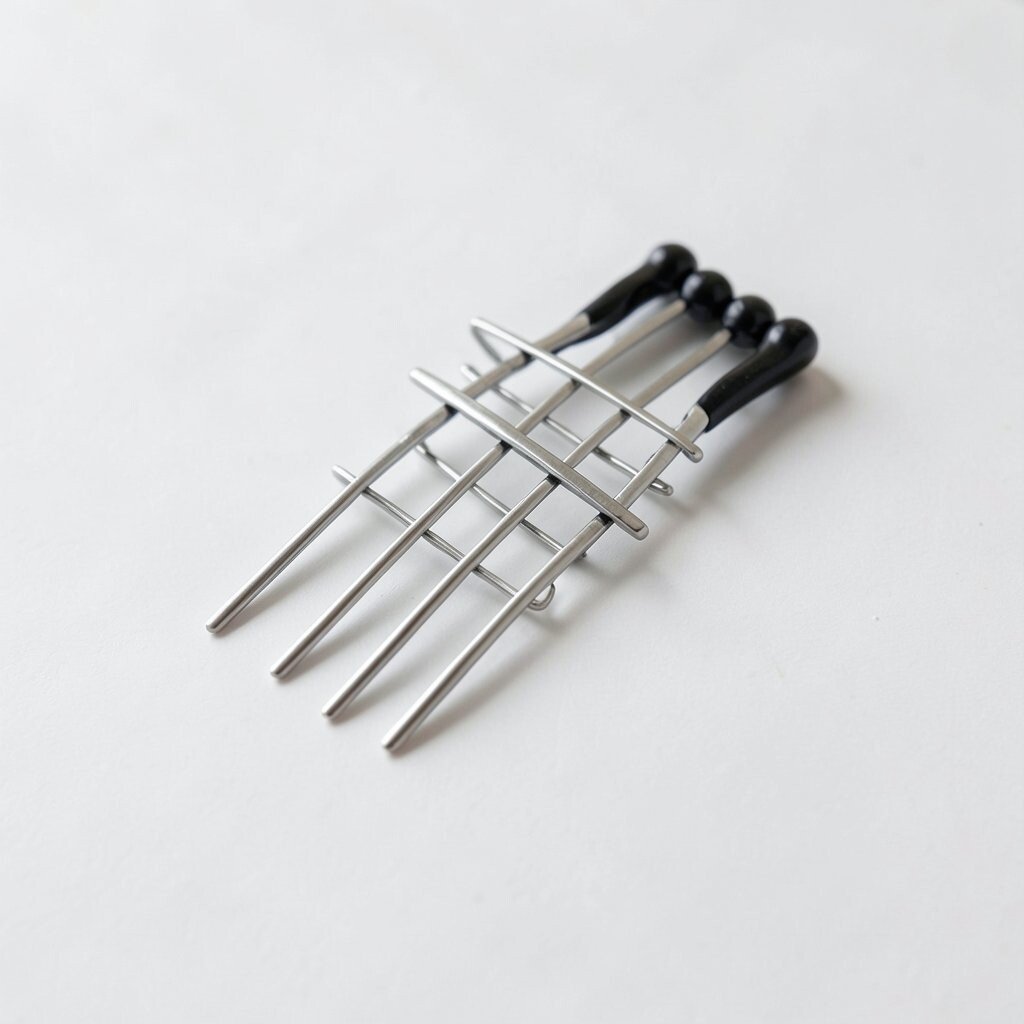
A soft side part instantly makes hair look more intentional, and a pin keeps the front neat. Choose a small bobby pin or decorative hair pin with a smooth surface so it doesn’t snag.
Pull a small section from the bangs area to one side, then tuck the ends under. Slide the pin in horizontally so it holds the direction without feeling bulky. For extra security, lightly mist a tiny bit of water or smoothing spray before you pin.
2. Pinned Half-Up With a Mini Clip Look
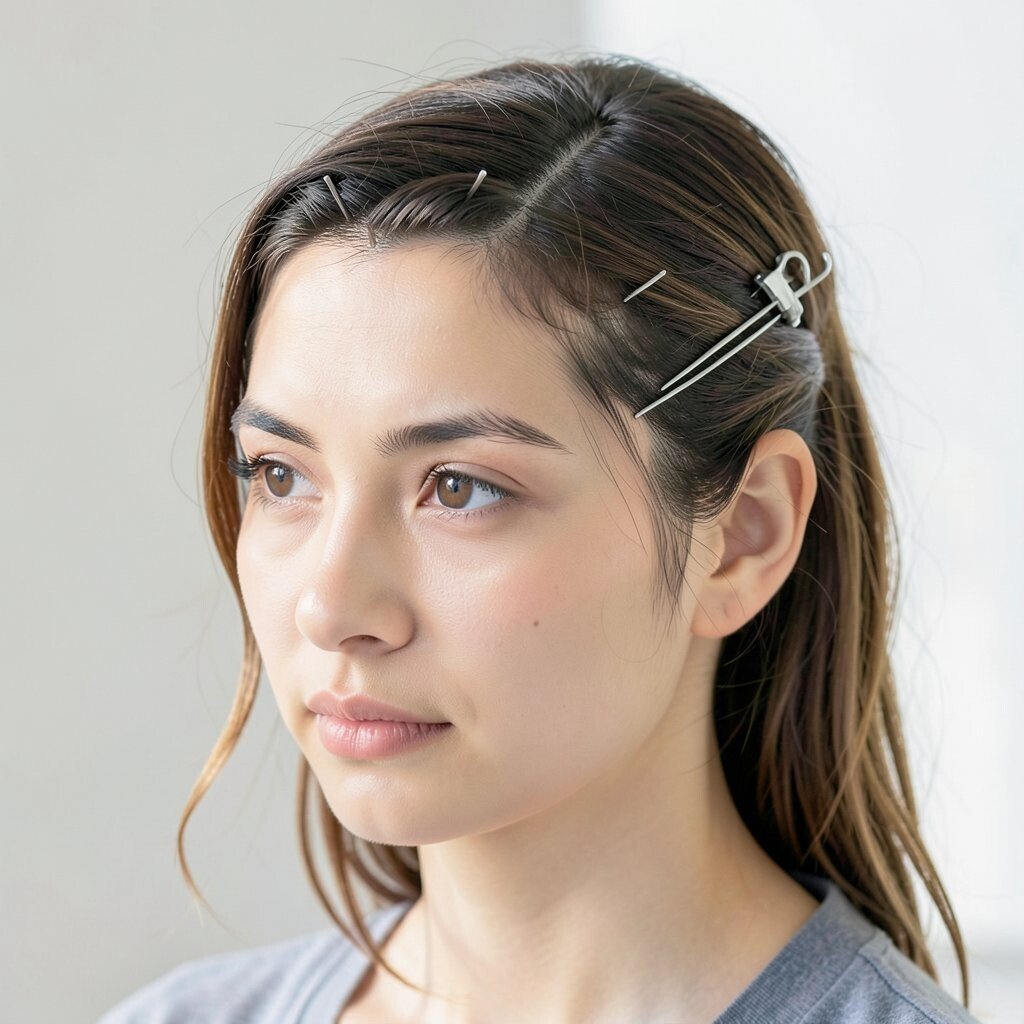
Half-up styles feel playful, and pin placement can mimic a clip without the heavy look. Gather the top layer toward the crown so the rest of your hair stays flowing.
Secure the section with a hair pin positioned near the hairline, then fan the pinned hair slightly for a fuller shape. If you want a neater finish, smooth the hair with a brush and tuck flyaways under the pin.
Try matching the pin color to your outfit accent, like a navy pin with a denim shirt or a silver pin with a gray hoodie. This style is great for windy bus rides because the pinned crown piece reduces tangles at the front.
3. Double Pin Crisscross for Secure Bang Control
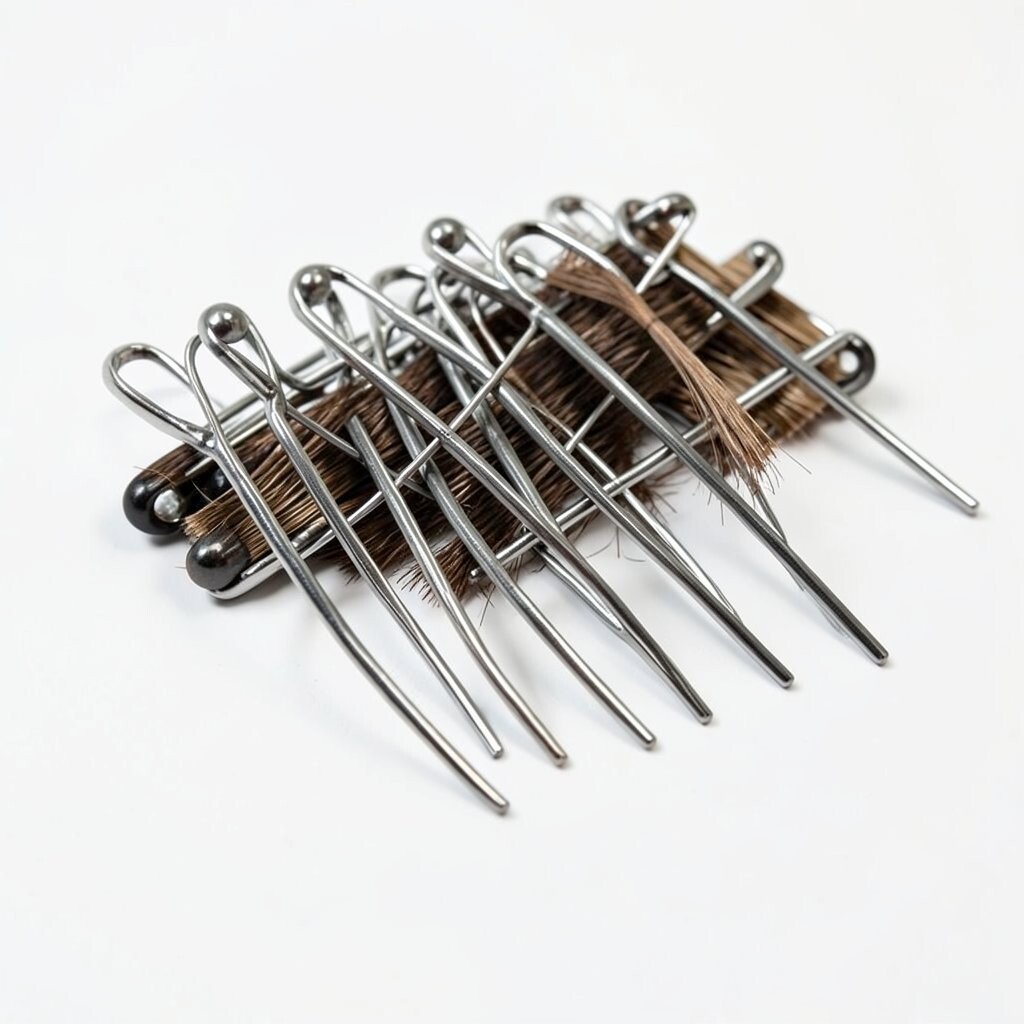
Bouncy bangs can be cute, but they often slip during the school day. A crisscross set of pins holds them in place while still looking artsy.
Part your bangs slightly, then cross two pins over the same section, like a gentle X. Push the ends into the hair close to the roots so the hold lasts through recess.
Use pins that match your hair tone for a subtle look, or use a fun patterned pin for a bold personality. Personalize it by placing the crisscross slightly off-center to flatter different face shapes.
If your hair is fine, pin closer together for better grip. If your hair is thick, use stronger hold pins and secure the back ends firmly.
4. Braided Front Ribbon Pin Effect
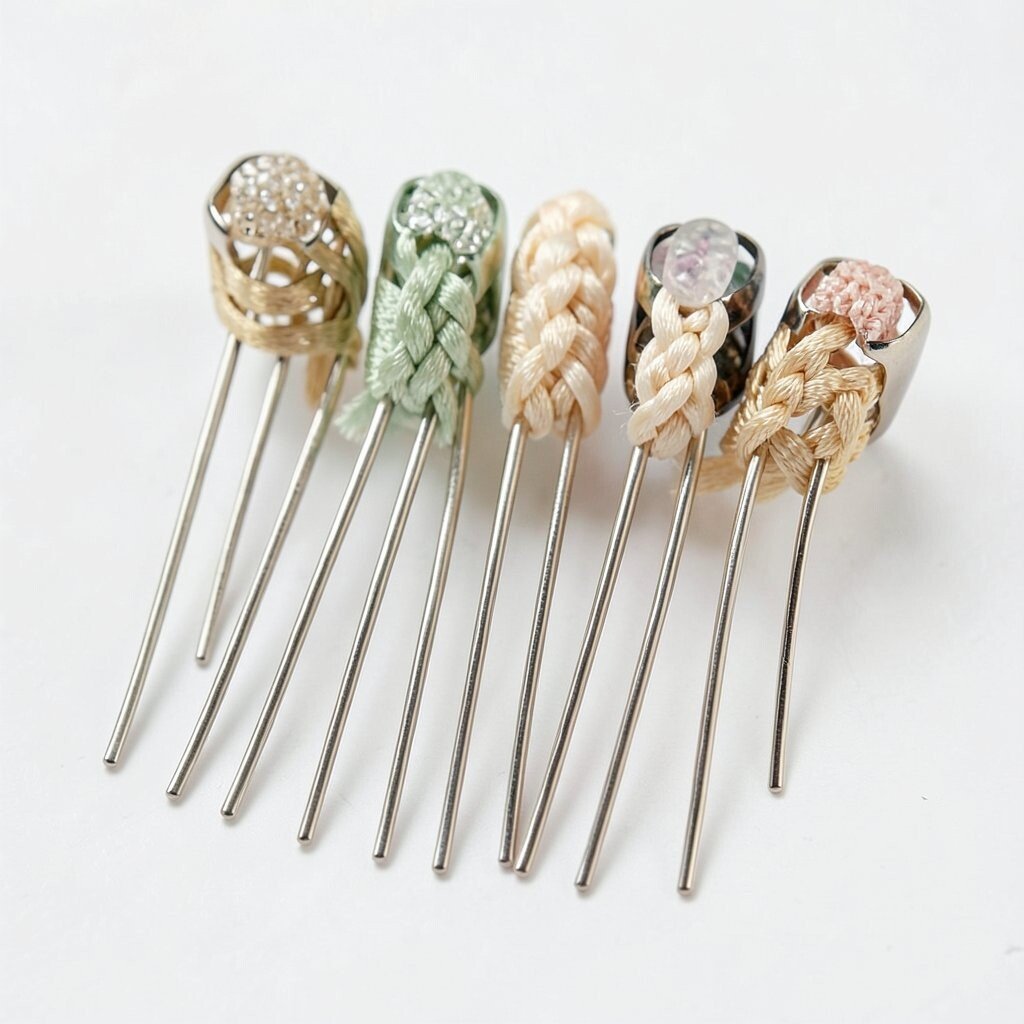
A braid at the front can look like a ribbon, even when you keep it simple. Start with a tiny braid across the top, then secure it with a decorative hair pin.
Choose a hair pin with a slim metal base so it lays flat against your scalp. Tuck the braid end under the braid start, then push the pin through to lock everything in.
5. Twisted Crown Pins for a Soft Updo
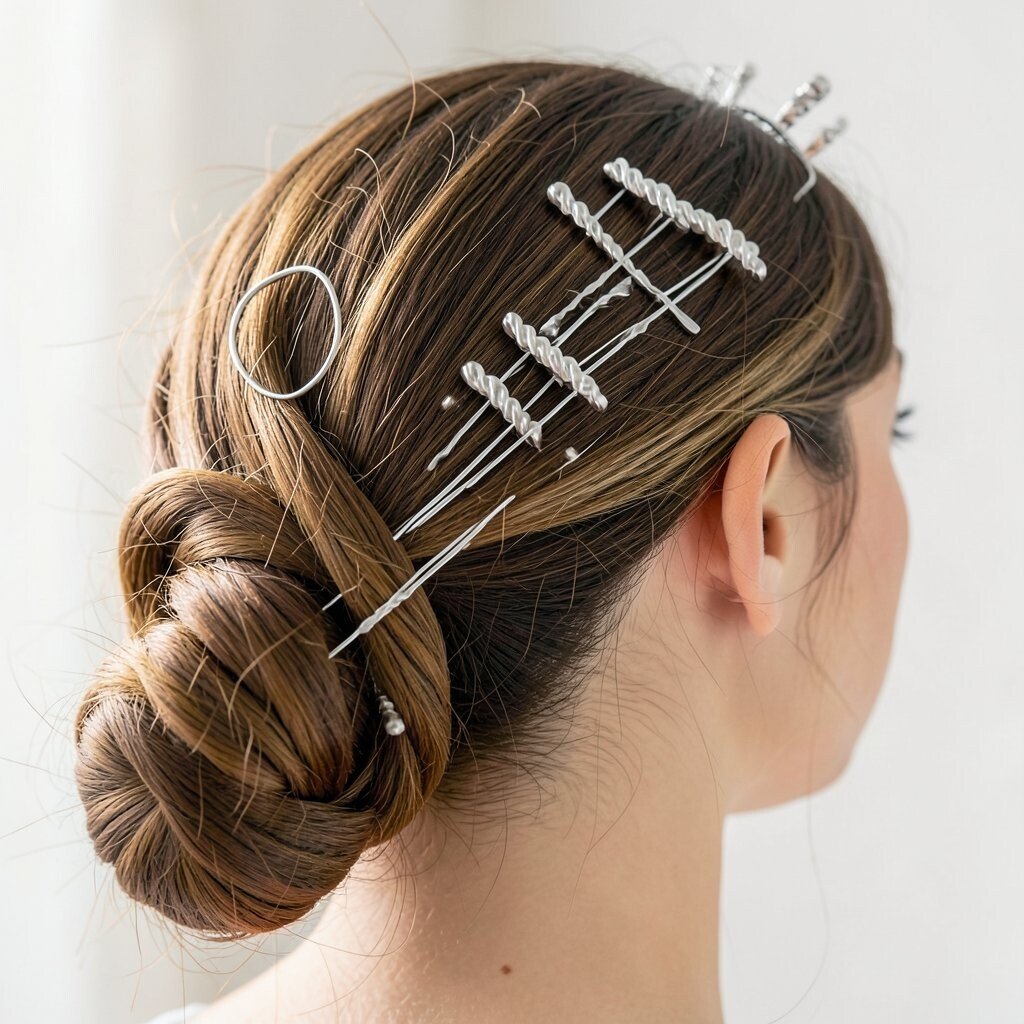
For an easy school updo, twist two front sections toward the back and pin them. The crown area feels elegant, and you get a tidy look without spending a long time styling.
Work with small sections so the twists look defined, not messy. Use one pin per side, then place a final small pin underneath to hide the ends.
If you like a more romantic feel, gently pull the twist apart a little after pinning so it looks airy. This style pairs well with headbands too, but it looks amazing on its own.
6. The Claw-Clip Alternative With a Single Pin
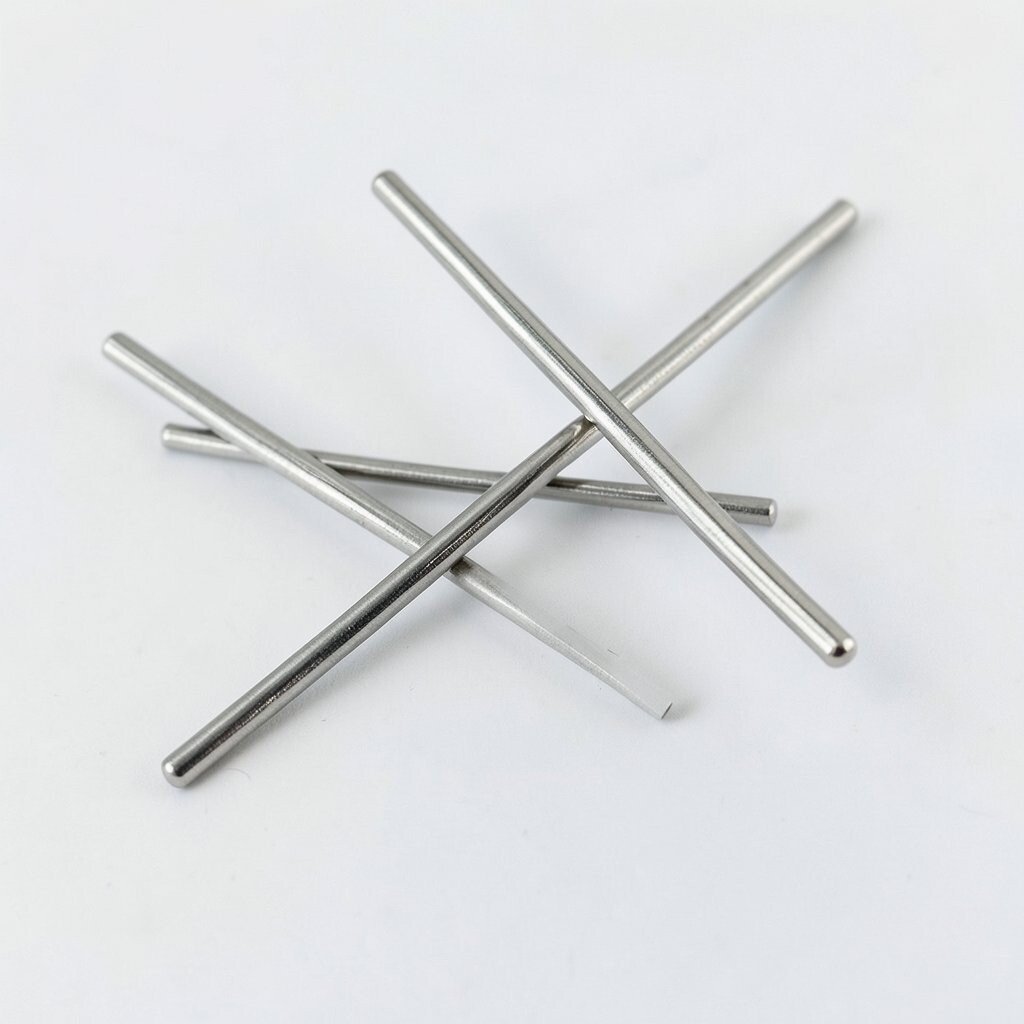
When you want a clipped look but don’t want to wear a claw clip, one hair pin can do the job. Gather hair at the back of the head like you’re making a mini ponytail.
Wrap the gathered hair once, then slide a sturdy hair pin through the wrap to hold it. Keep the pin at a slight angle so it grips the strands instead of just resting on top.
To personalize, add a second smaller pin near the first for a matching “double accessory” vibe. This is a cost-friendly option because you can use fewer accessories while still getting a standout finish.
7. Side Bun Support With Decorative Pins
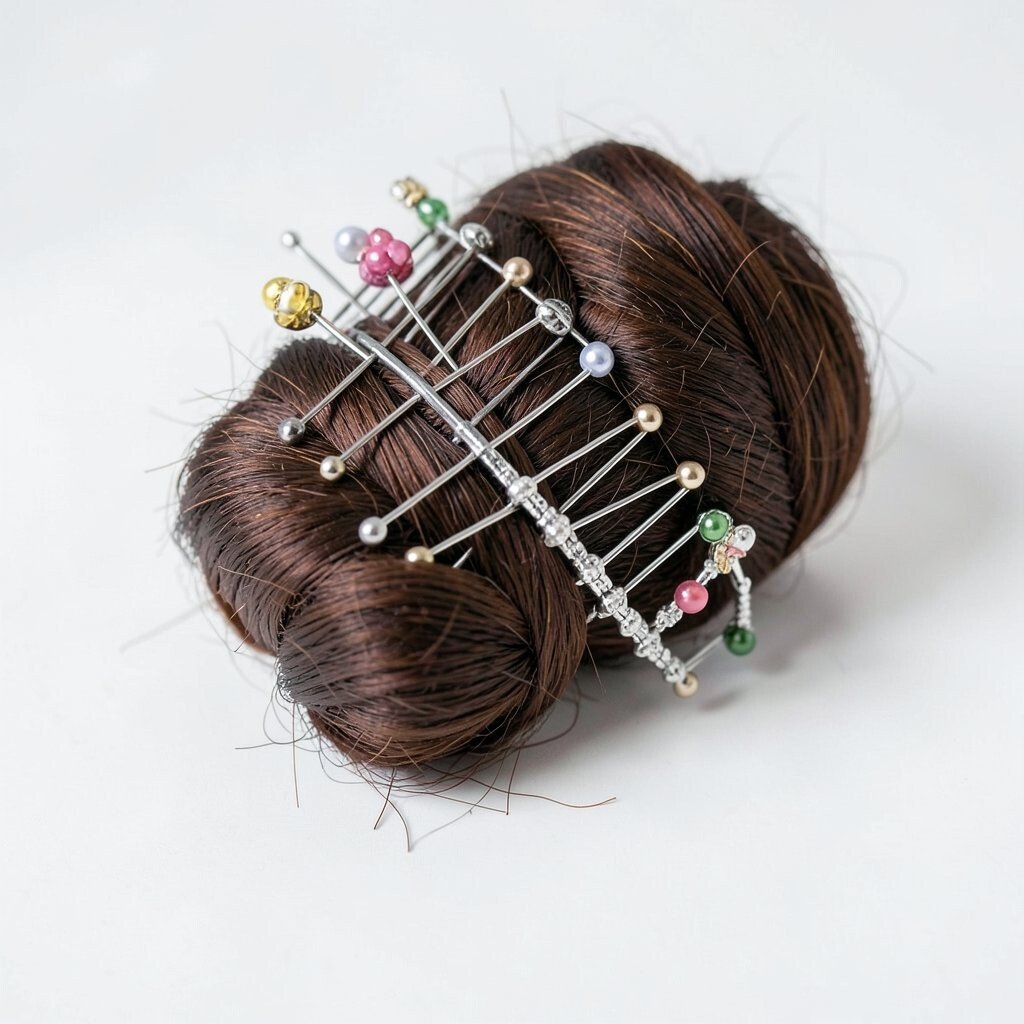
A side bun is fast and looks cute, and hair pins make it feel more secure. Make a low side bun by twisting your hair, then anchor it with a pin that has a decorative top.
Insert one pin from underneath the bun and another along the side so the bun doesn’t wobble. If your bun feels too tight, loosen one twist slightly before pinning for a softer look.
Pick pins that match the texture of your outfit details, like pearl-like pins with cozy knits or sleek pins with sporty clothes. This style is perfect when you want your hair off your face for class, gym, and lunch.
8. The Vertical Pin Line for Sleek Lengths
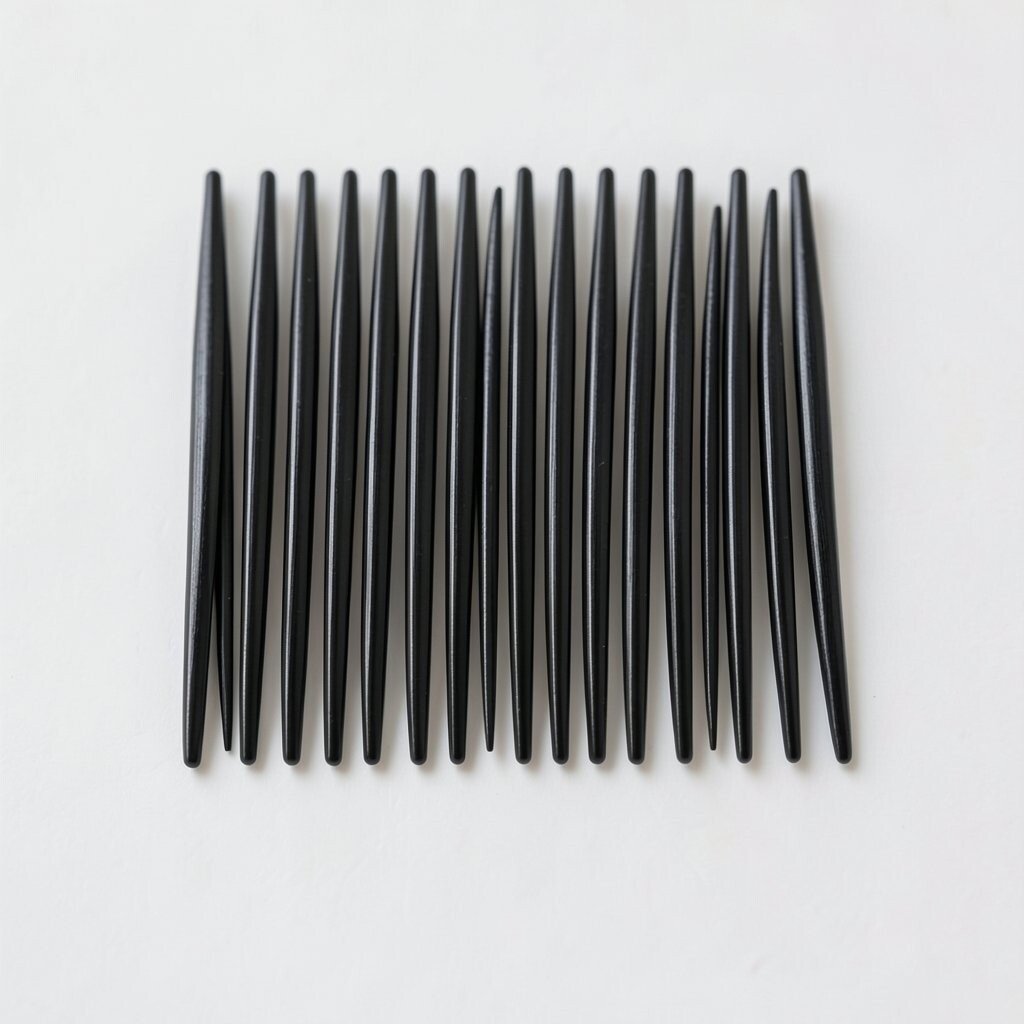
Sometimes you want your hair to look polished without changing the whole hairstyle. A vertical pin line is a simple way to add shape to long or medium hair.
Part your hair and take a thin strip near the front, then fold it back and pin it vertically. Keep the pin straight and close to the scalp so it looks intentional.
This works especially well on straight hair because the sleek look stays smooth. For personalization, try a sparkle pin for special days or a matte finish for everyday comfort.
9. Starry Pin Scattered Across a Half-Up Style
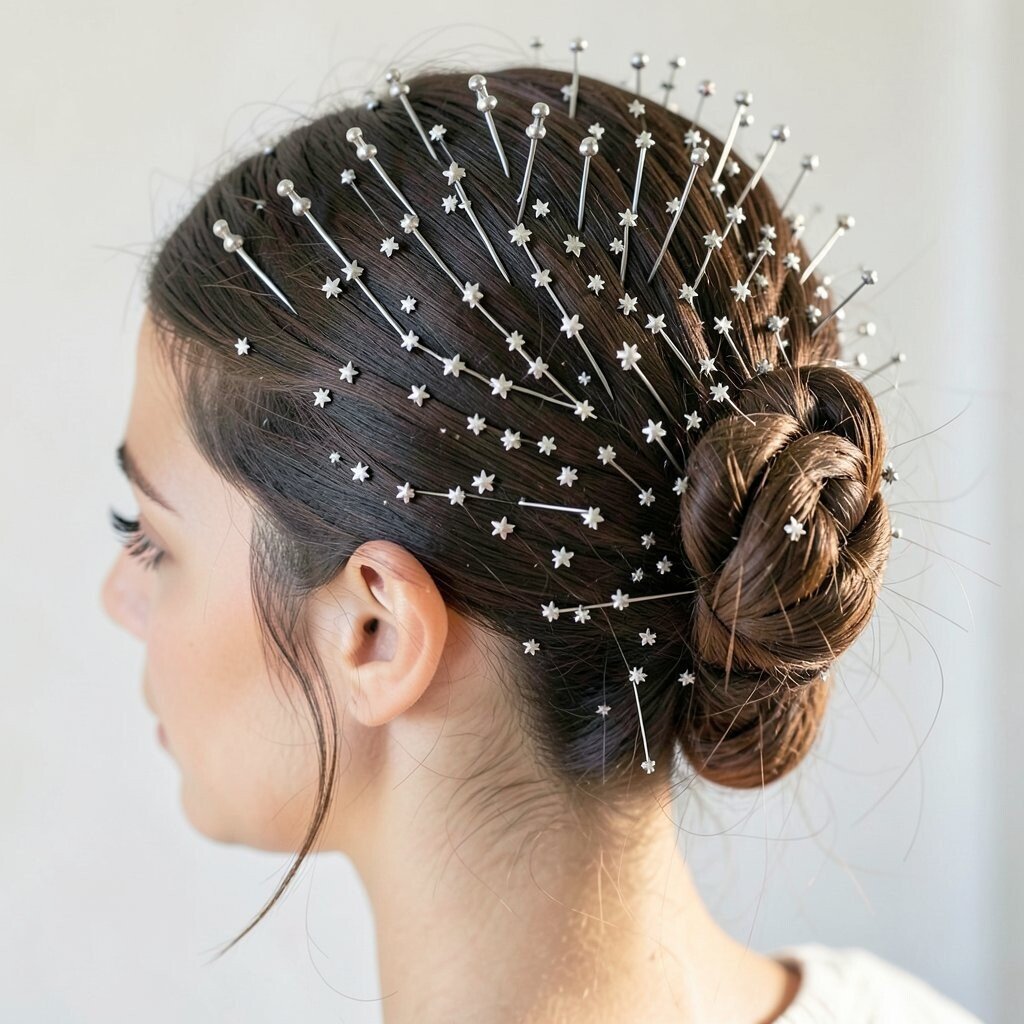
Scattered pins can look whimsical, like you’re wearing tiny pieces of night sky. Start with a half-up style, then add two or three small pins across the pinned section.
Place the pins at different angles so they catch light when you move. A few well-spaced pins look better than stacking them too close together.
Current trends often lean toward playful details, and star and heart pin shapes fit right in. If you’re worried about cost, choose a small set of decorative pins and reuse them in different placements.
For comfort, check that the pin tips are fully tucked and not poking at your head during the day.
10. Pinch-Flip Ends With a “Turned Under” Look
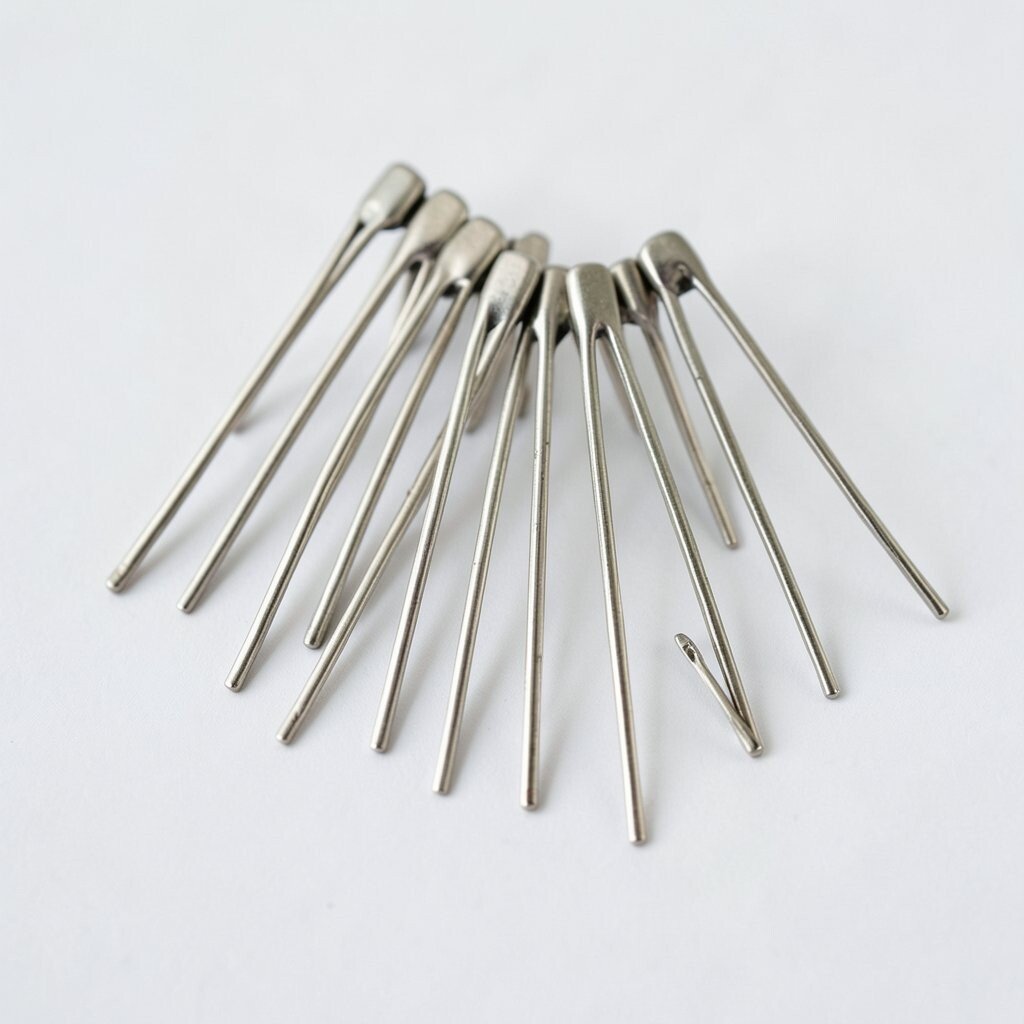
If your hair ends curl or flip in a way that you don’t love, pins can help you control them. Take the top layers near your ears, pinch them back, and flip the ends slightly inward.
Secure the flip with a pin that matches your hair color, then gently smooth the hair so it lies naturally. This gives a tidy frame around your face without needing heat tools.
To personalize, add one decorative pin higher up for a pop of style while keeping the bottom hidden. This trick is great for second-day hair because it refreshes the front without re-washing.
11. Bob-Length Side Sweep With Texture Pins
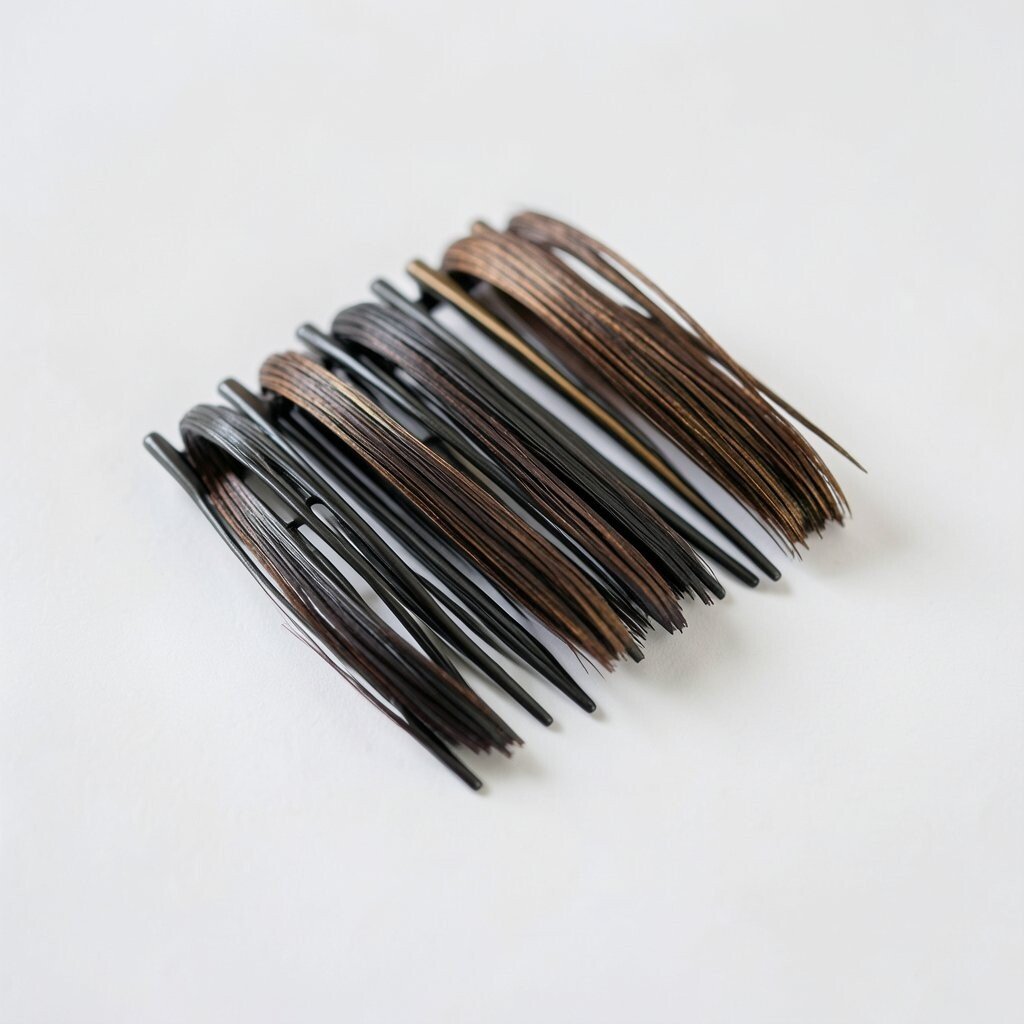
Short hair can still shine with pin styling, especially when you work with texture. Create a side sweep by combing hair across the forehead and tucking small pieces behind the ear.
Use two small pins for the front pieces, placing them where hair tends to frizz or separate. Pins with a textured surface can grip better on short strands.
For benefits, this keeps the style looking neat all morning and reduces the urge to keep adjusting your hair. Personalize with colorful pins that match your backpack or shoes for a fun, coordinated look.
12. Low Pony Twist With a Pearl-Top Pin Accent
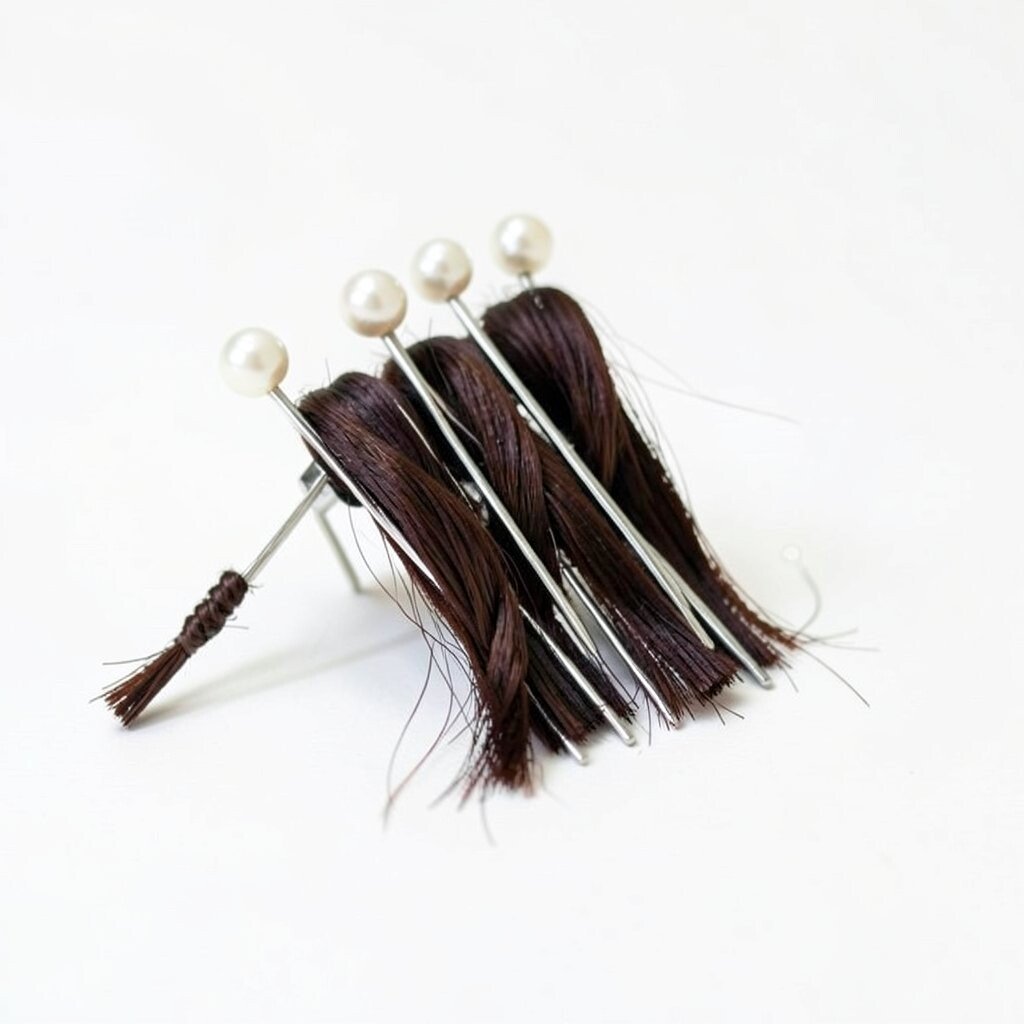
A low pony twist feels elegant and stays practical during the school day. Gather your hair low at the nape, twist it once, and wrap it into a simple coil.
Anchor the coil with a sturdy pin, then add a pearl-top pin on the outside for a polished accent. Make sure the main pin holds the coil and the decorative pin only adds beauty, not tension.
This style is a great balance of quick and fancy, and it works for different hair types. If you want a cost-smart approach, invest in one or two decorative pearl pins and rotate them across styles throughout the week.
To keep it comfy, keep the pins flat and check movement before you head out. Add a light hair spray or smoothing serum for extra control, especially on humid days.