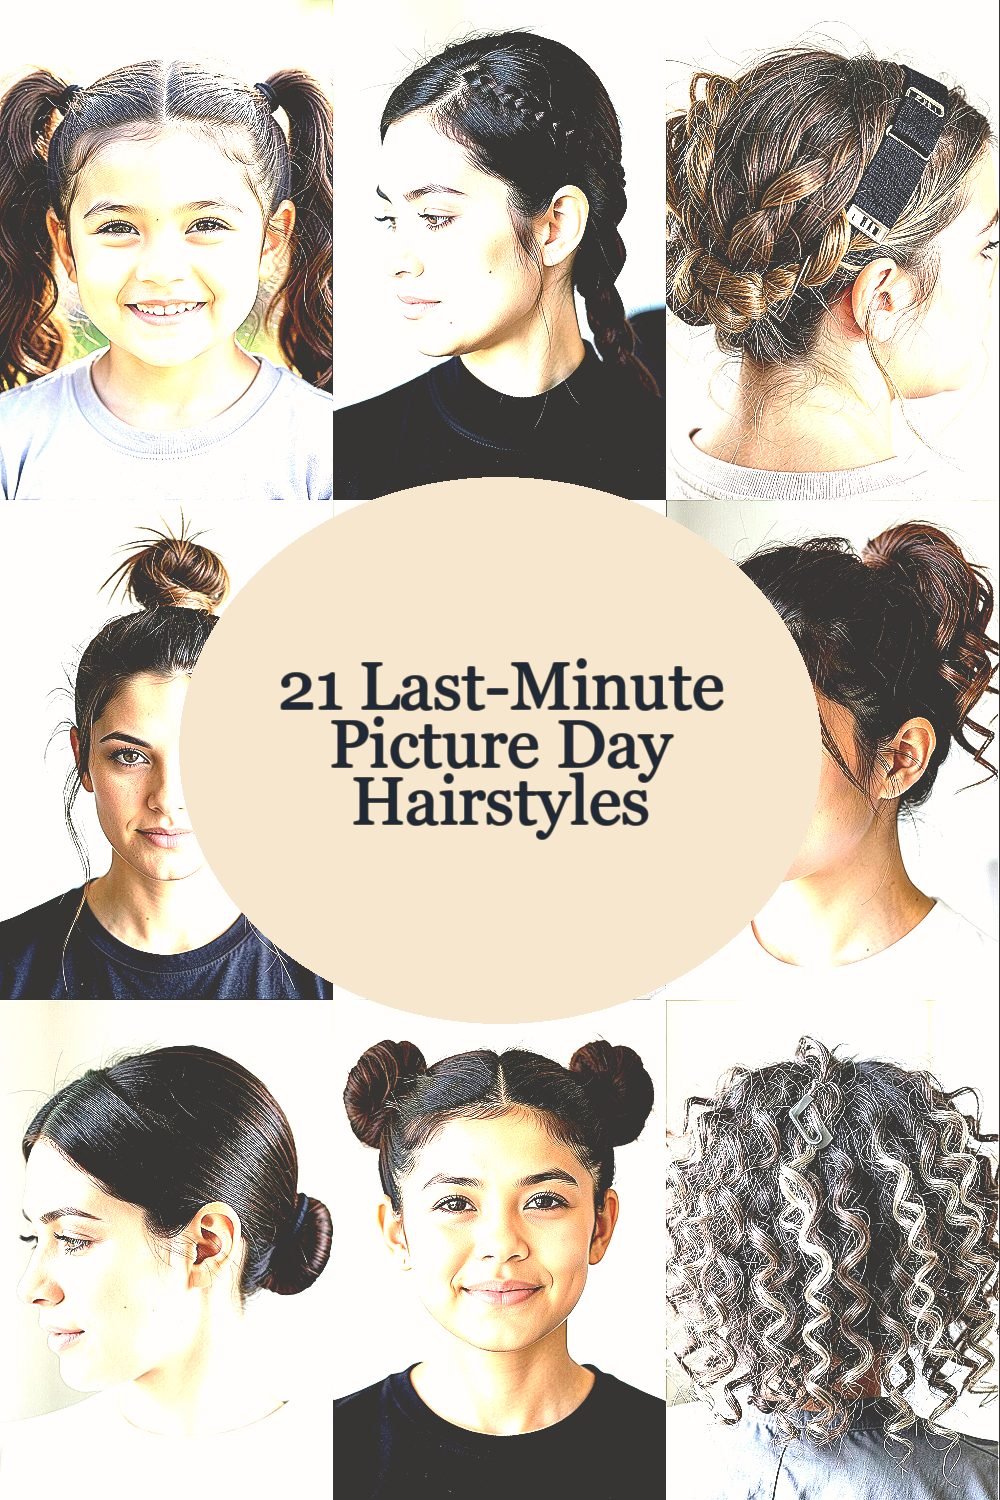
Your hair can look wild five minutes before picture day, and still end up looking picture-perfect. These quick styles are built for real life texture and real-life timing.
Expect fewer tangles, smoother silhouettes, and fun ways to show off your hair’s personality. Each idea includes simple tricks you can do fast with what you already have.
1. Bubble Ponytails With a Quick Smoothing Mist

Gather your hair into a mid or high ponytail, then slice it into several small sections using elastics. You’ll see round “bubbles” form, like a playful rope of curls.
Lightly mist the surface so the top looks calm in photos. Press each bubble gently with your fingers so it holds shape without feeling stiff.
2. Sleek Half-Up With Micro Braid Borders

Part your hair slightly off-center and take a half-up section at the crown. On each side, add a tiny braid right along the edge so unruly strands get guided inward.
The braids make a clean frame while the rest of your hair falls naturally. For a photo-ready finish, tug the braid edges just a little so they look full, not flat.
Use a light gel or smoothing cream on the flyaways near your temples. If your hair is thick, two small braids look best; if it’s thinner, one wider braid may feel simpler.
3. Wrap-Around Twisted Headband Using Hair Clips

Grab a front section and twist it backward like you’re making a loose rope. Secure it with two clips so it sits like a headband across the forehead.
Your bangs and side pieces will look intentional instead of messy. This style also helps control frizz because the twisted strand holds the surface in one direction.
To personalize it, try twisting the sections in different directions, then hide the clip with a small puff of hair. If you have super-short layers, tuck them into the twist so nothing sticks out in the flash.
4. Messy Top Knot With a Face-Framing Sweep

Pull the hair up into a loose top knot at the crown, leaving a few strands to curl and wave. The top becomes a soft “anchor,” while the face-framing pieces add movement.
Pin the knot with bobby pins that match your hair color so they blend. Add a tiny bit of shine serum to the face-framing strands for a polished look.
For practical success, use a comb to gather the top smoothly, then stop. You want controlled mess, not a tight helmet.
5. Side Swept Twist and Clip Crown

Start by sweeping hair to one side and take two thin sections near the ear. Twist them together and clip them at the side so they look like a crown detail.
In pictures, the angle draws attention to your eyes and makes the rest of your hair look more organized. Keep the twist loose so it doesn’t pull on your scalp.
Use one extra clip if your hair slips, especially in humid weather. This is a great last-minute style because it works on straight, wavy, and curly textures.
6. Half-Up Scrunch With a Ruffle Ponytail

Create a half-up ponytail using a soft elastic, then gently tug the ponytail to add volume. Your hair will look like it’s softly ruffled, which reads cute on camera.
For unruly hair, scrunching reduces the look of frizz because you’re working with texture instead of fighting it. Finish by smoothing just the outer layer with your palms.
7. Low Sleek Bun With a Wrapped Elastic Trick

Gather hair low at the nape and shape it into a bun using an elastic as your base. Wrap a small strand around the elastic for a cleaner, more secure finish.
The wrapped elastic creates a tidy center that stays in place during the photo. If your hair is slippery, add a tiny dot of styling cream before you wrap the strand.
This style looks current with its simple shine and minimal bulk. It’s also low-cost because it mainly needs elastics and a few pins.
8. Faux Undercut Puffs Using Two Mini Buns

Section the top portion into two small puffs near the sides of your head. Twist and pin each puff into a mini bun so the shape looks bold even when hair is uncooperative.
The contrast between the puffs and the rest of your hair creates a trendy silhouette. It’s unique without requiring shaving, and it works great for medium to long hair.
To personalize, try a center part or a zigzag part for extra style points. If your hair is fine, use a teasing comb at the base of each puff so it stands up in photos.
9. Cloudy Layered Curls With a Root Lift Clip

If your hair is naturally wavy or curly, keep the curl pattern but tame the top with a small clip. Pin a little section at the crown to lift roots, then let the rest fall like soft clouds.
In the mirror you’ll notice the volume instantly, and in photos your hair won’t look flat. A root lift also helps unruly ends look intentional instead of chaotic.
Spritz the roots lightly with water if you need to reactivate curl. This is budget-friendly because you can use simple clips and a basic spray.
For extra polish, smooth the hairline with a fingertip of gel so stray strands don’t catch the flash.
10. Ribbon Tie Braided Ponytail for Instant Order

Make a ponytail, then braid it loosely and secure the braid with a small elastic. Tie a ribbon around the end or around the braid at the center so everything looks planned.
The ribbon adds a visible highlight that draws attention away from flyaways. Use thin satin for a sleek look or a thicker ribbon for a fun, artsy vibe.
11. Top-to-Bottom Cornrows Without the Pressure

Take small sections and braid them gently into neat cornrow-like rows, stopping before your scalp feels tight. Keep the rows even so your hair texture still shows through.
These rows calm unruliness because each strand has a job. The style looks striking in photos, especially with a little shine cream on the surface.
If you don’t know how to braid every section, try just two rows at the front and leave the rest down. It still gives that “styled” look without making you late.
12. Sleek Ribbon-Wrapped Low Ponytail

Brush hair into a low ponytail and wrap a strip of ribbon around the elastic. The ribbon acts like a disguise for a bulky elastic and makes the ponytail feel more dressed up.
For unruly hair, smooth a thin layer around the top with a gel or cream so it looks sleek. When you step into the light, the ribbon catches it and creates a polished focal point.
Pick a ribbon color that matches your outfit for a cohesive look. If you’re using something you already own, even a spare scarf edge can work.
13. Waterfall Twist With a Quick Pin Ladder

Create a partial waterfall by twisting a front section and letting parts fall through as you pin. A ladder of small pins holds each segment so your hair stays styled all the way through the session.
The visual effect looks like flowing waves, which makes unruly hair feel elegant instead. Keep the twists light so it doesn’t flatten your natural texture.
Use a spray bottle to soften knots before you start, and keep the sections thin for better control. This style can feel fancy, but it’s mostly clips, pins, and a little patience.
14. Scarf-Fold Vintage Waves With a Secure Knot

Fold a scarf into a thin band and place it across the top of your head, then wrap sections of hair around it. Tie a knot at the side or back so your waves set as you move.
Your hair will look like vintage waves when the scarf comes off, and the scarf also tames frizz. For best results in a hurry, twist the hair around the scarf firmly but not tight.
Choose a scarf with a pattern that matches your personality, like polka dots or florals. This is a low-cost method if you already have a scarf in your drawer.
15. Side-Split Faux Bangs With a Pin-Back Clip

Part your hair, then bring thicker front strands across like you’re making bangs. Pin them back with a small clip so the face area looks neat and intentional.
The faux bangs trick makes hairline flyaways look like part of the design. It also helps curly or wavy hair stay off your eyebrows in photos.
16. Tapered Twist-Out Using Two Face Corners

Section two small pieces from the front corners and twist them back into tiny rolls. Pin each roll so they sit near the sides of your head like little bookends.
This style is unique because it adds shape without pulling all of your hair away. It works well when your hair is puffy or frizzy, since only the front needs control for the camera.
For personalization, add a small hair accessory near the center, like a clip charm or a tiny bow. If your hair is very thick, secure the rolls with extra pins so they don’t loosen during the walk.
17. Loose Curtain Bang Crossover With One Elastic

Split hair down the middle and bring the two front sections toward the back, crossing them at the crown. Secure the crossover with one elastic so your curtain-like front stays framed.
Even if the rest of your hair won’t cooperate, the front crossover makes the whole look feel planned. Lightly smooth the outer layer so the hair looks glossy under indoor lighting.
18. Messy Fishtail for Texture That Refuses to Behave

Create a loose fishtail braid from a mid ponytail, then loosen it with your fingers as you go. Your unruly strands become part of the braid texture instead of sticking out randomly.
In photos, a fishtail pattern looks detailed even when the hair is naturally wild. Keep a few wisps out at the front for softness and a less “perfect” vibe, which is very trendy right now.
If you’re running short on time, do a simple braid instead and stop caring about perfect symmetry. A little “imperfect” is exactly what makes it look modern.
19. Sleek Scrunch Crown With a Curl-Friendly Hold

Scrunch your hair upward slightly, then gather a small section at the top and secure it with a clip or elastic. The crown area becomes smoother while the rest stays bouncy.
This helps when you have frizz that grows upward, since the hold keeps it from puffing unevenly. Use a curl-friendly styling product so your texture still feels touchable, not crunchy.
For personalization, place the clip slightly to one side for an asymmetrical look. If your hair is straight, lightly add water before scrunching so it forms shape.
20. Twist-and-Tuck Bun With a Vertical Pin Placement

Make a simple twist along the length of your hair, then tuck it into a bun near the back of your head. Instead of pinning sideways, place pins vertically so they lock into the twist more securely.
The vertical pin placement feels surprisingly effective for unruly hair that won’t hold. This is a budget style because you only need basic pins and a small elastic.
To keep it camera-ready, use one hand to smooth the top and leave a little natural volume. If you have side layers, tuck them into the bun so they don’t spring out during the flash.
21. Mini Crown Braid Halo With a Hidden Elastic

Create a braid on one side, wrap it across the top like a halo, and then do the same on the other side. Secure both sides underneath with bobby pins so the top looks clean.
The halo effect makes unruly hair look regal, and it also helps keep hair from falling forward. It’s a standout look that feels current because braided details are always popular for picture day.
If you want it softer, leave the braid slightly looser and pull a few strands free around the temples. For cost savings, use what you have, like elastics and pins, and skip expensive styling tools.
Finish by pressing the front smooth with a damp fingertip so the flash catches shine instead of flyaways.