First day hair should feel fun, not stressful. With a few simple moves, you can look polished and still feel like yourself.
1. Sleek Half-Up Ribbon Knot
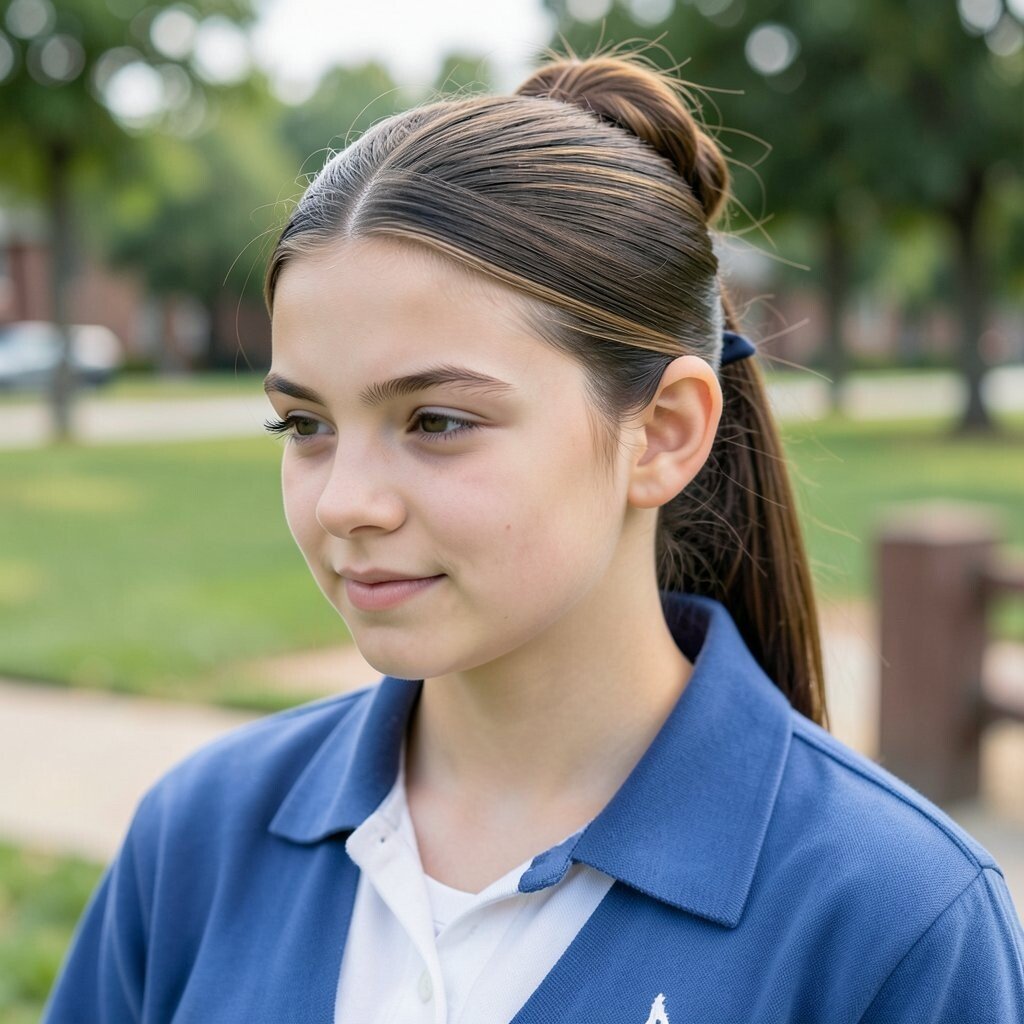
Start with slightly damp hair and add a light smoothing cream so it sits nicely. Pull the top half back, twist it once, and secure it with a small elastic, then wrap a thin ribbon around the band and knot it.
For a quick visual upgrade, keep a couple of soft face-framing pieces loose so your hair looks effortless. This style feels unique because the ribbon adds a sweet touch without needing complicated braids. It helps your hair stay controlled during the day, especially if you get flyaways from hats, lockers, or backpacks.
2. Bubble Ponytail With Soft Middle Part
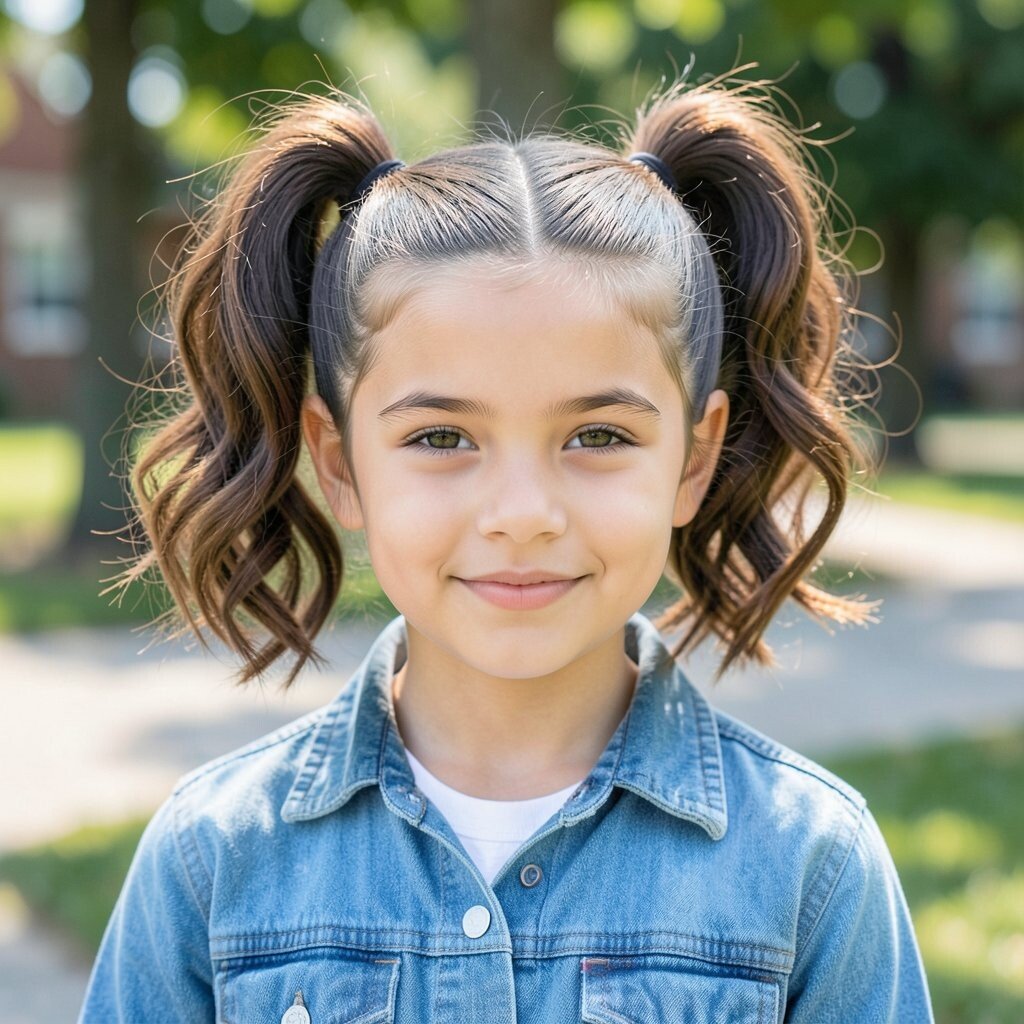
Create a gentle middle part and gather your hair into a ponytail that sits slightly higher than usual. Secure it with an elastic, then add several more elastics down the ponytail to form bubbles.
Lightly tug each bubble to make it round and full, and finish by spraying a flexible hold mist. This is a great choice for teens who want something playful that still looks neat in photos. If you have fine hair, the bubble effect makes it look thicker, while thicker hair stays tidy because the elastics control volume.
To personalize, choose elastics in a color that matches your scrunchies or outfit accents. For cost, you can use what you already have, since elastic bands are inexpensive and ribbon optional. Current trends lean toward glossy, bouncy shapes, and bubble ponies fit right in.
3. Braided Crown With Two Mini Braids
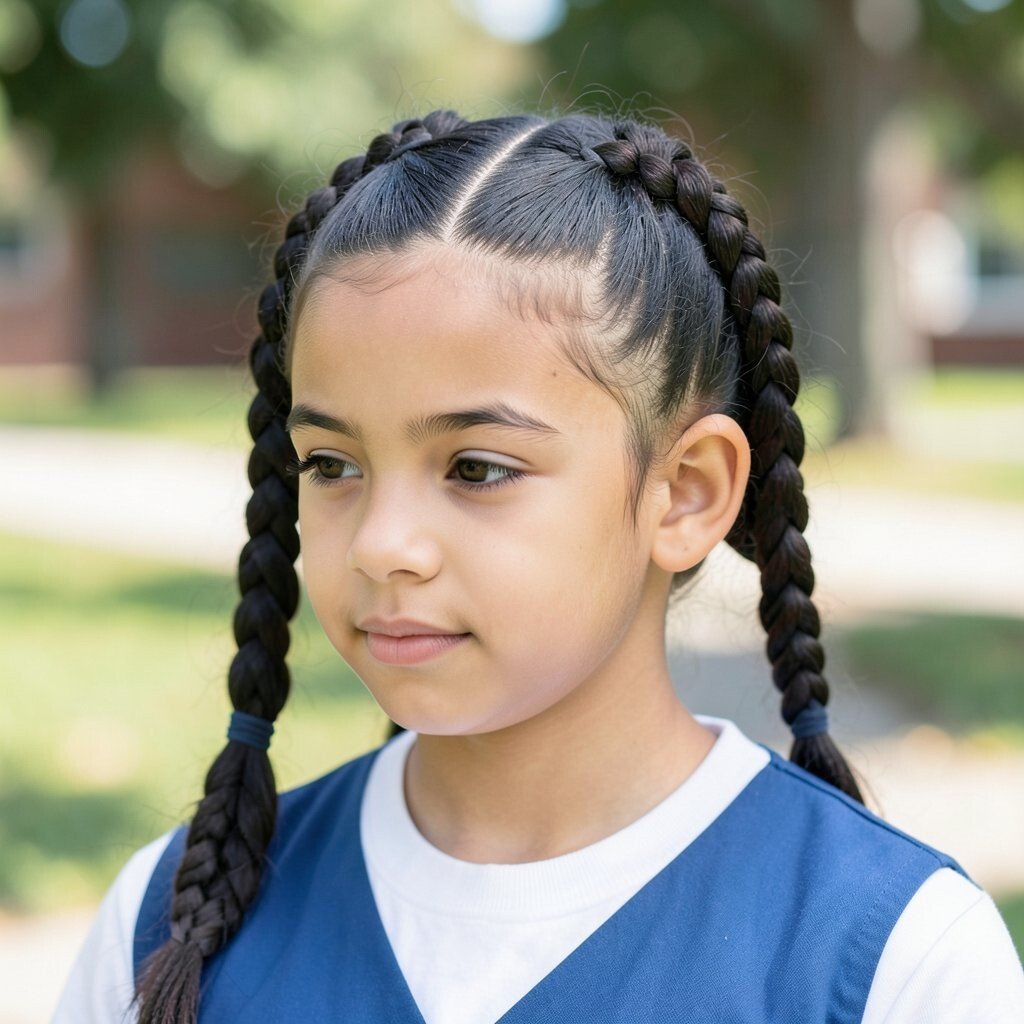
Part your hair from ear to ear and leave the bottom section down. Take two small sections from the front, braid each one, and then tuck the braids toward the back like a mini crown.
Secure with bobby pins, then loosen the braid slightly for a softer look. This style looks fancy but is easy, and it keeps hair off your face so you can focus in class. It’s especially flattering if you like a clean forehead and a tidy silhouette.
Add a tiny hair clip near the pin to make it feel more you, like a star or flower clip. If your hair is curly, braid loosely so it blends naturally and doesn’t feel too tight. If your hair is straight, add a light texture spray first so the braid holds shape longer.
4. Textured Messy Bun With Wispy Bangs
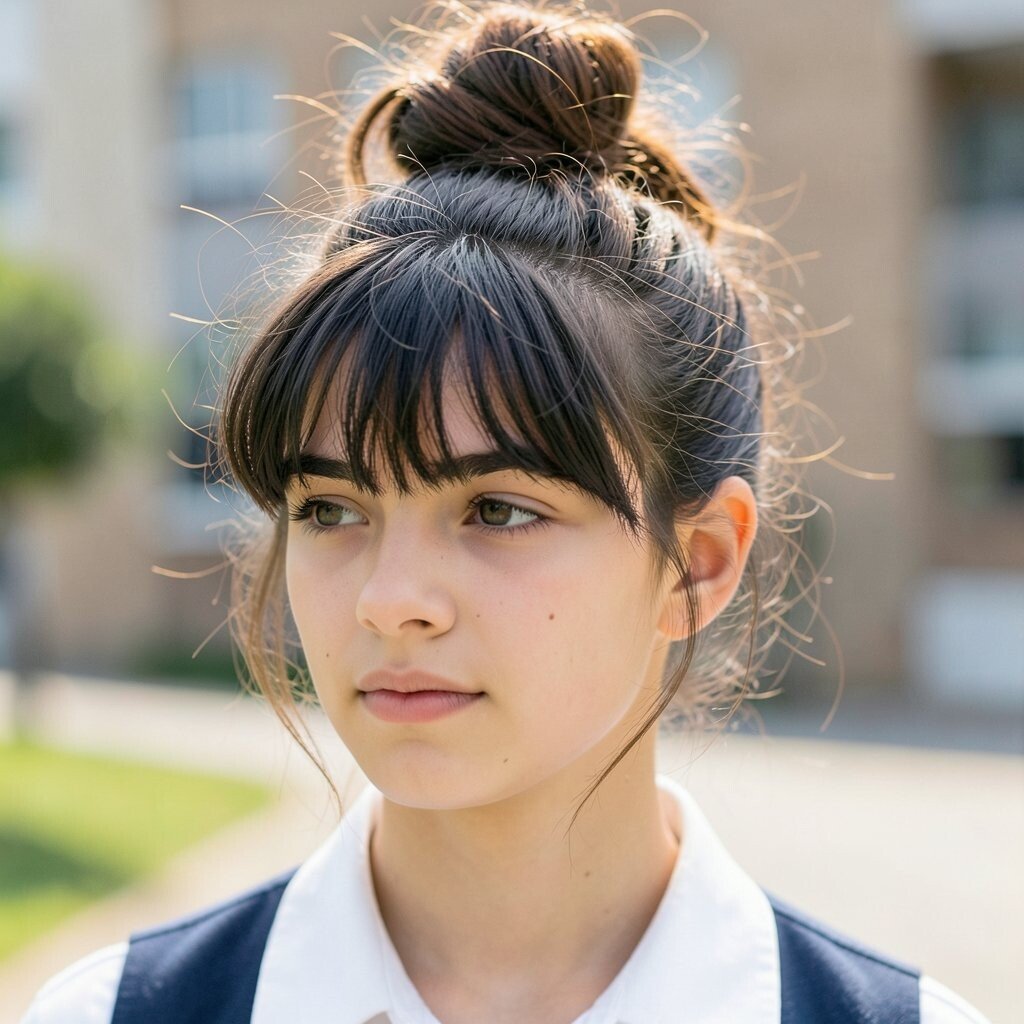
Pull hair back into a loose bun and secure it with a hair tie, then wrap a few strands around for extra grip. Use your fingers to pinch and separate the bun so it looks intentionally relaxed.
Let a couple of wispy pieces fall near your cheeks, and soften the look with a tiny dab of styling wax on the ends. This style is unique because it looks artistic, not sloppy, and it works on almost any hair type. The benefit is that it stays comfortable for long days, and you won’t spend time fixing flyaways every period.
5. High Ponytail With Twisted Scarf Wrap
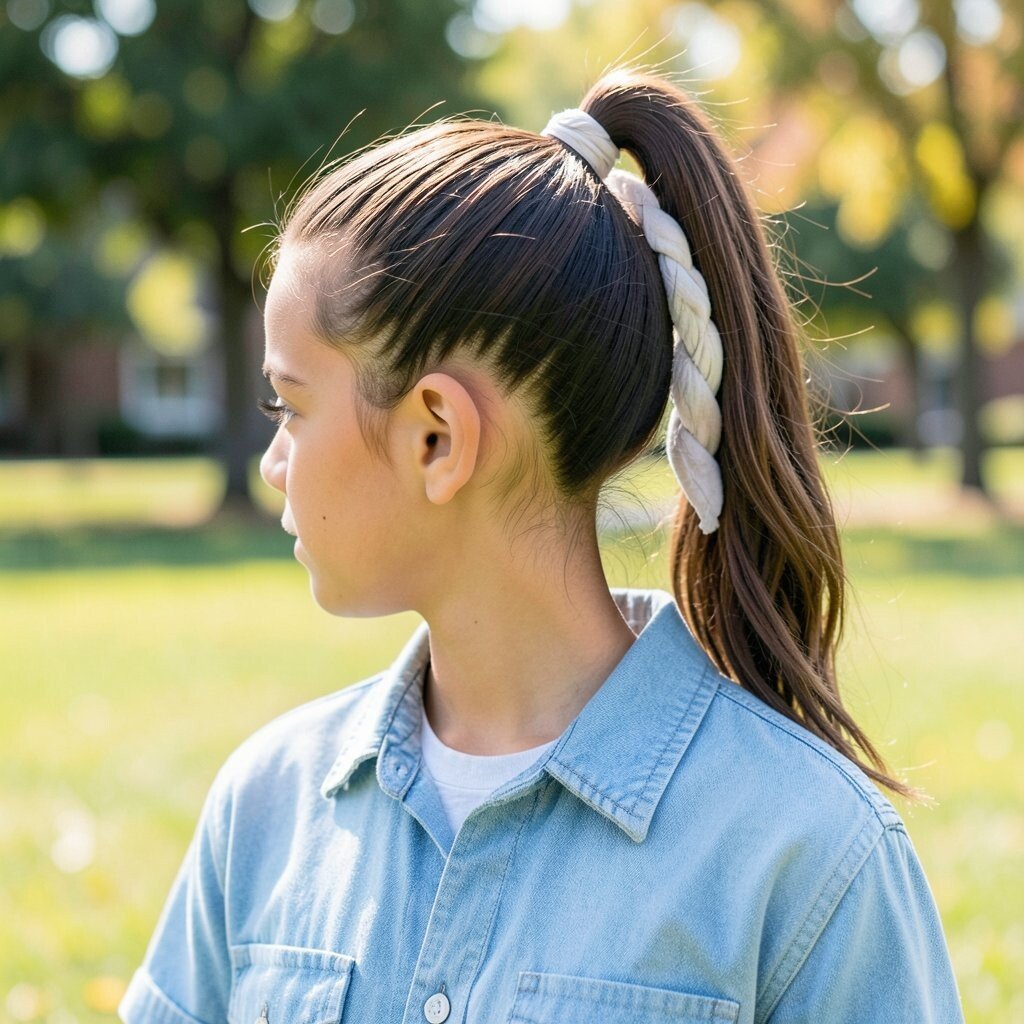
Brush your hair smooth, gather it into a high ponytail, and secure it firmly with an elastic. Take a small scarf, thin ribbon, or even a strip from a cute bandana and wrap it around the base.
Twist the scarf as you wrap so it looks like a braid ribbon, then tie a small knot underneath. This option looks trendy because scarf details are back in style, and it adds personality instantly. It’s practical too since the twist helps hide the elastic and holds the base together.
If you want it extra secure, spray a little hairspray on your hands before smoothing the sides. For cost considerations, scarves are often cheaper than fancy tools and can be reused later for other outfits. Personalize it by matching the scarf color to your nails, backpack charm, or gym day hoodie.
6. Crown Braid Into Low Pony
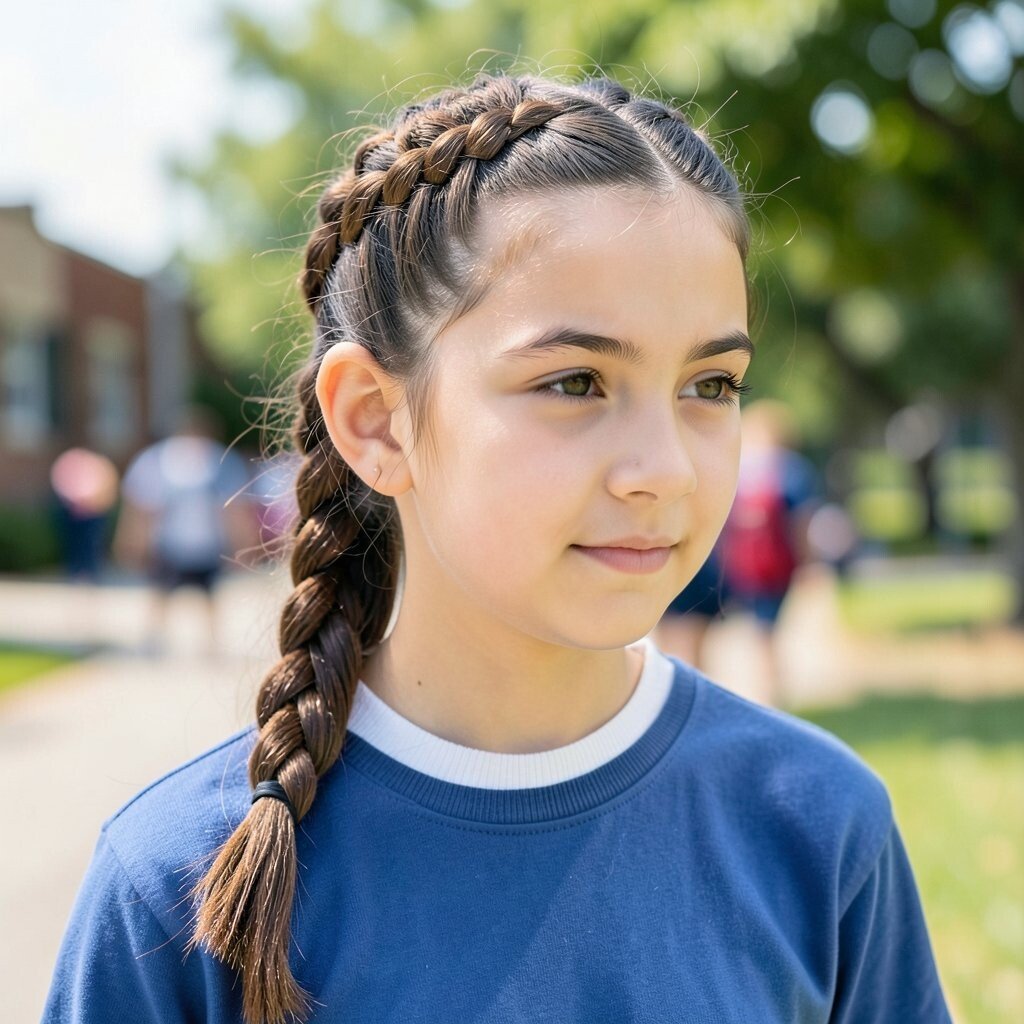
Start with a thin braid at the crown area using small sections, like you’re making a headband braid. When the braid reaches the back, connect it with the rest of your hair and form a low ponytail.
This gives you a polished look without going full complicated braid, and it keeps hair off your shoulders. The crown portion adds visual interest, while the ponytail keeps everything manageable for classes, sports, or commuting. If your hair gets frizzy, use a smoothing serum on the outer layer so it looks sleek.
7. Claw Clip Half-Up With Loose Ends
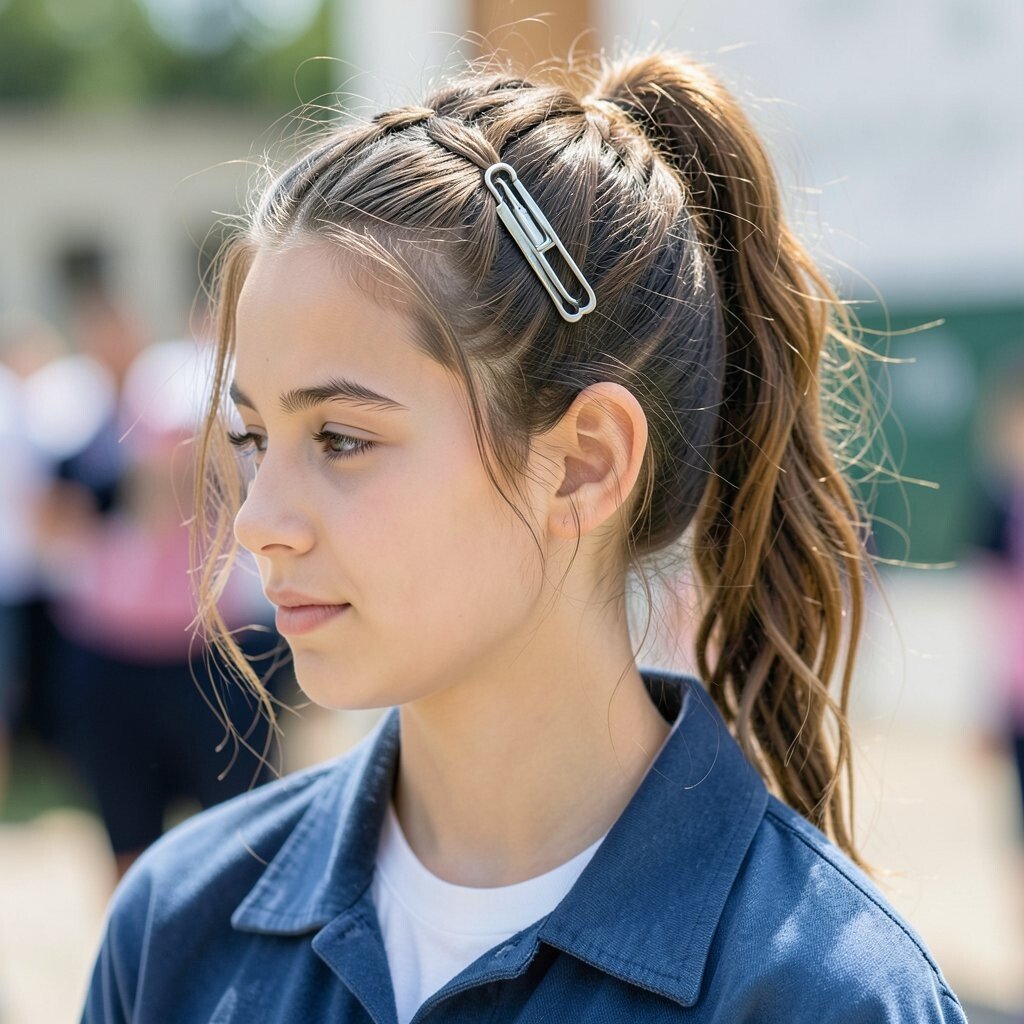
Gather the top half of your hair, twist it once to add shape, and clip it with a large claw clip. Leave the rest down for an easy frame around your face.
This style is perfect for teens who want fast results and still want to look put together. It’s unique because the claw clip itself becomes the accessory, so you can choose one in tortoise shell, metal, or bright color. It also benefits your hair by reducing the need for constant tight brushing or heat styling.
To personalize, tuck one side behind your ear or add two small clips near the crown. If your hair is thick, use a bigger clip for comfort and better hold, and if your hair is thin, add a tiny amount of texturizing powder at the roots. For cost, a good claw clip is reusable for months and often looks more stylish than temporary elastics.
8. Side Part Sleek Waves With Pin Curls
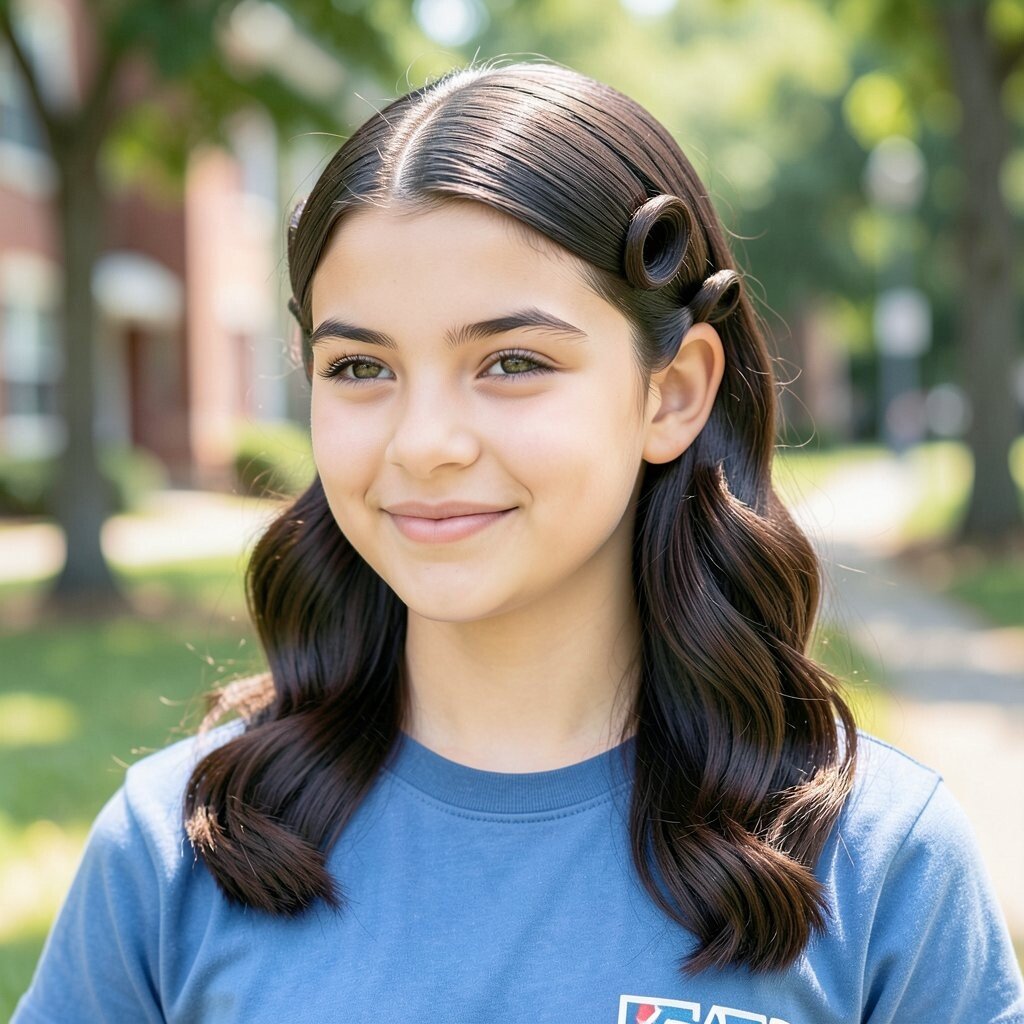
Make a deep side part and create soft waves by twisting small sections around your finger. Secure a few mini pin curls near your temples and let them set for a short time while you get ready.
Remove the pins, brush gently, and finish with a light serum so the waves look smooth. This hairstyle looks elegant and unique because the waves start from the roots. It helps your hair hold shape even if you usually struggle with flatness at the start of the day.
9. Two-Tone Look With Faux Flip Ends
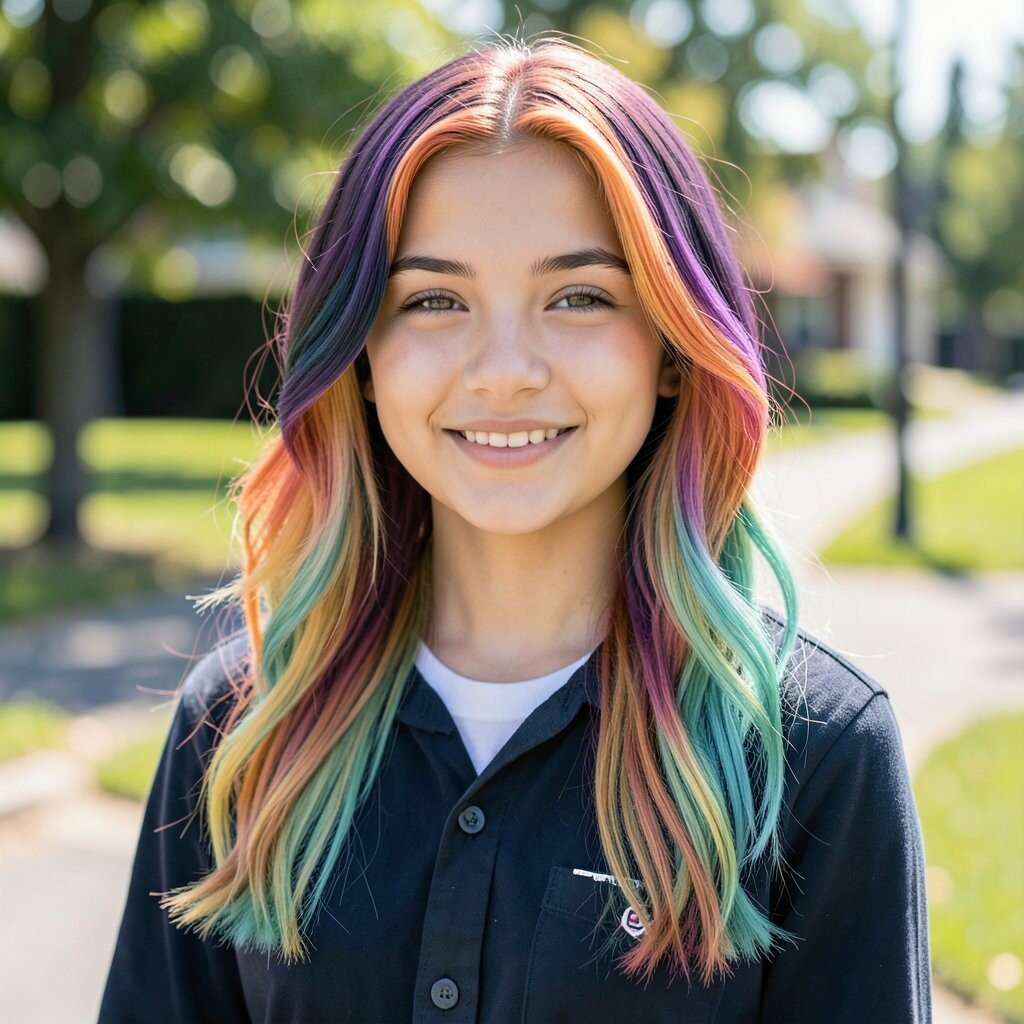
Create a simple ponytail or braid, then focus on the ends for the fun part. Twist the last few inches outward as you wrap them around a brush or your fingers, then secure with a light mist so they keep their flip.
This gives a trendy, slightly retro vibe that looks like a salon finish. It’s unique because the shape of the ends does the work, so you don’t need complicated sections. If you use clip-in hair extensions for volume, this style can highlight them nicely while still looking natural.
Personalize by flipping the ends more for a bouncier look or less for a subtle shape. For cost, a few affordable styling products like a heatless spray or curl mousse go a long way. Current trends favor soft flips and playful movement, especially with school-friendly, low-maintenance styles.
10. Twisted Low Bun With Braided Front Pieces
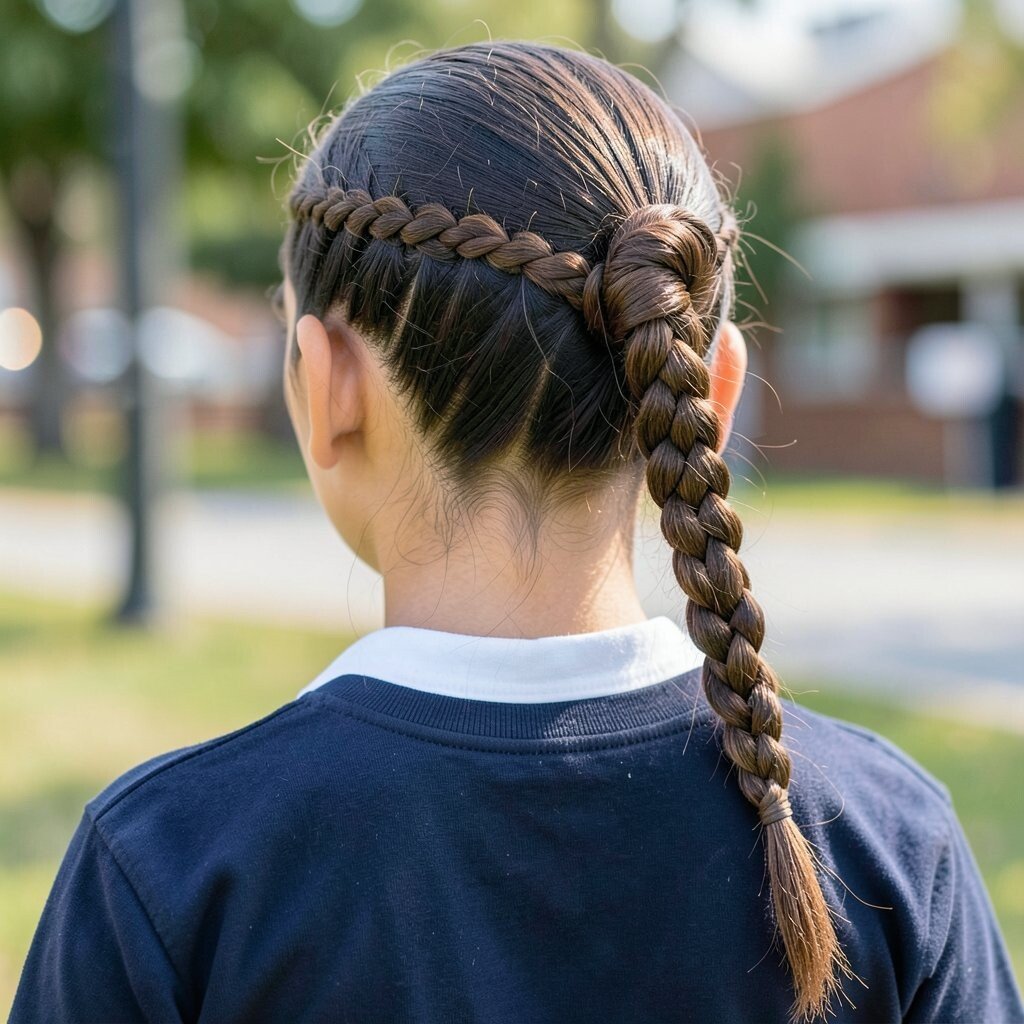
Take two small front sections, braid them briefly, and secure them back. Then gather the remaining hair into a low bun and twist the bun base so it wraps around the elastic.
Use bobby pins to tuck any loose strands, and keep the front braid pieces lightly visible. This style is visually interesting because you get both braid texture and a smooth bun shape. It benefits your day by keeping hair secure and comfortable, especially if you have long periods or early practices.
11. Half-Up Dutch Braid With Loose Top
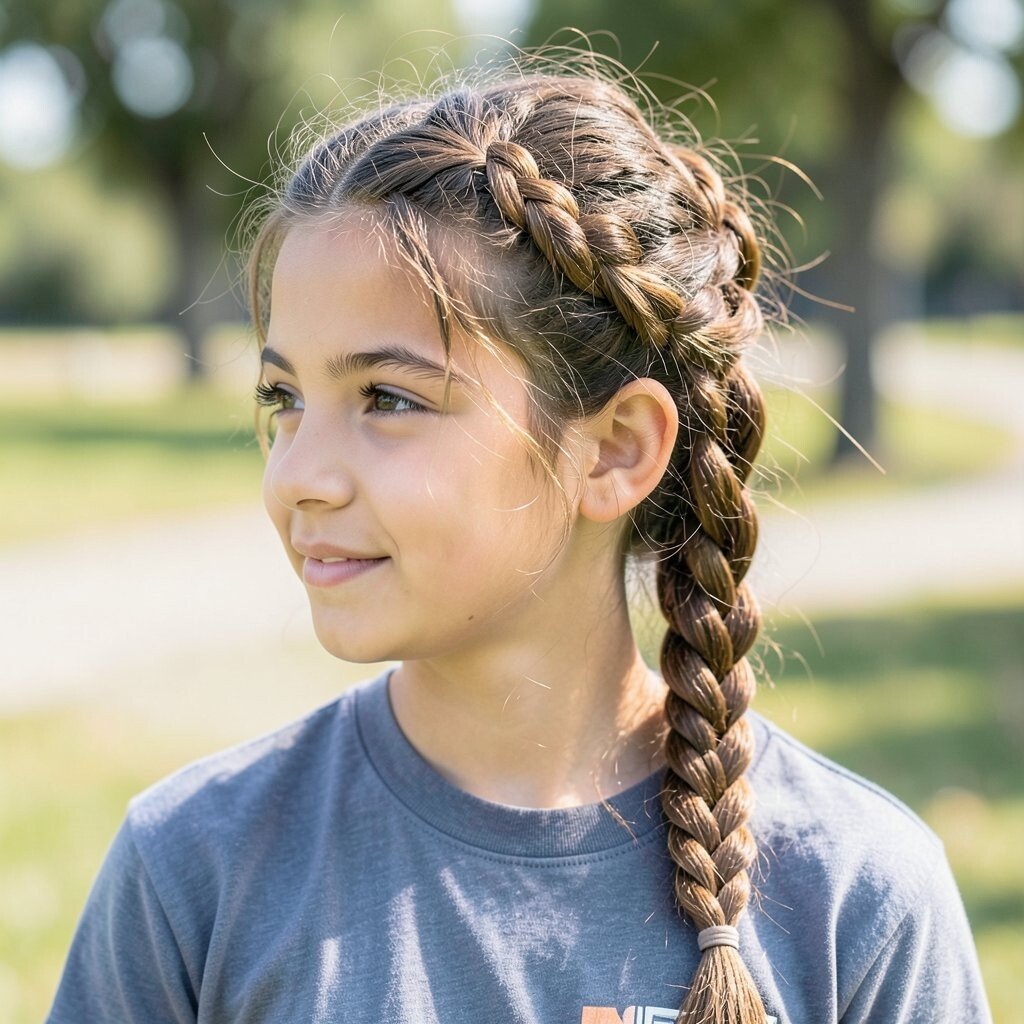
Part your hair and create a Dutch braid along the top, feeding in hair from both sides as you go. Stop at the mid-back area and secure it with an elastic, leaving the rest of your hair down.
Gently loosen the braid for a fuller look, and keep a few strands free so it feels casual. This hairstyle stands out because the Dutch braid creates a raised, graphic shape that looks great on photos. It’s practical too since it keeps the face area clear while letting your length move.
Personalize by adding a small charm elastic that matches your bracelet stack. For cost, you don’t need any special tools beyond a brush, elastics, and pins. If your hair is curly, braid with fewer sections so the braid looks soft and not too stretched.
12. Sock Bun Alternative With Soft Volume
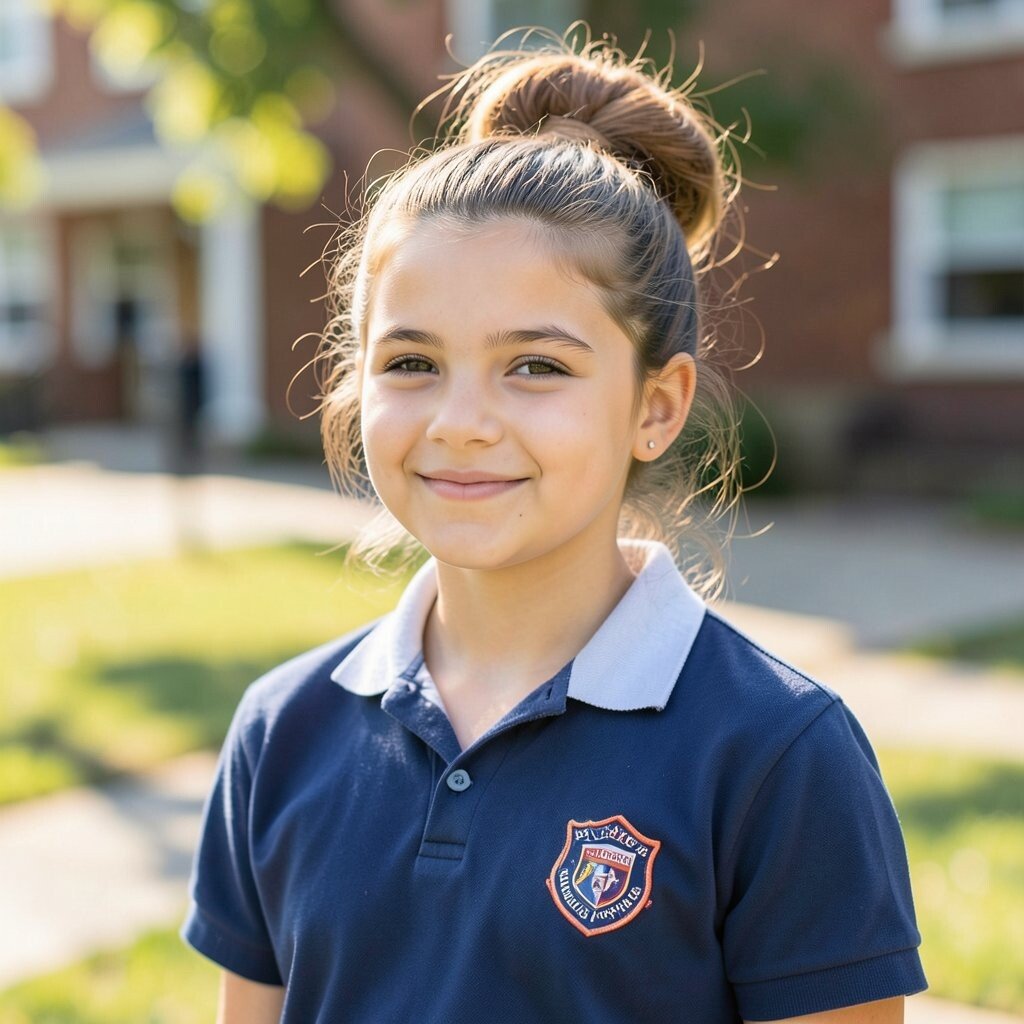
Gather hair into a high ponytail and use a clean, rolled sock as a base for a bun. Wrap the ends around the sock and roll downward until it feels snug, then secure with pins or an extra elastic.
The visual payoff is big volume with a neat shape, which makes it feel unique on first day photos. This hairstyle benefits you by keeping hair off your neck, which can be especially helpful during warm assemblies. If you want personalization, pull out a small face-framing section or add a headband for extra style.
13. Side Braid Shoulder Moment
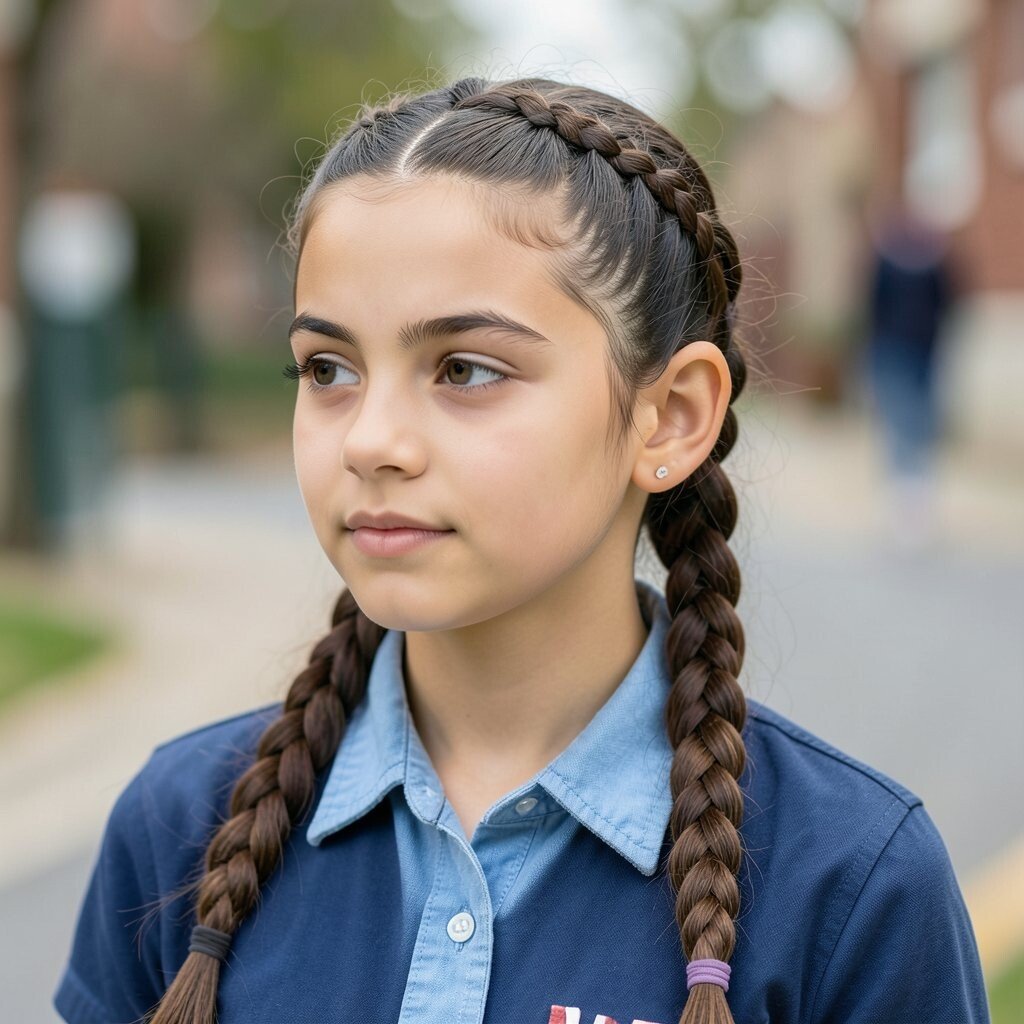
Flip your hair to one side, and braid from near the crown down to the end. Leave it resting over one shoulder so it naturally shows off the braid texture.
This is a classic that feels fresh because the shoulder placement makes it look intentional. The benefit is simple, since one braid keeps your hair controlled all day and reduces tangles between classes. If your hair is fine, add a little root spray or volumizing mousse before braiding for a fuller look.
Personalize with a ribbon at the end of the braid or a clip near the top where the braid begins. For cost, braiding requires no new purchases, and you can use the hair accessories you already own. Current trends often lean toward one statement braid, and this style fits that vibe without feeling overdone.
14. Slick Back Ponytail With Baby Bang Clips
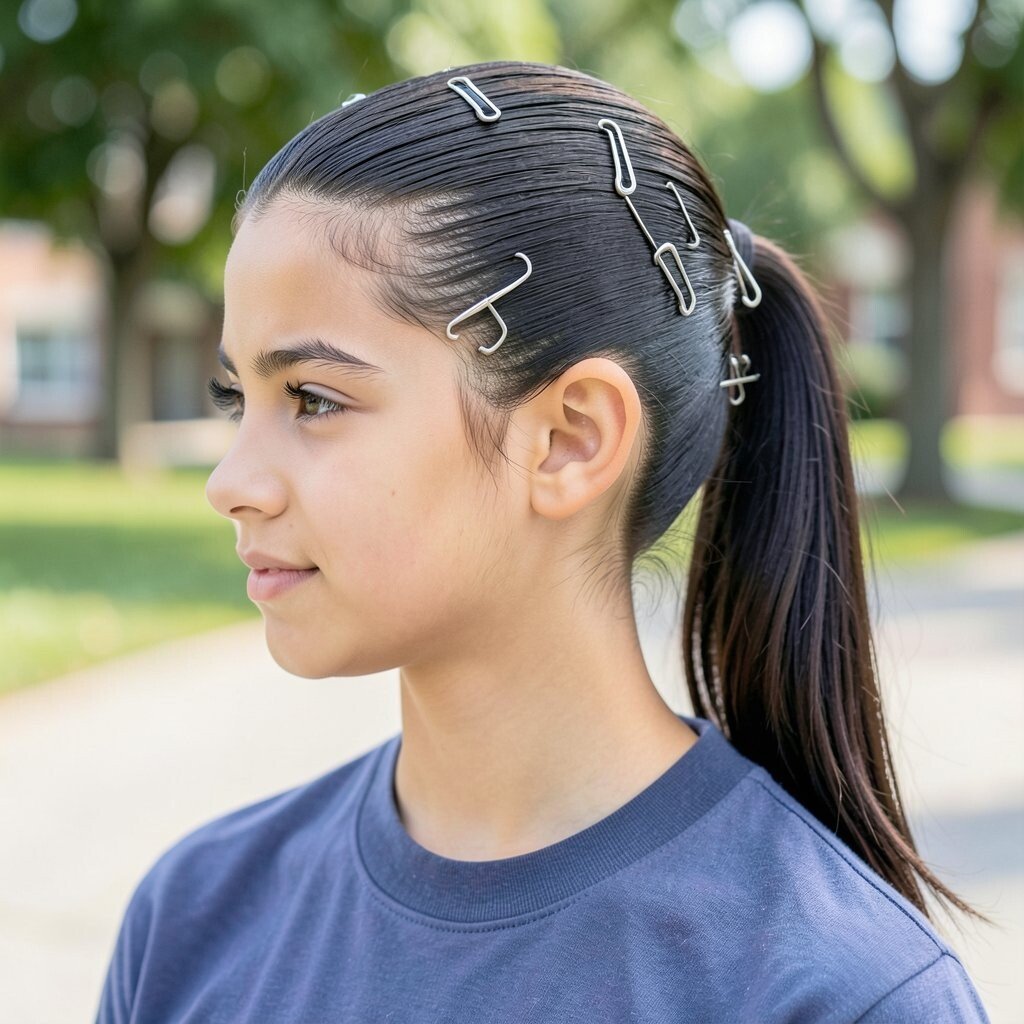
Smooth hair back into a ponytail, then use a small amount of gel or styling cream on the sides for a sleek finish. If you have shorter layers or fringe, pin it with tiny clips near the part.
This look feels bold and unique, especially because the baby bang clips add a cute detail without being distracting. It benefits your day by keeping flyaways locked down, which is helpful for windy walks to school. It also looks great with hoops, studs, and any kind of sporty outfit.
15. Ribbon Braided Crown With Two-Section Twist
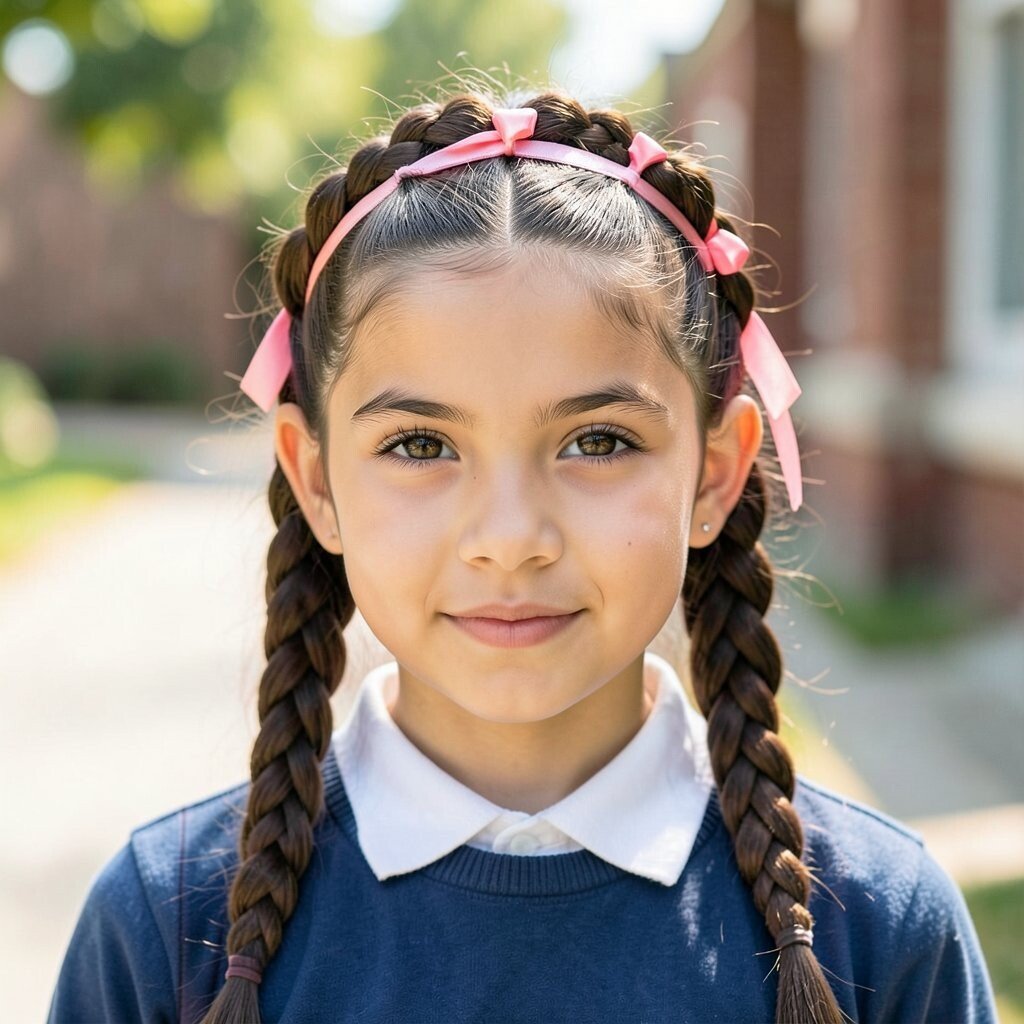
Separate your hair into two front sections and braid each one loosely while weaving in a ribbon as you go. Bring the braids toward the back and secure them so the ribbon creates a soft, visible pattern.
You get a dreamy, romantic look that still feels teen-friendly because it’s neat and not too formal. The benefit is that braids keep hair contained, while the ribbon adds color that stands out in daylight. Personalize by choosing ribbon shades like dusty pink, teal, or white to match your school colors or your favorite hoodie.
If you’re worried about cost, plain ribbon from a craft store works great and can be reused for other hairstyles. For curly hair, keep braids slightly looser so curls pop through naturally. Current trends include ribbon accents and “soft glam” details, and this idea fits perfectly.
16. Triple-Strand Twist Pony With Hidden Elastic
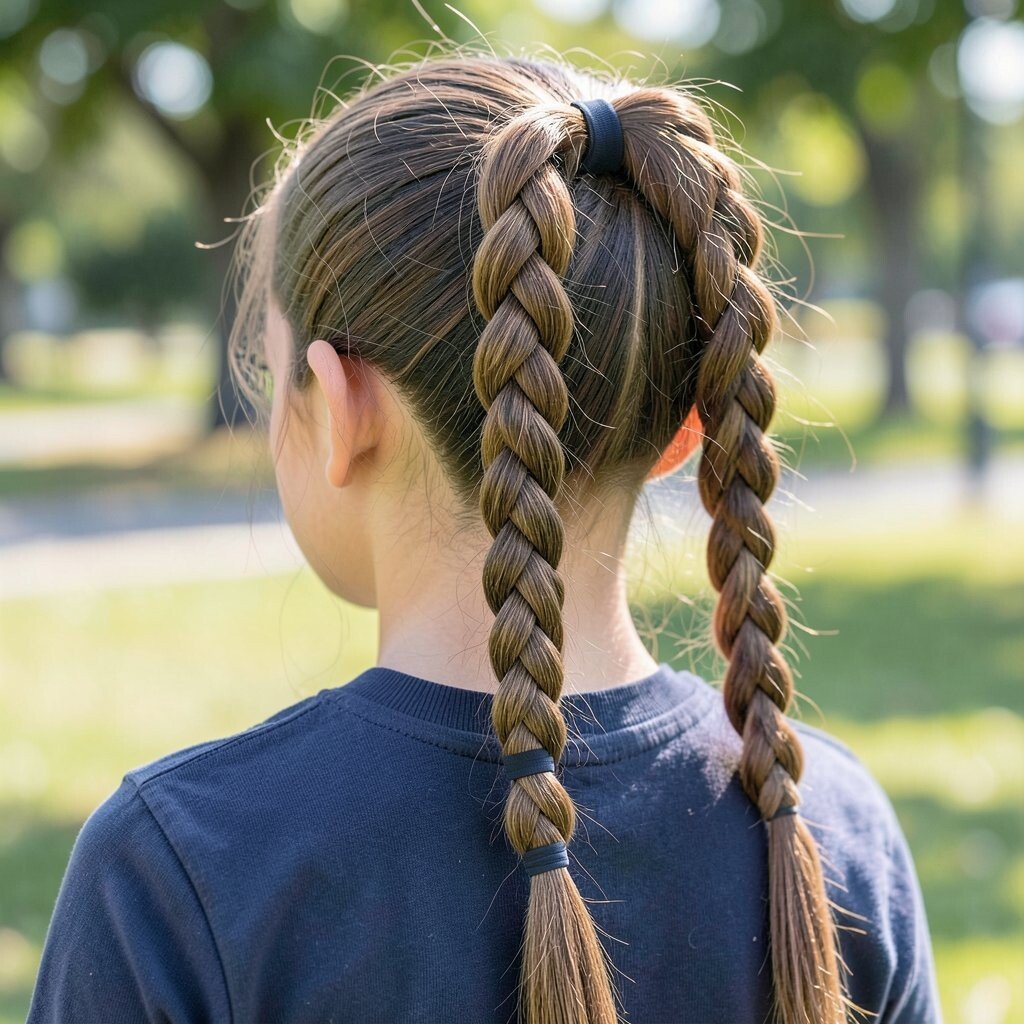
Gather hair into a ponytail and secure it with an elastic. Split the ponytail into three strands, then twist two strands around each other and twist the third strand into the mix for a textured rope look.
When you finish, secure the end with another elastic and wrap a tiny strand around to hide the band. This hairstyle feels unique because it looks like a braid but takes less time, so you can get it ready before the bus. It benefits you by keeping the ponytail secure and reducing the “pancake” look at the roots.
Personalize with a thicker ribbon wrap at the base or a metallic hair tie for a little sparkle. For cost, you can use one elastic and a few bobby pins you already have, and the rest is just styling. If you want it trendier, add a light shine spray so the twisted strands look glossy.
17. Mini French Braids Framing the Face
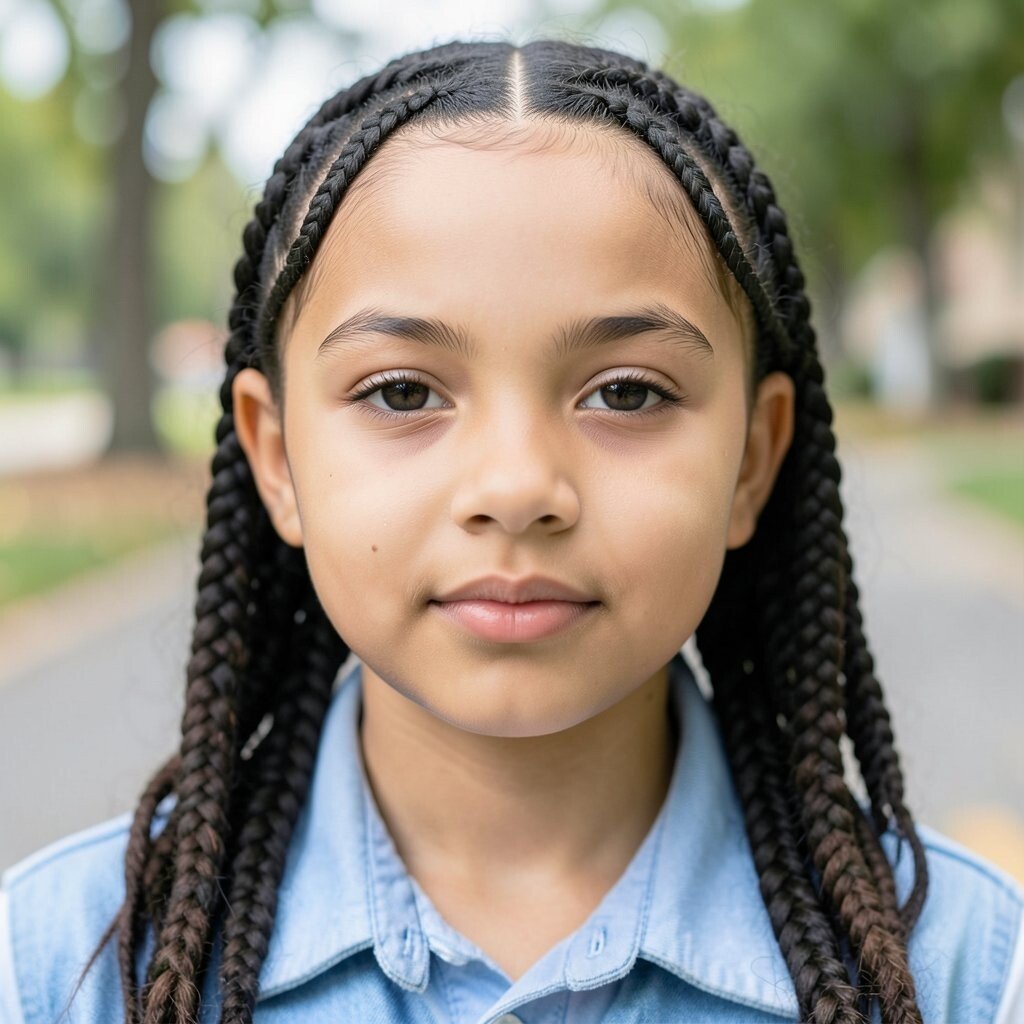
Start near your temples and create two small French braids that run back toward the crown. Stop before the braids meet, and secure each one with a small elastic, then let the rest of your hair flow.
This style looks cute and intentional because it frames your face without making you feel like you’re wearing a full hairstyle. The benefits are real, since braids keep hair from falling in your eyes during classes, and they help your hair stay tangle-free. To personalize, add tiny beads at the ends or use elastics that match your outfit palette.
For cost considerations, beads and small elastics are inexpensive, but you can also skip them and still get a fresh look. If your hair is straight, gently tease the top for a bit of lift before braiding, and if it’s wavy, braid slightly looser so your natural texture shows. This fits current trends that favor face-framing details and easy, photo-ready hair.