
The day of Hoco can feel like a blur, but your hair doesn’t have to be. With the right style, you can look put-together in minutes.
Busy schedules still deserve big hair energy, and these ideas are built for real life. Pick the ones that match your time, your hair type, and your vibe.
1. Sleek Low Pony With a Wrapped Elastic

Start with smooth, slightly damp hair so it grabs the ponytail evenly. Pull it into a low pony, then wrap a small section of hair around the elastic for a clean finish.
You’ll get a polished look that works for photos, dinner, and dancing. It’s unique because the wrapped section adds detail without extra styling tools, and it keeps flyaways calmer. For a practical upgrade, use a pea-size amount of gel or edge control at the hairline and tuck a pin behind the wrap for extra hold.
2. Half-Up Twists With a Sparkly Clip
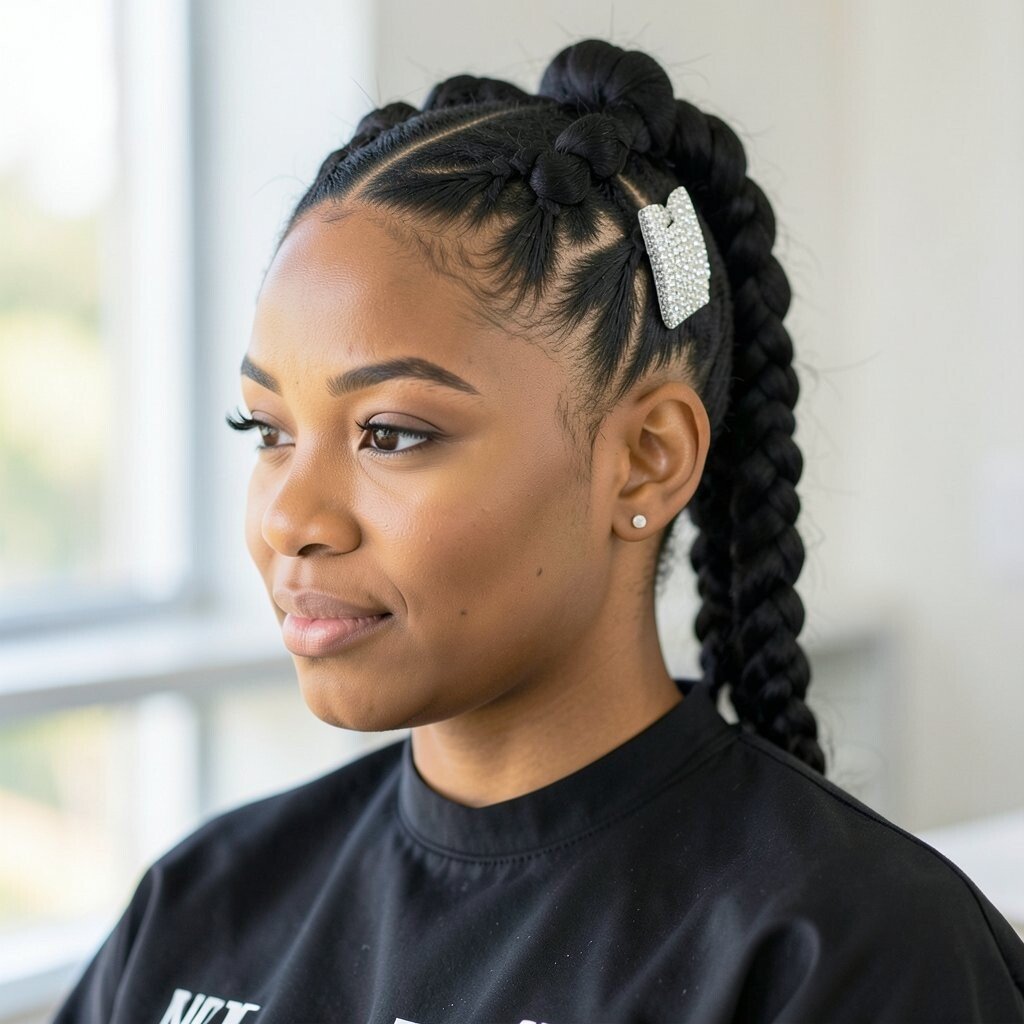
Part your hair near the crown and split the top into two sections. Twist each side toward the back, then pin them together so the rest of your hair falls free.
This style looks romantic and pretty even when you’re rushing. It’s great for busy mornings because you only need pins and a quick twist. To personalize, choose a clip that matches your outfit color, and lightly tug the twists for a fuller, more “styled” look.
For current trends, half-up styles with tiny hardware feel fresh and photo-friendly. If your hair is thick, do the twists a little tighter so they hold through the night. If your hair is fine, add a touch of mousse at the roots before twisting to boost volume. Keep cost low by using an affordable pack of decorative clips and one good hair spray.
3. High Pony Tail With Volume at the Crown

Gather your hair high for instant drama and lift. Tease gently at the crown, then smooth the top layer so it looks neat and bouncy.
When you pull it into a high pony, the volume makes everything feel more glamorous. This hairstyle stands out because the lift at the crown creates a flattering shape, not just height. Use a soft brush to keep the sides sleek, then finish with a light mist of hairspray so it stays put.
For a practical time-saver, do the volume step first, then brush and tie, then go. If you want extra shine, run a tiny drop of hair oil on the ponytail length. Cost-wise, you can get a salon look using basic tools plus a budget-friendly spray bottle.
Watch for the trend of “clean volume,” where the top looks airy but the pony looks tidy. This one fits that vibe perfectly and still feels easy to wear.
4. Braided Headband Crown
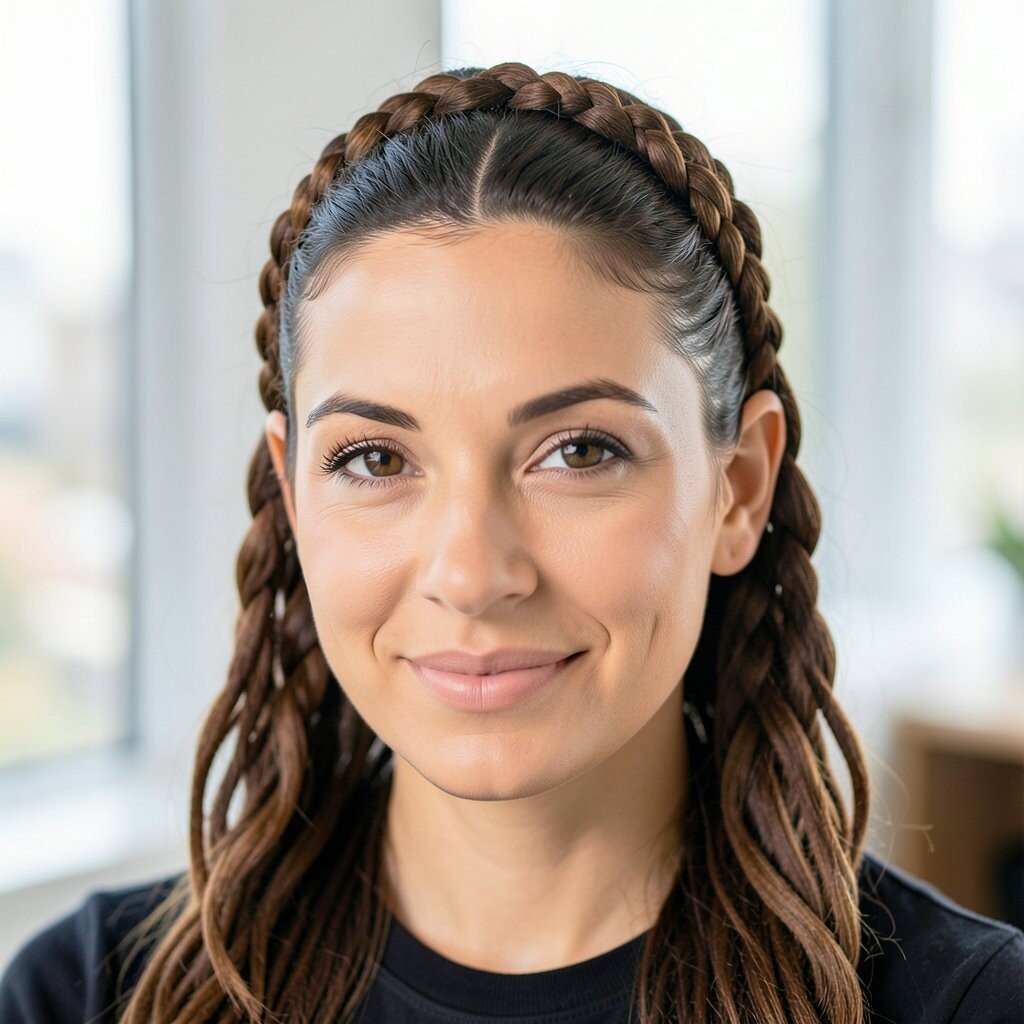
Make a simple braid on each side of your head, then bring them across like a soft headband. Secure the ends at the back with bobby pins so they sit flat and comfortable.
The visual effect is instantly elegant, like your hair is wearing a crown. It’s unique because the braid frames your face while keeping hair off your shoulders during dancing.
If your schedule is packed, this is a strong choice because the technique is straightforward. Use a little texture spray before braiding so the hair grips and the braid doesn’t loosen too fast. Personalize it by choosing micro braids for a delicate look or a chunkier braid for a bold, sporty vibe. For cost considerations, you can create the “fancy” feel using only pins and one styling product.
5. Messy Low Bun With Face-Framing Pieces

Pull your hair into a loose low bun, then leave a few strands around your face. Let the bun look imperfect on purpose, because that’s what makes it feel effortless.
This style is perfect when you want quick glam without spending extra time perfecting every hair strand. It’s unique because the face-framing pieces soften the look and make it feel romantic, not sloppy. Keep it practical by using a hair tie first, then wrapping the bun section around it and pinning securely.
For personalization, tuck a small ribbon or clip near the bun, or curl the face-framing pieces slightly. Current trends favor lived-in texture, so if you have natural waves, embrace them. If your hair is very straight, use a curling wand for the front pieces only, which saves time and keeps the rest low-maintenance.
6. Sleek Side Part With a Twisted Clip-Up
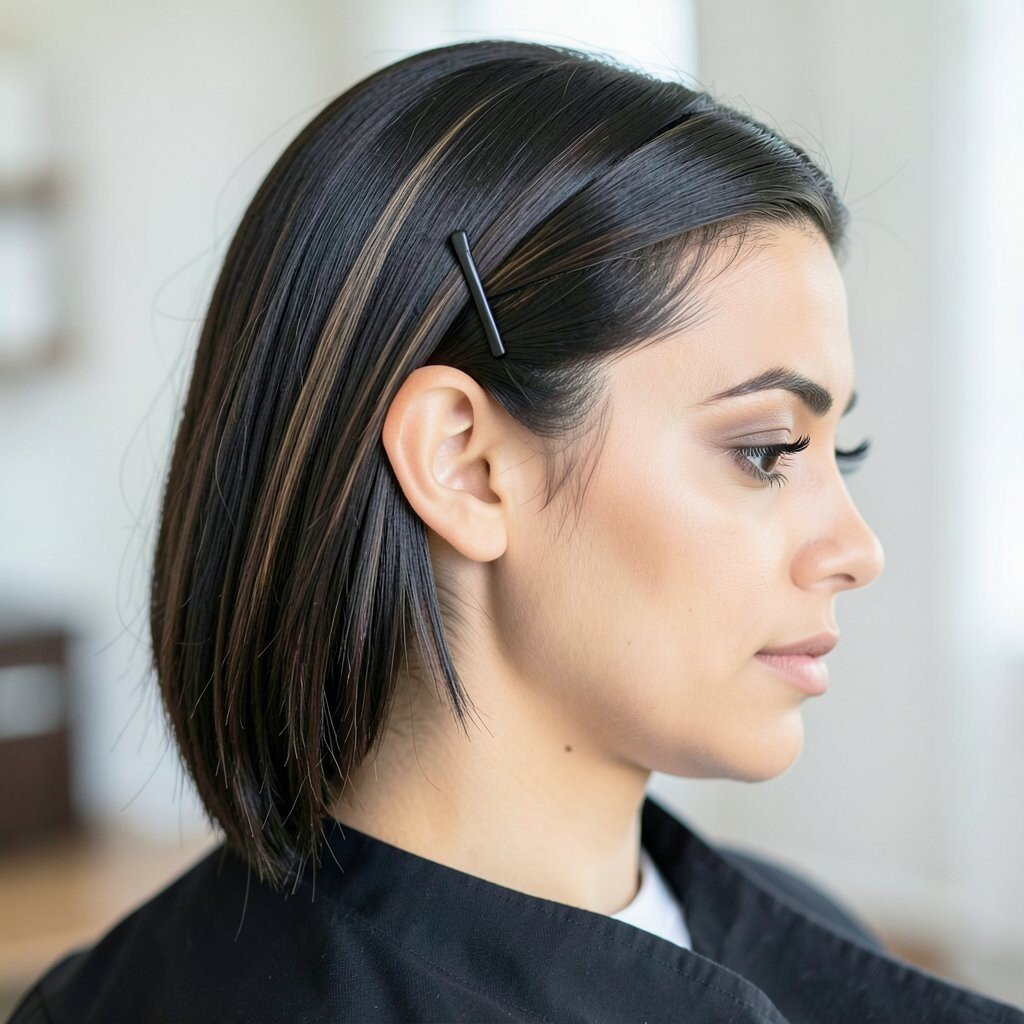
Create a deep side part and comb the top section neatly across. Take the front section on the heavier side, twist it backward, and pin it so it holds like a mini crown.
This hairstyle is quietly bold because the twist adds shape without taking over your whole look. It helps busy schedules since you’re styling only one section at a time. For practical tips, smooth the sides with a light leave-in conditioner and secure with two pins in an X shape for better grip.
Personalize it by matching the clip to your jewelry, like silver for cool tones or gold for warm tones. If your hair is thick, use a slightly stronger hold spray so the twist doesn’t slip. Cost stays friendly because you only need a few bobby pins and one decorative clip.
7. Bubble Ponytails Using Multiple Elastics

Gather hair into a pony at your preferred height, then tie a series of elastics down the length. After each elastic, gently pull the hair between them to make “bubbles” that look fun and full.
The visual energy is bright and playful, and it looks amazing in movement. It’s unique because bubble ponies feel trendy while still being simple to do when time is short. For a practical trick, stretch each section slightly as you go so the shape stays even all the way down.
This style is great for thick hair because the bubbles create a fuller silhouette. If your hair is fine, use a teasing comb lightly at the base and choose smaller elastics so the bubbles don’t look too flat. For personalization, add a ribbon at the top elastic or choose colored ties that match your dress or suit.
Cost-wise, elastics are inexpensive and you can reuse them all year. It’s a popular choice right now because people want hair that looks “done” but still feels youthful.
8. Curled Half-Up Pony With a Ribbon Wrap

Section the top half, curl the pieces lightly, and pull the top into a pony. Secure it with a hair tie, then wrap a ribbon around the base for a sweet finish.
This gives you the best of both worlds: face-framing curls and a tidy top that won’t get in your way. It’s unique because the ribbon adds a soft, romantic detail that feels more special than a basic ponytail. Use a flexible hold hairspray so the curls stay springy without feeling crunchy.
Personalize it by curling only the hair near your face for a faster process. If your hair is naturally wavy, you can skip the iron and just enhance with mousse and a light mist. For cost, satin ribbons are usually affordable and look high-end in photos.
9. French Braid Partway Into a Low Twist

Start a French braid at the front, working down only until the middle of your head. When you reach that point, braid normally a short distance, then twist the rest into a low bun or twist at the back.
The look feels intricate, but it’s actually practical because you stop braiding sooner. It’s unique since it mixes two styles in one, giving you texture and an elegant shape. For a busy schedule, do the braid first while you still have the most patience, then finish with quick pinning.
Personalize by choosing a side-start braid for a slanted, modern vibe. If your hair is thin, tug lightly on the braid to make it look fuller. Cost considerations are easy here since braiding needs almost nothing beyond hair ties and pins, plus a light smoothing product to reduce flyaways.
10. Sleek High Puff With Braided Sides
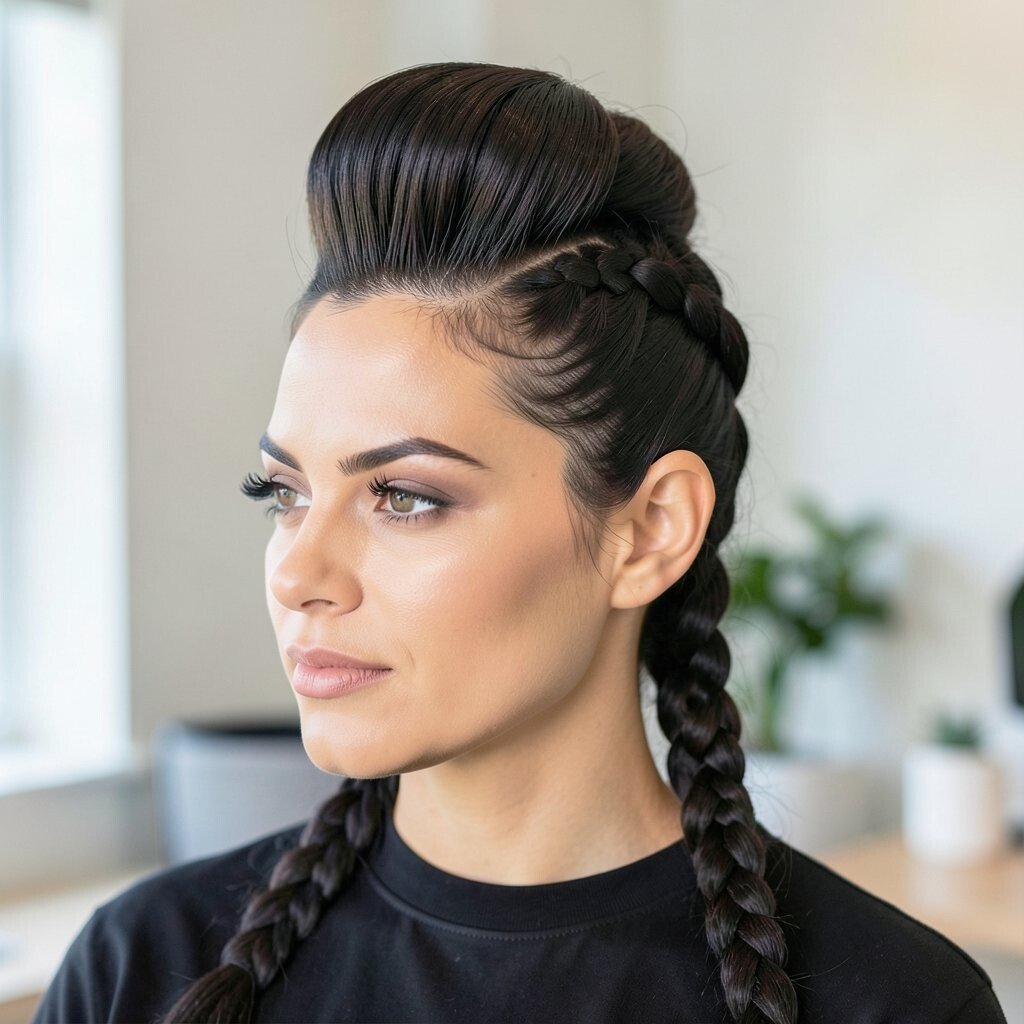
Build a quick high puff by gathering the hair at the top and securing it with an elastic. Then braid small sections along the sides and pin them so they frame the puff neatly.
This style is bold and flattering, especially for textured hair types. It’s unique because the braided sides add structure while the puff keeps the look soft and lively. For practical tips, smooth the front with a small amount of gel or moisturizer, then use a scarf for five minutes if you need extra control.
Personalize it by matching the braid ends with tiny beads or a subtle hair accessory. If your hair is long, you can wrap the puff base with a ribbon for a fancy touch. For cost, you can get the look using basic braiding supplies and one accessory, which keeps it budget-friendly.
11. Waterfall Braid With Quick Soft Curls

Try a waterfall braid by letting two strands drop as you braid, creating a flowing pattern. Finish with quick soft curls on the ends using a curling iron or wand.
This looks extra special because the braid mimics a curtain effect around your hair. It’s unique because it blends the tidy feel of a braid with the airy look of flowing hair. For busy schedules, keep the curls gentle and focus on the last few inches so you save time.
Personalize it by switching from a classic center part to a side part for a different vibe. If your hair is thick, use a slightly larger section so the waterfall pattern stays visible. Cost considerations are manageable since most people already own basic tools, and you can keep styling products minimal for a natural finish.
Current trends lean toward “soft romantic” hair, and this matches that perfectly without needing heavy gel or complicated extensions.
12. Twisted Crown With a Low Knot
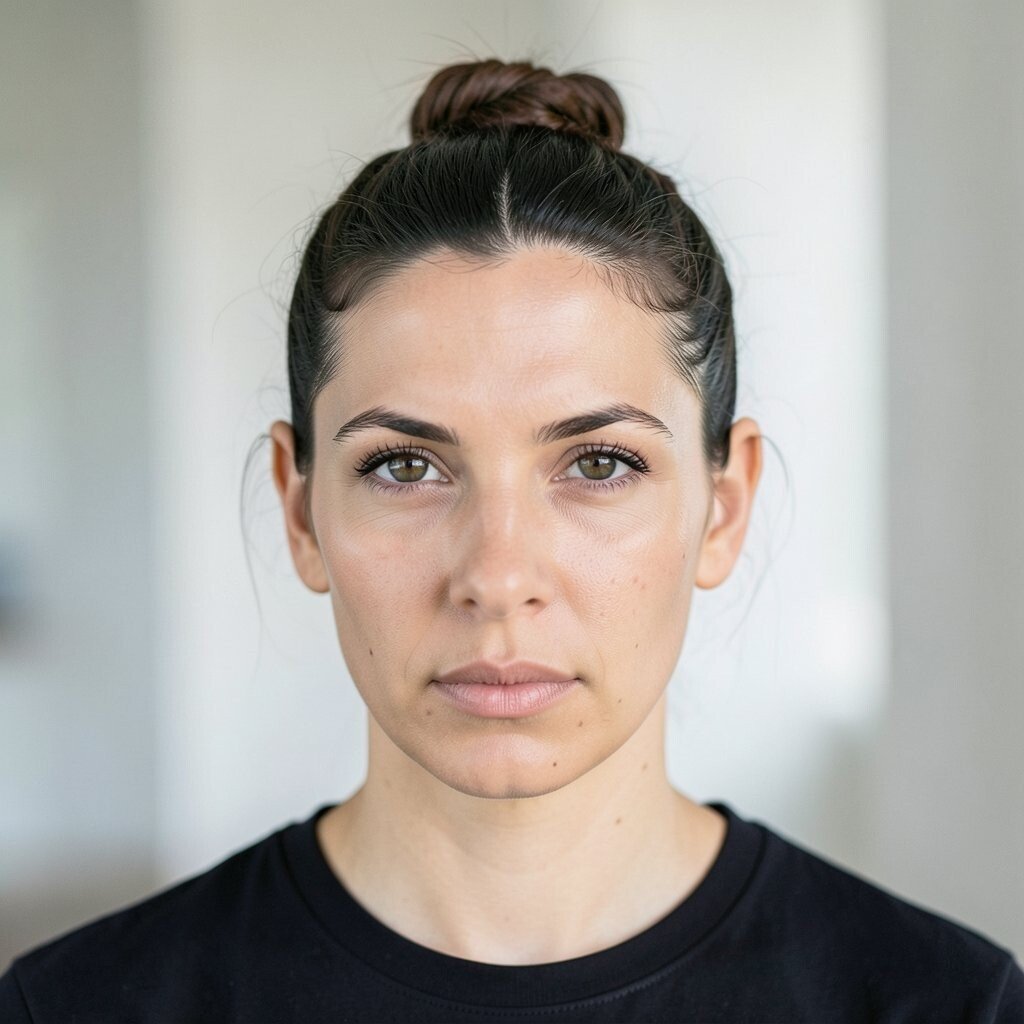
Take two front sections and twist them backward toward the top of your head, pinning as you go. Continue until the twists form a crown shape, then bring the remaining hair into a low knot.
The visual effect is regal, like you’re wearing an elegant updo without the full effort. It’s unique because the crown twist adds structure while the low knot keeps the style comfortable for long hours. For practical tips, start with detangled hair and use a light styling cream to help twists grip.
Personalize it by adding a small comb clip or a delicate hairpin at the crown point. If your hair is slippery, use one extra pin on each side to improve hold. Cost stays low because twists use pins and simple products, not expensive tools.
13. Straight Hair With a Slicked-Back Top Knot

Brush hair back and secure it into a top knot, then smooth the top with a shine product. Keep it clean and controlled, but still allow a little softness in the final shape.
This hairstyle is sleek, modern, and super quick for busy schedules. It’s unique because the top knot creates a strong silhouette while the slicked-back top gives it a fashion-forward finish. For practical tips, apply product to damp hair first, then use a comb to smooth in one direction.
Personalize it by leaving one thin strand loose near the face for a trendy look. If your hair is curly, you can use a blow-dry brush just on the top section to save time. Cost considerations are good here since a small jar of styling gel or a budget hair pomade can work wonders.
14. Half-Up Crown Braid With a Ponytail Tail

Start a braid near one side at the hairline and braid across the crown, adding hair as you go. When you reach the other side, secure it and pull the remaining hair into a ponytail.
This gives you the “wow” look of an updo while still being easy to manage. It’s unique because it combines crown braid detail with the fun movement of a ponytail, which is perfect for pictures and dancing. For practical tips, keep the braid tight at the start and gently loosen it once it’s pinned to add volume.
Personalize it with a scrunchie style elastic or a ribbon at the pony base. If your hair is thick, you may need an extra pin or two to hold the crown braid flat. Cost is reasonable because braid supplies are minimal and you can reuse accessories later.
This style fits current trends for crown textures and mixed silhouettes, so you’ll look current without feeling overdone.