Shiplap walls can make a room feel instantly warmer and more inviting. The trick is installing them in a way that looks neat up close and stays solid over time.
From layout tricks to finishing touches, these practical ideas will help your wall look crisp, custom, and totally you. Use them whether you are working on a cozy bedroom, a bright kitchen, or an entryway that needs a style boost.
1. Choose the Right Board Size and Profile

Start by picking a shiplap size that fits your space and your style. Wider planks can make a room feel calmer and more open, while narrower ones can add a tighter, cottage-like rhythm.
Look at the board profile too, because some have deeper grooves and others are shallower. A deeper groove creates stronger shadow lines, which helps hide tiny wall imperfections. If you want a soft, modern look, select boards with a clean edge and a groove that is not too dramatic.
2. Measure Carefully and Plan the Layout Before Cutting
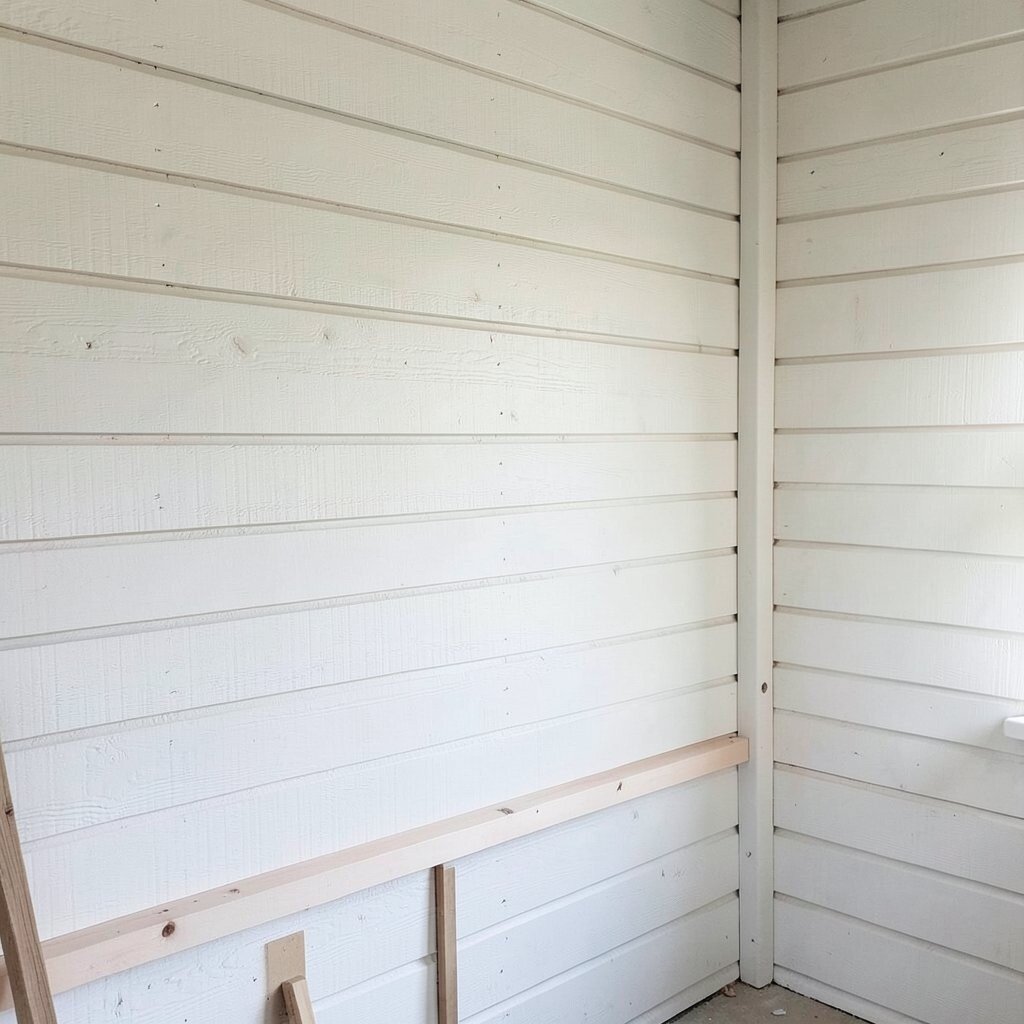
Take time to map out the wall before you pick up a saw. Measure the wall height in several spots, since older homes often have slight differences.
Then plan your first row so the most visible cuts end up in the least noticeable areas. If the floor is not perfectly level, you can use a straight reference line to guide your starting point.
Buying a little extra material is a smart move for waste, mistakes, and future repairs. When you plan layout early, you waste less and end up with seams that line up like they were meant to.
3. Check the Wall Flatness and Fix High Spots First

Even good shiplap can look off if the wall is bumpy. Run your hand along the surface and use a long straightedge to spot high spots and dips.
Sand down lumps or shim where needed so your boards sit flush. When the wall stays flatter, the grooves line up nicely and the wall looks intentional.
Fixing these issues also makes installation faster because you are not constantly fighting uneven gaps. A smooth base helps your nails hold better and keeps the wall feeling sturdy.
Plus, you will spend less time adjusting and reworking panels once the boards start going up.
4. Find Studs and Use a Reliable Fastening Method

Locating studs is one of those steps that feels boring until you see how much it improves the final result. Use a stud finder and confirm the edges with a small finishing nail.
For solid holding, fasten into studs whenever possible. Many people use finish nails or trim screws, and both can work well depending on the board thickness and your finish goals.
5. Use a Level Line for Your First Row
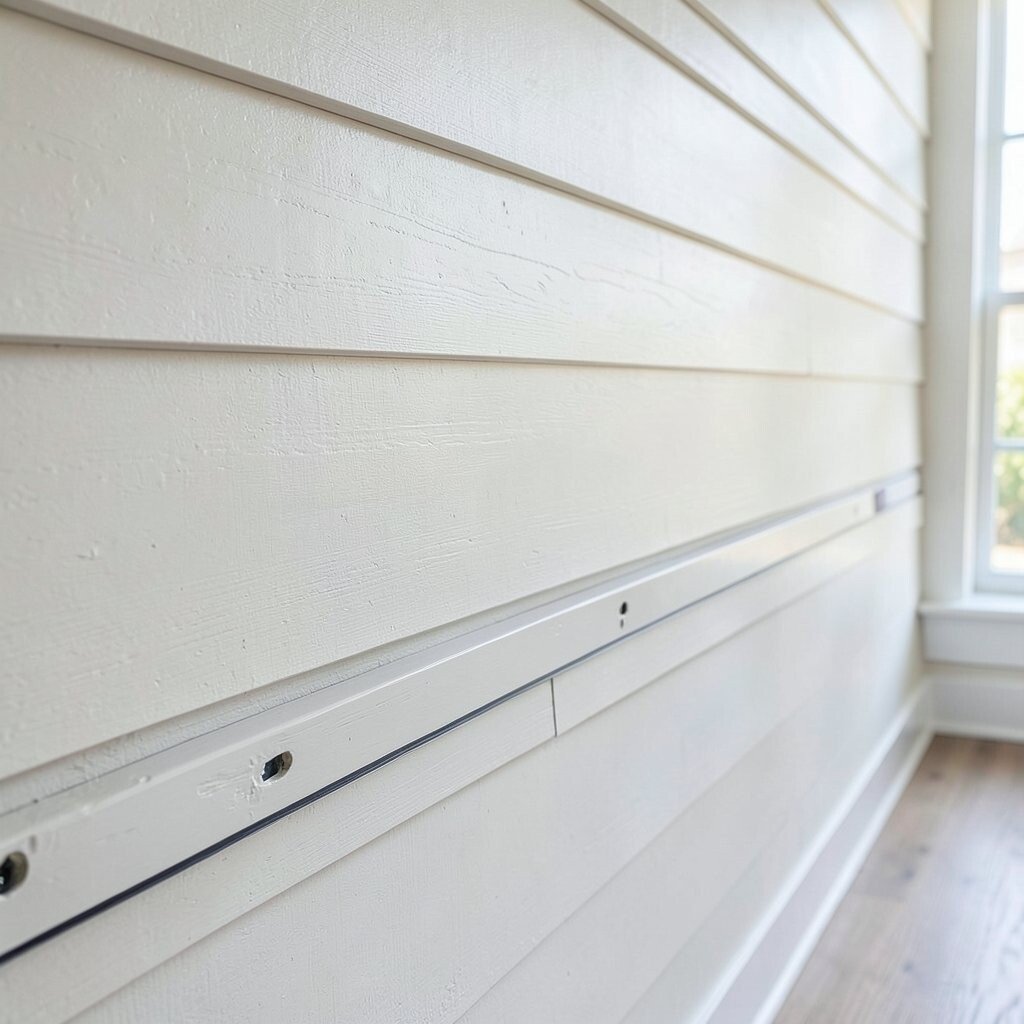
Your first row sets the tone for the whole wall. If it is even a little crooked, everything after it will slowly drift.
Strike a level chalk line and keep checking as you go. It is also smart to mark stud locations on the wall so you can nail without guessing.
Once the base row looks right, the rest of the installation feels easier and more satisfying. This step alone helps achieve that fresh, shop-like finish.
6. Stagger Seams for a Cleaner, Custom Look
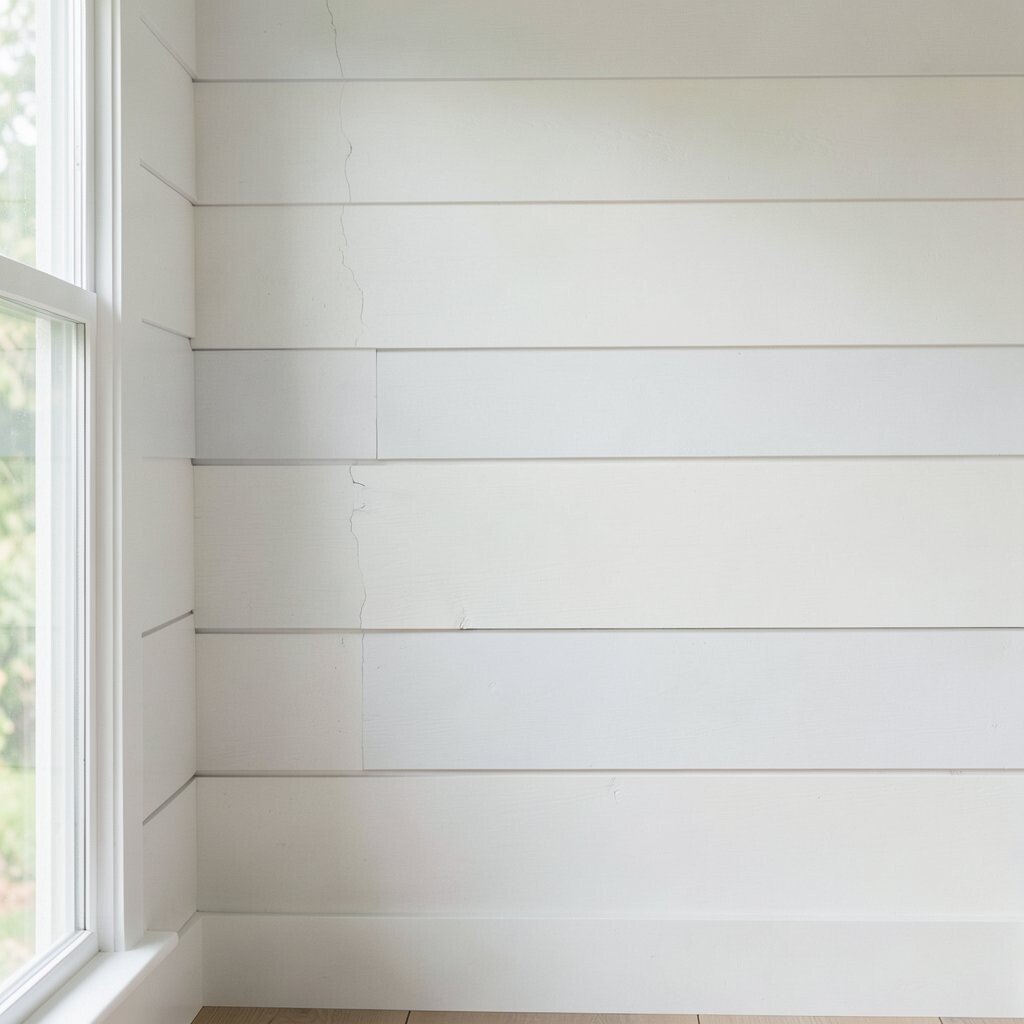
Shiplap looks extra neat when seams do not all line up. Staggering joints helps the wall feel more like built-in woodwork.
Try splitting the difference by alternating boards so each seam lands near the middle of the board above. This also gives you flexibility if you need to cut pieces to fit around outlets or corners.
When you plan staggered seams, small imperfections are less noticeable because the eye is moving across the pattern. It is a simple way to make a typical wall look carefully designed.
7. Think About the Sides, Corners, and Transitions

Corners can be the make-or-break spot for a shiplap wall. If you plan poorly, you may end up with visible gaps that catch the light.
For a tight finish, decide early whether you want mitered corners, butt joints, or corner trim. Mitered corners look elegant but take precision, while trim can hide tiny alignment issues.
Transitions around doors, windows, and ceilings also deserve attention. Leaving a small gap where wood meets other materials helps the wall handle seasonal movement without buckling.
8. Sand Lightly to Keep the Surface Smooth
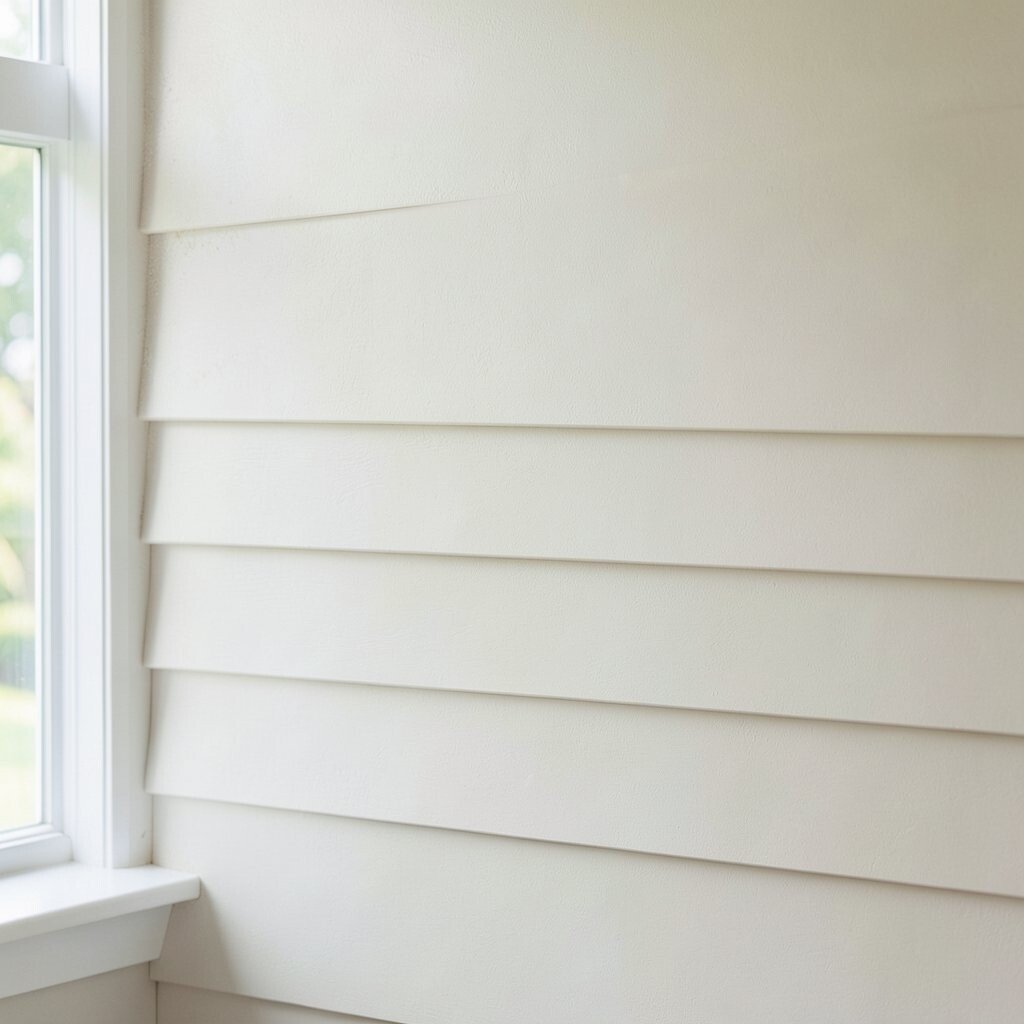
Shiplap is often ready to paint, but it still may have rough edges from milling. A light sanding makes the surface feel more pleasant and helps paint bond evenly.
Focus on the ridges and the areas where boards meet. If there is any splintering, smoothing it now prevents later scratching and helps touch-ups blend better.
9. Fill Nail Holes and Use Caulk Strategically
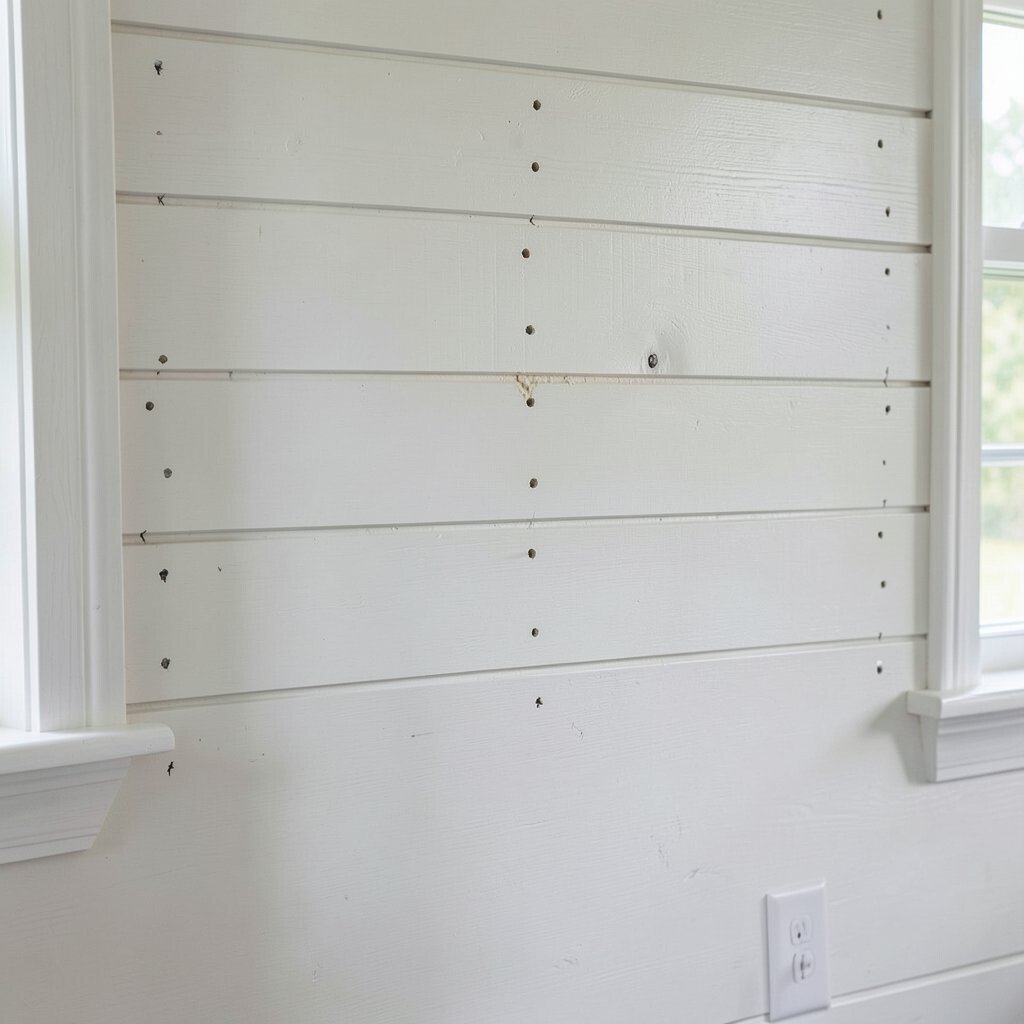
Visible nail holes can break the clean, fresh look you want. Fill them with wood filler and sand once dry for a smooth wall.
Caulk can also help where you want a seamless finish at board seams. Use a thin bead and wipe it lightly so it fills gaps without creating messy lines.
Many DIYers like using paintable caulk because it stays flexible and helps with tiny changes in humidity. A careful caulk job can make the wall feel custom and polished.
10. Match the Color to the Mood of the Room
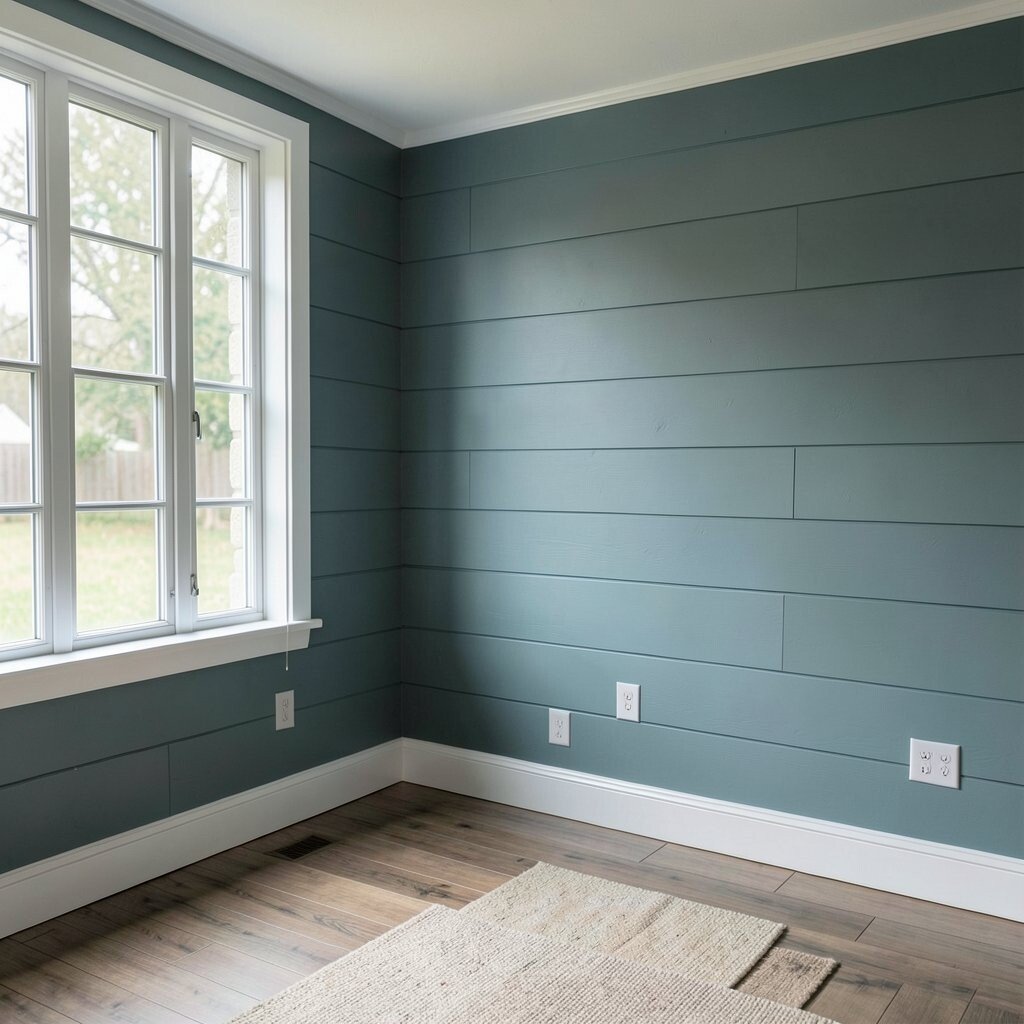
Paint color is where shiplap turns into a design choice, not just a wall covering. Bright whites feel airy and modern, while warm creams add a cozy touch.
Greens and soft blues pair beautifully with natural wood tones and bring calm energy. If you want contrast, consider a slightly darker shade on shiplap and a lighter tone on trim.
When you pick a color, test it on a few boards or in a small section on the wall. Lighting changes how paint looks, so you want the final tone to match the mood you want each day.
11. Consider Priming for a More Even Finish

Priming helps paint go on smoother and can reduce blotchiness, especially on raw wood. It also creates a consistent surface, so the color looks the same across every board.
If your shiplap is knotty or stained, primer becomes even more important. Choose a primer that matches your paint type and follow the drying time so the finish cures properly.
12. Manage Electrical and Vent Covers with Clean Planning

Outlets and switches are unavoidable, so treat them like part of the design instead of an interruption. Turn off power, remove plates, and plan cuts before you nail a board in place.
When you measure openings, add a little margin so boxes sit comfortably behind the shiplap. A precise fit makes covers sit flat and gives the wall a tidy look.
For vents, you can keep everything aligned by marking the center and cutting carefully. Taking your time here keeps the wall feeling neat and professional.
13. Choose a Finish That Matches Your Lifestyle
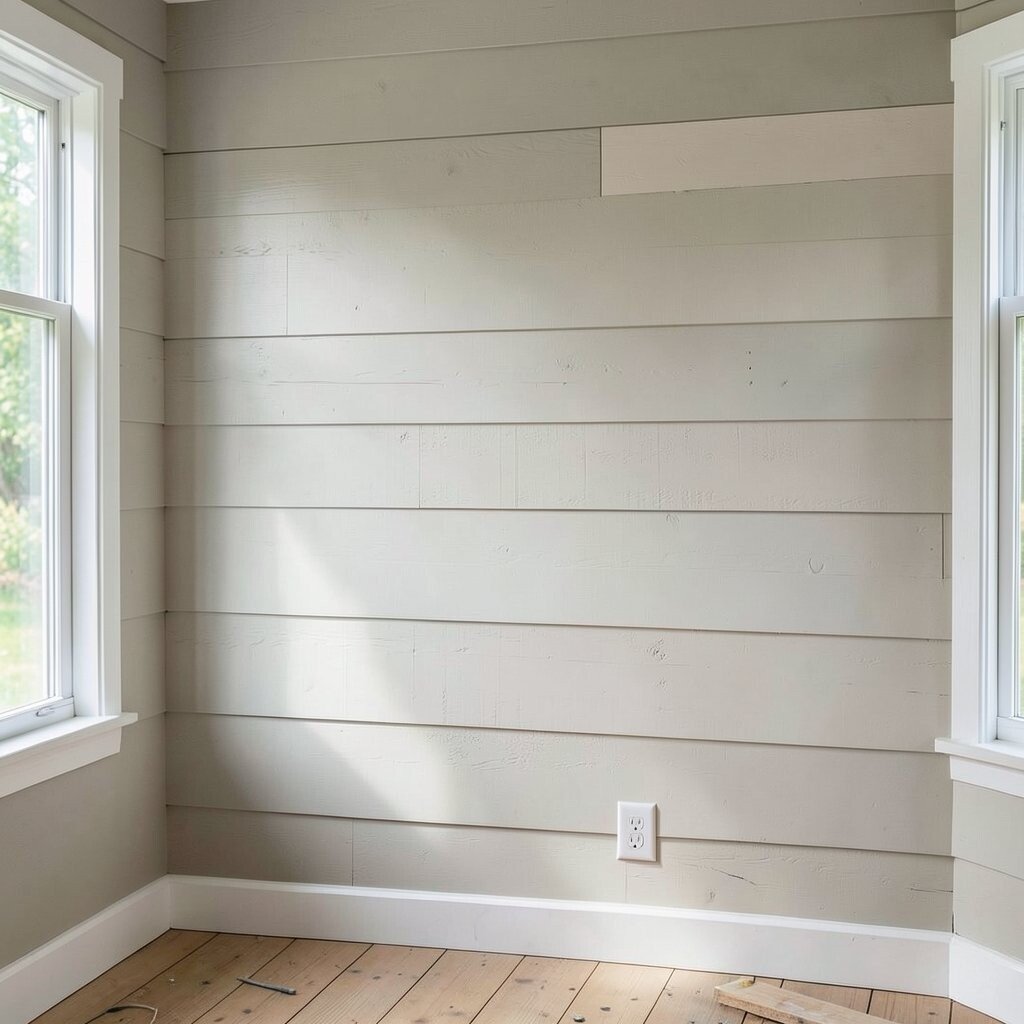
The finish matters as much as the paint color. A matte finish hides small imperfections and feels soft, while satin resists scuffs better in busy areas.
If the wall is in a hallway, mudroom, or near kids and pets, consider a more durable sheen. Kitchens and bathrooms often benefit from finishes that handle moisture and easy cleaning.
14. Use Shiplap to Highlight Features, Not Just Cover Walls

Shiplap can frame a fireplace, a desk nook, or a dining wall for major style impact. Instead of covering every inch, you can create a focal area that feels intentional.
This approach saves material and keeps costs lower while still giving you that fresh, textural look. It also makes it easier to repaint or update your color later without redoing an entire room.
When you highlight a feature, the texture becomes a backdrop for decor. Think about pairing it with a statement mirror, floating shelves, or warm lighting.
15. Add Texture with a Slight Gap or a Tight Seam
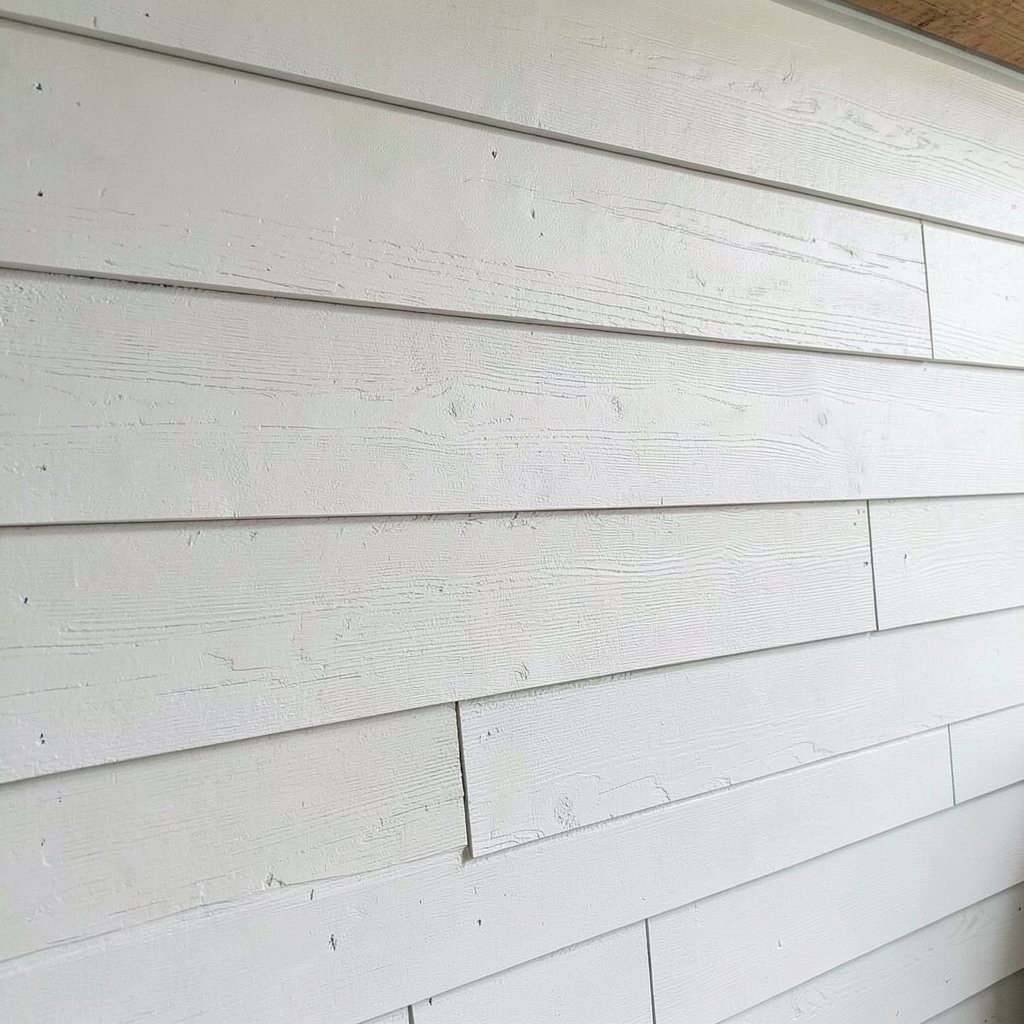
One of the fun parts of shiplap is the visual depth created by the grooves and seams. Some styles look best with a tight, almost seamless fit, while others shine with a small, consistent gap.
Decide what look you want before fastening so your spacing stays consistent across rows. If you like the bold shadow effect, embrace the natural groove and keep boards aligned.
16. Keep the Bottom Row Looking Neat Along the Floor
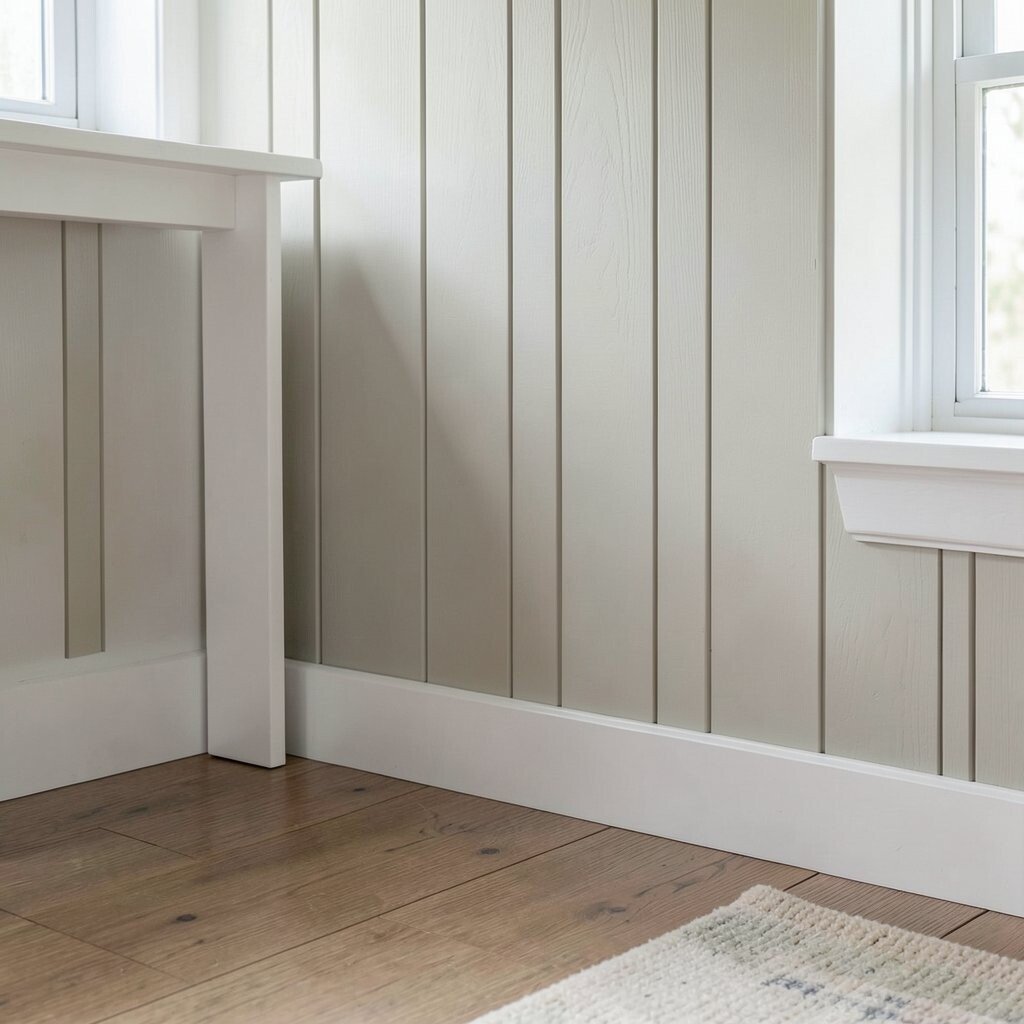
The bottom edge is usually the most noticeable part, especially if the floor is uneven. Measure near the floor in multiple spots and adjust the last row or trim as needed.
Many people use a baseboard to hide small gaps and keep the line clean. If you are going board-to-floor, use careful cuts and leave a tiny expansion space where wood meets the surface.
Taking this extra step prevents the wall from looking wavy at the ground level. It is a small effort that pays off every time you walk into the room.
17. Control Expansion and Contraction with Smart Gaps
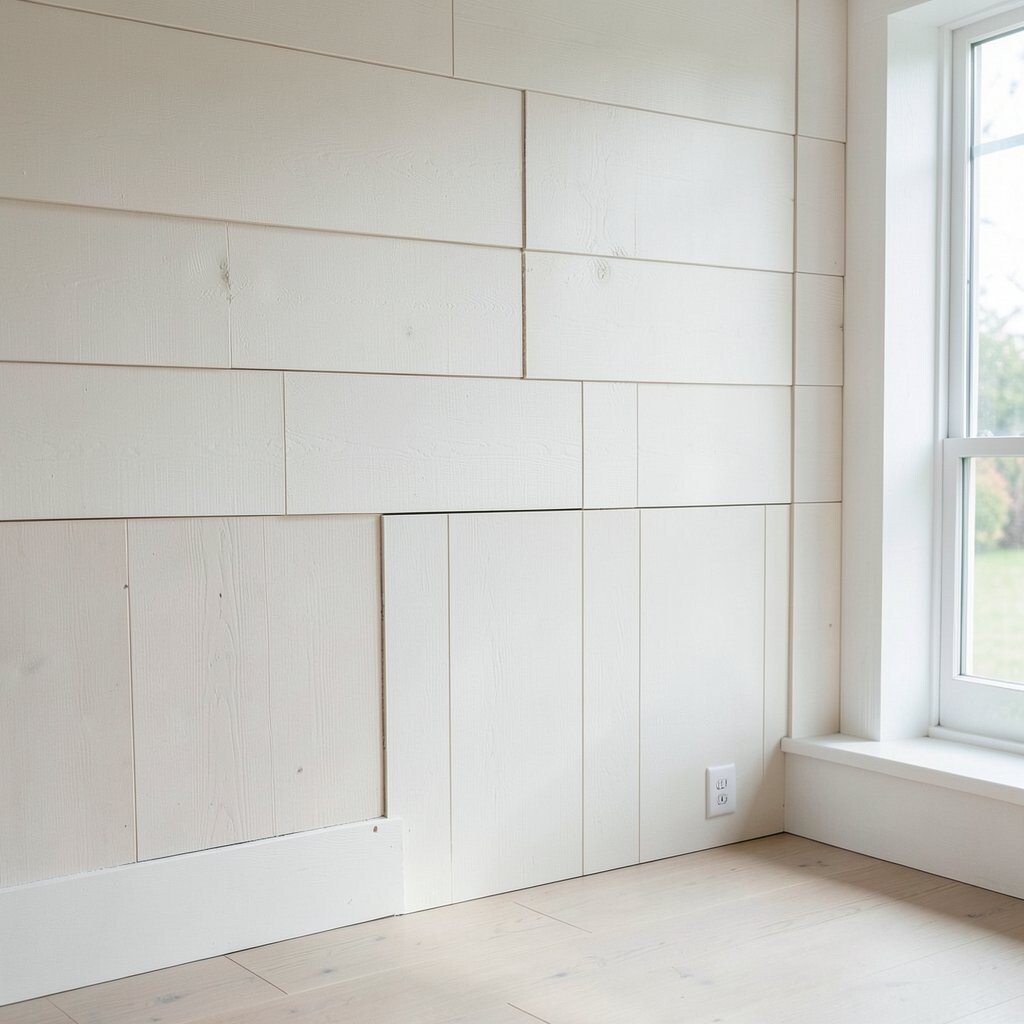
Wood moves with temperature and humidity, so plan for it instead of fighting it. Leave a small gap at the ends of runs where the boards meet trim or adjacent surfaces.
This helps prevent buckling, cracking, or open seams over time. Using flexible caulk at specific transitions can also help the wall stay stable while still looking crisp.
18. Maintain Consistency with Spacing Tools and Checkpoints

Even if you are careful, tiny spacing differences can add up across a long wall. A small spacing tool or a simple scrap spacer can help keep gaps uniform between boards.
Work in short sections and check alignment often, especially after a few rows. When you catch a misalignment early, fixing it is quick and less costly than correcting a full wall later.
19. Plan for Budget with Material Choices and Waste Factor
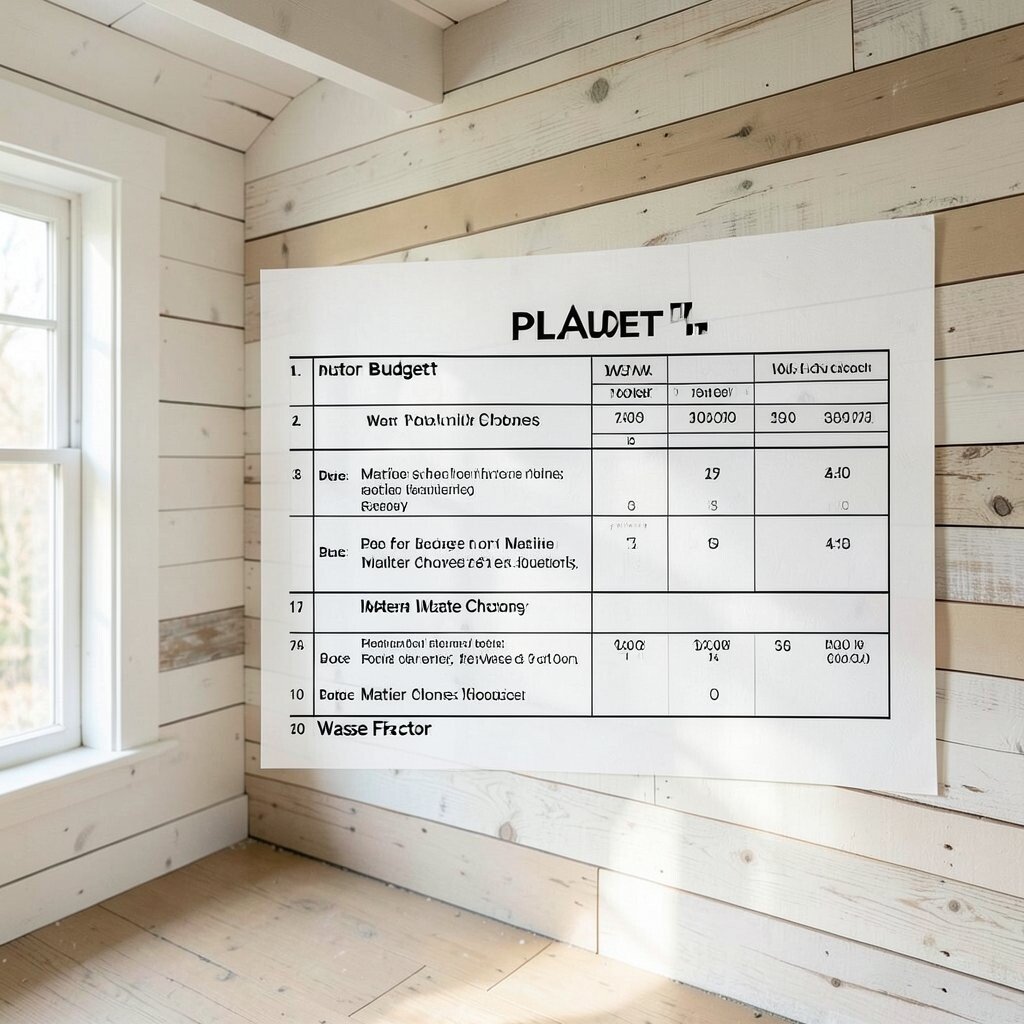
Shiplap costs can vary a lot based on wood type, thickness, and whether it is pre-primed. Setting a realistic budget early helps you decide when to splurge and where to save.
Buying straight boards with fewer knots can reduce sanding and repairs, but it may cost more upfront. For big areas, consider using quality boards for visible sections and saving the rest for areas that get less attention.
Remember that waste happens, especially with outlets, corners, and long cuts. Add extra material to your order so you do not get stuck waiting for replacements mid-project.
20. Pair Shiplap with Trim, Shelves, and Lighting for Extra Wow
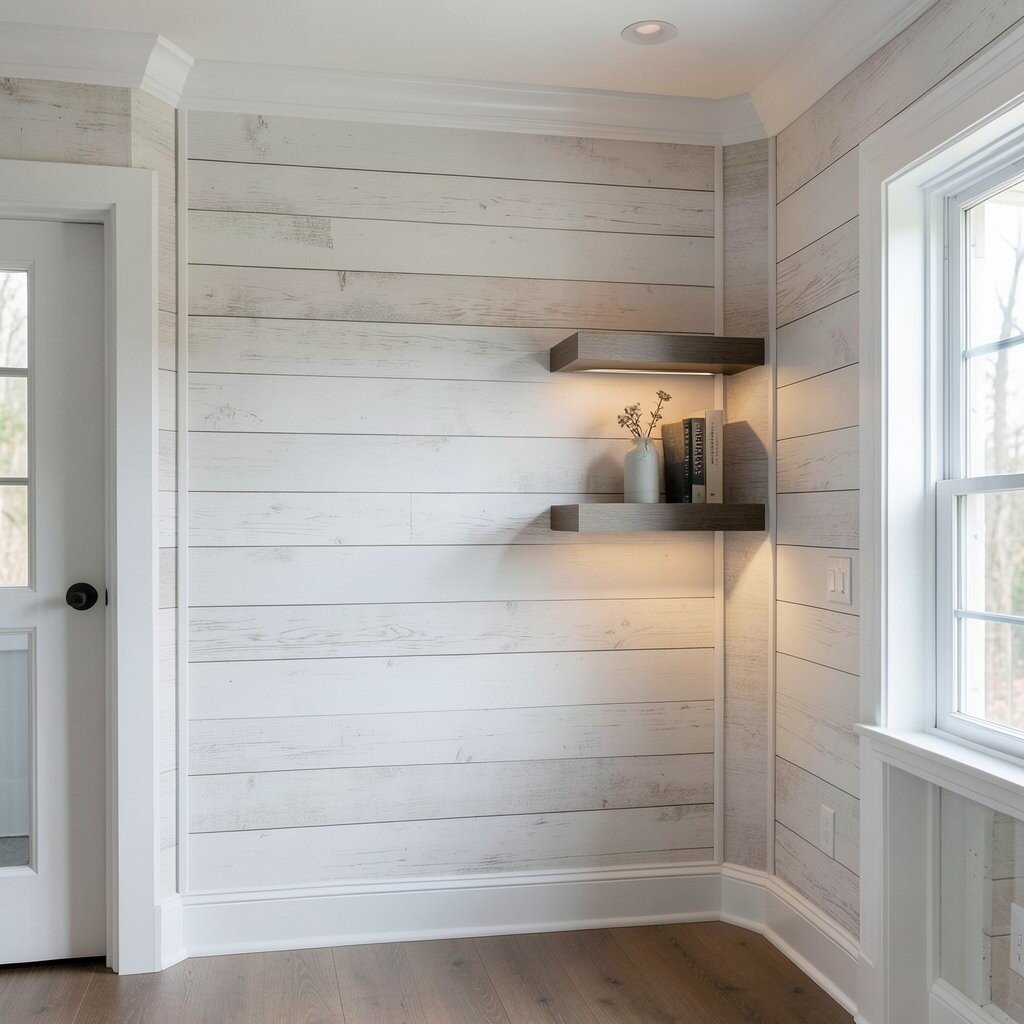
A plain shiplap wall is charming, but adding trim details can make it look designer. Crown molding or simple base trim can anchor the wood and sharpen the edges.
For a fresh look, try floating shelves that match the paint color and texture. Warm lighting like sconces or an LED strip under shelves adds depth to the grooves and makes the wall feel more dramatic.
When you mix shiplap with thoughtful decor, the texture becomes part of the room’s story. Keep styles cohesive so the wall supports your overall theme.
21. Personalize with Built-In Nooks, Painted Ombre, or Accent Zones

Shiplap is a great canvas for personalization, and you can keep it practical while making it unique. Consider adding a shallow ledge for keys or a small reading nook that feels like your favorite corner.
For a trendy visual twist, try an ombre effect on paint or use a bold accent zone on one wall section. You can also frame an area with contrasting color so the shiplap grooves stand out even more.
If you want a subtle personal touch, stain a small portion and paint the rest. That mix of natural and painted tones looks modern and warm without feeling overdone.
With thoughtful planning and your own style choices, the finished wall will look fresh today and still feel right years from now.