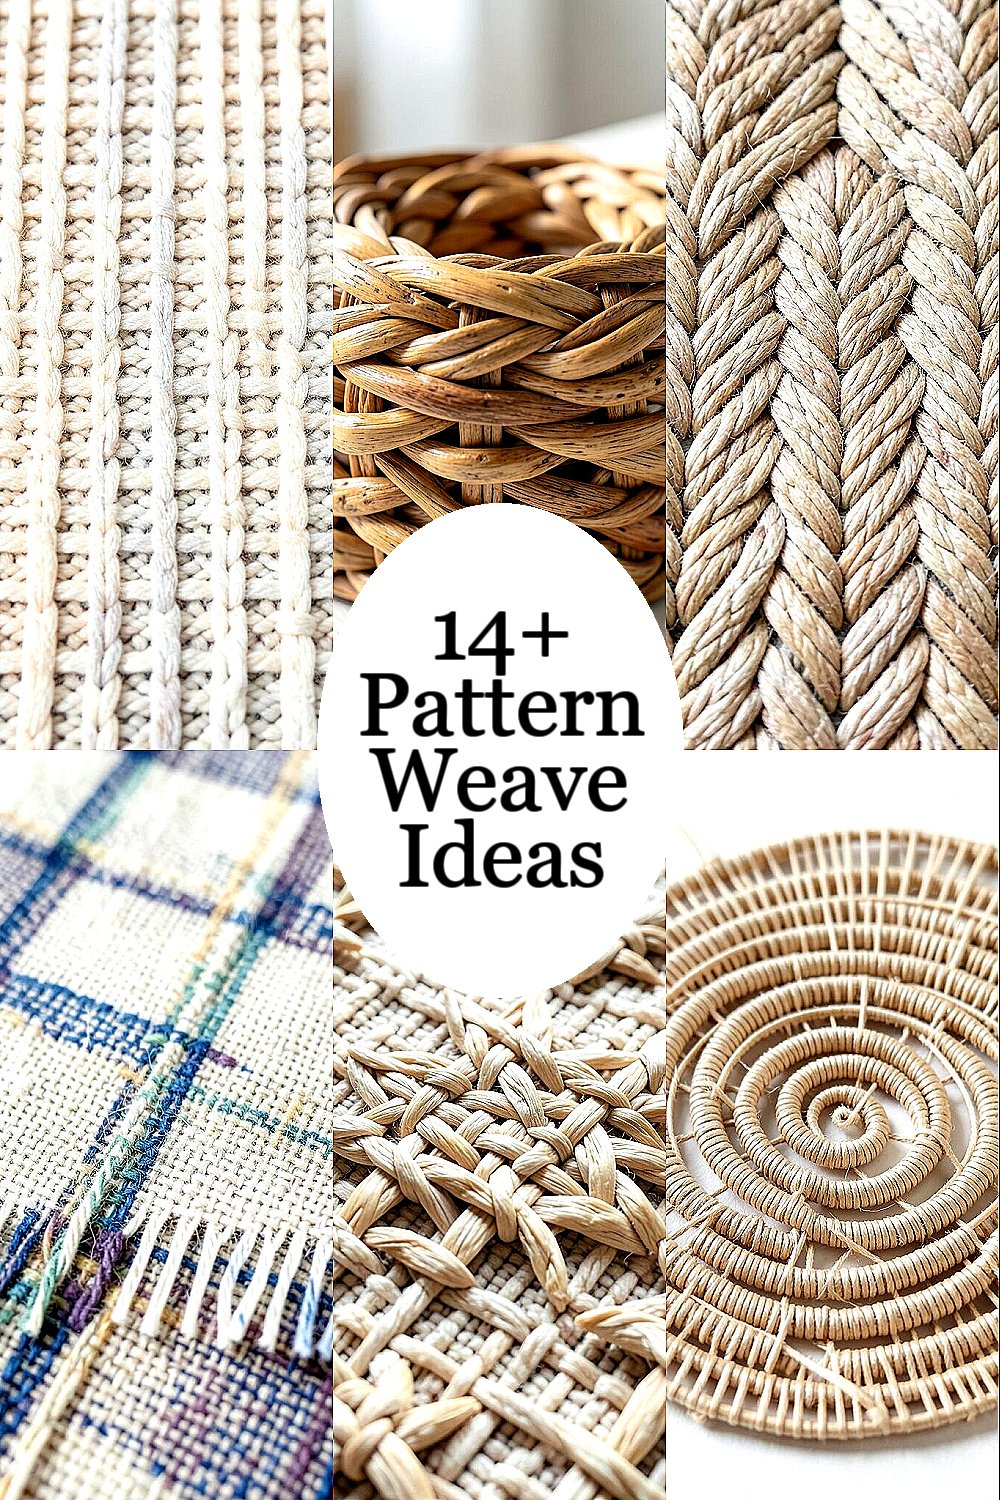
Some threads look ordinary until they meet a bold plan. When you weave patterns, your hands start telling stories.
Let these ideas guide your next project, from cozy home pieces to wearable art. You can keep it simple, or push color and texture until it feels like a new world.
1. Ladder Ridges With a Soft Gradient

Pick two or three yarn shades that fade gently from one to the next. Weave in crisp ladder-like channels so the ridges feel almost architectural.
To keep it neat, count your repeats before you start and tape a guide line to your workspace. You will love how the pattern makes even a basic scarf look like it has motion.
For personalization, mirror the gradient direction on a second panel for a matched pair. If you want a current trend vibe, choose yarn with a subtle halo or marled texture so the light plays across the raised steps.
2. Basket Twist That Looks Hand-Carved
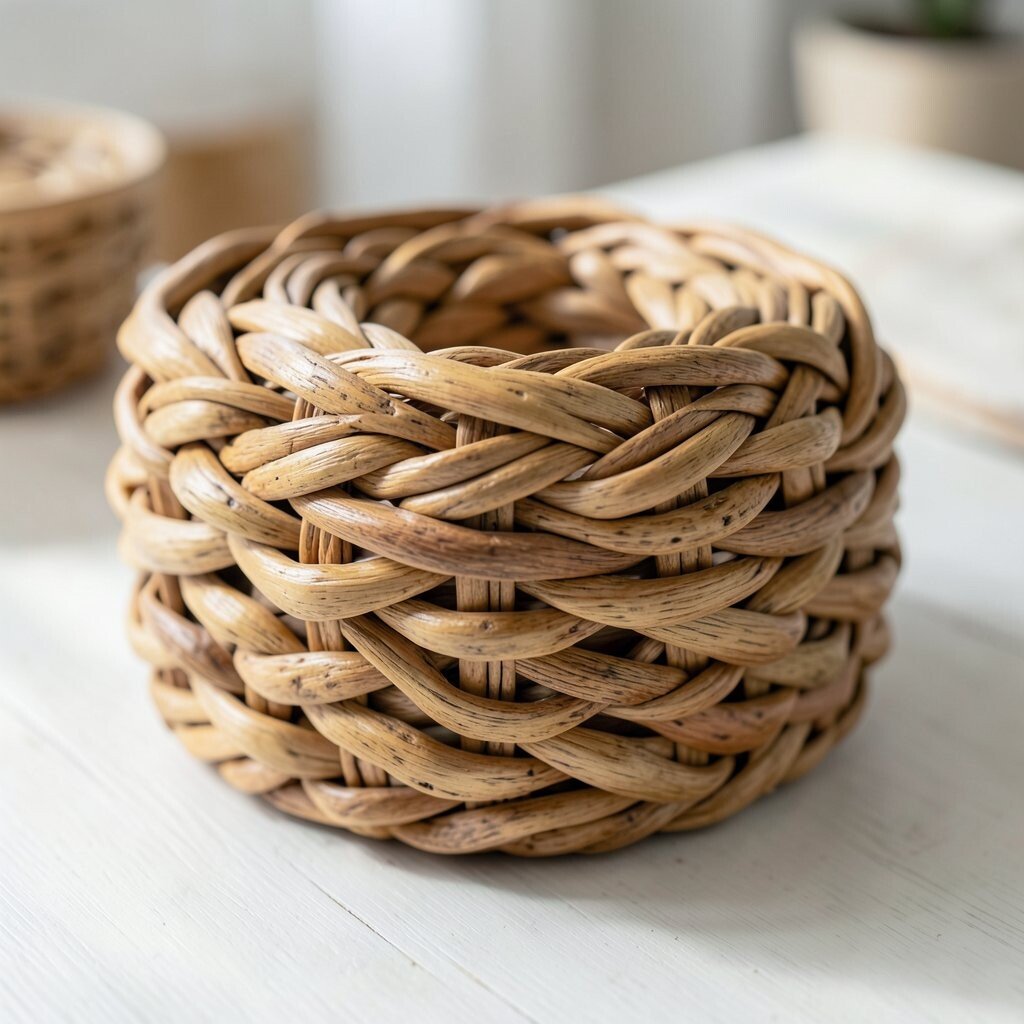
Use a plain weave base, then twist one strand slightly each time you change direction. The result looks like woven wood, even if you’re using yarn or fabric strips.
Choose one thicker material and one thinner material so the twist creates clear contrast. This pattern gives strong texture with minimal color juggling, which keeps costs reasonable.
To make it feel unique, vary the twist speed by rows, making some sections tighter and others looser. You can also match the twist to a theme, like tighter areas for stripes and wider areas for calm shapes.
3. Chevron Steps With a Repeating “U” Rhythm

Plan a chevron where each point repeats a gentle “U” curve shape. When you weave, the teeth should look like they line up perfectly, one step at a time.
Use a charted mindset without overcomplicating it, marking the start of each chevron with a small stitch marker. The benefit is a bold pattern that hides small mistakes because the geometry keeps everything forgiving.
For a practical upgrade, weave a narrow border in a solid color so the chevrons frame the middle. If you want something trendy, pick colors seen in modern home decor like warm neutrals with a single jewel tone accent.
4. Broken Check With Uneven Strands

Instead of a perfect checkerboard, weave checks that break apart into small islands. Let some blocks run larger, and let others shrink so the pattern feels playful and imperfect.
Use yarn of the same thickness, but alternate strand tension so the “broken” edges look lively. This technique is great when you want a design that feels handmade rather than factory clean.
Keep it actionable by starting with a small swatch and adjusting your tension before you commit. Personalize it by adding a surprise color in just one corner of each block.
To manage cost, borrow yarn from your stash and limit specialty colors to about one yarn. The uniqueness comes from placement, not from buying a whole new palette.
5. Woven Stars Using Simple Over-Under Blocks

Build tiny star shapes by using over-under repeats that align at regular intervals. When viewed from a distance, the star pattern should pop like small night lights.
Choose dark backing and bright foreground so the star points stand out clearly. This gives you high visual impact without needing complicated tools.
To make it personal, change the star size every few rows so the pattern feels like it’s drifting. If you’re following current trends, aim for a bold contrast look similar to modern graphic textiles.
6. Spiral Loom Lines With a Gentle Twist

Weave diagonal lines that gradually curve, so they look like a spiral caught in fabric. Even a mild curve can create a strong sense of movement across the surface.
To keep your spiral smooth, shift the pattern by one thread at a time and check it often. This is a relaxing project because the rhythm of the weave guides your hands.
For uniqueness, try mixing matte yarn with a shiny strand so the spiral catches light differently. This can be a low-cost “wow” trick if you only use metallic fiber in small accents.
7. Faux Cable Texture With “Locked” Crossings
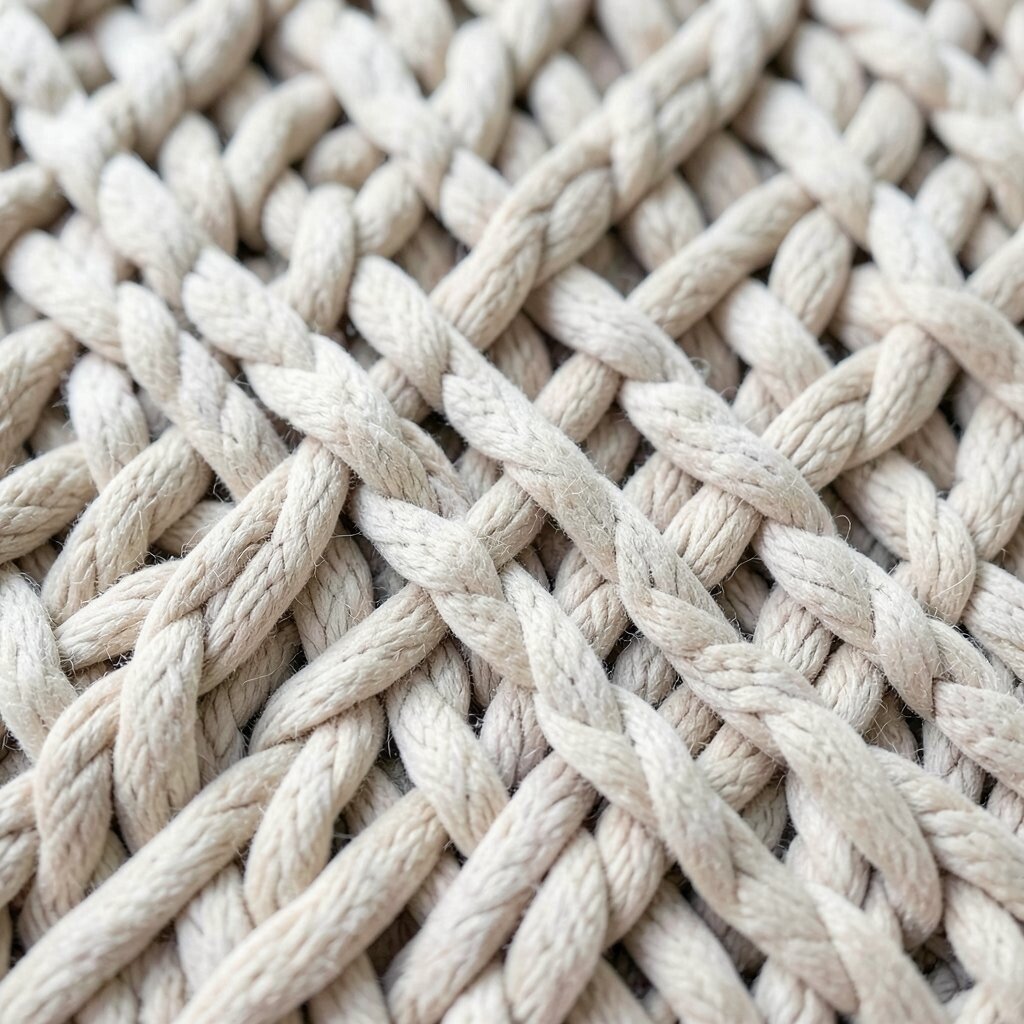
Create cable-like ridges by weaving small sections where strands swap positions. The pattern should look like twisted rope, but still feel soft and flexible.
Use a thicker yarn for the crossing areas and a slightly thinner yarn for the background. The visual description will be clear: raised arcs form and then settle back into a calm base.
To personalize, make the cables wide for one section and narrow for another. This helps you control how bold the texture feels, and you can stop anytime when it looks right.
8. Dot and Dash Weave With Speckled Color Placement

Alternate tiny solid blocks with short gaps so the surface reads like dot and dash. When the pattern is even, it feels modern and graphic.
For best results, keep your color placement consistent by using the same number of rows for each dot cluster. This also makes your work quicker because you can memorize the rhythm.
Personalize it by swapping colors in a gradient sequence or by using two shades only, which keeps cost low. A stash-friendly approach works well here because small specks can hide dye differences.
9. Herringbone With a Soft Edge Frame

Weave herringbone rows so the pattern forms angled V shapes that lean into each other. Add a thin frame around the outside in a solid color so the edges look finished.
This design offers a classic look that still feels fresh in many modern interiors. You’ll benefit from how the angled pattern masks uneven tension better than straight lines.
For practical tips, use a consistent number of steps for each V and keep the border tighter than the middle. Personalize it by changing the frame width, making it narrow for subtle style or wide for a bold look.
If you’re buying new materials, consider using budget-friendly acrylic for the base and one splurge yarn for the border.
10. Brick Pattern With Color Mortar Lines

Arrange weaving blocks like bricks, with each row slightly offset from the last. Let the “mortar” be a contrasting yarn so the structure looks crisp.
Use two or three colors so the mortar lines stay clear and your project looks intentional. This pattern is great for coasters, bags, and even wall hangings because the grid holds shape.
To make it unique, try using a semi-solid yarn for mortar so it looks slightly marbled. You can also add a stripe of brighter mortar in the center to create a focal band.
11. Half-Thread Geometry With Negative Space

Weave so some areas look open, using fewer threads to create visible negative space. The design should feel airy, like geometric cutouts made with fibers.
This approach gives you a modern style without needing many colors. You’ll love how negative space makes the pattern look sharp and intentional, even in small pieces.
For personalization, shape the open areas into diamonds, rectangles, or soft waves. If you want to keep costs down, rely on a single main yarn and let the empty space do the work.
12. Twined Fringe Borders With a Woven Core
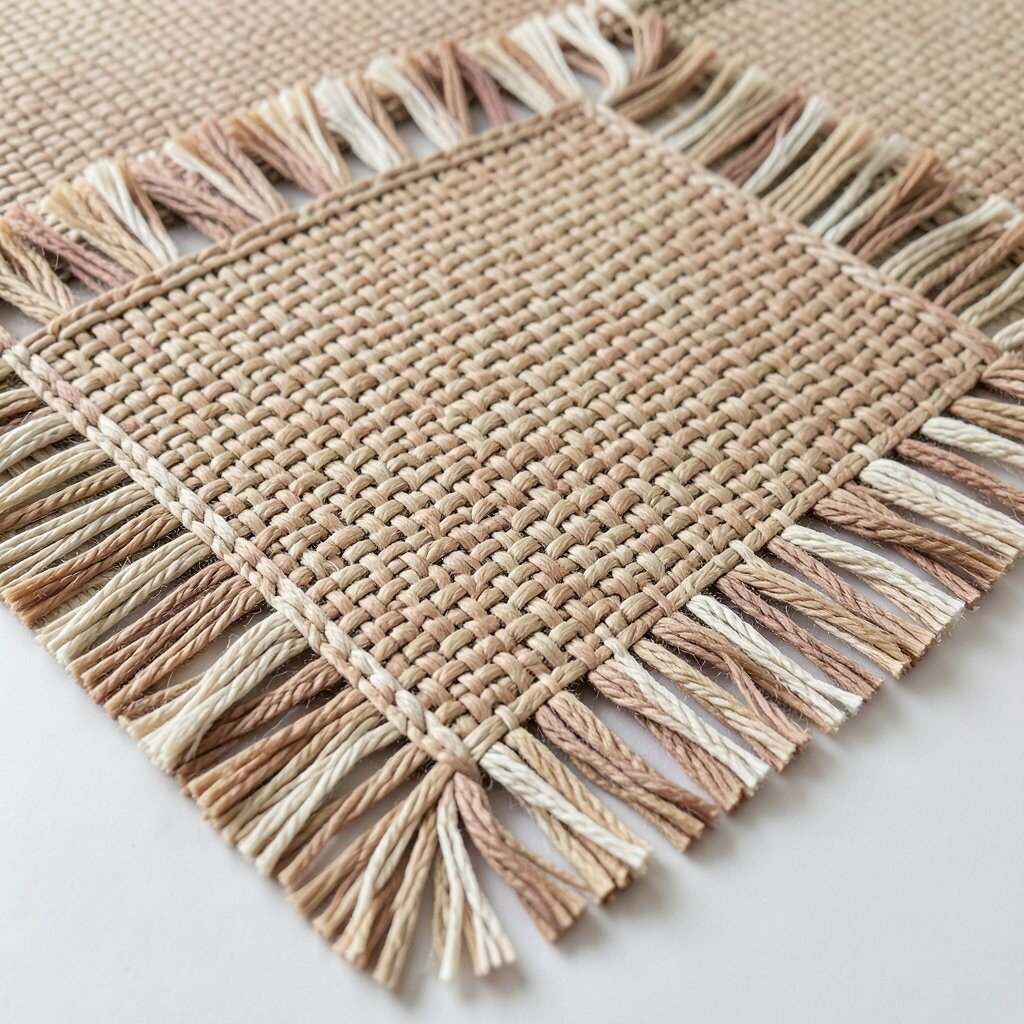
Weave a simple pattern in the middle, then add a twined fringe border on the edges. The contrast between a calm center and lively fringe creates a friendly, handcrafted feel.
Choose fibers that braid well, like cotton strips or yarn that holds twists. The visual description will be clear as the border forms little loops that catch the light.
To make it practical, keep the core repeat straightforward so you don’t rush the finishing work. Personalize the fringe by using multiple colors within the border while keeping the center one shade.
For cost considerations, use leftover scraps for the fringe since small bits can add lots of texture.
13. Damask-Inspired Swirls With Contrast Backing

Use a repeating over-under layout to form faint ornamental swirls. The damask look appears when your contrast is strong enough for the pattern to show.
Pick one dominant color and one subtle contrast so the swirls feel elegant rather than loud. This makes the weaving look polished for cushions, totes, and table runners.
Try a current trend style by using earthy tones like clay, sage, or cream. You can also add a metallic accent thread sparingly so the swirls sparkle without overwhelming the design.
14. Color Block Weave With Interleaved Stripes
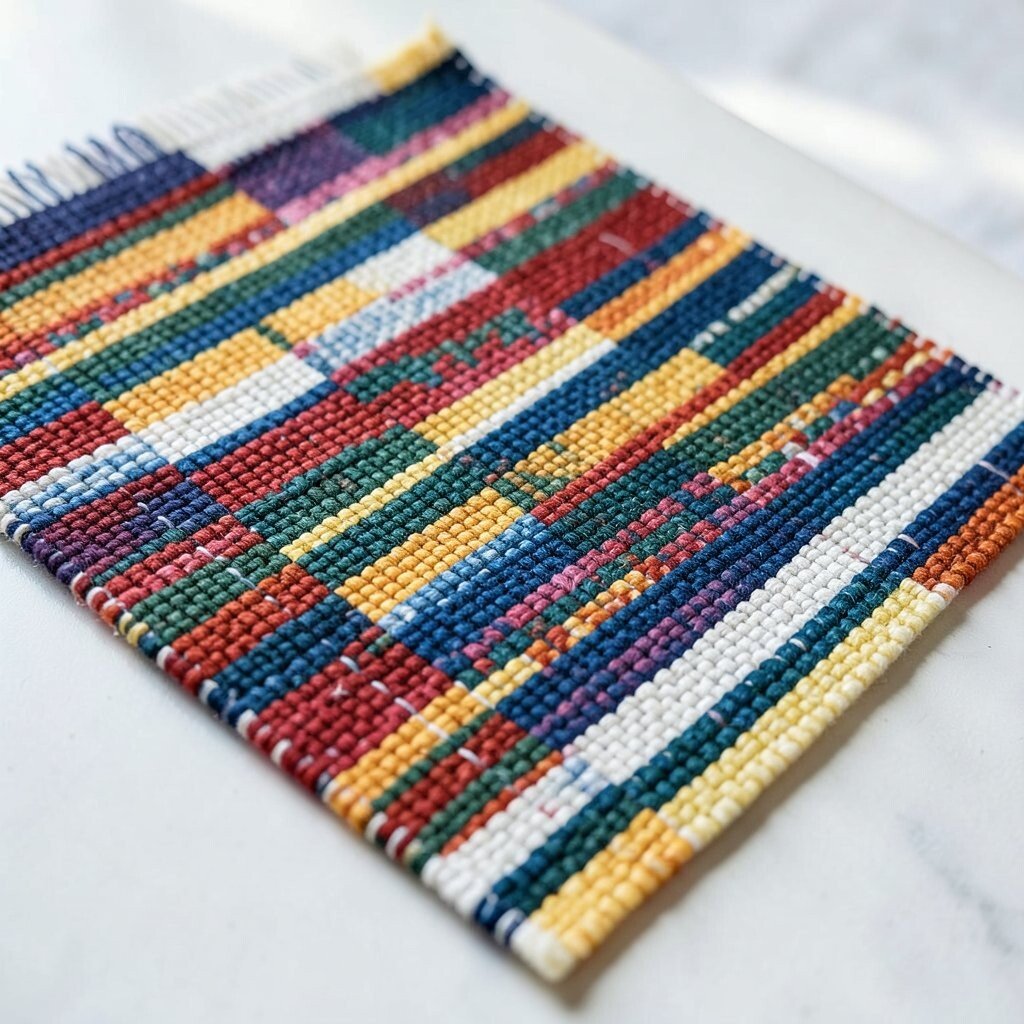
Start with wide color blocks, then weave thin stripes that interleave across the borders. The blocks should look like they’re stitched together by moving lines.
This pattern is powerful because it balances big shapes with small detail. It’s also easy to personalize since you can rearrange color order without changing the structure.
For practical tips, plan your stripe thickness before you begin and keep it consistent within each block. If you’re worried about cost, use inexpensive yarn for the majority and reserve expensive fibers for only the stripe layer.
15. Sunburst Weave With Radiating Lanes

Create a sunburst effect by weaving lanes that start wide and narrow toward a center point. The fibers should form rays that feel like sunlight spreading across a surface.
Use a center color that’s slightly different in tone from the outer rays so the shape reads clearly. This benefits your final piece because it creates depth even if your weave is simple.
To make it unique, change the spacing between rays so some feel bold and others feel delicate. You can also turn it into a seasonal project by switching colors for holidays, using bright oranges and yellows for warmth or cool blues for a calm look.
If you want a budget-friendly plan, use one main yarn and only two alternating ray shades, then swap in whatever leftovers you already own.