Layered hair can look expensive, but it doesn’t have to be. With the right tricks, you can get movement, shape, and bounce without spending much.
Below are easy, budget-friendly ways to wear layers that feel fresh and current. Each option includes simple ways to personalize the look at home or with a quick salon request.
1. Face-Framing Curtain Layers With a Band
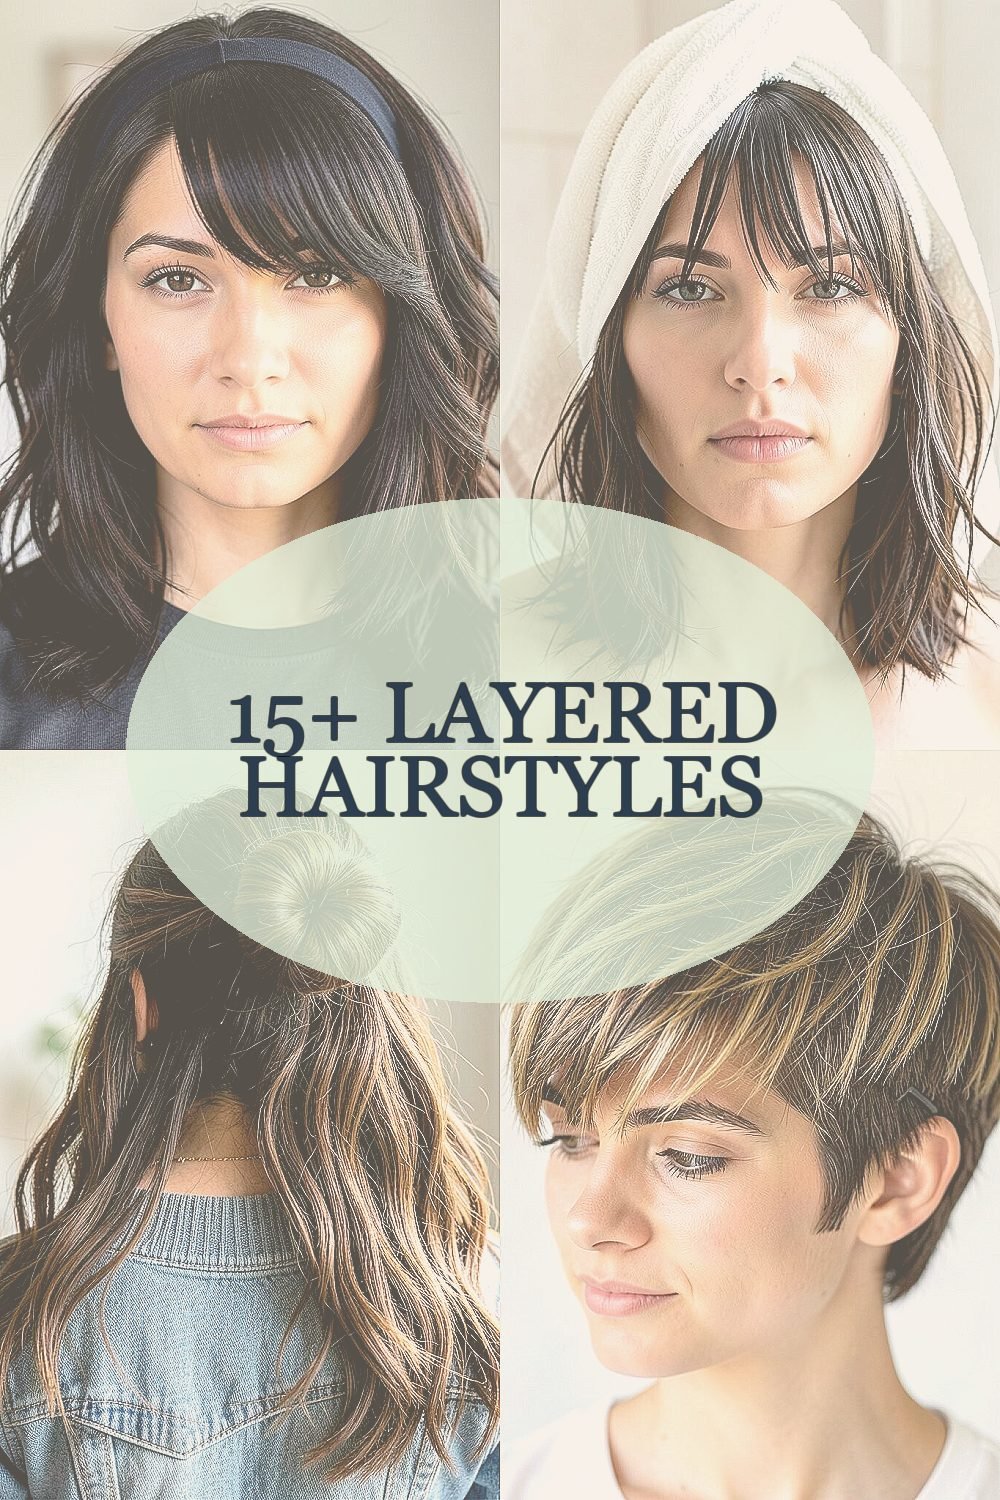
Part your hair where it naturally falls, then pull two thin sections near your cheekbones. Clip them up while the rest stays loose, so you can see how the layers will frame your face.
To add softness fast, use a small hair band or claw clip to keep the front sections slightly forward. When you blow-dry or air-dry, lift those pieces gently so they curl outward at the ends. This gives a curtain effect that looks styled even when you didn’t use much heat.
2. Bang-Ready Layers Using a Clean Towel Dry
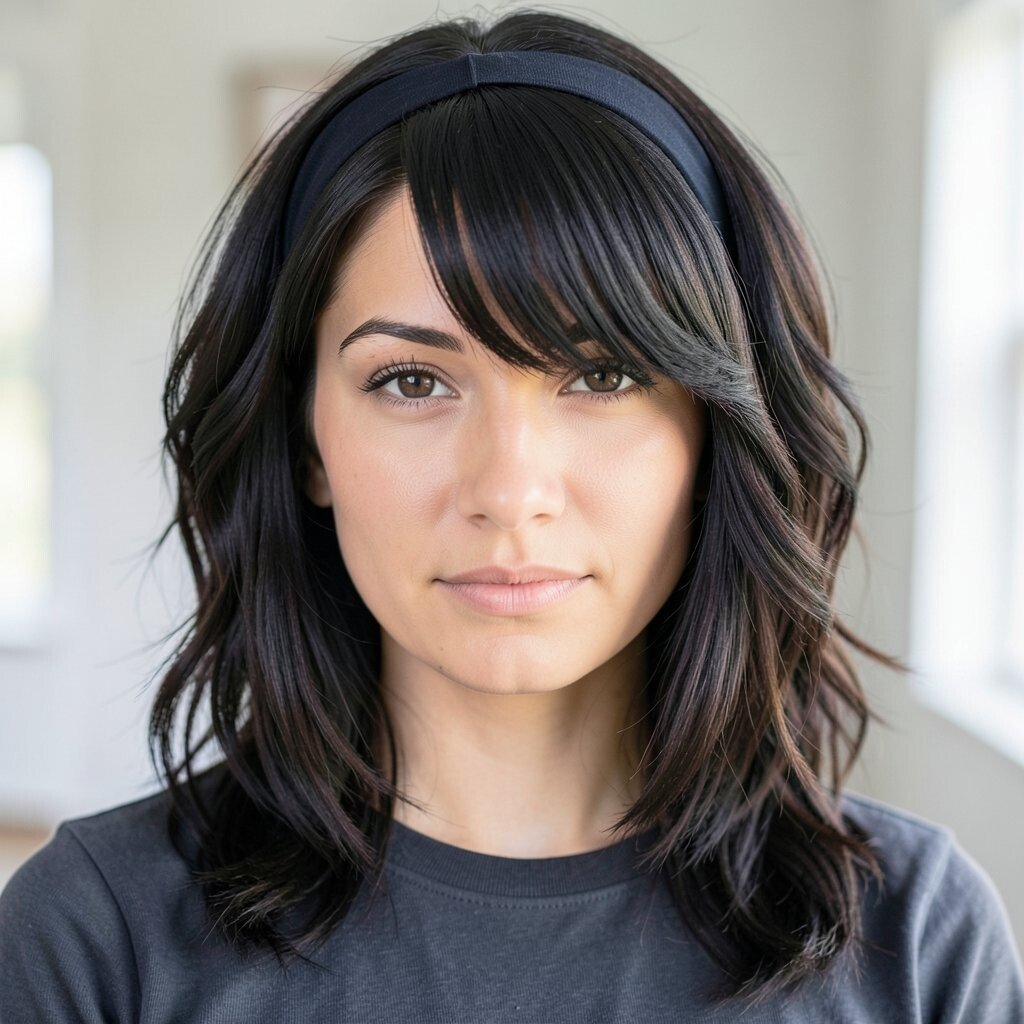
Start with freshly washed hair and blot it with a clean towel until it feels damp, not dripping. If you have longer layers, focus on the front first so your fringe blends naturally.
Twist small sections of the top and front, then let them air-dry while you go about your day. Once dry, separate with your fingers and shake the roots for volume. You’ll get airy layers that look light and modern without buying new tools.
For a low-cost finish, use a tiny amount of lightweight gel or mousse to tame flyaways around the bangs. If you want a trendier look, slightly angle the front pieces so they sit lower near the cheek and shorter toward the center. That subtle gradient reads as layered even in simple styles.
3. Long Layers With a Sock-Bun Bend

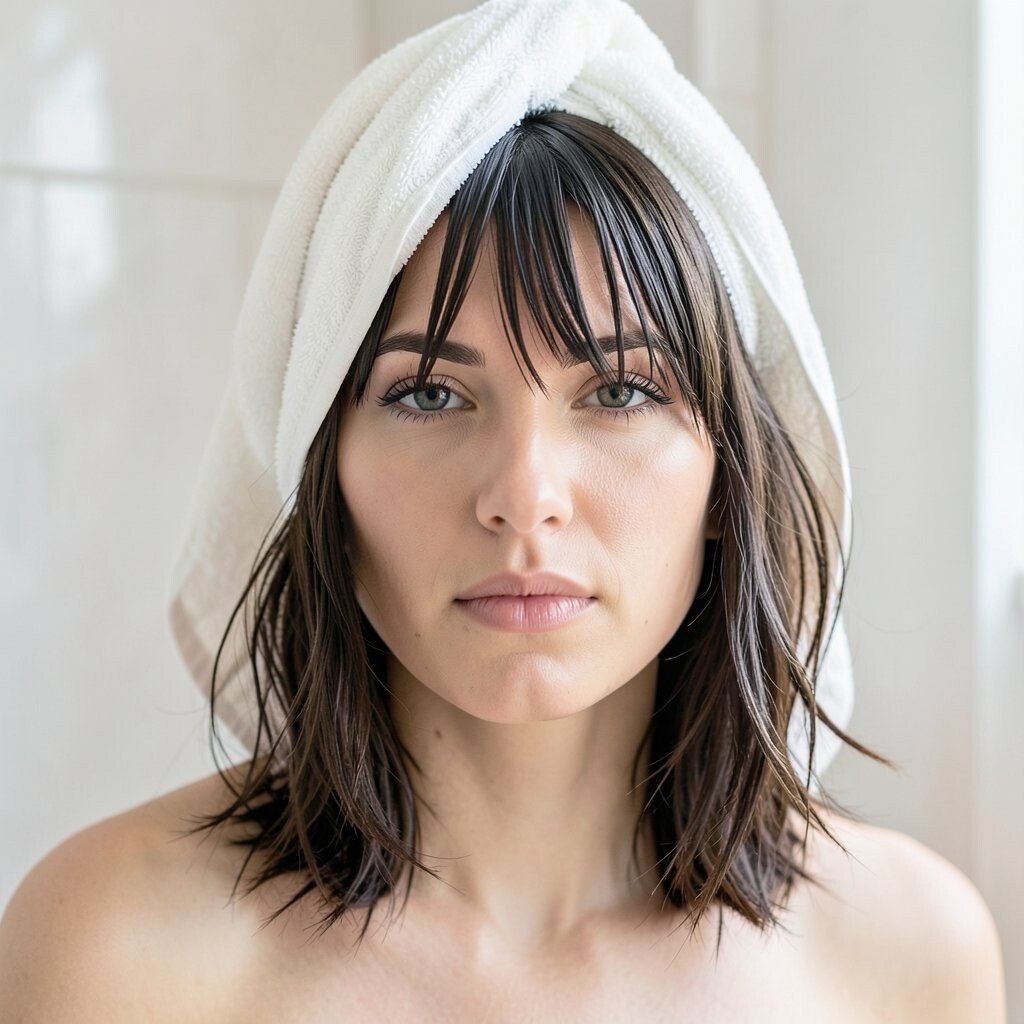
For a bendy, layered look, dampen hair and gather it into a high ponytail. Slide a clean sock over the ponytail like a donut, then wrap hair around it loosely.
As it dries, the sock bun creates soft waves that mimic layered texture. The ends will puff and separate instead of staying flat, which makes your length look fuller. You also get a gentle “bottom-layers” vibe without trimming anything.
When you take it down, use a wide-tooth comb lightly, then rub a little conditioner on your fingertips to break up clumps. This helps the layers look intentional and not stringy. If your hair is thick, keep the bun tighter; if it’s fine, make it slightly looser for bounce.
To stay under budget, use what you already own and only buy a budget mousse if you feel your hair won’t hold a shape. You’ll still get a fresh look because the movement is the star. Plus, layered waves are always in style because they make hair look alive.
4. Short Layer Pop With a Micro-Claw Clip Lift
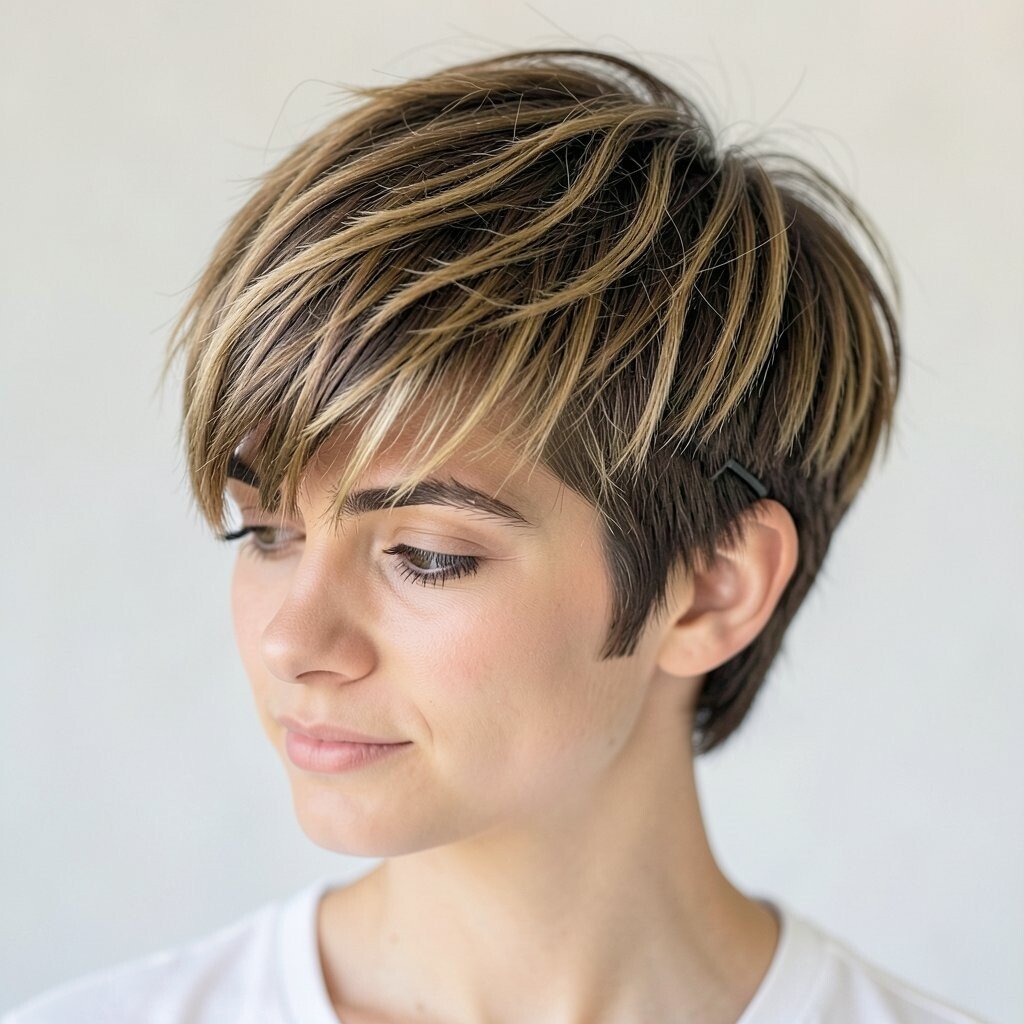
If you have shoulder-length hair, layers can add a playful flip without cutting much off. Gather the top layers, then use a micro-claw clip to lift the crown area.
Leave the clip in while you dry your hair or while hair is slightly damp. After removing it, shake out and gently press the sides so the layers land around your jaw. This creates a short-layer “pop” that looks cute and styled.
5. Asymmetrical Layers With a Quick Side Part
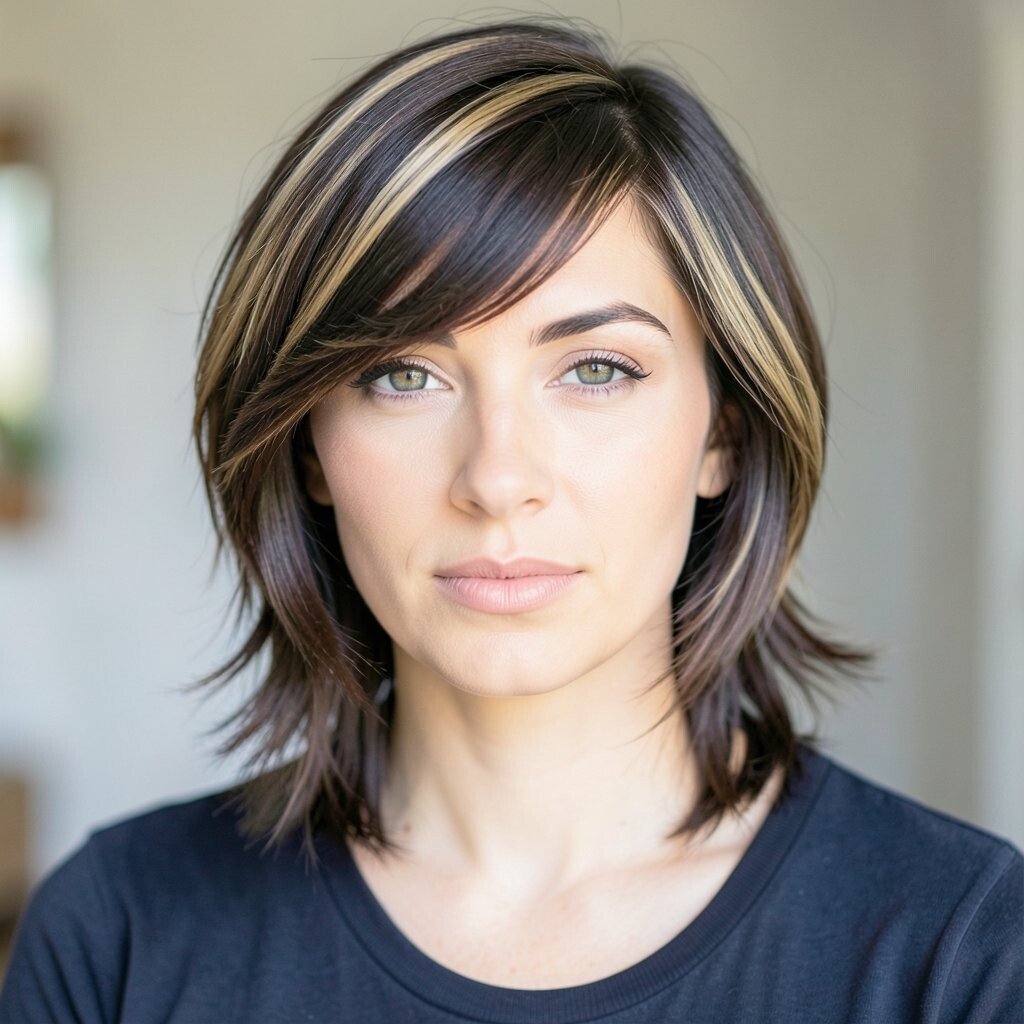
Try a deep side part and let the hair naturally fall in a slanted way. Layers will show up more clearly on the heavier side, while the lighter side frames your face.
Use a light hairspray or styling cream on the underside of the longer side so it holds its shape. Then tuck one section behind your ear to show a clean edge where the layers meet. The asymmetry gives a modern, runway mood without needing a haircut today.
To personalize, pick the side part based on your best features and where your hair wants to lay. If you want it softer, curl only the ends of the longer side. If you want it sharper, smooth the roots and keep the ends slightly angled.
6. Layered Bob With a Heatless Twist-Set
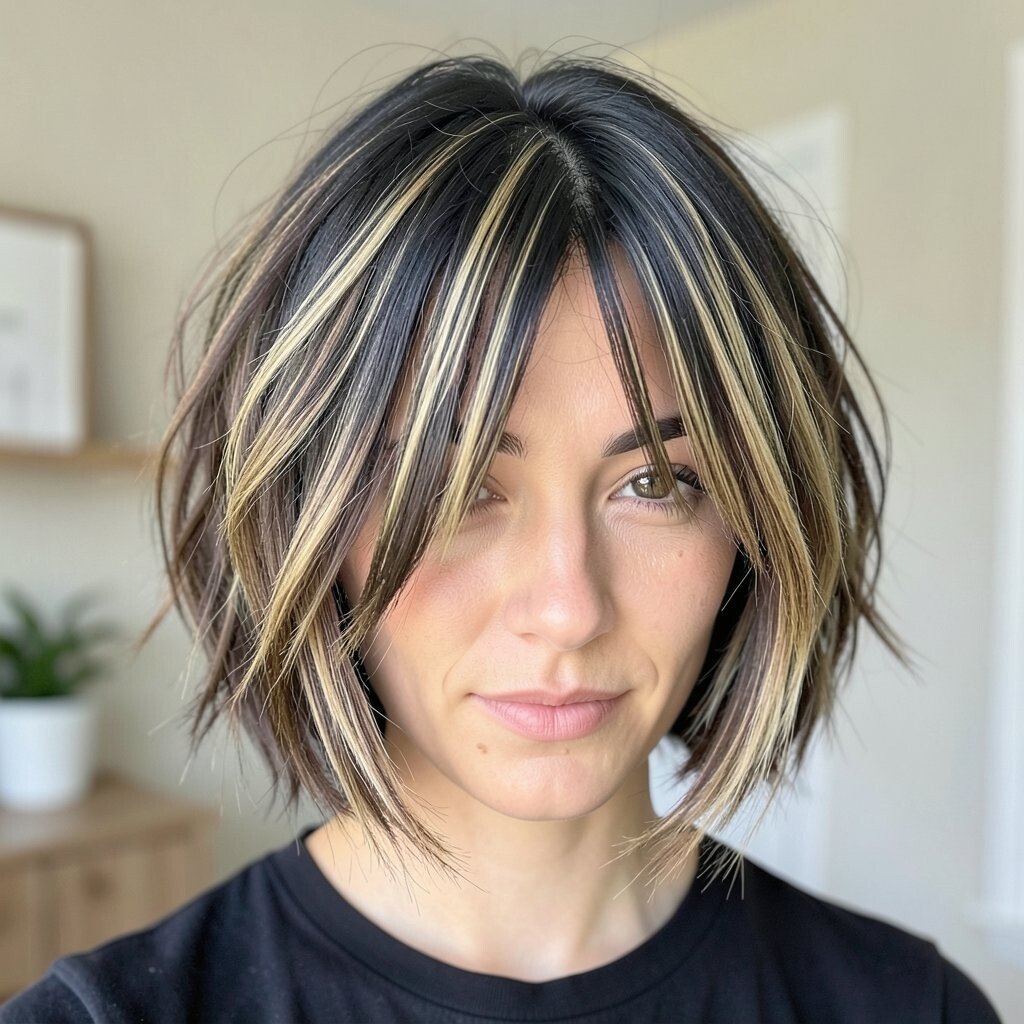
Start with damp hair and split it into a few medium sections. Wrap each section around itself using a soft headband or fabric strip so it stays secure.
Let everything set until your hair is fully dry, then unwrap. These twists create shape at the ends, which makes bob layers look bouncy and dimensional.
For extra staying power without spending extra, use a tiny drop of leave-in conditioner to soften the texture. If your hair frizzes easily, spritz with water before twisting again for a smoother result. The end result looks like “fresh trim energy” even when you kept your wallet calm.
7. Medium Layers With Rollers Made From Paper or Fabric
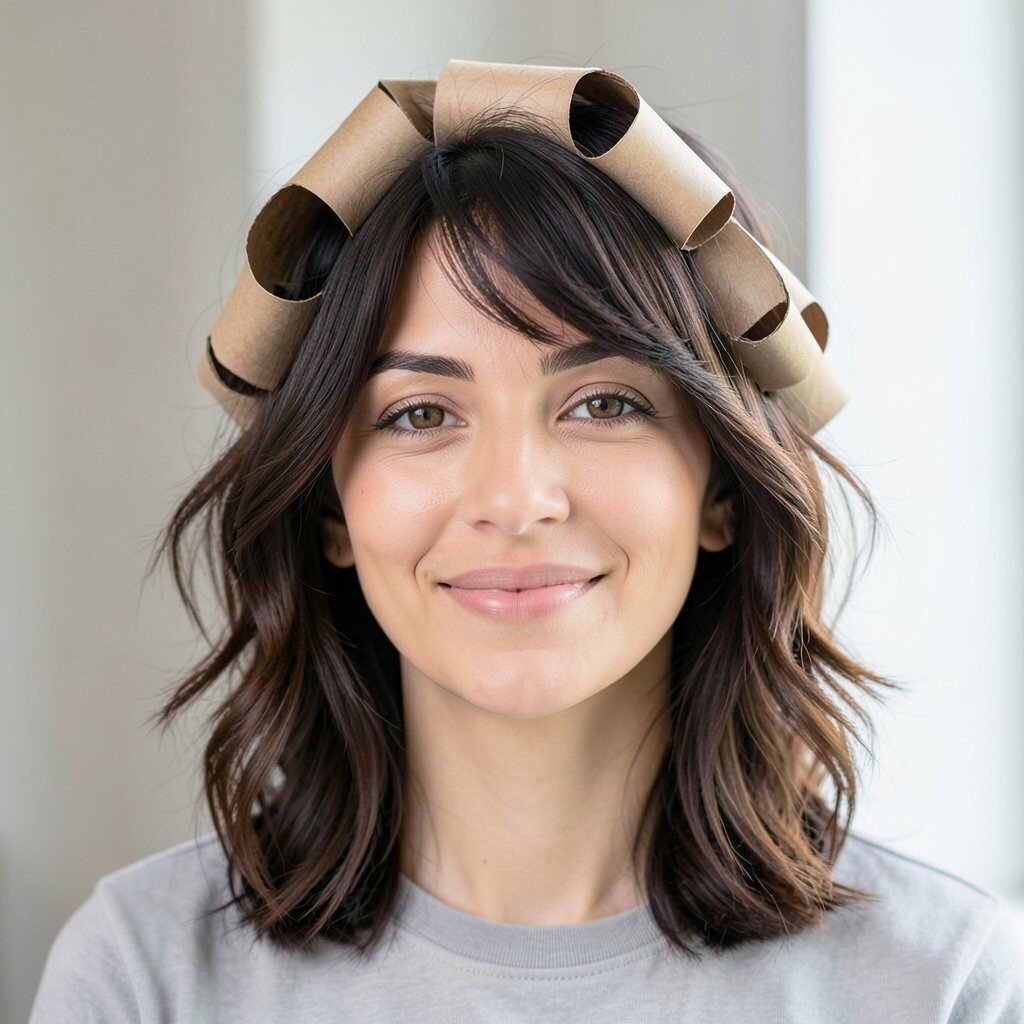
Roll small sections of hair using soft fabric strips or paper towel strips, starting from mid-length down to the ends. Secure them with a hair tie or a small clip.
After they set, unroll slowly and fluff the roots with your fingers. You’ll see layered volume because the rolls create gentle bends at different heights. This is a fun way to mimic salon styling for almost nothing.
8. V-Layer Illusion Using Strategic Half-Up Placement

Take a half-up style and keep the rest of your hair loose and flowing. If you gather the top at an angle, the bottom will naturally fan out like a V shape.
Use a small elastic and slightly twist the ponytail before securing it. Then let the lower layers fall forward over your chest for that pointed, layered look. This trick works especially well with medium-to-long hair because the “fan” shows movement clearly.
For cost savings, choose an elastic you already have and add shine with a drop of hair oil on the ends. Personalize by leaving a few front strands loose so they blend with the fan. It feels different from a standard half-up because the shape makes it look styled on purpose.
9. Feathered Layers With a Feather-Light Styling Paste

If you’ve got layers, feathering brings out texture without making hair look heavy. Use a small amount of styling paste or cream and warm it between your palms.
Lightly rake it through the ends, focusing on the outer pieces so they separate. Then use your fingers to tug one or two strands forward for that feathery, airy look. This creates uniqueness because feathered hair catches light differently than flat ends.
To keep it budget-friendly, start with less product than you think you need. Add more only if the ends feel dry or rough. Current trends love soft texture, and feathered layers fit right in because they look effortless.
10. Shaggy Layers With a Scrunch-and-Side Sweep
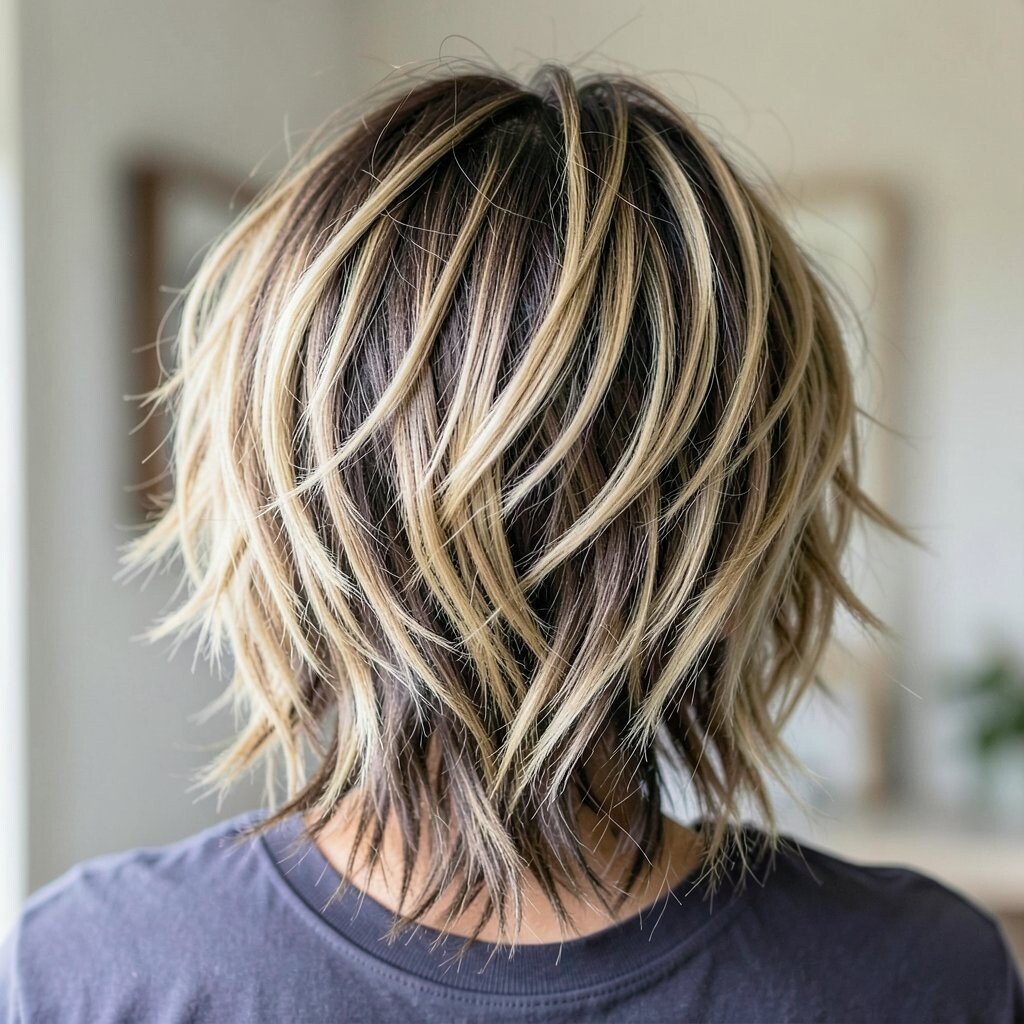
Apply a bit of mousse or curl cream to damp hair and scrunch it upward. Then create a side sweep by brushing the top lightly across your forehead.
Let hair air-dry or blow-dry with low heat. When it’s dry, break up the clumps with your fingers so the shaggy layers look bouncy instead of stiff.
If you want a sharper shag vibe, focus the scrunch on the mid-lengths so the crown looks lifted. For a softer look, keep the front pieces longer and let them fall naturally. This method helps layers look “lived in,” which is exactly what modern styles aim for.
11. Layered Growth-Friendly Trim Using the “Dusting” Plan
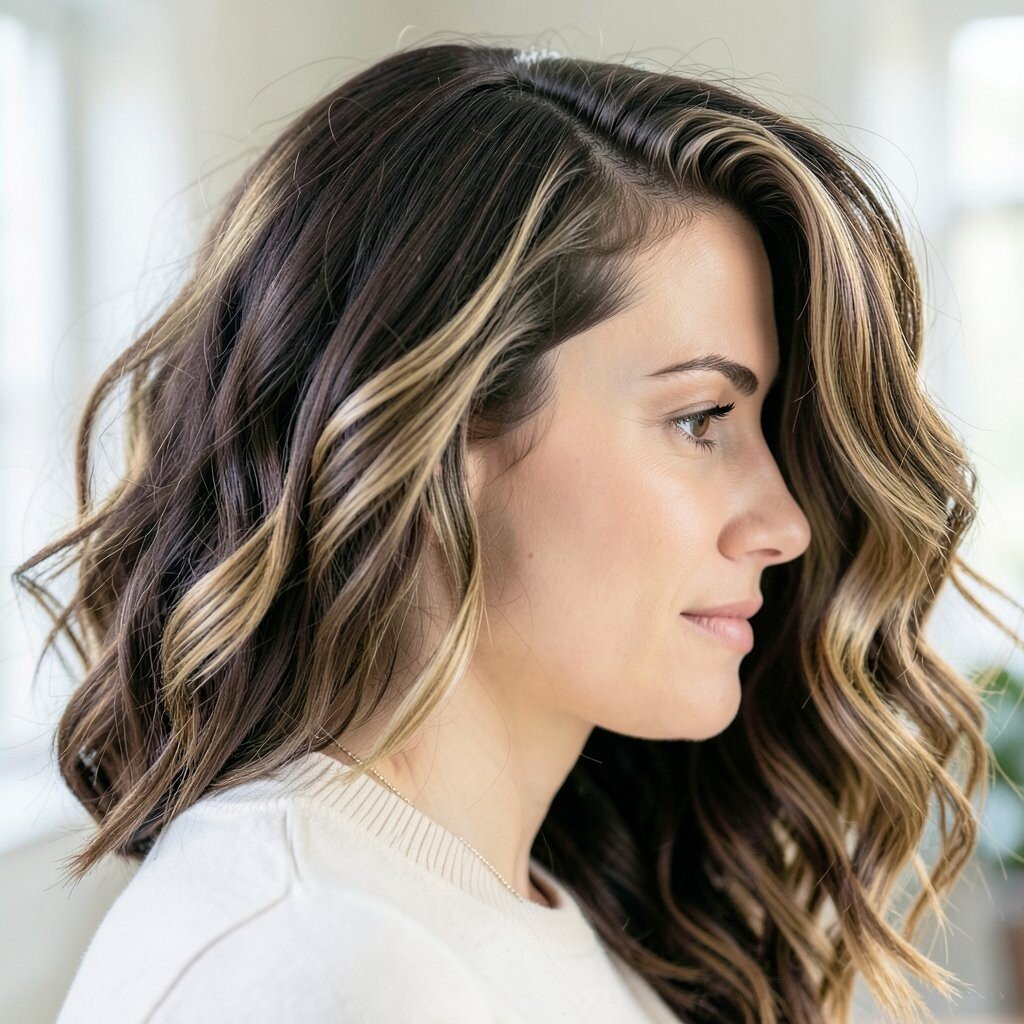
Sometimes the best budget move is a small change that supports your hair health. Ask a stylist for dusting layers, which means removing only the smallest amount while shaping movement.
If you’re doing it yourself, only trim the very ends and remove tiny amounts at a time. Even a small cut can make your existing layers look cleaner and more defined.
To stay under budget, bring photos of the look you want and be clear about what you need. You can also save money by timing trims when salons run deals or student discounts. Uniqueness comes from how your layers sit, so request face-framing pieces that match your cheek and jaw line.
After trimming, use a simple conditioner on the ends and air-dry to show off the refreshed shape. Layered styles look best when the hair is not weighed down. This helps your cut blend naturally with whatever texture you already have.
12. Shoulder-Length Layers With a Bubble Ponytail Bend
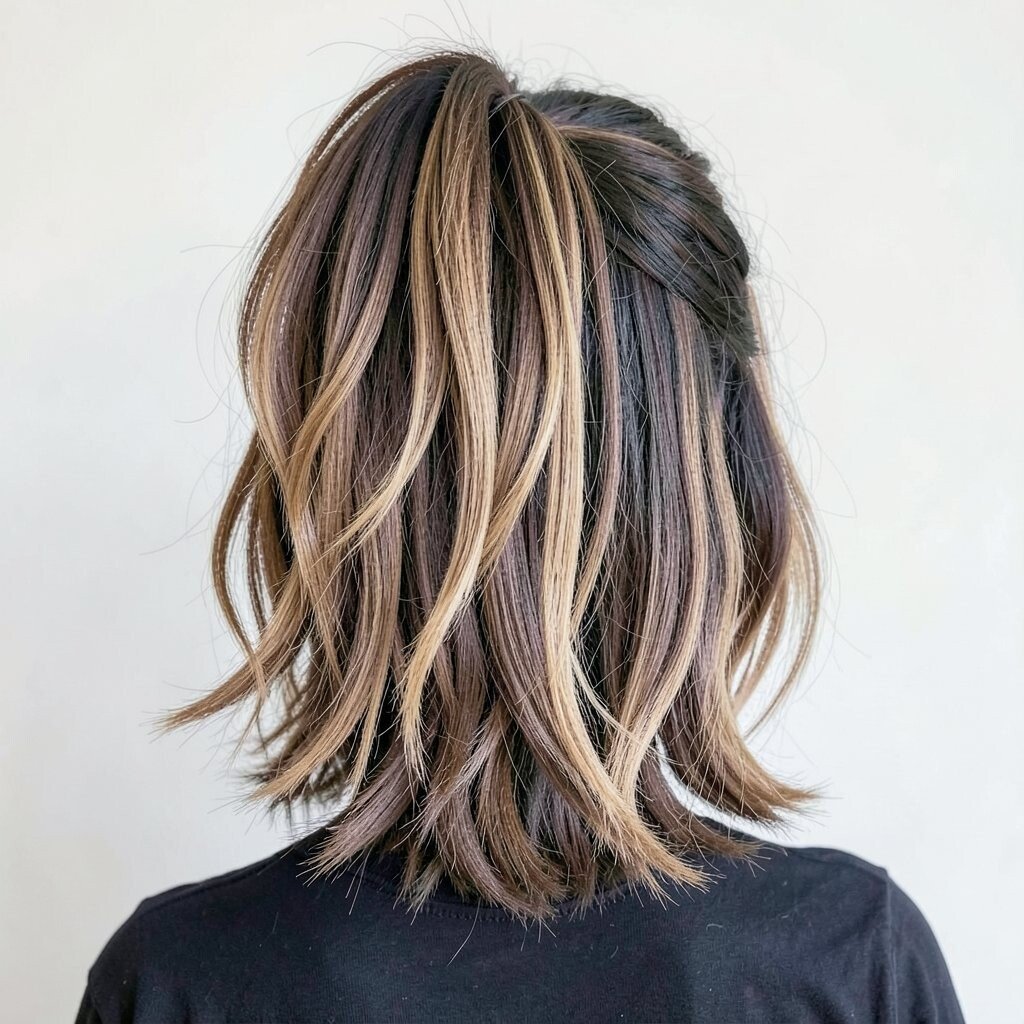
Create a ponytail and then tie small elastics down the length of the ponytail like bubbles. Keep each bubble evenly spaced for a neat, layered silhouette.
Pull gently around each bubble to add volume, then smooth the outer surface. The bubbles create built-in shape that makes layers look thicker and more dimensional once you release the ends.
For a budget twist, use clear elastics or hair ties you already own instead of buying new. Personalize by adding a few face-framing strands that are not in the ponytail. If you want a trend-forward look, leave the ponytail slightly off-center for a casual slant.
13. Curly-Layer Definition With a Budget Hair Diffuser Swap

Curly hair loves layered definition, and the right drying method is the secret. If you don’t have a diffuser, use a microfiber towel to gently squeeze water out instead of rubbing.
Apply curl cream to damp hair, then twist sections loosely to guide the curls. As your curls form, you’ll see layers become visible because the curls at different lengths separate naturally.
For low-cost cost considerations, choose a small bottle of curl cream or gel that you can use for multiple styles. If you do use heat, keep it low and use air between heat bursts. This keeps curls bouncy and helps layers look fresh without frizz.
To make it feel new, change where you part your hair and let the curls fall to one side. That simple switch highlights layers instantly. It’s a smart way to follow current trends toward “soft structure” without spending big.
14. Straight Hair Layers With a Brush-Flip Root Technique
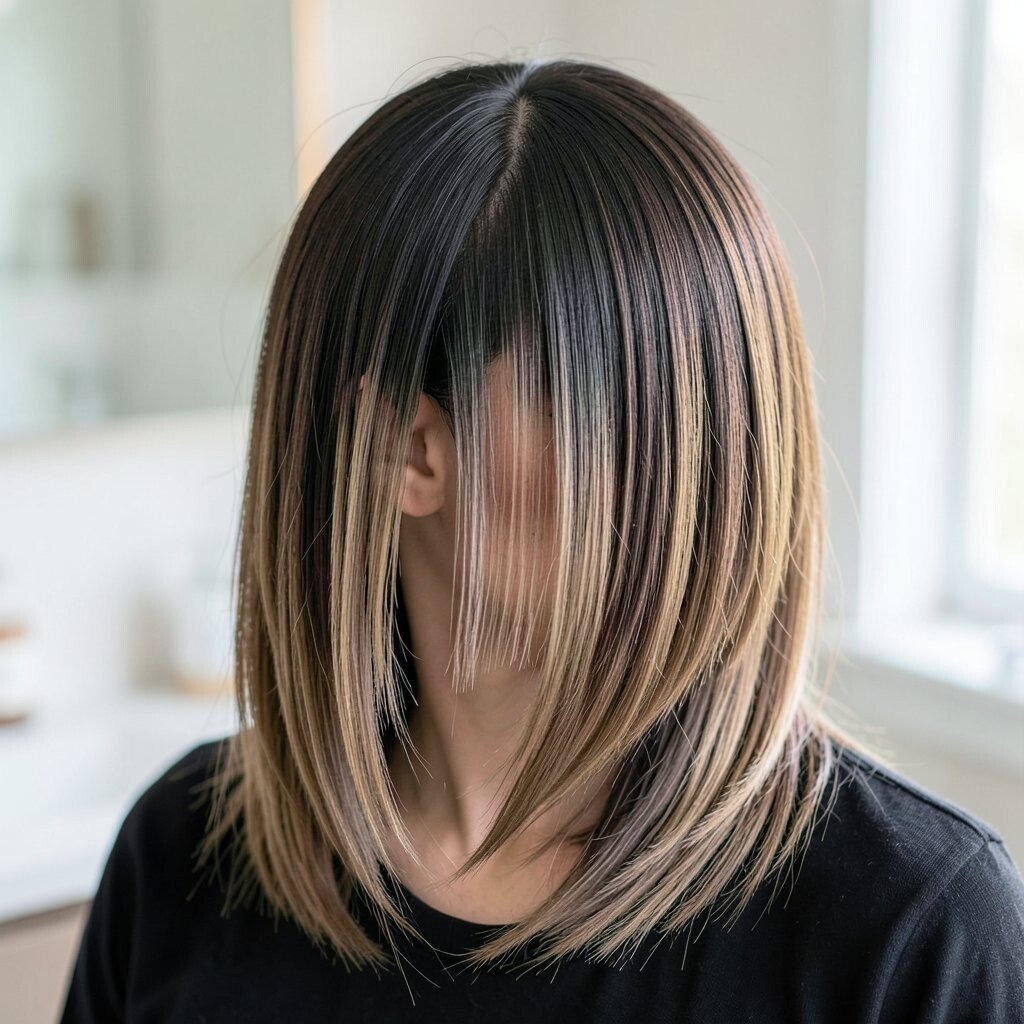
If your hair is straight, layers can hide unless you create shape near the roots. Start with damp hair and use a round brush or even a paddle brush to lift at the crown.
While drying, flip the hair forward, then brush it back into place. This root lift gives the illusion of stacked layers because the top sits higher than the ends.
Finish by smoothing the sides and letting the ends fall naturally. For personalization, bend the ends slightly with fingers instead of heavy curling for a subtle layered finish. It stays budget-friendly because it uses basic tools and reduces the need for extra styling products.
15. Low Bun Layers With a Two-Strand Wrap

Create a low bun and leave two thin strands out near your face. Wrap one strand across the bun and secure it, then wrap the second strand in the opposite direction.
That wrap adds structure and makes your hair look intentionally layered, especially if your ends have natural bends. Use a bobby pin close to the scalp so the strands look secure without bulky hardware.
For cost savings, choose a bun base you already own or use a hair tie and simple tuck technique. Add shine with a small amount of hair oil on the visible strands to keep everything looking polished. This style feels unique because it’s neat in the back but soft around the face.
16. Layered Thermal-Style Without Heat Using a Headband Shape
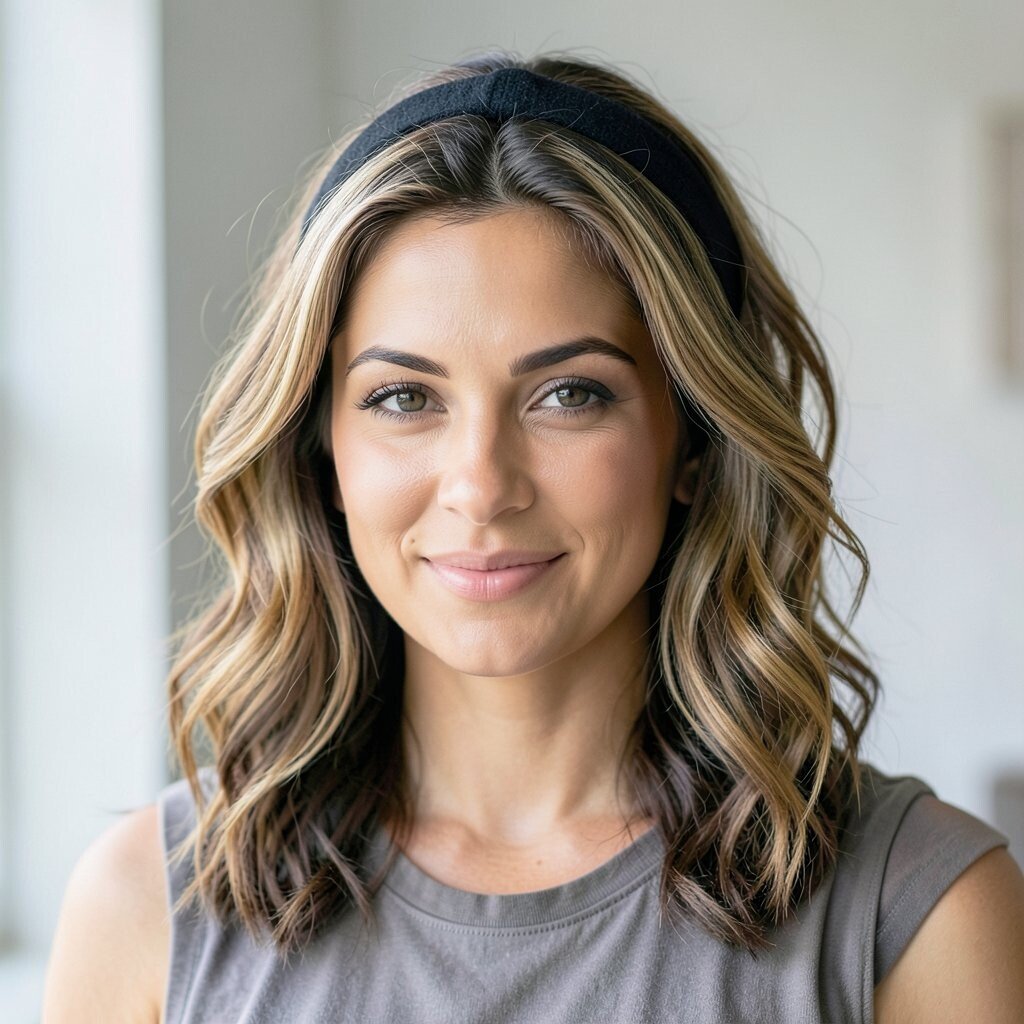
Want a fresh layered look without heavy heat styling? Put on a stretchy headband and create sections by pulling small pieces behind it, one at a time.
Keep the pieces evenly spaced so they form a consistent “layer” pattern. Leave it in while your hair air-dries or after you towel-dry, then remove to reveal bends that look like layers.
Personalize the final shape by choosing how tight the headband is and where you place it on your head. For a current trend feel, aim for soft waves that start around the mid-lengths. This gives volume and movement while staying gentle and budget-friendly.
Use only a small amount of styling spray if your hair needs help holding the shape. The best part is that the look is repeatable and adjustable. You can refresh it anytime you want with the same easy method.