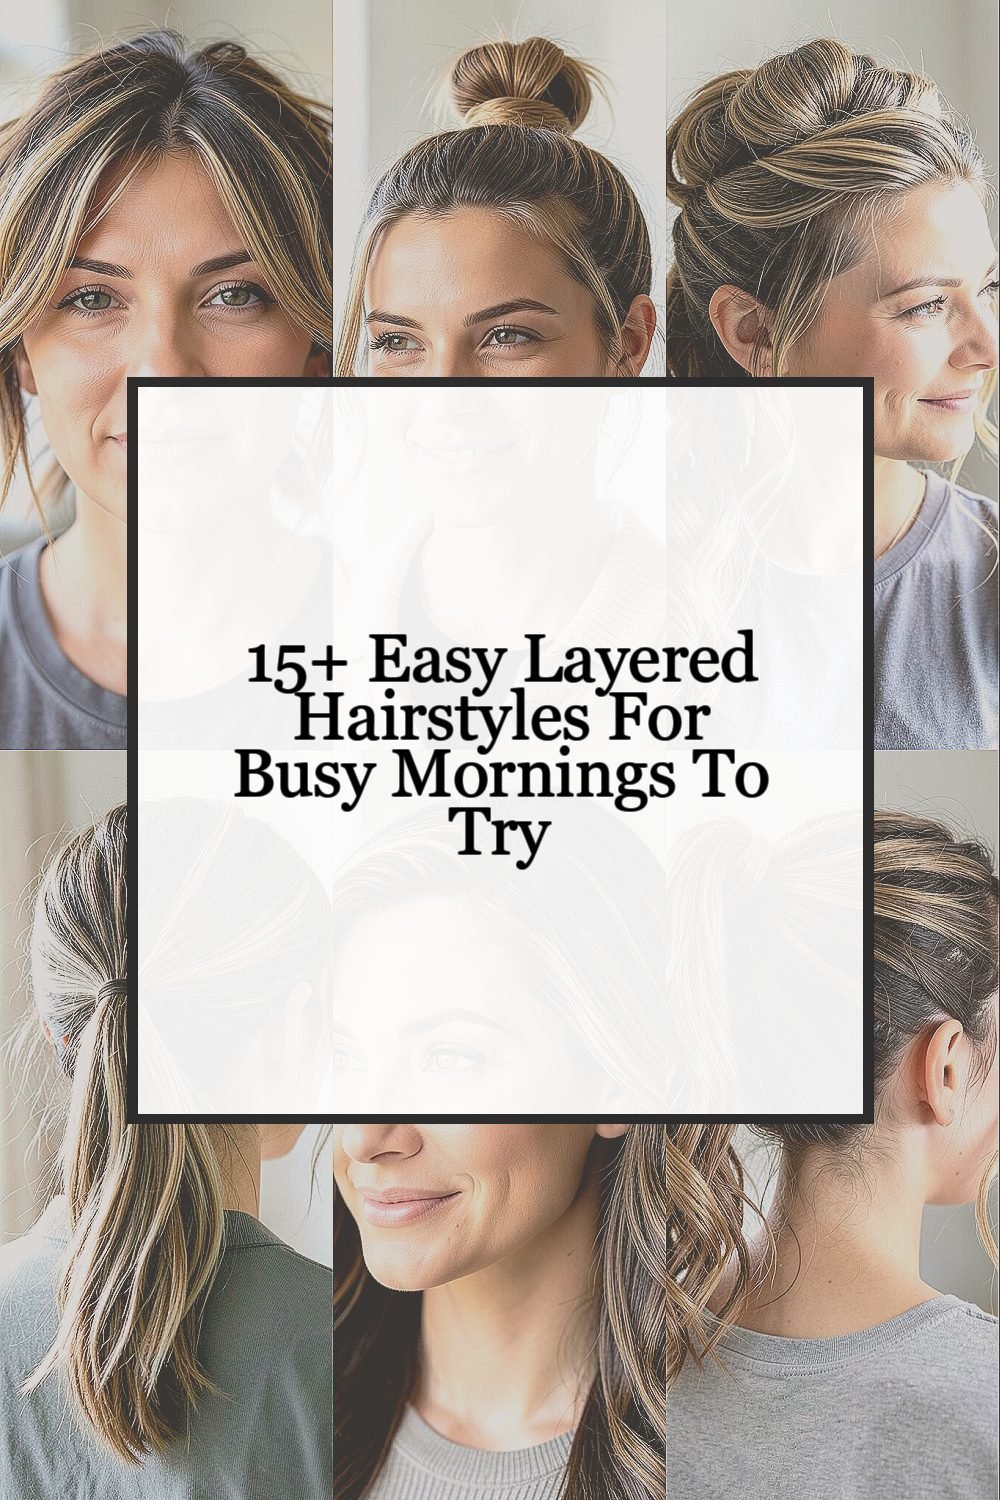
Your morning routine deserves a hairstyle that feels good fast. Layered looks add movement, soften your features, and give you options even when you’re rushing.
From quick tuck styles to low-effort waves, these ideas use layers in clever ways. You’ll find practical steps, budget-friendly notes, and trend notes that fit real life.
1. Messy Tuck with Face-Framing Layers
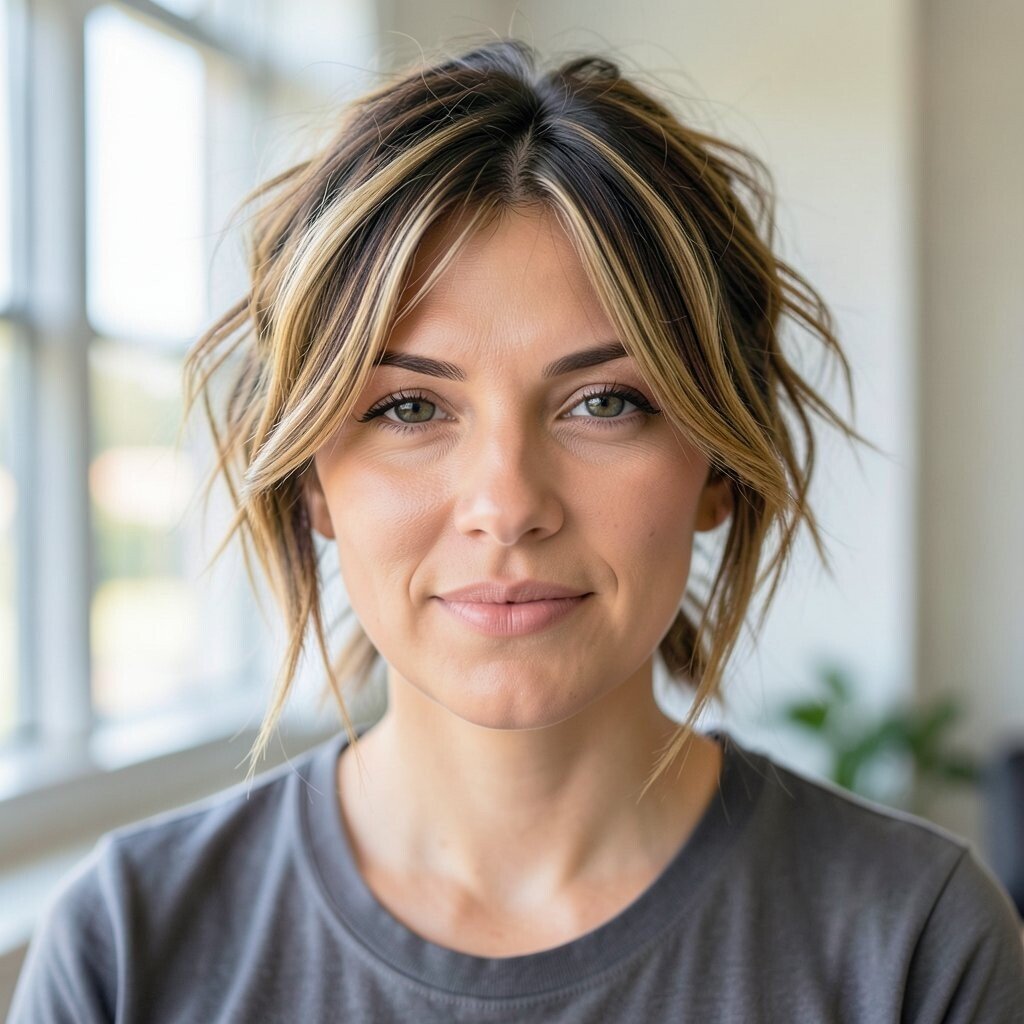
Start by adding a little water or styling mist so your layers behave. Gather the front sections and tuck them lightly behind one ear, leaving the back layers free.
Use your fingers to mess the ends so they look soft, not stiff. This style works because face-framing layers create shape near your cheeks, even with minimal effort.
For a cleaner look, smooth the top with a quick pass of a brush, then let the rest stay casual. If your hair is thick, apply a tiny bit of lightweight serum to stop frizz. If it’s fine, skip heavy products so layers don’t flatten.
2. Quick Top-Knot with Layer Pop
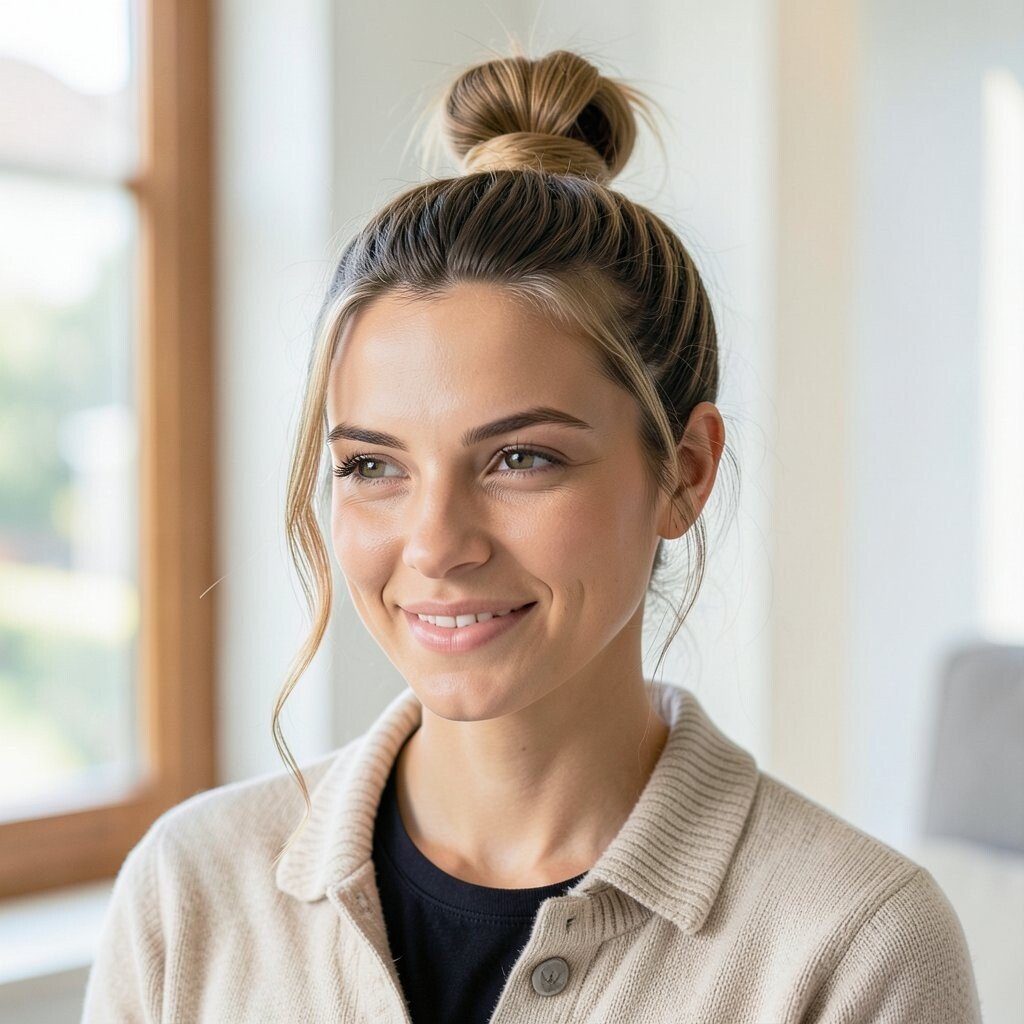
Pull your hair into a high ponytail, twist it, and wrap it into a small top-knot. Leave two thin pieces loose in front to show off your layered cut.
To keep it secure, use a couple of bobby pins and a light spray. This look feels modern because the visible layers add “lift” at the crown without extra styling time.
If you want it softer, curl the loose front pieces with your fingers and a little heat from a wand. For cost control, skip salon tools and use a heatless method like braiding those front pieces while you get dressed.
3. Half-Up Twist with Layered Volume
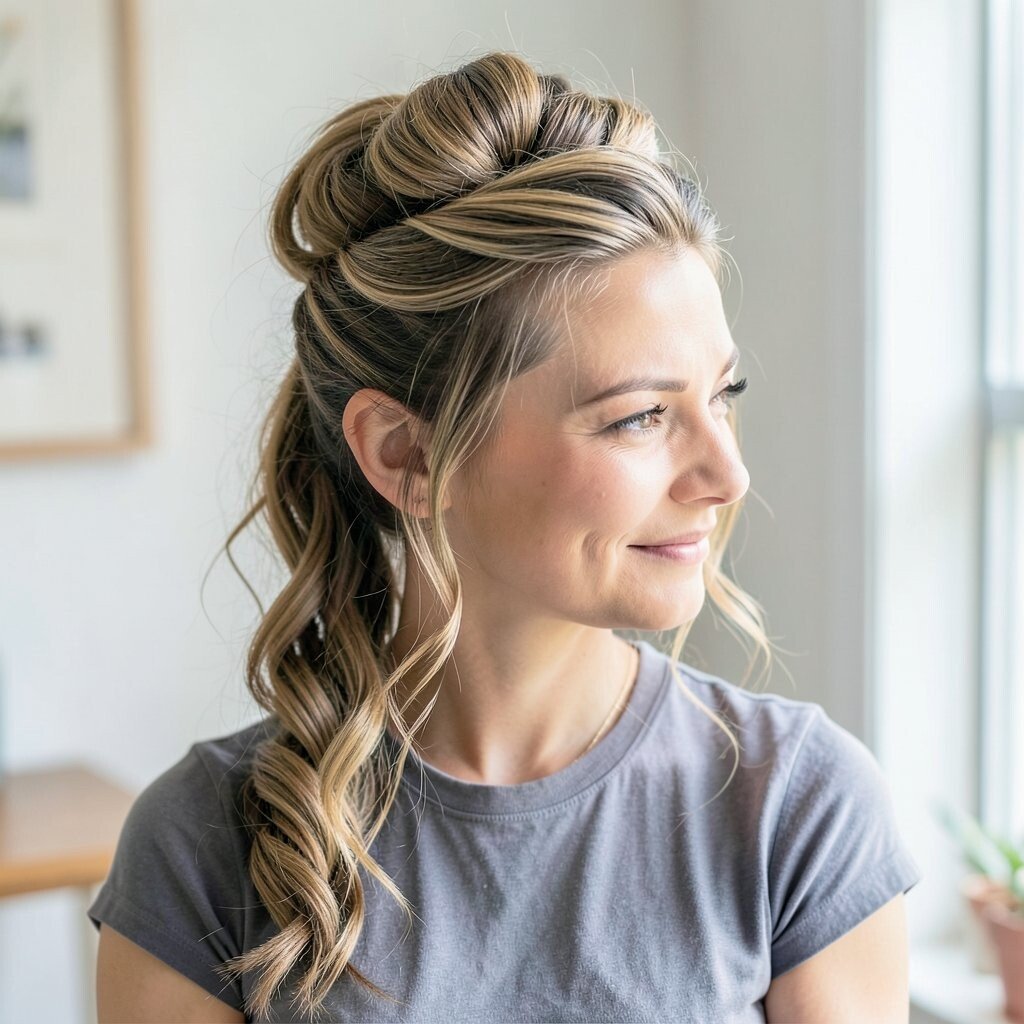
Part your hair slightly off-center, then take a small section from each side at ear level. Twist them back and fasten with a clip, leaving layers to fall naturally.
This instantly creates a pulled-together vibe while letting your middle and ends show movement. It’s especially flattering because the top twist lifts your face and the layers keep the rest from looking flat.
Use a comb to gently tease the crown for extra height, but keep it light. If your hair tends to tangle, spritz a bit of detangling spray and finger-comb before you twist.
For personalization, match the clip style to your day, like a matte clip for school or a glossy one for work. If you’re wearing glasses, keep the twist just high enough so it doesn’t fight the frames.
4. Layered Low Ponytail with Soft Flip
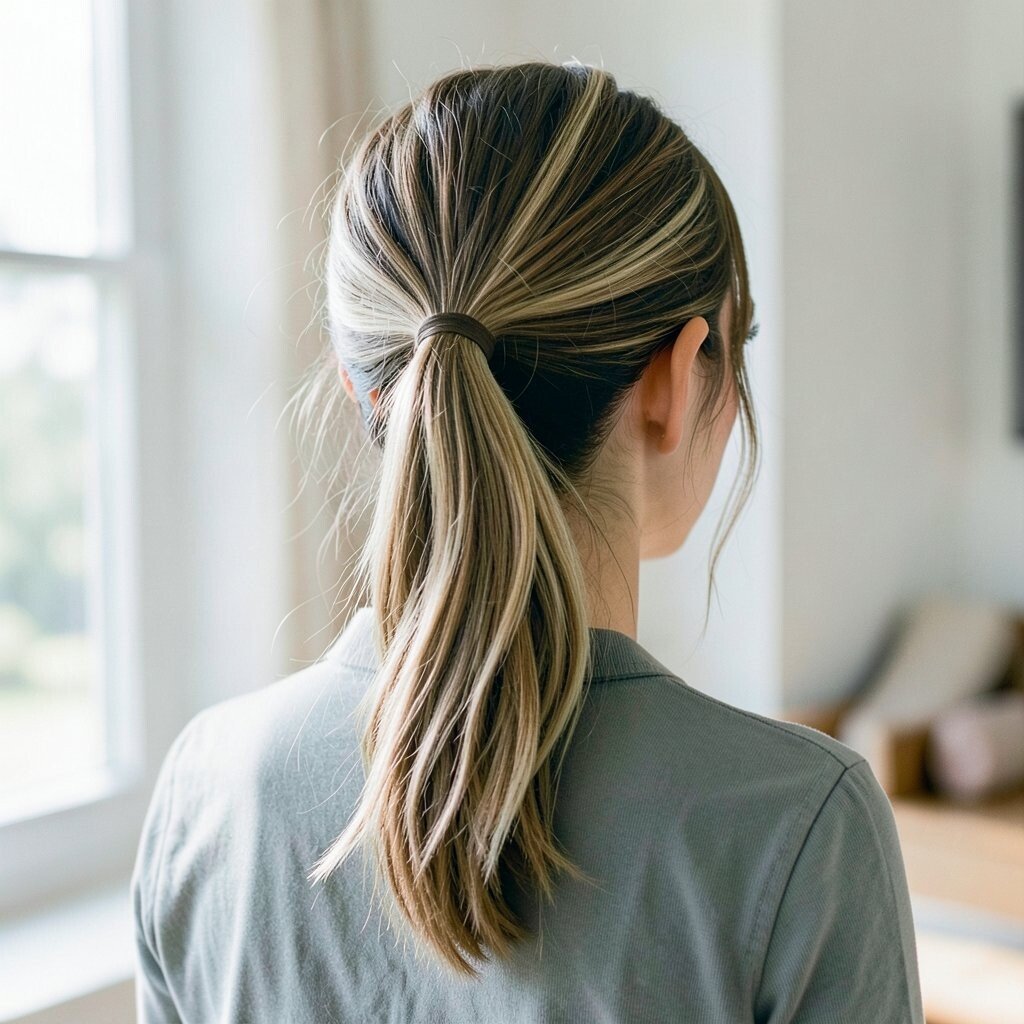
Sweep your hair into a low ponytail and secure it with an elastic that won’t snag. Then take a small strand from the ponytail, wrap it around the elastic, and pin it in place.
For the soft flip, roll the ends slightly with your fingers or use a quick flat-iron flick. Layers help this style look full and bouncy because the hair naturally separates at different lengths.
If you’re in a hurry, skip heat and use a sock bun the night before. In the morning, shake it out, gather the ponytail low, and your layers will fall into place with minimal fuss.
To keep it budget-friendly, choose one good elastic and wash it often. A well-fitting elastic can save you from constant re-tightening all day.
5. Sleek Side-Part with Layered Waves
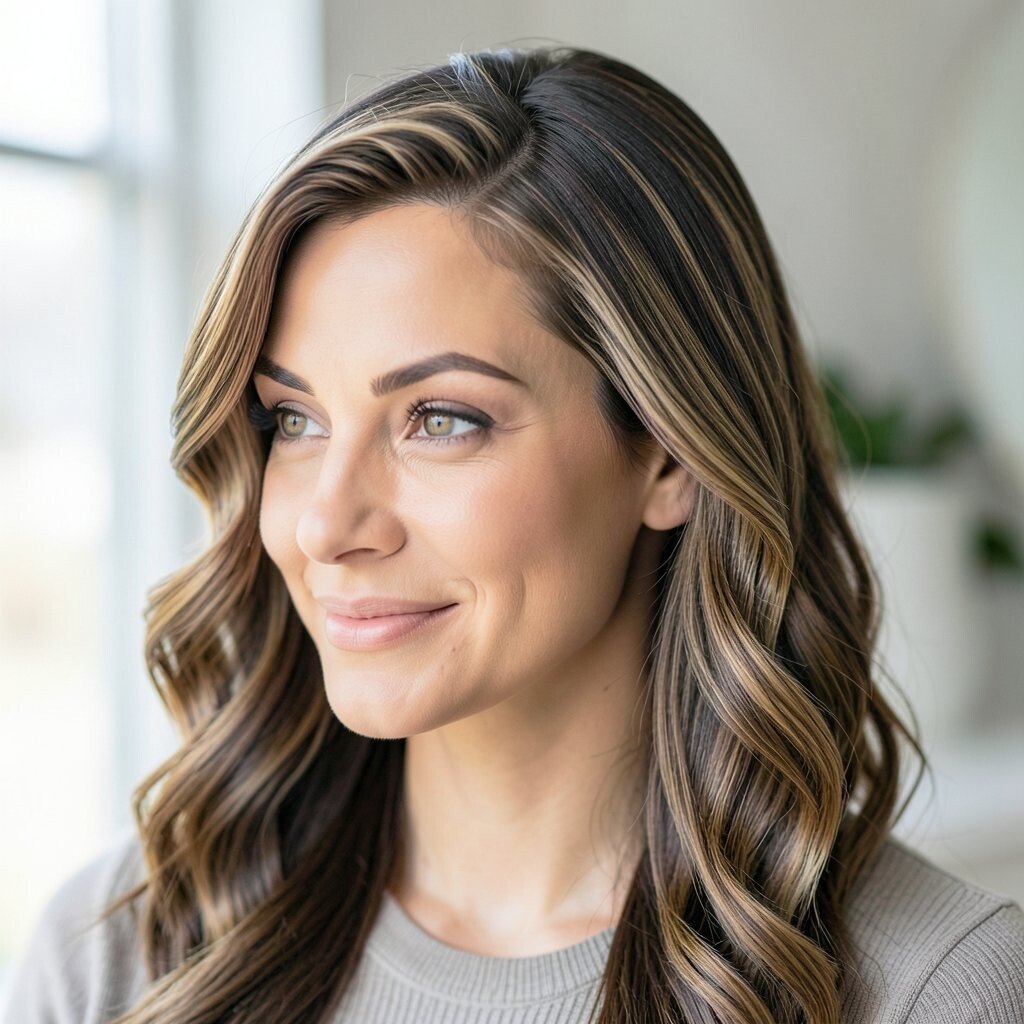
Create a deep side part and smooth your roots with a light gel or smoothing cream. Then run a curling wand only through the mid-lengths and ends, leaving the roots slightly straighter.
That mix of sleek and wavy is popular right now because it looks polished but still relaxed. Your layers make the waves look effortless since each length catches the shape differently.
If your hair is prone to frizz, apply a tiny amount of anti-frizz balm on damp hair. For personalization, keep the waves loose and soft for a casual day, or make them a bit tighter for an evening plan.
6. Bubble Ponytail with Layer-Friendly Sections
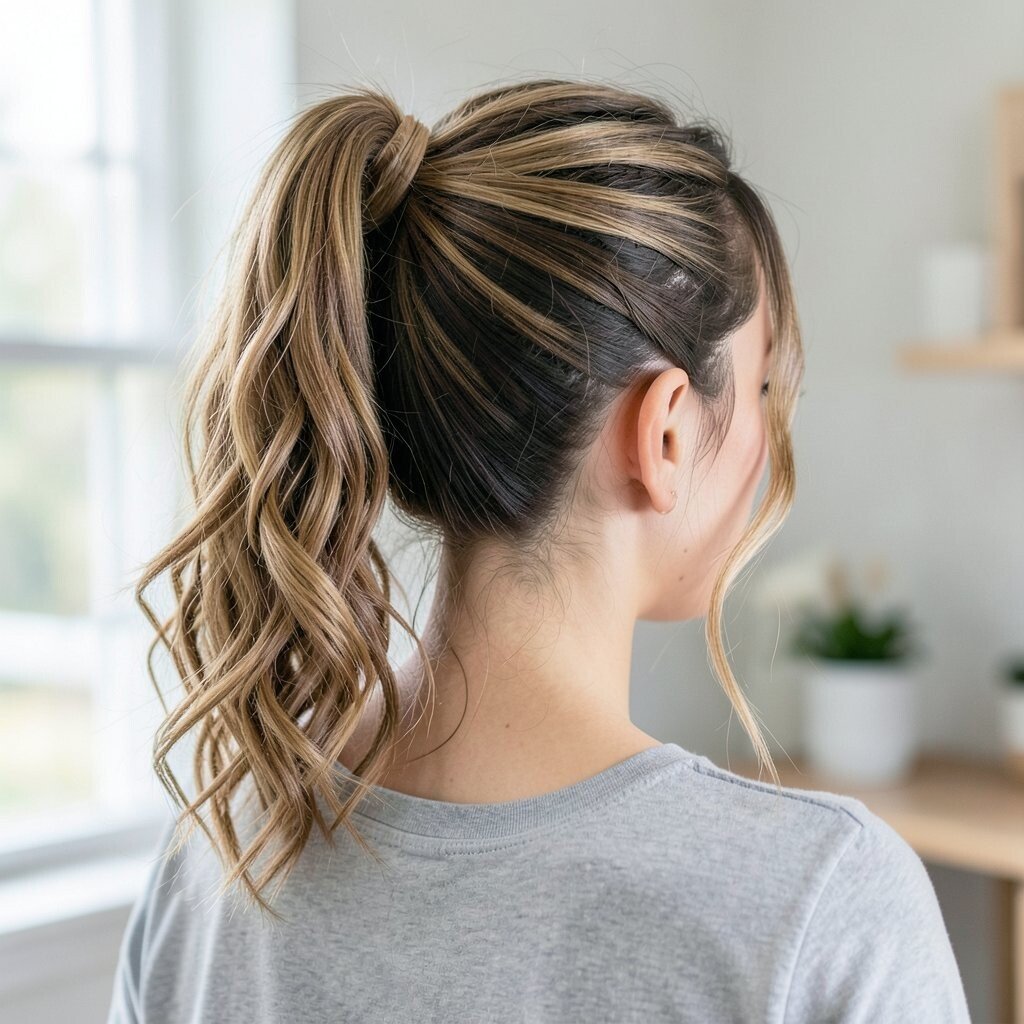
Make a ponytail at the mid-level and then divide it into sections using small elastics down the length. Each “bubble” should show a little bit of your layers as the hair stretches.
This look is fun and eye-catching, and it works because layers create natural texture between the bubbles. You’ll spend less time styling since the shape does the work for you.
To keep it comfortable, don’t pull the elastics too tight, and use smooth bands that glide through hair. If you have shorter layers, tuck the pieces that slip out by adding one extra pin near the crown.
For a cost-friendly version, reuse elastics you like and replace only the ones that snag. Choose a neutral color for daily wear and a bright one for special days.
7. Layered Half-Up Clip for Instant Shape
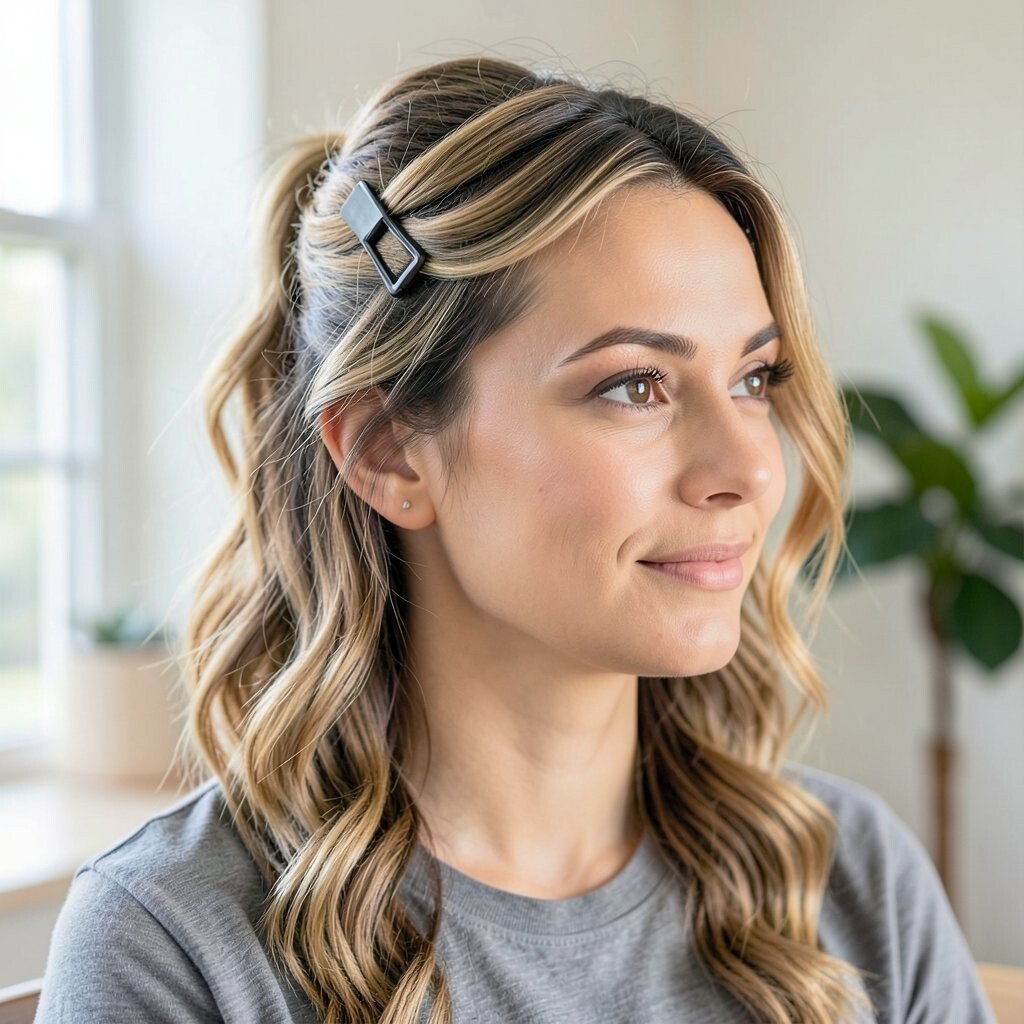
Brush your hair forward slightly, then clip a section from the top back using a strong claw clip. Keep the rest down, letting your layers fall around your shoulders.
Claw clips are trending again because they’re fast and comfortable, and the layered lengths make the shape look intentional. When the top is held, your layers show their texture instead of mixing into a flat mass.
To personalize, choose a clip color that matches your outfit or your mood. If you want more volume, tease the section lightly before clipping, then smooth the surface so it still looks neat.
If your hair is very fine, use a light mousse at the roots first. This helps the clip sit with volume rather than disappearing into limp strands.
8. Crown Braid with Loose Layer Ends
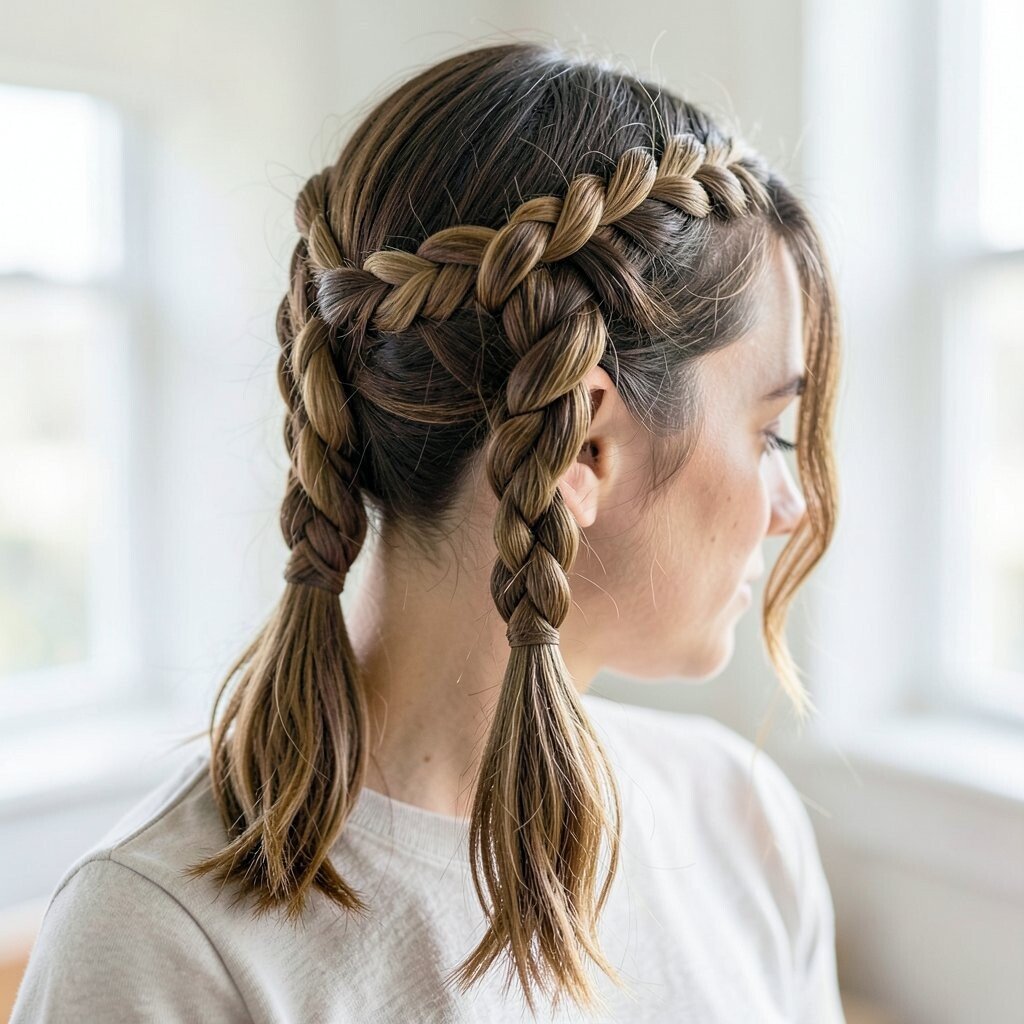
Create a simple crown braid by braiding two sections along the top of your head and pinning them into a loop. Keep the braid medium-tight so it stays put without feeling harsh.
The loose ends let your layers show, which makes the hairstyle look styled rather than overly tight. This is a great option for busy mornings because it gives structure while you skip long curling steps.
After braiding, soften the braid by gently tugging each loop. If you want a more modern look, leave one face-framing layer slightly longer so it falls naturally.
For cost considerations, you can use regular pins and a braid-friendly cream you already own. A little shine spray can help layers look healthy without buying extra tools.
9. Side Swept Layers with Minimal Heat
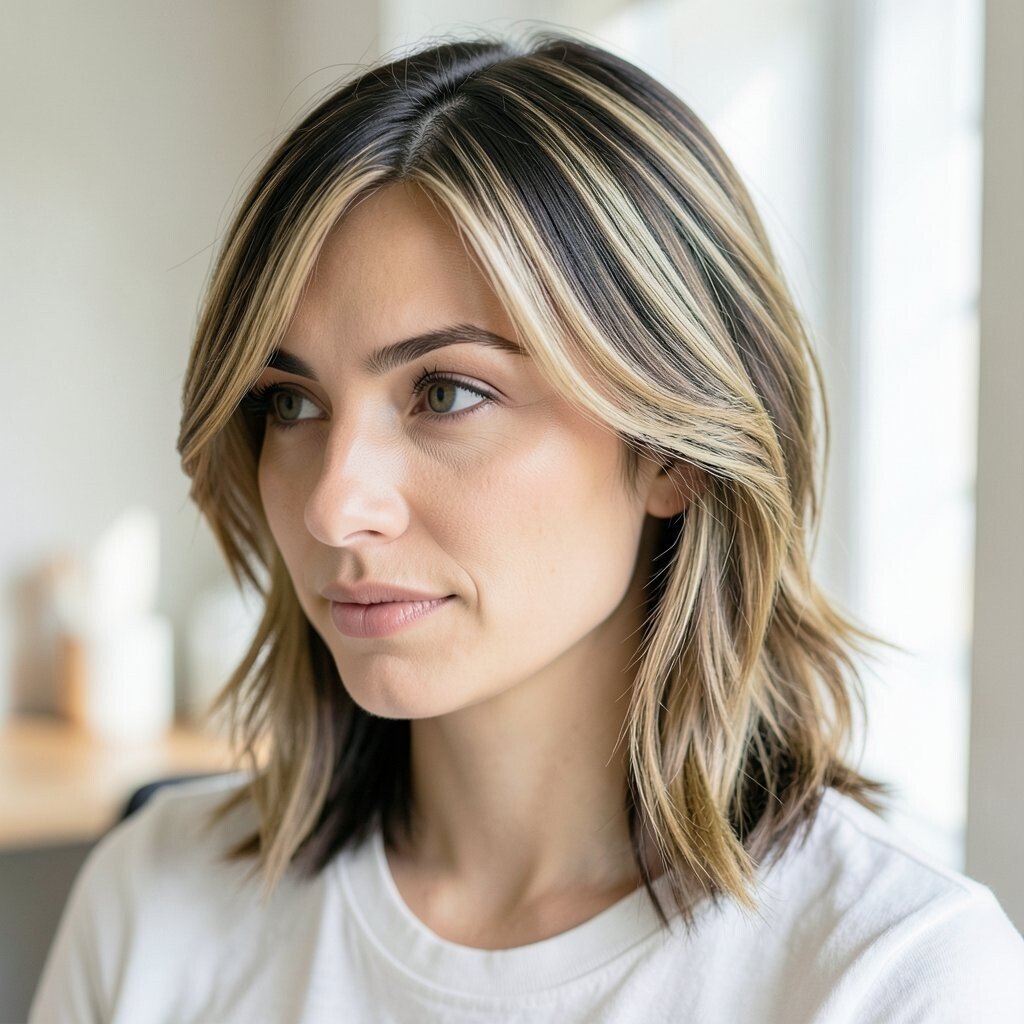
Part your hair and sweep it to one side, then tuck one section behind your ear. Use a small amount of styling cream on the ends so they look smooth and separated.
This style highlights layered movement, especially if you have shorter pieces near your face. It’s uniquely useful when your hair won’t cooperate, because the side sweep hides uneven texture.
For minimal heat days, twist the ends with your fingers while damp and let them set as you get dressed. In the morning, shake out the twists gently and you’ll see soft waves where your layers naturally stack.
To personalize, decide how dramatic you want the sweep to be. A subtle side shift looks office-ready, while a deeper sweep feels more playful.
10. Layered French-Style Twist at the Nape
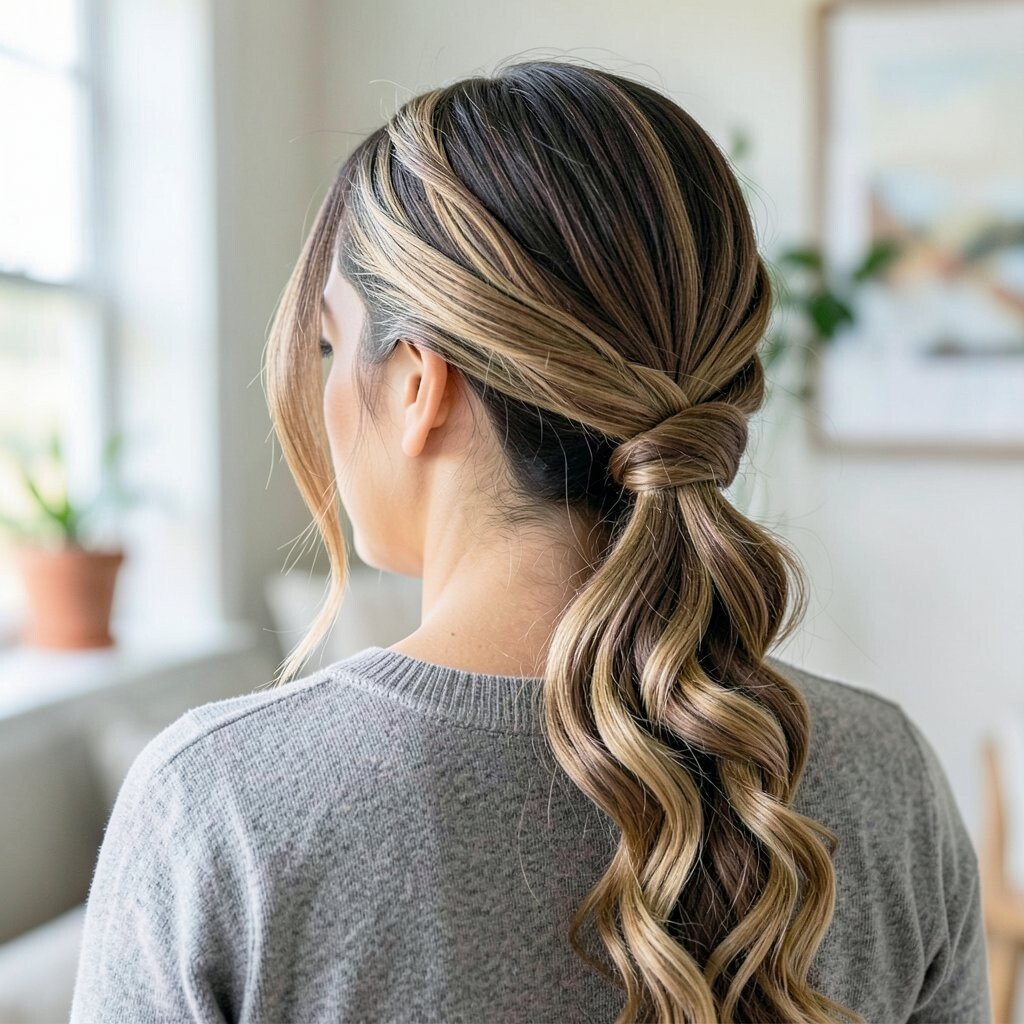
Start with your hair gathered at the nape, then twist upward while tucking as you go. Use bobby pins to secure the twist and keep it snug without pulling your scalp.
When your layers are tucked, the ends create a natural “feather” effect that looks refined. This is a smart choice when you want your hair off your neck but still styled.
If your layers are on the shorter side, pin the shorter ends first, then add the longer pieces on top. A light hairspray helps the twist hold, especially on humid days.
For a budget-friendly approach, rely on pins you can reuse and keep a small comb in your bag. A good comb makes quick tucking and smoothing much easier.
11. Half-Bun with Layered Curtain Effect
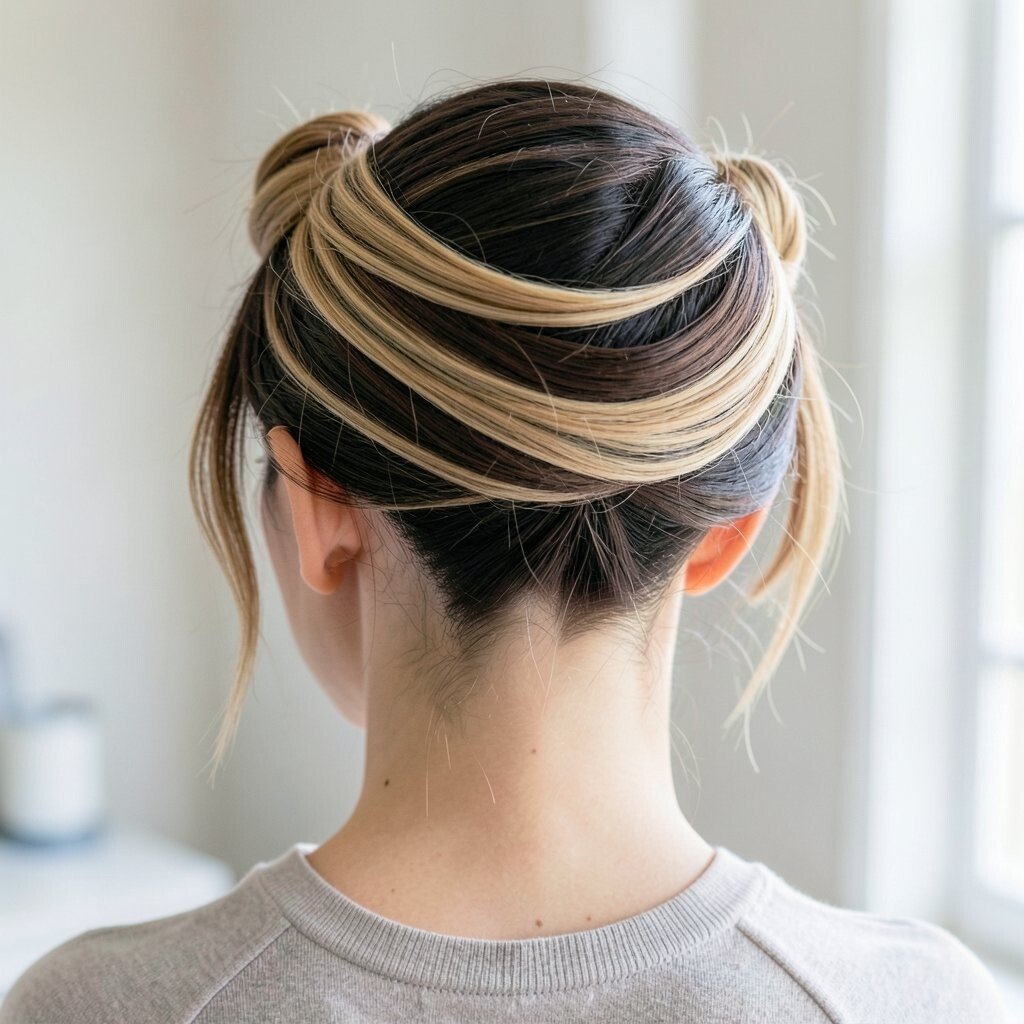
Separate the top half of your hair and tie it into a small bun using an elastic. Pull a few strands forward around your face to get that curtain-like frame.
This hairstyle is popular because it balances cute and practical, and it works well with layered haircuts. Your layers naturally fall into a soft curtain, so you don’t need heavy styling.
To make it last, lightly mist the top before tying the bun. Then smooth the bun’s outer edge with your palm so it looks intentional rather than messy.
For personalization, try leaving one longer strand on each side for a face-brightening look. If you have bangs, blend them into the curtain pieces so everything looks cohesive.
12. Layered Curtain Bangs Style with Easy Blowout
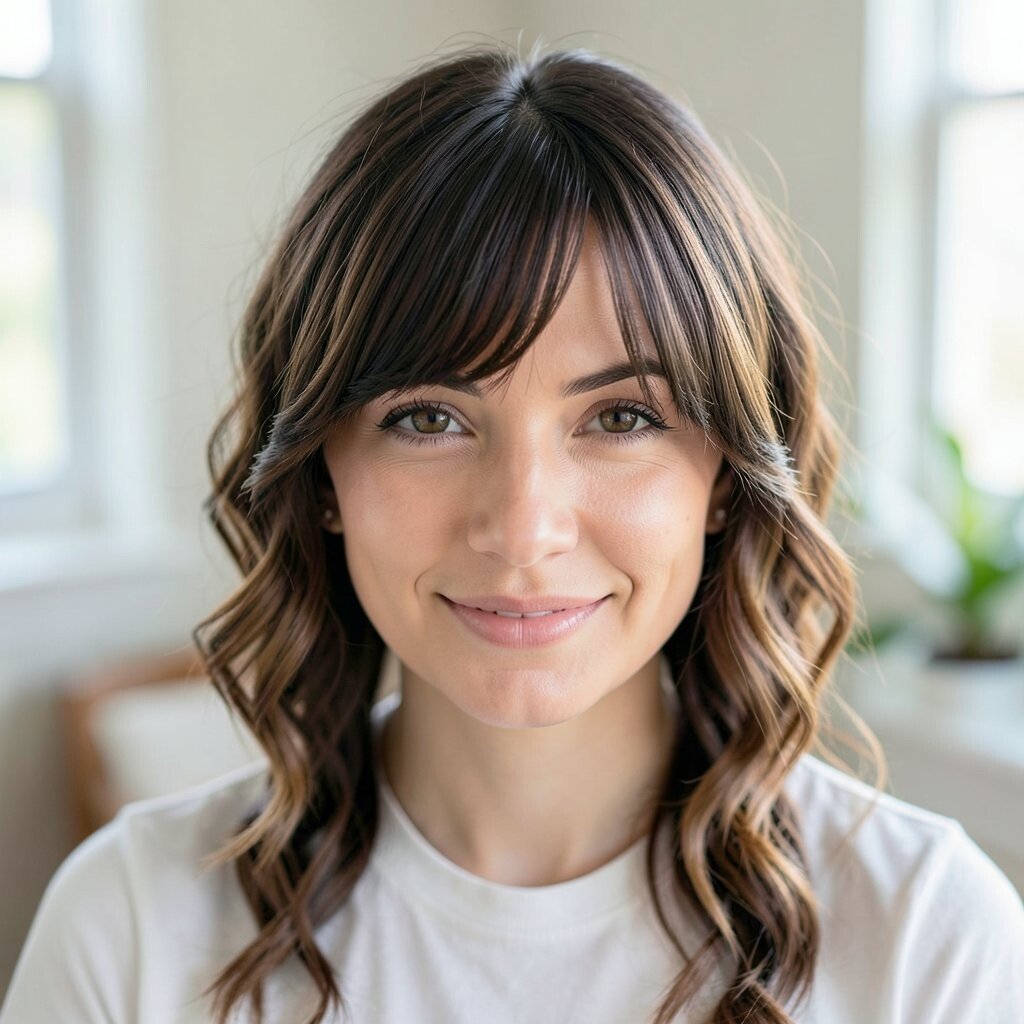
If you have curtain bangs, part them in the middle and guide them forward with a quick brush. Then blow-dry on medium heat, lifting the roots slightly and letting the ends fall.
This method gives your bangs a bouncy frame without spending time on full curls. Layers throughout your hair help the curtain effect look smooth, so everything connects.
For a practical shortcut, use a warm towel or quick heat from a blow-dryer for just a few minutes. You can also do the same motion with a brush and minimal heat if your hair is sensitive.
If you’re cost-conscious, a round brush and your regular blow-dryer are enough. Skip extra gadgets and focus on controlling the shape of your front layers.
13. Twisted Claw-Clip Low Layers
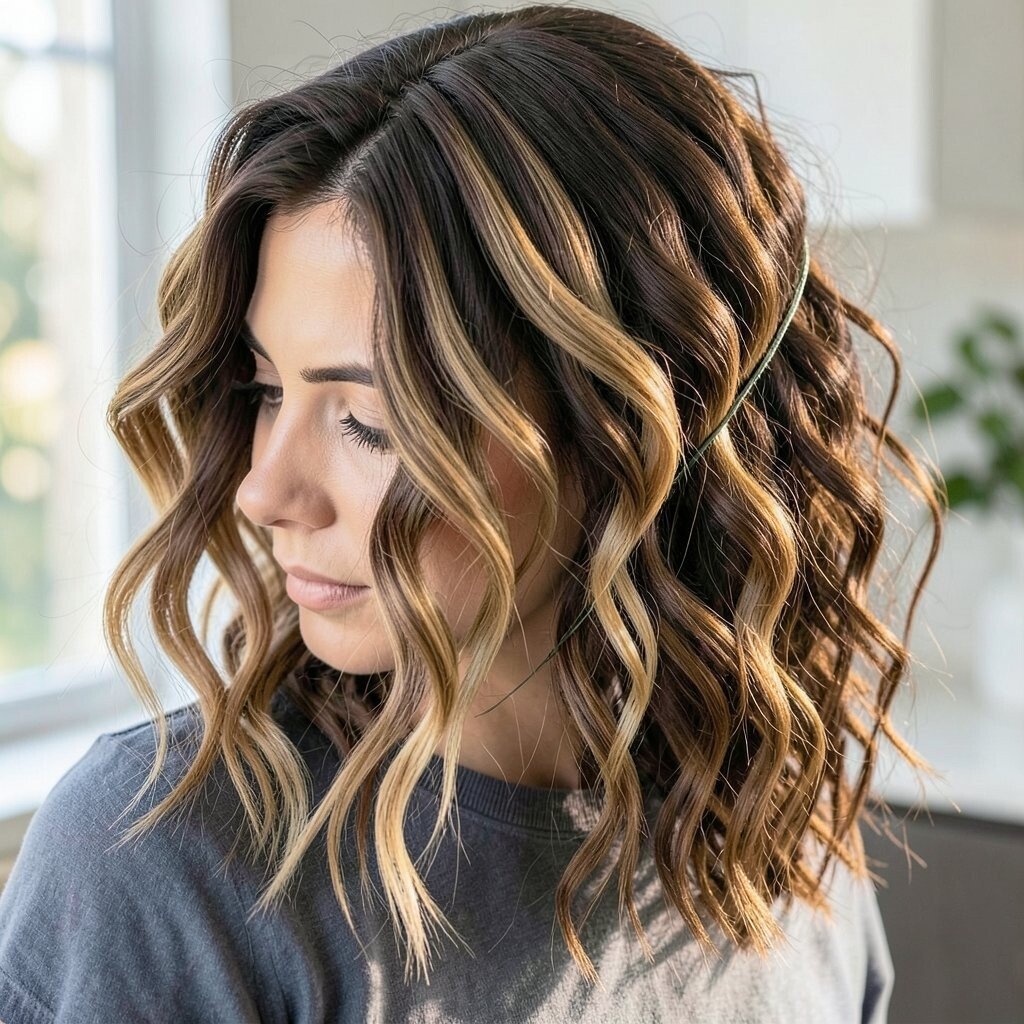
Start with damp hair and apply a small dab of mousse at the roots. Gather your hair into a low section, twist it gently, and hold it with a large claw clip.
The twist adds structure while the layers keep everything soft and light. It’s unique because the twist makes a neat shape even if your ends aren’t perfectly smooth.
If your hair is thick, tease the roots lightly before twisting for a fuller look. If it’s thin, skip heavy product and use a light mist so the layers stay airy.
For personalization, vary the clip placement slightly higher or lower depending on your outfit. A higher clip looks more playful, while a lower clip feels more polished.
14. Layered “Swoop and Pin” for Curly Ends
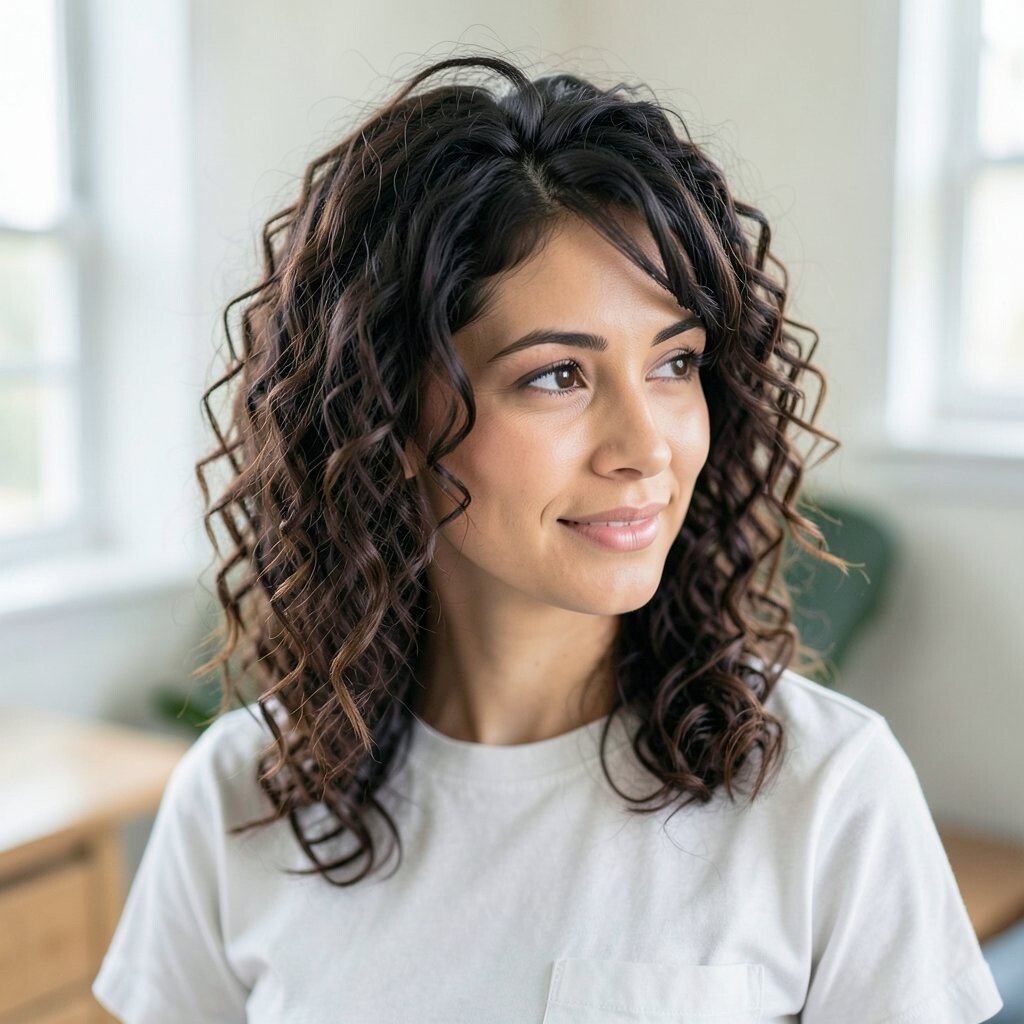
Let your curls or waves show by creating a deep side part. Then sweep the top layers to one side and pin them lightly so the curly ends can hang freely.
This creates a “swoop” shape while protecting your texture from frizz. Layered lengths make curls look bouncier because each length forms its own curl pattern.
To keep it from flattening, refresh curls with a tiny spritz of water and a dab of curl cream. Add pins only where needed so the rest of the curls remain touchable and lively.
Cost considerations are simple here because you can use your regular curl product. If you don’t have one, try a lightweight leave-in conditioner and test a small amount first.
15. Quick Layered Bun with Loose Strands
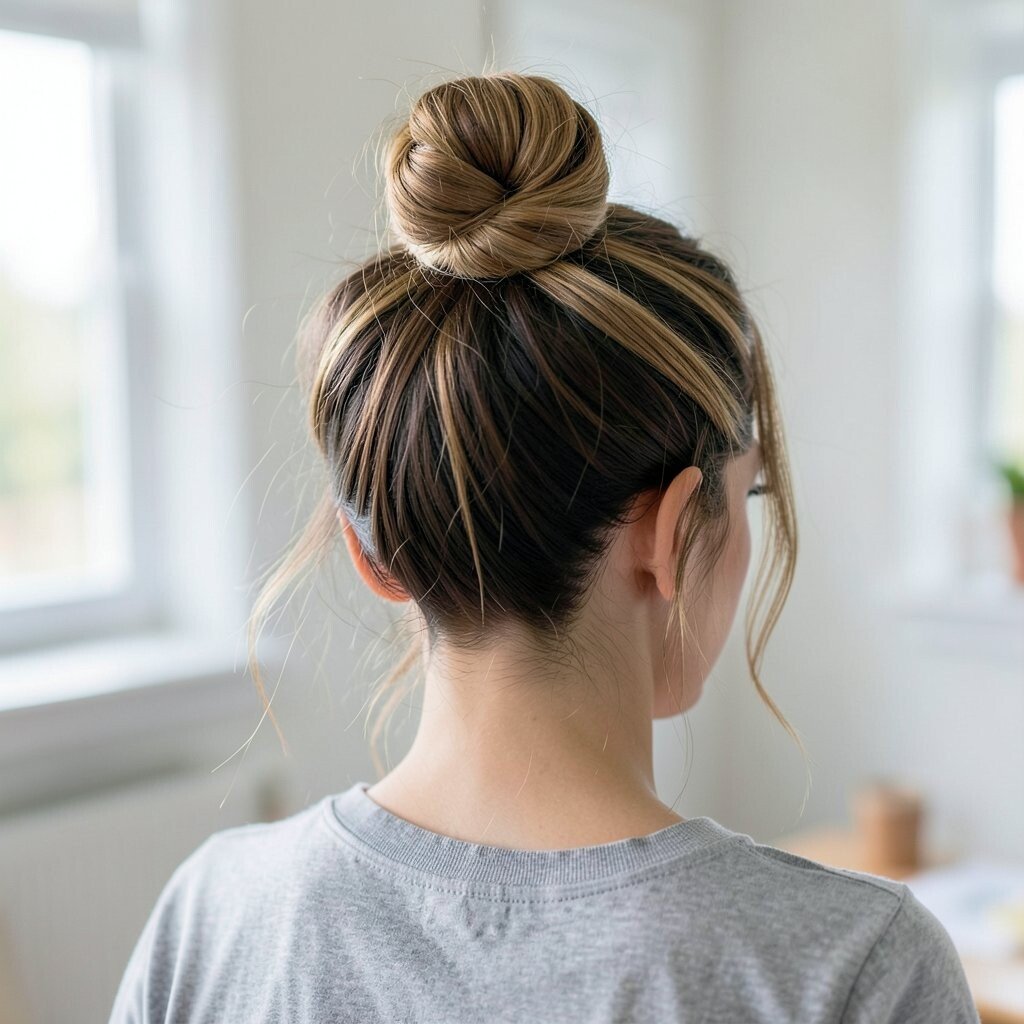
Gather hair into a mid or low bun, then pull out two or three strands near the front. Those loose strands should sit softly over your forehead or cheeks, showing off your layered haircut.
This bun looks stylish without needing perfect polish, and layers make it feel more natural. It’s actionable because you can adjust the looseness in seconds while you’re getting ready.
For the quickest hold, use a bun maker or just a hair tie and a few pins, depending on your hair thickness. If your hair is slippery, add a tiny bit of dry shampoo at the roots before tying.
To personalize, decide whether you want a clean bun or a slightly messy one. Messier buns are trending because they look effortless, but a clean bun can still feel modern when paired with loose face strands.
16. Layered Updo with Two-Minute Tease
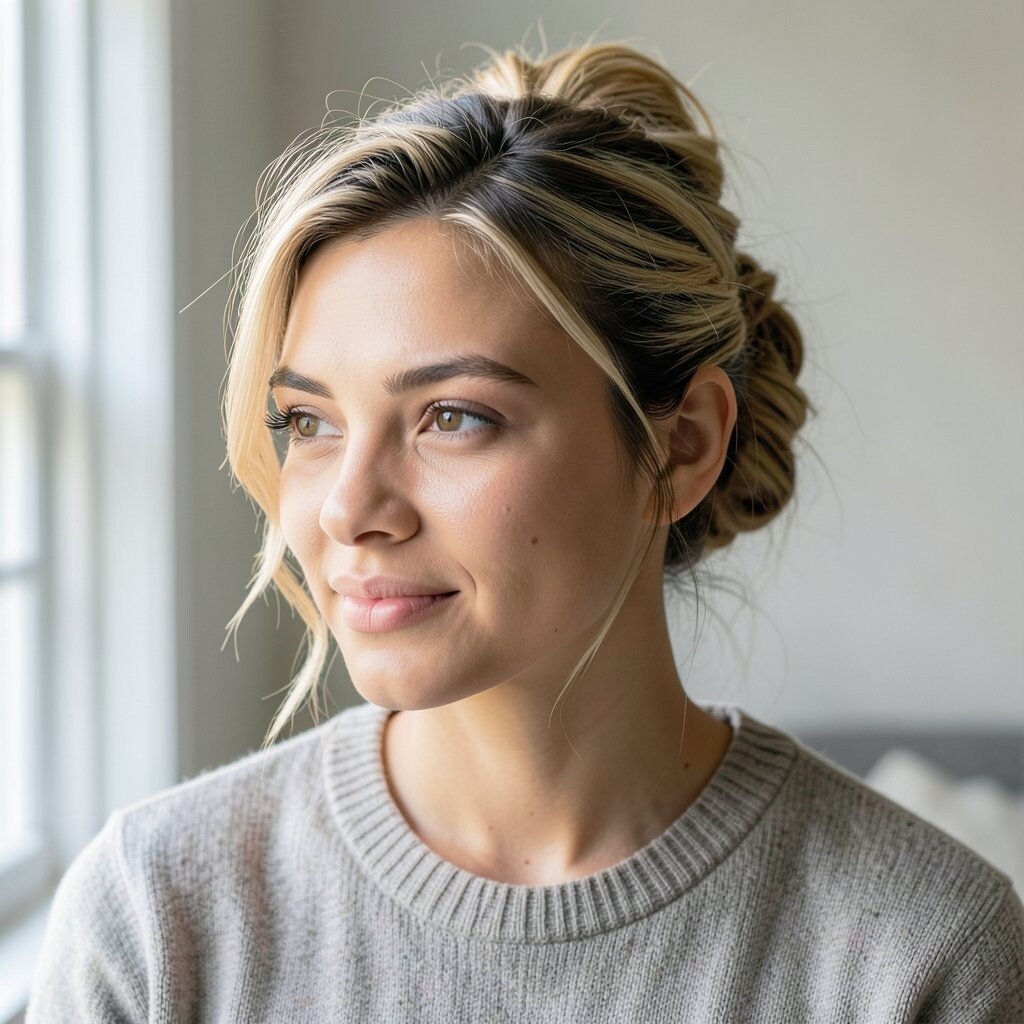
Gather your hair into a simple bun or twist, then fasten it with pins. Before you secure everything, do a two-minute tease at the crown using a fine comb.
That quick lift makes layered hair look fuller and more dimensional, even if you didn’t curl anything. It’s a smart option for busy mornings because you get a high-impact result with minimal steps.
For personalization, add a soft wrap of hair around the base of the bun so it looks intentional. If you love accessories, a small scarf ribbon tied around the bun adds a playful touch.
When thinking about cost, prioritize tools you already own like bobby pins and a basic brush. If you do buy anything, choose a good-quality comb and a reliable hair spray for steady hold.