Jewelry looks better when it has a home you can see. A frame turns your daily accessories into a neat, eye-catching display.
1. Shadow Box With Color-Coded Inserts
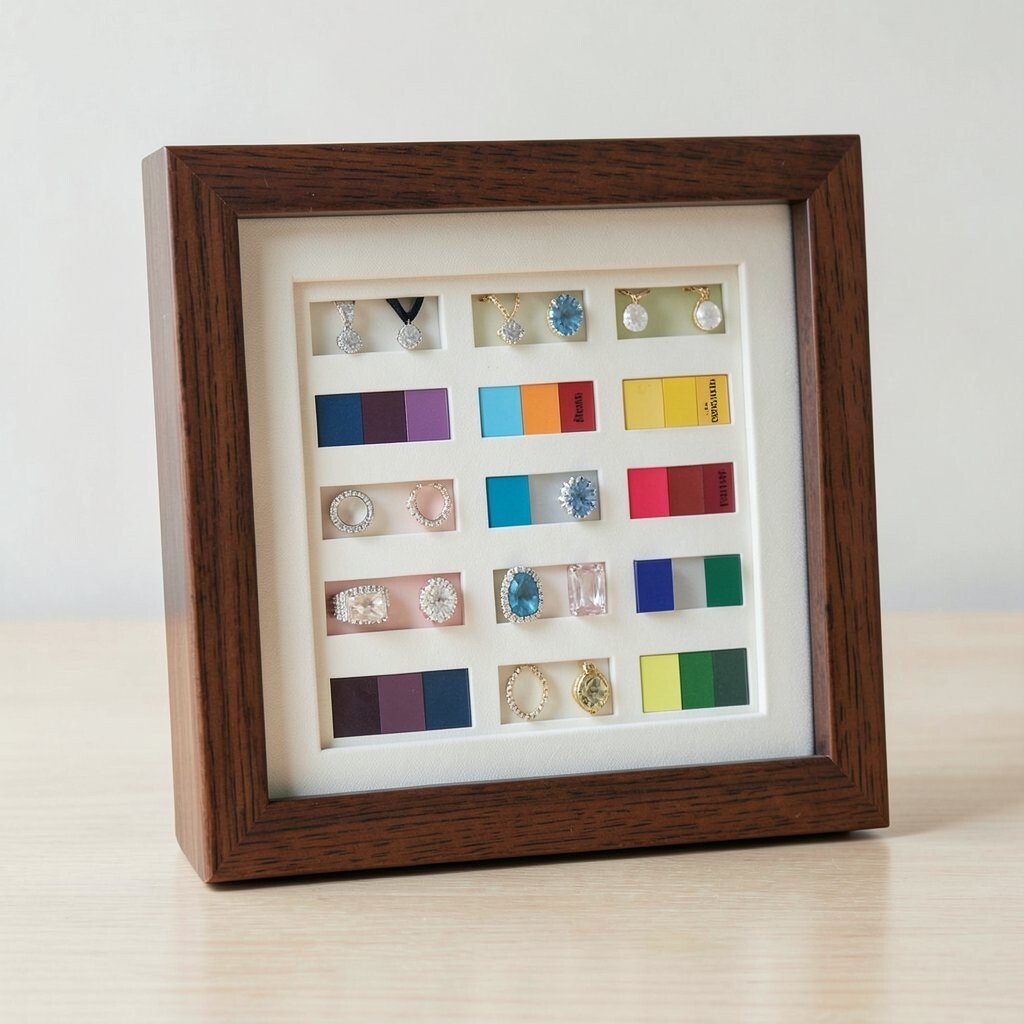
A shadow box frame with glass instantly makes your jewelry feel special. You can see everything at once, and it also keeps pieces from getting tangled or lost.
Choose inserts that match your style, like soft felt, satin fabric, or cork sheets. Add color-coded sections so rings, earrings, and necklaces each have their own visual lane. Keep a small spacing gap between items so clasps don’t get pulled when you open or close the frame.
2. Vintage Window Frame With Hook Rows
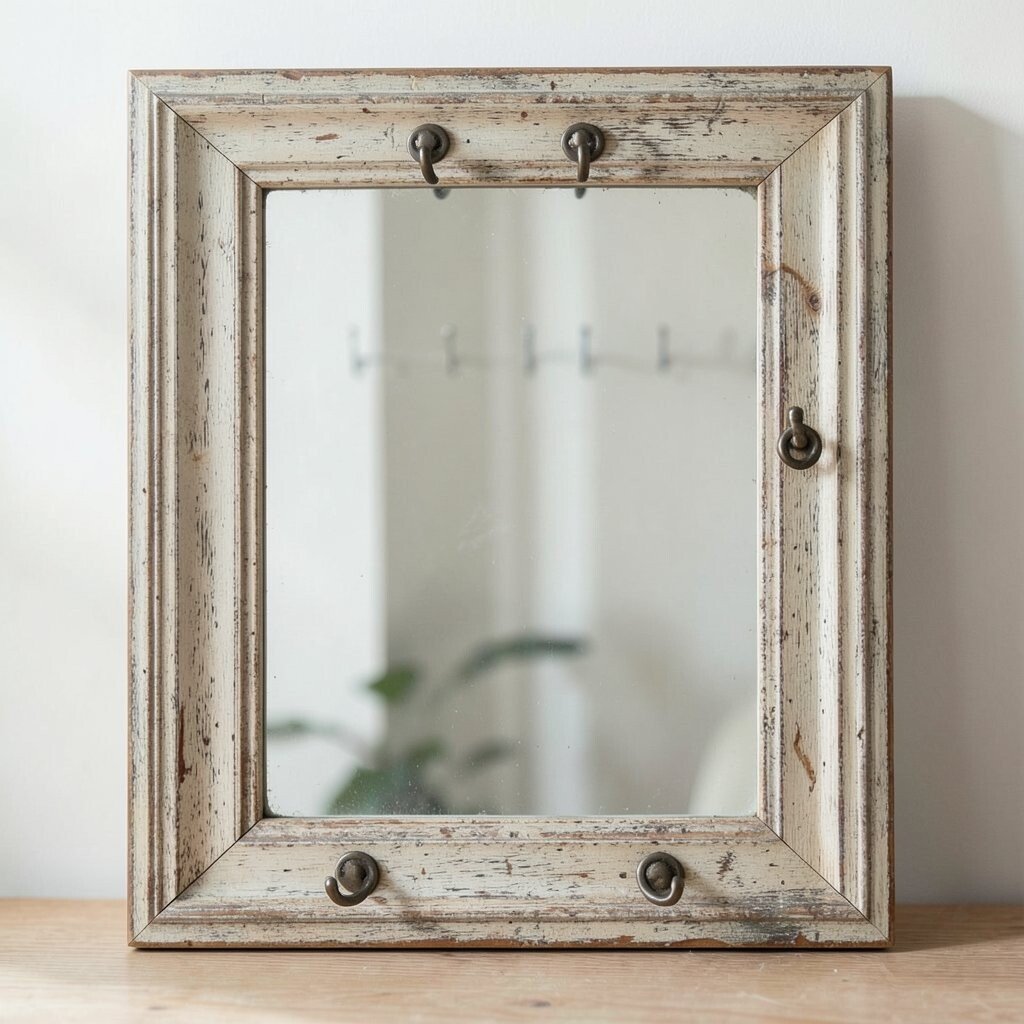
A vintage window frame looks charming on a wall and instantly adds character to your room. You can hang it like decor while using the panes as organized zones.
Install rows of small hooks across each “pane” so earrings and bracelets stay put. Use binder clips or tiny ring holders to keep delicate necklaces from slipping. For a practical touch, group items by how often you wear them, like everyday studs on the lowest section.
To personalize it, paint the frame in a finish you love, such as matte black, creamy white, or a gentle pastel. If you want a current look, try mixing metals so silver and gold tones appear intentional. For cost, you can often find old window frames at thrift stores and only spend on hooks and mounting hardware.
3. Cork Back Frame With Pin-On Necklace Loops

Cork is light, forgiving, and friendly for jewelry display. When you press pins or loop hooks into the cork, your necklaces and chains stay aligned.
Use tiny necklace loops made from wire, or thread each chain through short loops you attach to the cork. Add earring studs into the cork with small push pins, then place a clear label card behind the frame glass so you know where everything goes.
For uniqueness, cut the cork into different shapes so the display feels artsy, not rigid. Keep chains from stretching by using small spacing and avoiding over-tight pinning. This idea can be budget-friendly since cork sheets are easy to find and simple to cut with basic tools.
4. Clear Acrylic Frame With Tiered Earring Clips
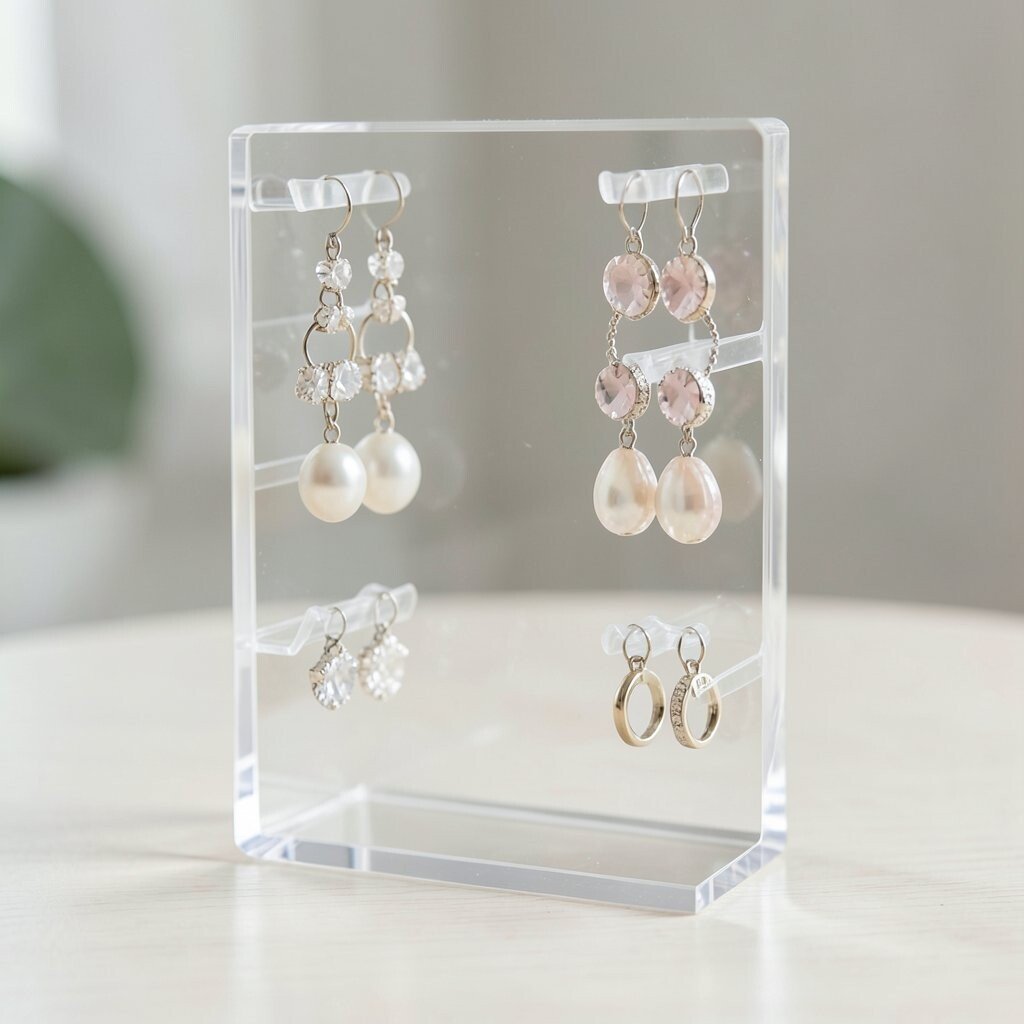
A clear acrylic frame makes jewelry look like it’s floating. You get a clean view without any fabric background, which feels modern and fresh.
Attach tiered clips or mini brackets inside so earrings hang in neat rows. Curate by style, like small hoops on one side and statement drops on the other, so you can grab quickly. Add a strip of decorative vinyl behind the frame for personalization without clutter.
5. Fabric-Faced Frame With Brooch and Pendant Squares

A fabric-faced frame gives a soft, warm look that matches many home styles. When jewelry sits on a gentle background, it visually stands out more.
Cut small squares of fabric or use layered strips so each pendant, brooch, or charm has its own “spot.” Pin chains to the fabric with fine push pins, then tuck the clasp ends into hidden folds. Arrange the pieces by color so your display looks like an intentional mini gallery.
To keep it practical, use removable pins so you can swap pieces often as seasons change. This setup also protects delicate finishes because fabric cushions contact points. If you want to manage cost, repurpose an old picture frame and buy only the fabric and basic pins.
6. Floating Frame With Bar Necklace Rails

A floating frame can look sleek and gives your jewelry a crisp, organized edge. Instead of a bulky backing, the jewelry feels lightly suspended, which is great for necklaces.
Install thin metal or wood rails inside the frame so chains can drape without crossing. Place hooks at the rail ends for short necklaces and tie on a few small chain guards to prevent snagging. Keep your most worn necklace at eye level, and place longer pieces higher so the lengths look balanced.
If you like current trends, lean into minimalist styling by using a neutral background and consistent spacing. Personalize by engraving or painting the rails, even a simple stamped pattern can make it feel one-of-a-kind. For cost, you can build the rails from lightweight strips and spend more only if you want matching hardware.
7. Map-Print Frame With Labeled Sections for Travel Trinkets

A map-print frame turns jewelry storage into a story on your wall. It feels playful, and it makes it easy to remember where each piece came from.
Divide the frame into sections using thin thread or lightweight trim so each travel charm has a home. Hang necklaces with small hooks and place earrings on small pads inside each section. Use a gentle naming style by writing the city or country behind the frame so you can see it when the glass reflects light.
To personalize, match the map colors to your room decor, or choose a vintage sepia map for a cozy look. This is a fun way to keep uniqueness because nobody else will have your exact charm lineup. Cost stays manageable since you only need a printed map backing and basic mounting supplies.
8. Deep Frame With Vertical Ring Stands
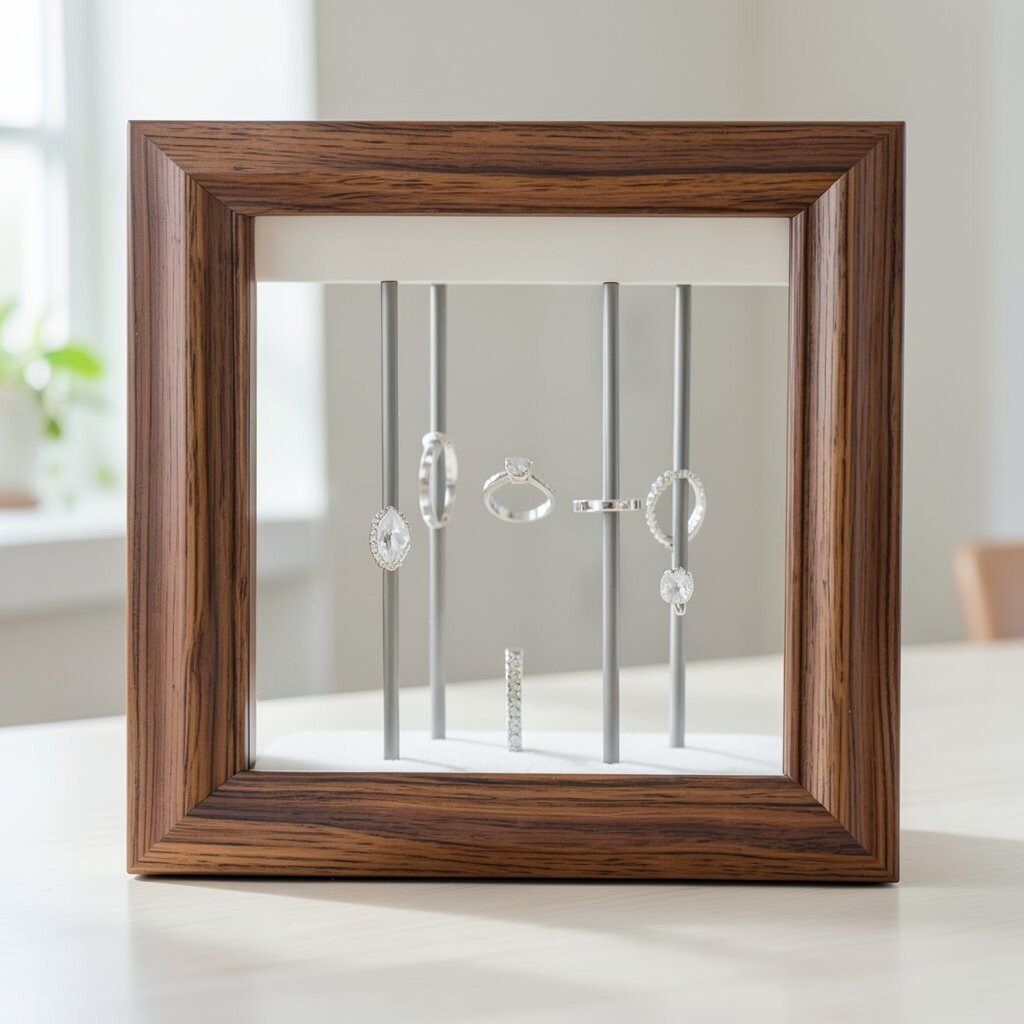
A deep frame is perfect for rings because you can create a “stack” effect without crowding. Rings stay visible, and you avoid the daily mess of searching through boxes.
Build ring stands by using foam strips, cork, or small holders placed upright inside the deep frame. Arrange them by ring size or by metal tone, then leave a little empty space so each ring looks crisp. For practical care, keep rings away from rough edges and secure them so they don’t slide when you move the frame.
Make it personal by adding a nameplate or date at the bottom, which gives the display meaning. If you want a current look, try a monochrome arrangement with one accent color for a bold pop. This can be budget-friendly because deep frames are easy to find and the ring stands are simple to DIY.
9. Mosaic Frame With Hanging Chain Panels
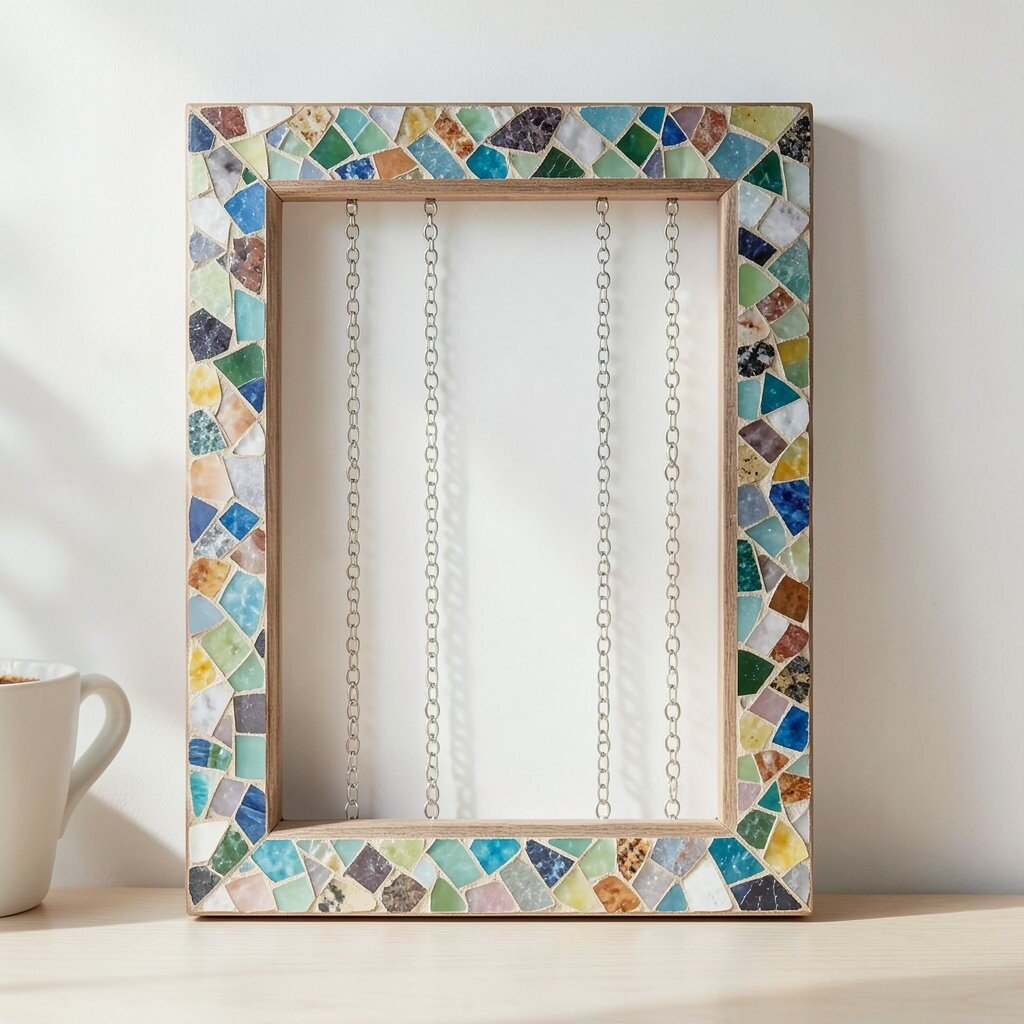
A mosaic style frame brings a fun, textured feel that looks great in bright rooms. When you use chain panels across the frame, jewelry becomes part of the design.
Create panels by stretching thin mesh or using small grid strips inside the frame. Hang chains over the grid so they lie neatly, then add earrings to small hooks along the sides. A mosaic backing works well with mixed jewelry sets because colors naturally blend.
Uniqueness comes from the way each chain drapes, so try arranging some pieces in curves and others straight for variety. Keep practical tips in mind by using soft ties or small clips at ends so clasps don’t pull. If cost matters, use inexpensive frame materials and focus your budget on the grid backing and sturdy hooks.
10. LED-Lit Frame With Nighttime Sparkle
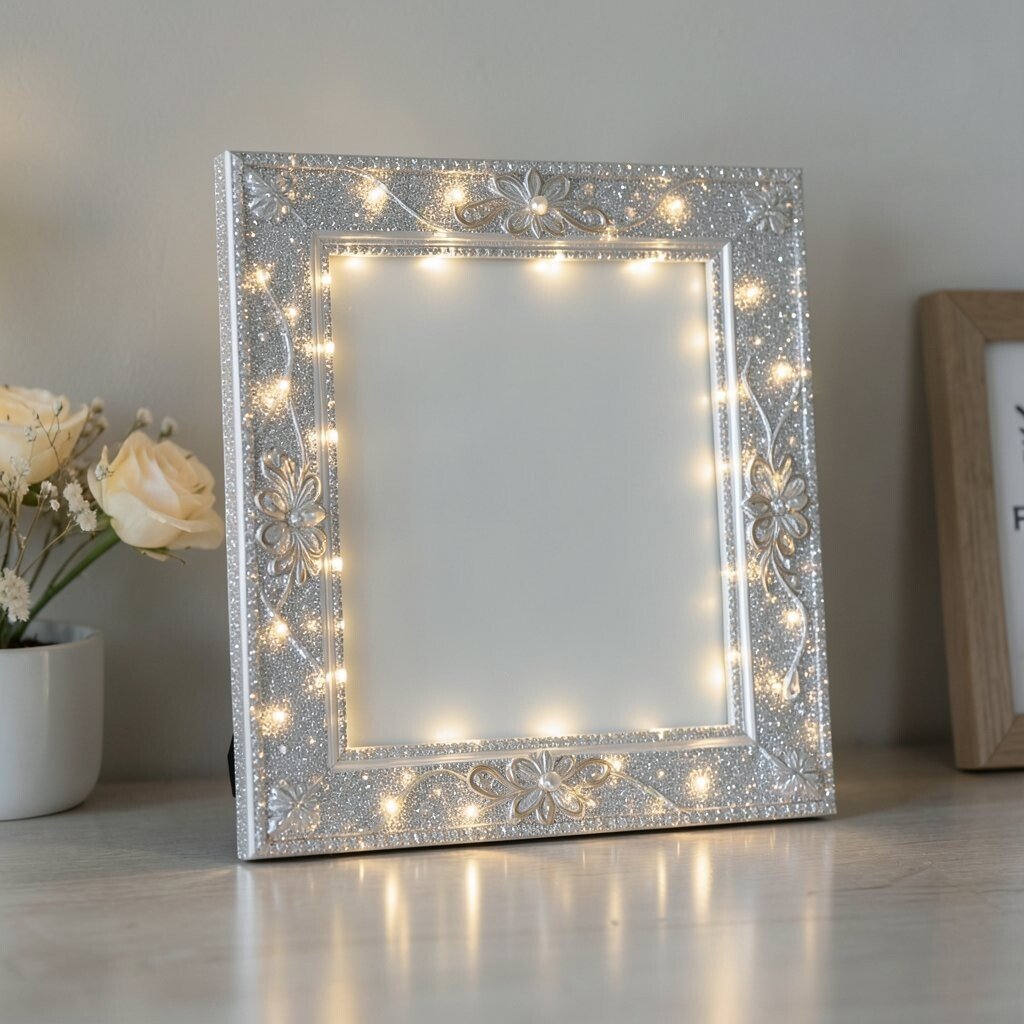
An LED-lit jewelry frame makes everything glow, even when the room lights are low. It turns your jewelry into a nighttime accent that still looks tidy.
Place warm white LED strip lights around the border, then position earrings and pendants so they catch the light. Use clear holders for necklaces and small trays for rings so items stay stable. Keep cables hidden behind the frame backing, and choose a battery pack if you don’t want extra outlets.
For personalization, try a color filter on the lights, like gentle amber or soft pink, so the display matches your mood. This idea feels unique because it adds atmosphere, not just organization. Cost considerations vary, but you can start with a basic LED strip kit and build up later if you love the look.
11. Bathroom-Tile Inspired Frame With Earring Tiles

A bathroom-tile inspired frame gives a clean, spa-like vibe while keeping jewelry in order. The small “tile” feel helps you organize earrings into tidy mini areas.
Use ceramic-style tiles or tile-pattern paper as the background, then attach tiny earring holders in each section. Place studs and small hoops on the tile blocks, and hang longer earrings from the frame edge. Keep a practical routine by resetting the layout after each wear so the display always looks polished.
Personalize with tile colors that match your bathroom or vanity, like seafoam, blush, or classic white. For current trends, consider mixing glossy and matte textures so the jewelry pops without looking busy. Cost is often low because you can make tile looks with print paper and simple acrylic holders.
12. Gallery Frame With Rotating Insert Tray for Seasons

A gallery frame with a rotating insert tray makes jewelry feel fresh every time you swap it. It’s a smart way to organize seasonal pieces without starting over.
Build a removable tray insert from thin wood or acrylic that fits inside the frame backing. Arrange necklaces on one section and earrings on another, then rotate the insert to match spring, summer, or holiday styling. Keep an “everyday set” insert and a “special occasions” insert so you don’t have to hunt.
Uniqueness comes from how you curate each tray, and you can make each season look like a mini theme. For personalization, add small charms or fabric swatches that reflect the season’s colors. Cost considerations are realistic since you can repurpose an existing frame and only buy the tray material and simple dividers.
13. Wire Grid Frame With Magnetic Backing for Quick Swaps
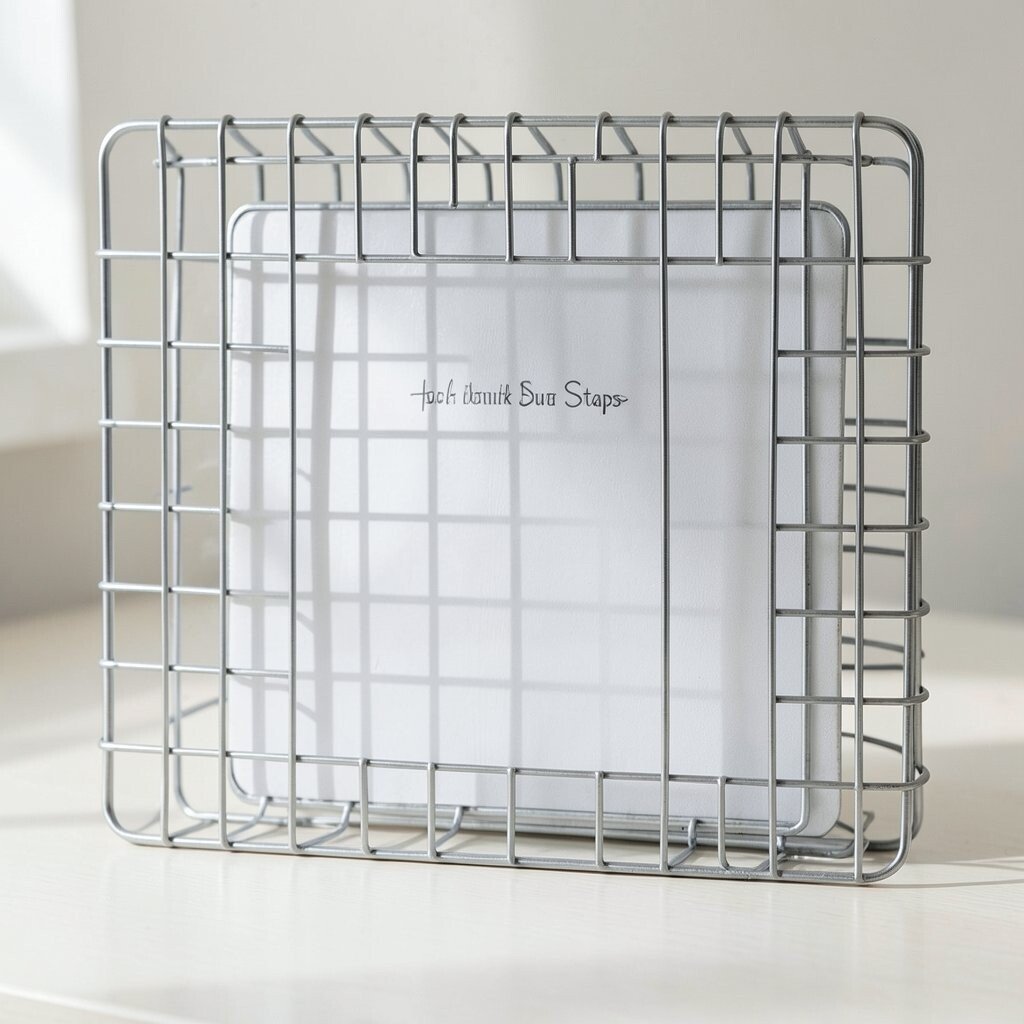
A wire grid frame with magnetic backing is great for people who swap jewelry often. It feels modern, and the grid keeps everything aligned without much effort.
Attach a magnetic sheet behind the frame or use magnetic jewelry holders that catch light and hold pieces in place. Use small hooks for necklaces and magnetic strips for earrings so you can rearrange quickly. For practical tips, keep magnets strong enough to prevent slipping, especially for heavier pendants.
If you want a uniqueness boost, combine a patterned wire grid with a smooth colored backing so the whole display looks intentional. Current trends favor minimal, functional decor, and this approach fits that vibe nicely. Cost is flexible since wire grids and magnets range from budget to premium, but you can make it look high-end with clean spacing and careful styling.