A village shop can feel like a warm secret tucked into a side street. The right display jewelry ideas make that feeling sparkle.
When you slow down and shape your storefront like a small gallery, every charm and chain starts to tell a story. Below are practical, charming ways to show locally crafted pieces with style and heart.
1. Window Vignette With Mini Terrariums
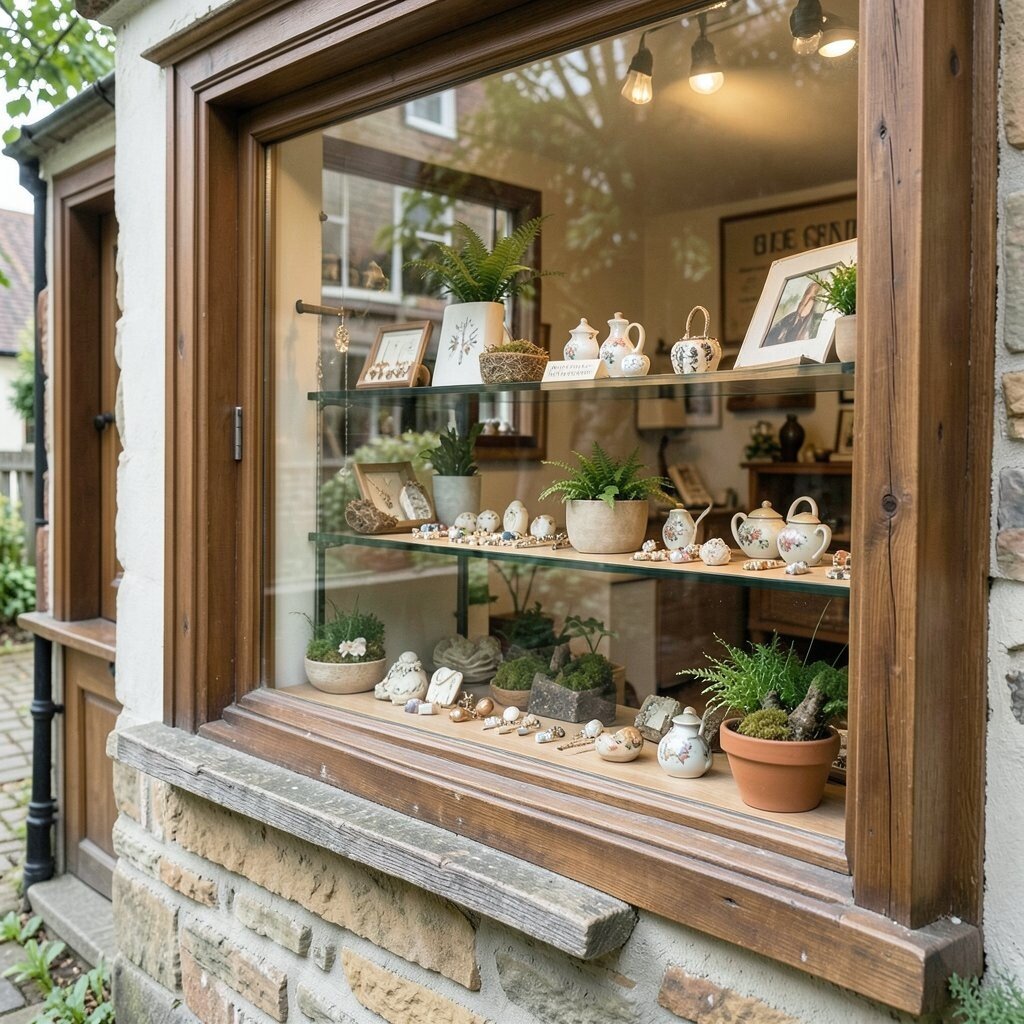
Place tiny glass terrariums near your display to give customers a fresh, calm scene. Pair delicate pendant necklaces with mossy tones so the jewelry feels connected to the land.
Choose a consistent size of terrarium so the look stays neat and easy to shop from. Add a small card describing the local maker’s inspiration, written in simple words that fit your shop voice. For personalization, swap in one terrarium each season with colors that match the local flowers or harvest theme, and keep a few spare options for quick changes.
2. Hand-Lettered Display Cards for Every Charm
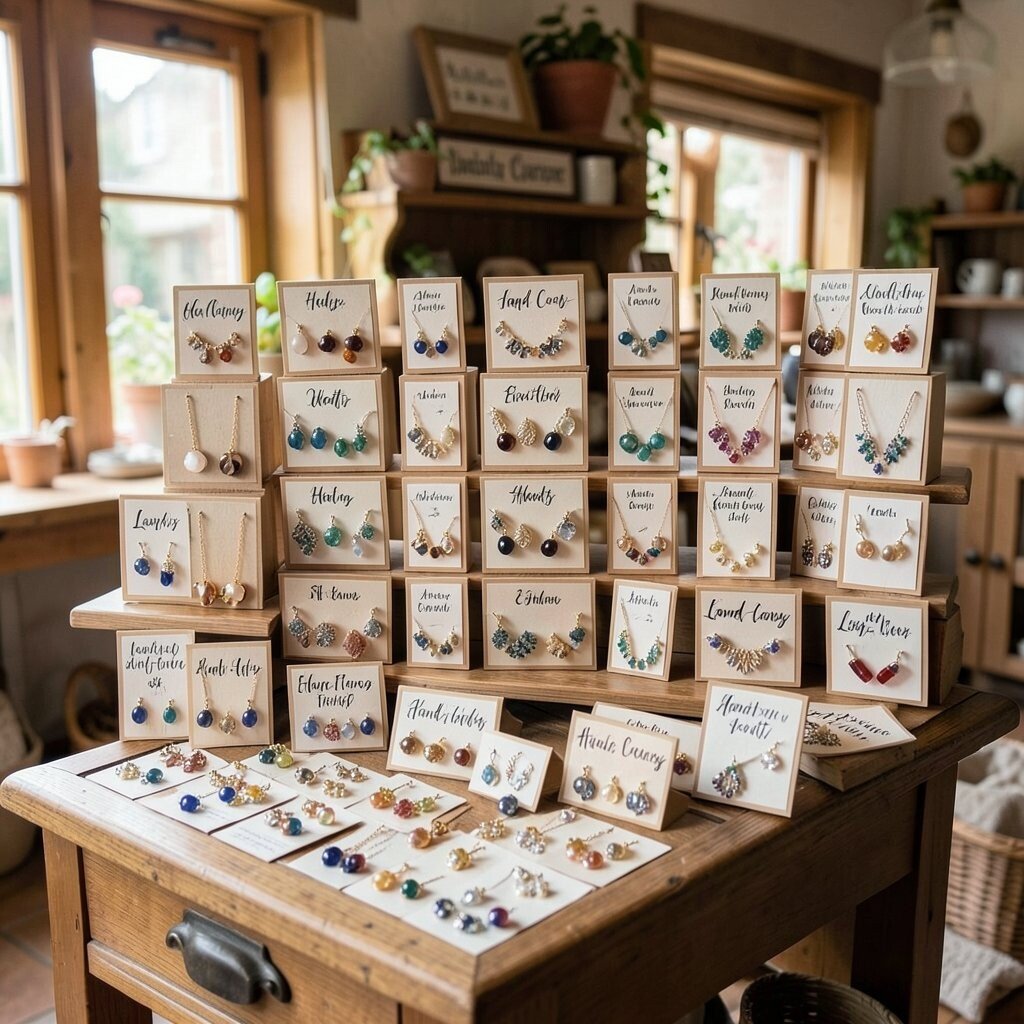
Use hand-lettered cards to frame each charm, ring, or bracelet like a mini keepsake. Customers love knowing what a piece is called and why it was made.
Keep the cards easy to read from a short distance, and use thick paper so the edges look crisp. Add details such as gemstone meaning, metal type, or a short story from the maker, written in plain language. For cost control, print your own card backs and let your letterer friends or volunteers create unique front lettering so you still get a one-of-a-kind feel.
To ride current trends, mix in a clean, modern font style with soft handwriting so the display looks both friendly and up to date. When you rotate cards weekly, customers return to see what changed, and local makers get fresh visibility. Pair each card with a tidy photo strip showing matching items so shoppers can build a set without guessing.
3. Tiered Wood Trays With Sand-Textured Bases

Set jewelry on tiered wooden trays and add a sand-textured base for a warm, beach-inspired look. It makes studs, earrings, and stacking rings stand out while still feeling cozy.
Choose trays with rounded edges so the display feels gentle rather than sharp. For practical setup, secure small risers so pieces stay in place when customers browse. Keep a few cleaning wipes nearby, because dust shows on textured bases and you want everything to look cared for.
If your shop carries many local artisans, let each tray represent a maker, even when the pieces differ in style. Personalization can be as simple as placing one “favorite of the week” pair at eye level. Costs stay manageable since sand-textured filler and simple wood risers are inexpensive, and you can reuse them for years.
4. Vintage Frame Necklace Gallery

Hang a set of vintage frames and turn them into a necklace gallery that looks like wall art. Use small hooks inside each frame so chains drape naturally and never tangle.
Lightly sand frames for a smooth finish, then add a thin neutral fabric background so the jewelry pops. This setup gives a unique, boutique vibe and helps customers see proportions, especially with longer pieces. Include one frame dedicated to local silver work and another for colorful stone pendants so variety stays clear.
5. Color-Blocked Bracelet Boards
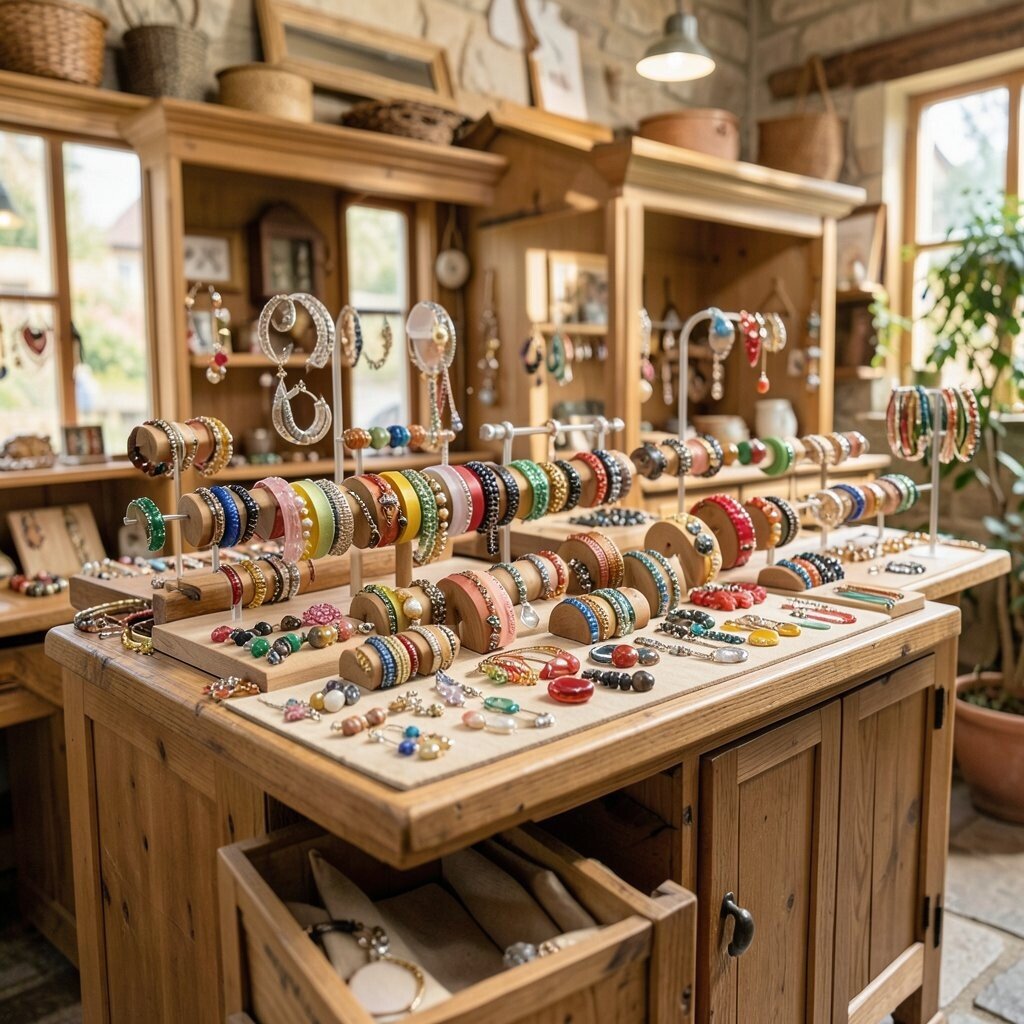
Make bracelet boards by arranging leather bands, beaded strands, and woven cuffs into clear color groups. This helps shoppers compare quickly and creates a cheerful visual rhythm.
Use felt or cork boards in calm background shades, then pin pieces with small, gentle clips. Keep spacing consistent so the display looks tidy even when you add new arrivals. For a personalization touch, label each color group with a short note about the vibe, like “sunny gold” or “evening blue.”
Current trends favor stacked styling, so consider displaying three “ready-to-wear stacks” in a row. To manage cost, reuse base boards and only replace the decorative pins and labels as styles change. You can also rotate one color group to match local seasonal events like markets, fairs, or school performances.
6. Rotating “Maker Spotlight” Spin Stand
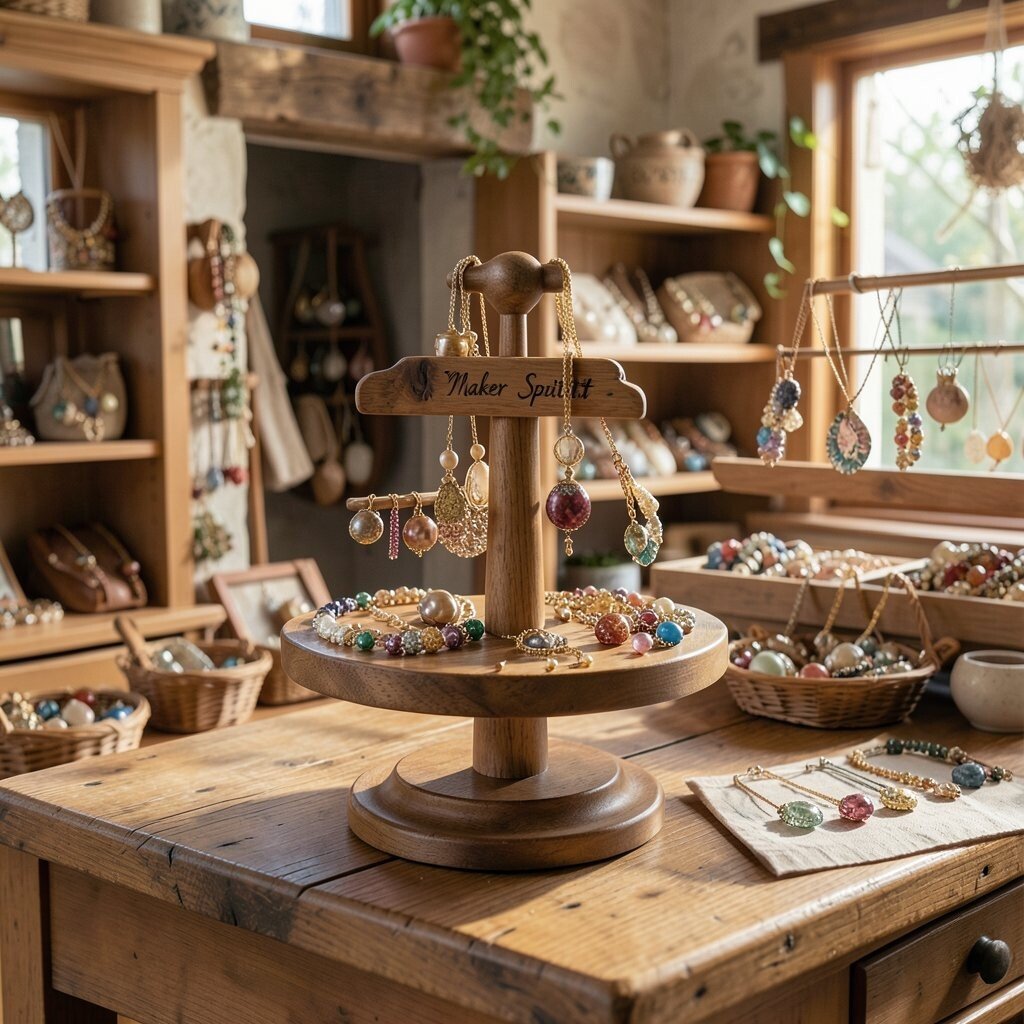
Use a small rotating stand so customers can see multiple pieces without touching everything at once. A spin stand makes a display feel lively, like a mini show happening right in your window.
Choose a stand with a steady base and smooth motion to protect delicate chains and stones. For uniqueness, add a tiny enamel pin or small token from the local maker onto the base. When you rotate items weekly, you give each artisan a moment, and shoppers feel the display stays fresh.
7. Corkboard Earring Constellations
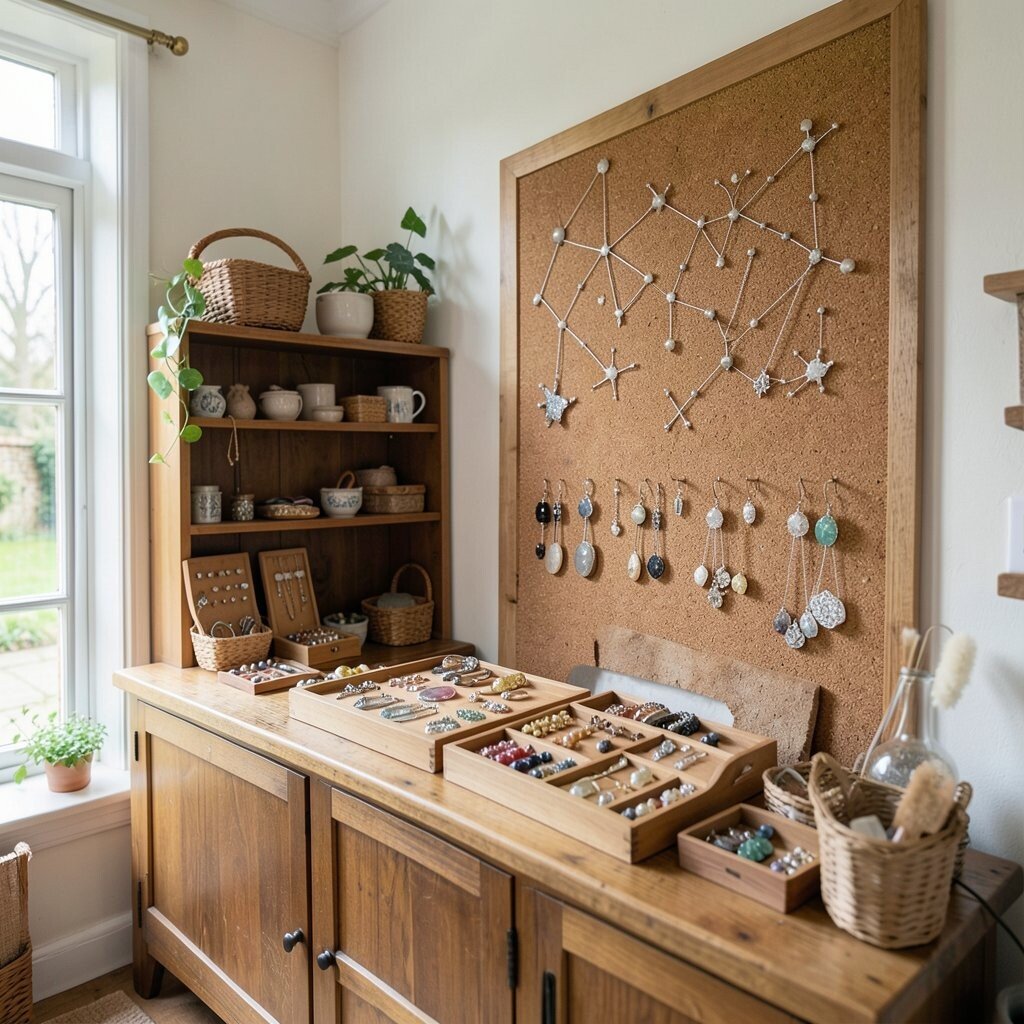
Turn a corkboard into an earring “constellation” by hanging studs and drops like stars across a grid. It looks playful, and it also makes browsing easier.
Group earrings by size and weight so heavier pieces aren’t mixed with very light ones. Keep hooks hidden by adding small black or bronze backing so the board feels polished. For personalization, let customers write their initials on removable tags and attach them to the “favorites” section.
This idea also supports current trends toward meaningful personalization, since many shoppers want pieces tied to memory or identity. To handle costs, start with one corkboard panel, then expand only as sales grow. Always include a small pair of cleaning tools nearby so customers can see how the finished shine can look after care.
8. Marble Slab Ring Steps With Soft Lighting
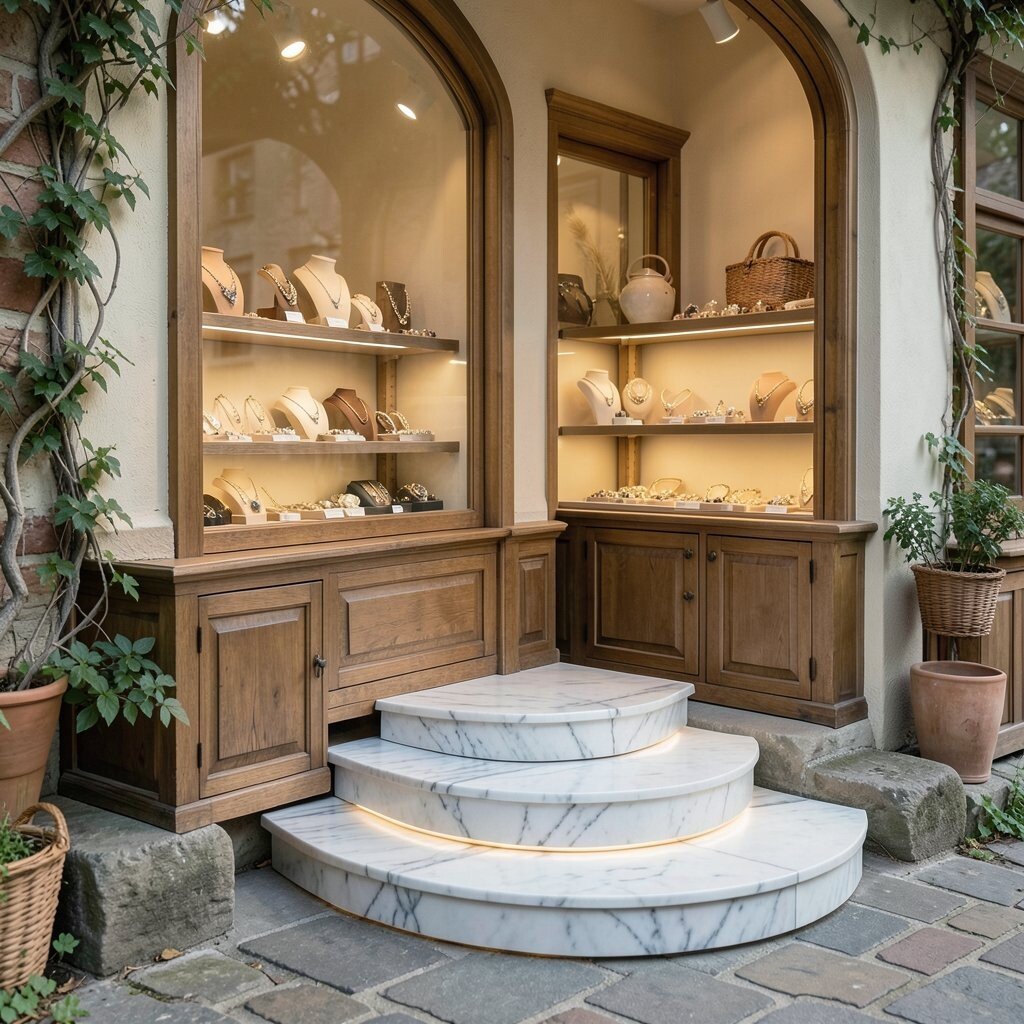
Use a slim marble slab as a “step” surface for rings, and add soft warm lighting to make metals glow. It gives a high-end look without needing a big budget.
Lay rings in size order so customers can find what fits without guessing. For practical tips, avoid placing gems too close together, since tiny stones can reflect and blur the details. Personalization can happen by setting one tiny section aside for sizes that are frequently requested, then marking it with gentle language on a small sign.
Consider setting a few locally made bands in a “stack-friendly” cluster so shoppers see how they combine. Cost-wise, marbled contact paper or a faux slab can be a smart start if natural stone is too pricey. The lighting is what sells the shine, and you can upgrade bulbs later if you want a more dramatic effect.
9. Fabric-Wrapped Jewelry Pillows for Giftable Sets
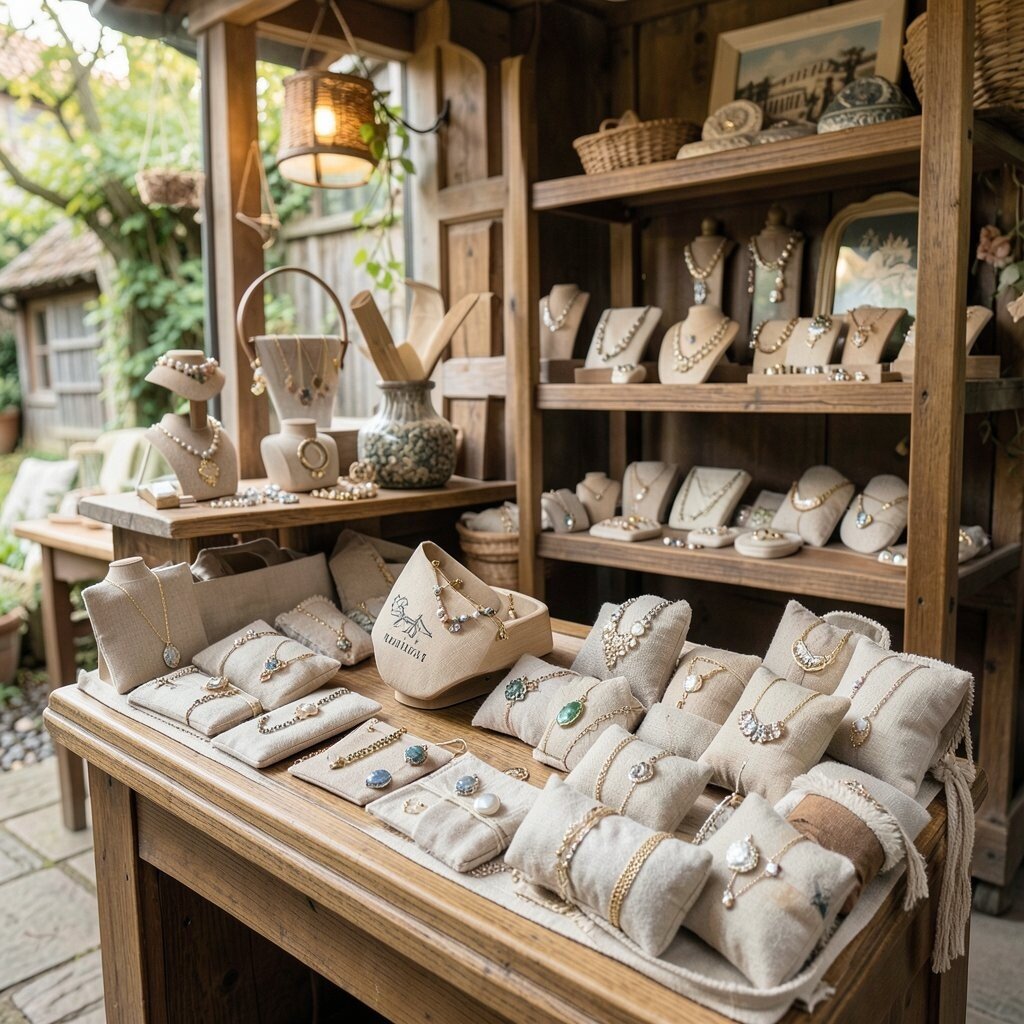
Craft fabric-wrapped pillows for necklaces, cuffs, and bracelets so each piece rests like it’s ready to give. The display feels thoughtful, and it reduces the stress of gentle handling.
Pick fabrics that match your shop mood, such as linen for a calm look or velvet for a rich evening style. Keep one side plain so pricing labels remain easy to read. For personalization ideas, use tiny embroidered stitches made by local hands, like a small star, leaf, or town symbol.
Customers often want gift-friendly items, and this setup helps them imagine taking the piece home. To balance cost, choose a basic set of pillow shapes and swap fabric covers as inventory changes. You can also offer matching ribbon colors for sets so bundles look intentional without extra labor.
10. Shadow-Box Showcase for Coins and Charms
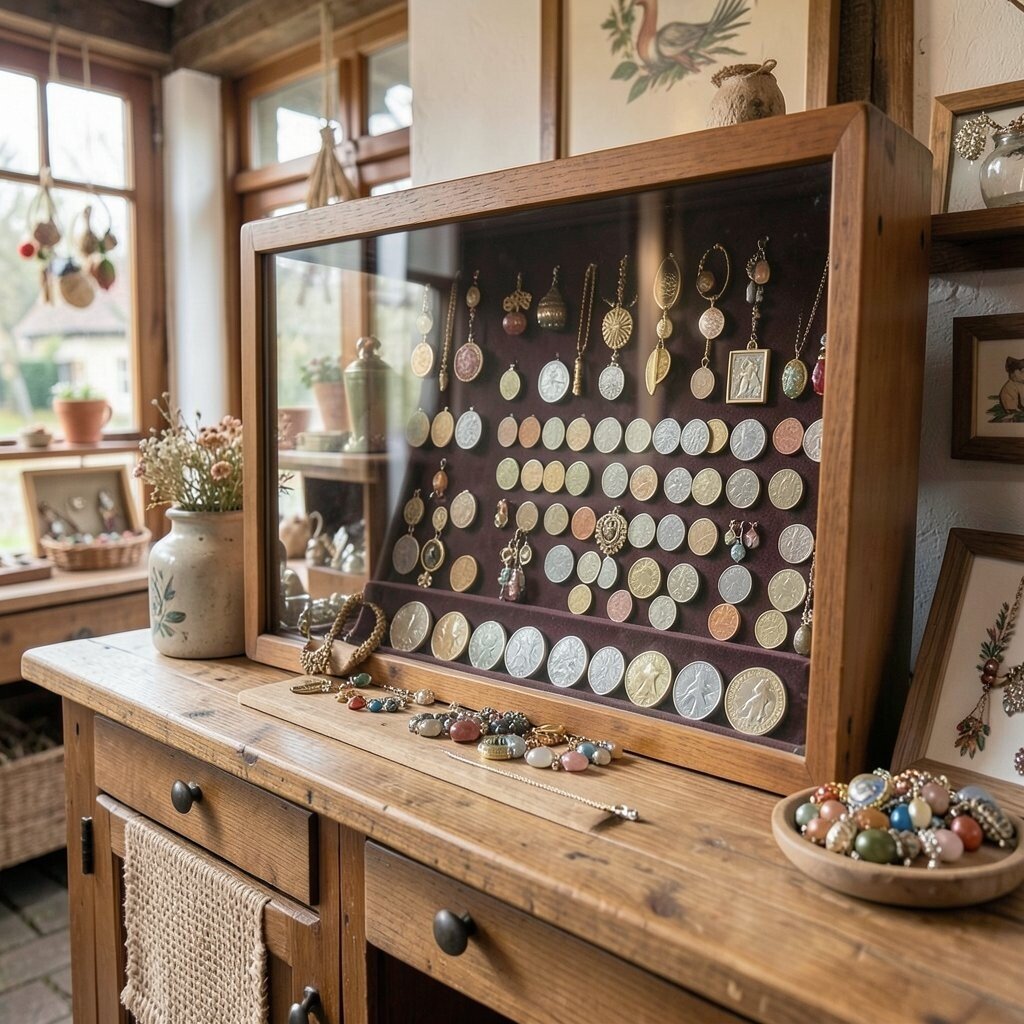
Build a shadow-box display to hold charms, coin pendants, and small trinket necklaces as if they’re in a museum. The glass-front look makes details feel protected and special.
Use small depth spacers inside the box so each item sits at a different height for a “layered” effect. This makes the display feel three-dimensional even with a flat surface. For uniqueness, add a local map corner or a small printed textile pattern behind the items so the story feels rooted in place.
To keep it practical, add a simple checklist for inventory so you don’t forget what’s in each box during restocks. Pair the shadow-box with a few matching charm necklace strands so customers can build a custom look. Cost considerations stay reasonable because you can reuse boxes and only change the contents as new makers arrive.
11. Wooden Spindles for Earring Laddering
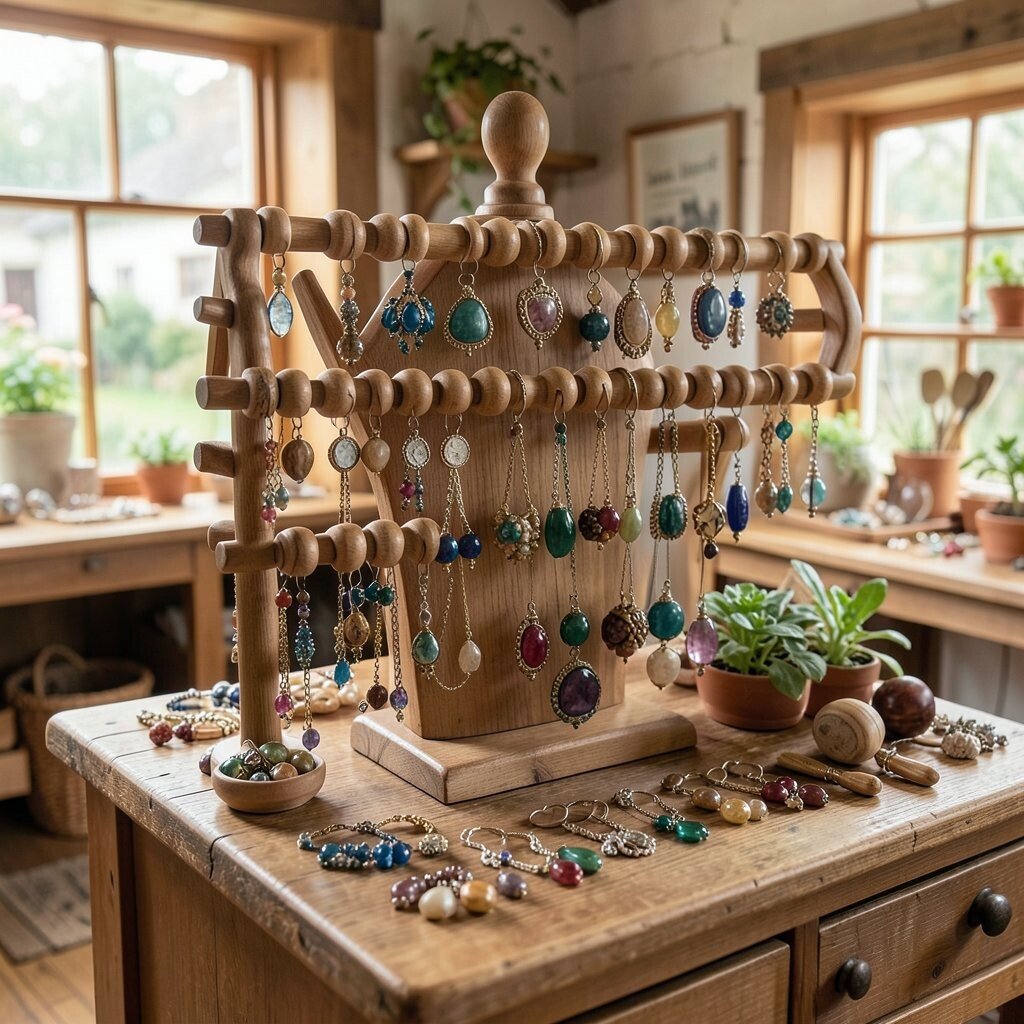
Set earrings on wooden spindles arranged like a ladder, with small pegs for each pair. The vertical layout makes it easy to spot statement drops and tiny hoops quickly.
Paint or stain spindles in muted colors so they don’t compete with the jewelry. For practical tips, keep the height consistent so customers can browse without reaching too far. Personalization can happen by labeling the ladder rungs with “everyday,” “work,” and “party,” using friendly language that fits your audience.
12. Reclaimed Drawer Fronts for Bracelet Displays
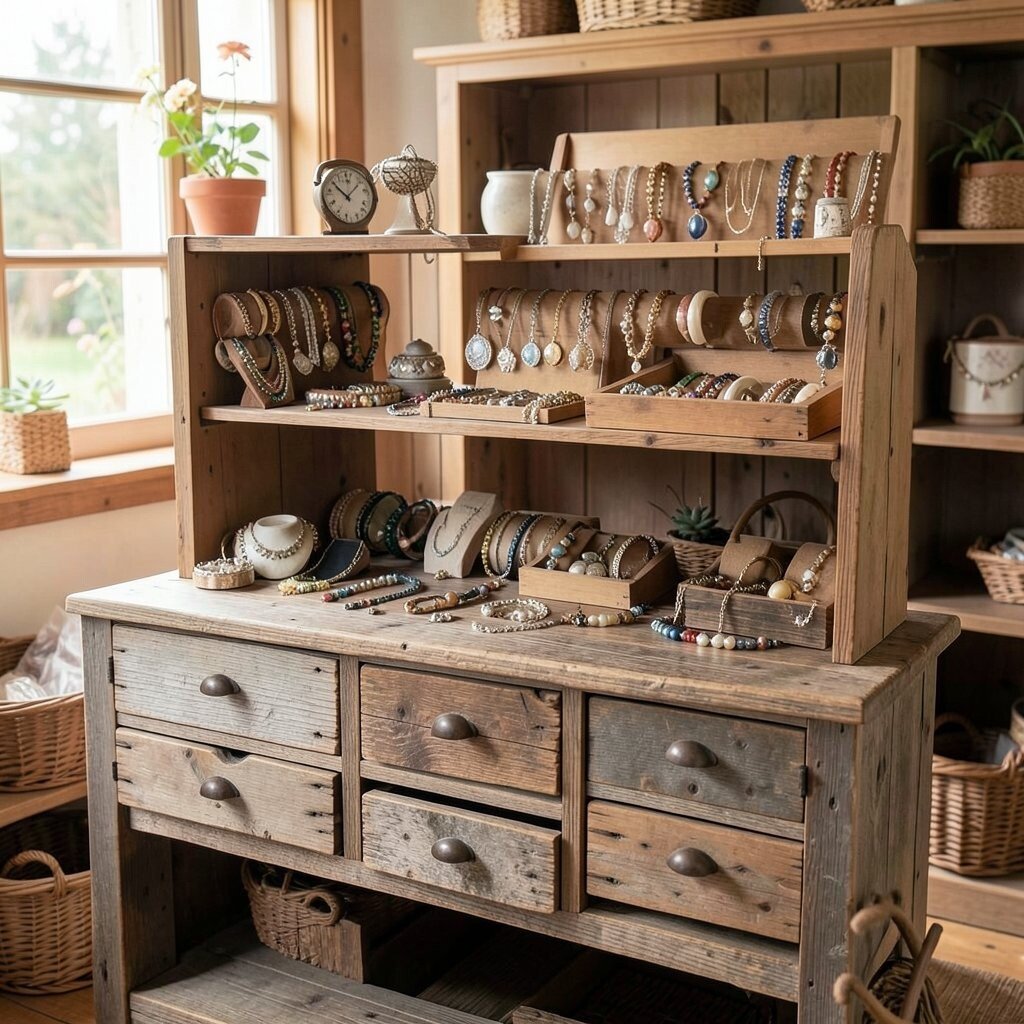
Mount reclaimed drawer fronts on a wall and use the drawer compartments to display bracelets. Each drawer becomes a neat little home for cuffs, bangles, and woven bands.
Line drawers with felt or soft fabric so metal doesn’t scratch and stones don’t slide. Make each drawer represent a style, like braided, beaded, or carved, to simplify shopping. For uniqueness, leave one drawer slightly worn and clean the rest so the display feels honest and handcrafted.
Current trends show strong interest in textured materials, so mix in leather, cord, and woven pieces across the drawers. If you’re mindful of cost, hunt for secondhand drawer units and refurbish them with small paint and new lining. Customers will notice the effort, and that story helps justify a fair price on locally made work.
13. Desk-Top “Try-On” Mini Mannequins
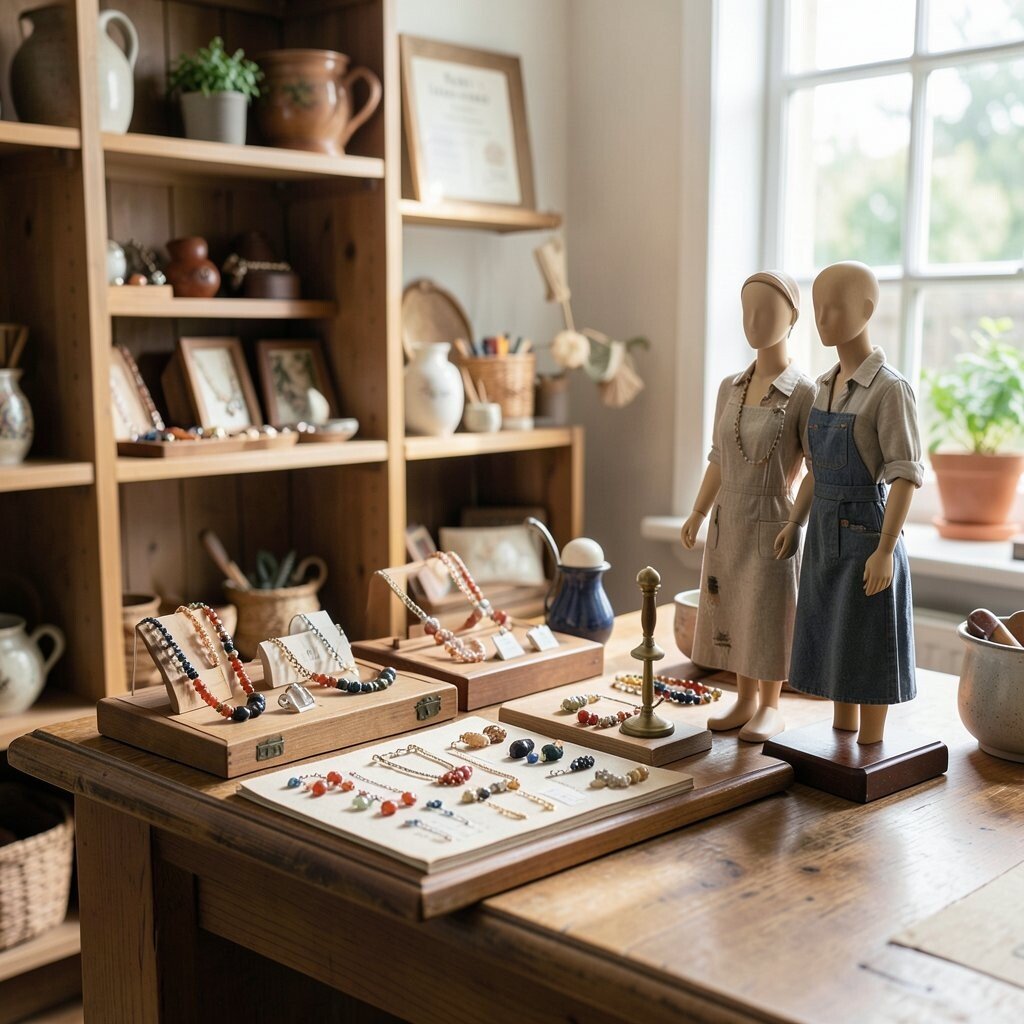
Put mini mannequins on your counter so customers can see how pieces sit against clothing. Even tiny busts and neck stands can make a display feel real and practical.
Use one mannequin for necklaces and another for earrings, then keep them updated with bestsellers or seasonal colors. For practical tips, limit the number of pieces displayed at once so the mannequin doesn’t look cluttered. Personalization can be as simple as rotating a small “your look” theme, like “brunch bright” or “winter warm.”
This approach supports current styling trends because shoppers can picture layering, not just wearing one item. Keep a small basket of similar chain lengths near the mannequin so customers can find their best fit. Cost-wise, mannequins are often inexpensive when bought secondhand, and you can refresh them with paint or fabric as needed.
14. Rolling Fabric Peg Rail With Statement Rings
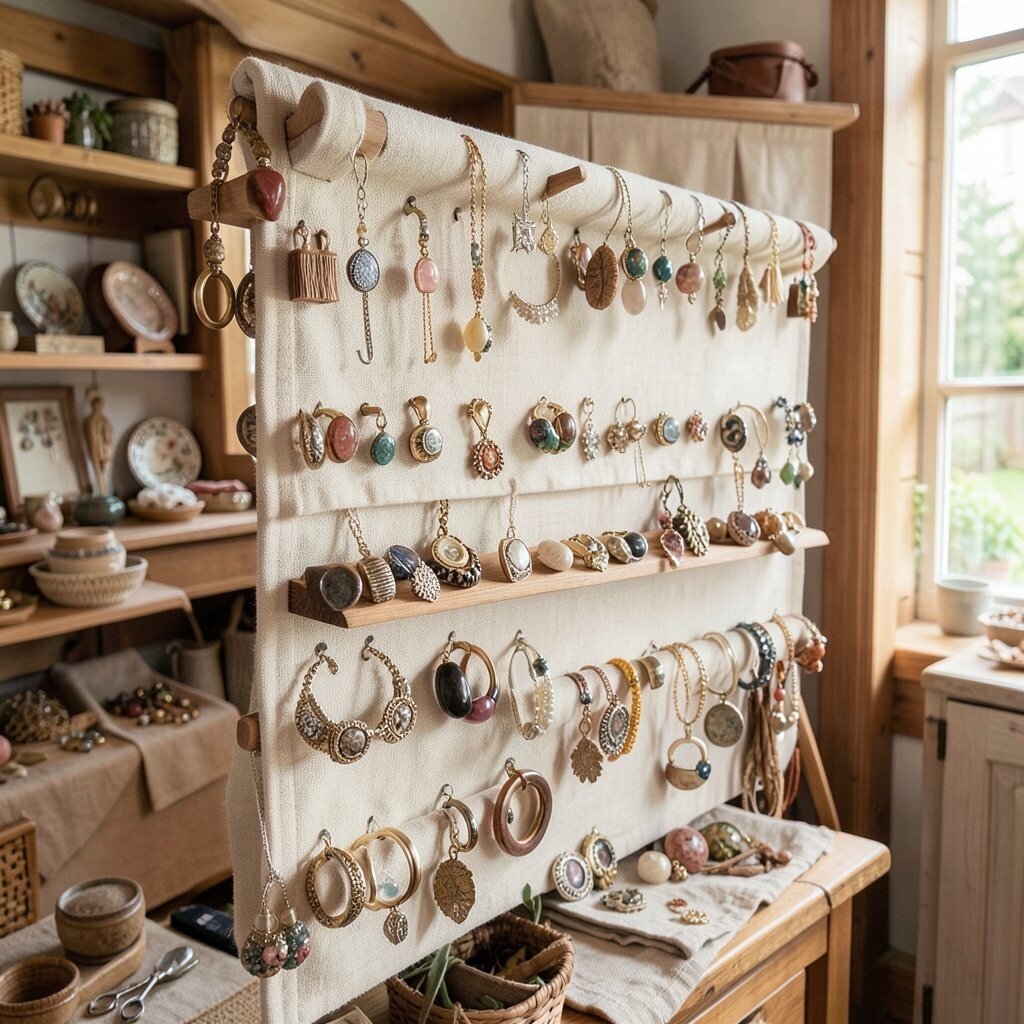
Install a rolling peg rail made from wood or metal and drape it with soft fabric banners. Use pegs to hold statement rings so customers can move the rail closer while browsing.
Choose fabric in gentle colors, then anchor it with small clips so it can be swapped. This makes the display flexible for new seasons without rebuilding everything. For uniqueness, hang one local charm from the rail handle as a signature detail that feels like your shop’s thumbprint.
Practical tips matter here, because rails can get dusty and pegs can collect lint. Wipe the metal weekly and keep a small lint brush behind the counter. For cost control, start with a small rail section and expand once you know which makers you sell the most.
15. Botanical Chalkboard Backdrops for Seasonal Sets
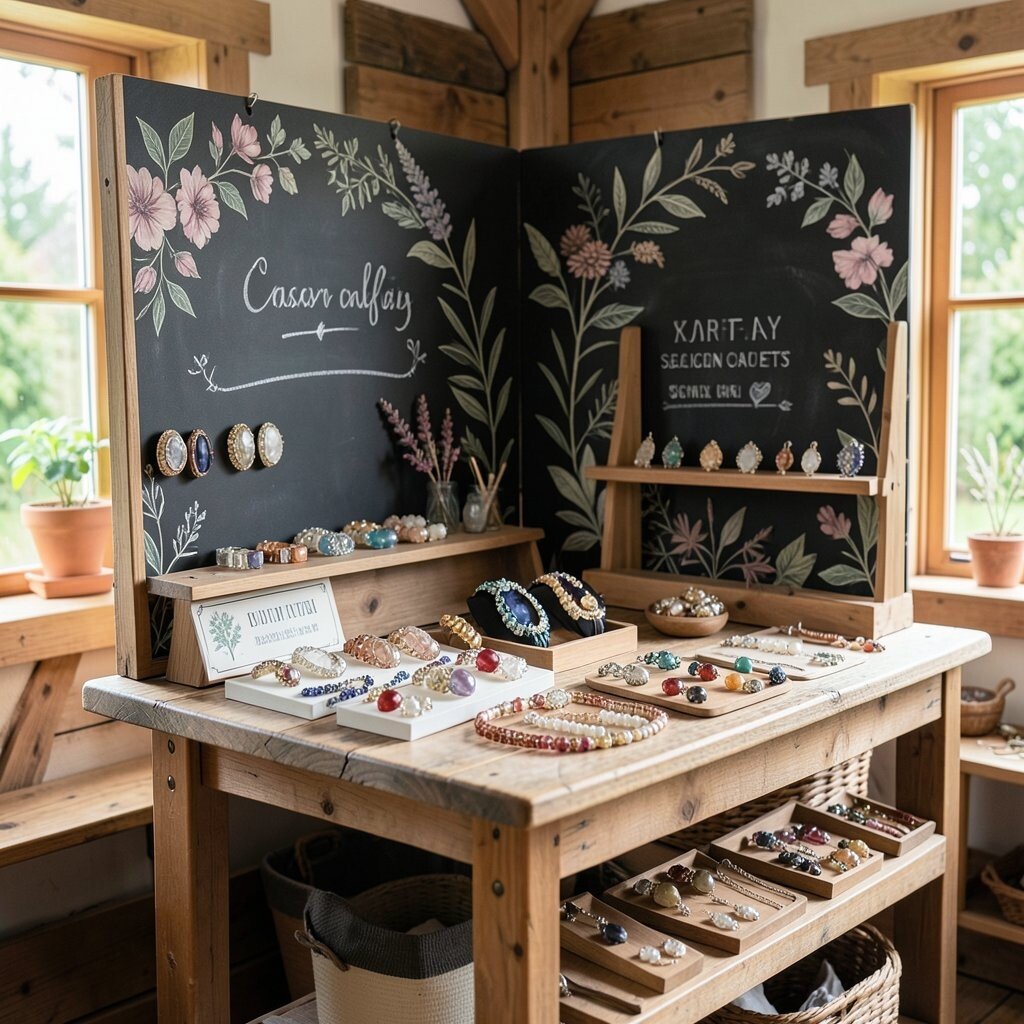
Use chalkboard panels with botanical designs behind your display jewelry. Fresh leaves, gentle vines, and simple chalk dots frame pieces without covering them.
Keep the writing minimal and bright, and use chalk colors that match the jewelry season. This backdrop makes rings, earrings, and necklaces look like they belong together, especially when you group pieces by color family. For personalization, offer customers a chalk note option where they can request a small message like a date or initial on a removable tag near the piece.
Seasonal displays fit current trends toward slower, nature-linked shopping. Cost considerations are friendly since chalkboard panels can be reused and repainted, and the art can come from your local community. The result feels unique, warm, and easy to change when new local makers arrive.
16. Waterfall Necklace Stand With Sliding Hooks
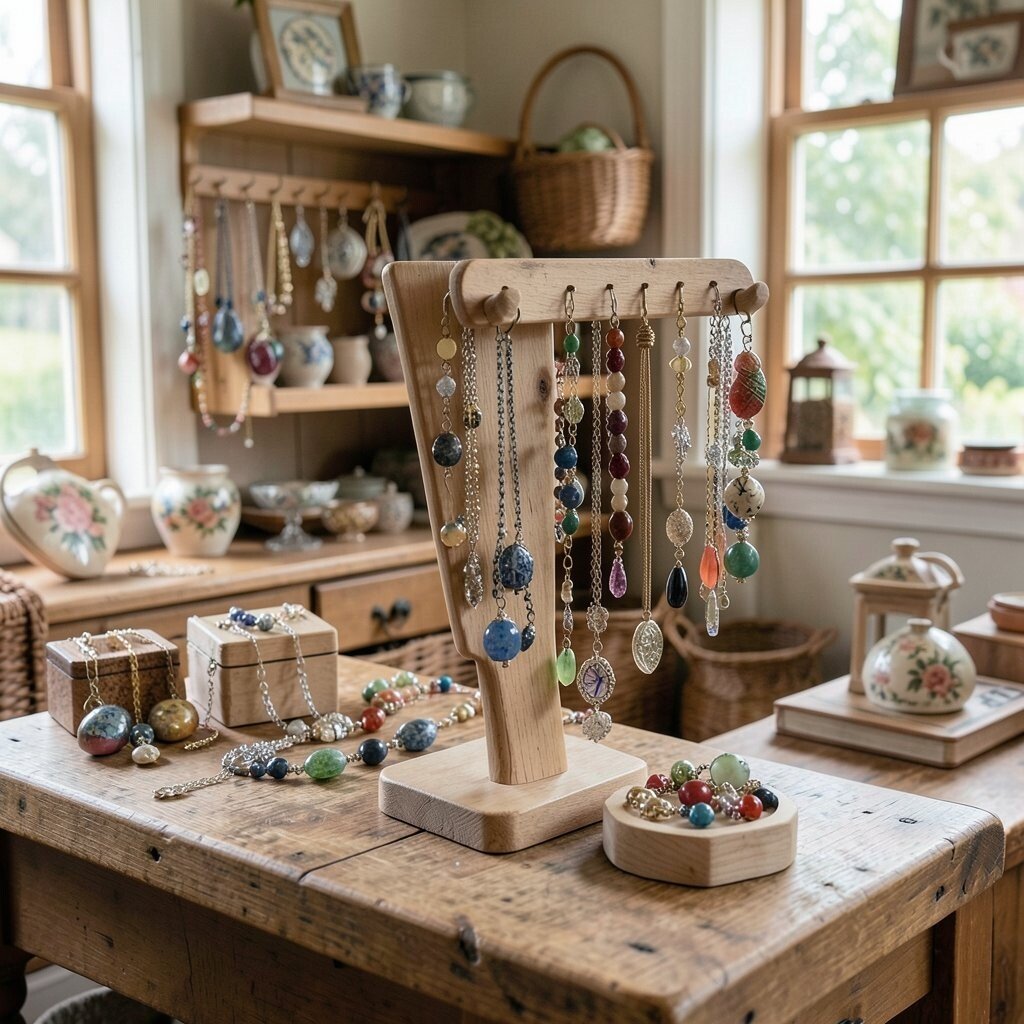
Design a necklace stand that mimics a waterfall by using sliding hooks along a curved line. Chains cascade naturally, and customers can see how each length drapes.
Make sure hooks are smooth so clasps don’t snag, and keep the curve gentle so pieces don’t pull sideways. For practical setup, test the stand with your most delicate chains first. Personalization ideas include using different hook colors for different metals so a shopper can quickly find silver or gold tones they love.
This display also encourages layering, which remains popular in current jewelry styling. If cost is a concern, you can build a simple wooden frame and attach hooks purchased in small sets. The stand becomes a signature piece for your shop, especially when you keep it stocked with locally crafted designs that feel cohesive.
17. Local Stone Tray With Meaningful Pairings
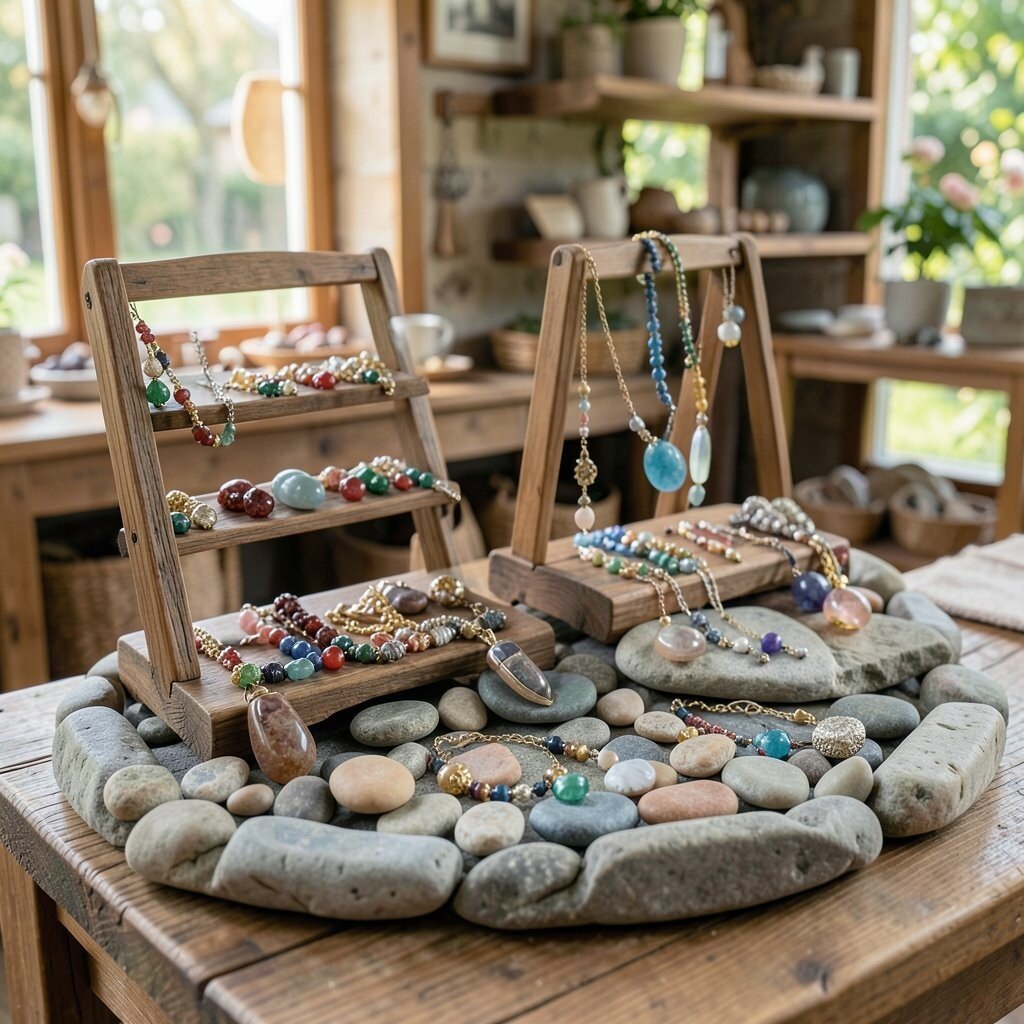
Create a tray of smooth local stones and set jewelry beside the stones it pairs best with. For example, place warm gold-toned pieces near amber-like stones or cool silver near slate-toned rocks.
This approach gives a visual hint about gemstone character without needing a big explanation. For practical tips, keep each stone clean and dry, and avoid mixing very different textures in one tight cluster. Personalization can happen by offering a small “match my mood” selection, where shoppers choose a stone vibe and you point them to related pieces.
Uniqueness comes from the fact that local stones connect to your region, making the display feel grounded. Cost considerations are manageable since you can source stones from permitted local suppliers or arrange a community stone donation drive. It also helps customers feel confident when they choose gifts, because the pairing looks thoughtful and intentional.
18. Paper-Cut Garland for Earring Cards
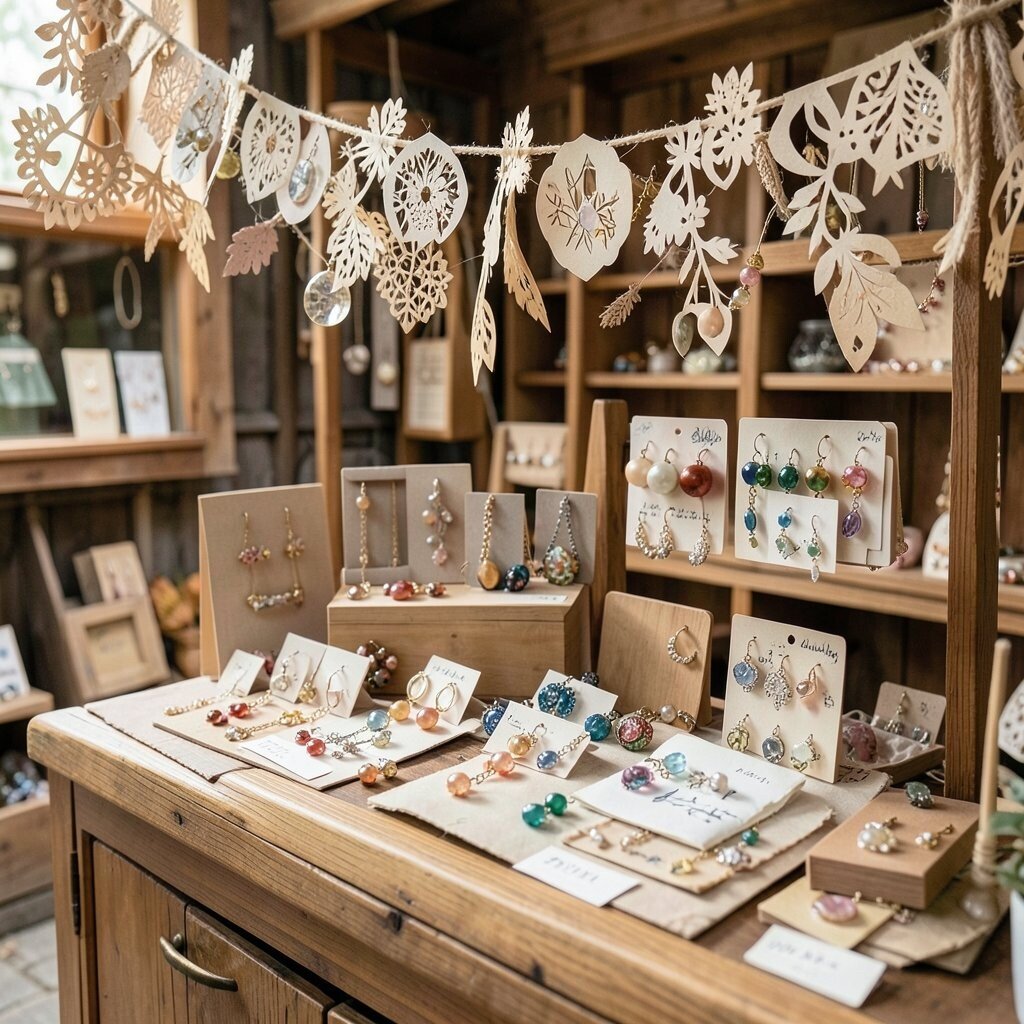
Hang a paper-cut garland above your earring card displays to add a soft, festive canopy. The light patterns make even simple hoops look charming and camera-ready.
Use sturdy paper and seal edges so the garland lasts longer in a busy shop. For practical tips, keep garland pieces away from anything that can snag, like long chains or display wires. Personalization ideas include making garlands that match local town themes, such as festival icons or neighborhood landmarks.
Current trends include delicate craft details, and paper-cut art gives that handmade vibe without high costs. To manage budgeting, start with one small garland and expand only after you see which colors sell best. Pair it with a “best match” layout so earrings and small studs nearby look like a coordinated set.
19. Clear Acrylic Ledge for Layering Height

Install a clear acrylic ledge in your display case so jewelry sits at different heights and layers. The see-through surface keeps the look clean while giving depth to the arrangement.
Place small stacks of rings, charm bracelets, and minimal pendants in order of height so customers can spot variations. For practical tips, use microfiber cloths to keep acrylic smudge-free and crystal clear. Personalization can happen by dedicating one ledge to “name-style” pieces, like initials charms and custom tags, if you carry those options.
Uniqueness comes from the layered presentation, which feels modern while still showcasing handmade craft. Cost considerations are usually moderate because acrylic pieces can be cut to size by local hardware stores. This display also fits current trends toward clean, minimal storefront styling that still highlights color and texture.
20. Rotating Seasonal Gift Bundle Shelf
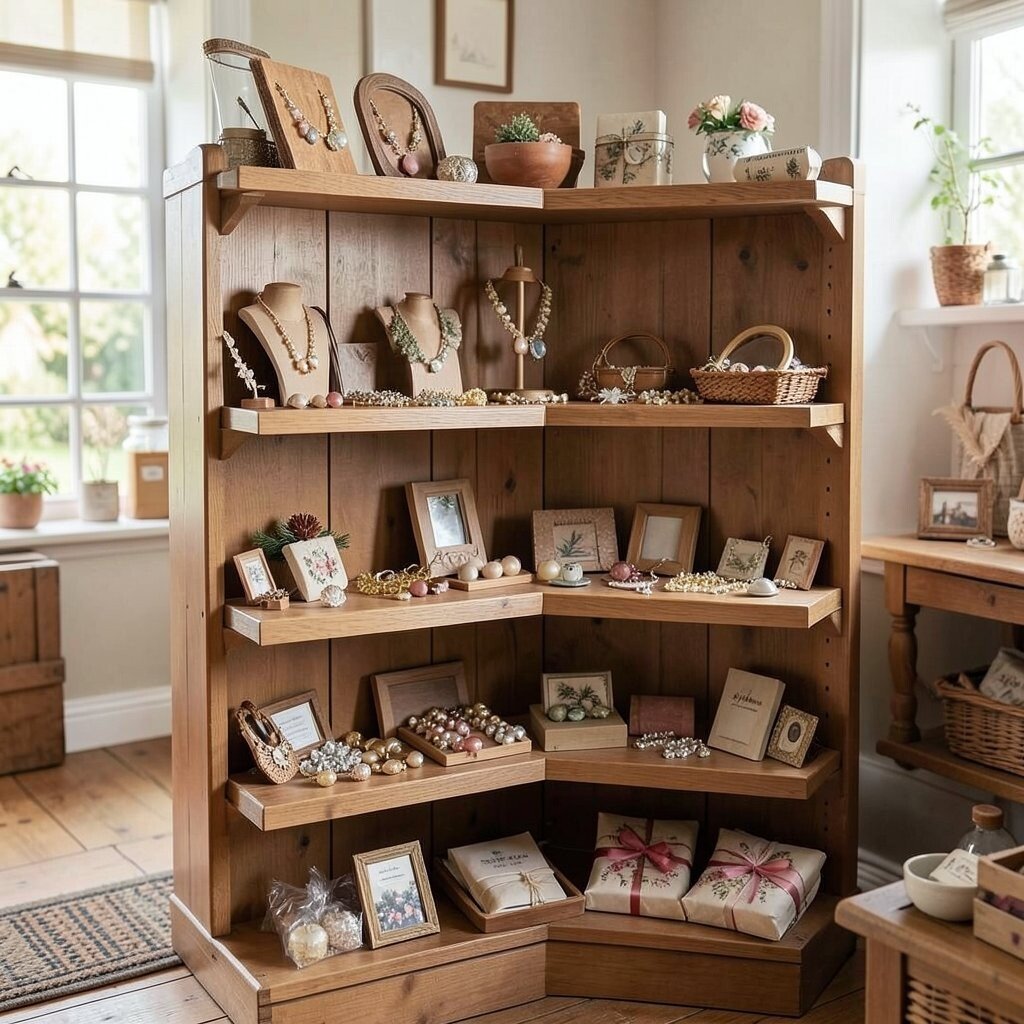
Set aside a shelf for rotating gift bundles that combine locally made jewelry with small complementary items. Think matching earrings with a tiny charm keychain, or a bracelet paired with a handmade care cloth.
This display makes shopping easier and gives customers a clear next step without overwhelming them. For practical tips, keep the bundles in consistent packaging style so the shelf looks organized and calm. Personalization ideas include letting customers choose a ribbon color and writing a short message card that your shop staff can print.
Cost considerations can be balanced by setting a few bundles at different price levels using your own pricing structure. Keep an eye on current trends toward “ready-to-gift” shopping, since many people love grabbing something thoughtful quickly. When you rotate bundles with local seasons and events, the display feels alive, and the jewelry stays in view long enough to earn repeat visits.