Bead strands can turn small supplies into big personality. Each technique can help your jewelry look like you meant it on purpose.
Grab your favorite beads and a little patience, and you’ll see how many styles you can build with your own hands.
1. Sliding Knot Micro-Sections
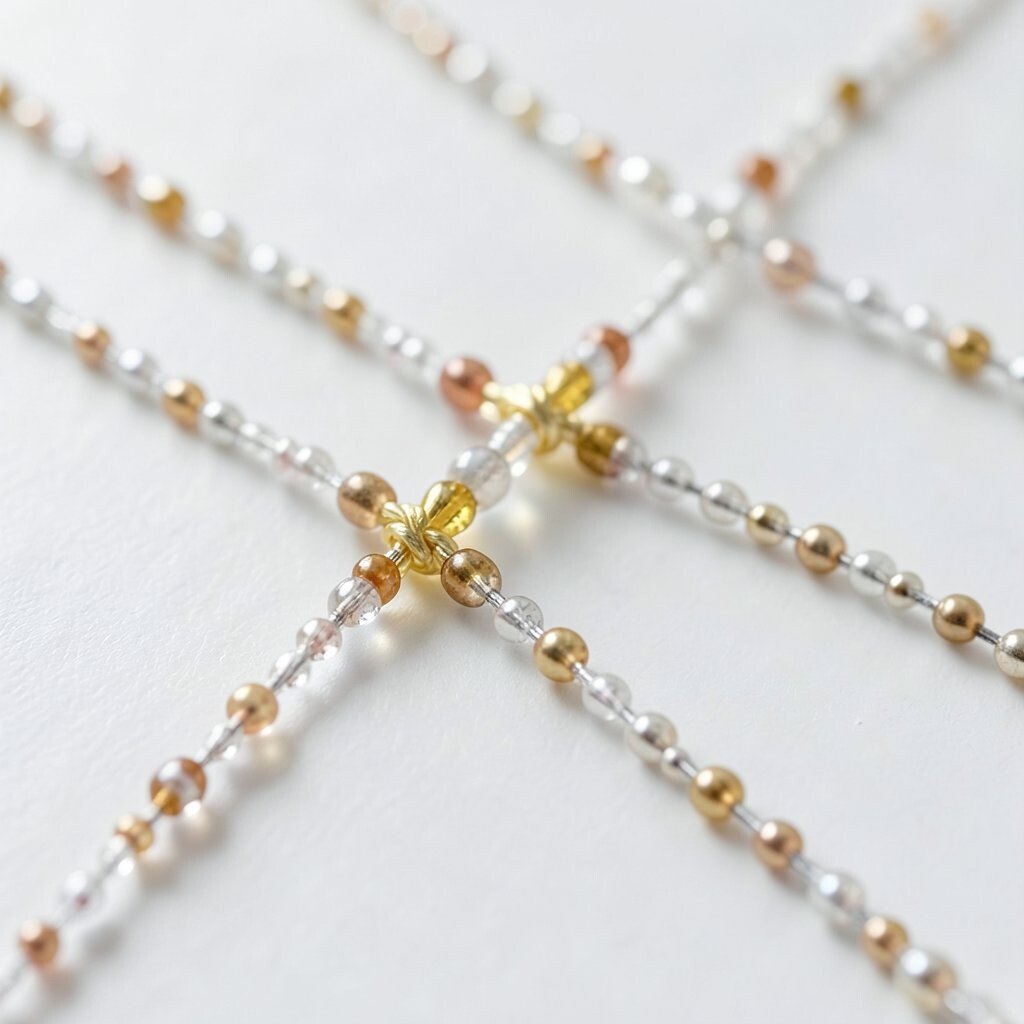
Thread beads in short groups, then add a tiny sliding knot between sections. When you pull, the strands flex like a neat little bracelet accordion.
This technique gives you movement and makes your bead colors look layered. Use elastic thread for comfort, or nylon line for a crisp hang. Choose knot positions that match your desired spacing, then test it on your wrist before you finish.
2. Bead Loom Strand Fusion
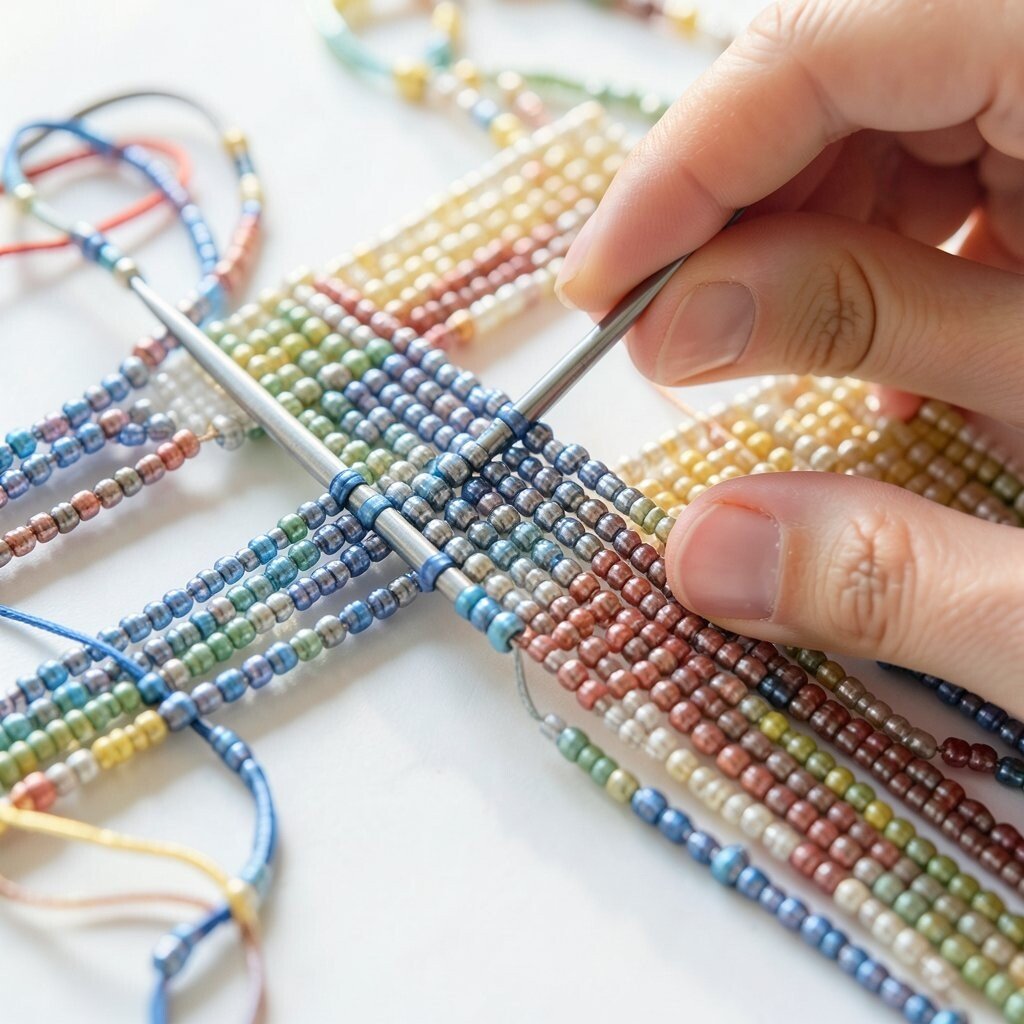
Weave a small bead-loom panel and keep it connected to a flexible bead strand. The result looks like woven fabric with sparkly roads running through it.
It helps you create tidy patterns while still enjoying the freedom of stringing. For a clean finish, start and end with reinforced knots and trim close to the seal. If you want it to feel lighter, use smaller beads in the woven part and larger beads in the strand.
Try matching the loom panel color to one bead accent, like a single metallic bead line. This adds a focused “eye path” without extra bulk.
3. Two-Strand Twist With One Anchor Bead
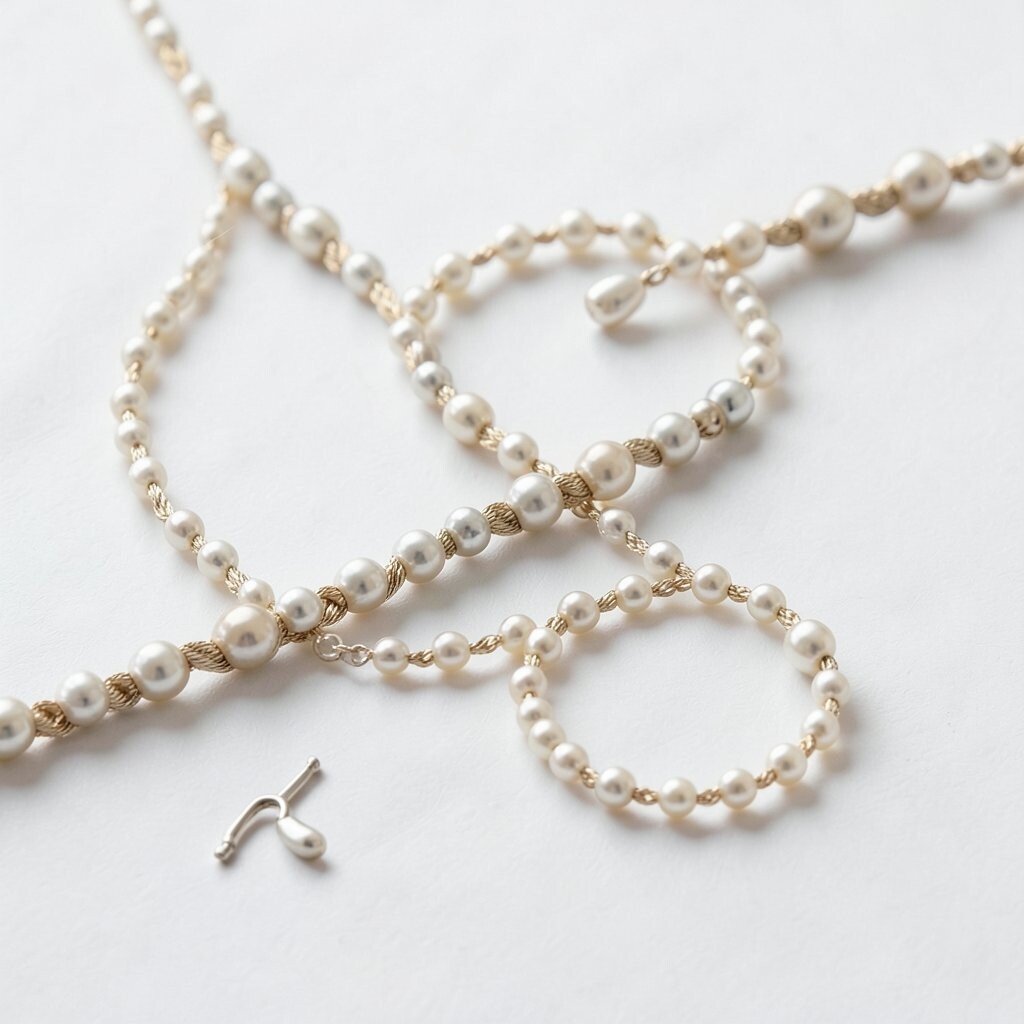
Twist two bead strands together, but pick one anchor bead that holds the tension. Visually, it looks like the twist is “centered” around that glowing spot.
This style gives lots of texture without needing fancy tools. Use a needle to keep the twist even, then anchor at both ends so the beads don’t drift. Consider using seed beads for the main twist and one slightly bigger bead as the anchor for instant personalization.
For trends right now, people love subtle metallic contrast, so try a matte base strand with a shiny anchor. It photographs beautifully in daylight and under warm lights.
If your twist gets too tight, loosen the anchor knot and retie with a bit more slack. Comfort matters, especially for wearability.
4. Faux Tassel Ends Using Bead Fringe
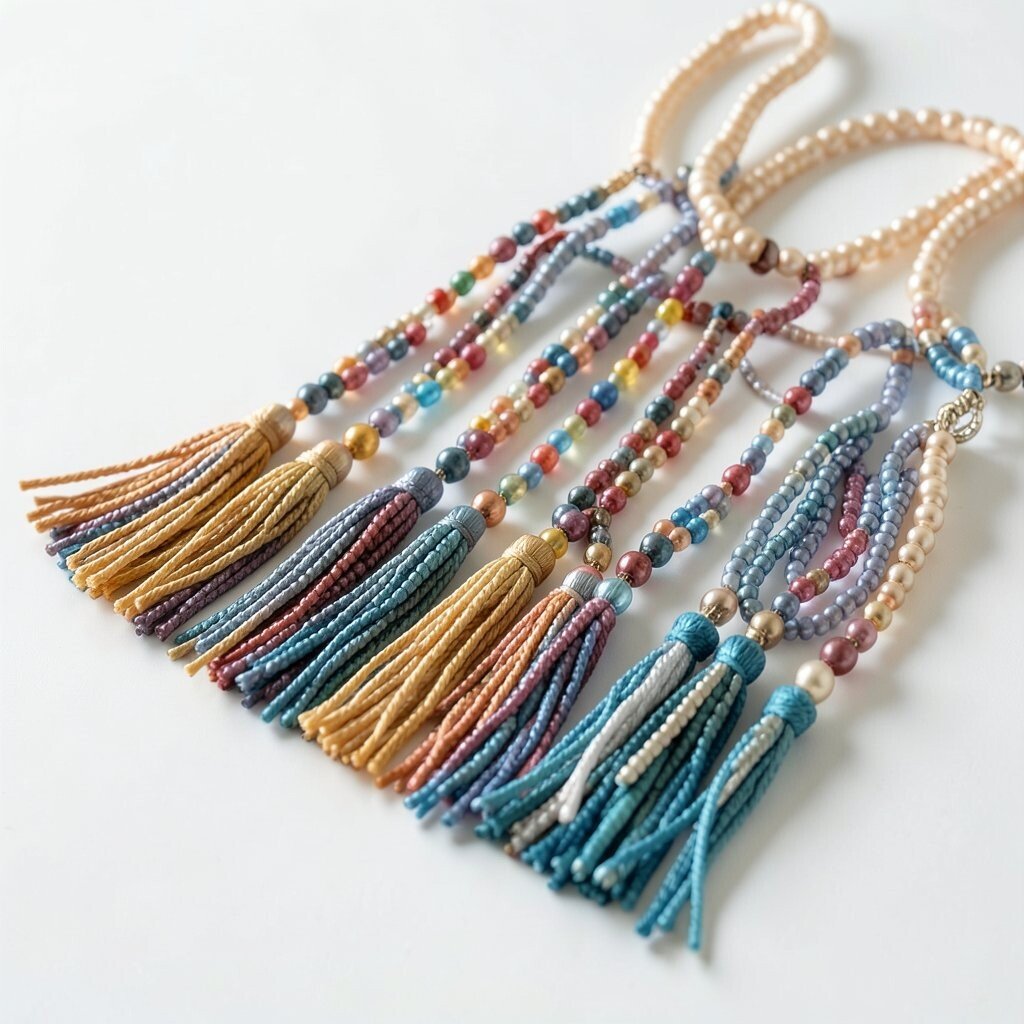
Create a tassel look by stringing short bead fringe clusters on each end. The beads sway like tiny wind chimes, even when you’re standing still.
You get a playful, easy glam effect that dresses up everyday outfits. Keep fringe lengths consistent for a neat silhouette, or vary them slightly for a more artsy vibe. Add a small end cap bead or a wrapped loop so the fringe feels secure.
5. Memory Wire Stacked Color Bands
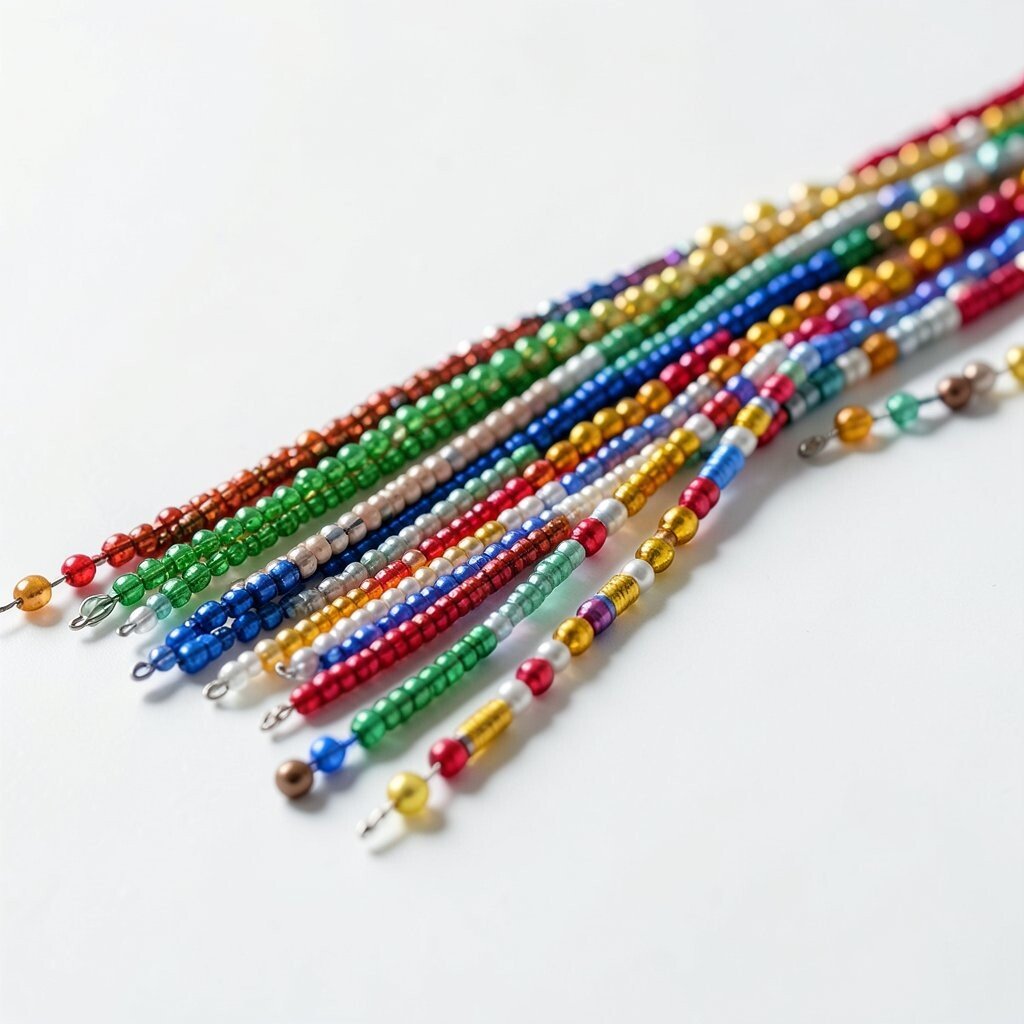
Use memory wire and stack bead strands like layered color bands. It feels bold and bouncy, with beads that stand out even from far away.
This technique helps you avoid complicated clasps because the wire holds shape. For comfort, cushion the first and last turns so edges don’t poke. Pick one dominant color family and add a second “spark” color for depth.
To personalize it, blend in beads that match your nail polish or a favorite scarf pattern. Cost-wise, you can keep it budget-friendly by using inexpensive glass rounds and saving pricier beads for the focal turns.
6. Sliding Center Spacer for Adjustable Length
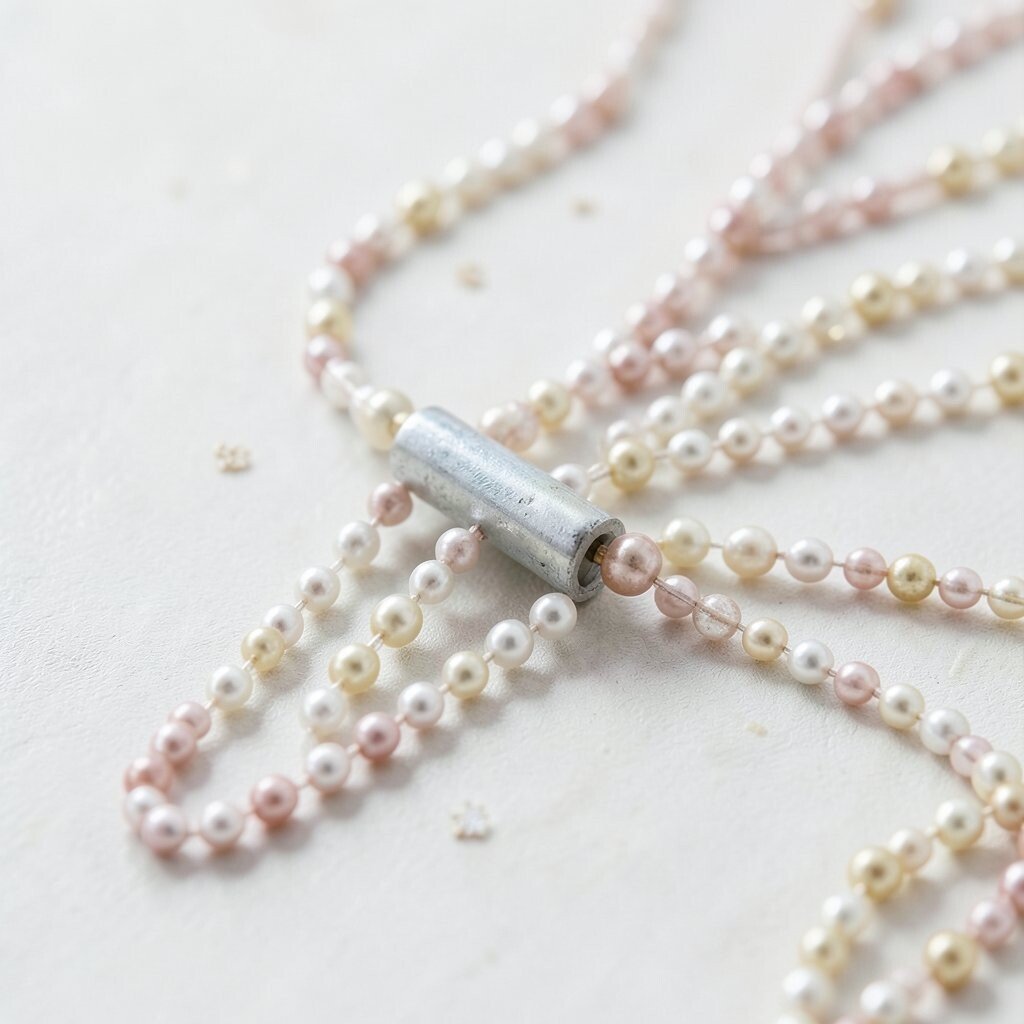
Thread beads with a spacer bead near the center that can move along the strand. When you slide it, the strand length changes and the focal area shifts.
This is great if you like customizing to different necklines or stack layers. Use a durable spacer like a larger tube bead so it glides smoothly instead of sticking. Add an extra small stopper bead on both sides to control how far it travels.
Choose one bead that stands out, then let the spacer reposition it for different looks. It’s a clever way to personalize without rebuilding the whole strand.
7. Braided Bead Strand With Three Color Cores
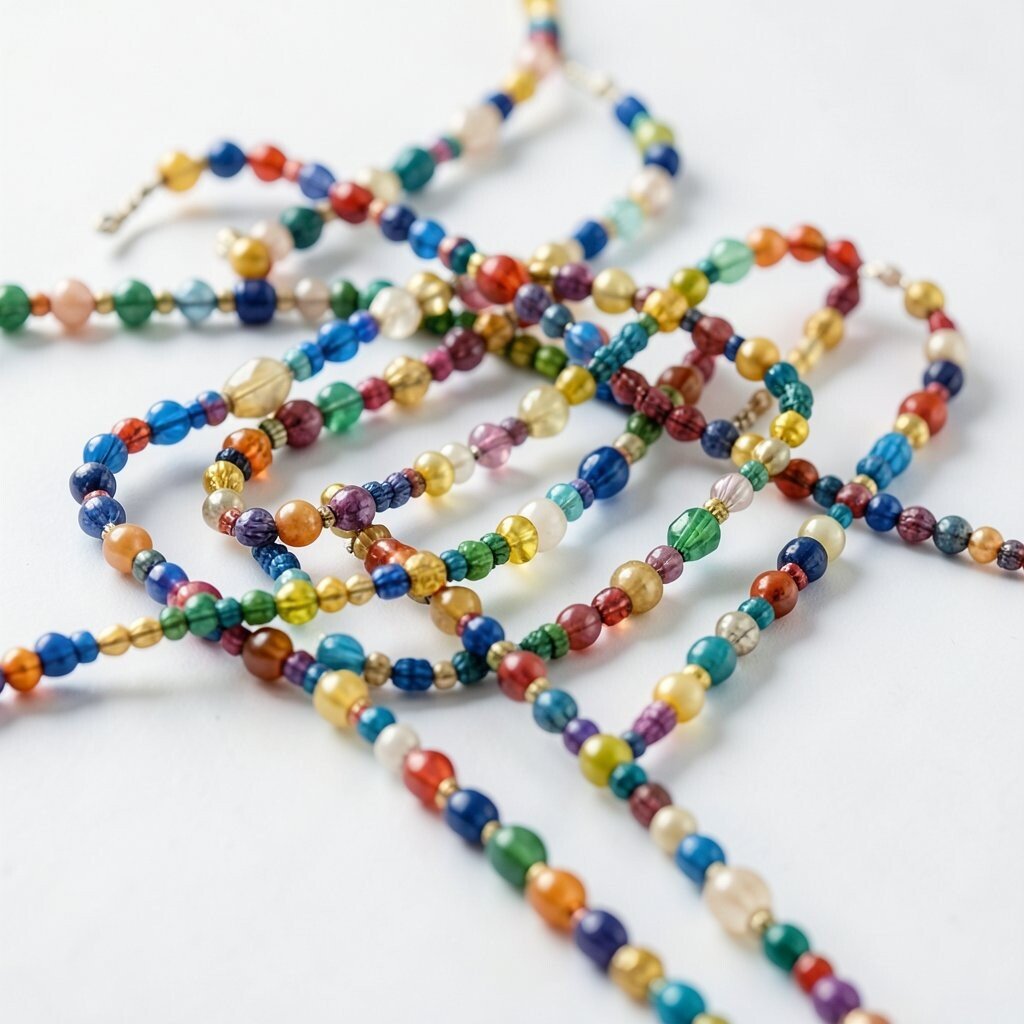
Instead of braiding rope, braid bead strands using three separate bead runs. Each braid section shows clear color lanes, almost like a ribbon made of sparkle.
This method creates a sturdy feel and helps keep strands from tangling. Use even bead sizes so the braid stays balanced and comfortable. If you want a modern look, keep two colors muted and one color bright for contrast.
8. Pearl-Like Matte Finish Contrast
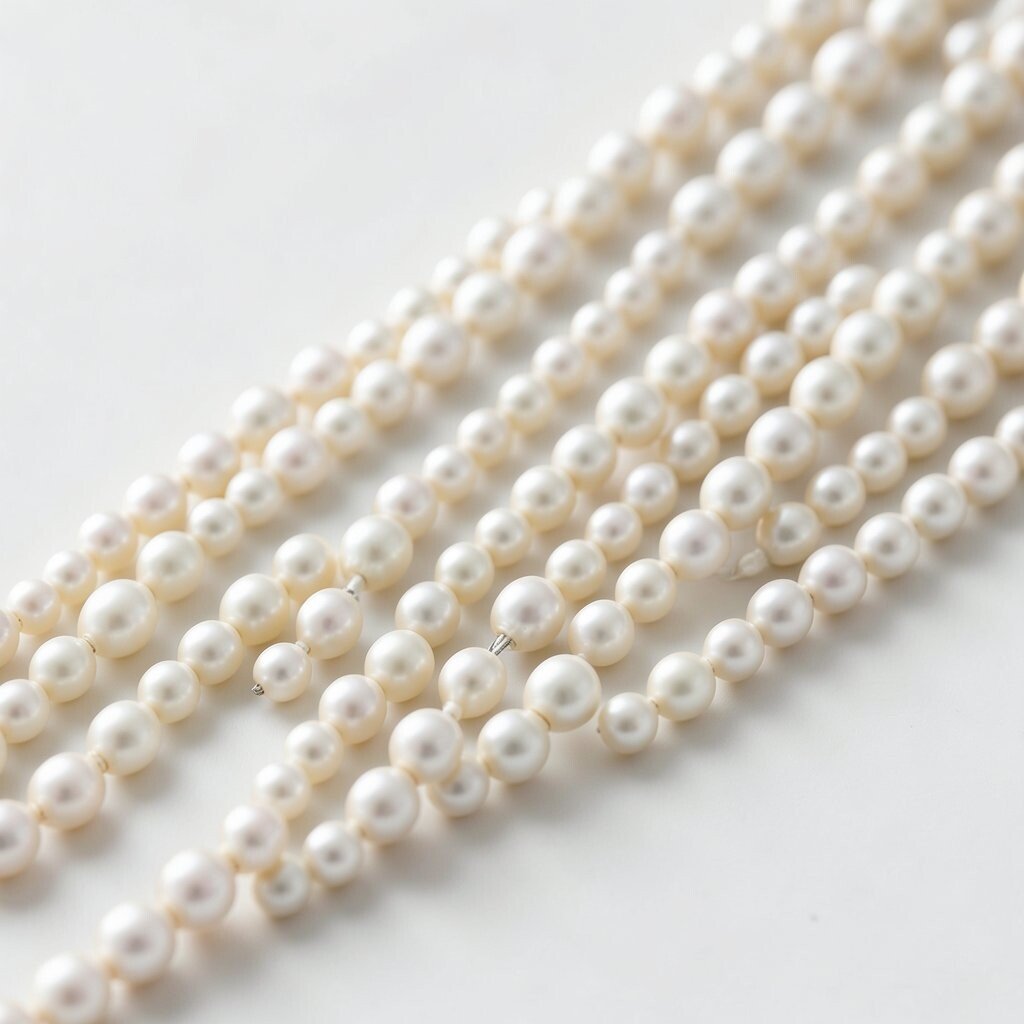
String beads that mimic pearl vibes using matte finish or opalescent rounds. The visual result is soft glow, not sharp shine, which feels elegant and calm.
You’ll love how it makes metallic findings look cleaner and less loud. Try pairing matte beads with one tiny glossy bead accent for a gentle highlight. For personalization, incorporate a birthstone color as the accent so the strand feels meaningful.
Cost can be managed by using faux pearl beads for the bulk and keeping real pearls, if any, for the very center focal cluster.
9. Herringbone Wrap Using Stitch-Like Passes
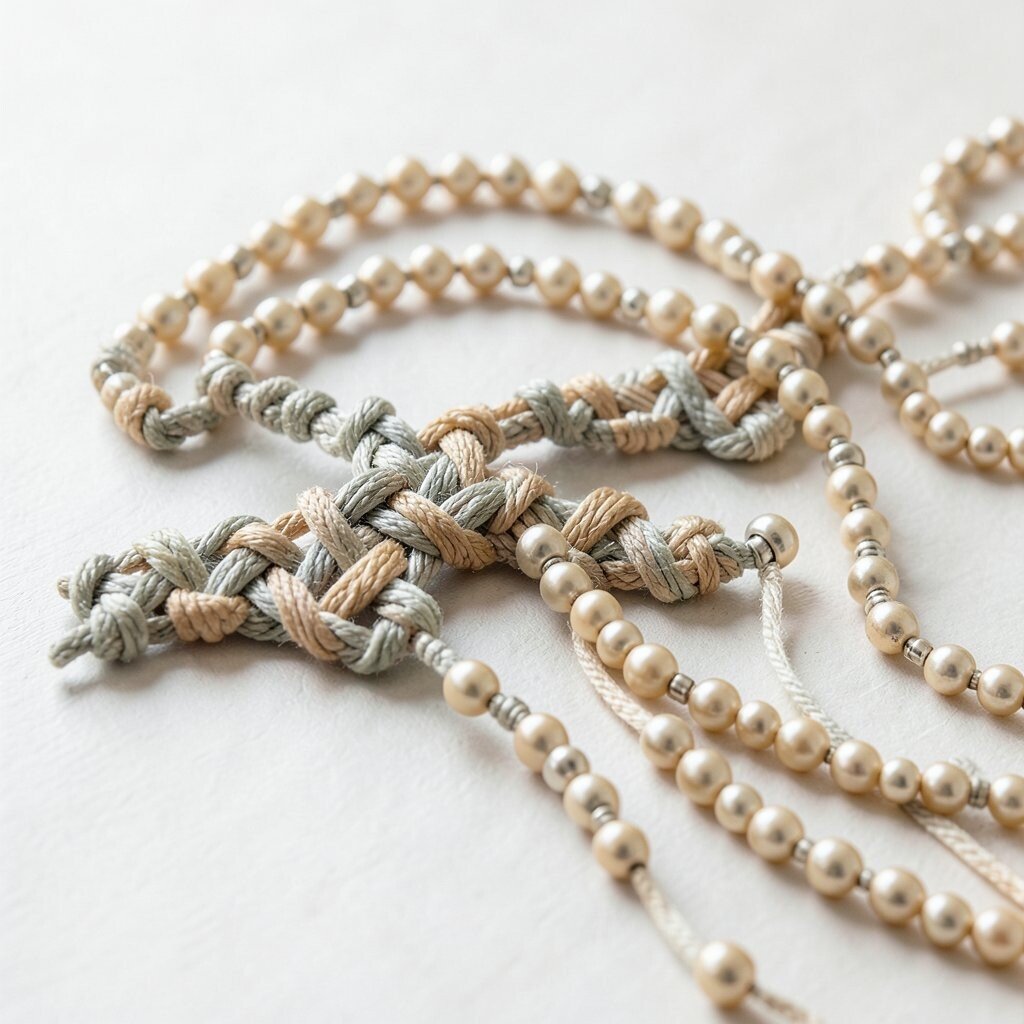
Create a herringbone look by passing thread or wire in repeated angled paths. Visually, the bead rows form a fishbone pattern that looks carefully made.
This technique is unique because it gives bead strands a woven structure without using a full loom. Use consistent tension so the angles stay crisp, and choose two or three close shades for a subtle gradient. If you want a quicker version, use larger beads so each “bone” is easier to see while you work.
It also fits current trends toward textured, “handmade on purpose” surfaces. Pair it with simple chain or leather ties so the pattern stays the star.
10. Bead Chevron Row Ends on a Base Strand
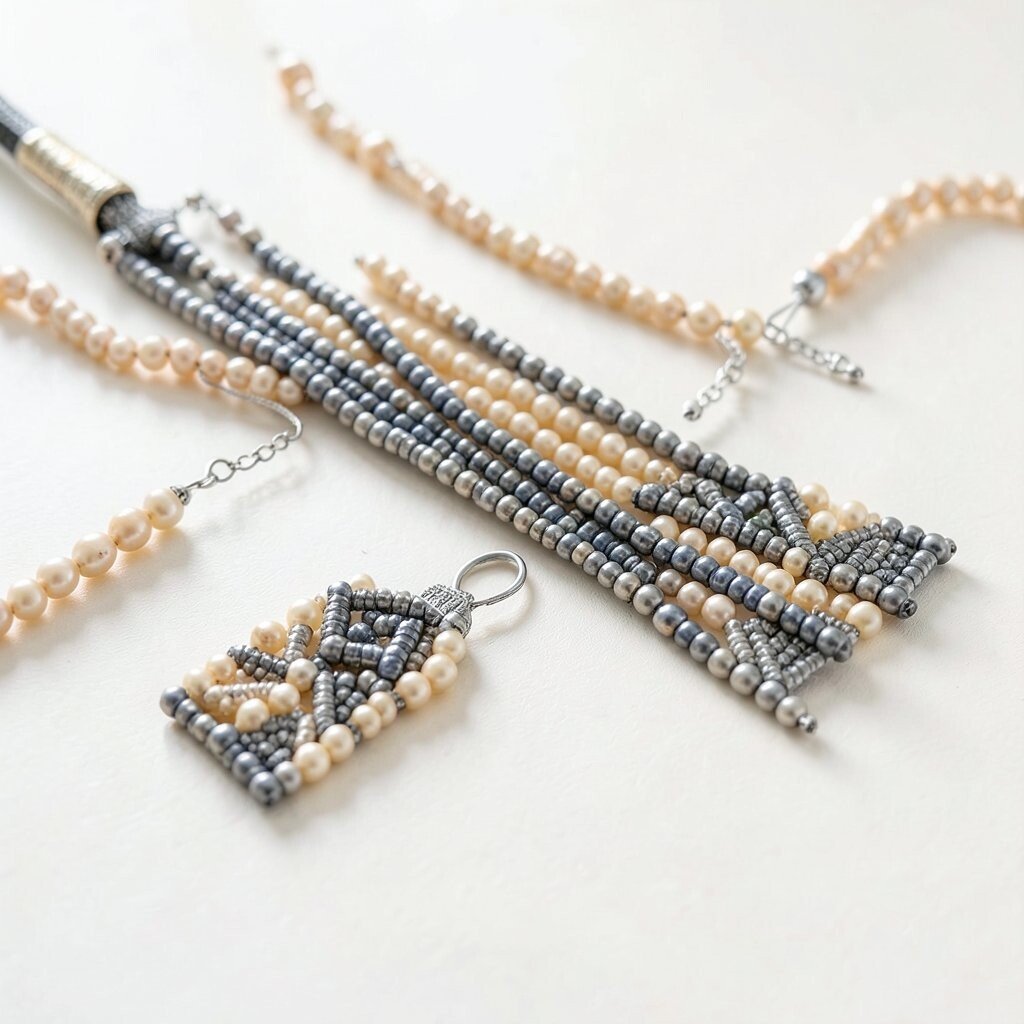
Start with a base strand and build chevron ends using triangle-like bead sets. The ends create a V shape, giving your strand a polished finish from every angle.
This technique helps your piece look intentional even if the middle is simple. Use a darker bead for the chevron outline and lighter beads inside for depth. Keep the chevron points aligned so the symmetry feels crisp.
For personalization, swap bead colors for seasonal palettes, like warm amber in fall or cool turquoise in summer. Budget-wise, you can use cheaper seed beads for the chevron detail and save larger beads for the base focal points.
11. Interlock Bead Caps With Crimped Loops
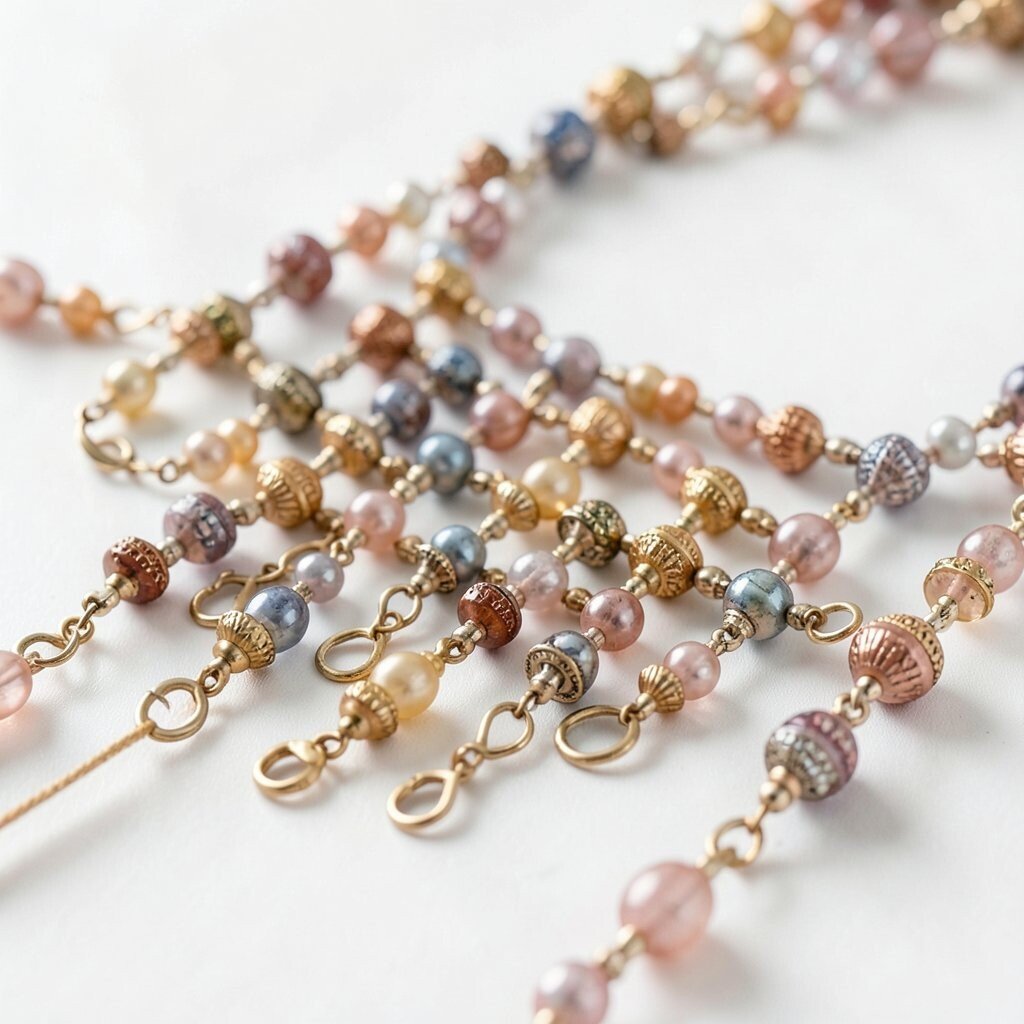
Use bead caps and crimped loops to create small interlocking sections along the strand. The caps catch light like tiny crowns, and the structure keeps beads spaced neatly.
You get tidy spacing and less tangling, which makes it easier to wear and store. Use crimp covers to make the finish smooth, especially if the strand will touch skin. Choose bead caps that match your clasp metal so the whole piece feels consistent.
This approach feels unique because it blends decorative findings with bead rhythm. Try mixing one type of cap in the center and a simpler cap near the ends for a modern “focus” look.
If crimping feels tricky, practice on scrap cord first. Once you get the hang of it, the repeated steps become relaxing.
12. Kumihimo-Style Cord Beading Without the Disc
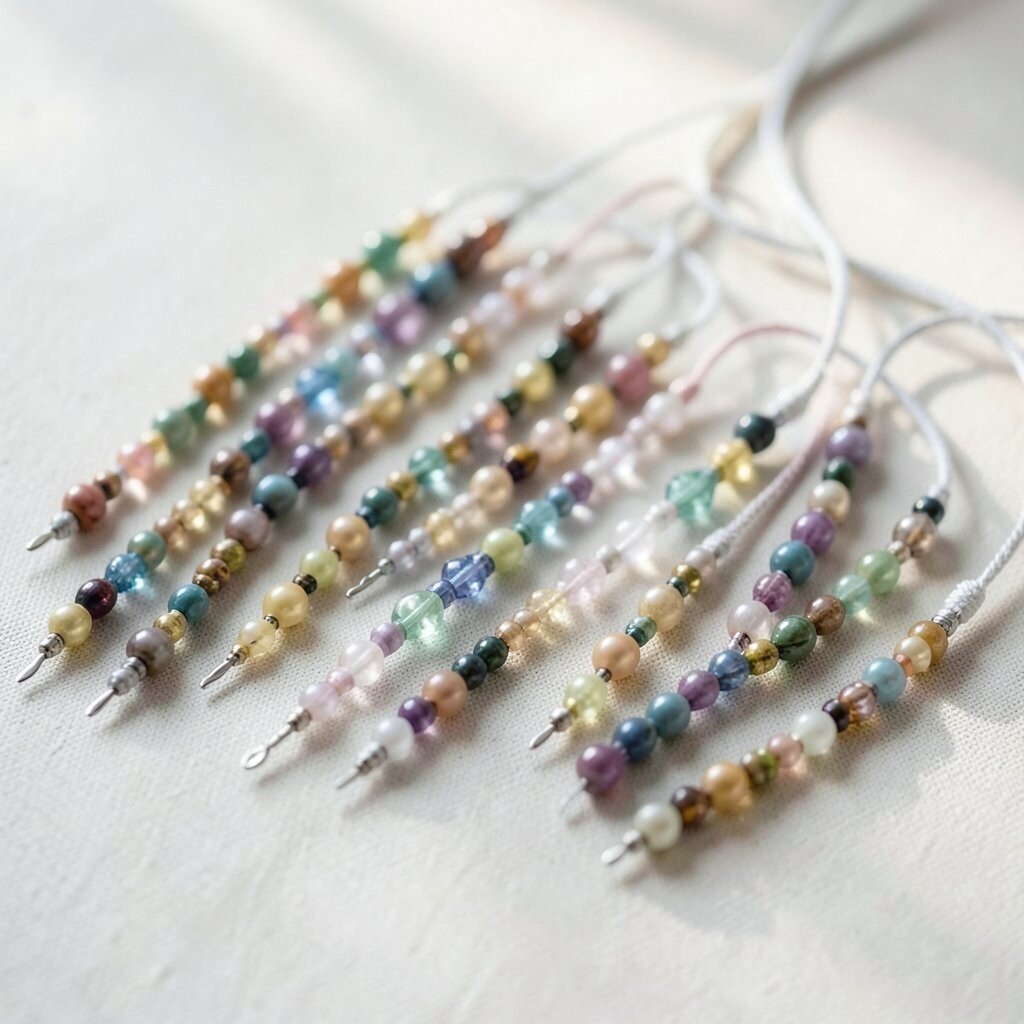
Make a kumihimo feel by arranging several cords and adding beads at regular intervals while you twist. The strand forms a braided, rope-like look with movement and depth.
This technique is great for beginners who want the vibe without needing extra tools. Use a simple braid pattern you can remember, then add beads as “checkpoints” so your rhythm stays steady. For personalization, rotate bead colors every few segments to match outfits or moods.
13. Bead Confetti Strand for Layering
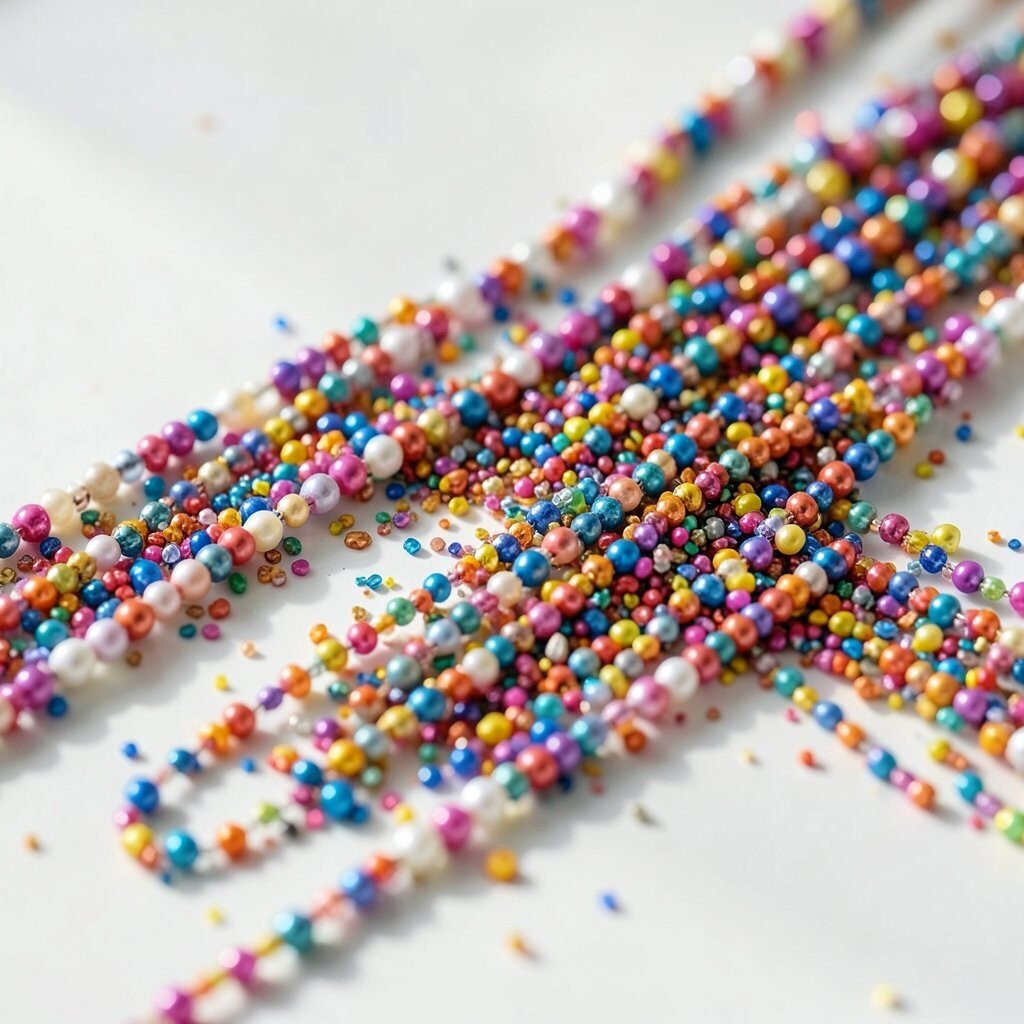
String lots of small bead “confetti” pieces with occasional larger focal dots. It creates a busy, joyful sparkle that looks great layered with other jewelry.
This is a practical technique because it works with mixed bead lots and saves money when you use leftover beads. Keep the main strand length consistent, then vary the bead density so the confetti feel looks intentional. If you want a calmer look, use one consistent color family and only add metallic sparks sparingly.
Current trends favor playful stacking, so make one confetti strand shorter for chokers and one slightly longer for everyday layering. You can also add a single charm at the end for personalization.
14. Color-Shift Ombre With Split Spacing
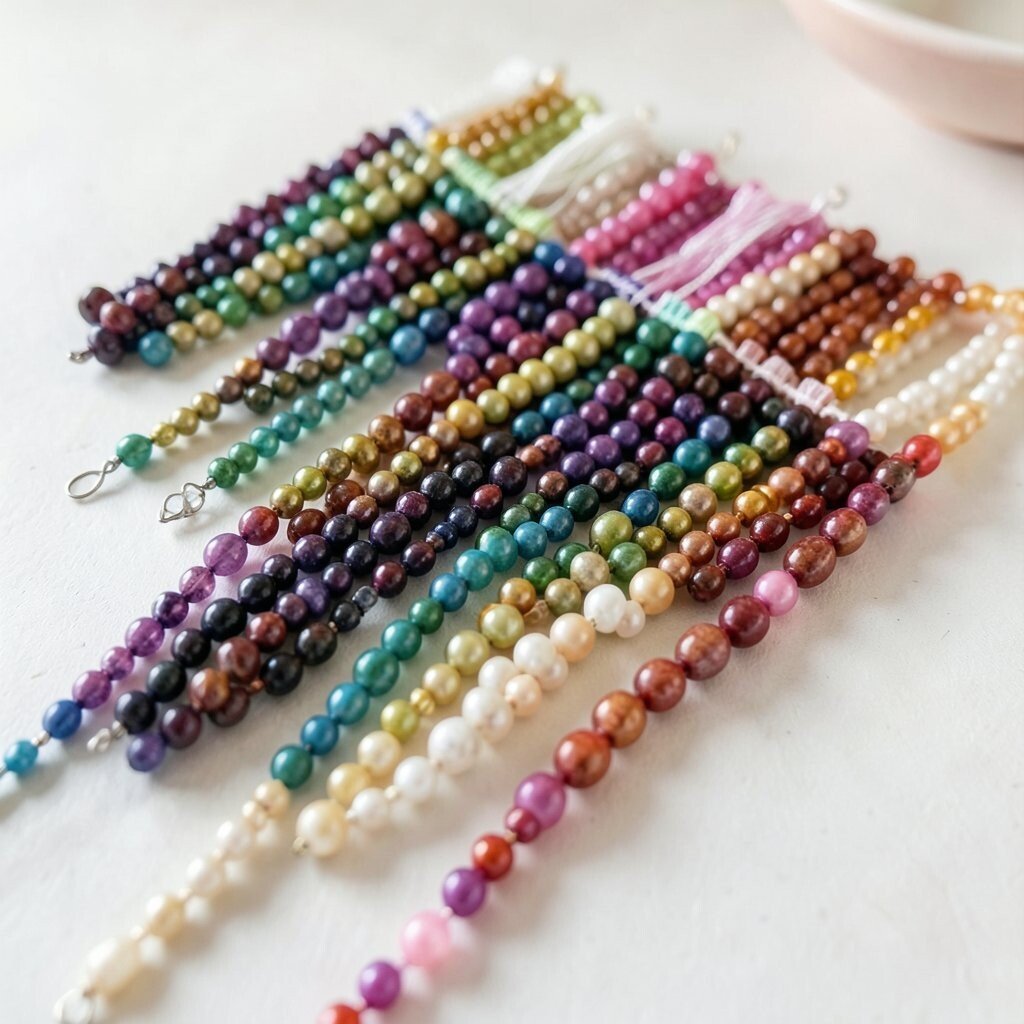
Build an ombre effect by shifting bead colors gradually, but insert extra spacing where the shade changes. The visual jump feels smooth, like a sunset that keeps blending.
This technique benefits people who want a polished look without complicated weaving. Use micro beads between color sections to soften transitions and keep the strand from looking abrupt. Personalize it by choosing colors tied to your favorite hoodie or a seasonal palette.
Cost considerations are easy here because you can use inexpensive rounds for the majority and add a few mid-range beads only at the brightest transition zone. It makes the gradient look expensive even when you’re using affordable materials.
Try taking a quick photo in daylight as you work, since the ombre often looks different once it’s off the table. Adjust as needed before finishing the ends.
15. Elastic Loop Strand With Pop-Through Beads
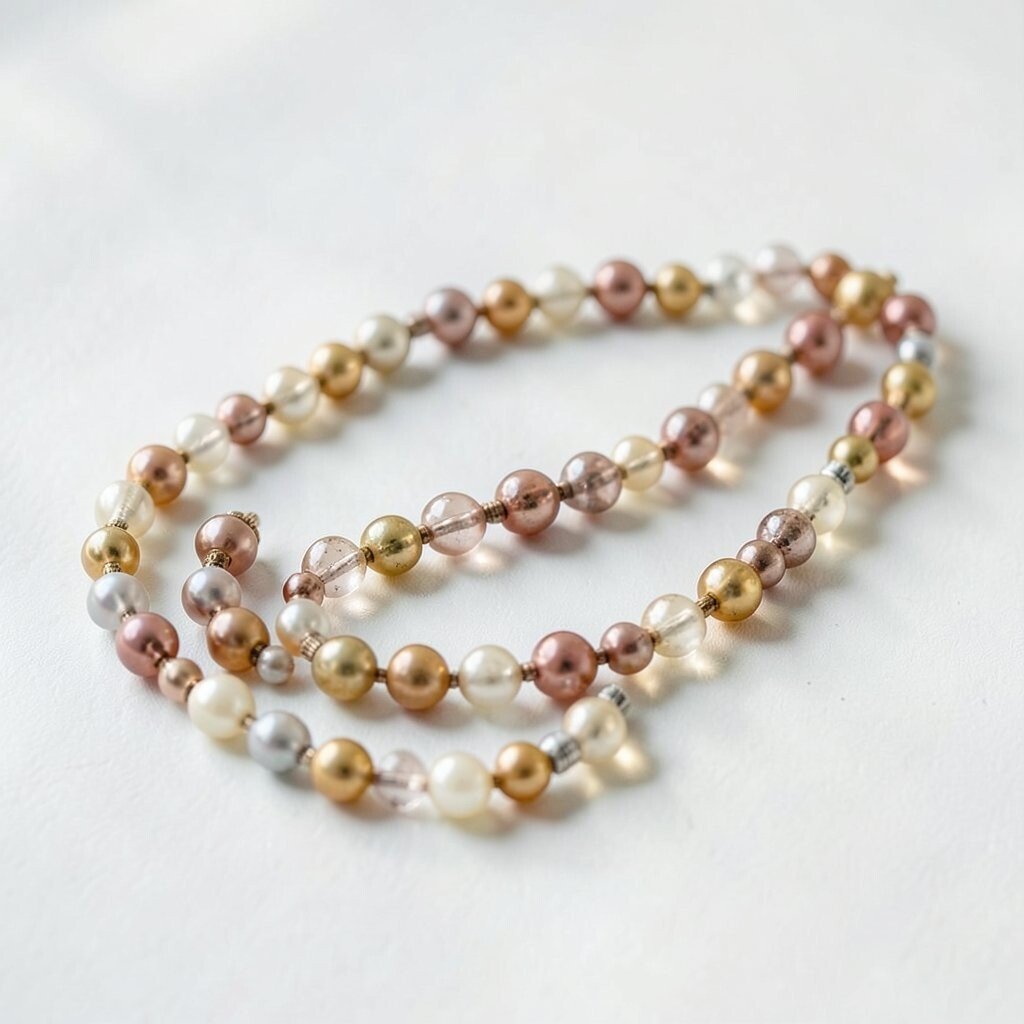
Thread beads onto elastic and create looped sections that pop through larger beads at intervals. The look is playful, and the strand feels bouncy when you move.
This technique is comfortable because elastic reduces pulling stress on your hands and wrists. Use a sturdy stop bead so the loop doesn’t stretch out over time. If you plan to wear it often, check elasticity regularly and replace if it starts to lose stretch.
For personalization, pick one “hero bead” that the elastic loops around. It turns a simple strand into a piece that gets comments every time.
16. Wrapped Wire Bead Strand With Spiral Guides
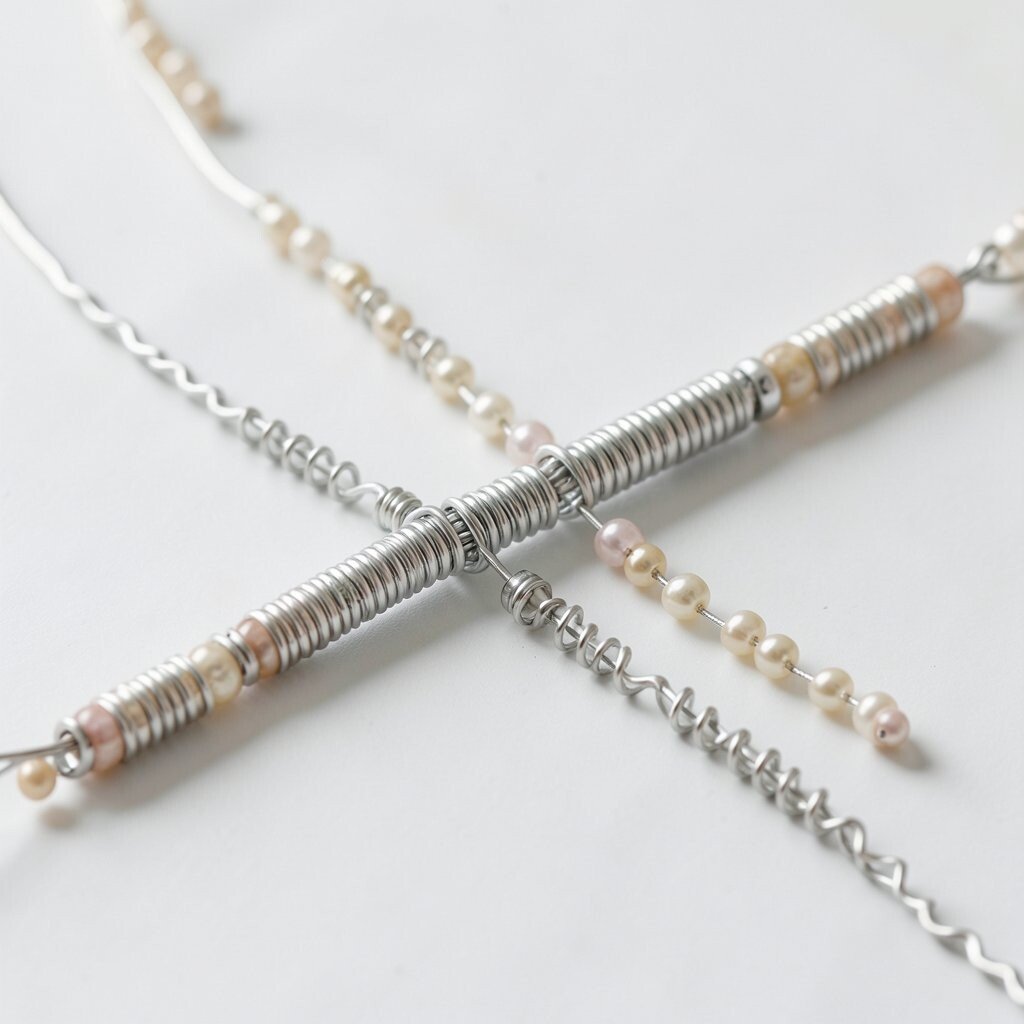
Wrap wire around a strand of beads to form spiral guides that hold the beads in a curve. Visually, it looks like a gentle spring with beads hugging the metal path.
This method adds structure and helps the strand lay the way you want, especially for pendants or collarbone pieces. Choose soft craft wire that bends easily, then secure ends with tight wraps. If you want a unique texture, alternate between wrapping and leaving small bead gaps so the metal shows through.
Consider cost by using affordable beads and spending on wire only in the sections you wrap most. A neat wire finish can make inexpensive beads look like a premium design.
17. Knotted Spacer Web Between Bead Rows
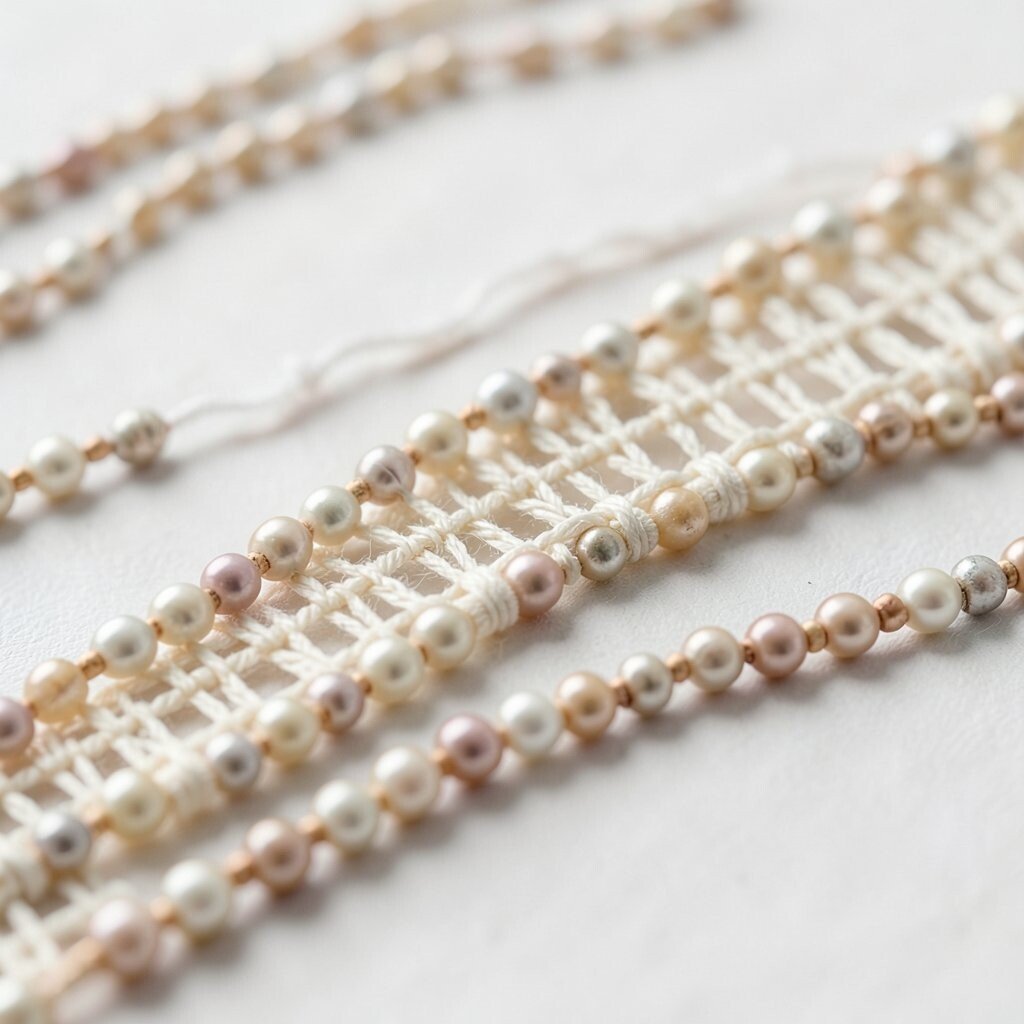
Make a bead strand with small knots that act like spacers, forming a subtle web between sections. The beads look like they’re floating, but still held in place.
This technique helps prevent sliding and keeps the piece from twisting in storage. Use small knots consistently and trim carefully so the strand stays smooth against your skin. Personalize it by using two bead sizes, where the larger beads sit at focal points and smaller beads fill the “web” spaces.
18. Reversible Strand With Two Different Bead Sides
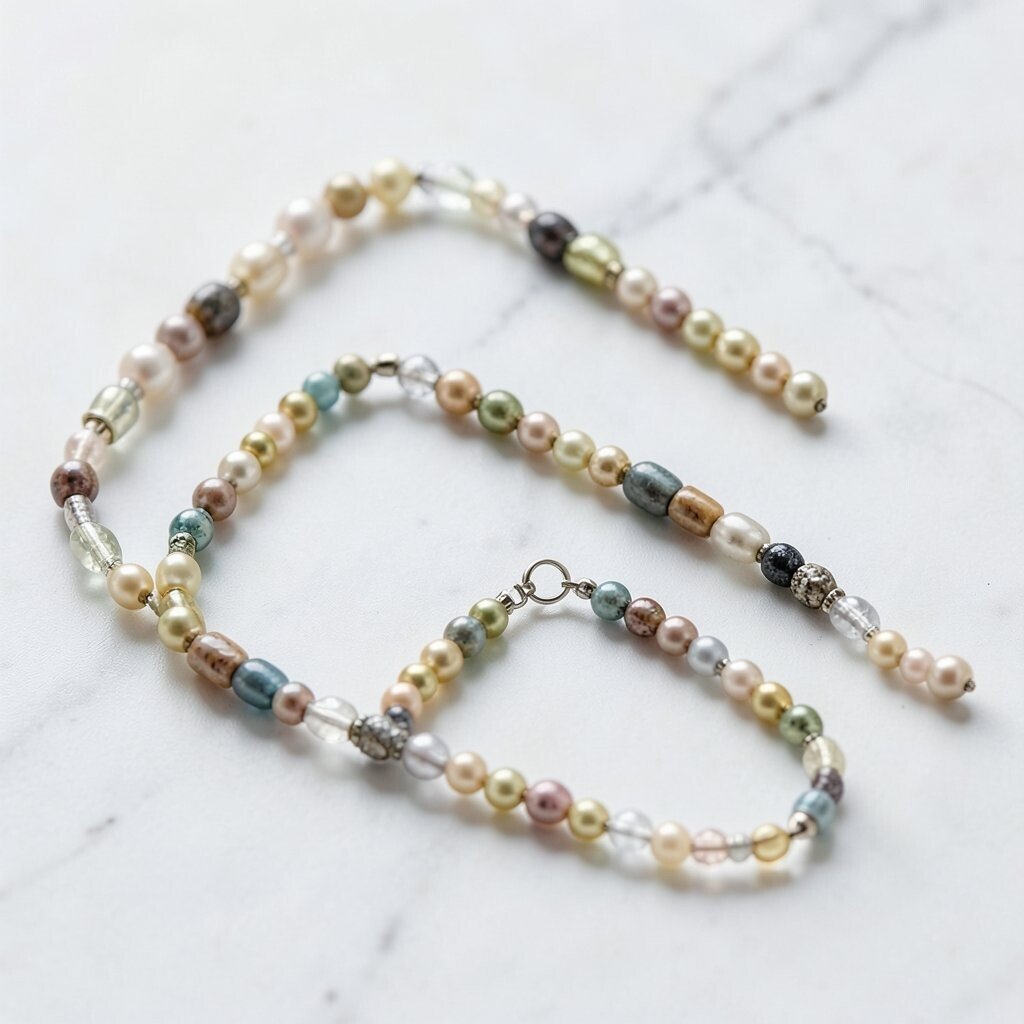
Build a strand that looks good from both sides by using two bead selections that complement each other. Flip it and you get a different color mood without changing the layout.
This benefits your wardrobe because one piece can match more outfits. Use a reversible construction method where both sides are secured at the ends, then test for snagging by gently rubbing the surface with your fingers. For personalization, choose beads that reflect different seasons, like warm reds for one side and cool greens for the other.
19. Charm-Linked Bead Strand With Rolling Connectors
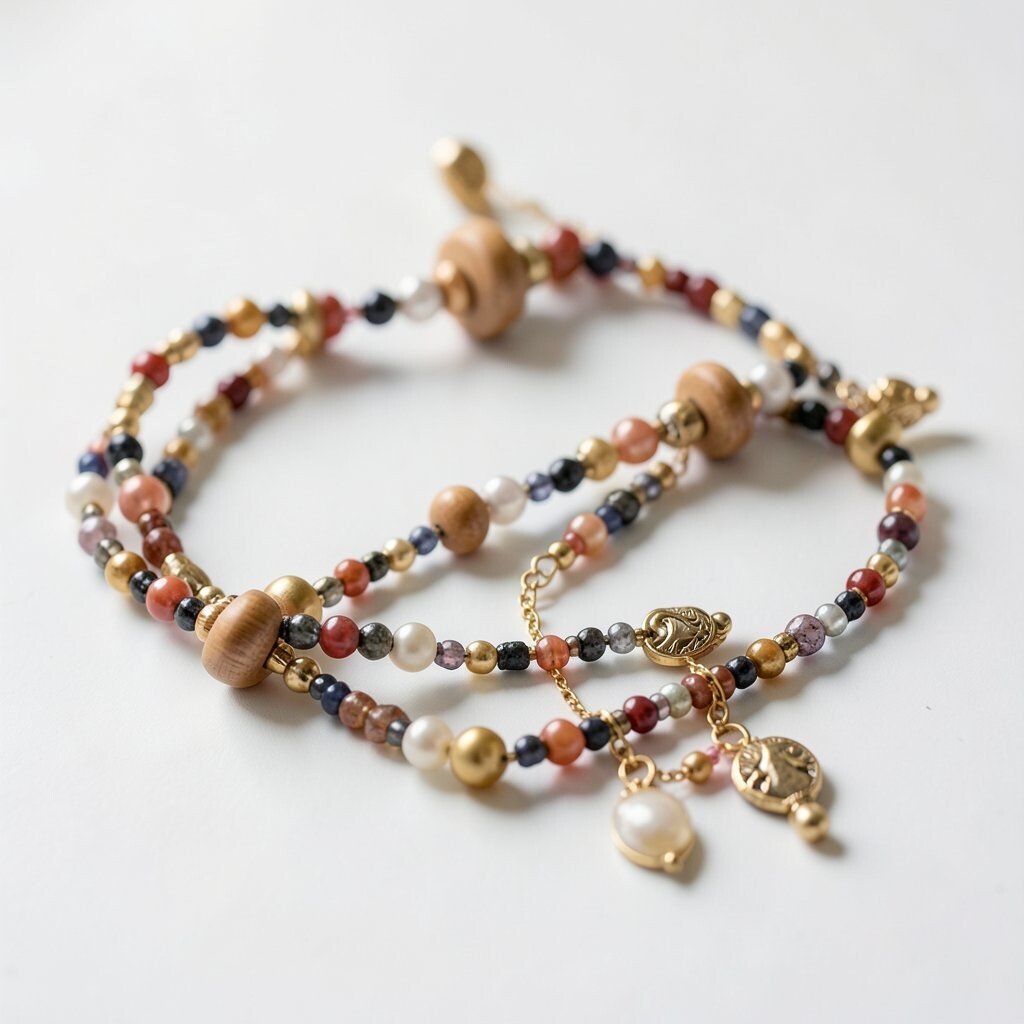
Add a few charms along a bead strand using rolling connectors or flexible links. The charms sway and rotate, so the strand feels lively instead of fixed.
This technique is unique because the movement changes the look every time you walk. Use strong jump rings and keep charm spacing even so nothing tangles. For a trend-friendly style, mix one symbolic charm with one geometric charm for a modern contrast.
Cost-wise, you can keep charms budget-friendly by choosing lightweight acrylic or simple metal charms and saving your best charms for the center focal area. Personalize it with charms tied to hobbies, places you love, or names that matter to you.
When you finish, wear it for a day and check whether any charm twists too tightly. Adjust connector size so the whole strand moves smoothly.