Your walls can be a creative playground, not a blank background. When you plan with care, each piece starts telling its own story.
Whether you love painting, stitching, or scavenging frames, you can build a gallery wall that looks pulled together and feels personal. The best part is that DIY helps you control color, layout, and meaning.
1. Vintage Book Page Collage Frames for a Warm Library Look
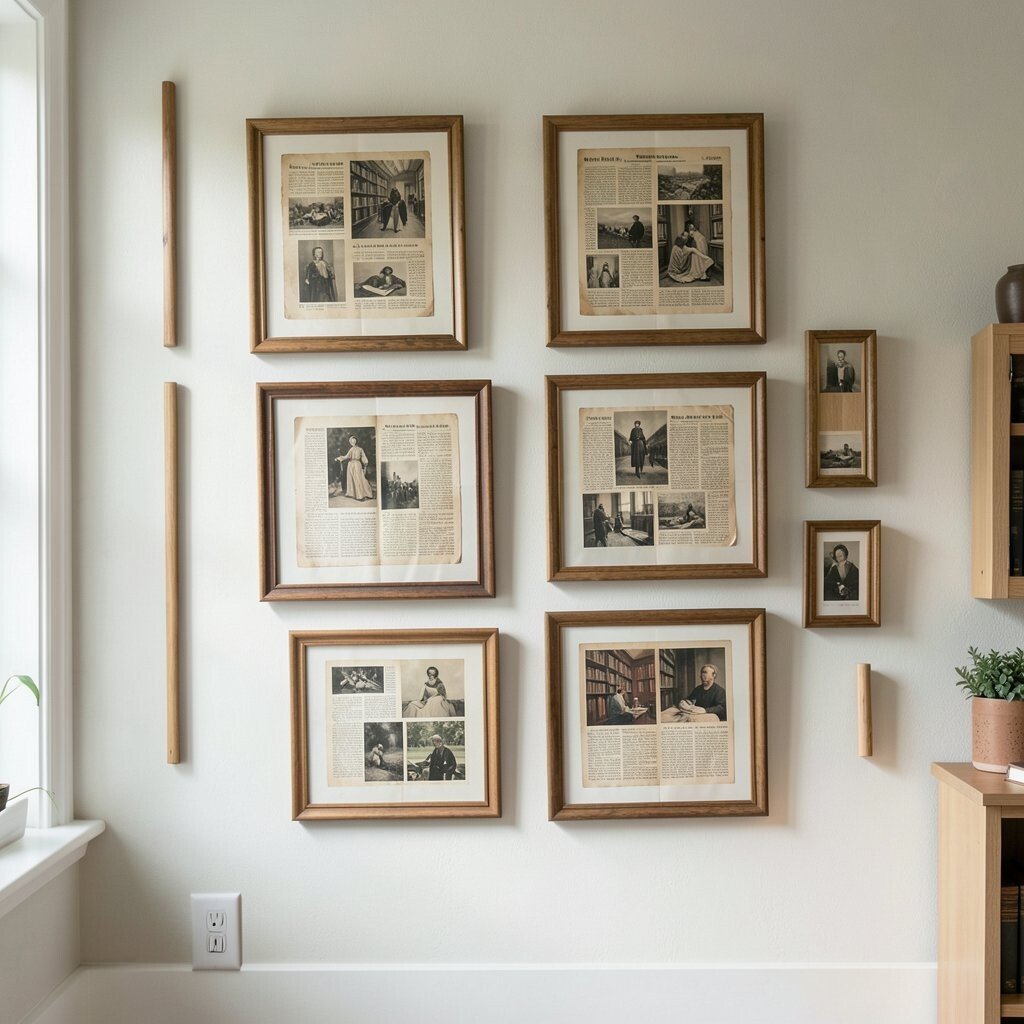
Imagine a set of frames filled with softly aged book pages, curled edges, and faint ink marks that glow under light. The texture alone feels cozy, like a small corner of a favorite study.
Choose pages that match your vibe, then cut shapes around letters, tiny diagrams, or blank margins. Layer tissue-thin paper behind the text for more depth, and seal the whole page with a clear matte medium so it stays tidy.
This approach is unique because your “art” carries hidden history from real reading material. It also works on a budget when you use old books, thrifted paperbacks, and inexpensive frames from craft stores.
2. Washi Tape Border Gallery With Color-Blocking Energy
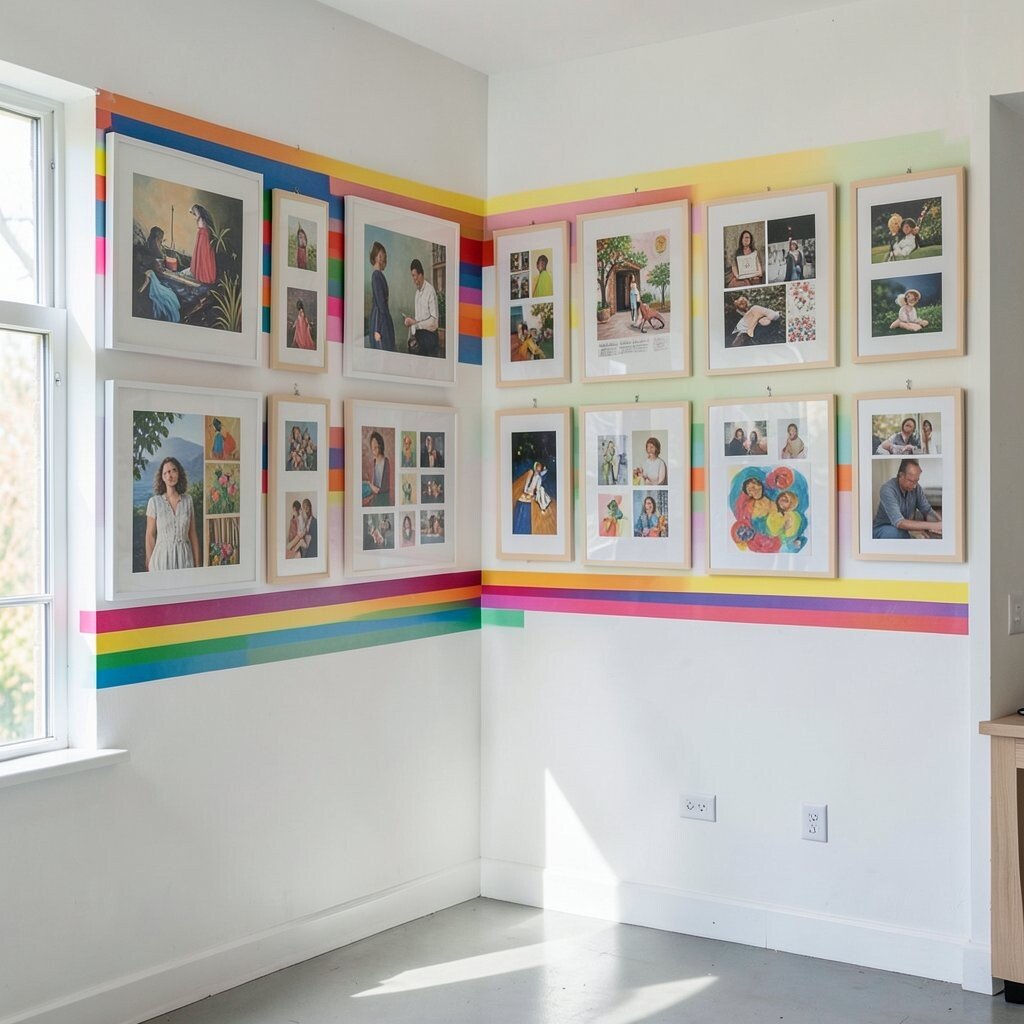
Picture crisp white frames wrapped with bright washi tape borders, creating tidy stripes and playful blocks. The wall looks cheerful, like a stationery shop got creative.
Sort tapes by color family, then outline each frame using painterly strips that vary in width. Keep edges clean by pressing tape down with a plastic card, and overlap corners slightly for a finished look.
Washi tape is a practical win because it’s easy to move and adjust before you commit. It’s also trend-friendly since clean geometric accents keep showing up in home styling.
3. Pressed Flower and Leaf Shadow Boxes With Soft, Living Detail
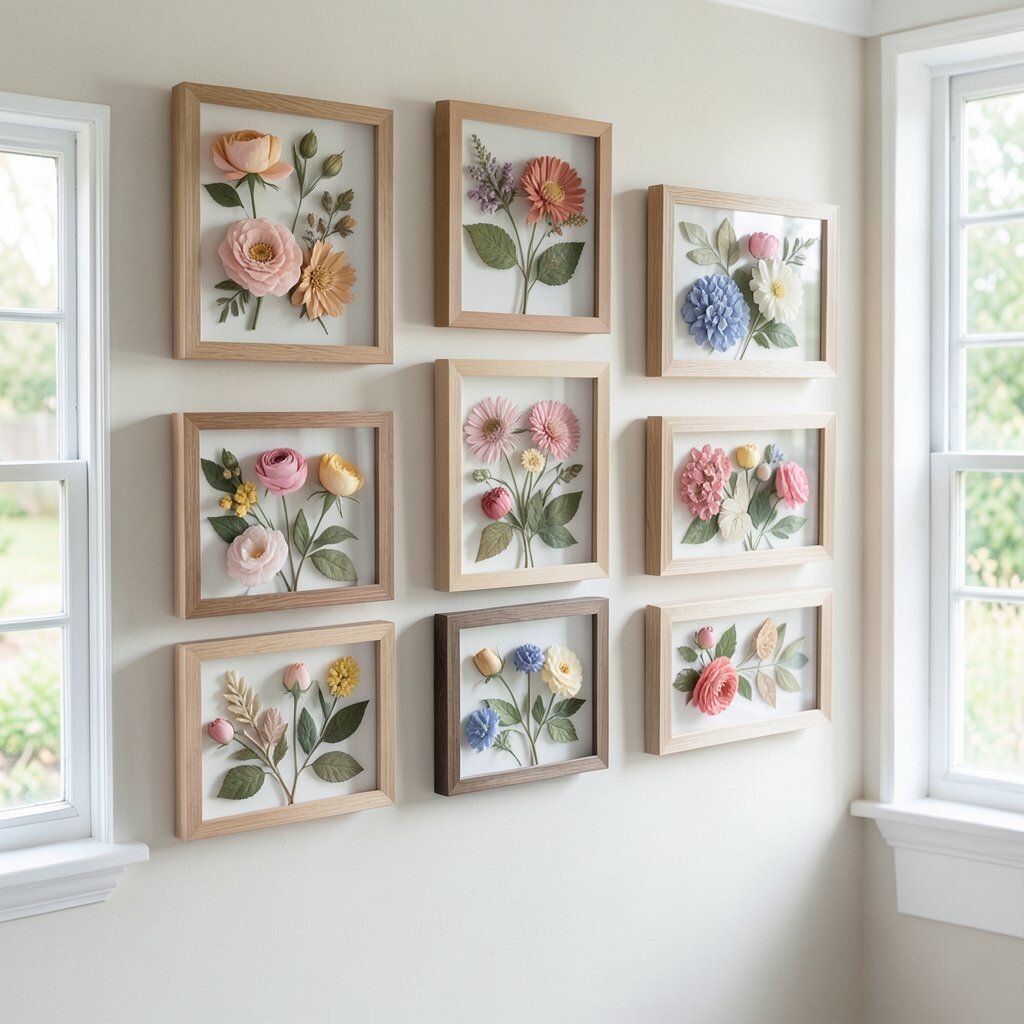
Think of delicate leaves and pressed petals sealed in glass-front shadow boxes, catching light like small stained-glass hints. Even from across the room, you can see the veins and layered edges.
Collect plants on dry days, press them in a book, and re-check them after a week. For placement, try arranging a main bloom in the center and fill gaps with smaller fragments, then add a neutral backing so the greens pop.
These boxes feel special because each harvest is one-of-a-kind. They also make great gifts since you can personalize by using flowers from a garden, a park visit, or a memorable event.
If you want extra protection, use acid-free paper and a frame with good sealing. The cost stays reasonable because dried materials are free, and the biggest expense is usually the frame.
To keep everything looking current, choose a consistent background color like warm cream or muted gray across all shadow boxes.
4. Monogram Letter Tiles Using Scrap Wood and Stencils
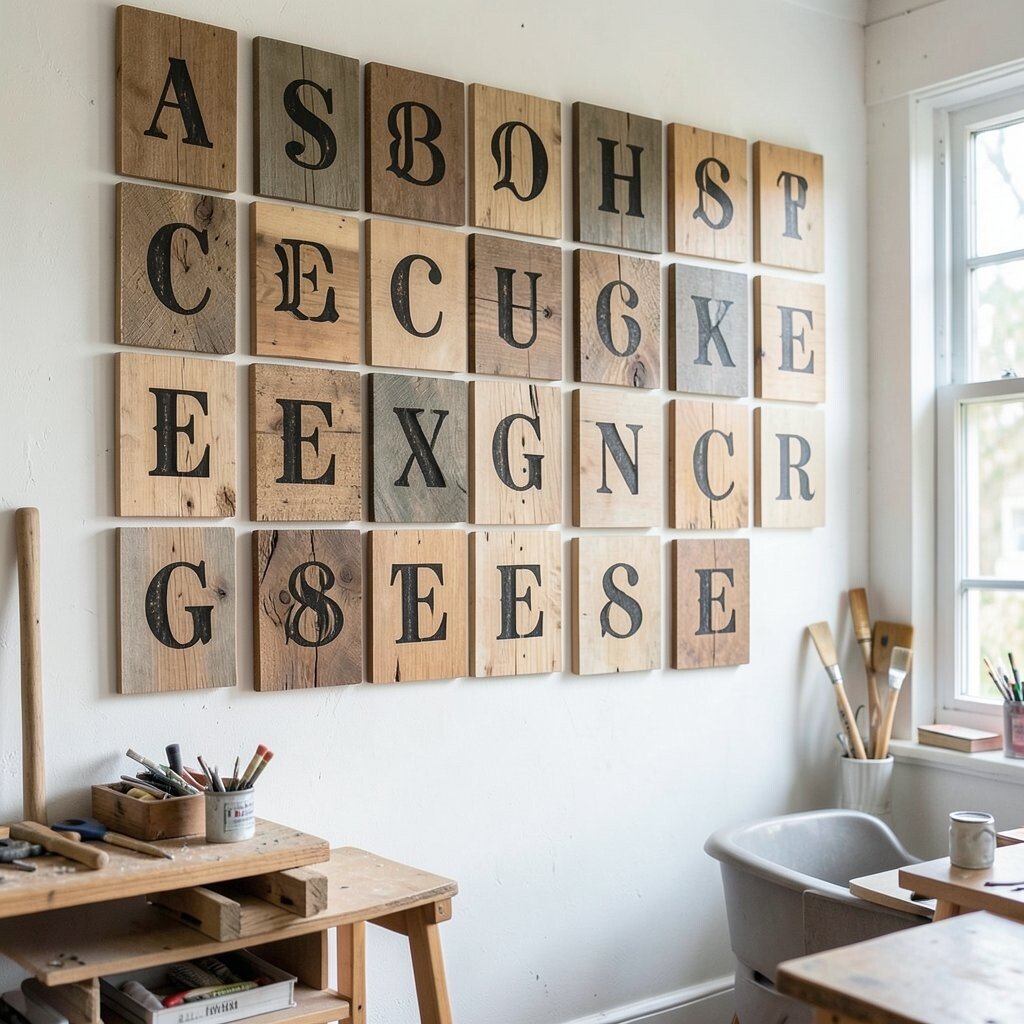
Visualize a grid of small wooden tiles with painted monograms, each letter slightly different in shade and grain. The wall reads like modern typography but still feels handcrafted.
Sand scrap wood, then use stencils for crisp shapes and paint for a smooth finish. For personalization, mix two fonts or vary the letter heights so the gallery looks intentional instead of random.
5. Texture Collage Gallery With Fabric Swatches and Embroidery Thread
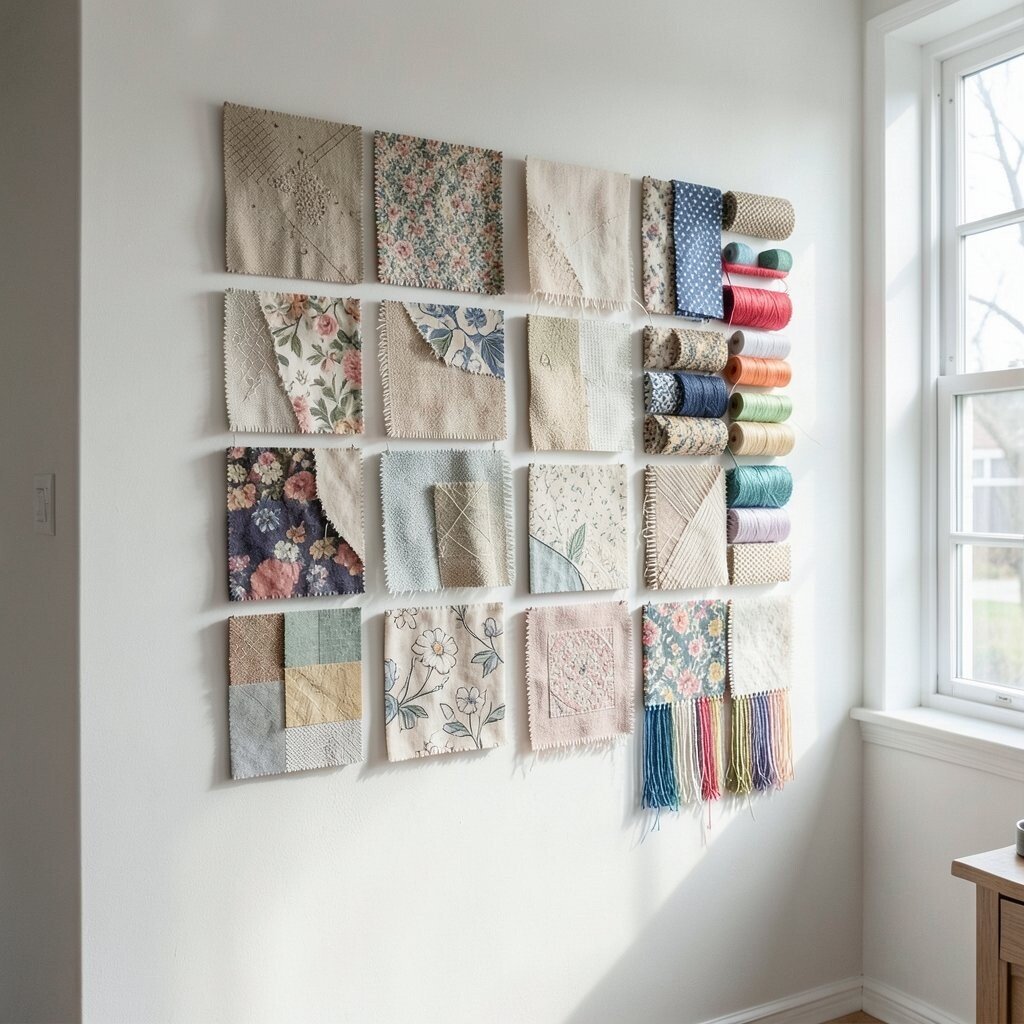
Imagine fabrics layered together inside frames, from denim and linen to soft knit bits, all stitched with winding thread lines. The surface looks rich, like a tiny quilt but arranged as wall art.
Cut swatches into matching sizes, then secure them with fabric glue or a breathable backing paper so they don’t sag. Add simple embroidery with running stitches or small cross shapes to connect pieces like a roadmap.
This idea feels unique because it uses your own fabric scraps and makes them look curated. It’s also practical since you can shop for small remnants and yardage deals rather than buying full fabrics.
6. Watercolor Quote Frames With Handmade Background Washes
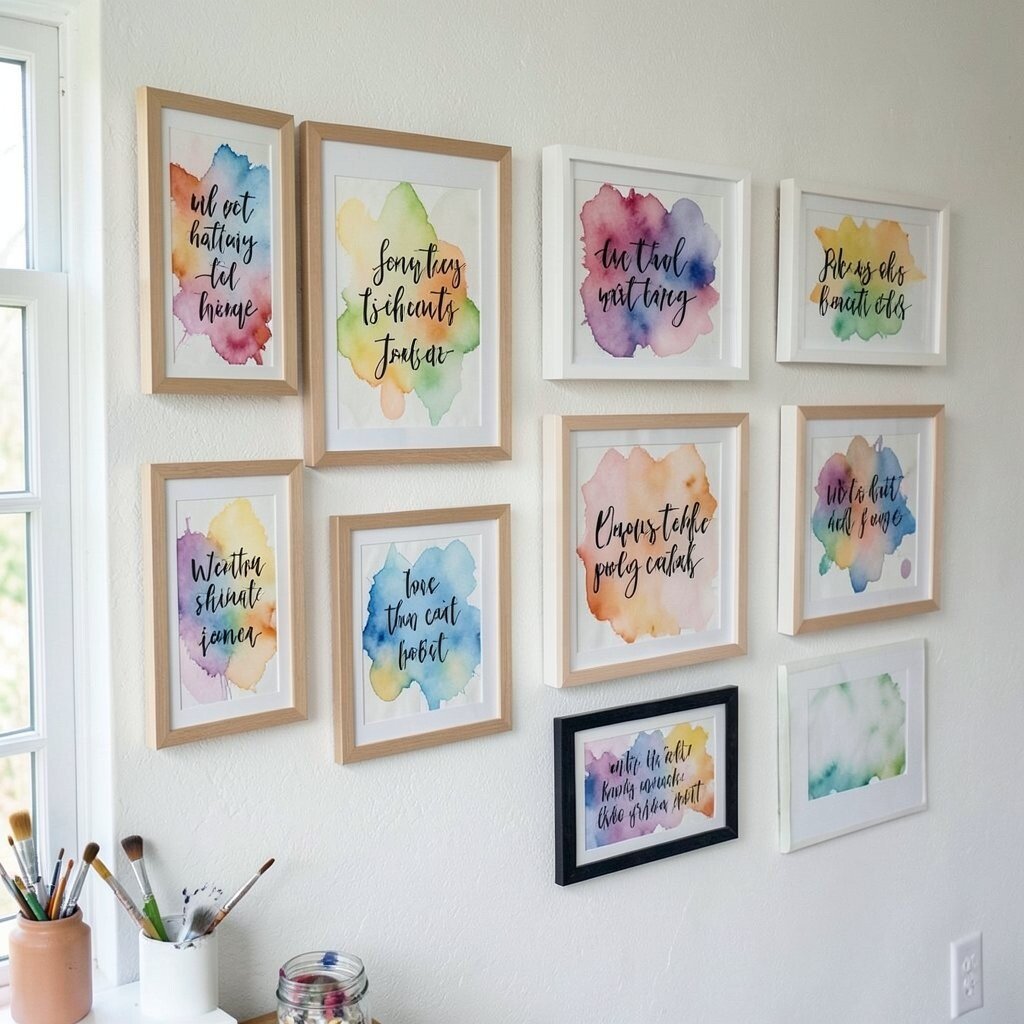
Picture frames holding gentle watercolor washes behind short phrases, with colors bleeding softly at the edges. The wall looks calm and artsy, like a slow morning.
Paint a background wash on paper, let it dry, then add a quote with a fine brush or permanent pen. Choose short lines so the art stays readable from a distance.
7. Metallic Foil Paper Cutouts for a Shiny Modern Gallery
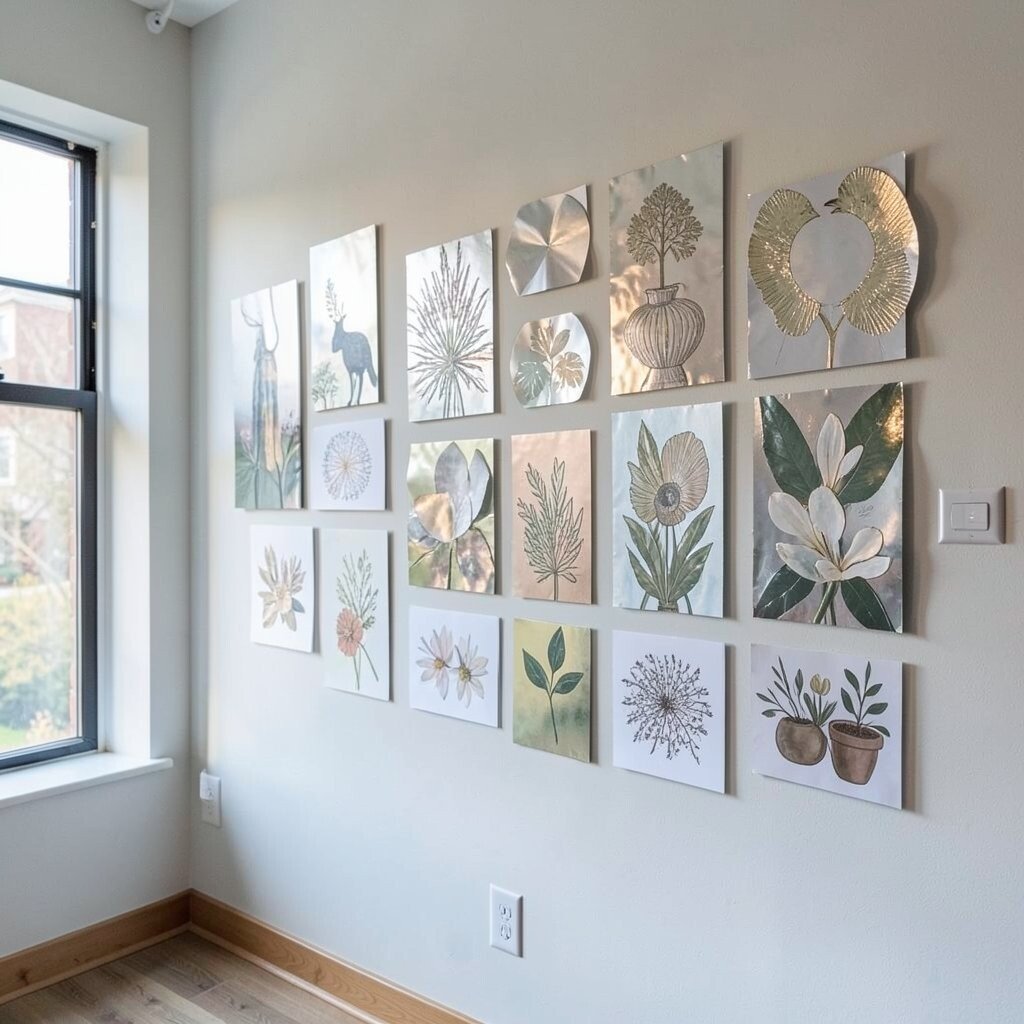
See shiny shapes cut from metallic foil paper, arranged in overlapping layers like bright confetti held still. The wall catches light and makes the room feel more alive.
Use a craft knife or die-cut shapes carefully, then mount cutouts with foam squares for a little shadow effect. Keep a simple palette of gold, silver, or copper so the look stays modern rather than busy.
Foil cutouts are unique because the finish changes throughout the day. They’re also cost-conscious since a single sheet can create many pieces for a gallery wall.
To keep the style current, mix foil with matte paper frames and one or two neutral drawings, like minimal lines or tiny botanical silhouettes.
8. City Map and Coordinate Art for Travel-Heart Memories
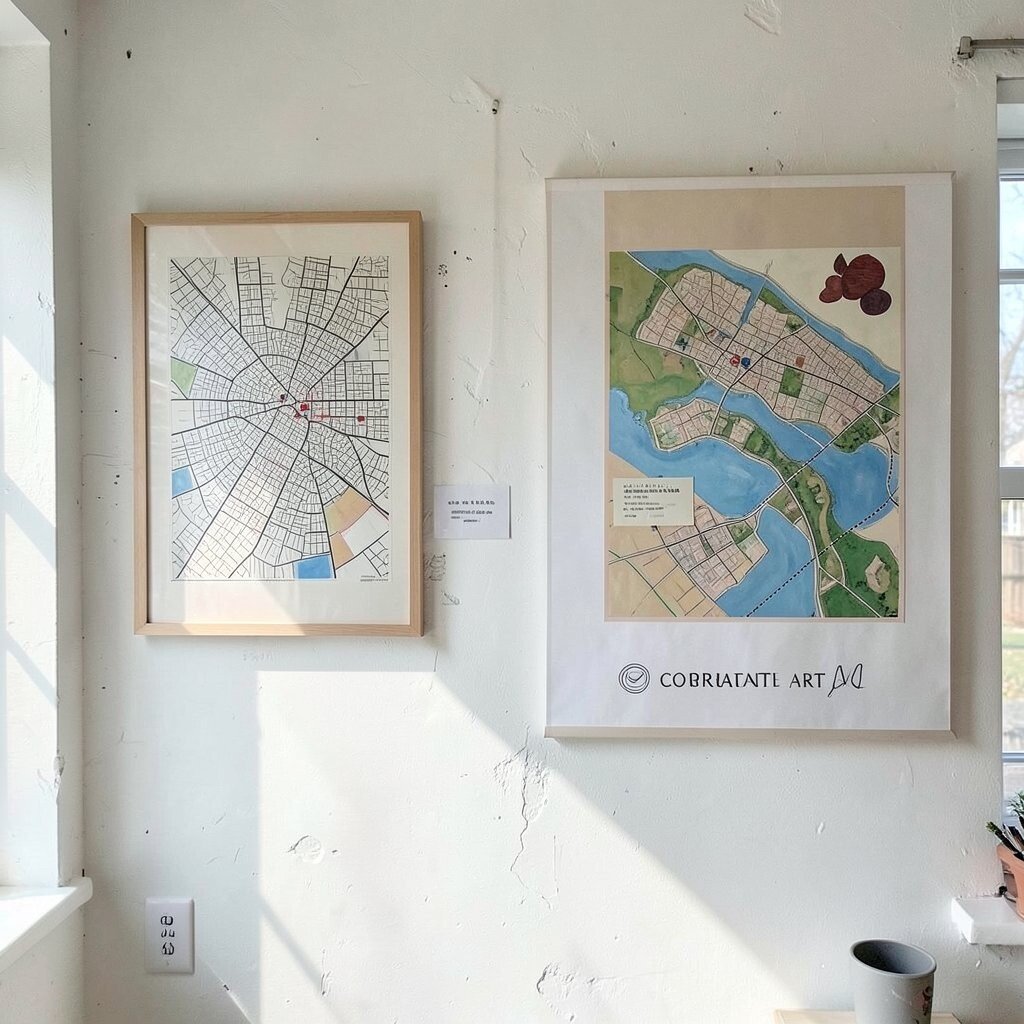
Think of framed map pieces showing streets, old neighborhoods, and labeled landmarks, sometimes with a bold pin mark in the center. From afar, the wall looks like a set of meaningful postcards.
Choose maps of places that matter to you and crop them into squares or rectangles for a clean layout. Add coordinates using printed numbers or handwriting, then seal the page so it won’t curl over time.
This is practical because you can print maps from online sources and adjust sizes easily. It’s also personal, since each piece holds a story and connects family members or friendships.
For uniqueness, include one “wildcard” frame with a map texture background but no coordinates, letting the wall breathe visually.
9. Polymer Clay Bead and Pendant Photo Display
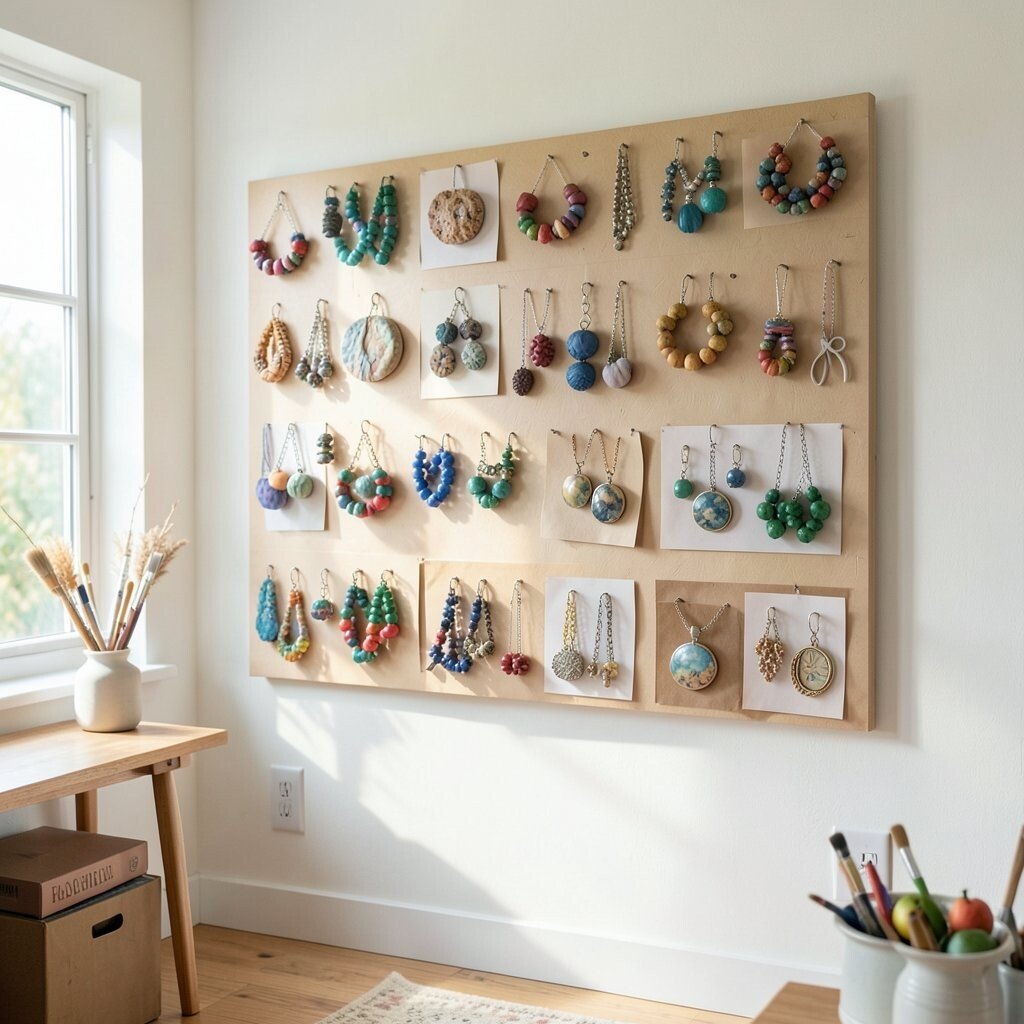
Imagine small polymer clay beads and tiny pendants arranged around photo cards, giving each memory a playful frame. The wall looks like jewelry meets storytelling.
Condition clay, roll beads in different sizes, then bake according to your clay instructions. After cooling, attach beads around the border with strong adhesive or tiny hooks, then place a printed photo in the center.
This setup is unique because your decorations become part of the art, not just extras. It also lets you personalize for holidays, birthdays, or everyday moments with colors and shapes that match the photo theme.
Cost stays manageable if you use starter clay colors and buy a small pack of clear photo sleeves. For trend alignment, try a minimal layout with lots of negative space so the pieces look intentional.
10. DIY Scrapbook Paper Frame Wall With Layered Mats
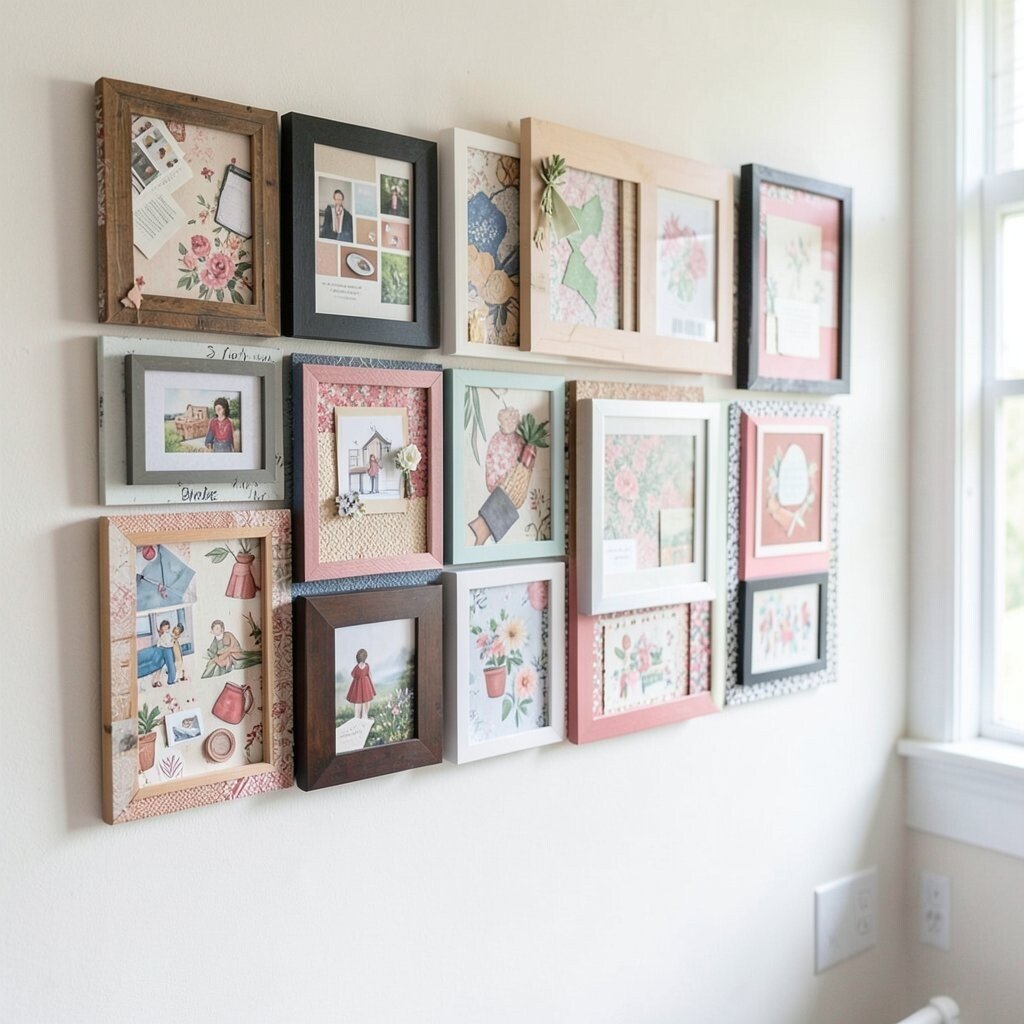
Picture a gallery wall made from scrapbook paper patterns, each frame layered with a colored mat behind the art. The look feels neat, vibrant, and easy to coordinate with your decor.
Cut patterned paper to fit inside frames, then add a contrasting mat strip for a gallery-ready border. If you want extra polish, use decorative corner punches or simple hand-cut edges.
This idea is practical because you can use leftover paper stacks from previous crafts. It’s also easy to keep consistent by choosing one theme, like florals, stripes, or soft pastels.
11. Ink Blot and Doodle Prints With Handmade Frame Washi Fixes
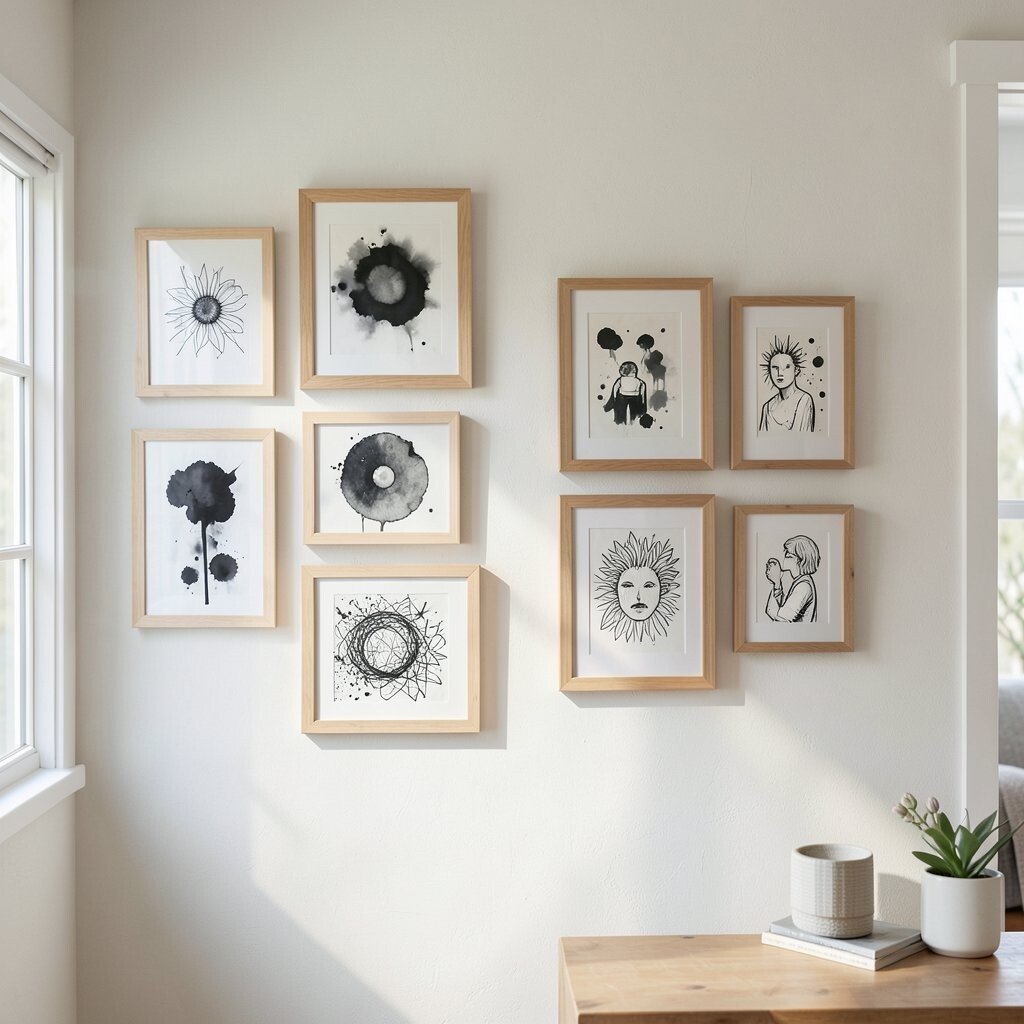
See dramatic ink blots paired with tiny doodles, like whimsical storm clouds on paper. The wall has movement even when everything is still.
Drop ink onto watercolor paper, tilt gently, and let patterns form. Once dry, add doodles with a fineliner, then frame each print with a border that matches your ink color, like black and cream.
12. Botanical Stencil Art With Reusable Spray Templates
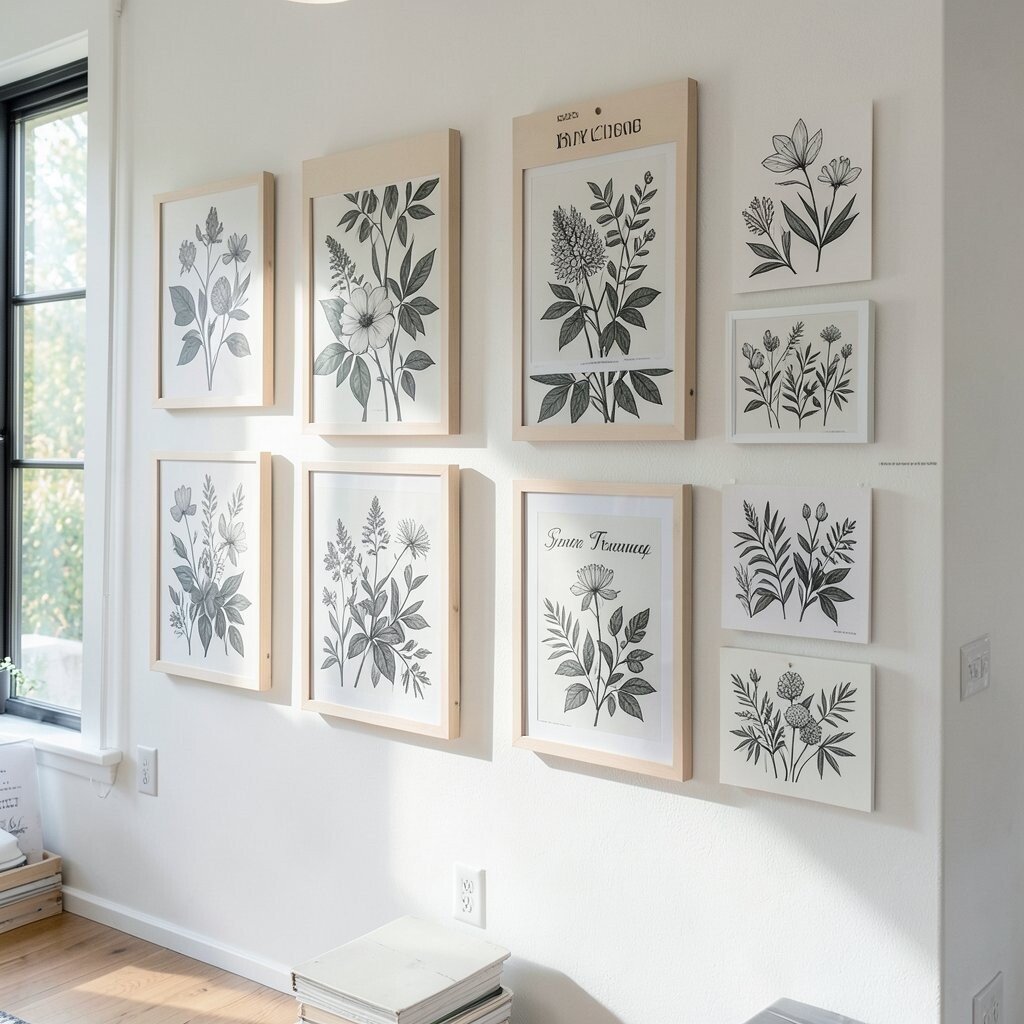
Imagine crisp leaf silhouettes sprayed through stencils onto kraft paper, with each frame showing a slightly different leaf scale. The wall looks airy and natural, like an indoor garden plan.
Buy or create reusable stencils, then secure them with tape so they don’t shift. Start with light coats, build color slowly, and wipe the stencil between frames for clean edges.
This approach stands out because stencil art looks bold but still handmade. It’s practical too since reusable templates help you make many pieces without repeating the same effort.
For personalization, vary the leaf type, add a few tiny dot clusters, or use two paint colors so the wall feels cohesive. Keep an eye on current trends by using earthy tones and textured paper that looks slightly imperfect.
13. Hand-Painted Ceramic Tile Minis as a Gallery Accent
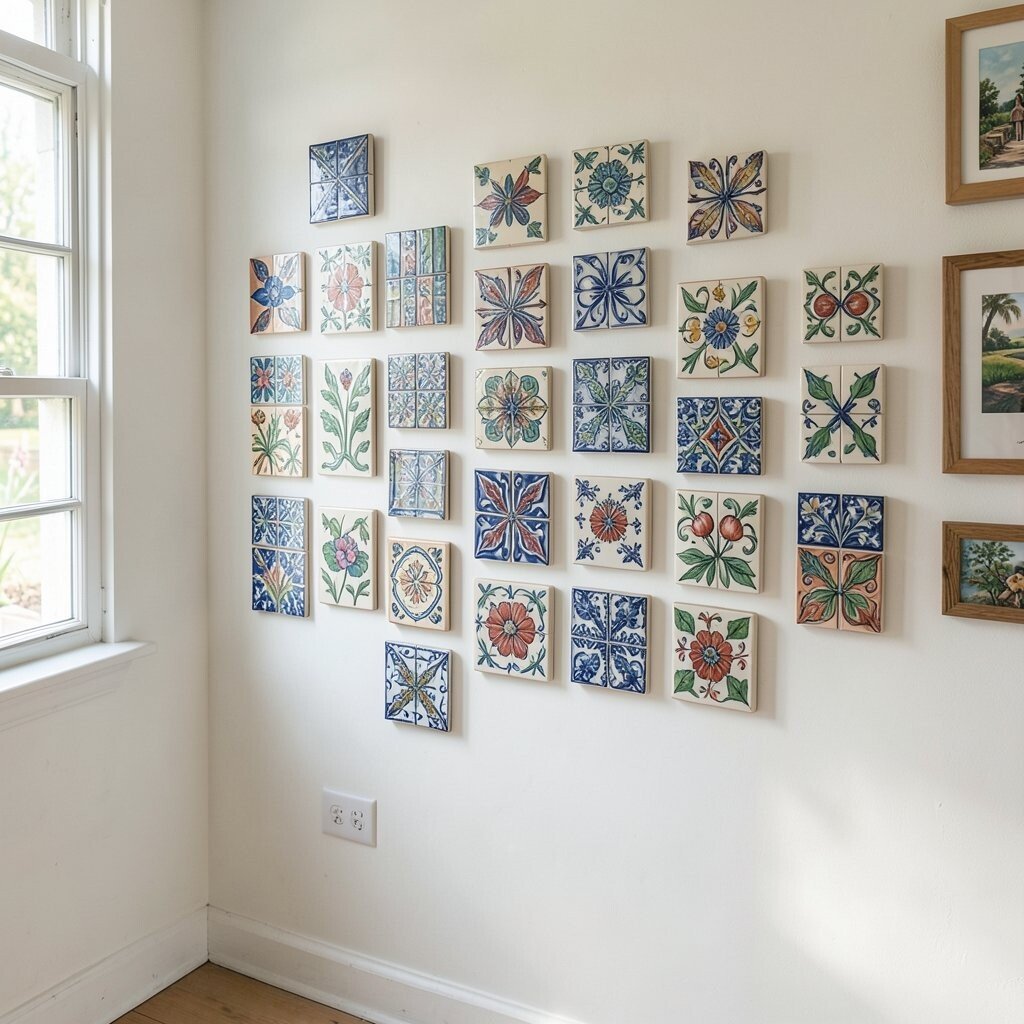
Picture small hand-painted ceramic tiles arranged like mini masterpieces, each showing a different color wash or pattern. The glossy surface adds shine, and the wall feels like a curated set of tiny murals.
Use small tile blanks from a craft supply store or repurpose thrifted tiles if they’re safe to handle. Paint with ceramic-safe paints, let them cure fully, then attach tiles to a backing board or frame them with tile-friendly mounts.
This idea is unique because ceramic texture adds depth that paper can’t match. It’s also durable for a wall feature, and the layout can be tailored to fit narrow spaces or awkward corners.
Cost is usually moderate since tile sets come in bundles, and you can paint fewer pieces with stronger designs. For a trend-friendly look, pair bold tiles with simple line artwork so the mix feels modern.
14. Repurposed Frame Mirror Squares With Handwritten Catchphrases
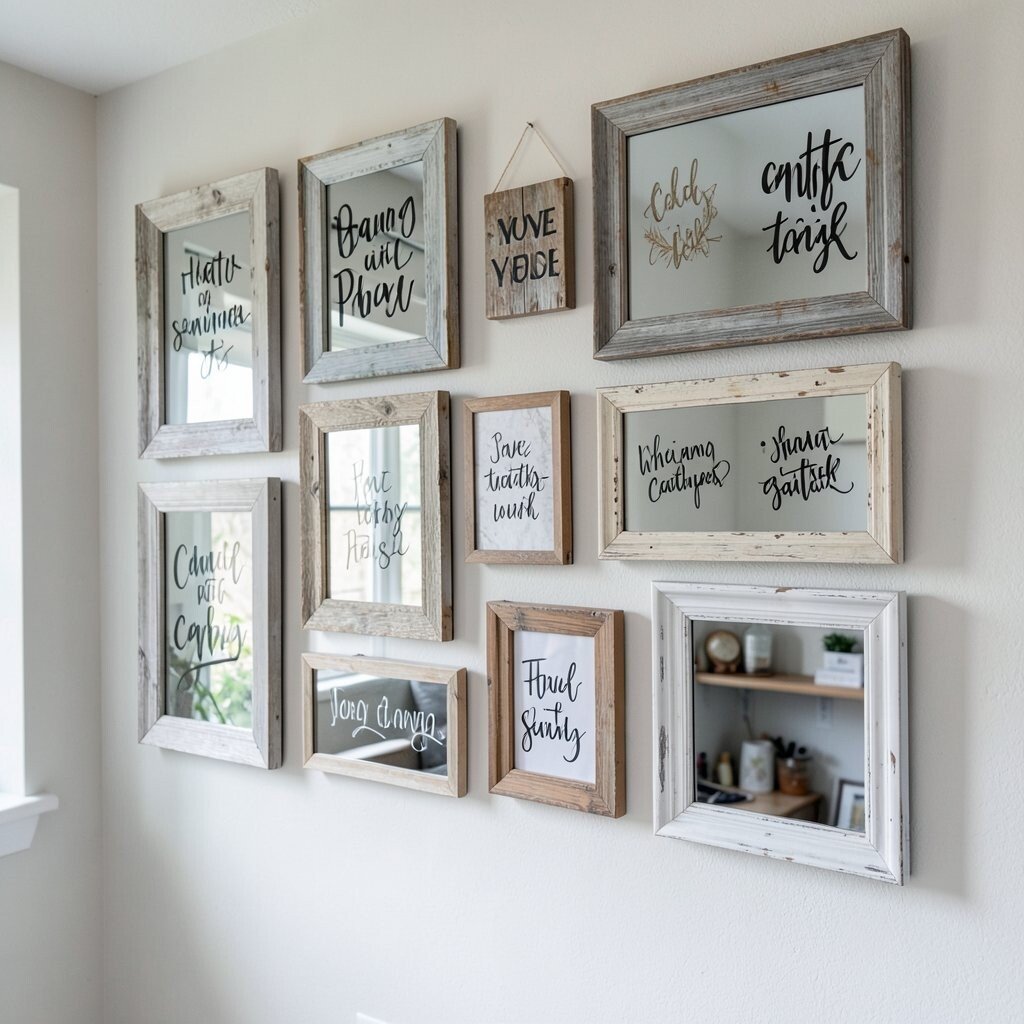
See a wall of small mirrors, each one framed and paired with handwritten phrases, making your space look bigger and brighter. The reflections add movement, and the writing brings warmth.
Use thrifted frames, attach mirror inserts, and write short phrases with acrylic paint pens or permanent markers. Choose phrases that fit your routine, like “breathe,” “create,” or “good day,” then keep lettering consistent in style.
This is practical because mirror inserts can be reused, and the creative work is quick once you set your letter style. It’s also unique because your wall changes every time the light shifts.
To keep costs down, start with a small set of mirrors and add more when you find frames you love. For personalization, match the font thickness across all pieces so the wall looks designed, not accidental.
15. Felt Garland Photo Frames With Warm, Soft Shape Language
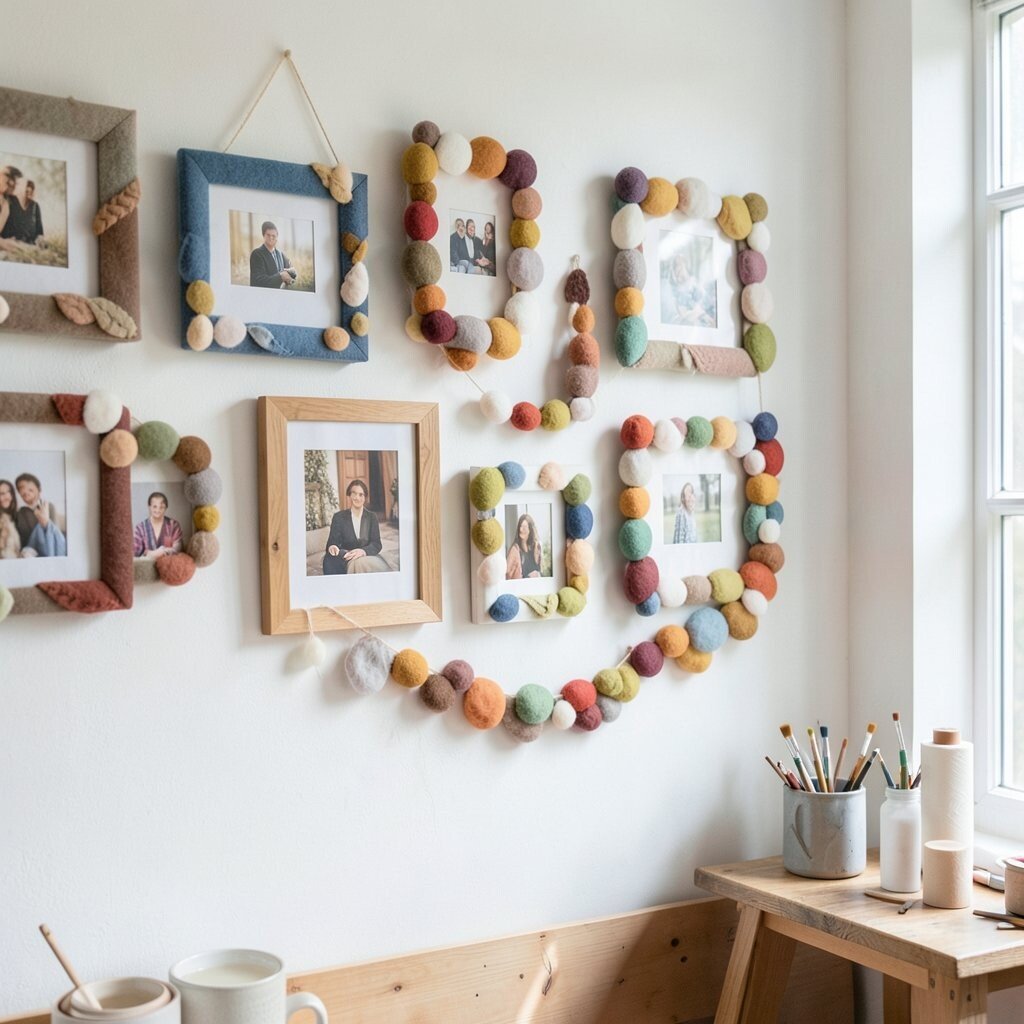
Imagine soft felt borders hugging photos, like gentle picture sleeves with rounded corners and stitched edges. The wall feels cozy, like a craft room you want to linger in.
Cut felt into frame-size panels, then stitch or glue a simple border around the photo opening. Add small details like tiny pom shapes, stitched lines, or a layered felt triangle to each piece for charm.
This idea stands out because felt adds warmth and softness that makes photos feel more personal. It’s practical for DIY because felt is easy to cut, and you can make multiple pieces quickly with repeat templates.
When you want uniqueness, vary border colors based on seasons or room decor, such as soft greens for spring and deeper tones for fall. Keep an eye on current trends by leaning into tactile materials and curved shapes, which stay popular in modern cozy interiors.
Cost considerations stay friendly since felt sheets are affordable and you can use leftover fabric. For personalization, include one “signature” color in every frame, so the whole gallery feels like one connected set.