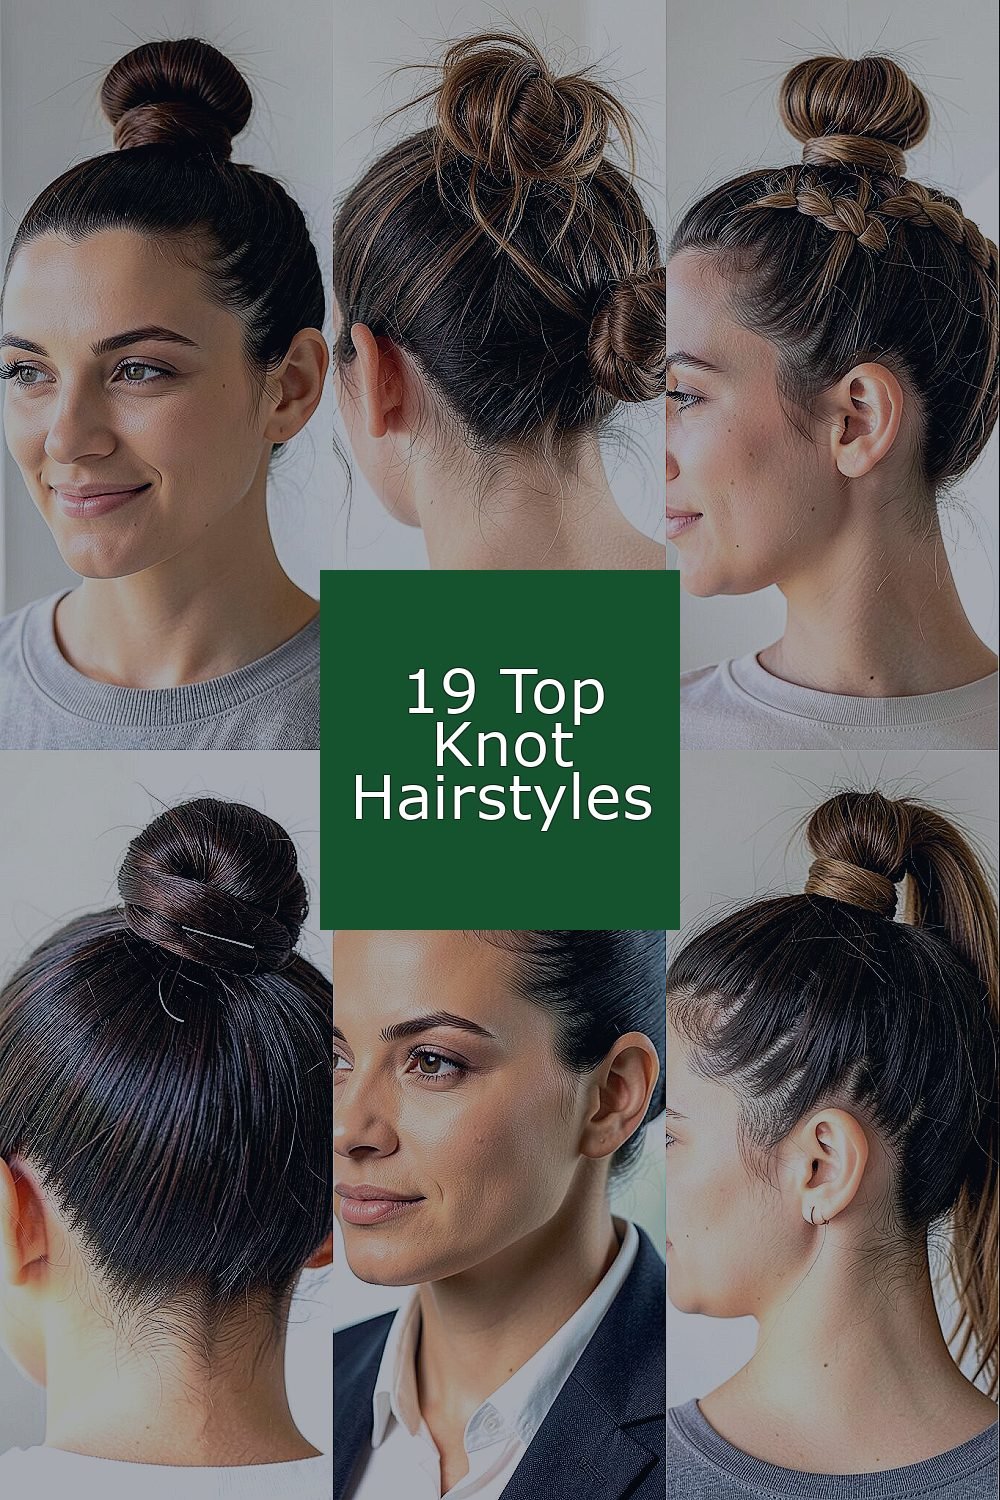
That quick top knot can make your whole day feel more put together. It’s simple, stylish, and surprisingly forgiving even when you’re running late.
From sleek buns to playful twists, you can match your mood, your hair type, and your schedule with one easy move. Let’s keep it fun and practical while you find your next favorite.
1. Classic High Top Knot With a Clean Finish

This look starts with smooth hair gathered high on your head. Twist it into a neat knot and secure it so it holds without looking stiff.
You’ll love how your face feels more open when the hair is lifted up and off your cheeks. For a polished vibe, use a light gel or cream to tame flyaways and shine the hair at the front. Keep the strands smooth around the base so the knot looks intentional, not accidental.
2. Messy Top Knot With Soft Texture

A messy top knot should look like you woke up cool. Gather your hair at the crown, twist loosely, and let a few strands fall for a casual frame.
This hairstyle is great because it hides second-day hair and saves time. Use dry shampoo at the roots to add grip, then secure the bun with pins or an elastic. If your hair is fine, backcomb lightly near the crown before knotting so it feels fuller.
Want it to look extra current? Lean into uneven pieces and a slightly looser bun for that lived-in style. To keep it comfortable, don’t pull too tight at the scalp, especially if you’ll wear it for hours.
3. Braided Crown Top Knot

Picture a delicate braid that wraps part of your crown area. It adds a pretty pattern before the hair becomes a high knot.
That braided touch makes the style feel unique without making it complicated. Start by sectioning a small strip near your temple, braid it, and then tuck the braid into your bun. Use bobby pins to lock the braid in place so it won’t slip as you move.
For personalization, try a fishtail braid for extra detail or a chunky three-strand braid for a bold look. A little styling cream on the braid keeps it glossy, and a quick hair spray helps it stay put through the day. This is also a smart choice if you want an elevated look for work or a casual night out.
Keep the cost low by using what you already have, like elastics and pins, plus one styling product if needed. You can even match the finish to your outfit by choosing a natural shine or a more matte texture.
4. Wrapped Top Knot With a Bobby Pin Swirl

This version uses a wrapped section to cover the base. After you gather your hair, twist it into a knot and wrap a small strand around the elastic.
The swirl of pinned hair at the base creates a neat little detail that looks more complex than it is. Secure the wrap with two bobby pins, crossing them slightly so they grip. If you want it extra strong, lightly dampen the wrapped strand first, then let it set as you pin.
5. Sleek Top Knot for a Smooth, Office-Ready Look

When you want your hair to look sharp, go for a sleek top knot. Brush your hair back carefully, gather at the crown, and tie with an elastic you can’t see.
A sleek knot looks neat from every angle, which is a big confidence boost. Use a shine serum or a small amount of smoothing cream to reduce puffiness and make the knot look glossy. For extra staying power, lightly tug the base and then tuck the ends under so they don’t stick out.
If you like trendy minimalism, keep the bun tight and polished, with no loose pieces. This style also pairs well with earrings because your hair won’t compete for attention.
6. High Top Knot Ponytail Hybrid

Think of it as half ponytail, half bun, with the length still showing. Tie your hair at the crown, twist the tail, and secure it so the top knot sits on top.
This is a fun option because you get volume up high while keeping a bit of bounce. It works especially well if you have medium hair, since the leftover length adds movement. Spray a little texture product on the tail, then wrap it around the base to create that layered look.
To personalize, choose a thicker elastic for a sportier vibe or add a ribbon for a softer feel. If your hair is slippery, use a light dry spray under the knot to help it grip. This style is great for busy mornings because it looks styled even when you’re rushing.
7. Low Top Knot With a Casual Side Part

Not every top knot has to sit high. A low top knot looks relaxed, especially when you keep a soft side part.
The benefit is a gentle, flattering look that works for everyday errands. Gather hair at the nape of your neck, twist, and secure, leaving a few face-framing pieces if you want. Use a comb to smooth the crown first so the knot still looks tidy.
For uniqueness, try a deeper side part and tuck the shorter side neatly into the knot. Add a tiny barrette or clip near the base if you want something special without going big. Low knots also tend to feel comfortable, since the bun weight sits lower on your head.
Keep styling costs minimal by using one trusty product for hold. A budget-friendly hairspray or gel can do the job if you apply it lightly.
8. Twisted Rope Top Knot
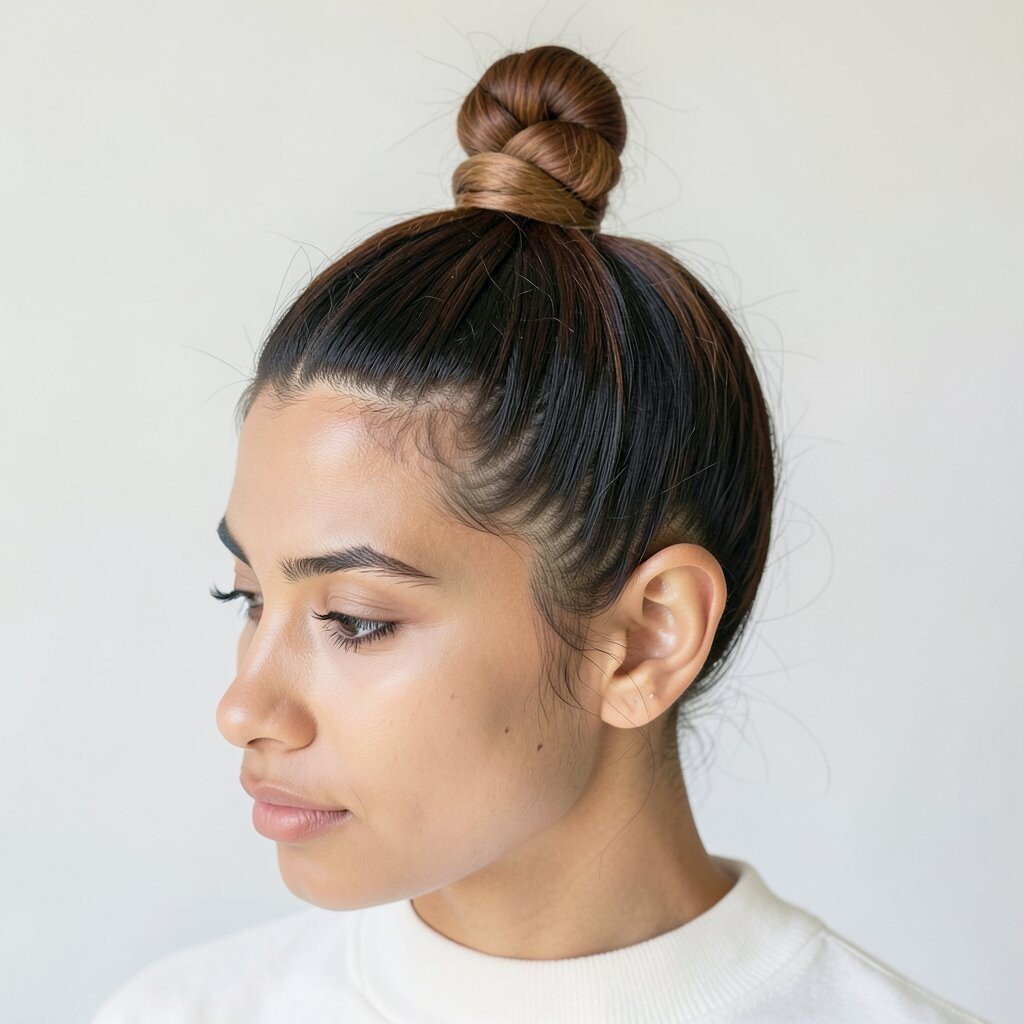
The rope twist looks like two strands braided together, giving your bun a textured twist. Split your hair into two sections, twist each one, and then wrap them into a knot.
This style is unique because the twist pattern shows around the bun instead of disappearing completely. It’s also practical for thick hair, since the twisting gives extra grip and shape. Secure with pins, then gently loosen the twist for a bigger, softer look.
Personalize by adding hair mousse for shine or keeping it matte with a dry-texture spray. If you want it trendier, make the knot slightly off-center so it looks modern and playful. The rope twist gives you a strong finish without needing a complicated braiding session.
9. Top Knot With a Headband Edge

Start with a top knot, then add a headband for instant style. The band creates a clean line across your hair and makes the look feel intentional.
This gives you an easy way to switch up your vibe without changing your hairstyle much. Choose a thin band for a sleek look or a thicker fabric band for a cozy, casual feel. If your hair is fine, place the band slightly forward and tuck the knot behind it for more lift.
For personalization, match the color to your outfit or choose a pattern like a subtle print for extra charm. This hairstyle is also great when you want your hair out of your face but you still want a little extra flair.
10. Crown Knot With a Center Twist

Picture your hair coming together right at the center of your crown. Instead of a regular tie, you twist from the center and guide the twist into a knot.
This creates a beautiful focal point that feels elegant and different. It works well on straight hair and can also be adapted for wavy hair by scrunching lightly before you gather it. Use a few pins along the center twist so it stays anchored.
To keep it practical, make sure the knot is secured tightly enough to move with you. If you want more softness, let a small section drift out in the front. For cost considerations, you don’t need new tools, just a couple of bobby pins and one holding spray if your hair lacks grip.
11. Half-Up Top Knot With Remaining Hair Down
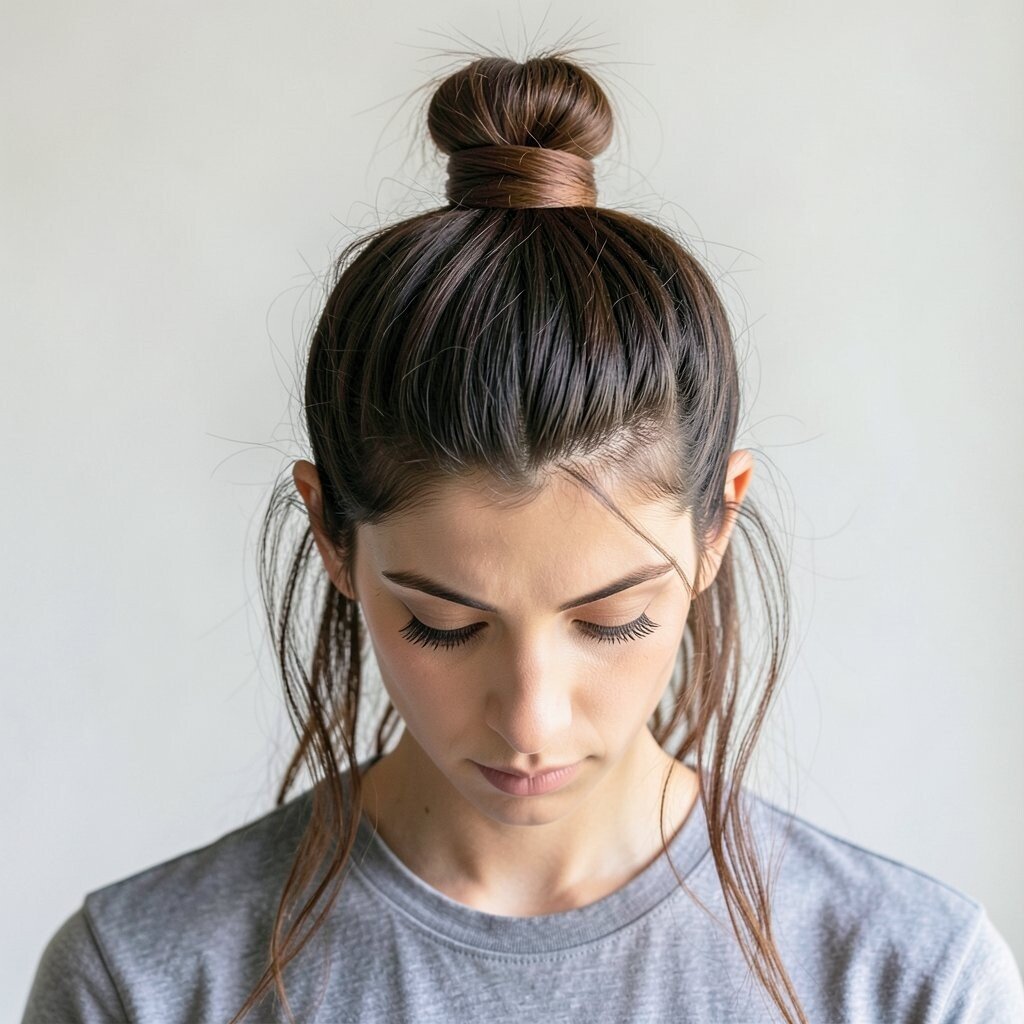
This look keeps part of your hair down while the top gets bundled into a knot. Gather the top section only, twist it, and secure it so the rest flows freely.
The benefit is you get the best of both worlds, keeping length visible while still pulling hair away from your face. It’s great for hair growth stages too, since shorter top layers can be tucked into the knot. Add a light wave to the remaining hair for a balanced, everyday style.
Uniqueness comes from how you place the knot, so try it slightly higher for a fun lift. If you want a more polished finish, smooth the top section with a small amount of gel. For a trendy touch, use a claw clip style elastic or a hidden elastic to keep the focus on the knot.
12. Bunelo Top Knot With an Elastic Loop

“Bunelo” gives a rounded bun shape using an elastic loop method. Gather your hair, loop it once or twice through an elastic, and then tuck the ends under to form a smooth top knot.
This style is appealing because it looks neat and bouncy with minimal effort. It’s especially helpful if your hair is just long enough to tie but not quite long enough to wrap easily. Use a couple of pins to secure the tucked ends so nothing slips.
For personalization, add a tiny twist at the front before you loop the hair for a little detail. If you want it to look more glamorous, use a shine spray around the bun and keep the rest of the hair sleek. The cost stays low because the main tool is an elastic you likely already own.
13. Top Knot With Two Side Wisps for a Soft Look
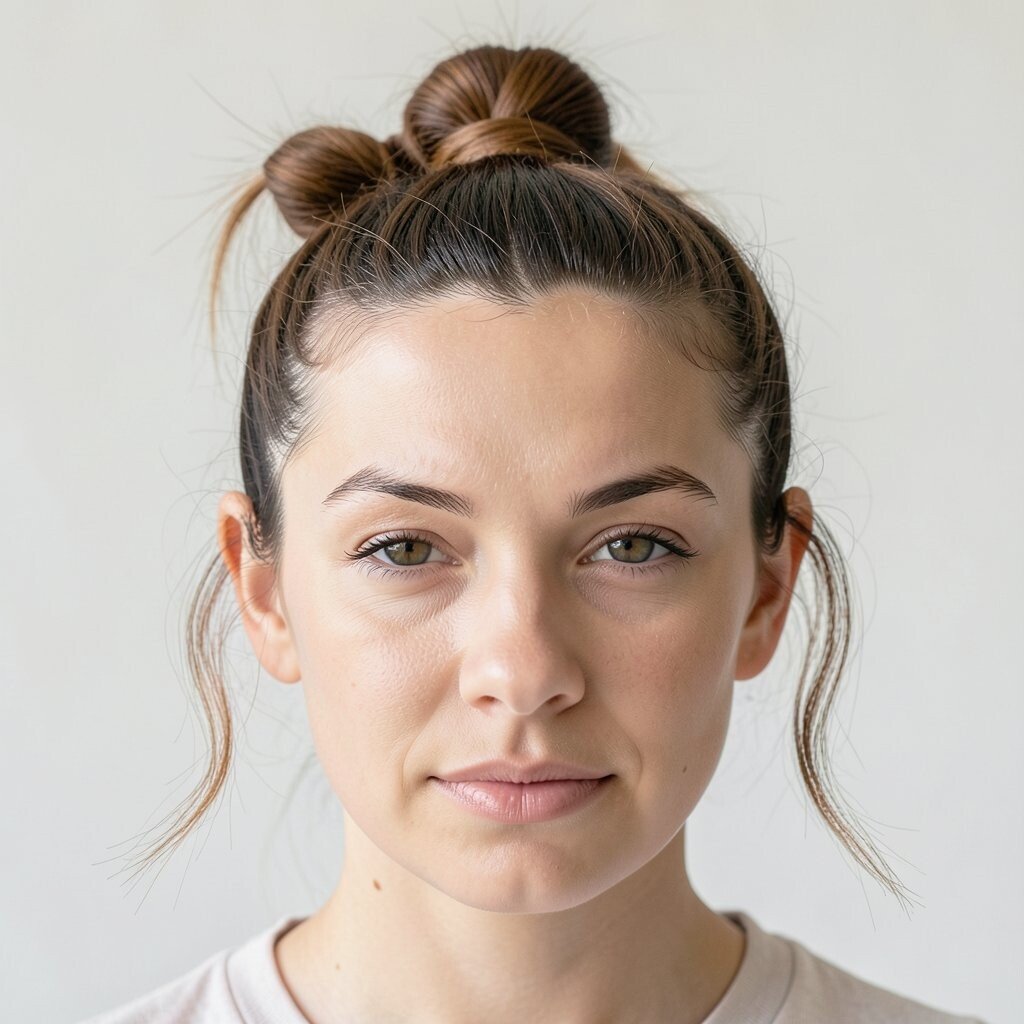
This hairstyle starts like a regular top knot, but you keep two side wisps out. Pull your hair into the knot, then leave thin sections near your temples.
The wisps make the style feel romantic and approachable, even when the bun is secure. Curl the wisps lightly or wave them with your fingers for a quick, flattering frame. If your hair is curly, embrace the texture and let the wisps blend naturally into your hair.
Uniqueness happens when you adjust the thickness of the wisps. Try thinner wisps for a delicate look or thicker ones for a more dramatic vibe. For comfort, tie the knot without yanking too hard at the roots, and you’ll feel better all day.
14. Top Knot With a Scarf Wrapped Base
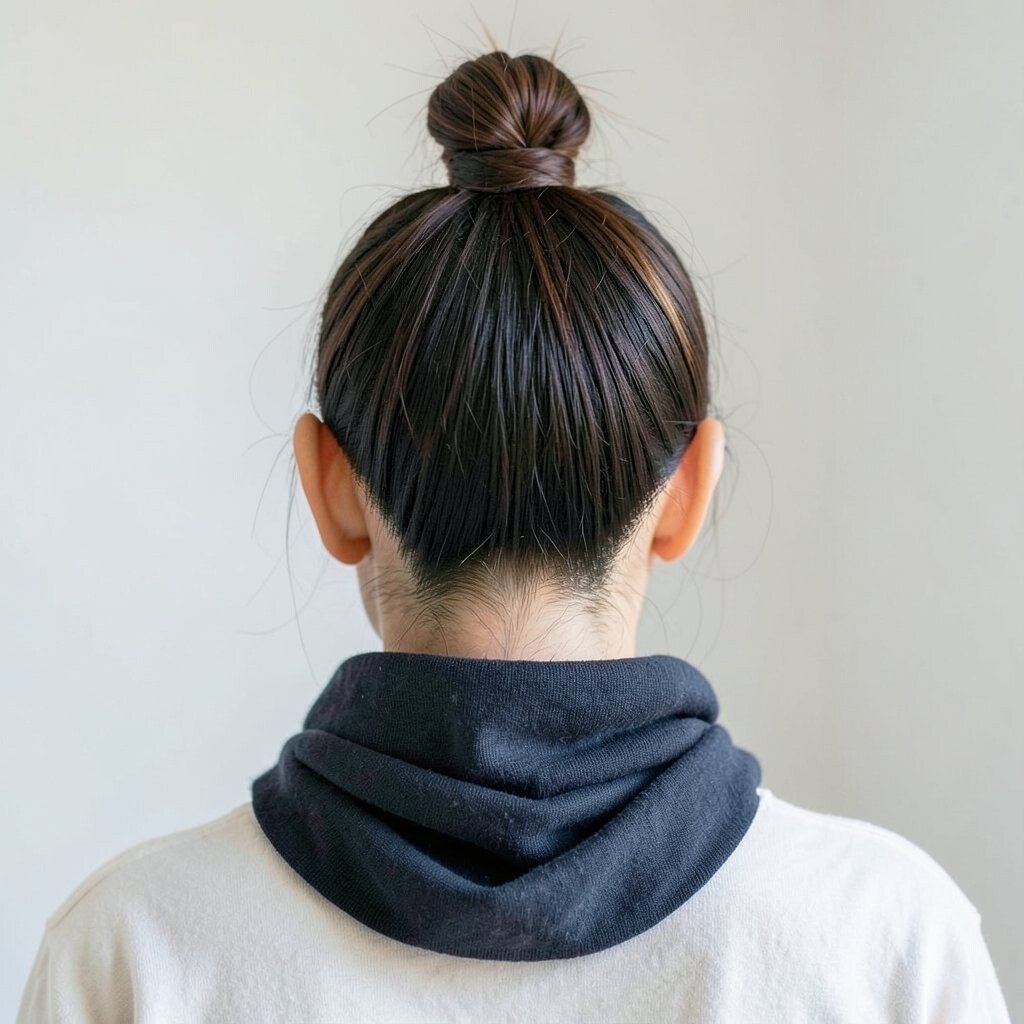
A scarf wrapped base turns a simple bun into a stylish accessory. Tie your hair into a top knot, then wrap a folded scarf around the base and secure the ends.
This is one of the easiest ways to add personality without spending much. Choose a silk scarf for a polished look or a soft cotton scarf for a more relaxed vibe. The scarf also helps hide an elastic, which can be helpful if you hate visible bands.
For personalization, use colors that match your lipstick or your outfit details. You can even tie the scarf ends into a tiny knot for an extra accent. This style is practical for bad hair days since scarves add coverage and keep things comfortable while you go.
15. Braided Updo-Inspired Top Knot

If you love updos but want them faster, aim for braided updo vibes. Create small braids on each side or in the front, then wrap everything into a top knot.
This gives a unique “done” look while still letting you keep the process simple. Braids add structure, so your bun holds better throughout the day. Start with light texturizing spray on the sections you’ll braid, then secure the ends close to the base.
Personalize by choosing micro braids for a detailed look or bigger braids for bold movement. For a current trend feel, keep a few braid strands a little looser so the bun looks soft and airy. Cost stays friendly because you only need pins and maybe a small styling spray.
16. Top Knot With a Low-Tension Bun Technique
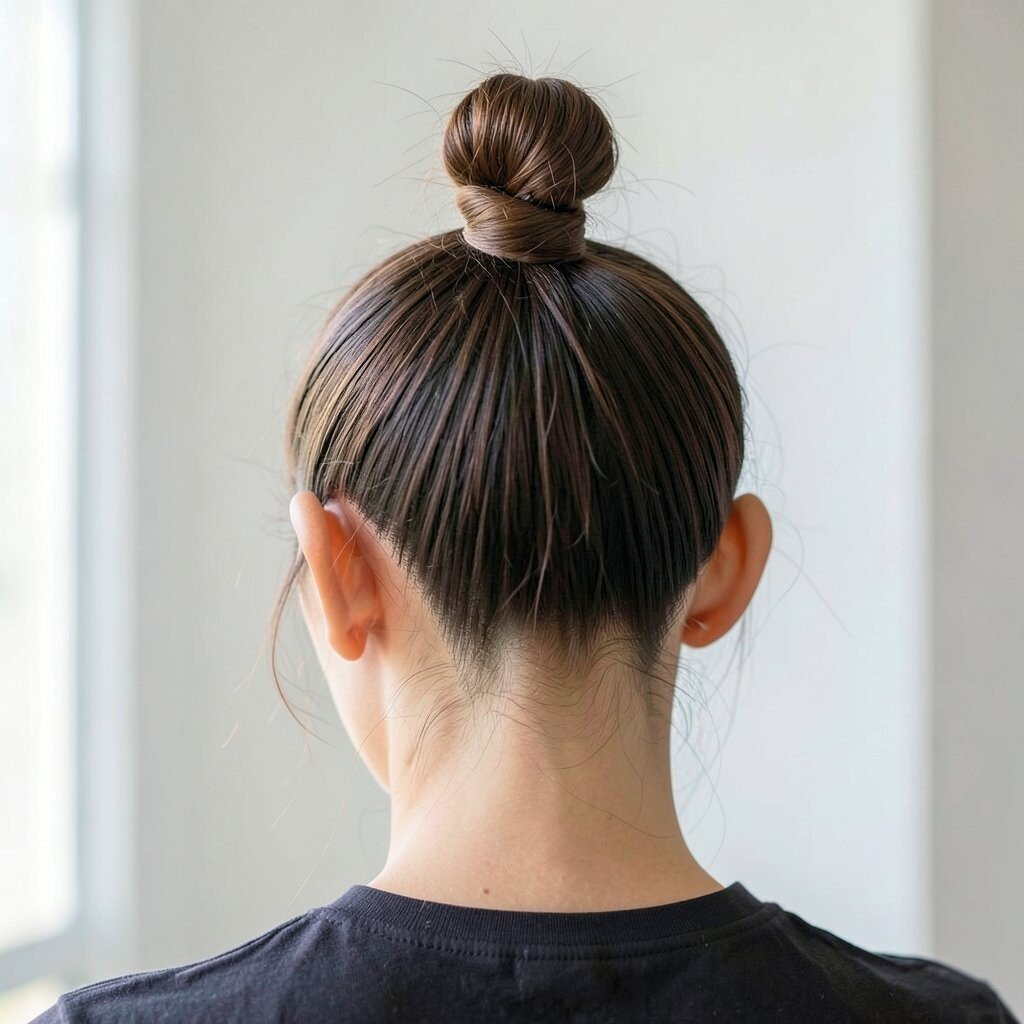
This is all about comfort, especially if you wear your hair up often. Gather your hair gently, twist loosely, and secure with pins and a soft elastic that doesn’t dig in.
You’ll benefit from a hairstyle that still looks neat without stressing your scalp. A low-tension knot is a great choice for long workdays, travel days, or evenings when you want ease. After pinning, press lightly around the bun to smooth it, rather than pulling it tighter.
Uniqueness comes from how natural it feels, with slight softness at the base instead of a rigid, tight look. Personalize by leaving tiny flyaways at the edges if your hair naturally looks airy. For hold, use a light hairspray mist instead of heavy gel so it stays comfortable.
17. Top Knot With a Side Sweep Bang Effect

To create this look, sweep your front hair across your forehead before you tie the knot. Secure the swept section at the side and blend it into the bun so it looks seamless.
The side sweep effect helps your hairstyle feel styled even if your hair is simple. It’s great for hiding uneven bangs or styling shorter layers that fall forward. Use a round brush and a quick blow-dry for a smooth sweep, then pin it lightly at the base of the knot.
Trends today often favor soft, face-framing movement, so slightly bend the swept section with your fingers for a natural curve. For personalization, choose a deeper side placement if you want drama or keep it closer to the center for a balanced look. This style costs almost nothing since the main tools are a brush, pins, and maybe a heat protectant if you blow-dry.
18. Top Knot for Curly Hair With Defined Spirals

Curly hair looks amazing in a top knot because your natural spirals add texture right away. Gather curls at the crown gently, twist in small sections, and pin to keep the shape.
The benefit is that you don’t need to fight your curl pattern, which saves time and helps reduce frizz. Use a curl cream or leave-in conditioner to keep everything defined as you secure the bun. If your curls are prone to drying out, a light mist of water first can make the knot look fresh.
For uniqueness, let some curls puff out around the bun so the texture shows clearly. A curly top knot also looks great with a loose hairline, especially if you like that soft, natural vibe. Keep cost in mind by using products you already love for wash days, since the same curl products will help the knot look great.
19. Mini Top Knot Accents on a Slick Half-Up Style
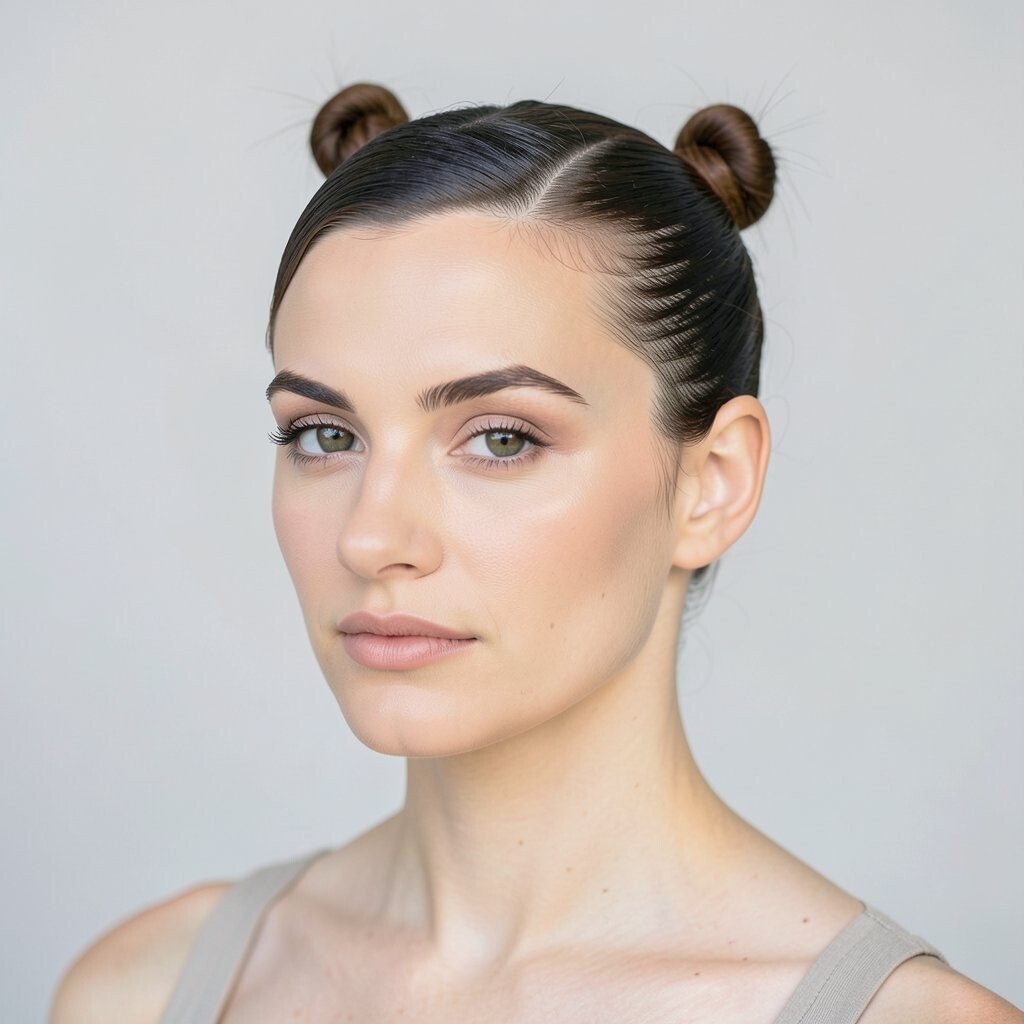
This look uses a slick half-up base with a mini top knot accent on top. Smooth the front, tie a small section at the crown, and twist it into a tiny knot.
It’s unique because it feels playful and trendy while still looking clean. The mini knot draws attention upward, which can flatter your overall silhouette. For personalization, keep the mini knot centered for symmetry or angle it slightly to one side for a fun twist.
To make it practical, use a small elastic and a few pins, then keep the rest of your hair sleek with a light shine product. If you have straight hair that won’t hold, add a tiny amount of dry texture spray to the mini section before knotting. This is a budget-friendly way to get a fashionable result without needing new hair accessories.
When you finish, gently press around the mini knot to make it smooth and even. That small step helps the style look intentional, even when you’re in a hurry.