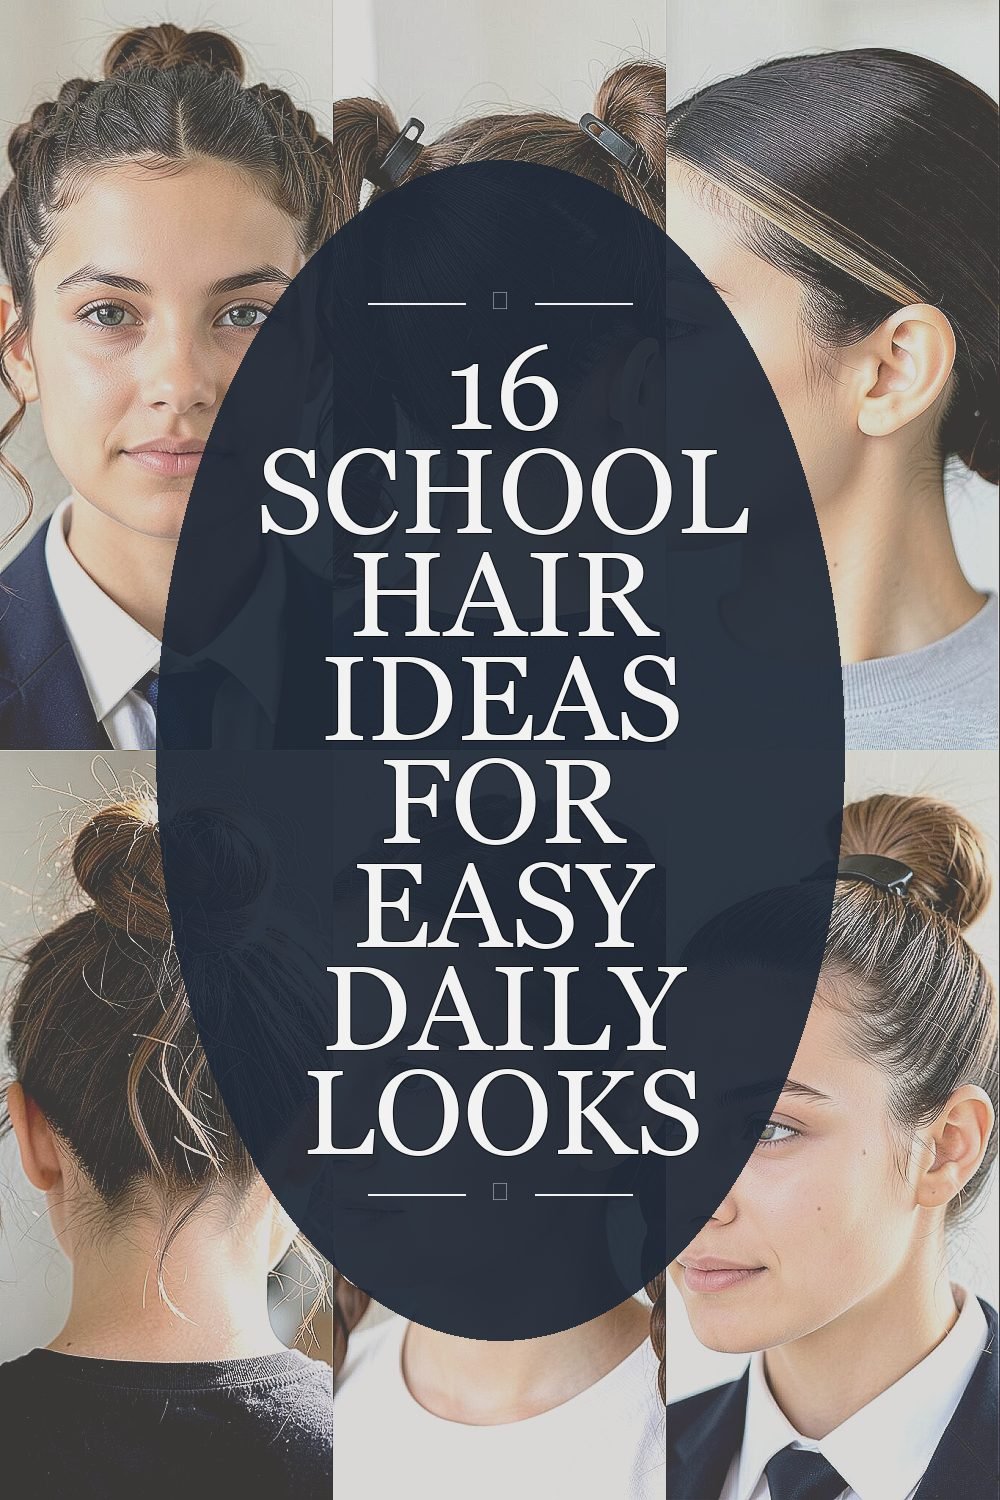
Getting ready for school can feel rushed, but your hair doesn’t have to be stressful. With a few go-to styles, you can look polished in minutes.
These ideas are practical, cute, and flexible for different hair types and schedules. Mix, match, and personalize them so they fit your day and your personality.
1. Half-Up Twist With Face-Framing Pieces
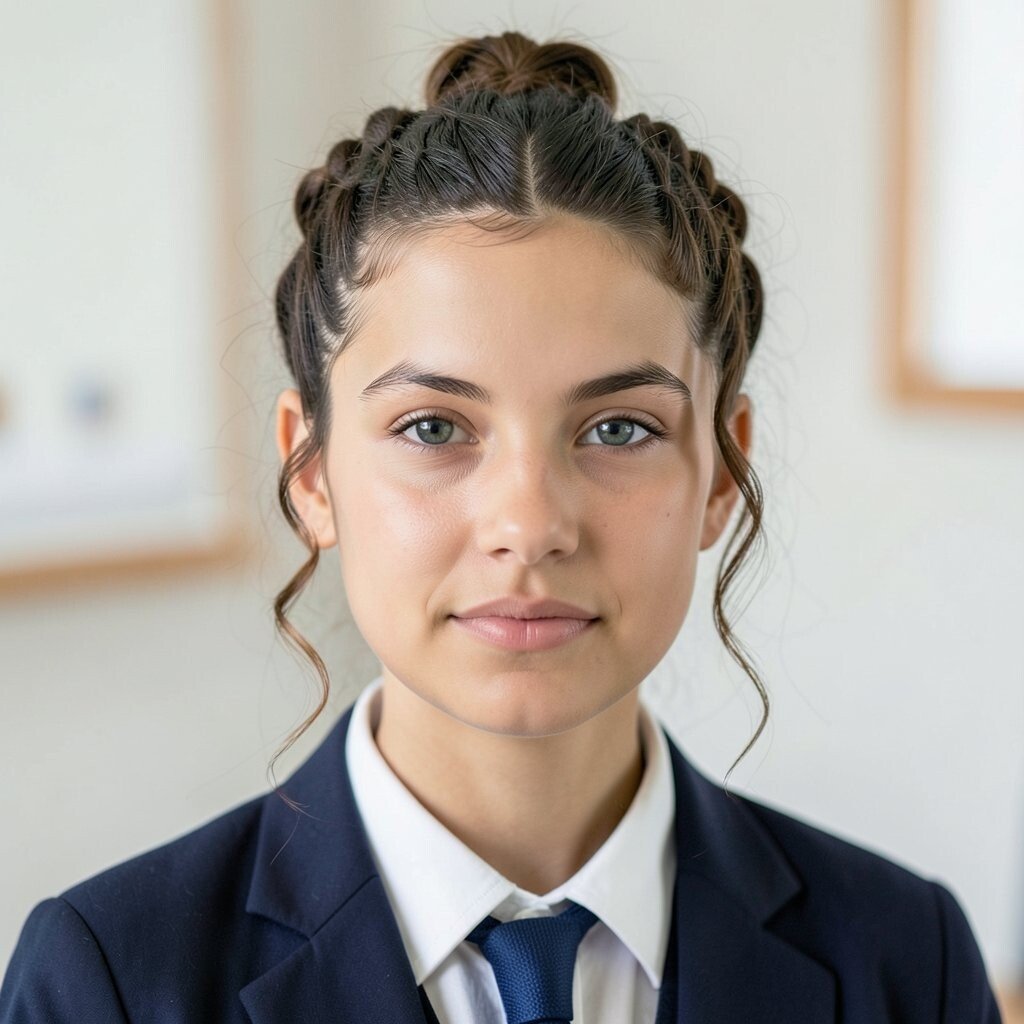
This look starts with a simple half-up section that feels neat and fun. Gather the top portion, twist it lightly, and secure it with a small elastic or clip while the rest of your hair falls softly around your cheeks.
It looks great in photos because the twist adds shape without needing heat. Keep a few loose strands intentional by pulling them forward at the sides, which gives a friendly frame and helps you avoid that too-tight feeling.
For personalization, try a tighter twist for sleek days or a looser twist for a relaxed vibe. If your hair is fine, use a tiny bit of mousse or texturizing spray so the twist holds and doesn’t slip. Choose a matching clip for a cohesive look that still feels like you.
2. Classic Bubble Ponytail With Two Clips
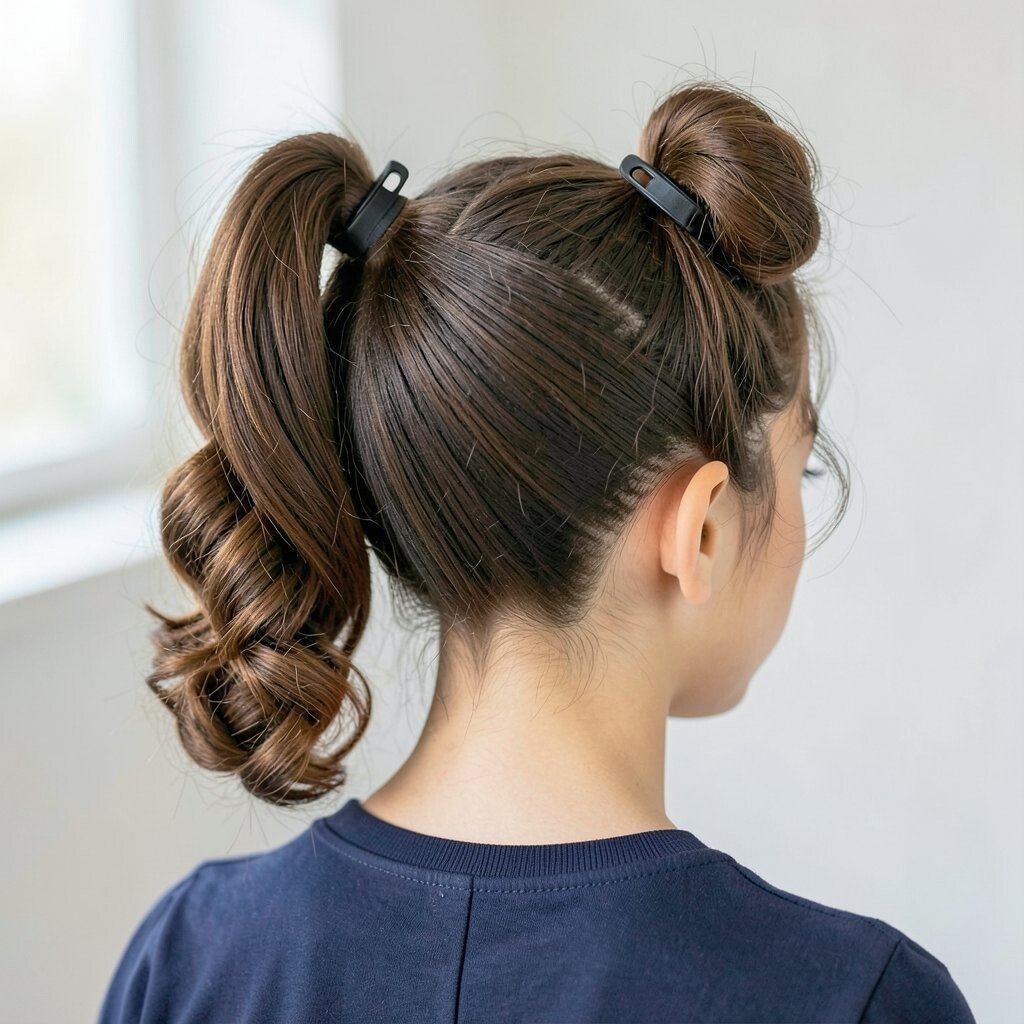
A bubble ponytail is playful and surprisingly fast to do. Secure your hair into a mid or high ponytail, then add small elastics down the length to create rounded “bubbles” that catch the light as you move.
The visual effect is bouncy and full, even if your hair is thin. It also keeps hair off your face during class, so you can focus without constantly fixing flyaways.
To make it current, go for slightly uneven spacing so the bubbles look more natural. For cost, regular elastics work, but switching to gentle spiral elastics can reduce breakage and help the style last through a busy day. If you want extra charm, wrap one small strand around the base of the ponytail before tying it to hide the elastic.
3. Easy Low Bun With a Sleek Side Part
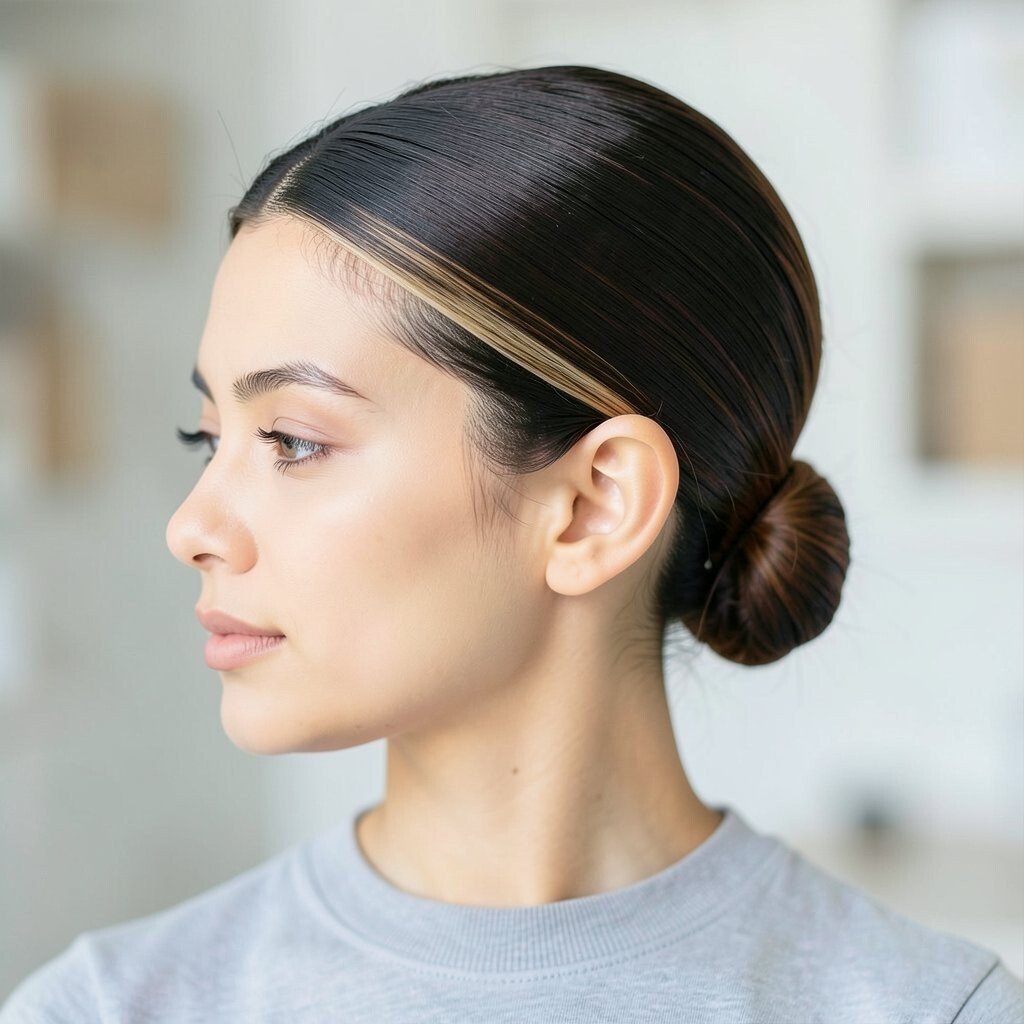
A low bun instantly makes school mornings feel more put together. Create a side part, sweep your hair back, and twist it into a bun at the nape, then secure with pins or a hair tie.
This style is sleek and elegant, especially when your hair looks shiny in the light. It also keeps the back of your neck comfortable during warm afternoons and avoids tangles that happen with loose hair.
For a unique twist, place the bun slightly off-center and add two small tendrils at the front. If your hair is thick, use a few bobby pins for extra grip, and if it’s fine, lightly tease the crown before tying so the bun has a fuller shape.
Consider finishing with a tiny dab of smoothing cream so the bun looks smooth instead of puffy. Add a headband if you want a pop of color without extra effort.
4. Messy Scrunchie Bun for Effortless Volume
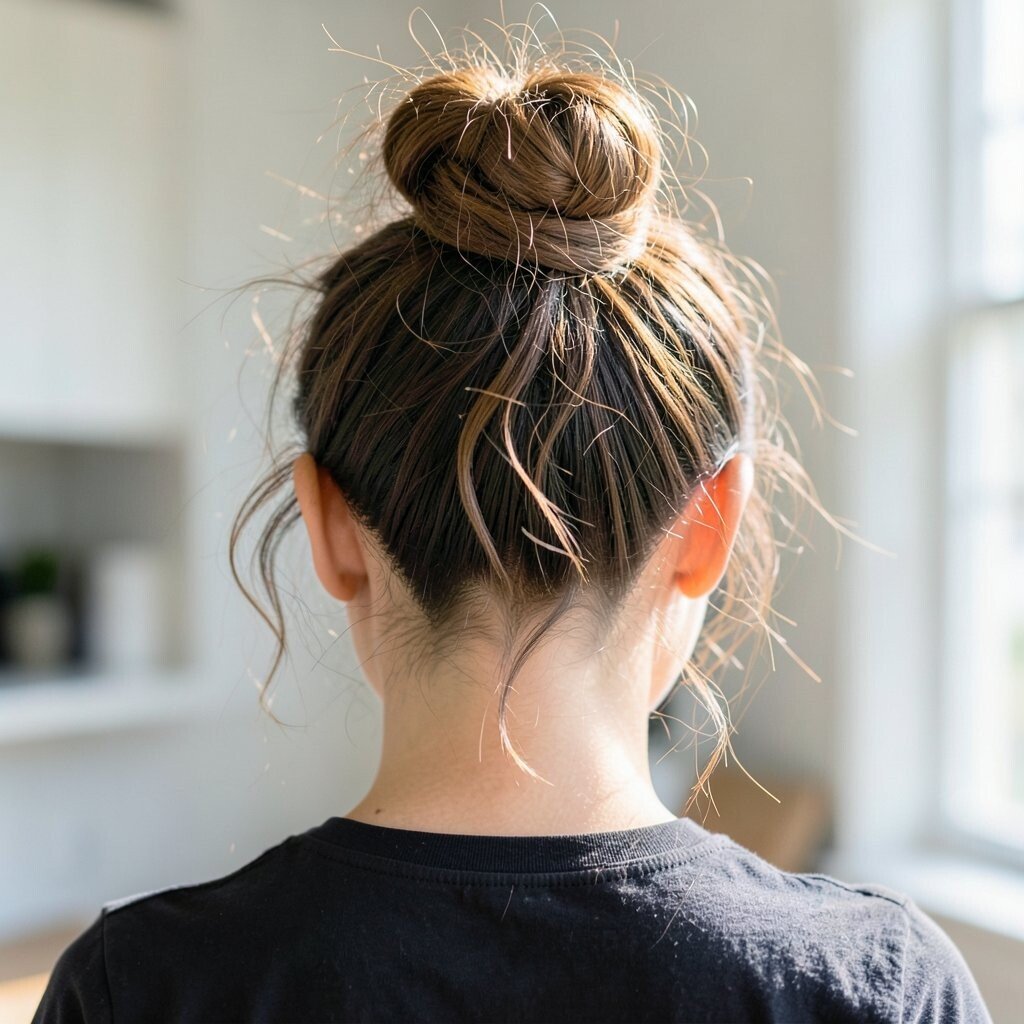
This is the “I woke up ready” bun that still looks cute even when it’s not perfect. Gather your hair into a loose bun, secure it with a scrunchie, and let a few strands fall out for softness.
Its relaxed look is great for days when you want comfort more than precision. The scrunchie also feels gentle, which helps reduce stress on your hair and scalp.
To personalize, pick a scrunchie color that matches your outfit or your favorite hoodie. If your hair is straight, add a quick bend with a brush and a little hairspray so the bun looks fuller and less flat. For cost, you can reuse elastics and just swap in one scrunchie as your signature accessory.
5. Dutch Braid Crown in Mini Form
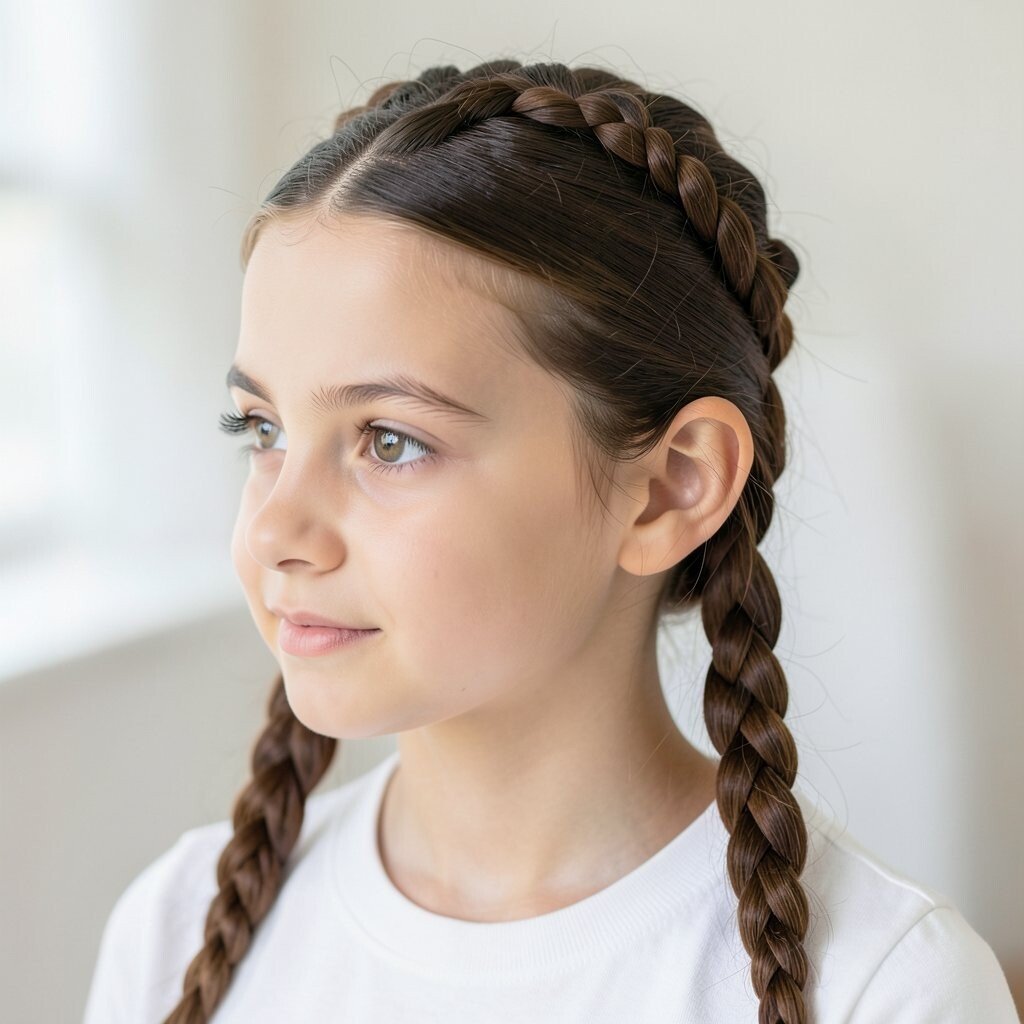
A mini Dutch braid crown feels special but still doable on a school schedule. Start near one temple, braid under the section toward the back, then repeat on the other side and connect them with pins.
You get a gentle halo effect that frames your face and looks extra polished. Since it’s mostly contained, it’s less likely to tangle than a full braid all the way down.
To keep it practical, leave the back length free so it stays light and not too tight. This style also matches current trends like “half-braided” looks, because it’s detailed without being overwhelming.
6. Top Knot With a Quick Twist and Clip
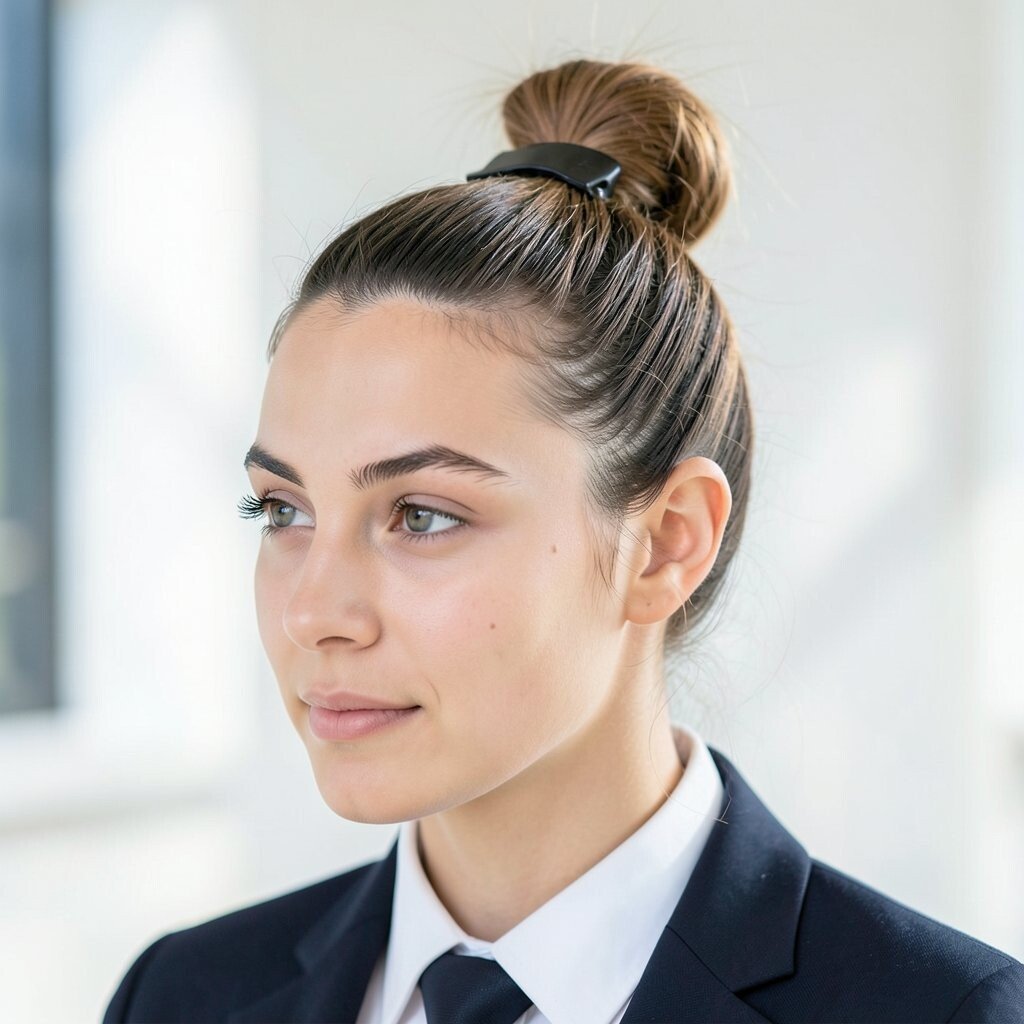
A top knot is bold and simple, and it works for both straight and curly hair. Tie your hair into a high ponytail, twist it around the base, and secure with a clip or pins.
It makes your face look brighter because the hair is lifted up and away. For fine hair, gently pull at the knot edges after securing so it looks bigger and more intentional.
To personalize, try a small claw clip instead of pins for a faster finish. Add a ribbon or tiny scarf tied around the base for a cute touch that looks like you planned it. If you’re on a budget, bobby pins and a sturdy clip are inexpensive ways to get a high-impact style.
7. Side-Swept Scarf-Threaded Ponytail
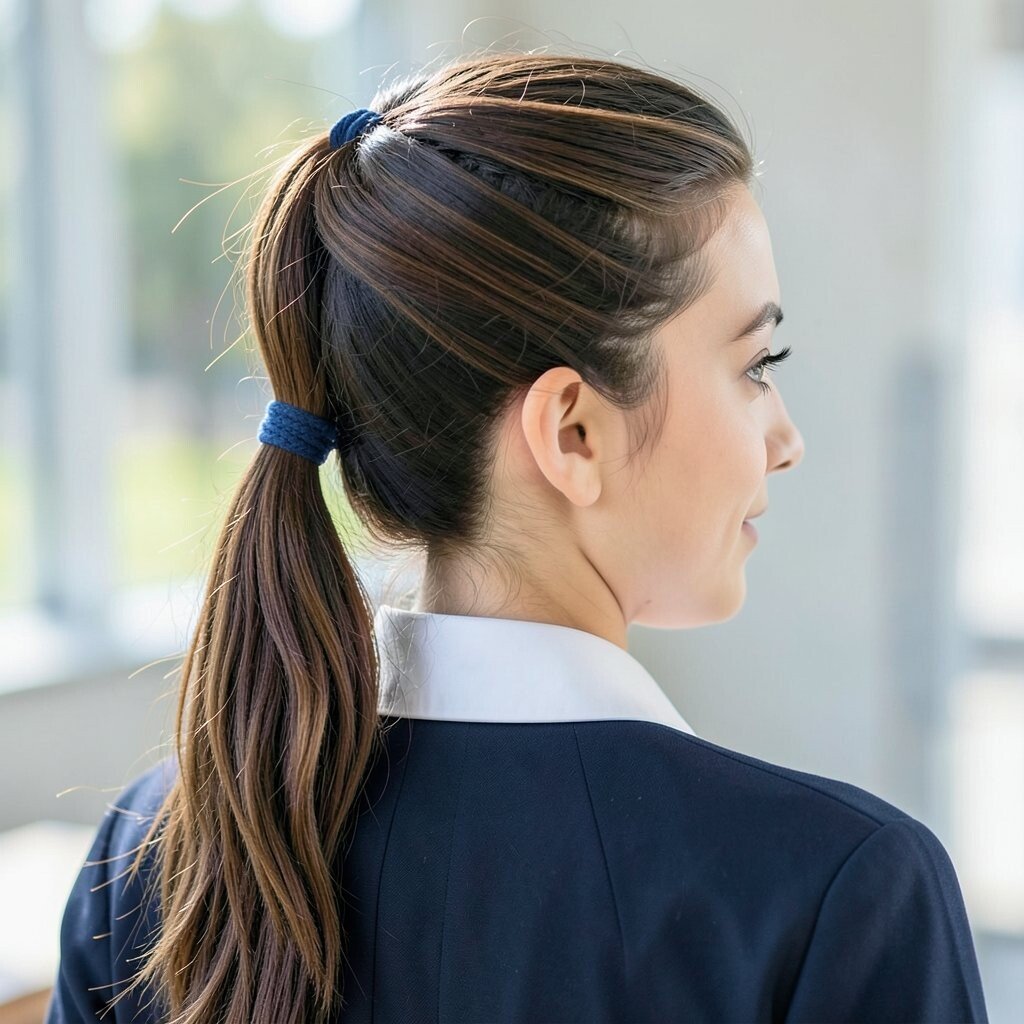
A side-swept ponytail looks smooth and stylish when you add a scarf twist. Sweep hair over one shoulder, tie it into a ponytail, then wrap a thin scarf around the elastic area and tie it in a small knot.
The scarf adds color and movement, which makes the ponytail feel more “you” even on ordinary days. It also helps disguise the elastic and keeps the base secure while you run from class to class.
This idea fits current trends that lean into accessories, especially small details that feel vintage or artsy. Choose a scarf you already own, or pick one with a simple pattern so it can match many outfits. For curly hair, a light gel or leave-in conditioner can help the side sweep stay neat.
When tying, keep the scarf loose enough that it doesn’t pull your hairline, so you stay comfortable all day.
8. Two-Strand Twists With Small Elastics
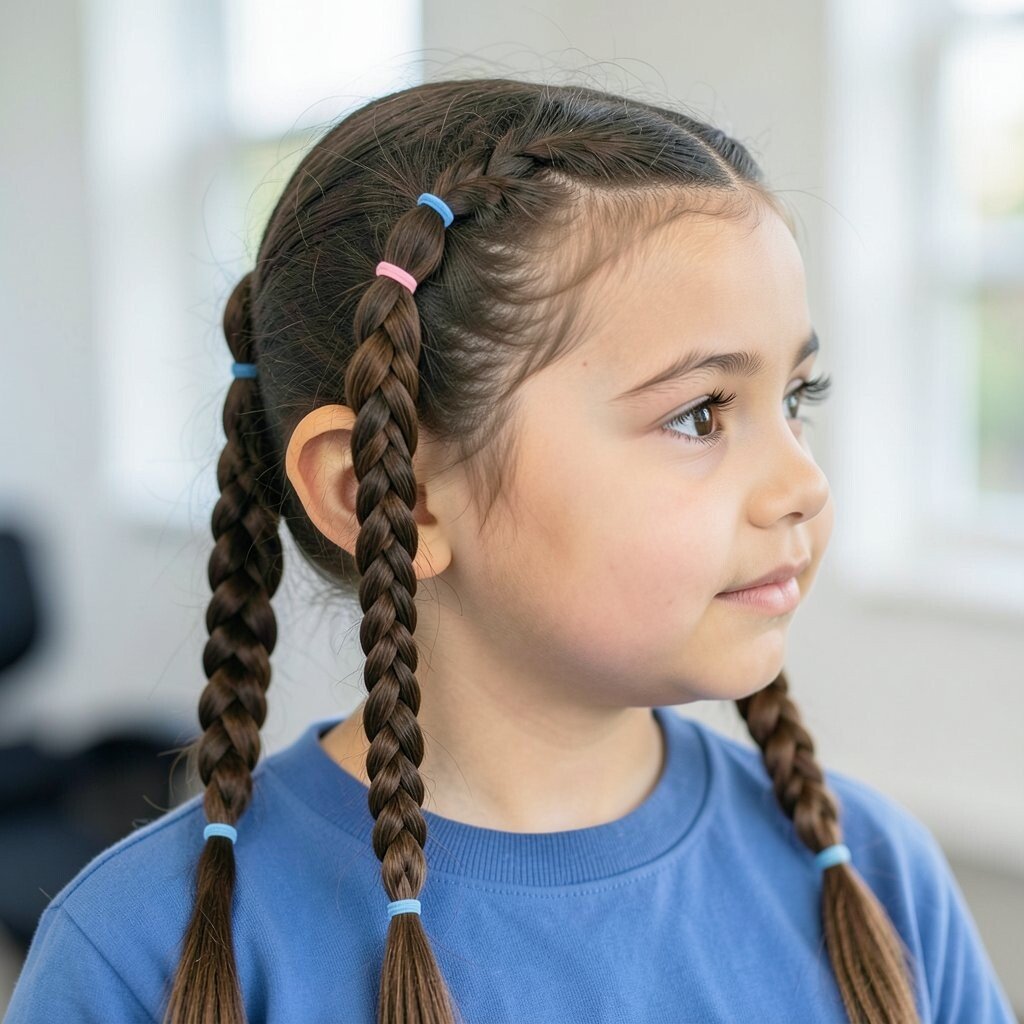
Two-strand twists are beginner-friendly and look super cute with minimal effort. Split the front sections into two pieces, twist them back, and secure each twist with a small elastic.
This style adds texture and definition without needing heat. It also helps control face-framing strands, which is helpful if you get flyaways or humidity frizz.
For uniqueness, combine different sizes of twists, like one thicker twist and one thinner one. If your hair is thick, use a bit of styling cream so the twists don’t unravel too fast. For cost, you can use whatever elastics you have, but adding a couple of satin elastics can reduce snagging.
9. French-Front Half-Up With a Soft Pullback

This look gives you a classy half-up style that won’t take forever. Start a French braid right at the front hairline, keeping it small, then stop and secure the gathered hair at the back like a half-up crown.
The front detail makes your hair look styled even if the rest is simple. It also helps keep bangs or shorter layers from falling into your eyes.
For personalization, match the gather point to your part, then pull a few strands gently for a relaxed finish. If your hair is wavy, spritz with water and smooth with your hands first so the braid pieces look tidy.
10. High Ponytail With a Wrapped Hair Strand
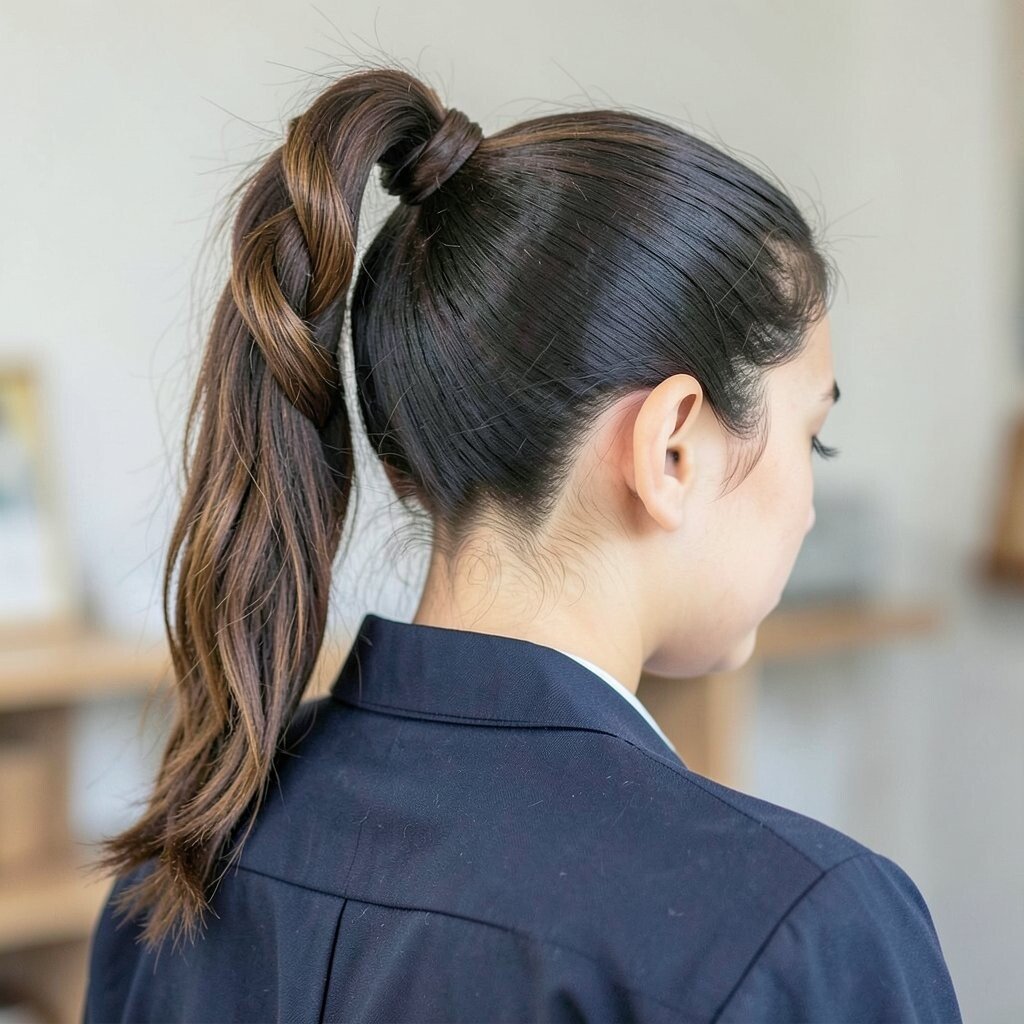
A high ponytail is always school-appropriate and easy to repeat daily. Tie your hair high, then take a small strand from the ponytail and wrap it around the elastic base to hide it.
The wrapped strand gives a clean, polished look without spending money on special accessories. It also keeps the elastic covered, which can help it last longer and look better in photos.
For a modern twist, gently smooth the top with a brush and add a light shine spray or serum. If your hair is curly, gather loosely so your curls stay springy instead of stretched. For cost considerations, this is one of the cheapest styles because it mostly uses what you already have.
Finish by tucking the end of the wrapped strand under the elastic or pinning it so it stays secure during the day.
11. Straight-Back Slick With Micro Clips
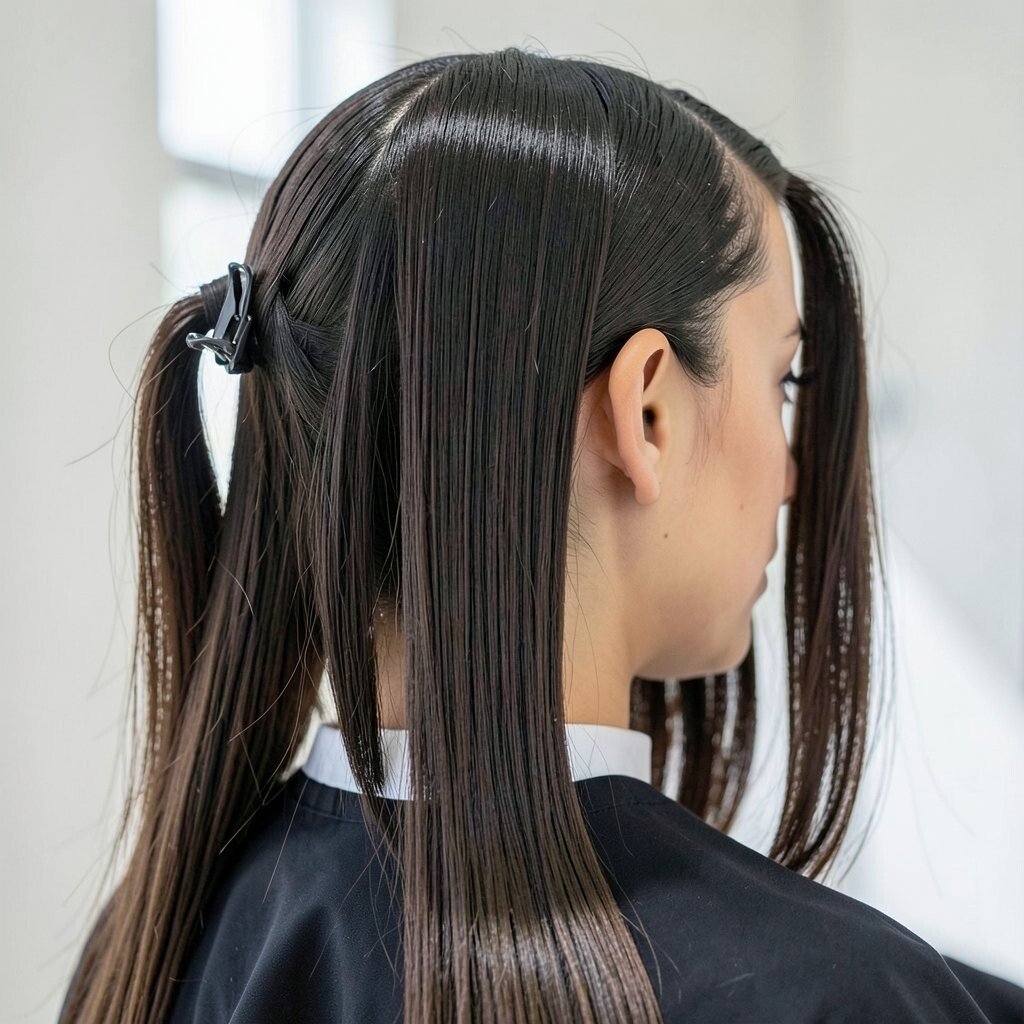
This idea is sleek, fast, and great for days when your hair needs control. Comb hair straight back toward the crown, then place a couple of small clips near the sides so the style holds without full tightness.
You’ll love how crisp your hairline looks when everything is brushed neatly. It also helps with wind and humidity because the clips guide the hair into place.
To personalize, use clips with different colors or shapes, like stars or pearls, and space them in a pattern you like. Current trends have leaned into “clipcore” details, so this style feels trendy while still being school-friendly.
12. Braided Headband Using a Side Braid
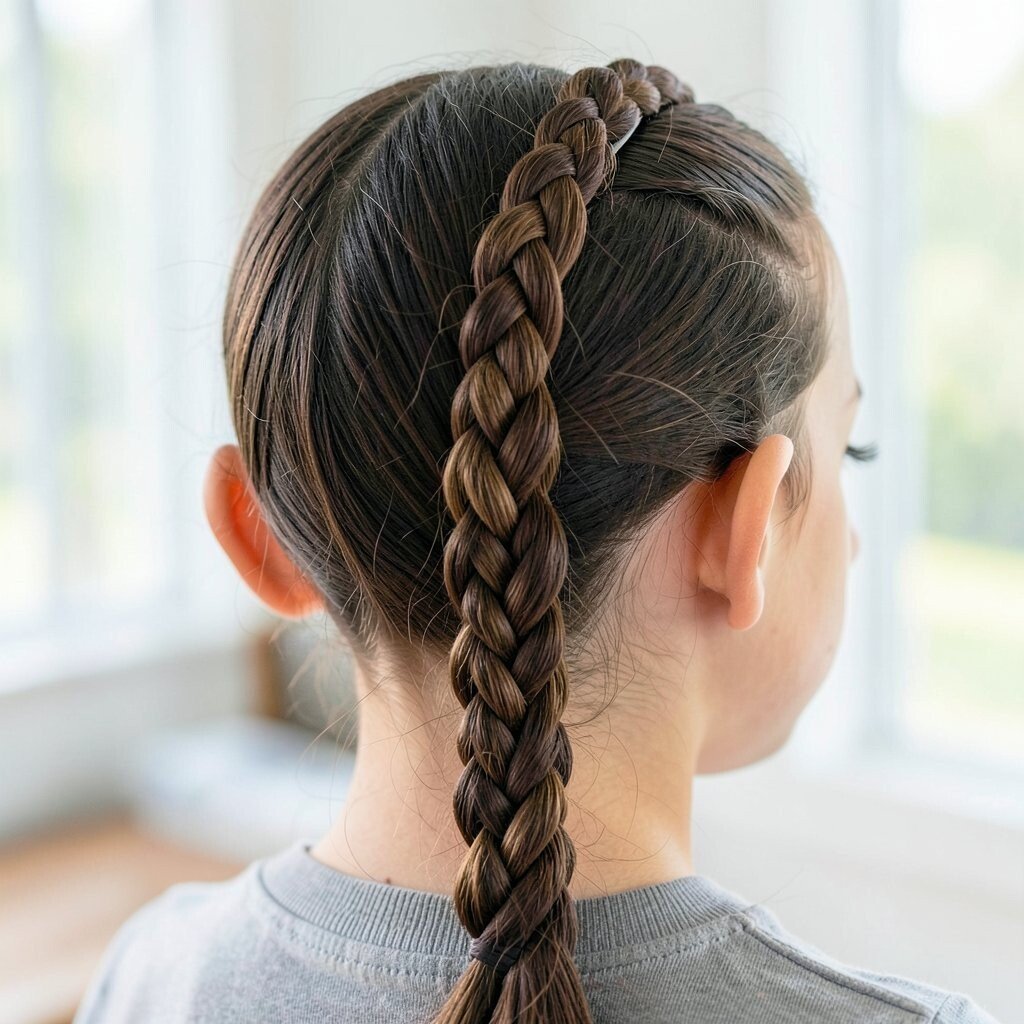
A braided headband look can make your hair feel styled even when it’s just one braid. Braid one side section loosely, then sweep it across the top like a headband and secure with pins.
This gives you a pretty, sporty vibe and keeps hair out of your eyes. It also works well for medium to long hair, and you can adjust the braid thickness for a more delicate or bolder look.
For uniqueness, try adding one small charm clip at the end of the braid. If your hair is fine, lightly tease the braid as you go so it looks fuller and more noticeable. For cost, pins and a single elastic are all you need, so it’s a budget-friendly style with big impact.
If you want extra hold, use a light spray before sweeping the braid across so it stays put.
13. Crown Braid With a Small Middle Part
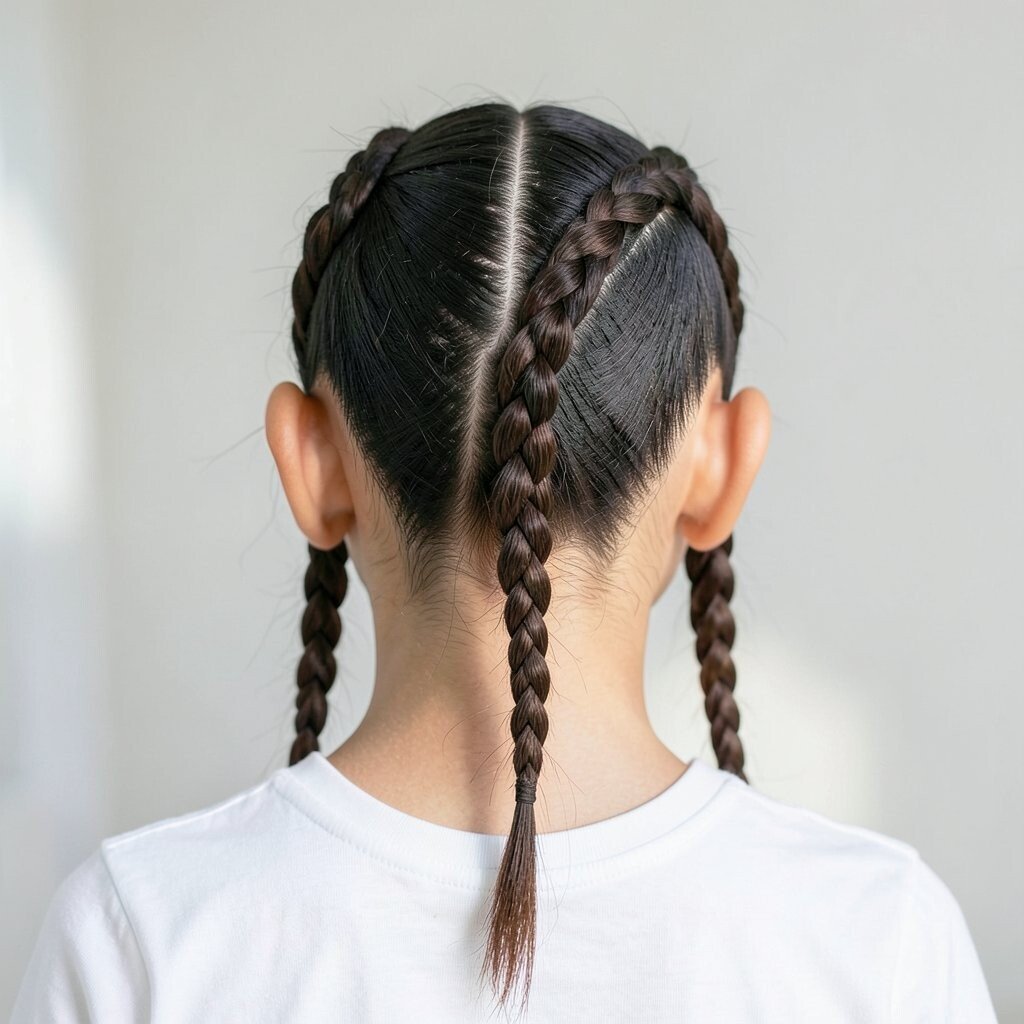
A crown braid is a classic, but you can make it feel new with a small middle part. Divide your hair into two neat halves, braid each side upward toward the center, and pin them together at the top like a soft ring.
The visual effect is elegant and structured, especially when the braid looks clean and evenly sized. It’s also practical because it keeps most hair off your shoulders and reduces tangles during the day.
To personalize, keep the braids a bit loose for a boho look, or tighten them for a school-day sleek vibe. If you have curly hair, braid when it’s slightly damp and use a curl-friendly cream so pieces don’t puff. Consider using thin, comfortable elastics and a few bobby pins so you stay secure without heavy bulk.
14. Waterfall Twist Ponytail for Flowy Texture
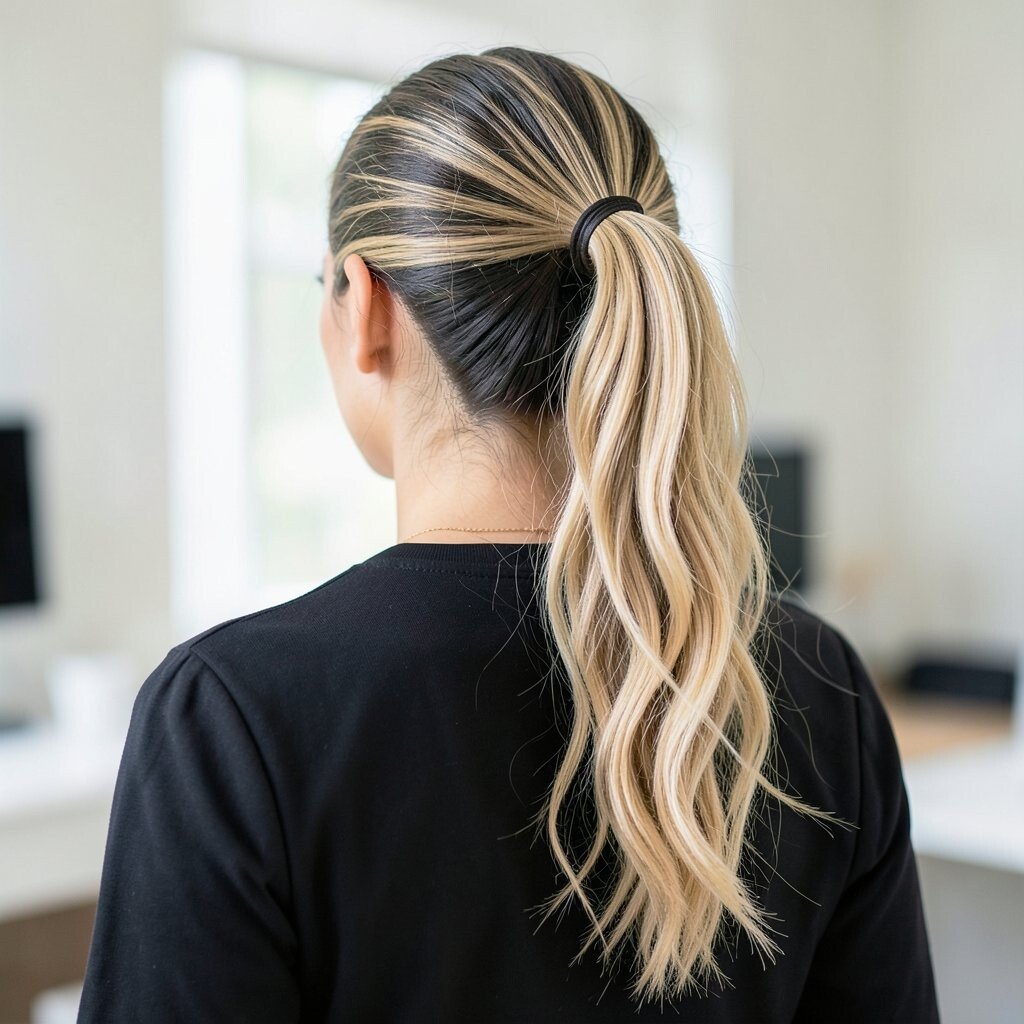
This style adds a “waterfall” feel while still being a ponytail. Start with a braid-like twist on one side, letting a few strands drop, then gather everything into a ponytail at the back.
It’s a beautiful mix of structured and flowy, so your hair looks like it’s moving even when you’re standing still. You get extra interest at the top, which makes a basic ponytail feel more like a ready-for-anything look.
For personalization, choose a low ponytail for a softer look or a high ponytail for more energy. If your hair is thick, use smaller sections for the waterfall part so it stays neat. For budget, you only need elastics and pins, and you can skip expensive tools because the pattern does most of the work.
15. Half-Up Braided Tie With a Tiny Bow Clip
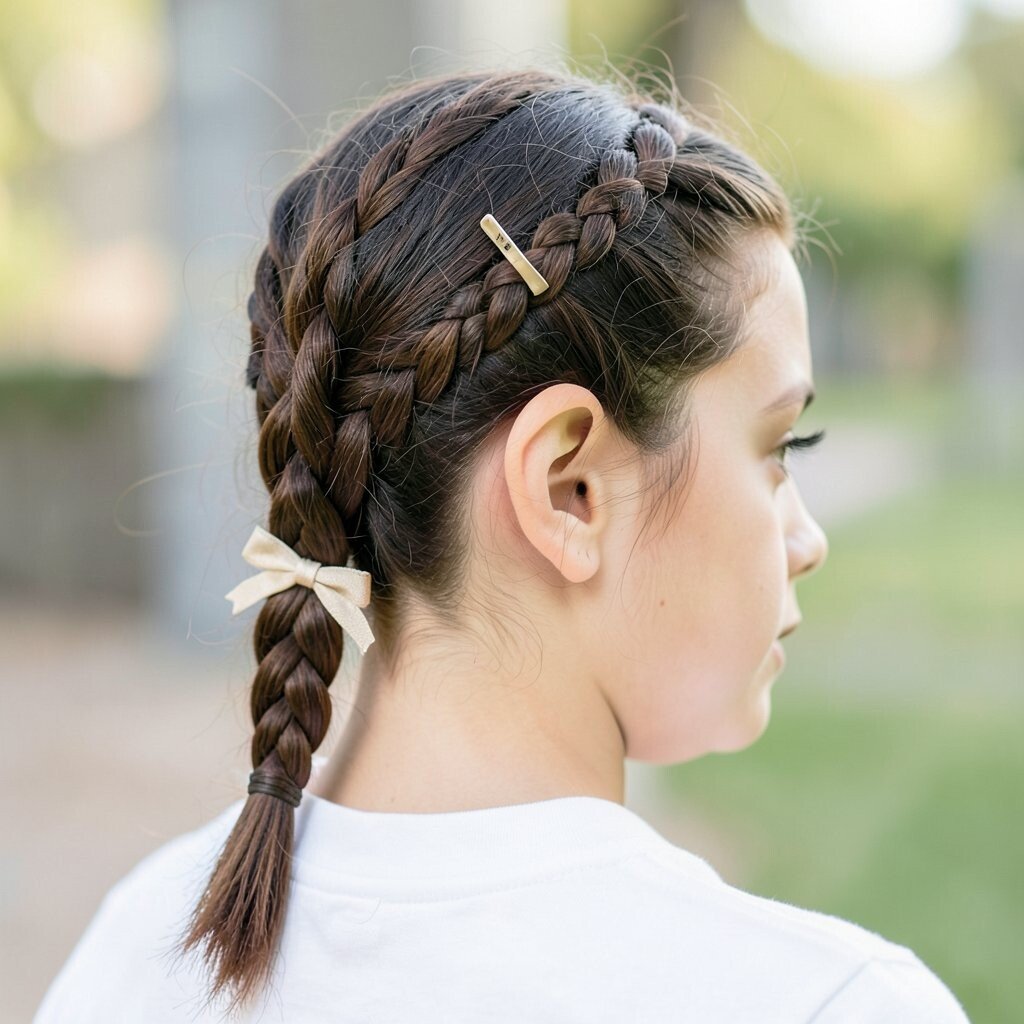
This look feels sweet and tidy, like a cute accessory made from your own hair. Create a half-up section, braid it lightly, then tie it back with a small elastic and finish by attaching a bow clip at the base.
The braid adds texture, and the bow gives a little personality without making your whole outfit compete for attention. It also helps keep the top layers from falling forward during the school day.
For personalization, swap the bow clip for a small flower clip or a metallic one that matches your jewelry. If your hair is very straight, add a bit of dry shampoo or texture spray so the braid holds and doesn’t slip.
Cost-wise, bow clips are easy to find in many price ranges, and one clip can instantly make this style feel different every week.
16. Quick Roller-Set Curls With a Side Part and Soft Tuck
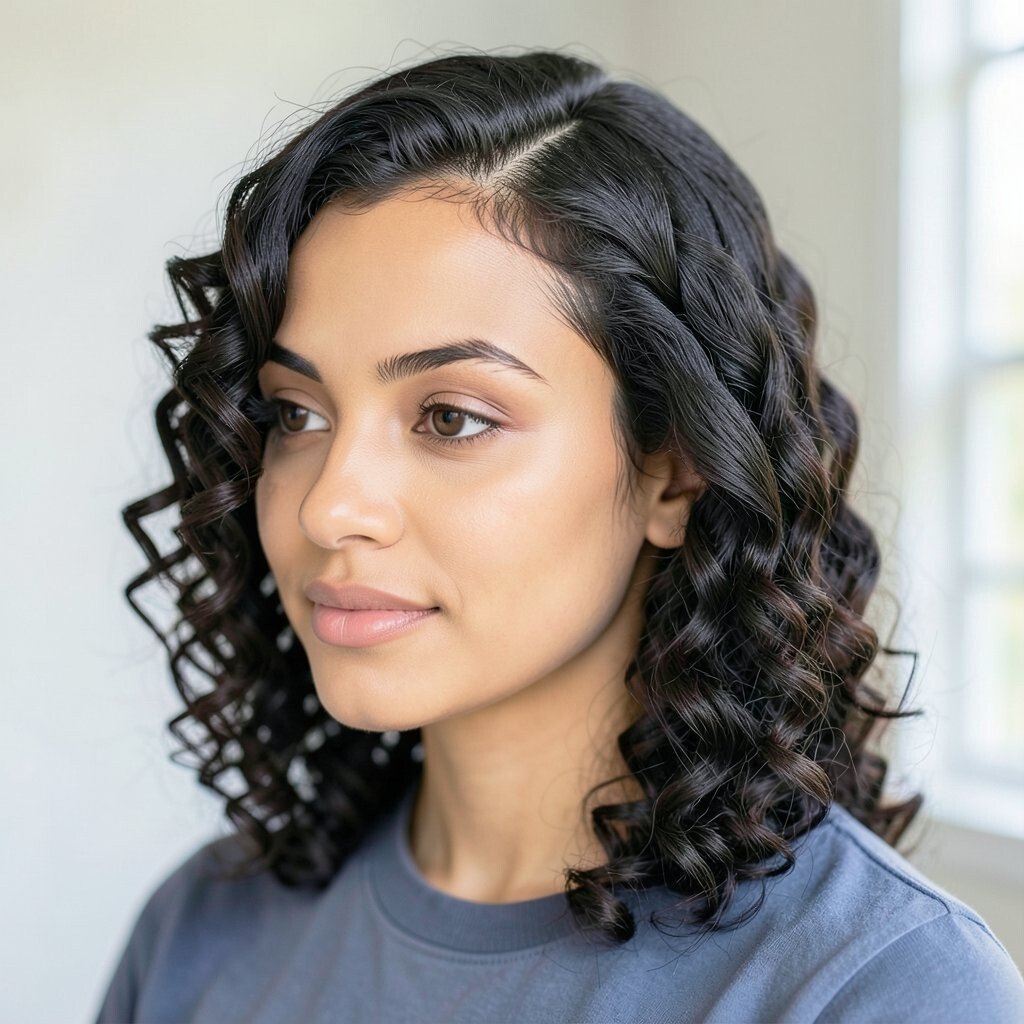
If your hair holds shape easily, a simple curl set can look amazing for school. Use small rollers or a light heatless method to create loose curls, then brush gently and choose a side part.
The result is a bouncy, natural look that feels fresh and confident. You can also do a soft tuck by pinning just one side section behind your ear so the style stays neat and face-friendly.
For uniqueness, leave the curls slightly bigger at the top and tighter near the ends so you get a more modern shape. If you’re trying to reduce cost, roller-setting costs less over time than frequent styling tools, especially when you use products you already own.
For current trends, loose volume and soft side styling are popular, and this method gives you that vibe without needing complicated braids or extensions.
After setting, finish with a light hairspray so the curls stay defined through the school day without feeling stiff.