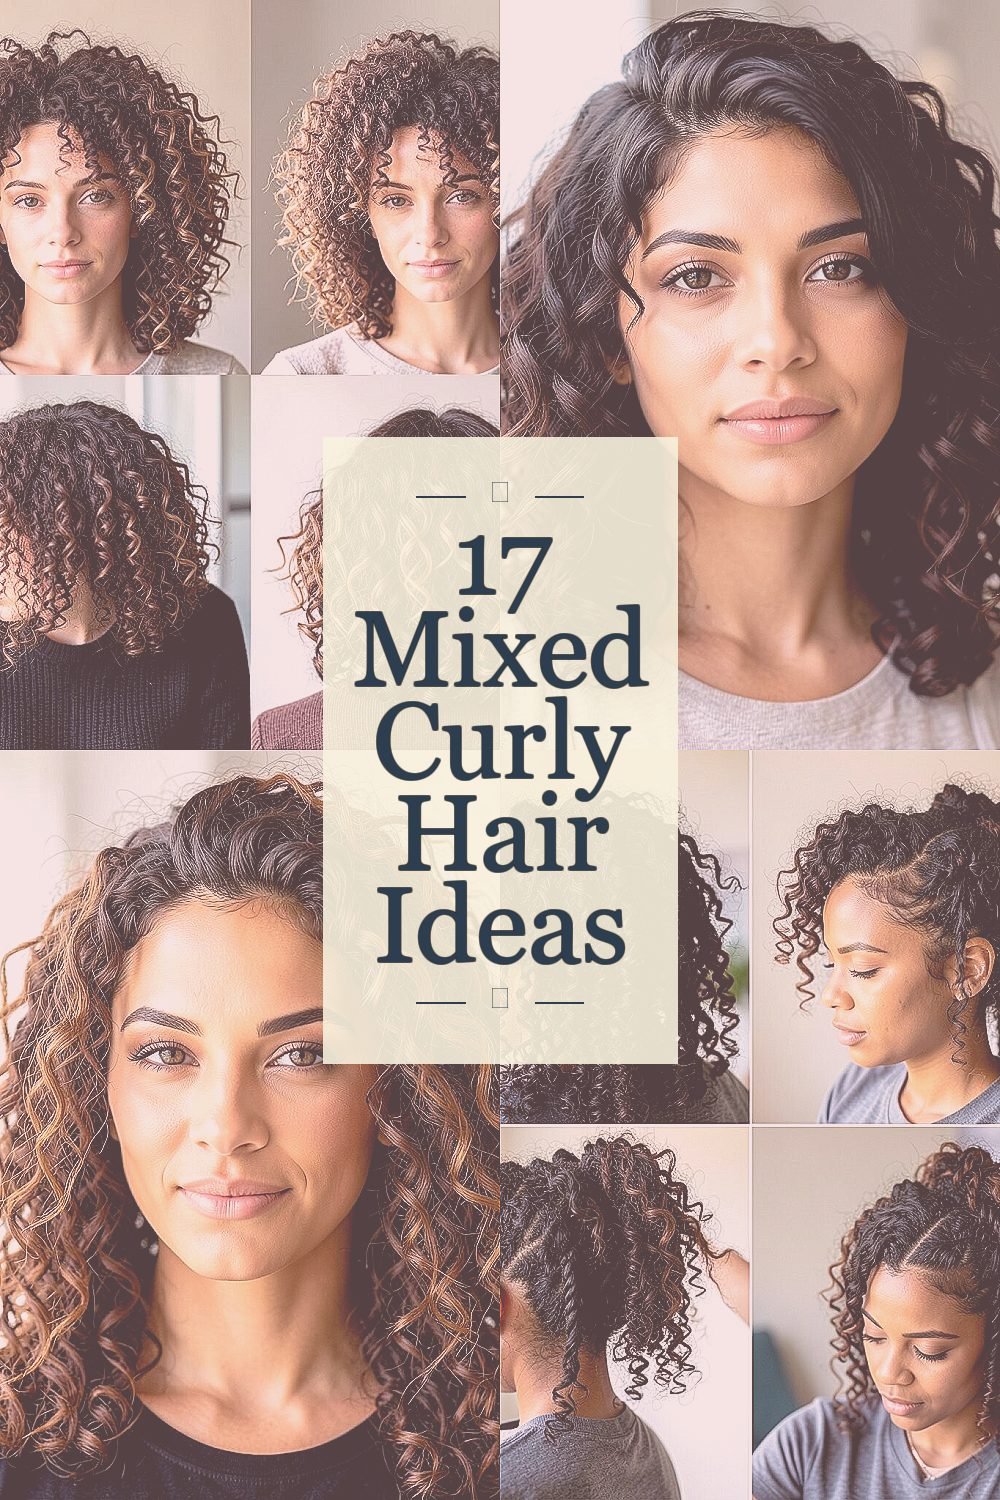
Your curls have their own personality, and you can make them look even better with the right choices. A fresh look is closer than you think, even if you keep your routine mostly the same.
1. The “Soft Halo” Frizz-Control Layer
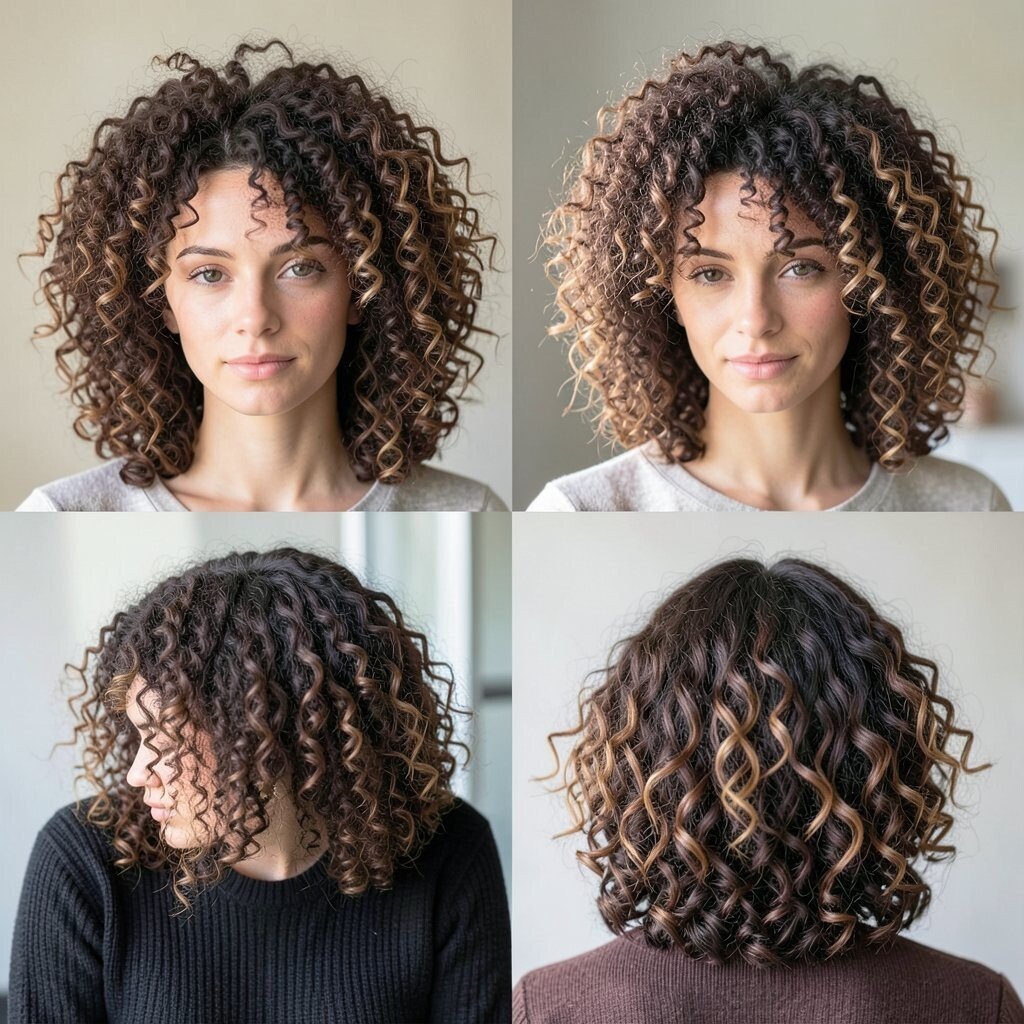
Picture your hair as a gentle ring around your face, with curls clumped softly instead of flying out. This style helps tame the puff while still letting your mixed curl pattern show off.
Start with a leave-in conditioner on damp hair, then add a light gel only on the outer layer where frizz tends to happen. Use your fingers to scrunch upward, and let it air-dry or diffuse on low heat. If you want extra hold, use a tiny bit more product on the top layer and keep the ends lighter.
2. Side-Swept “Curtain Curl” Shift
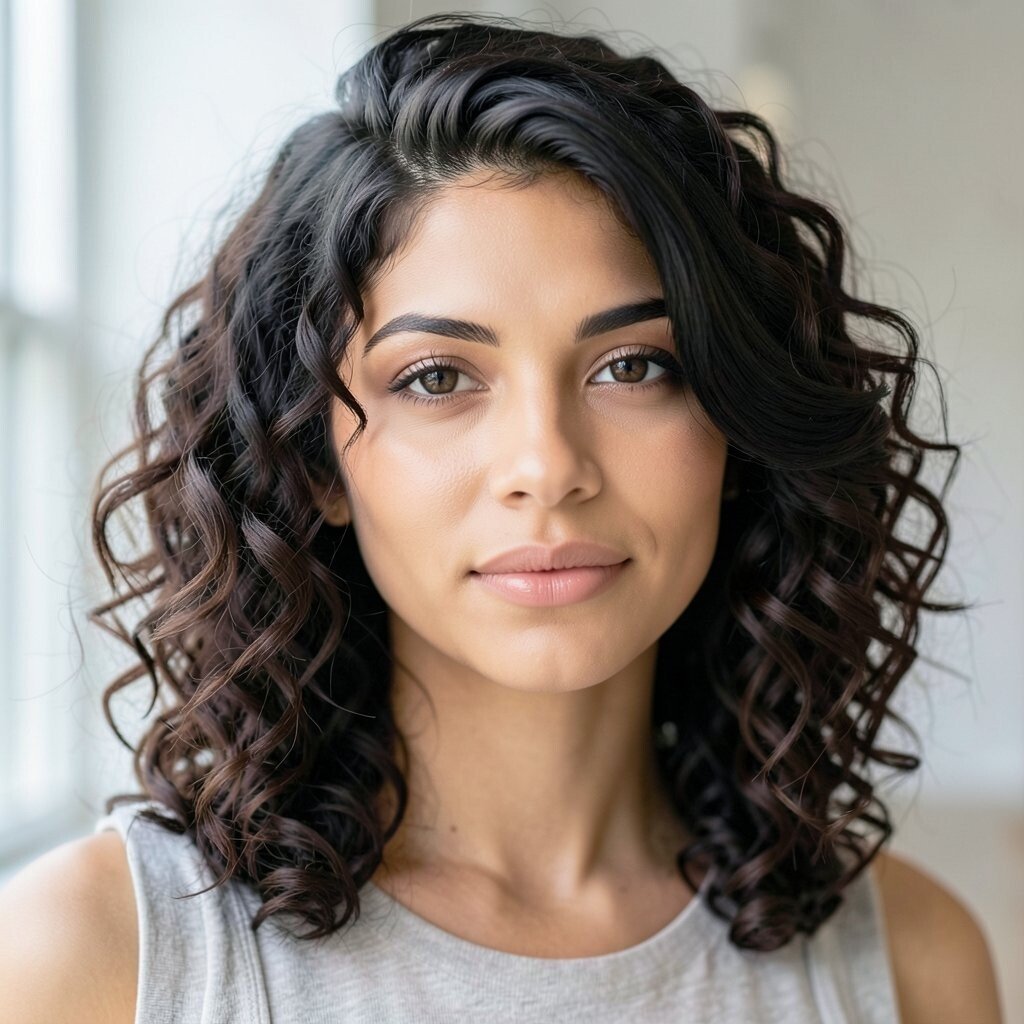
Imagine curls that part like curtains, one side fuller and the other side more relaxed. This gives your face a framing effect without needing a big haircut.
To get the look, section hair into two loose parts and sweep one side toward your cheek while the other side falls naturally. Apply a curl cream to the mid-lengths and ends, then smooth a little gel over the outer surface for shine. Finish by tucking one side behind your ear and leaving a few curls to drape forward.
It’s especially great for mixed textures because the tighter curls can create volume where you want it, while the looser waves soften the overall shape. For personalization, try a deeper side part or a zigzag part using the tip of a comb. You can keep costs low by using what you already own, since this look mainly comes from styling direction rather than expensive tools.
3. Root Lift With Bubble-Volume Brilliance
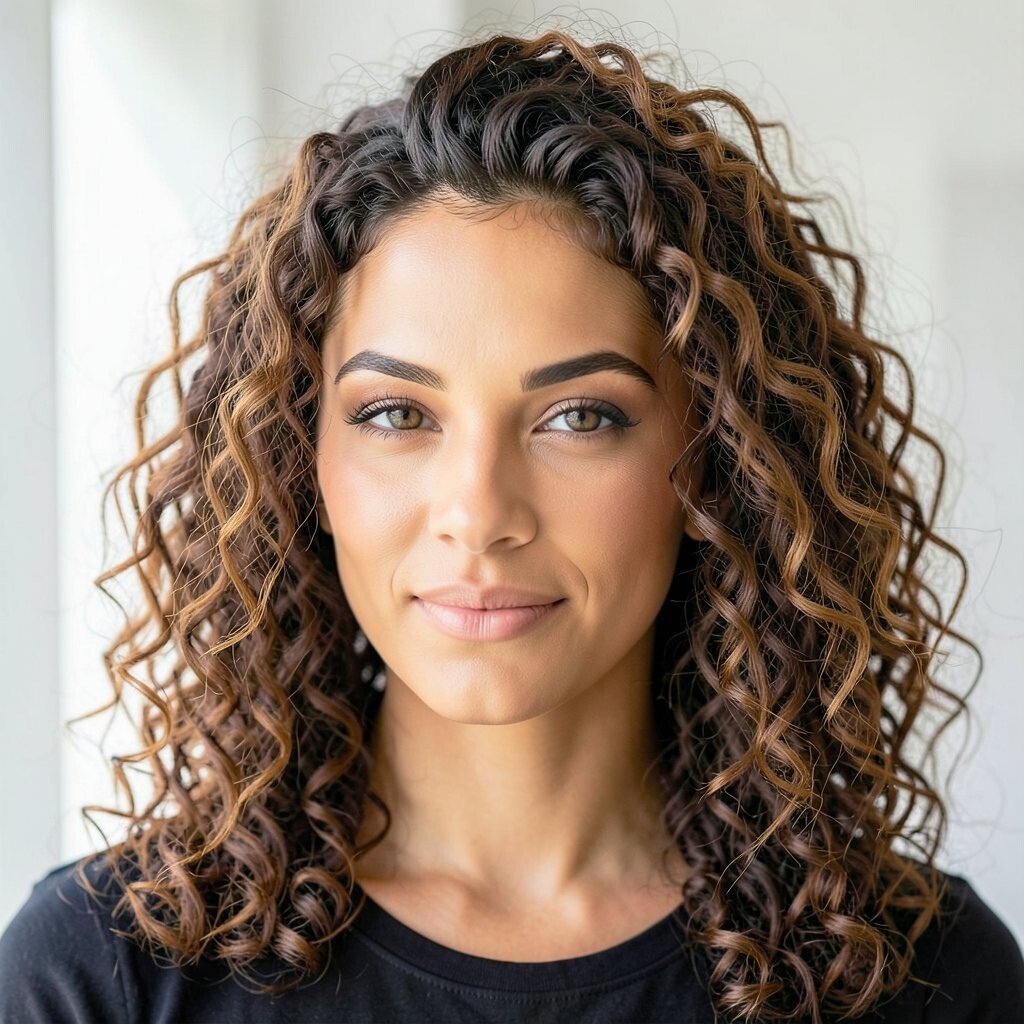
Think of your curls at the roots looking bouncy and lifted, like they’re ready for the day. Root volume makes the whole shape feel fresher, even when your length stays the same.
Use a mousse or foam on your roots only, then part your hair into sections and lift each section as you dry. You can blow-dry on medium heat with your fingers, or use a diffuser and keep the airflow gentle. Once dry, shake your head slightly to set the lift, then scrunch the ends so they still look soft.
This works well when your curl mix has a combination of tighter coils and looser bends, because the lift balances both patterns. For personalization, keep the lift concentrated at the crown and let the sides fall naturally. If you’re on a budget, a drugstore mousse can do the job just fine as long as you use enough product to support the shape.
4. Twist-Out Without The Crunchy Feel
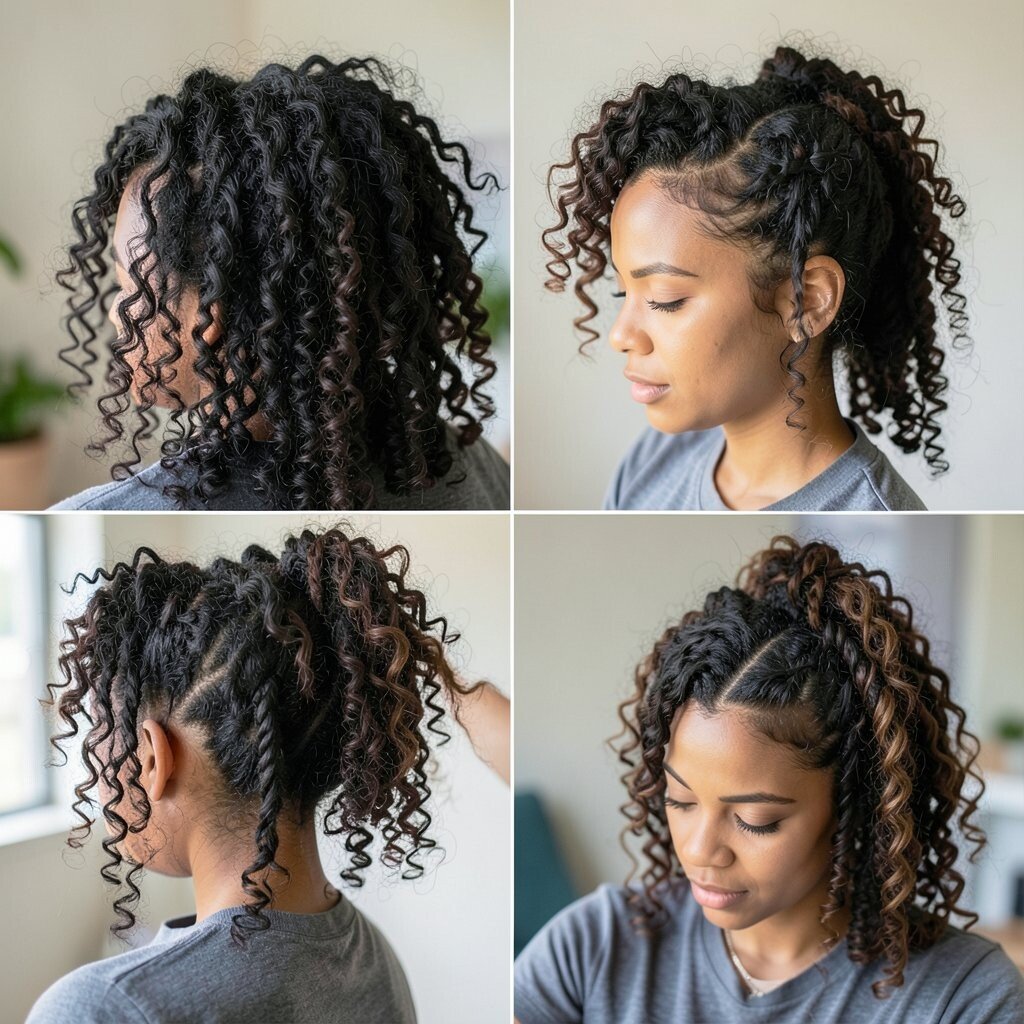
Picture defined twists that loosen into soft coils with a natural bounce. You get definition without that stiff, crunchy texture people sometimes worry about.
Start with damp hair and divide it into medium twists, then wrap the twist ends in a way that reduces tangles. Use a moisturizing cream first, then a small amount of gel if you need extra staying power. Let everything dry fully, then gently separate the twists with your fingers and lightly mist with water if you want more softness.
5. Half-Up Bow Clip Moment
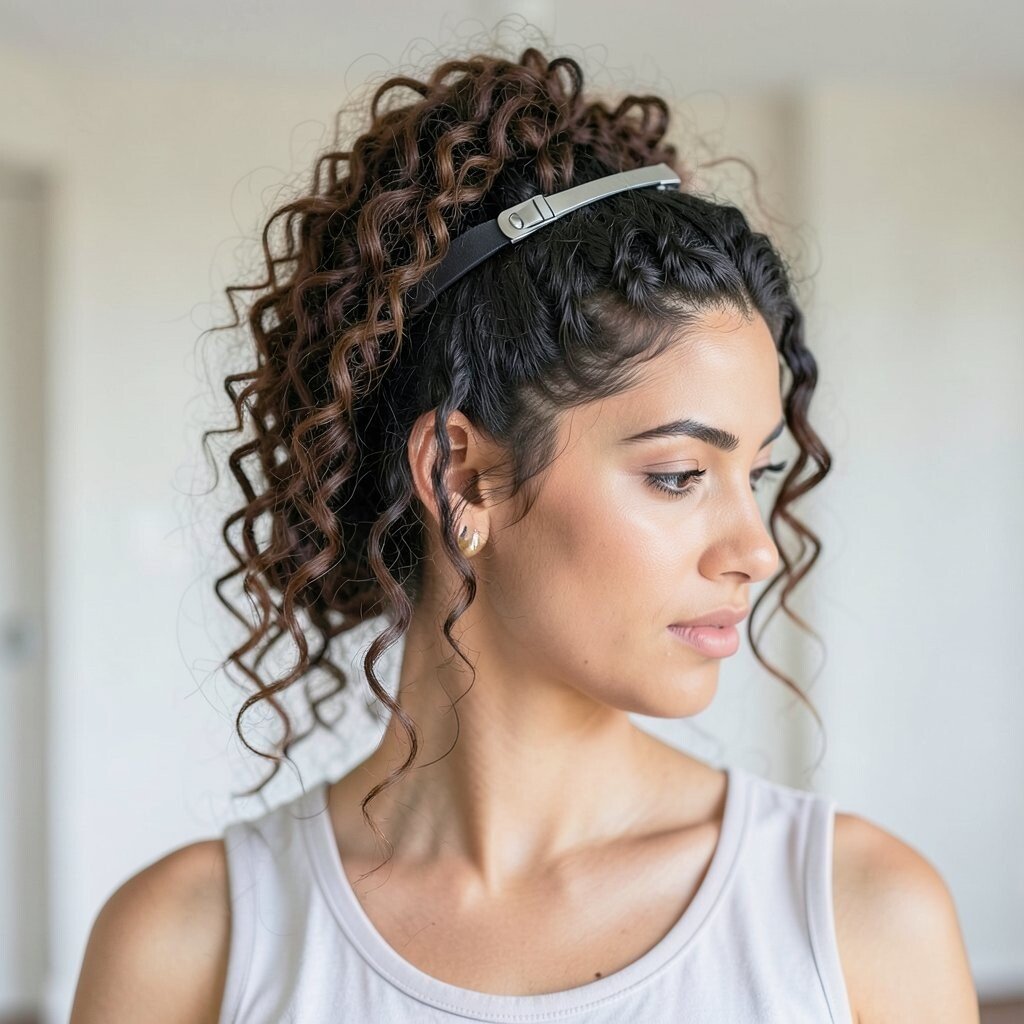
Imagine your curls spilling down while the top section looks playful and neat. A half-up style gives your hair a quick “put-together” vibe without requiring heat.
Clip the upper half with a large bow clip or a soft fabric scrunchie, leaving the sides to fall into your natural curl pattern. For mixed hair, keep the clip placement slightly off-center so the looser wave sections blend nicely with tighter curls. Add a tiny drop of curl oil to the ends so they look glossy rather than dry.
It’s an easy option for busy mornings and special events because it works with many curl sizes at once. For personalization, use a clip that matches your outfit or switch to a claw clip for a cleaner look. Costs stay reasonable since clips are usually a one-time buy and you’ll use them often.
6. Pineapple Updo With A Silk Scrunchie
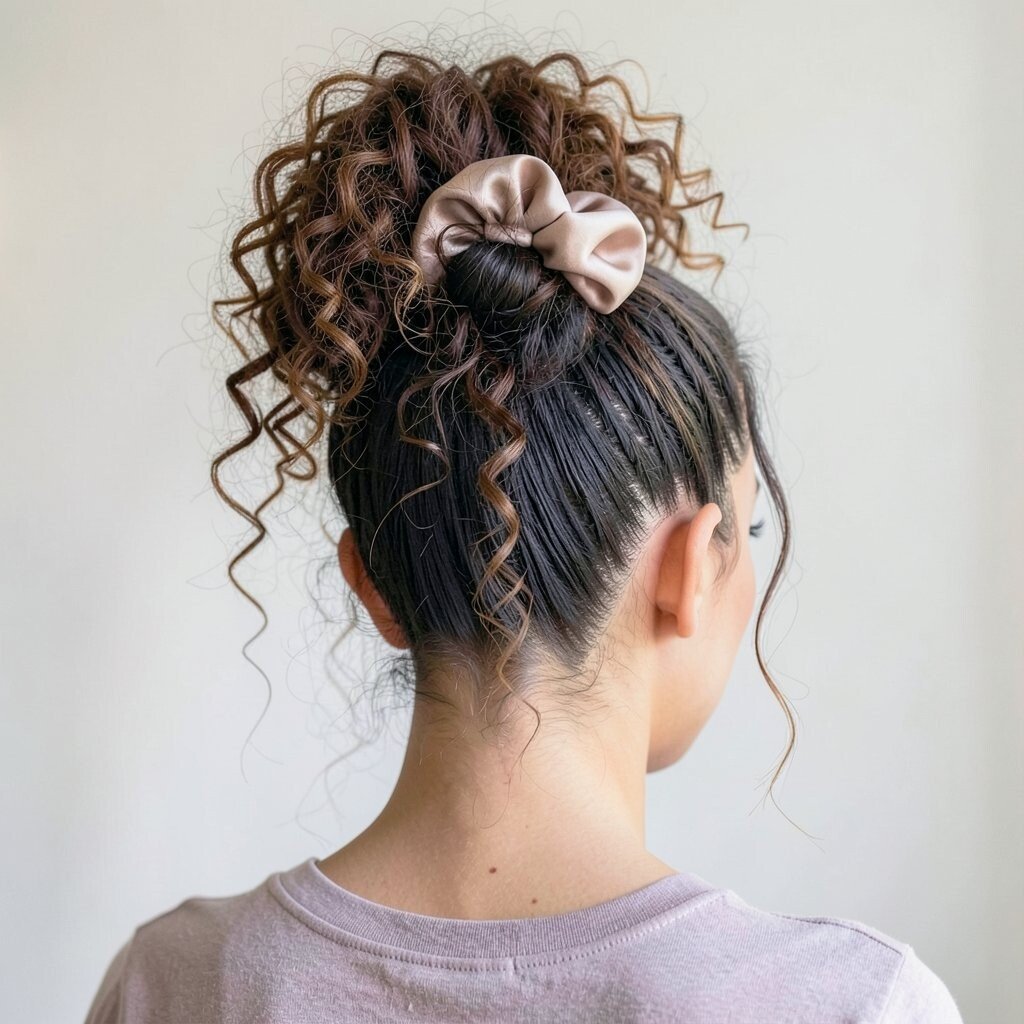
Think of your curls gathered at the top like a pineapple, then gently wrapped with a smooth elastic. This protects your curl shape while keeping your next wash-day look strong.
Before bed or before you step out, gather your hair loosely at the crown and secure it with a silk or satin scrunchie. Smooth flyaways with a dab of gel mixed with water, then cover with a bonnet if you can. In the morning, take it down and let the curls fall naturally, then scrunch the ends to bring back bounce.
This is a great match for mixed curls because the technique keeps tighter coils from flattening and helps looser waves stay wavy. Personalize it by adjusting how high you gather, since a slightly higher pineapple gives more lift at the front. Since it’s mostly about materials and technique, you can stay on budget by using a quality scrunchie you already have.
7. Finger-Coiled Side Pieces for Definition
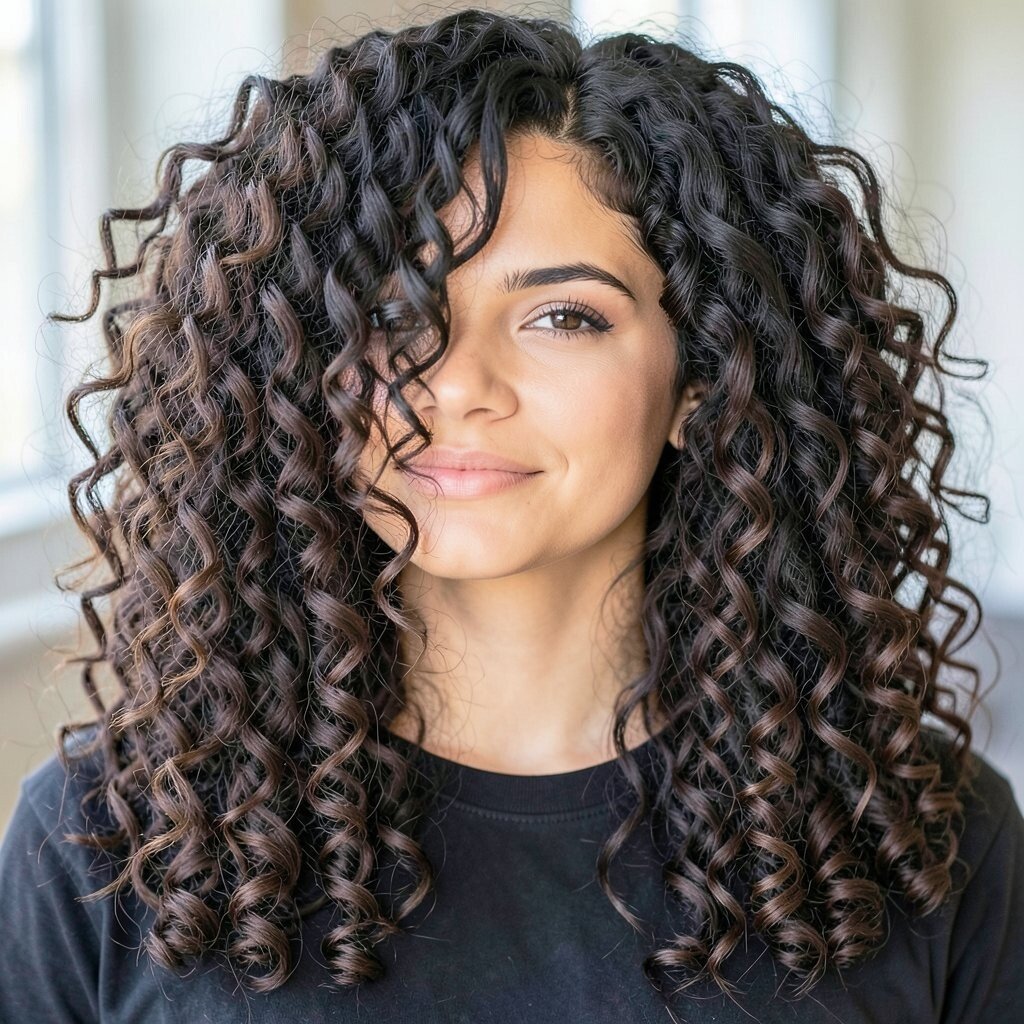
Picture a few curls that look extra neat near the front, like you added a tiny detail that makes the whole hairstyle pop. Finger-coiling gives targeted definition without changing your entire routine.
Apply a curl cream on damp hair, then take small sections near the front and wrap each curl around your finger for a few seconds. Keep the rest of your hair in its natural style, then scrunch lightly to blend everything. Let it dry and avoid brushing so the coiled sections stay distinct.
This method is unique because it respects the mixed texture, letting tighter parts look defined while looser parts remain soft. Try personalization by choosing a “mini map” of finger coils just around your hairline or across your crown. If you’re cost-conscious, you can get this effect with your existing cream and a little patience.
8. Diffused “Cloud Curls” for Soft Volume
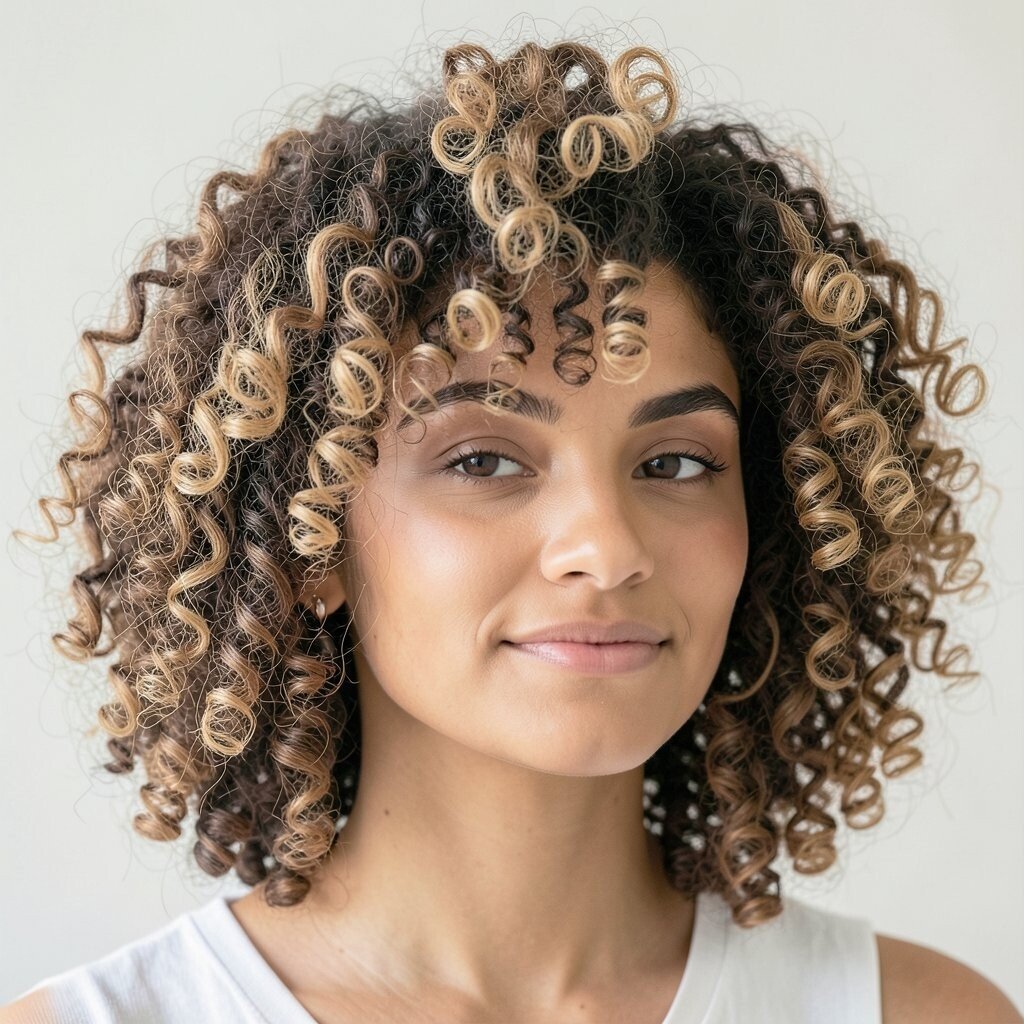
Imagine airy curls that look light, not heavy, like a fluffy cloud. A proper diffuser routine creates separation and reduces frizz while boosting your natural shape.
Use a heat protectant and apply a lightweight gel or mousse, then cup sections into the diffuser. Keep the dryer moving and use low heat so the curls set without drying out. Once most of the way dry, finish with air-cool for a steadier curl pattern.
9. Low-Sheen Gloss With a Curl-Friendly Smoothing Cream
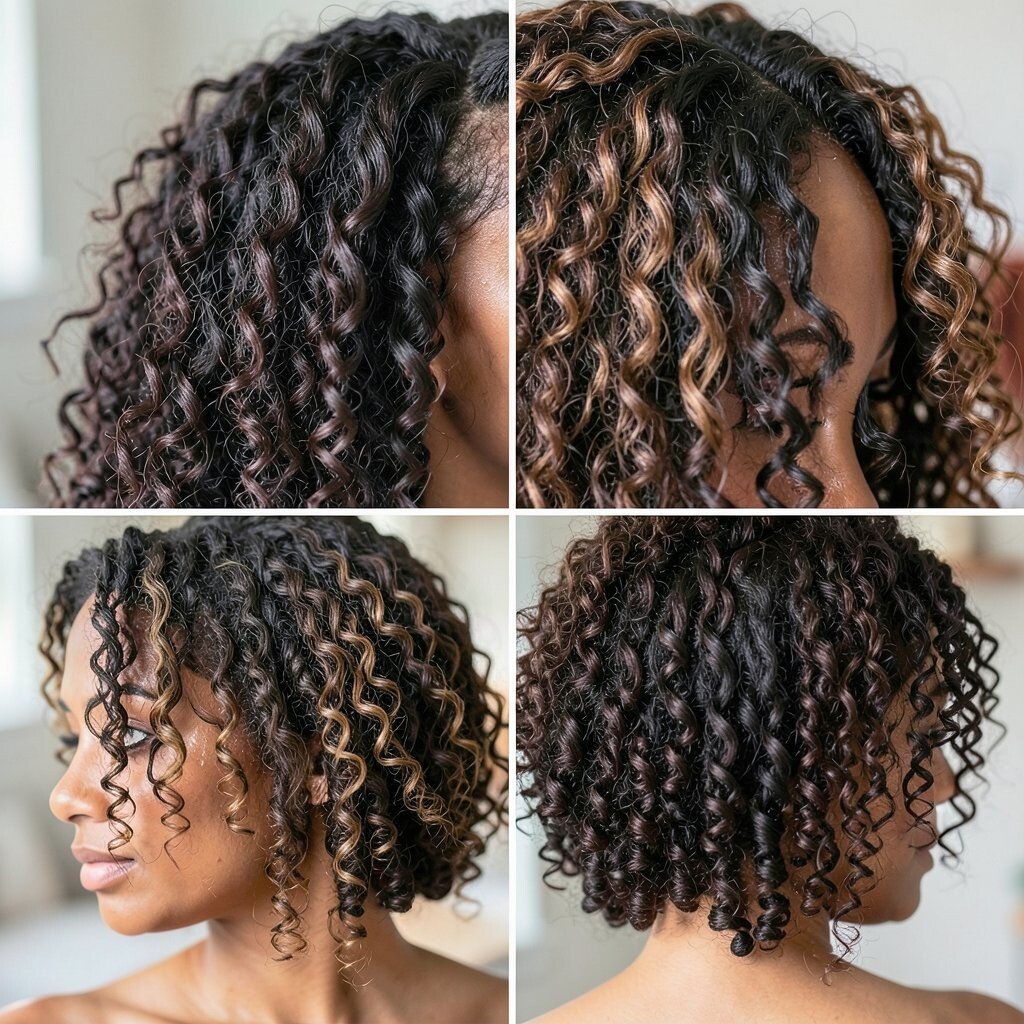
Think of your hair looking healthier with that soft shine that catches the light. When mixed curls get frizzy, they can look dull, so shine plus smoothing creates a fresh finish.
Work a smoothing cream through the mid-lengths and ends, then press curls lightly with your palms. If your hair tends to feel heavy, use less product and focus on the top surface. A small amount of lightweight oil on the ends adds gloss without flattening your curl pattern.
This style is practical because it can be done on day one and also revived on day two with a quick spritz of water. Personalize it by choosing a cream that matches your texture needs, like extra hydration for looser waves or a firmer hold for tighter coils. Costs vary based on product type, but a little goes a long way, especially when you target only the areas that need it.
10. Scrunch-Back “Bowl Fit” Shape
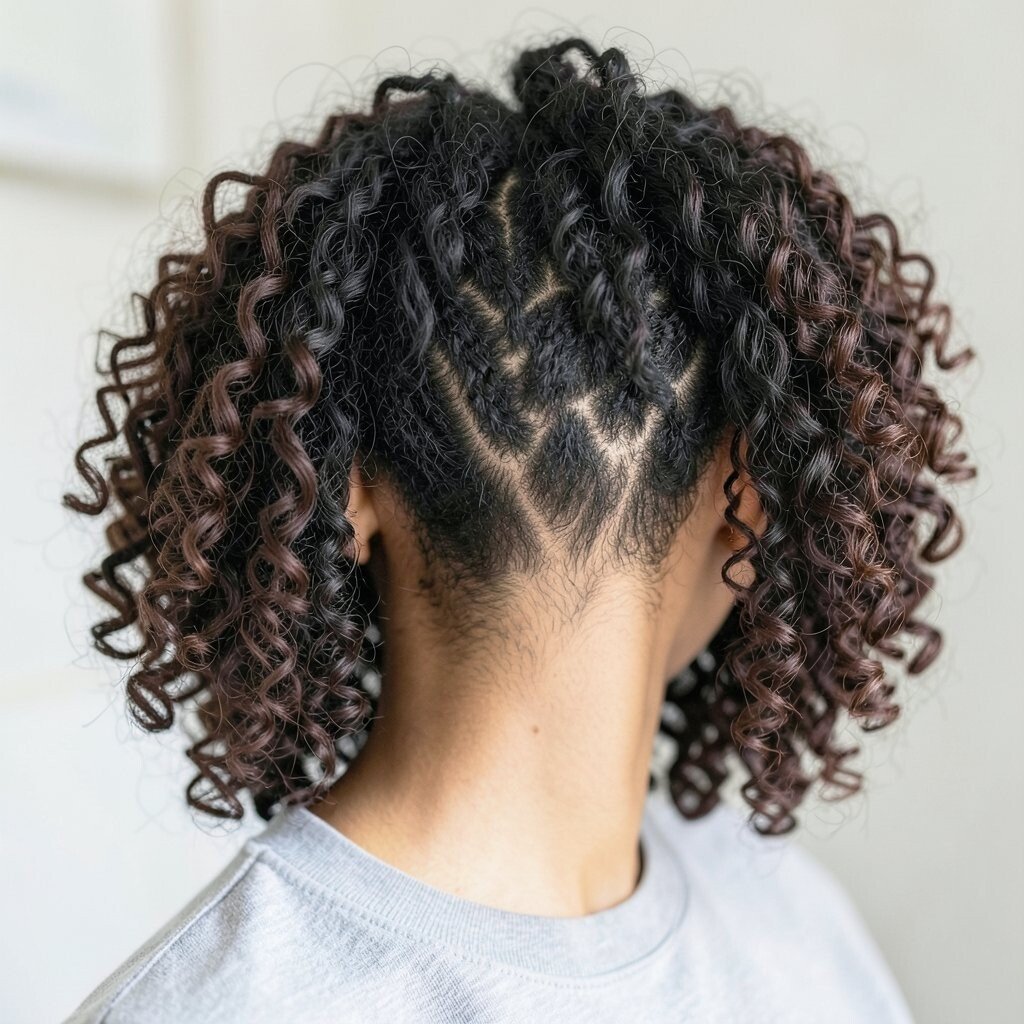
Picture curls that form a rounded shape around your head, like your hair sits in a bowl of bounce. This is a fun way to make mixed textures look intentional and uniform.
On damp hair, apply gel or mousse and then scrunch upward in small sections. After scrunching, gently shape your curls into a round silhouette by tucking your fingers around the sides. Let it dry and then avoid touching too much so the curl clumps stay in place.
This look helps because it encourages looser curl areas to curl up more, while tight coils keep their structure. Personalize by adjusting the roundness depending on your face shape, since softer bowl shapes can look great for longer faces. You can keep it budget-friendly by using gel you already trust, since the shaping technique is the main secret.
11. Clip-Set Waves for Clean Curl Starts
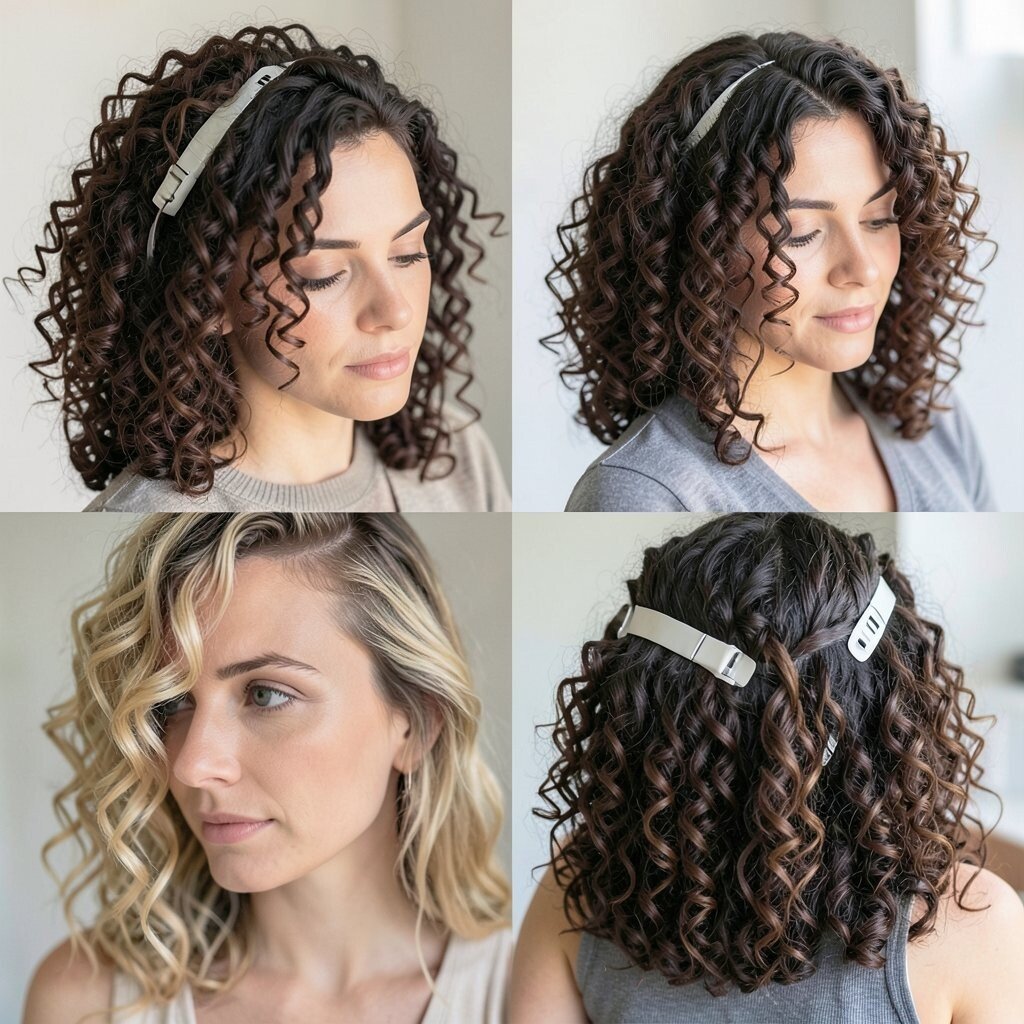
Imagine your curls starting at the roots with neat, defined sections instead of random puff. Clip-setting helps your mixed hair lay smoothly while still keeping movement.
After applying styling product on damp hair, split it into sections and use small clips to hold each section in place. Let it dry completely, then remove clips slowly and separate with your fingers. If your hair takes long to dry, you can diffuse carefully until fully set.
This is unique because it gives a polished start while letting the lengths remain soft and curly. For personalization, create a diagonal clip pattern or keep it centered for a symmetrical look. The cost is low since clips are reusable and you can use your usual curl cream and gel.
12. Accessory Crown With Mini Hair Rings
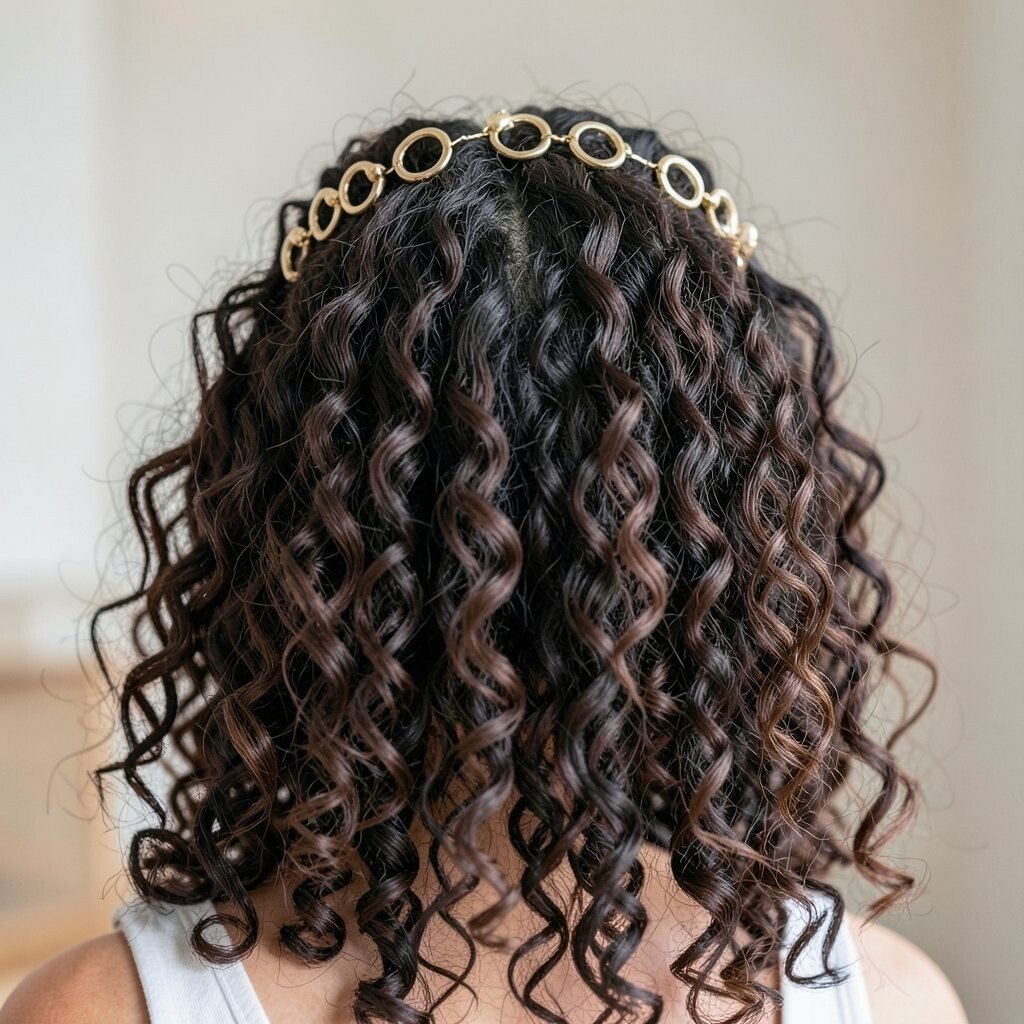
Picture tiny hair rings or curved accessories placed along your hairline, adding sparkle and structure. This idea makes mixed curls look designed, even when you keep your base style simple.
Choose small rings that won’t snag and place them on clean, dry curls where they can sit easily. Lightly twist a small section, insert the ring, and release gently so it blends with your curl pattern. Add a light mist of water to help rings grip without frizzing the texture.
13. Two-Texture Parting for Best Blend
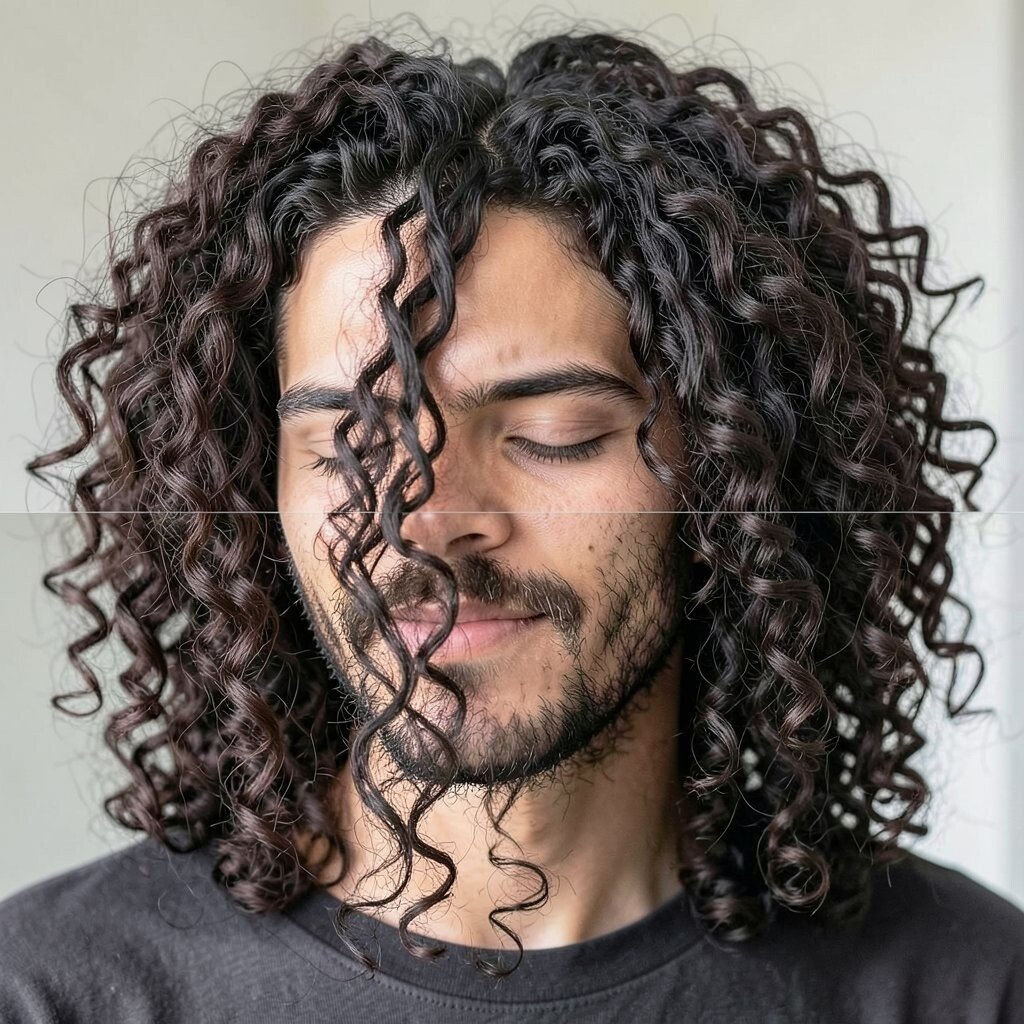
Imagine your curls showing their natural variety, with a part that makes both wavey and coily areas look balanced. This idea leans into mixed hair rather than trying to hide it.
Create a part that follows where your texture changes, then style each side with slightly different product amounts. If one side is looser, use a bit more cream; if the other side is tighter, use a bit more gel for definition. Blend at the back by lightly combining the sections and scrunching so the transition looks smooth.
This is actionable because it only takes a few minutes and helps your hair look cohesive right away. Personalize by testing a straight part, a soft swoop, or a center part depending on how your curls fall. Cost stays manageable since it doesn’t require new tools, just a smart part placement and product distribution.
14. Crown Bump With T-Shirt Towel Scrunch
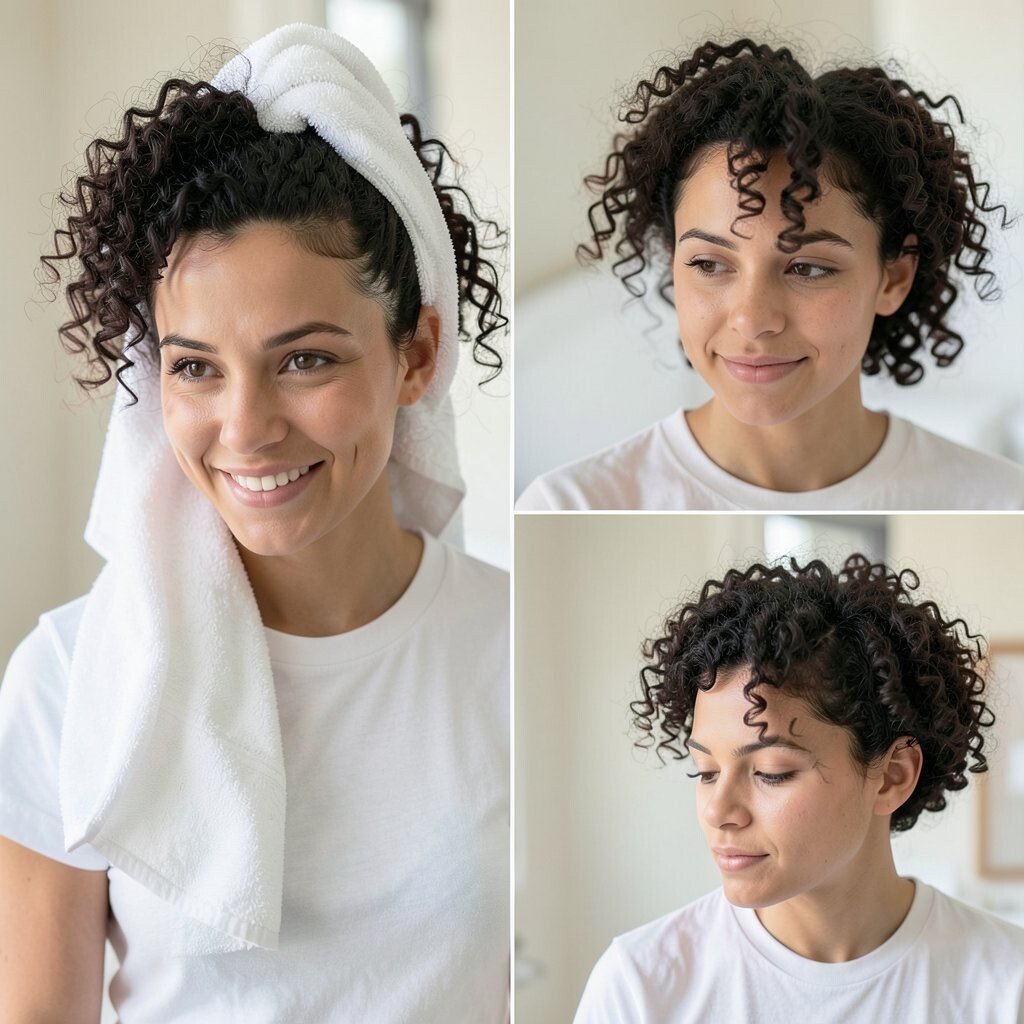
Picture a gentle crown bump with curls that look smooth and springy. Combining a soft towel scrunch with root shaping helps you get volume without harsh frizz.
After washing, squeeze out excess water with a clean t-shirt rather than a rough towel. Apply a light mousse and scrunch upward, then use your hands to lift at the crown while it dries. When it’s set, lightly fluff the top with your fingertips and keep the ends controlled with a tiny bit of curl cream.
This look is unique because it uses fabric friction in a gentle way, improving curl clumping while keeping the texture soft. Personalize by deciding whether you want a small bump for everyday or a taller shape for a bolder vibe. Costs are low because the t-shirt method replaces expensive add-ons and you likely already have the fabric.
15. Side Braid Into Loose Coil Ends
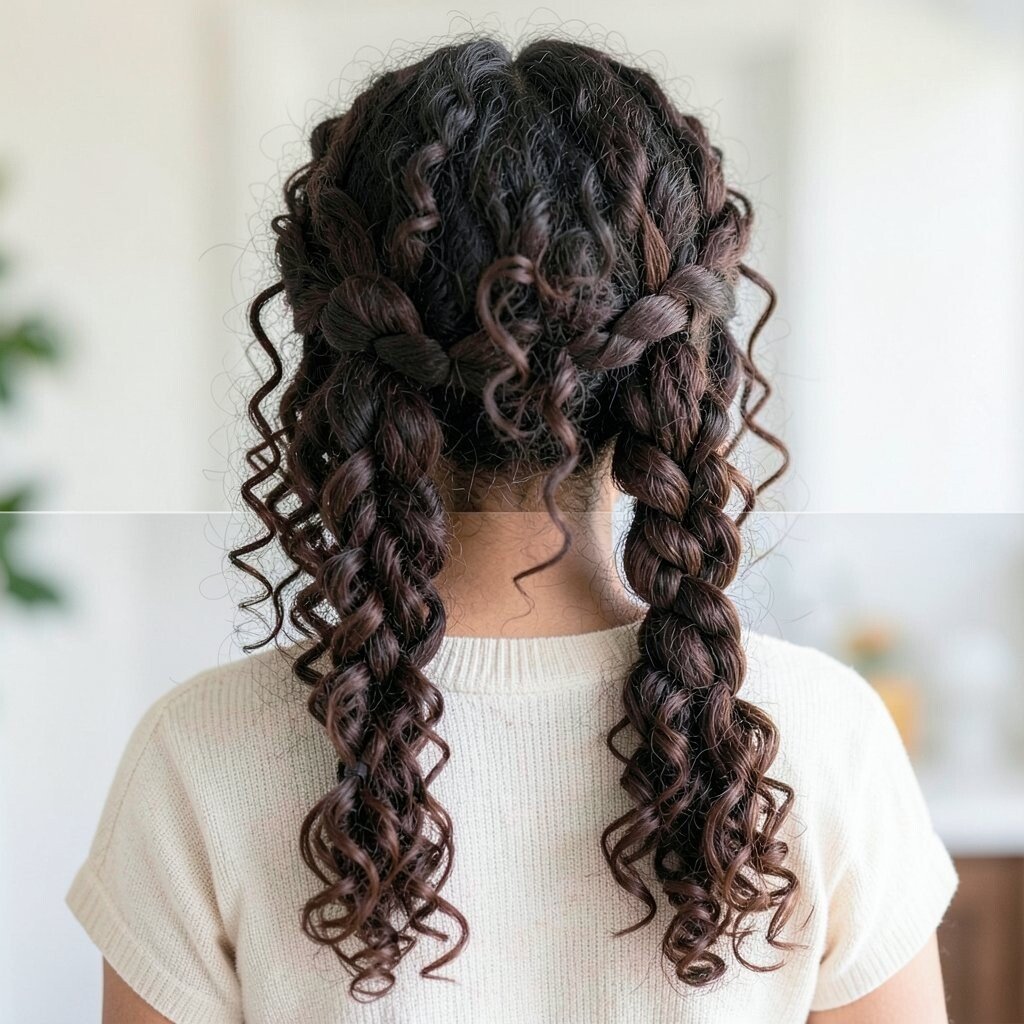
Imagine a relaxed side braid that starts neat, then releases into loose curls at the end. It’s a romantic style that also helps reduce frizz at the front.
Part hair to one side, braid the front section loosely, and stop when your curls start to get too thick. Secure the braid with a small elastic, then let the rest of your hair curl naturally. For mixed hair, keep the braid not too tight so the looser wave areas don’t flatten.
This works well on both dry and damp hair, but damp styling helps the curl pattern blend when you remove the braid later. Personalize it by adding two small braids or by leaving a few face-framing curls out. If cost matters, you only need elastics and maybe a little edge-friendly gel if you want extra polish.
16. Mini Bang-Style Curl Flip
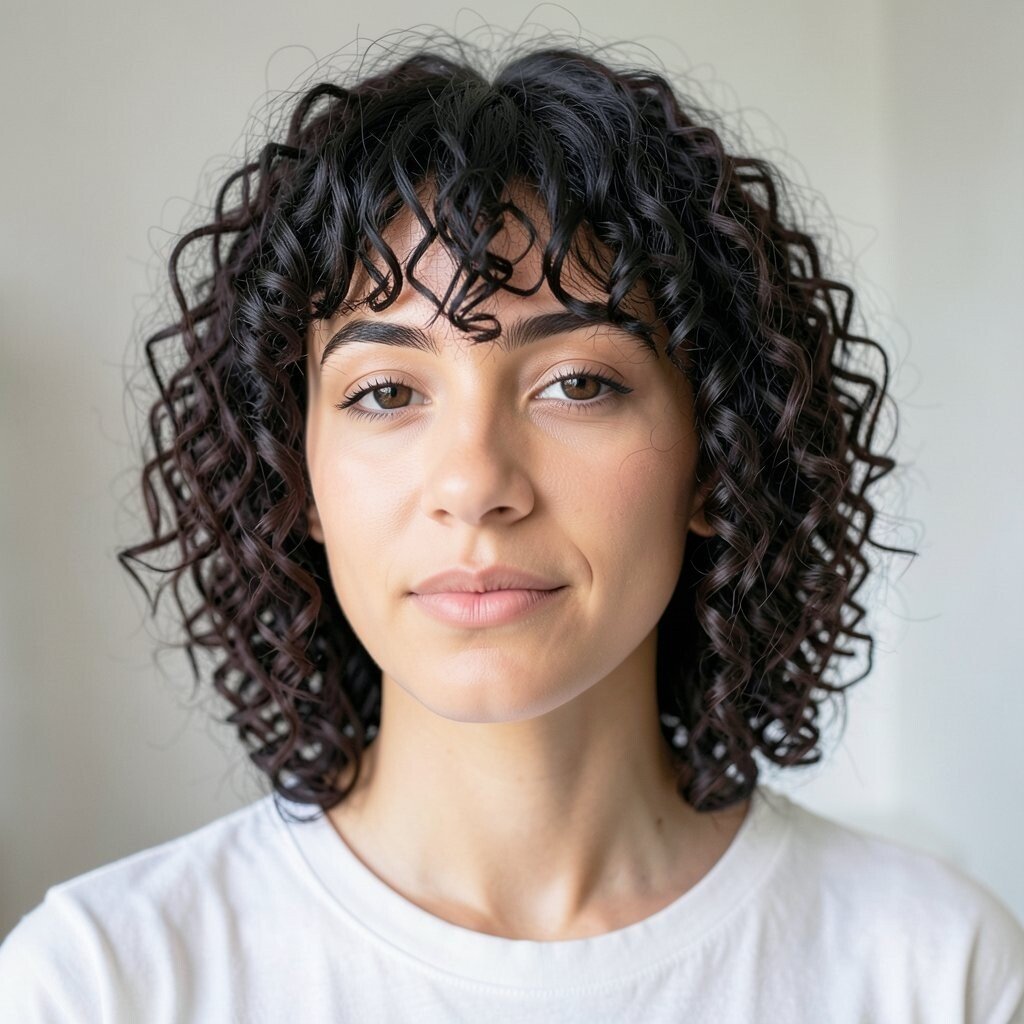
Picture a few curls flipped toward your forehead like mini bangs, adding personality to your look. It’s a small change that can make your hair feel brand new.
Take a small front section and apply curl cream, then twist it slightly and roll it between your fingers to encourage the curl direction. Place the curls forward and let them set, then use a light gel to hold the flip for the day. If your curl mix includes looser waves, press a bit longer so they flip instead of staying flat.
This idea is unique because it uses curl direction as the styling tool, not a haircut or harsh chemicals. Personalize it by adjusting how much you cover your forehead, from subtle to bold. It’s also budget-friendly since you’re using normal styling products and just focusing on one section.
17. Wash-Day Refresh With a Curl-Restoring Mist
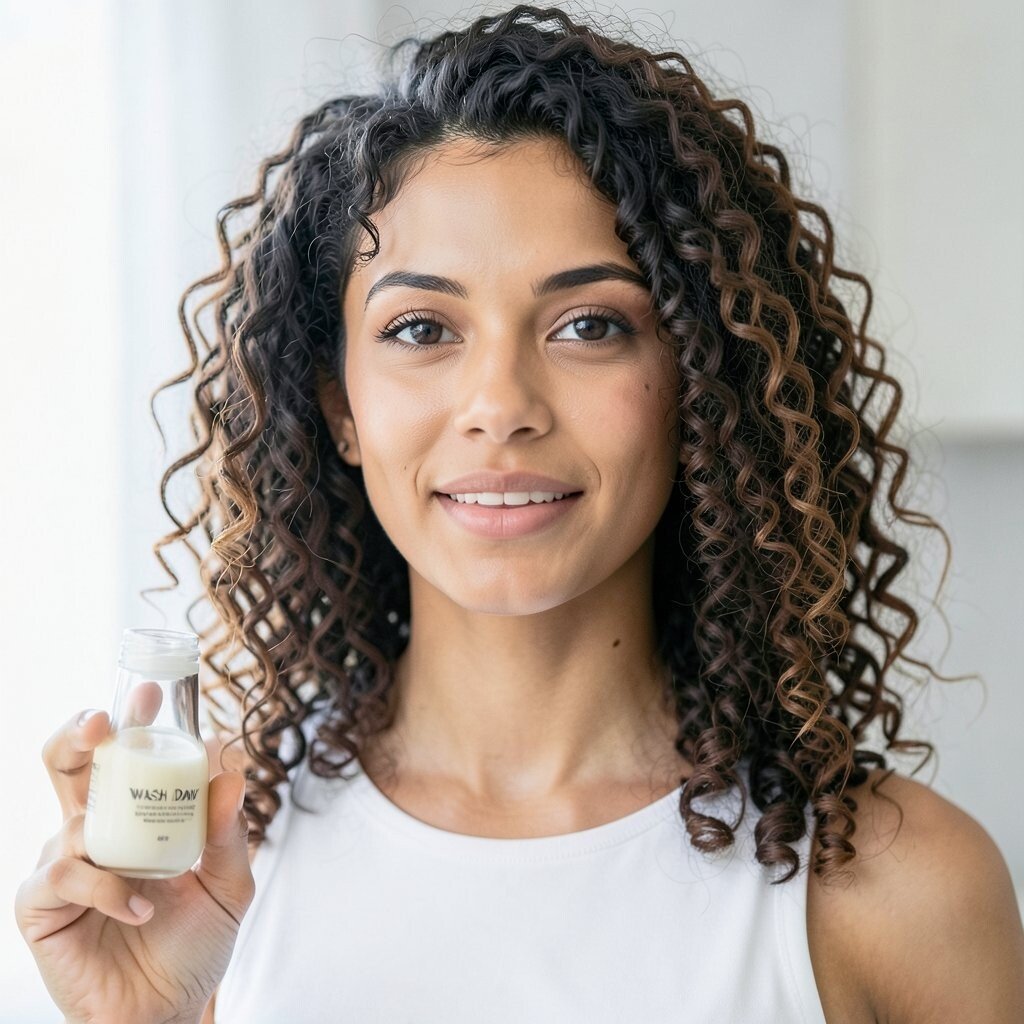
Imagine your second or third day hair looking revived, like you just finished your wash routine. A quick refresh can bring back curl bounce while keeping your curl clumps intact.
Use a spray bottle filled with water and a little curl-friendly conditioner, then mist your hair lightly until it’s damp. Scrunch each section upward, then apply a small amount of leave-in or gel to areas that look stretched out. Finish by diffusing for a few minutes or air-drying until your curls re-set.
This is especially helpful for mixed curls because different curl types lose shape at different speeds, and targeted misting fixes that. Personalize by adding aloe, glycerin-based product, or a tiny amount of hair oil depending on whether your curls need more slip or more definition. Costs stay reasonable since you’re using what you already have, and a mist bottle is a simple tool you can reuse for many styling days.