Your hair can look styled even when you barely have time. With the right quick method, your morning routine can feel calmer and more fun.
These easy looks are low-effort but still look intentional, like you tried without actually trying.
1. The Effortless Half-Up Twist
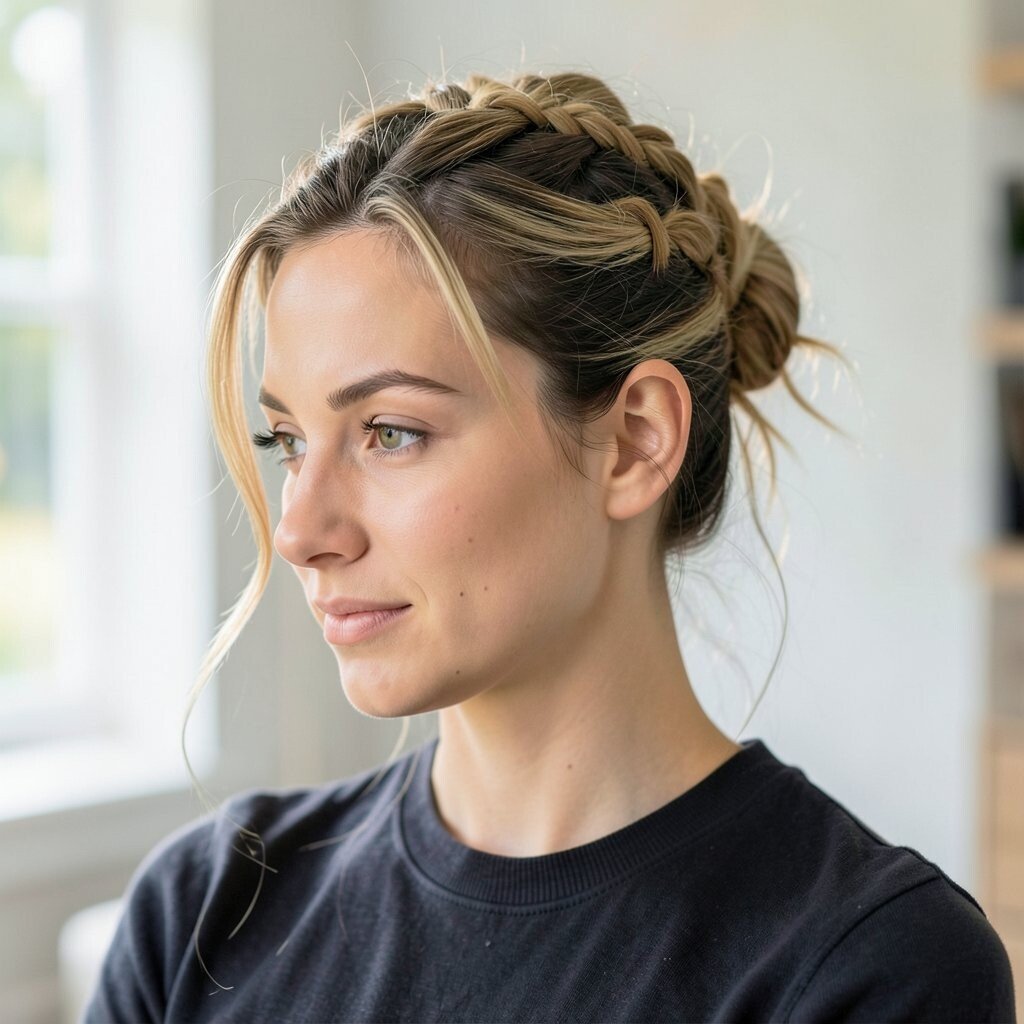
Gather the top section of your hair and twist it away from your face. Secure it with a clip so it sits slightly loose and airy, not tight.
This style instantly frames your features and keeps hair out of your eyes. It works great for straight, wavy, and slightly curly textures, and it feels current with the softly undone vibe many people love right now.
2. Messy Bun With a Soft Front Lift
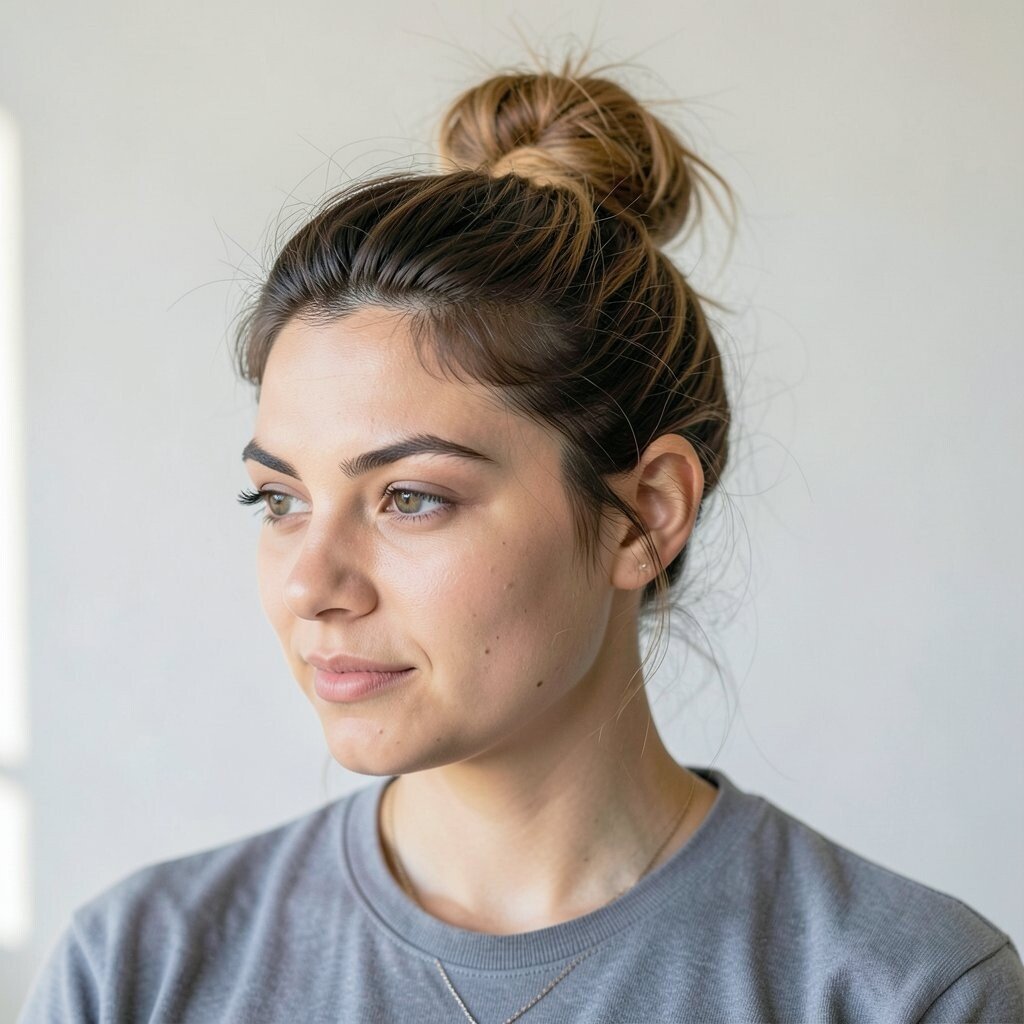
Pull your hair into a loose bun at the crown, leaving a few wispy strands at the front. Shake the bun gently so it looks fluffy and natural instead of neat and stiff.
This look is perfect when you want volume without blow-drying. Use a hair tie you already own and finish with a light mist of water or dry shampoo for that just-woke-up texture.
To personalize it, tug the bun a little to one side for an asymmetry that feels trendy. If your hair is fine, add one thin elastic loop before pinning to make the bun last longer.
3. Sleek Ponytail With a Hidden Hair Tie
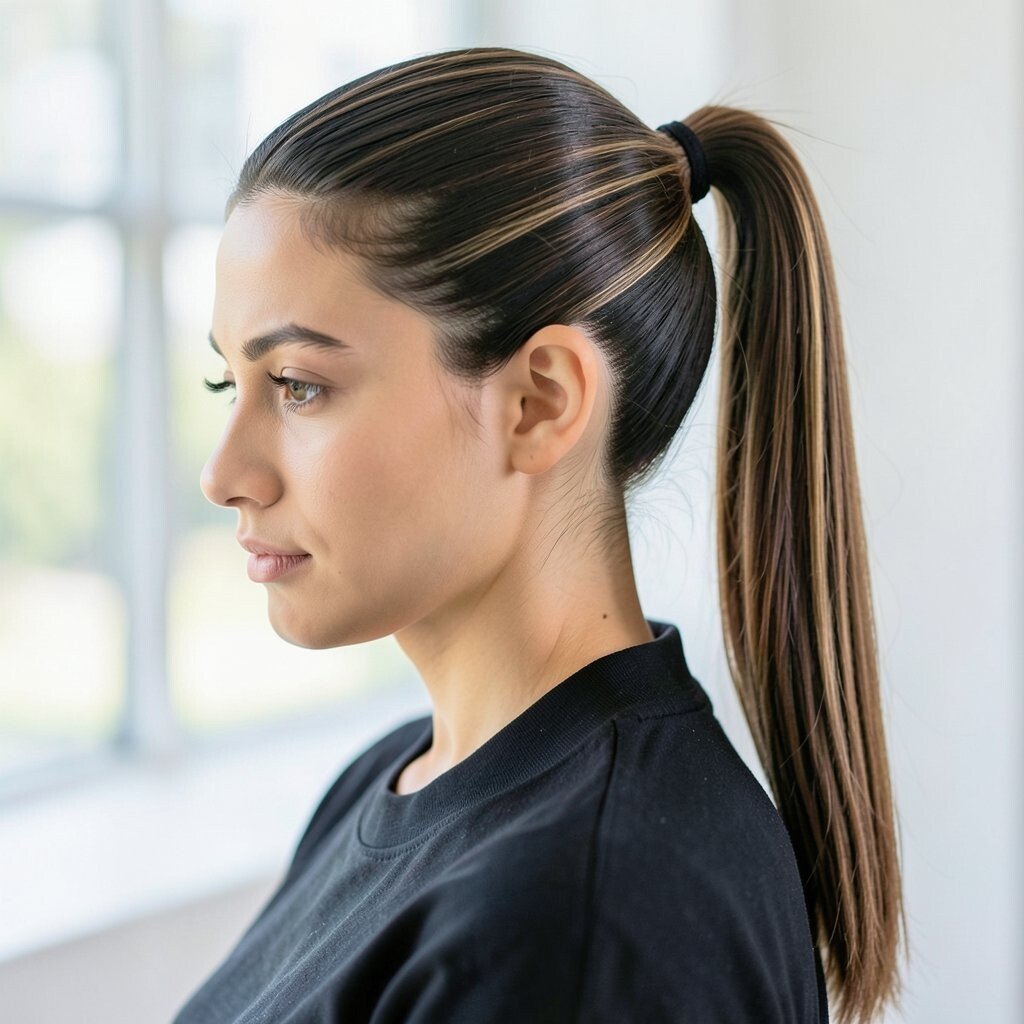
Brush hair back into a ponytail and smooth the top with a small amount of gel or cream. Then take a thin strand from underneath the ponytail and wrap it around the elastic, securing it with a pin.
The result looks polished and tidy, like you planned your outfit. It’s a solid everyday choice for work, school, and errands, and it pairs well with current minimalist styling trends.
For practical staying power, choose a medium-strong hold product on the crown. If you want it softer, tug out one tiny section near the temple so it feels less strict.
Since it uses basic tools, the cost stays low. You might only need a brush, an elastic, and a couple of bobby pins you already have at home.
4. Loose Side Braid for Busy Mornings
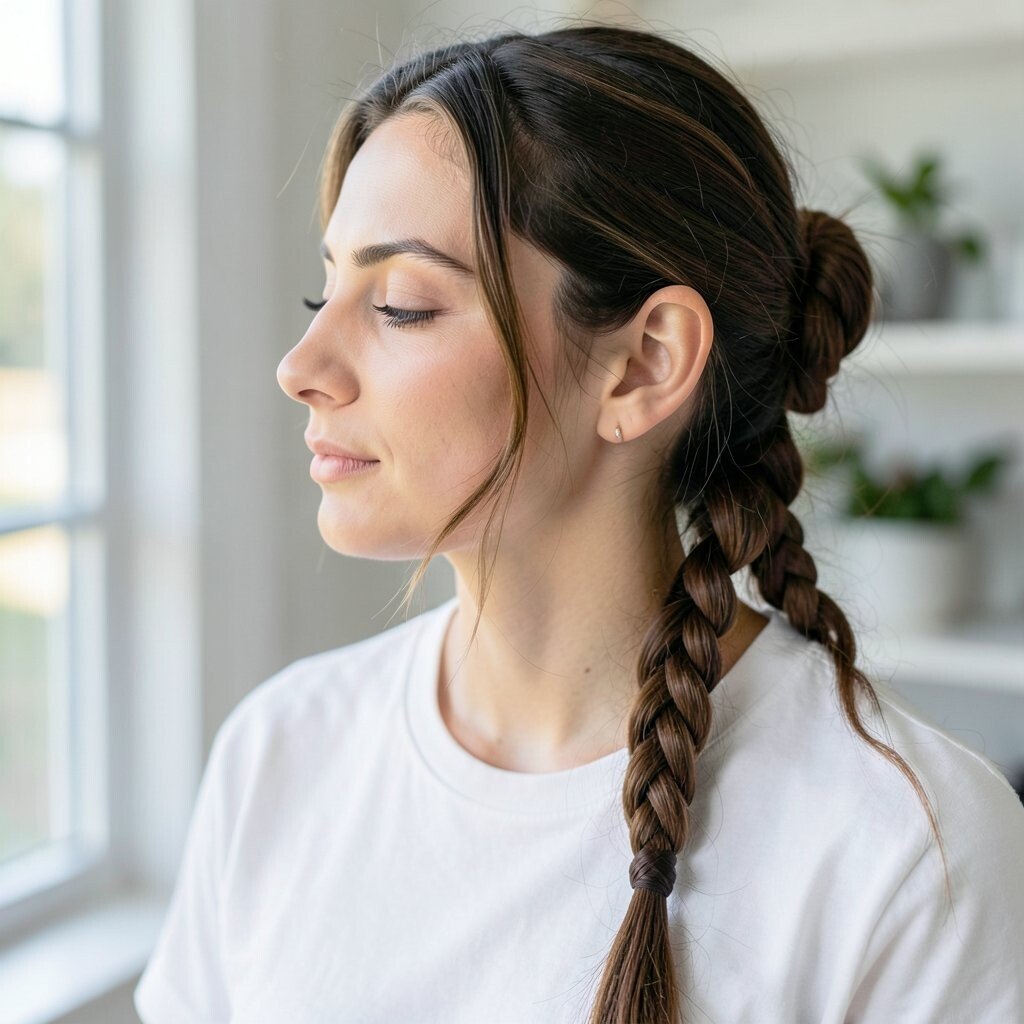
Part your hair to one side and gather it loosely. Create a simple three-strand braid, but keep it relaxed so the braid looks slightly wider and softer.
When you finish, pull at the braid edges to make it look fuller. This style is unique in how it adds shape without feeling heavy, and it works nicely for both thick and fine hair.
5. Low Twist Bun With Two Pins
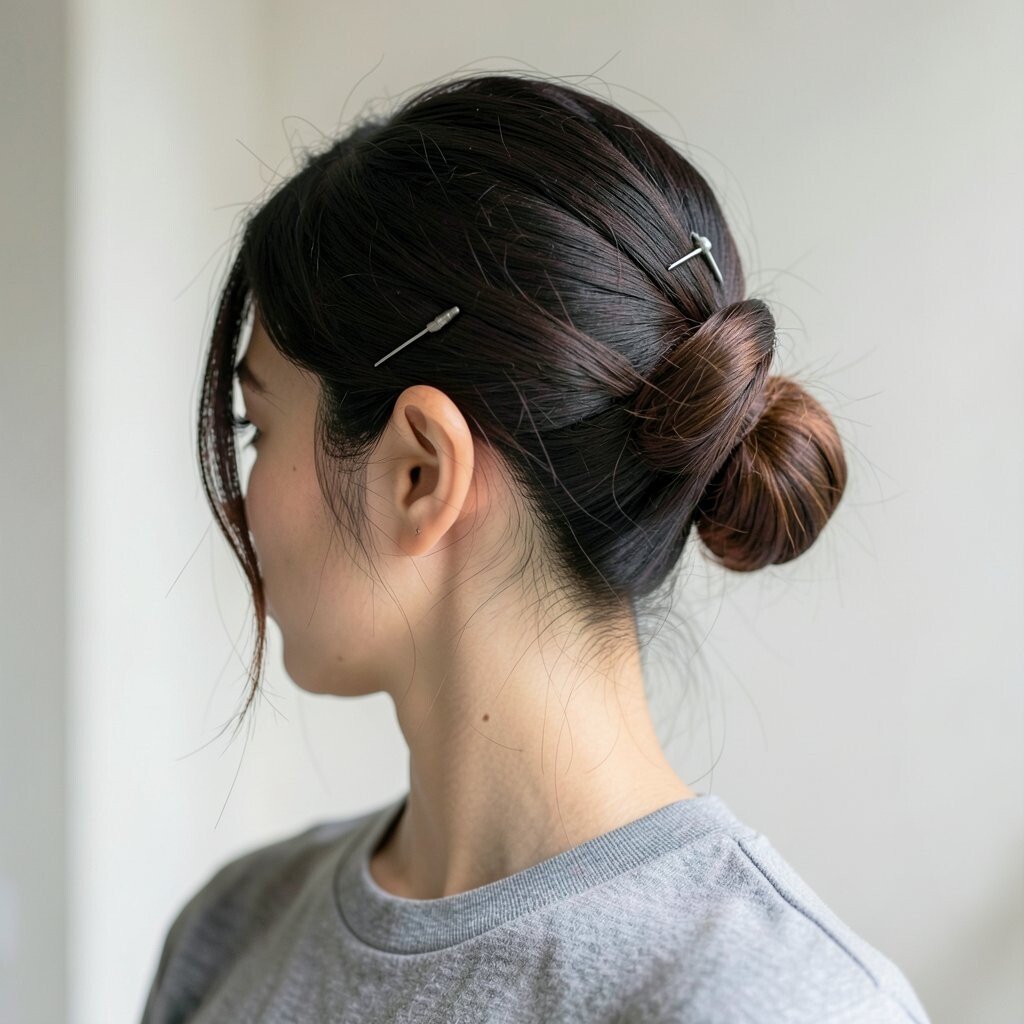
Twist the lower half of your hair toward the back of your head. Wrap the twist into a small bun at the nape and secure it with two bobby pins, crossing them for stability.
This quick move keeps your hair off your neck and gives a clean, sporty look. It’s especially helpful on hot days, and it’s easy to recreate even when you’re rushing.
Personalize it by leaving a tiny curl-free piece near your face or tucking a longer strand behind your ear. If your hair slips, use a tiny dab of styling cream on the ends before pinning.
6. Wash-and-Go Headband Waves
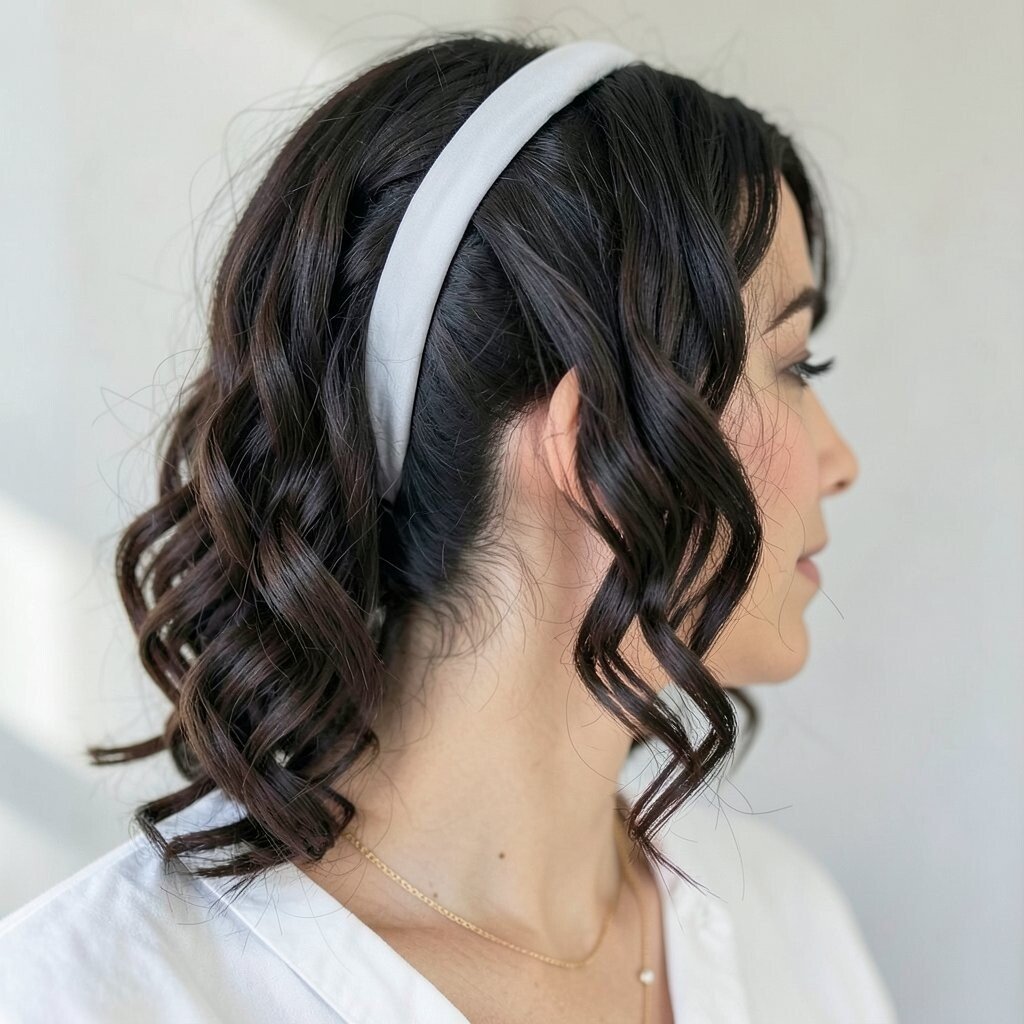
Lightly dampen your hair and wrap a wide fabric headband across the top of your head. Take small sections of hair and loop them around the headband until everything is secured.
Leave it while you get dressed, then remove it for soft, wavy texture. This is a great no-heat option that feels modern and suits the current trend of comfortable, wearable styling.
For best results, don’t make the sections too large, or the waves may look too stretched. If you want more definition, add a little leave-in conditioner before you wrap the hair.
It’s also cost-friendly because you only need a headband. You can reuse the same one for months, and it saves time compared to curling tools.
7. Top Knot With a Half-Relaxed Texture
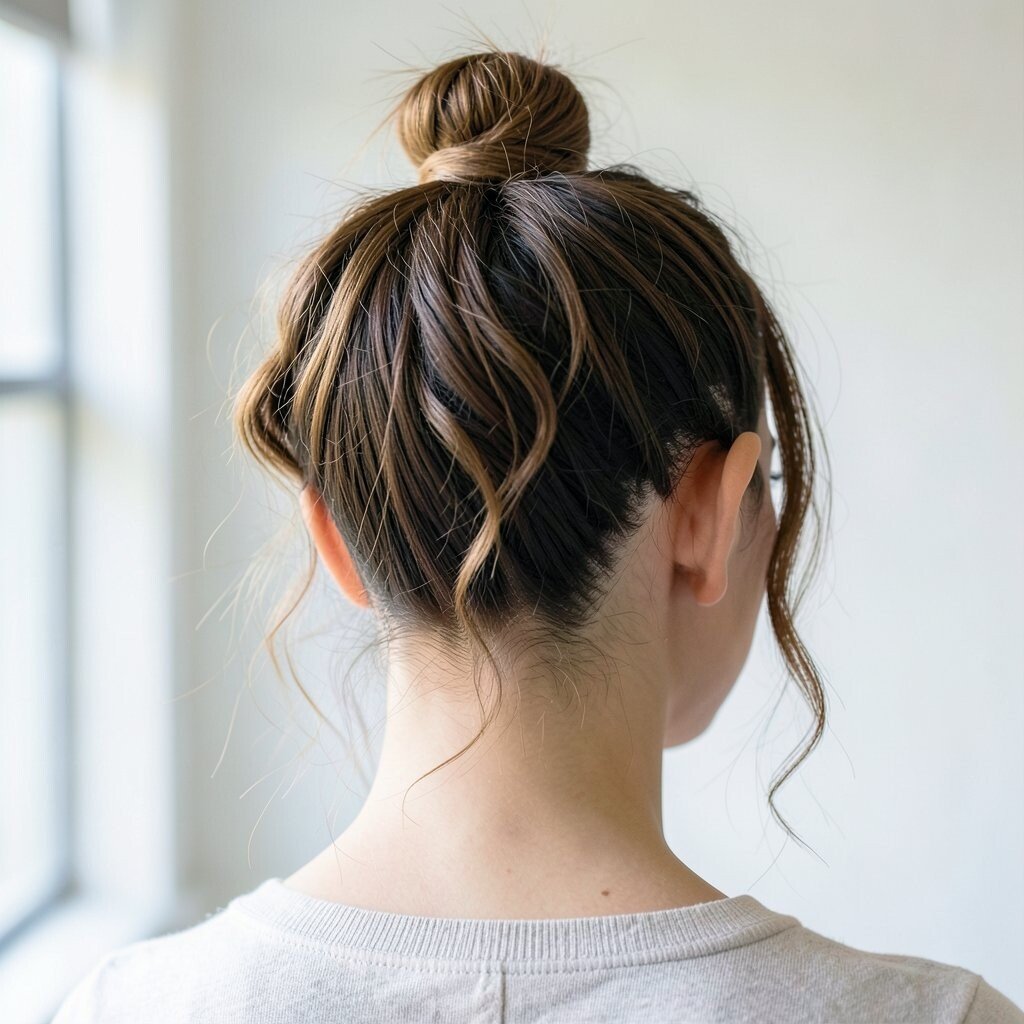
Pull hair into a high or mid top knot, but don’t make it fully tight. Let a few strands hang down naturally so it looks lived-in instead of rigid.
This style looks artsy and effortless, especially with a slightly messy texture. It keeps hair out of your face and helps your whole outfit feel styled in seconds.
8. Tucked-Behind-Ears Roll
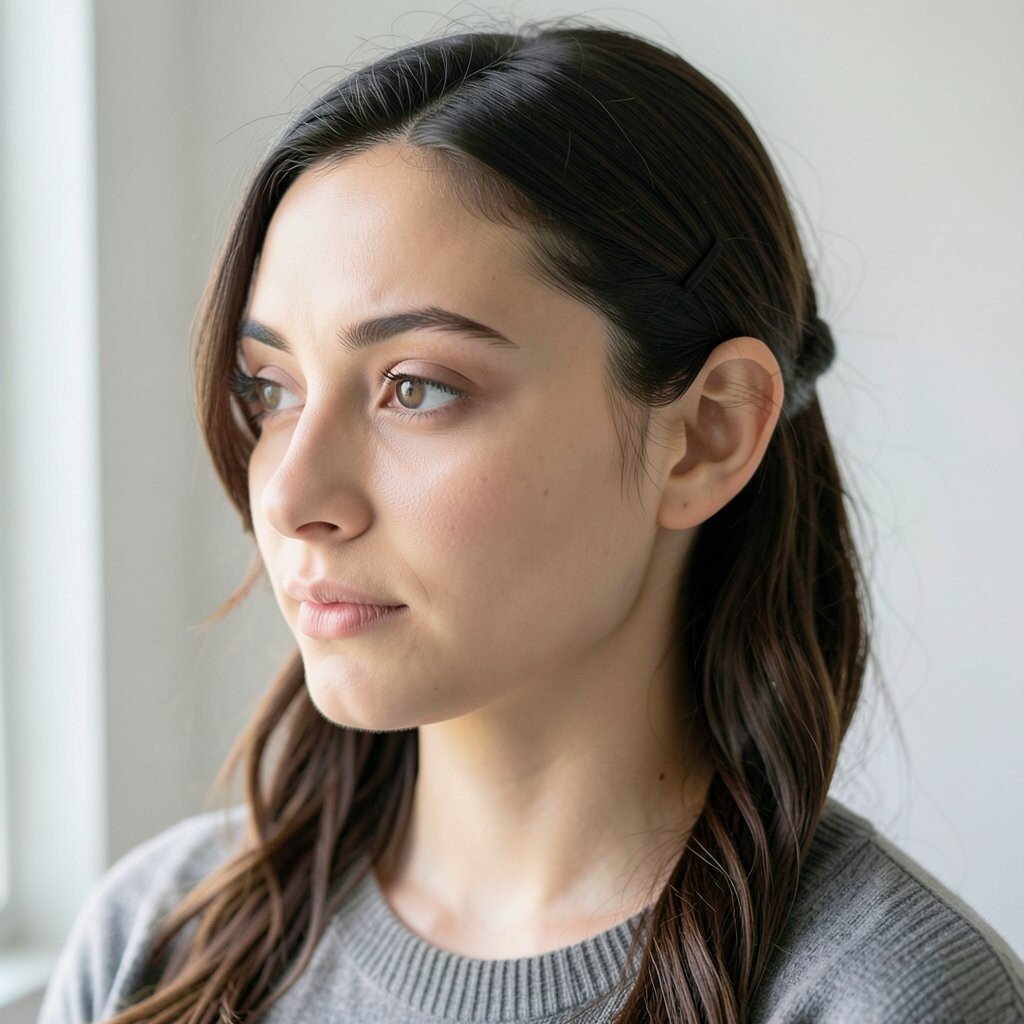
Take the sides of your hair and lightly twist them backward. Tuck each side behind your ears and secure with one small pin if needed.
It gives a neat look while still showing off your natural hair texture. This is perfect for days when you want something simple but not boring.
To personalize it, add a pin with a subtle color or a minimal silver tone that matches your accessories. If your hair is very slippery, spray a tiny bit of dry shampoo on the crown before tucking.
9. Low Ponytail With a Textured Crown
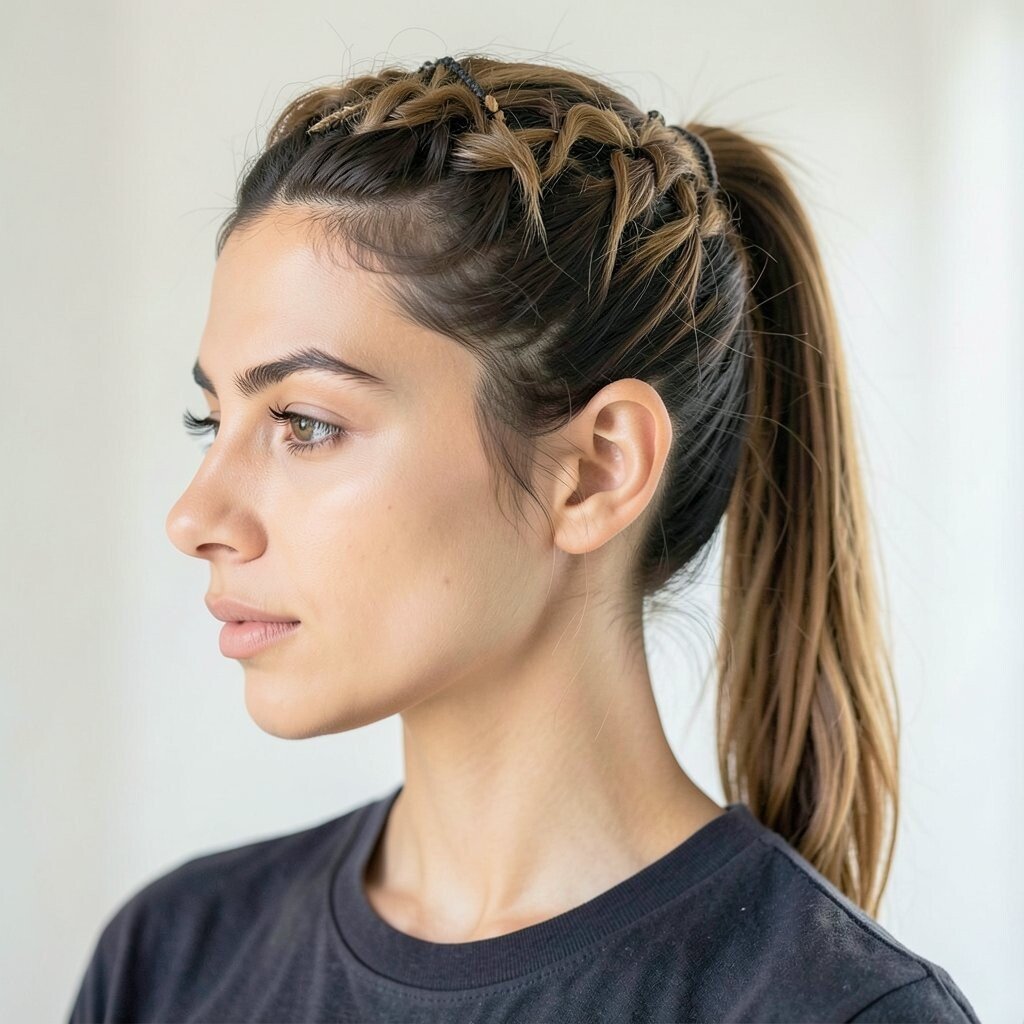
Gather hair into a low ponytail and smooth the ends gently. Use your fingers to lift the roots at the top, then lightly tease so the crown looks airy.
The contrast between a relaxed ponytail and a textured top looks current and flattering. It’s also a practical way to create volume without heat.
If your ponytail tends to go flat, secure it with an elastic that matches your hair color. For extra staying power, wrap a small section around the base and pin it so you don’t need a bunch of extra elastics.
10. Two-Minute Curl Clip Updo
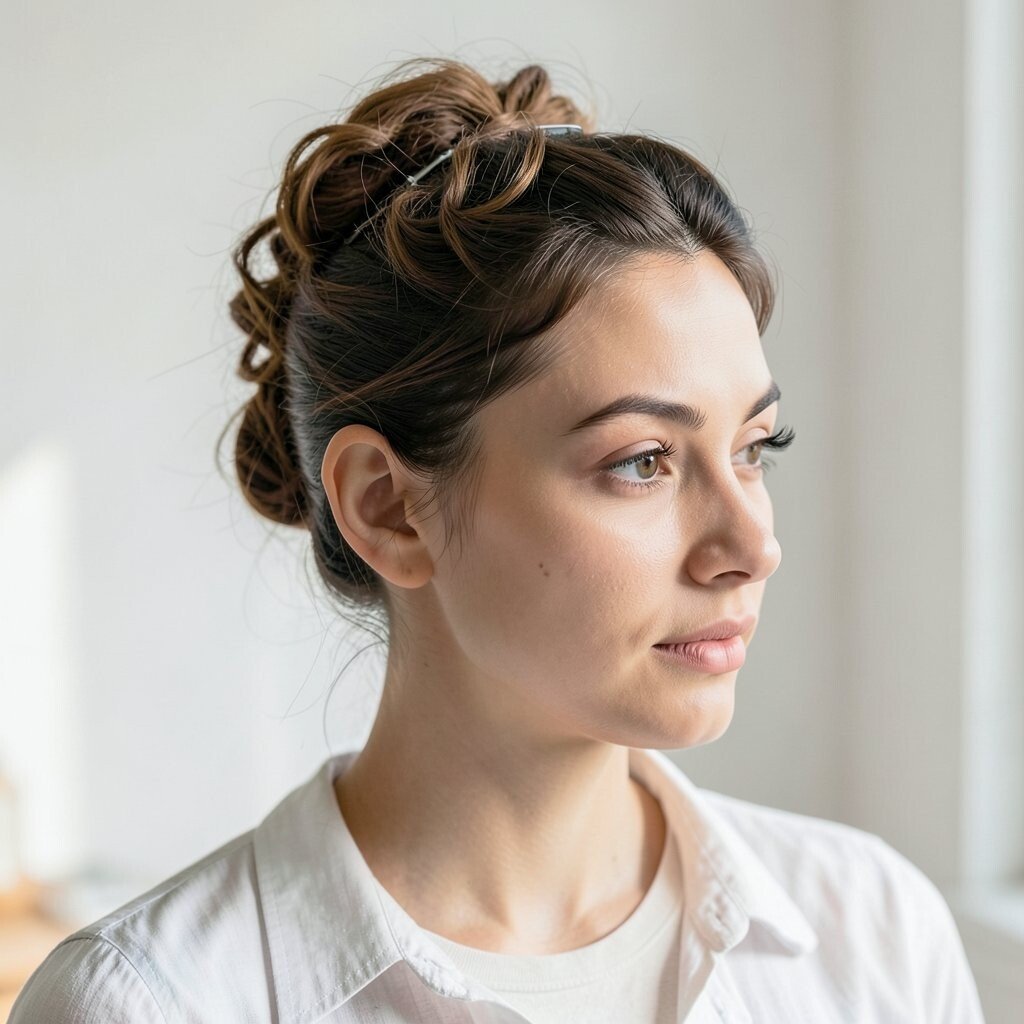
After a quick curl with a clip or by twisting damp hair, gather the front sections. Pin them back with large clips so curls or waves peek out around your temples.
This creates an “off-duty but styled” look that feels fresh and playful. It’s a nice option for short attention spans because it focuses on the top half where people notice.
For a personal touch, alternate clip placement so one side sits slightly higher. If your hair is straight, add a light mousse before pinning so the wave holds better.
Clips are usually inexpensive and can be reused for many hairstyles. It’s a smart way to get a salon vibe without spending much time or money.
11. Quick Faux Braid Using a Twist and Clip
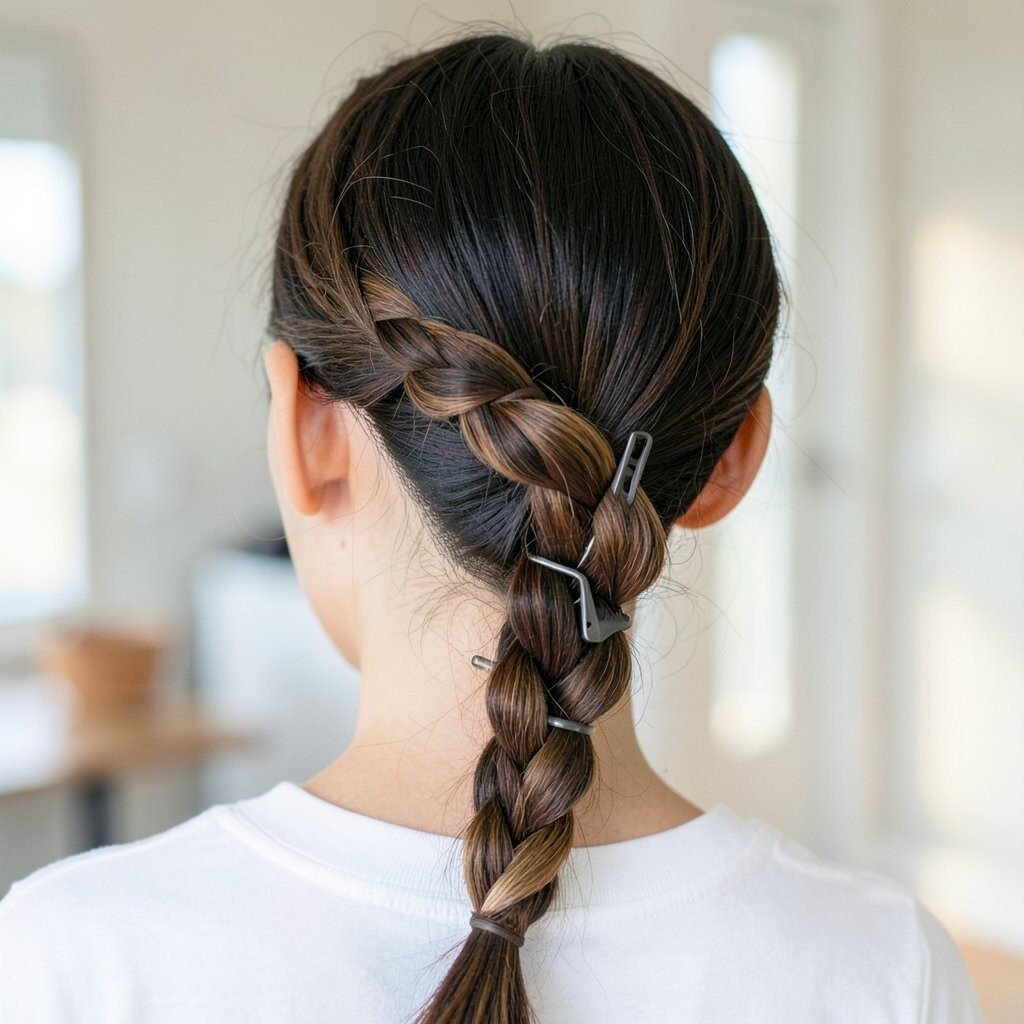
Part your hair and take a small section from the top. Twist it tightly for a few turns, then clip it down as you add more hair to the twist.
When the twist reaches the back, tuck the ends and smooth everything lightly. It looks like a braid from a distance, but it takes far less effort.
12. Sleek Half-Up Scrunch With a Tie
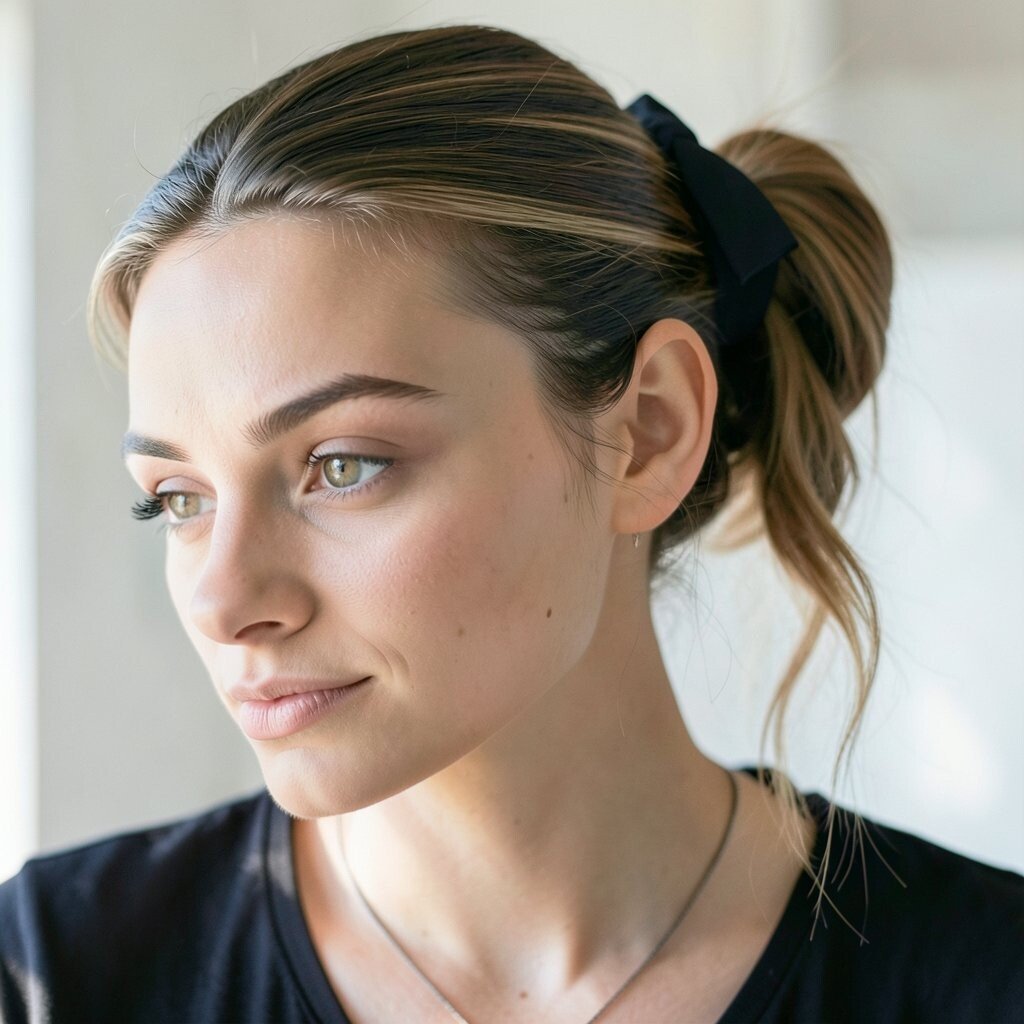
Pull a small half-up section from the front and tie it with a soft elastic. Then scrunch the ponytail base slightly by pushing the hair upward with your fingers.
This creates a cute puff that feels playful and trendy without needing complicated steps. It keeps hair out of your face while still letting your length hang naturally.
To personalize it, try a thicker elastic for a bold look or a thin one for a delicate finish. If you want it to last, smooth a tiny bit of hair cream along the tie area so it doesn’t frizz.
Because it uses simple materials, the cost stays minimal. It also works well with everyday outfits, from casual tees to nicer blouses.
13. Side-Swept Bob-Style Clip Flip
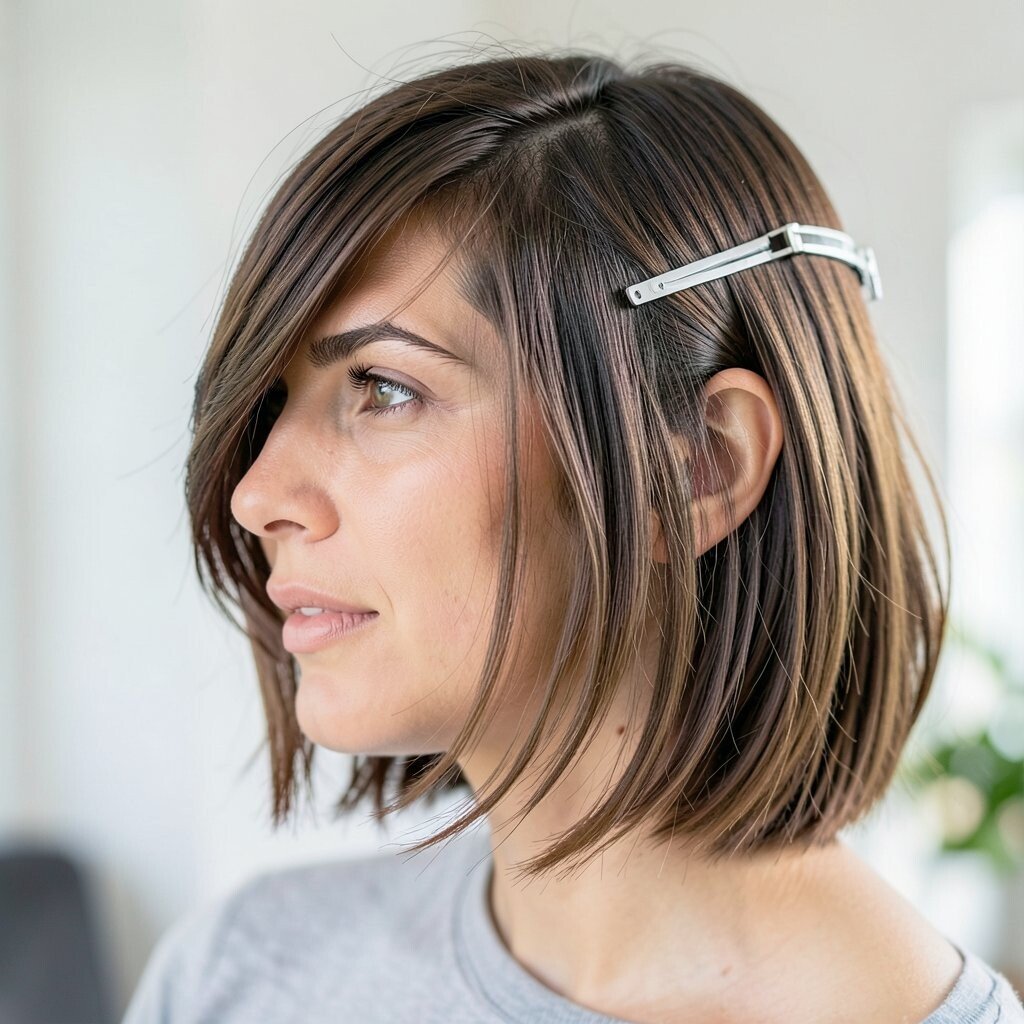
If you have shoulder-length hair or shorter layers, sweep your hair to one side. Secure it with a clip near the ends so the shape looks intentional and slightly angled.
This look mimics a layered bob style even when your hair is growing out. It’s unique because the angle creates movement while still taking almost no time.
For practical tips, use a clip that matches your hair color or your outfit for a cleaner look. If you get flyaways, smooth them with a damp fingertip or a tiny bit of balm.
14. Spacey Mini Buns With a Center Part
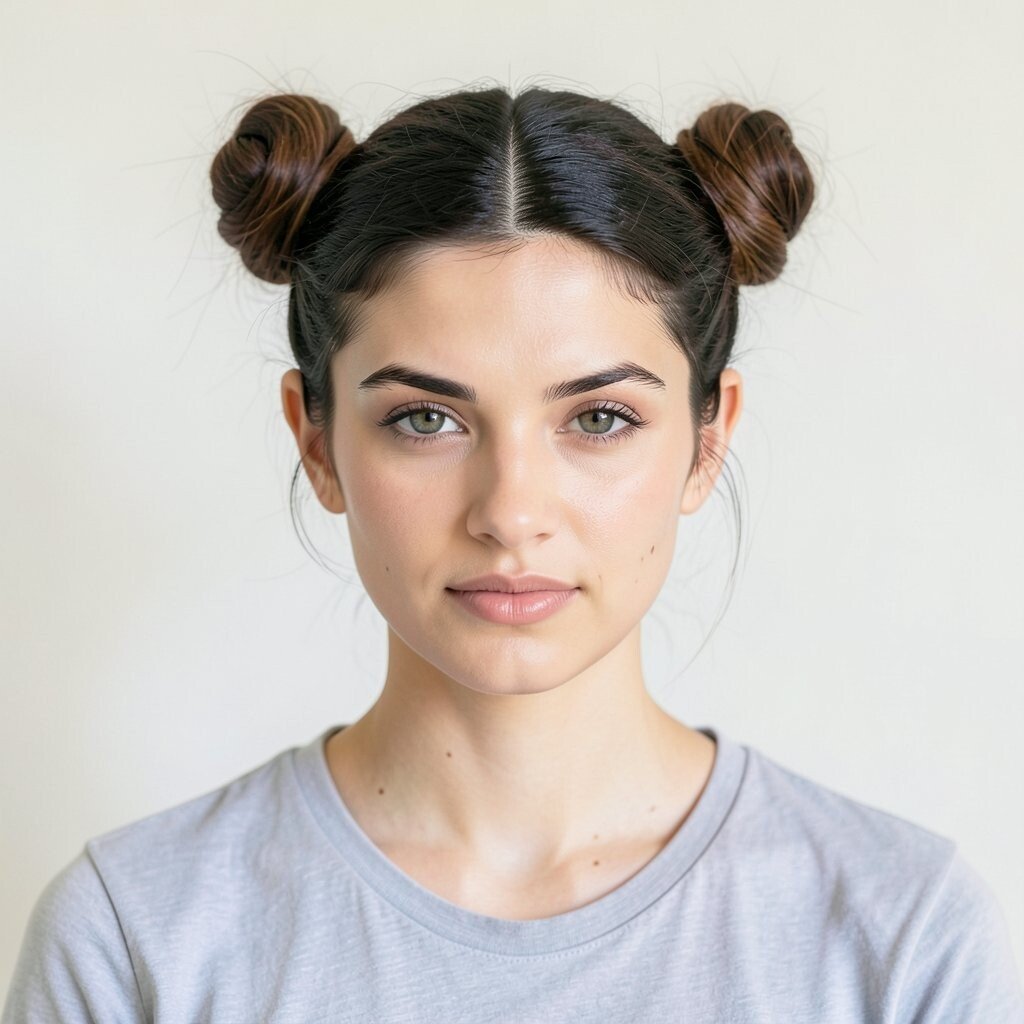
Part hair down the middle and create two small buns on either side. Keep them low and soft rather than tight, and let a few strands frame your face.
This fun style feels youthful and has been popping up in everyday street styling. It’s also great when you want to stretch wash day because it hides oilier roots behind the buns.
Personalize it by adding a thin headband or using colorful elastics that match your mood. For cost considerations, bobby pins and elastics are usually the only things you need.
If your hair is thin, use a small amount of dry shampoo at the roots and gently tease the sections before bunning.
15. The Claw Clip Wrap for Long or Thick Hair
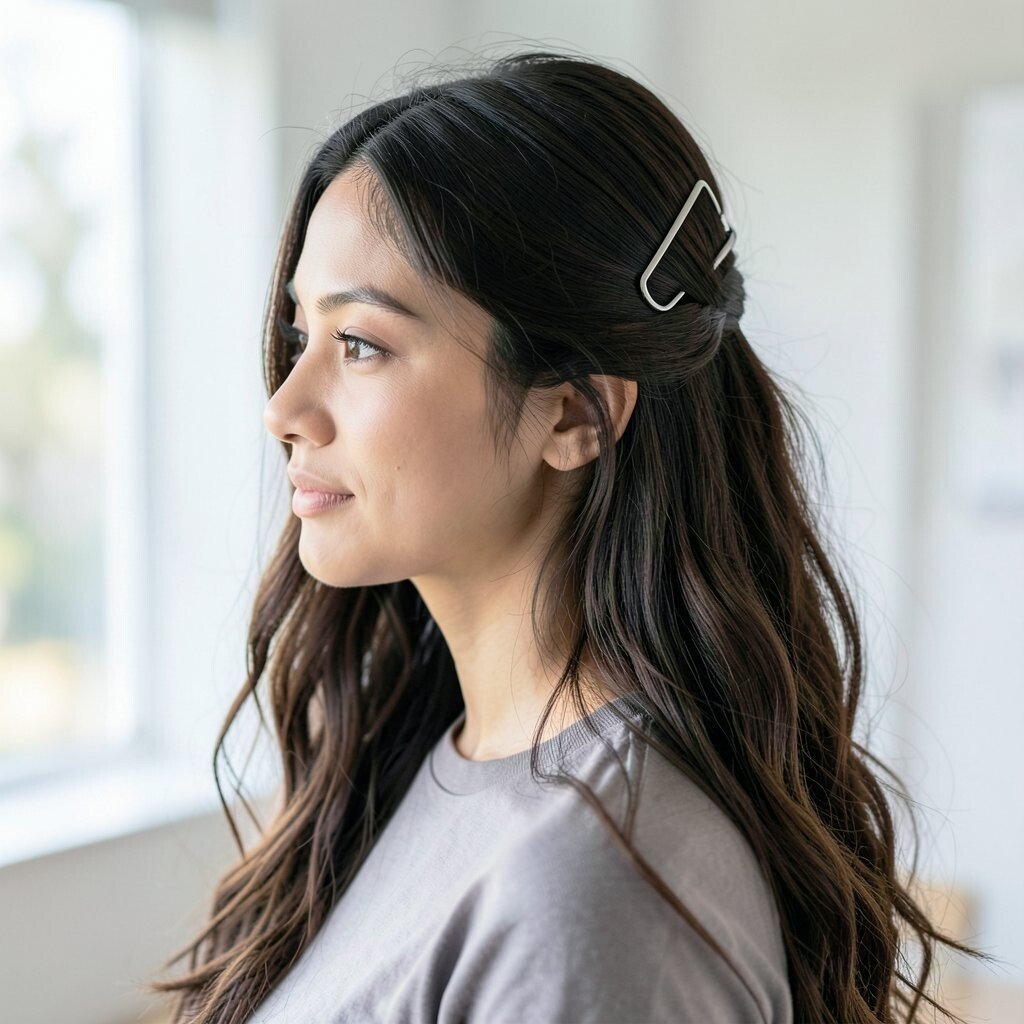
Gather hair into a low position and twist it slightly before clipping. Slide a claw clip over the twist and adjust it until the top looks smooth and the ends fall neatly.
This style is perfect for long or thick hair because claw clips hold better than many basic elastics. It also feels effortless, giving a polished look that still looks casual.
To personalize it, try a half-claw placement so some hair flows over the clip. If you want extra volume, lift the roots with your fingers before you clip.
It’s a budget-friendly option since a single claw clip can last a long time. With current fashion leaning toward easy accessories and wearable styling, this is a very on-trend everyday choice.