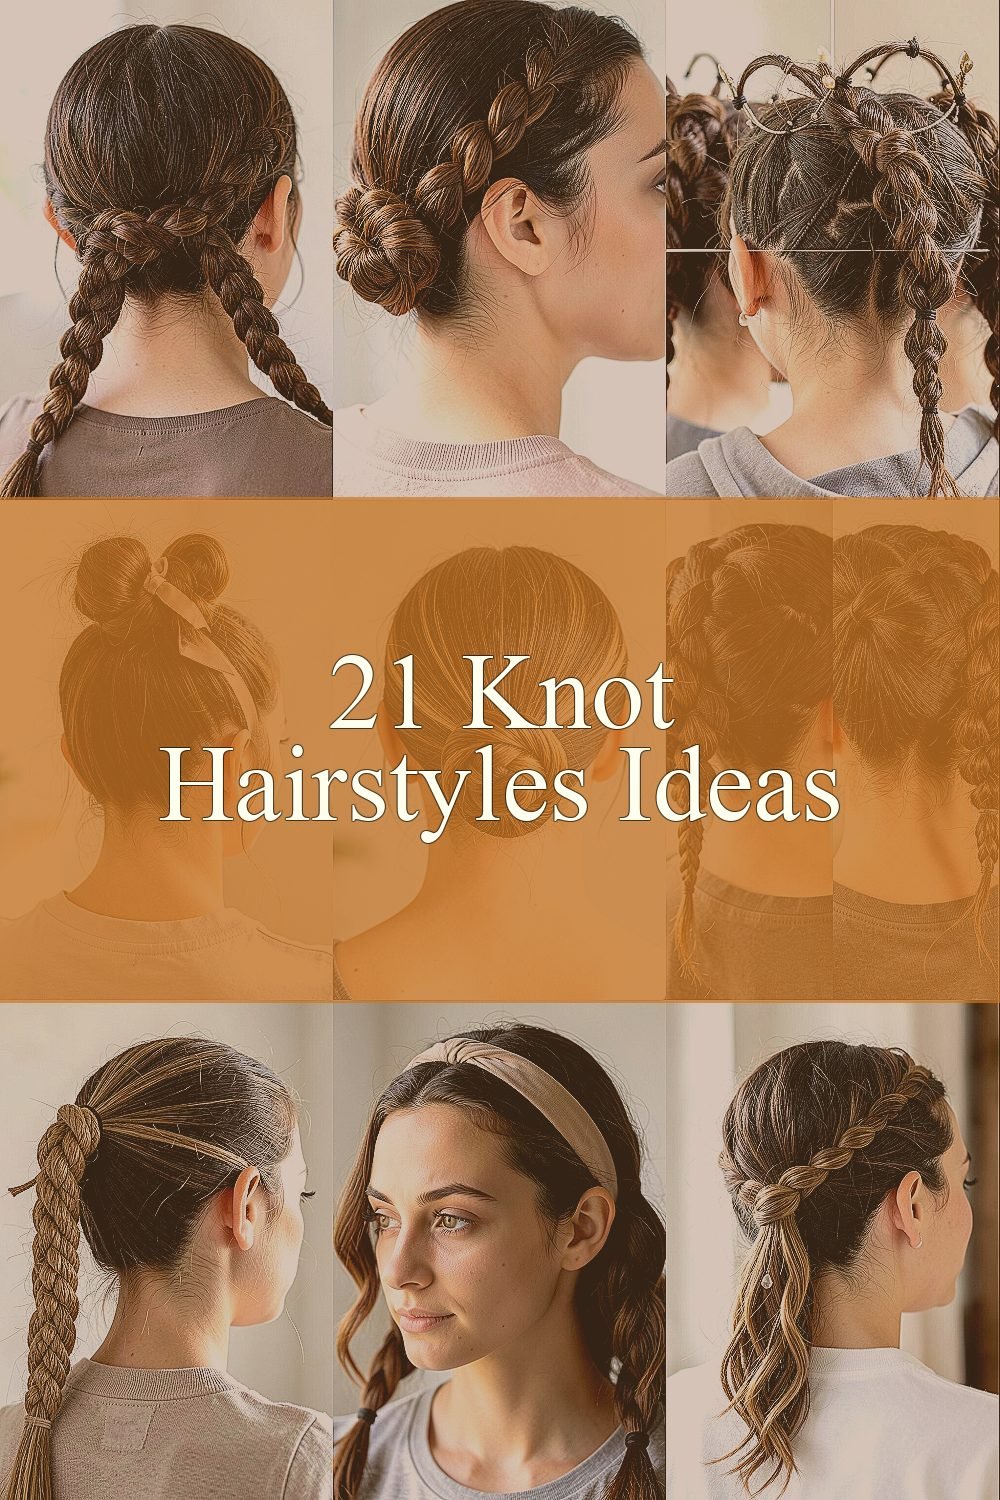
Your hair can look styled and intentional without hours in front of the mirror. Knots add shape, movement, and a “finished” vibe that feels fun to wear.
From quick everyday looks to event-ready drama, knot styles can fit your mood. The best part is how many variations you can make with what you already have.
1. The Classic Two-Strand Knot Twist

Start with two small sections near your crown and tie them into a simple knot. Keep the knot snug but not tight, so it feels comfortable all day.
Let the rest of your hair fall, or gently tuck the ends under for a tidy finish. This style looks neat in photos and helps keep flyaways under control.
2. Side Knot With a Soft Loop Finish
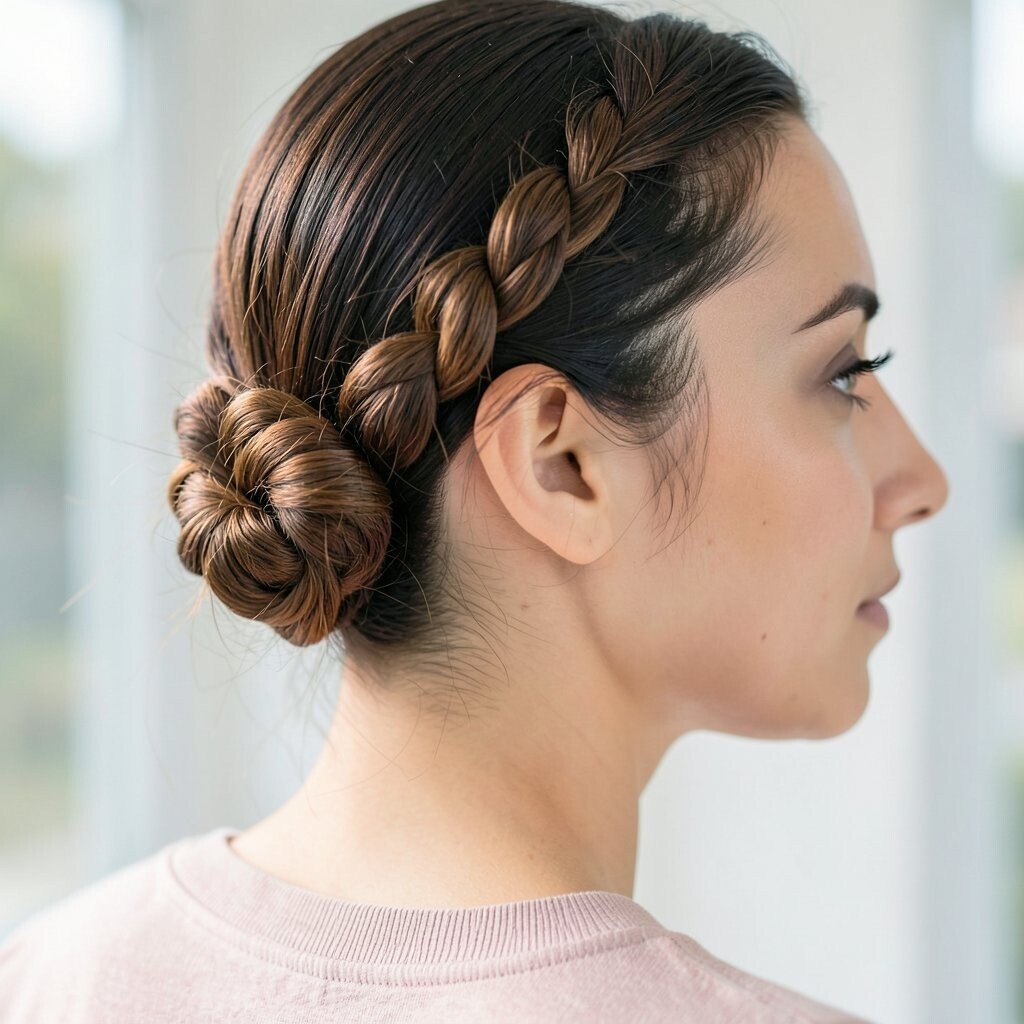
Part your hair slightly off-center and gather one side for a clean, relaxed knot. Make a loose loop at the end so it looks airy instead of stiff.
Pull a few strands near your face to soften the frame. The result is easy to wear and great for casual days when you still want to look put together.
If you want more staying power, mist lightly at the knot and smooth the nearby roots with your hands. For hair that slips, add a bobby pin inside the loop where it hides well.
3. Crown Knot Halo for Volume
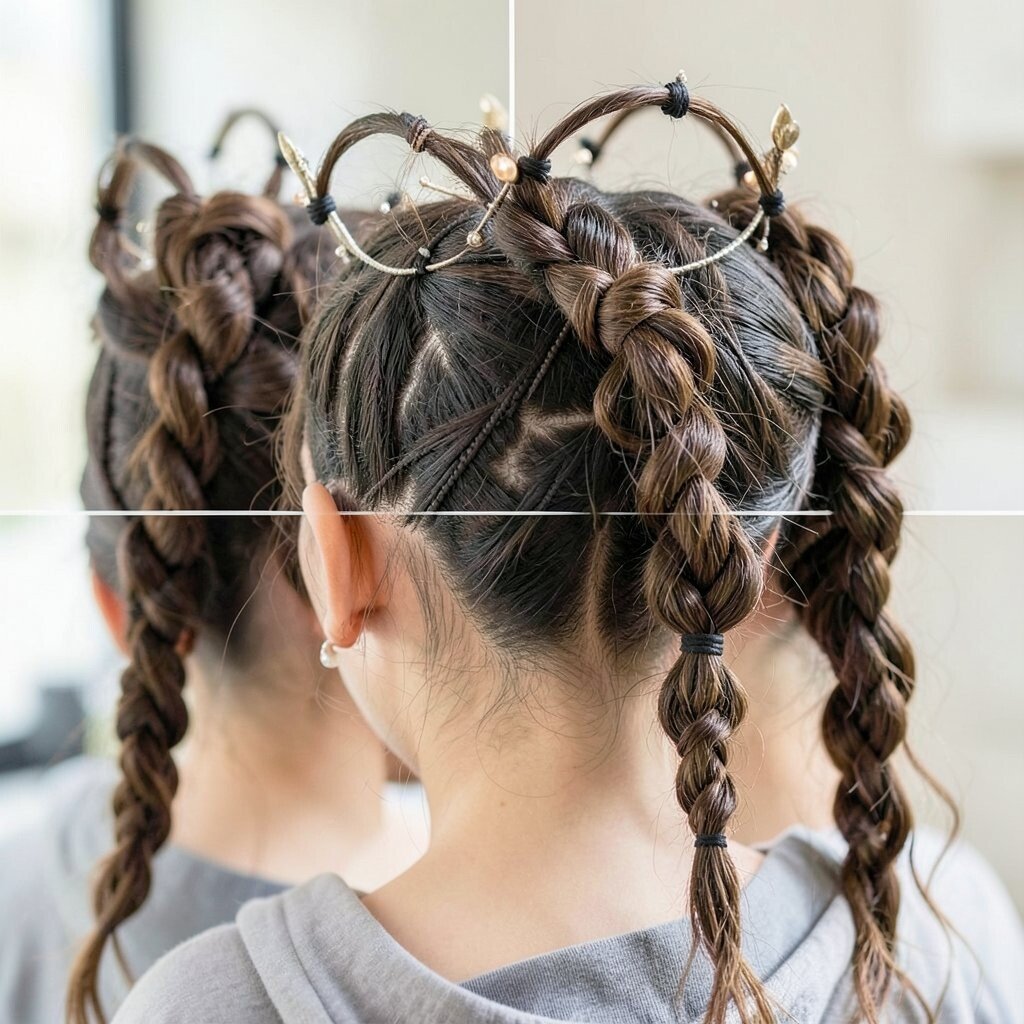
Create two sections across the top, like you’re making a headband. Twist them together and tie a small knot at the center.
Fan out the surrounding hair so the top looks fuller and more rounded. This knot halo gives a “soft glam” look that’s popular right now for brunch, parties, and even weddings.
Use a flexible hold hairspray so the crown stays lifted without crunch. If your hair is fine, backcomb lightly at the roots before tying.
4. High Knot Puff With a Ribboned Tie
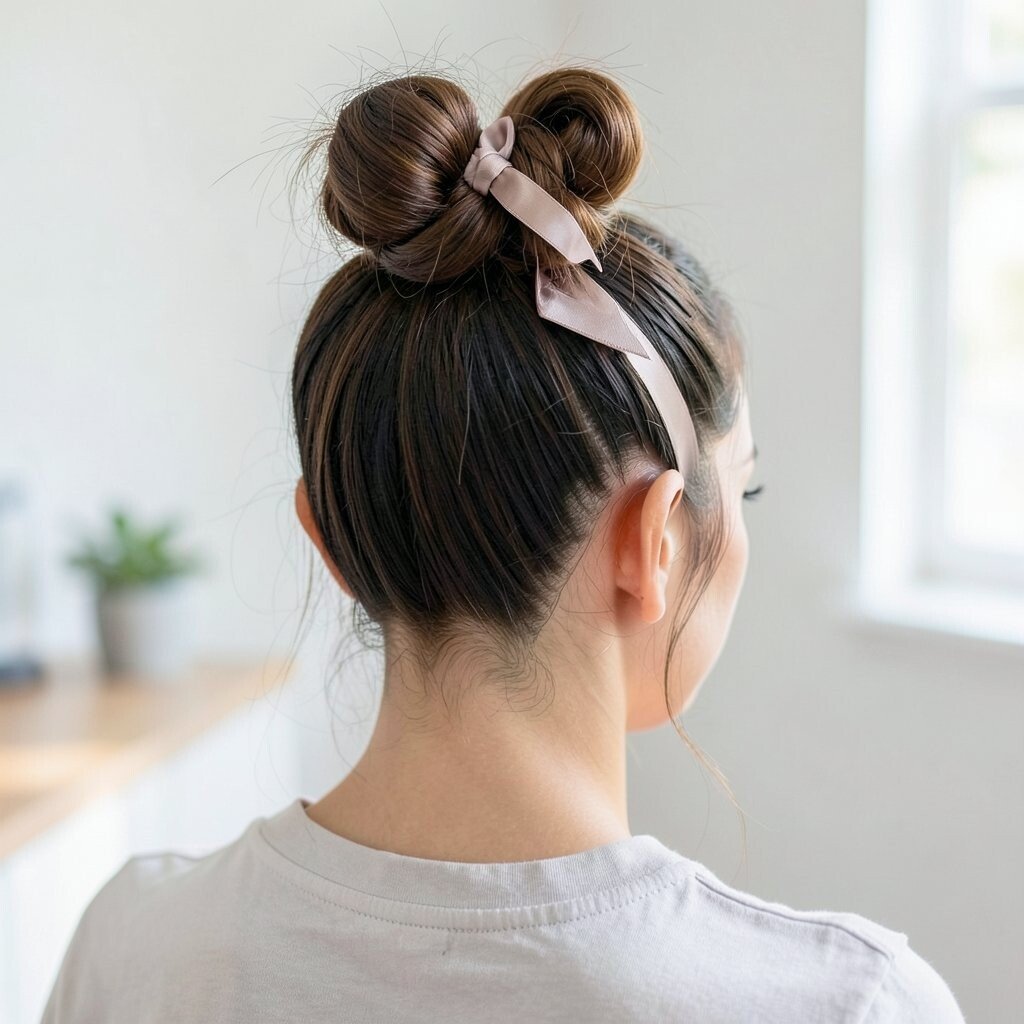
Gather your hair high at the crown and secure it into a puff, then tie a knot over the base. Wrap a ribbon or thin scarf around the knot for a playful pop of color.
Choose a ribbon that matches your outfit or your nails to make the look feel extra personal. This hairstyle feels youthful, and the knot helps your puff look taller.
5. Low Knot Bun With a Sleek Middle
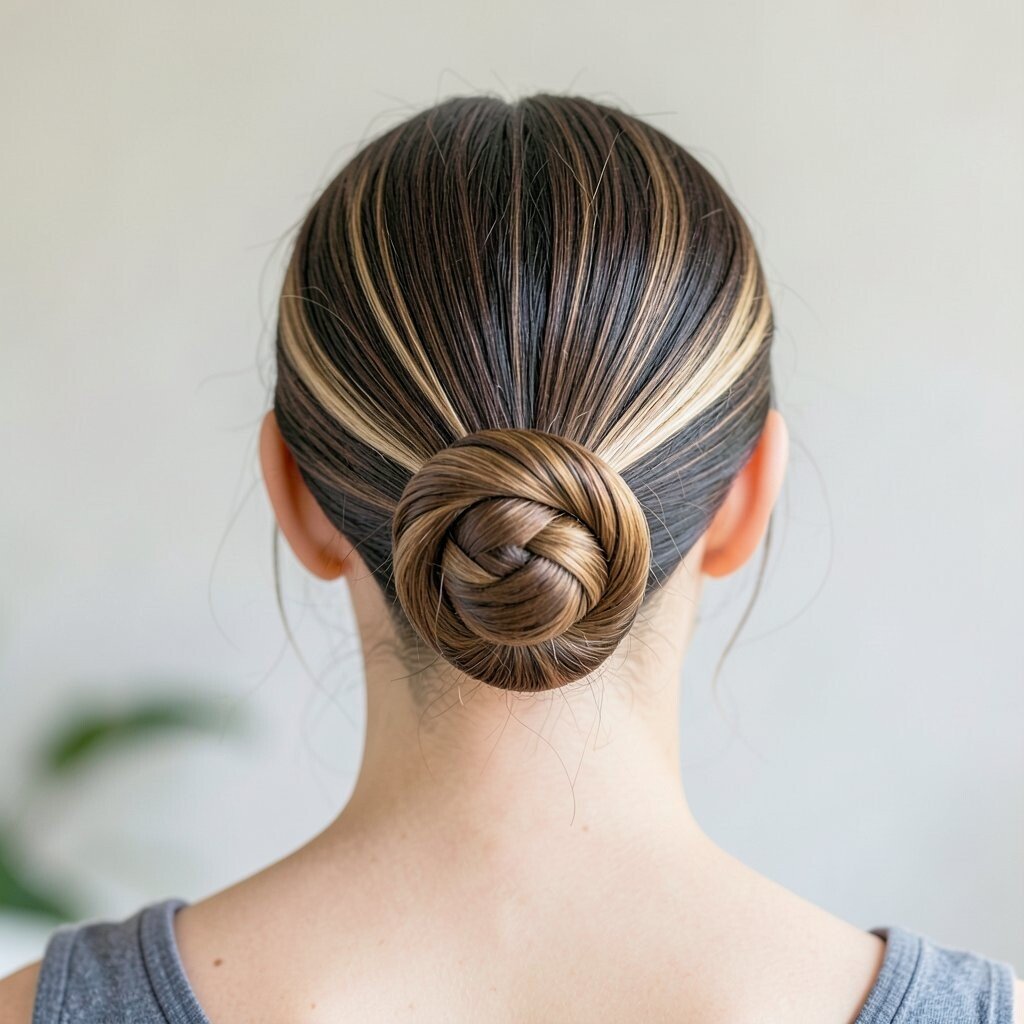
Gather your hair low at the nape and braid it for a moment, then wrap the braid into a bun and knot the ends underneath. Aim for smoothness in the middle so it looks polished.
Secure with pins and tuck any loose hairs inward. The low knot bun is perfect for workdays because it keeps your hair off your neck.
If you have thick hair, use larger pins and add a little gel on the surface for a clean finish. For thinner hair, tease the bun slightly so the shape looks fuller.
6. Knotty French Twist With Two Mini Knots
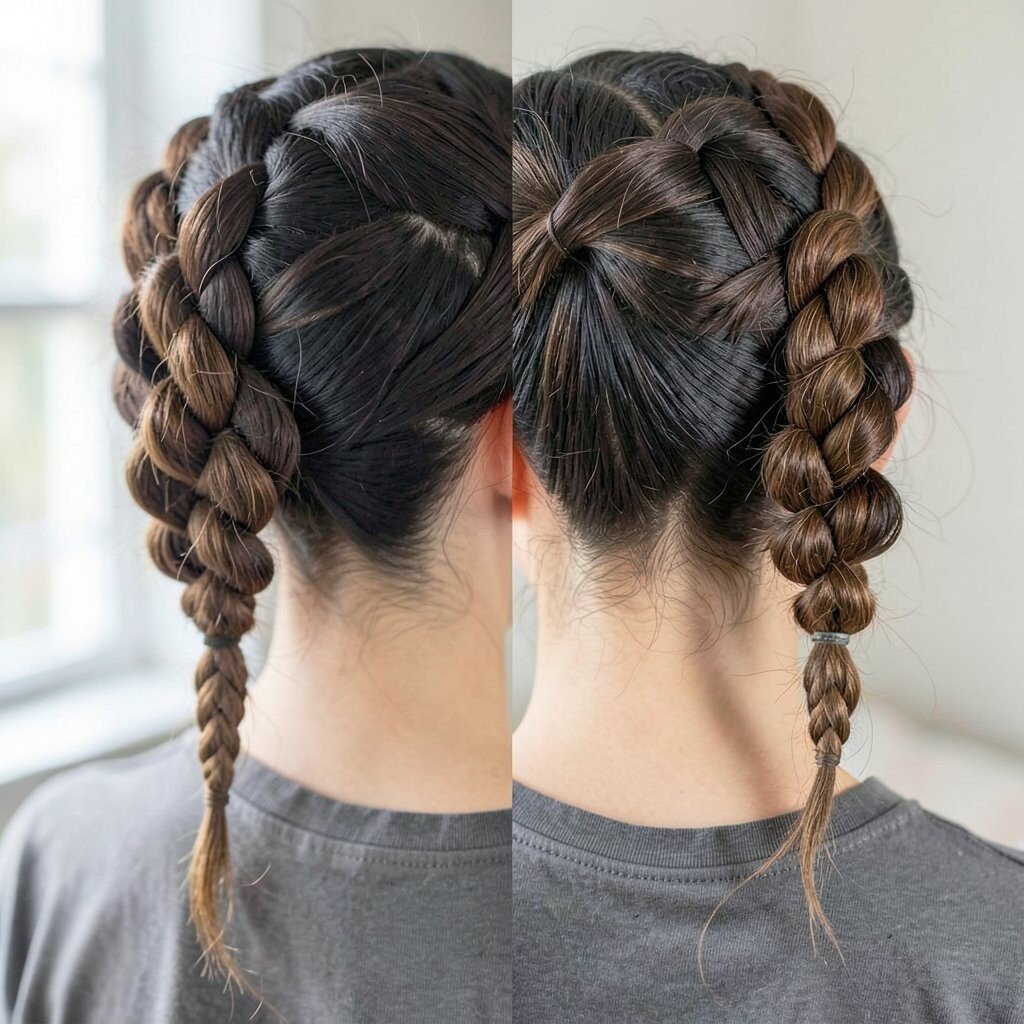
Do a loose French twist, then create two small knots along the twist as you secure it. Think of the knots as tiny punctuation marks that add texture.
This style looks fancy without needing advanced skills, and it turns simple pins into a design. It’s especially flattering for medium to long hair because there’s room for the knots to show.
Keep the knots visible by placing them where your part naturally shows. A satin scrunchie can help hold the twist while you pin.
7. Rope Knot Ponytail With a Hidden Tie
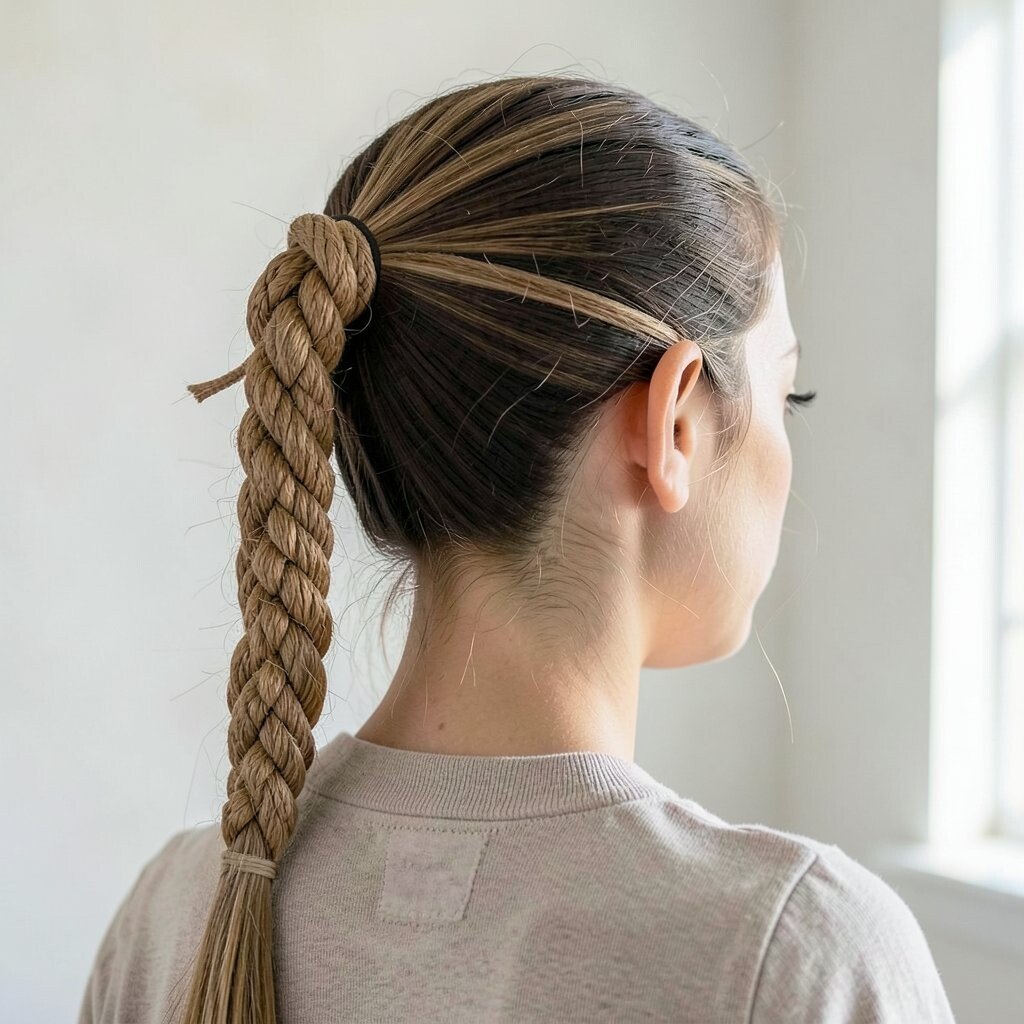
Pull your hair into a ponytail, then divide it into two rope-like strands. Twist the strands together and tie them into a knot near the ponytail base.
Slide a small elastic under the knot so it doesn’t shift, then wrap a thin strand around to hide the elastic. This rope knot ponytail looks trendy and still works for school, errands, and gym days.
8. Crisscross Knot Headband Look
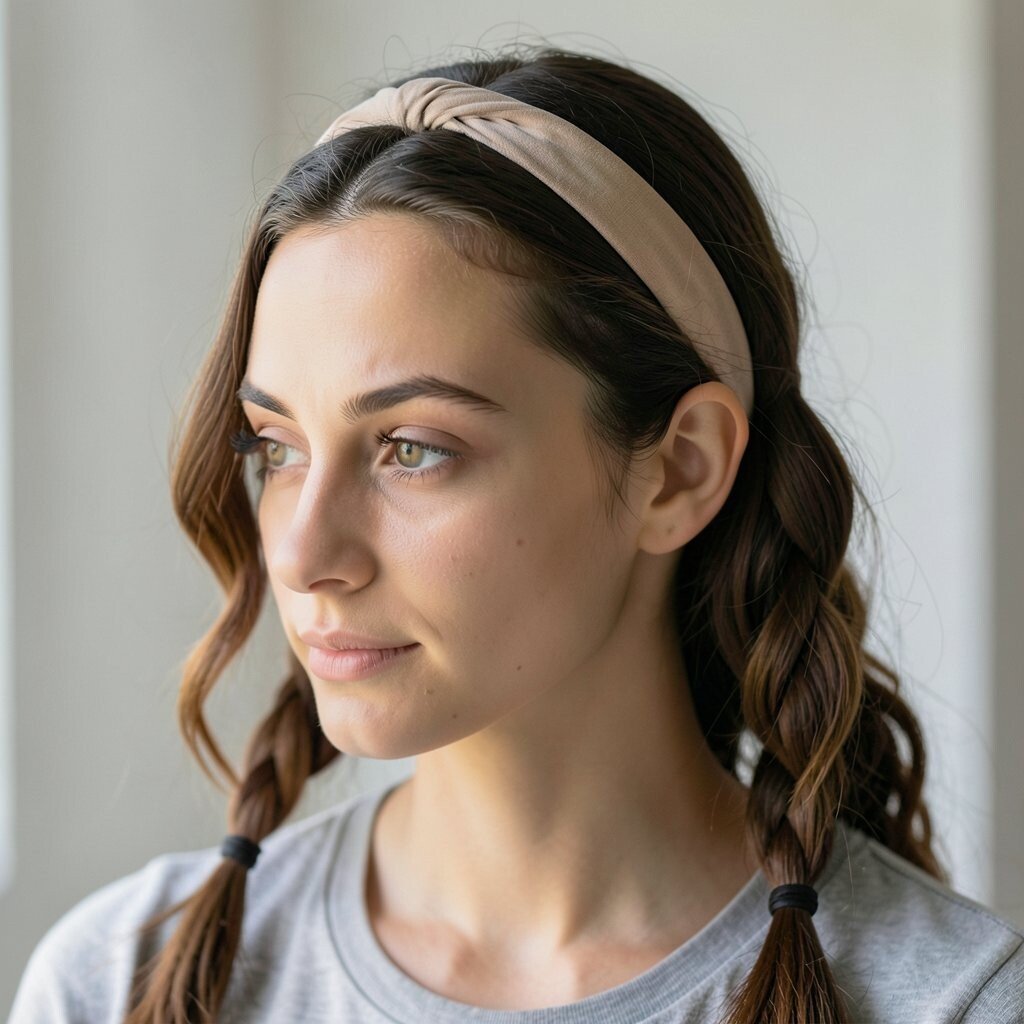
Take two front sections and crisscross them at the top, then tie them into a knot right above your forehead. Let the knot sit slightly off-center for a more natural look.
This hairstyle gives the “headband” effect without needing an actual accessory. It can make your face look brighter and more open, especially with side-swept bangs.
9. Waterfall Knot Half-Up With Loose Drops
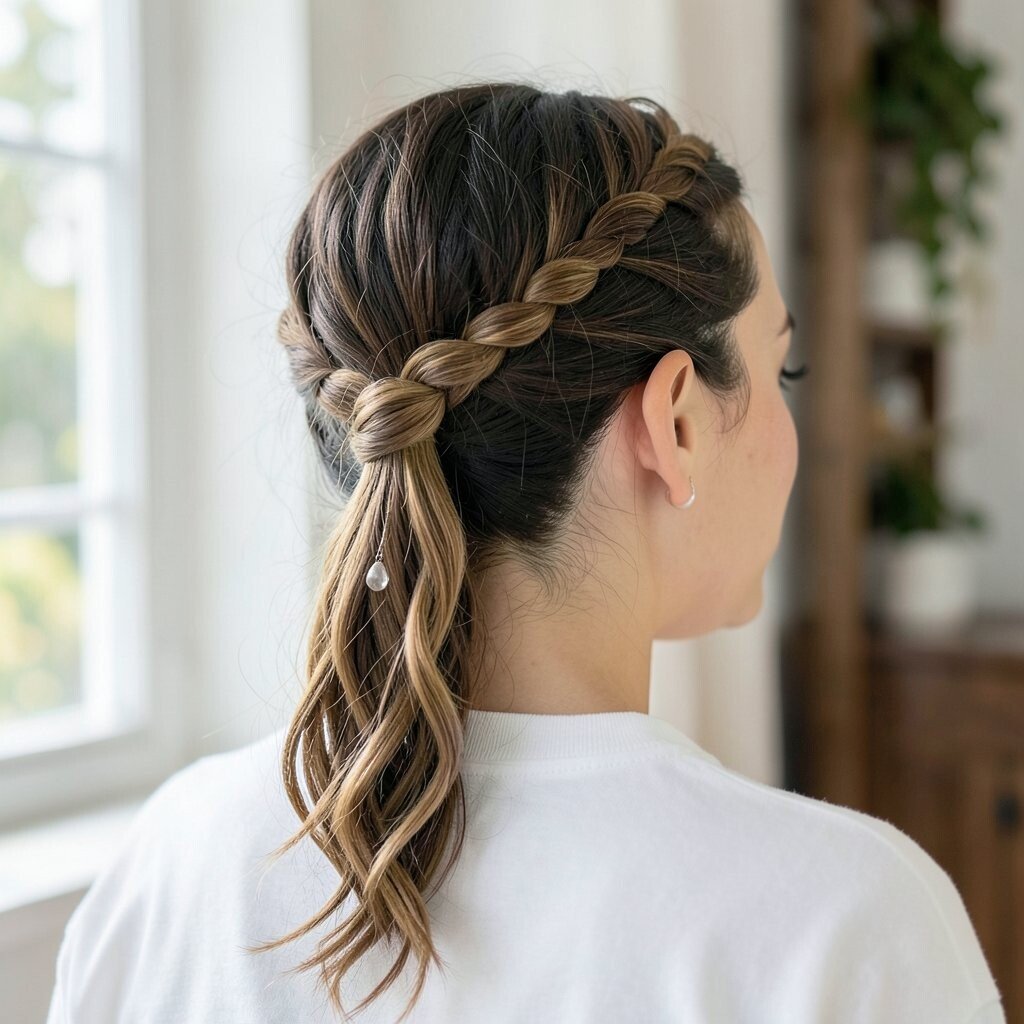
Clip the top half of your hair and braid a small waterfall section near the crown. Instead of tying off with a basic elastic, tie the ends into a knot and gently blend it into the waterfall.
Let the remaining hair fall in soft waves so the knot acts like a focal point. This look feels romantic and is a great match for current styles that mix movement with structure.
For personalization, add a tiny bow clip near the knot or twist the sides into mini knots too. If your hair is straight and slippery, use dry texture spray so the waterfall sits better.
10. Double Knot Messy Updo

Gather hair into a loose updo, then tie two quick knots around the base like you’re tying a scarf. Leave a few strands loose on purpose so it looks effortless.
Messy updos are always in style because they forgive uneven hair and add natural texture. This one feels especially fun for festivals, weekend dinners, and windy days.
11. Knot-Cluster Side Braid

Start a side braid and tie mini knots along one side section as you go. Each knot should be small enough to keep the braid flexible.
When you reach the end, secure it and fluff the braid so the knot shapes pop. The visual effect is textured and unique, like your braid is made of little rings.
To keep it neat, use a light styling cream and finger-comb only the areas you want smooth. If you want more drama, use hair with natural highlights so knots catch the light.
12. Knot-Skirt Bun for a Curvy Shape

Wrap your hair into a bun, then tie a knot around one side so the knot sits like a little “skirt” near the top. The bun looks round, while the knot adds contrast and curve.
This style is unique because the knot isn’t just functional, it’s part of the silhouette. It works well for events because it feels artistic but still wearable.
13. Minimalist Micro Knot at the Crown
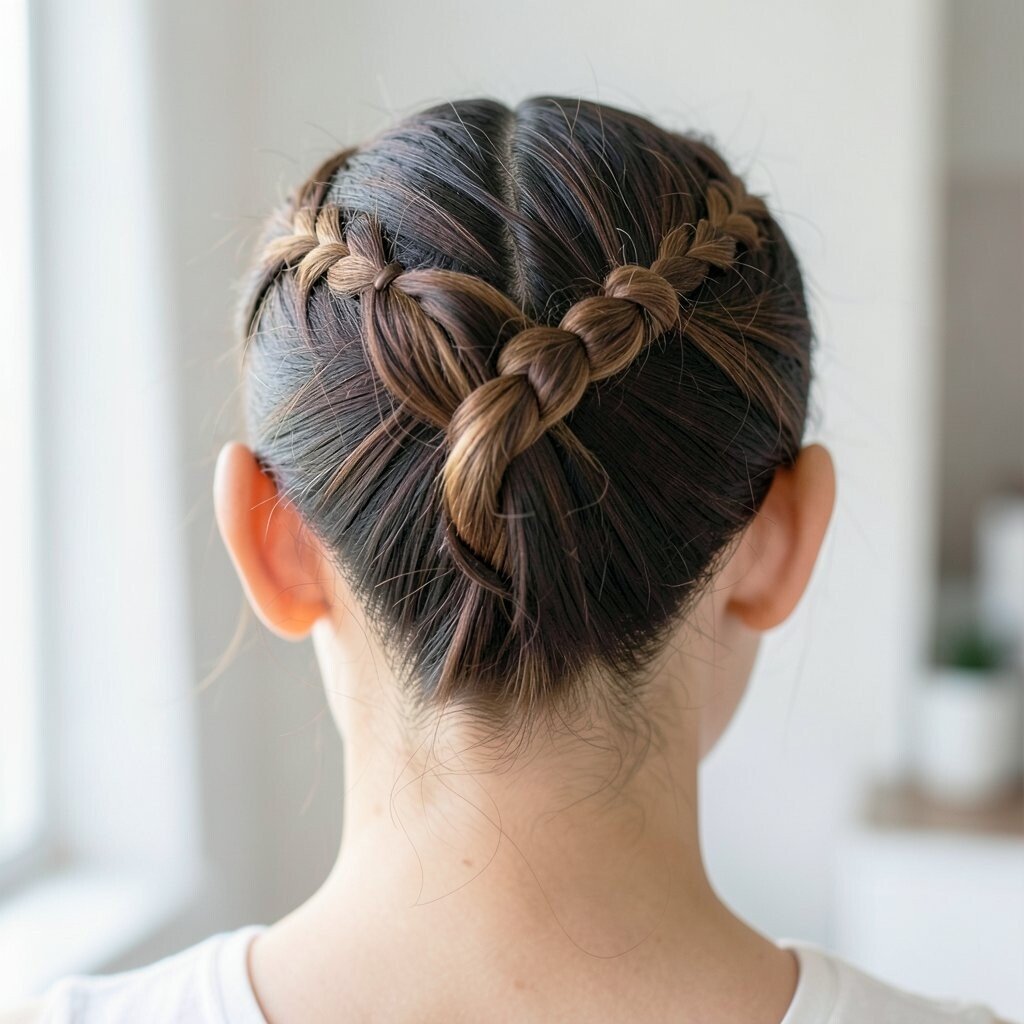
Part your hair, then take a tiny section and tie it into a micro knot right at the crown. Keep the knot small and clean, like a little detail.
This works beautifully for people who want something subtle but still different. It’s also a budget-friendly option because you only need hair ties and a couple of pins.
Try it with sleek styles if you love a clean look, or with soft waves if you want gentle contrast. For personalization, add two micro knots instead of one for a balanced look.
14. Knoted Halo Bun With Braided Edges
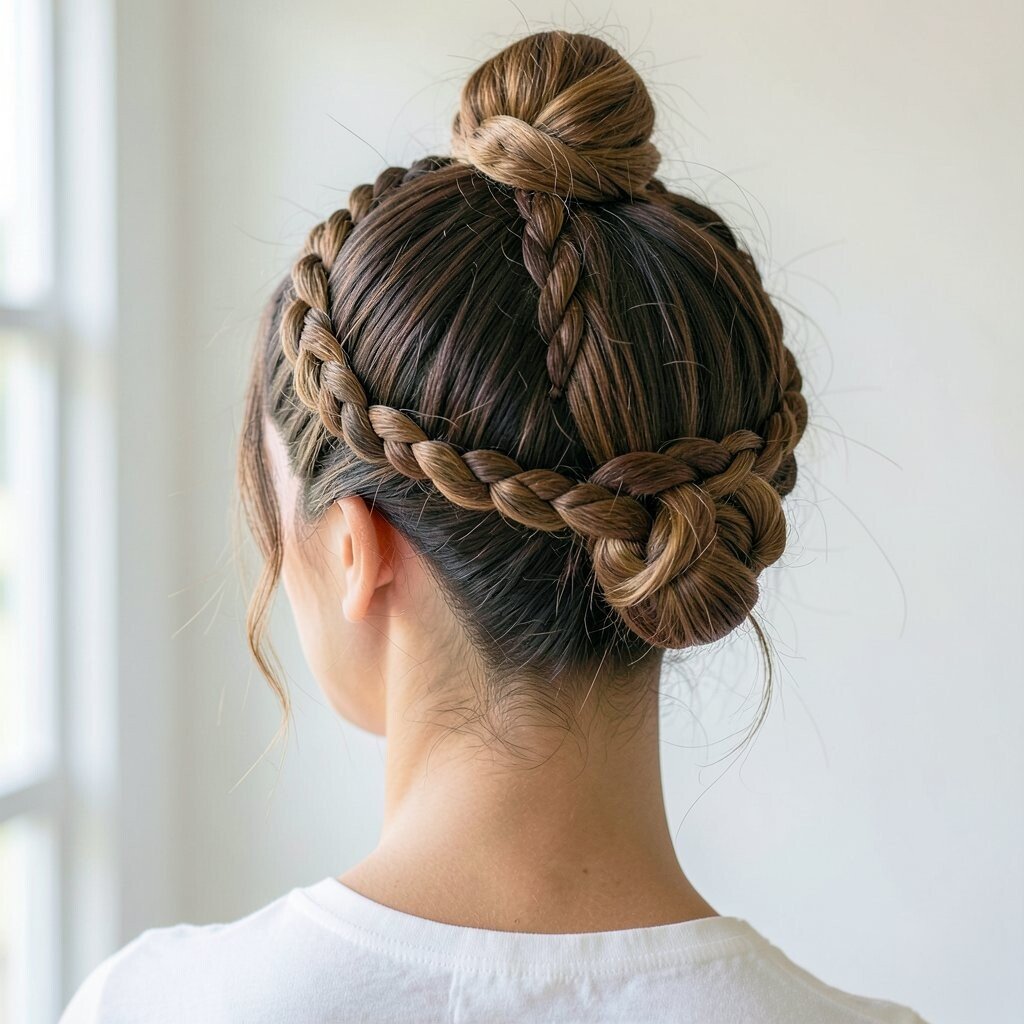
Make a halo bun by wrapping hair around the head, then braid a couple of small sections near the edges. Tie those braids into knots and tuck them into the halo.
The braided edges make the halo feel more detailed, while the knots keep it playful and current. This is a gorgeous style for special occasions because it holds shape longer with the extra structure.
Use a stronger hold spray for the outer pieces so the knot details stay visible. If your hair is fine, add volume at the crown first so the halo doesn’t flatten.
15. Knot Wrap Around a Chignon

Create a classic chignon at the back of your head, then wrap a small strand around it and tie that strand into a knot. Keep the knot at the side or slightly lower so it looks intentional.
This hairstyle looks elegant and pairs well with earrings and collars. It’s also practical since the knot wrap helps keep the ends tucked and secure.
16. Spiral Knot Twist for Shorter Hair

If your hair is shorter, gather sections and tie them into a small spiral knot near the back. Work in layers so each knot locks the next one in place.
This style is friendly for short cuts because it creates texture where hair might otherwise stick out. Use wax or cream sparingly so the knots look defined, not greasy.
For personalization, match the knot placement to your natural part so it frames your face. Budget-wise, you can do this with just elastic bands, pins, and a bit of styling product.
17. Low Side Knot With a Curled Tail
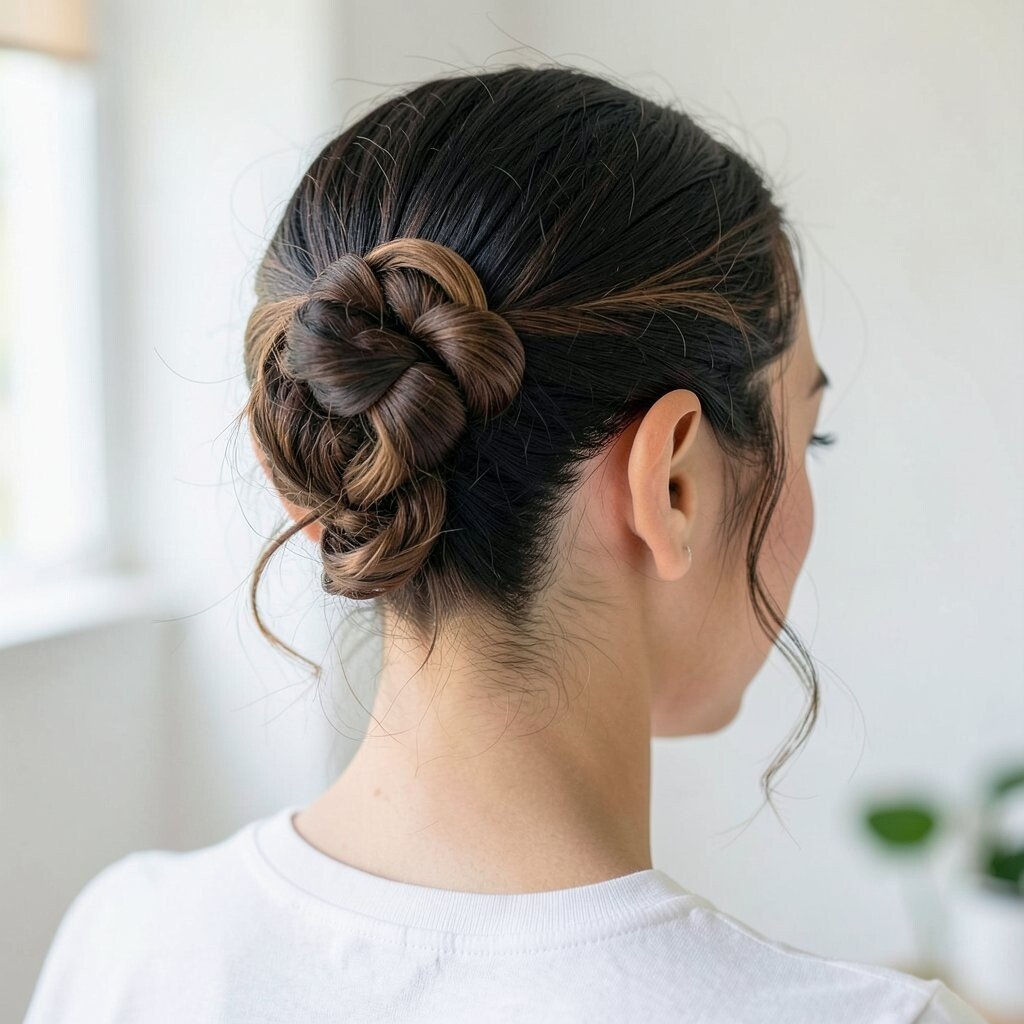
Pull hair into a side ponytail, tie it into a knot, and leave the tail free. Curl the tail loosely so the knot becomes the base for a soft, feminine finish.
This is a great way to turn a simple pony into something photo-ready. The combination of smooth knot and bouncy ends feels modern and fun.
18. Vertical Knot Columns for a Fashion Look

Create three vertical sections down the front or sides, then tie each section into a small knot. Secure each knot close to the scalp so they stand up like little columns.
The visual effect is bold and artistic, and it’s one of those styles that people notice right away. It works especially well if you like trying new trends without needing a full haircut.
To keep it comfortable, don’t pull too tight and use soft elastics that won’t snag. For personalization, vary the knot sizes so one column stands out more than the others.
19. Tangled-In Knot With a Scrunchie Base

Place a scrunchie at mid-height, then loop and twist sections through it until you form a knot-like tangle. Let a few pieces stick out so it looks relaxed and styled.
This trend-forward look is perfect when you want volume without complicated steps. It’s also gentle on hair because scrunchies reduce the harsh tugging from tight elastics.
If you want a more polished version, smooth only the top layer and leave the tangles for the rest. A quick spritz of hairspray helps the knot hold through windy moments.
20. Knot-Back Top Bun With Face Framing Strands

Make a top bun at the back of your head, then tie a knot around the base to lock it in. Pull two face-framing strands forward so the look feels balanced and soft.
This style is practical for days when you need your hair up but still want a flattering frame. The knot base adds security, so the bun is less likely to slip.
For personalization, adjust the bun height and tighten or loosen the knot depending on your comfort. If you’re on a budget, use pins you already own and a single elastic for the foundation.
21. Braided Knot Crown With a Pearl Pin
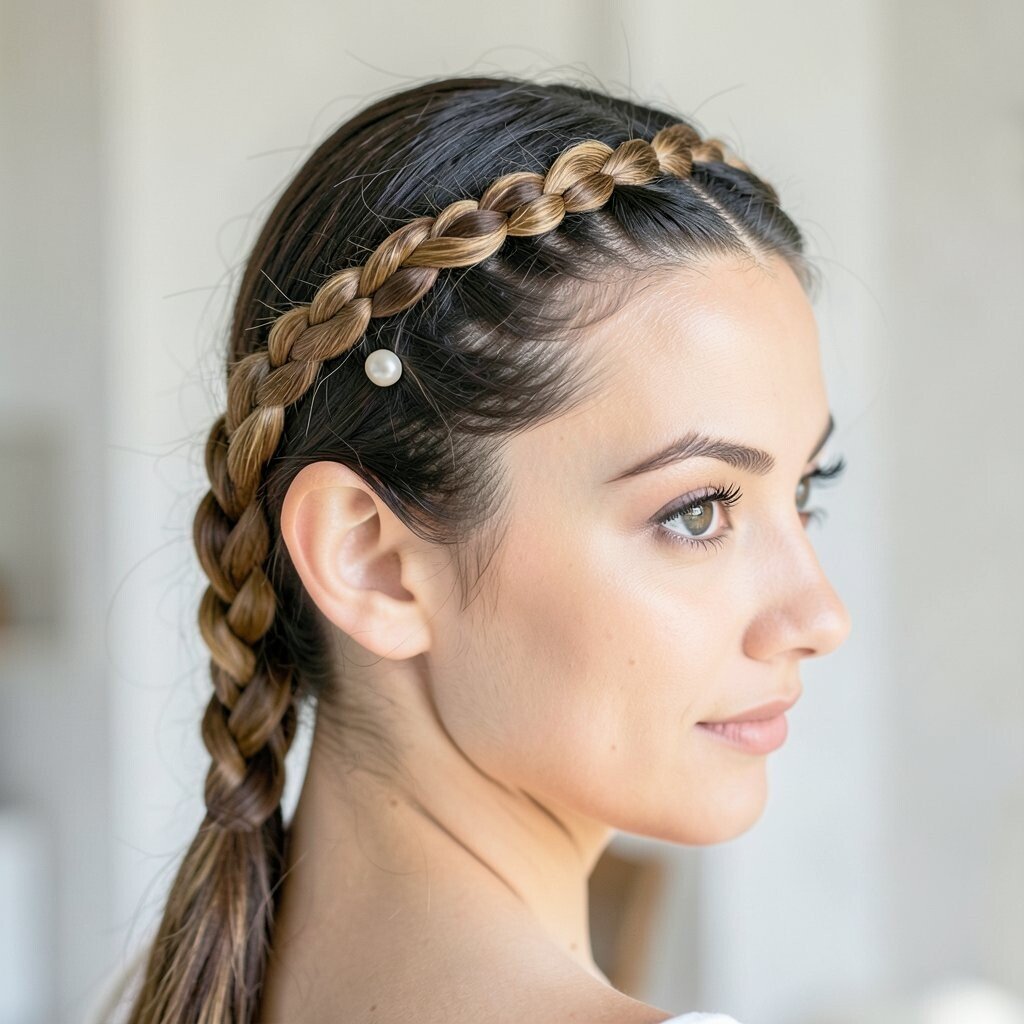
Start with a loose crown braid, then tie knots at the braid’s twists so the pattern shows clearly. Finish by pinning a small pearl hair clip over one knot for a classy touch.
This style feels romantic and elevated, and it’s a popular direction for current “polished but soft” looks. The pearl pin adds a special detail without requiring expensive accessories.
To keep it secure, use a flexible hold spray and tuck the ends under the braid. For personalization, swap the pearl for a small charm, flower pin, or metallic clip that matches your outfit.