Your hair can look amazing on a normal school morning. With the right style, you’ll feel put-together before the first bell.
These ideas are practical, fun, and easy to match with your everyday life. Pick one, try it, and enjoy the confidence that comes with it.
1. Bubble Ponytails With a Soft Crown
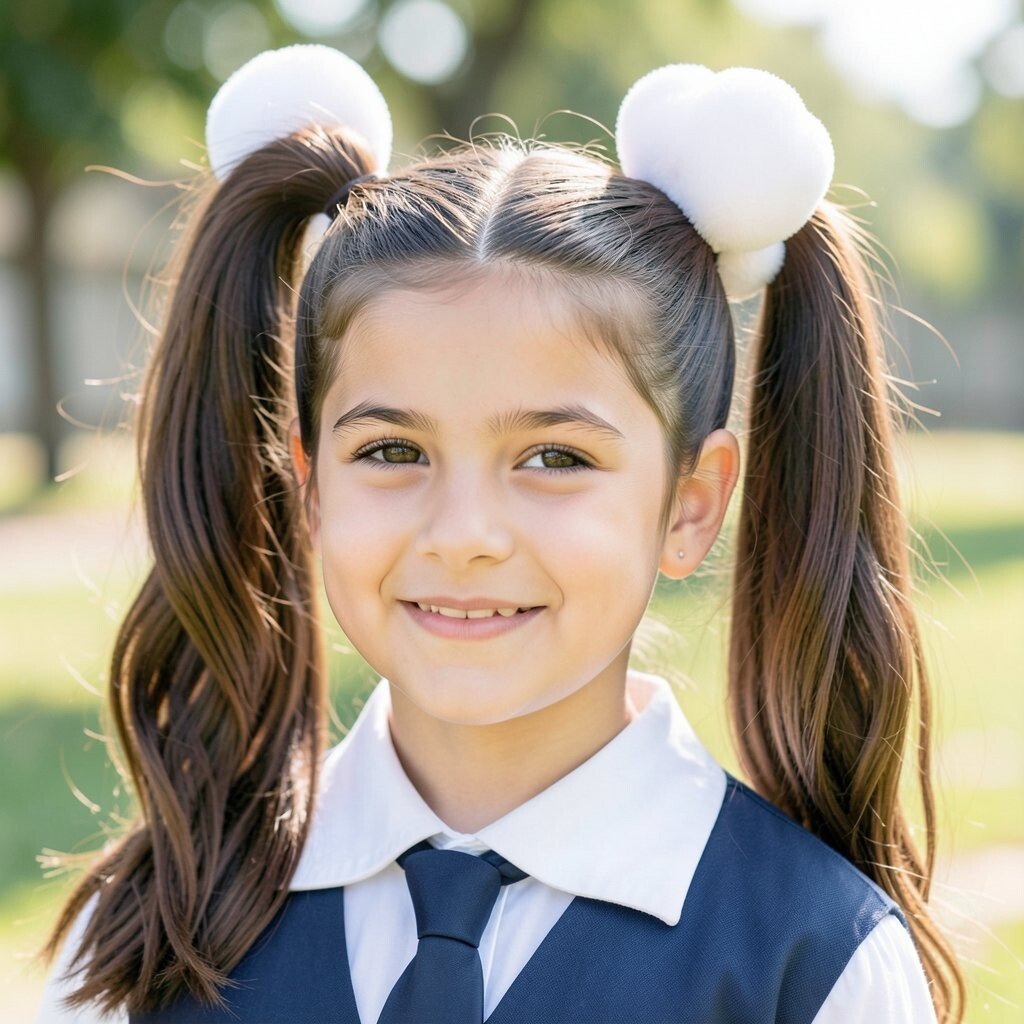
Start with a neat ponytail and gently divide it into several even sections. Then wrap a small elastic around each section so the length looks like little bubbles.
This style looks sweet and orderly, especially on medium to long hair. It helps keep hair off your face, and the shape stays cute even after school activities. For personalization, try a half-up version so your crown area has the bubble effect while the rest falls naturally.
You can add a tiny shine spray on the ponytail for a smooth look. For cost, this only uses basic elastics, and you can get more sets for very little money. As a practical tip, use a light hair gel or cream at the roots to prevent flyaways.
2. Sleek Side Part With a Low Twist
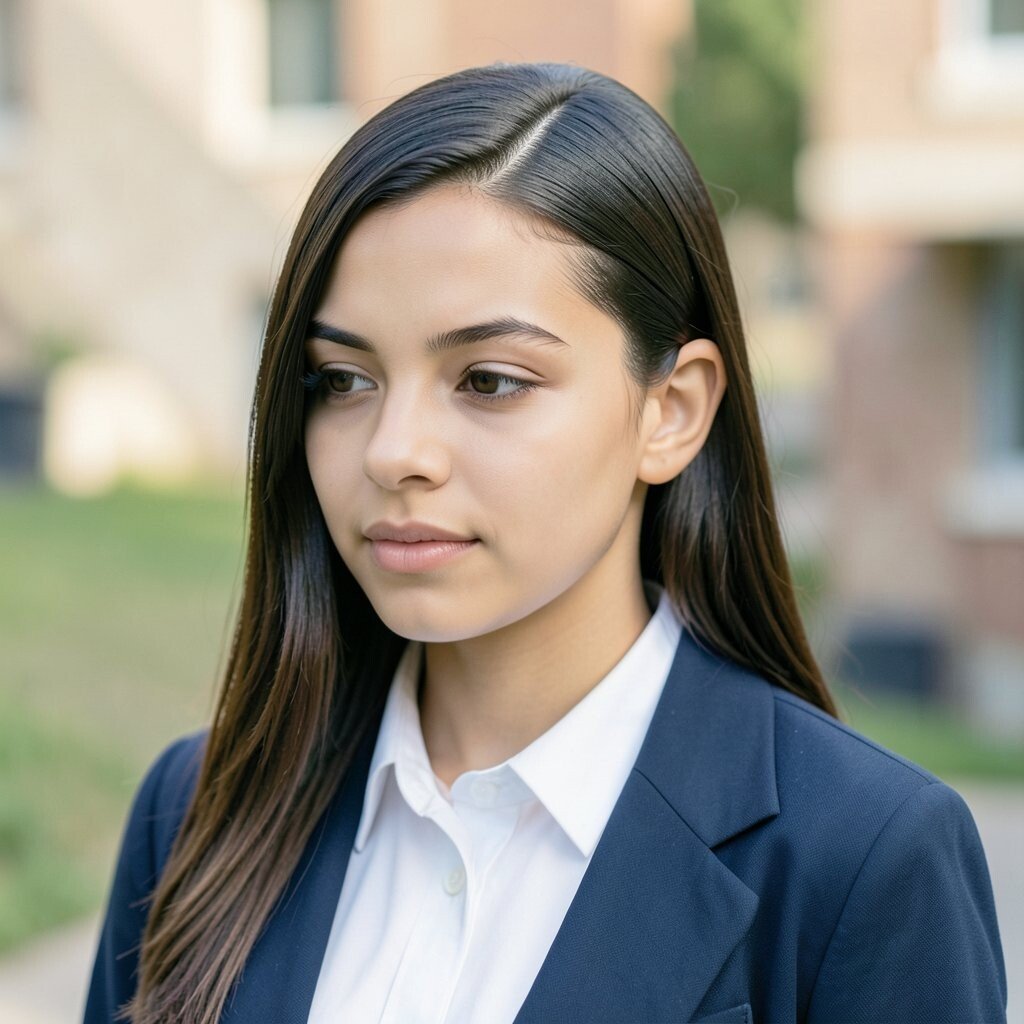
Comb your hair into a deep side part and gather everything to one side. Twist the hair at the back and secure it low with a bobby pin or small clip.
This looks polished and classy, and it also helps hair stay controlled during windy days. Keep the twist tight near the scalp so it doesn’t loosen while you move. Choose a side that matches your natural part, and you’ll look effortless fast.
3. Half-Up Space Buns With Mini Ribbons
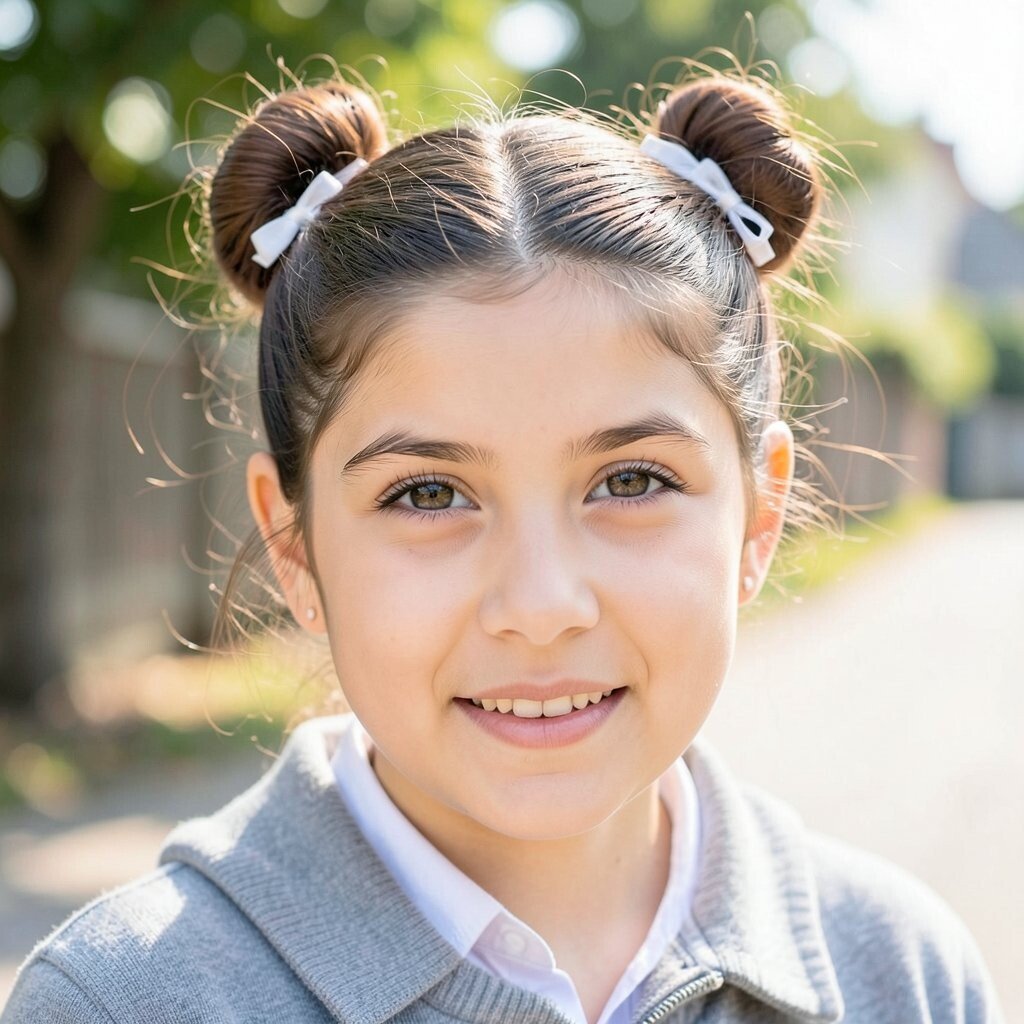
Split your top hair into two sections and twist each into a small bun high on the head. Secure them, then use mini ribbons or thin ties to wrap around each bun.
The buns feel playful, and the half-up base keeps your hair from getting too bulky. You’ll get a fun look that still works for school because it stays secure. For uniqueness, try different ribbon colors that match your favorite hoodie or backpack.
This style is also great for school pictures because it adds height and clear shape. To keep it neat, smooth your hair with a tiny bit of water on your hands before you twist. It’s a low-cost look too, since you can reuse hair ties and simply switch ribbon styles.
If you have shorter hair, make the buns slightly smaller and leave a short curtain of hair down the front. That little frame makes the whole look feel intentional and flattering.
4. Classic Two-Braid Waterfall
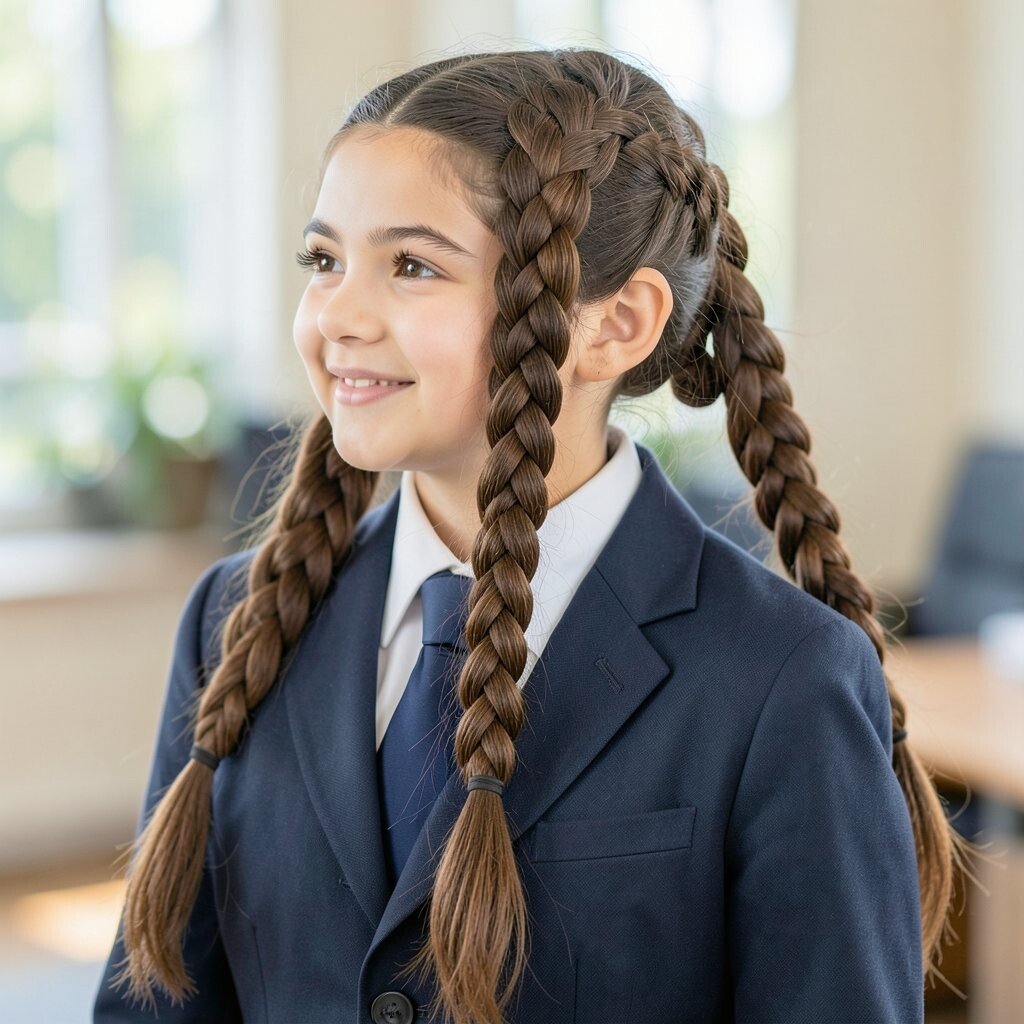
Create two braids on each side, but let strands “fall” down like a waterfall by weaving select pieces forward. You can keep it simple by using one braid as the base and feeding a few strands across.
This style is pretty without feeling complicated, and it adds movement when you walk in the hallway. It’s unique because it mixes the neat look of braids with a softer, flowy vibe. It also helps control frizz because the hair is sectioned and guided.
5. High Ponytail With a Braided Wrap
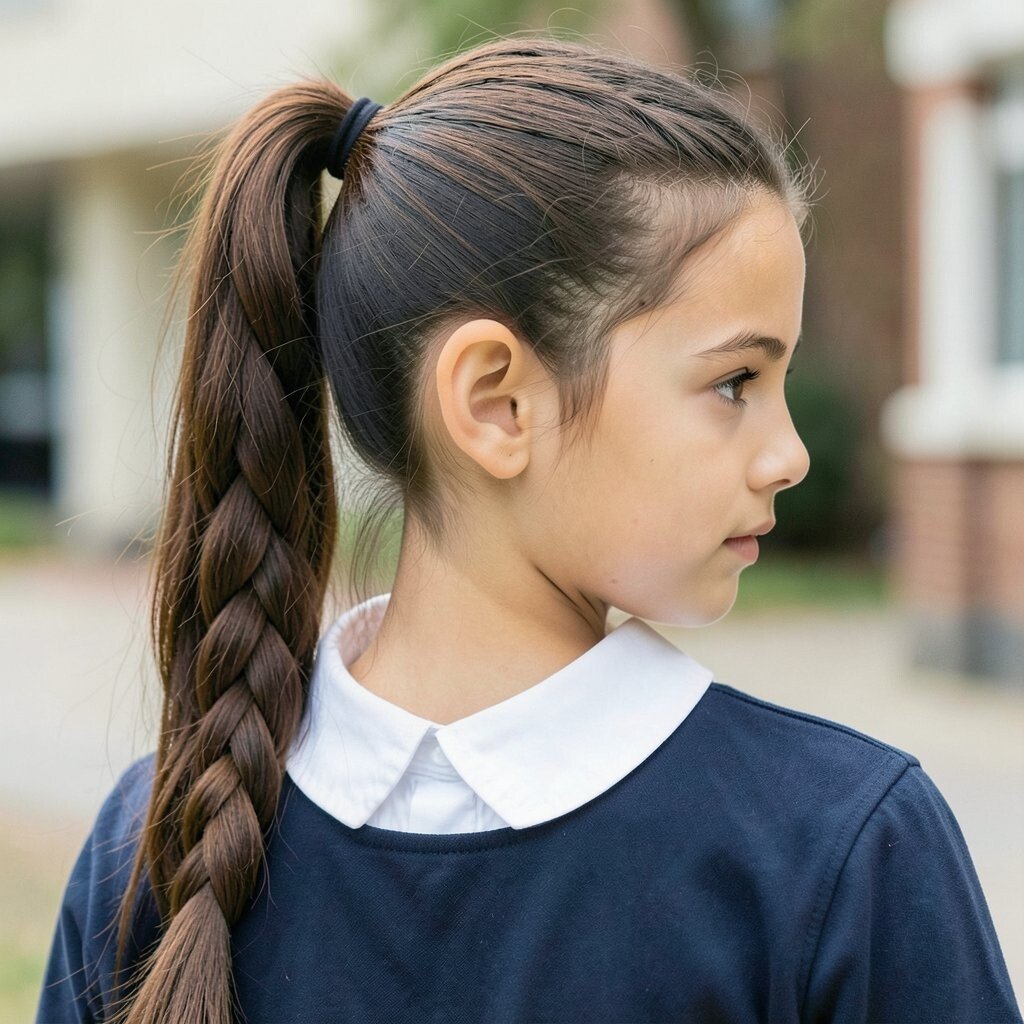
Brush your hair back into a high ponytail and secure it with a strong elastic. Then braid a small section from the ponytail and wrap it around the base, pinning the end underneath.
The braided wrap makes the ponytail look dressy, even on a regular school day. It keeps the elastic hidden, so your hair looks tidy and finished. For personalization, make the braid loose and soft for a relaxed feel, or keep it tighter if you love a clean look.
This hairstyle is practical because it holds well during sports and bus rides. It costs nearly nothing beyond elastics, and you can use the same hair clips you already own. A quick tip is to spritz the ponytail with a tiny bit of anti-frizz spray so the top stays smooth.
6. Messy Top Knot With Face-Framing Layers
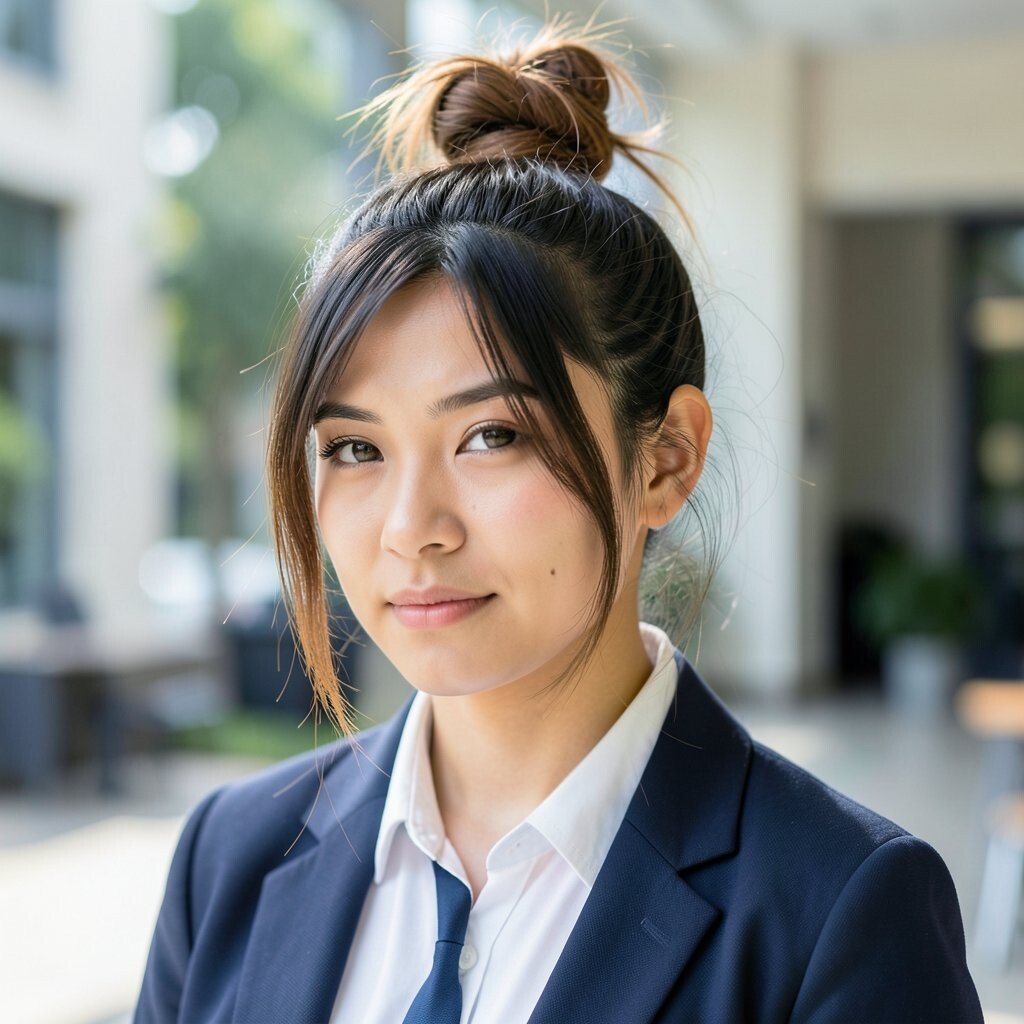
Gather your hair into a top knot, but keep it relaxed and slightly tousled. Leave a few short face-framing pieces in front so the look feels soft, not too serious.
This is the perfect “I woke up cute” style for days when you want fast hair. It’s beneficial because it keeps your hair off your neck, and it still looks fun when it’s imperfect. For uniqueness, try adding a small claw clip instead of an elastic for an easy on-and-off option.
You can tailor it by pulling the knot higher for a playful vibe or lower for a more casual feel. Keep a small comb in your bag to smooth the crown if needed. Since it uses minimal supplies, it’s also friendly for your budget.
7. Low Twisted Bun With a Flower Pin
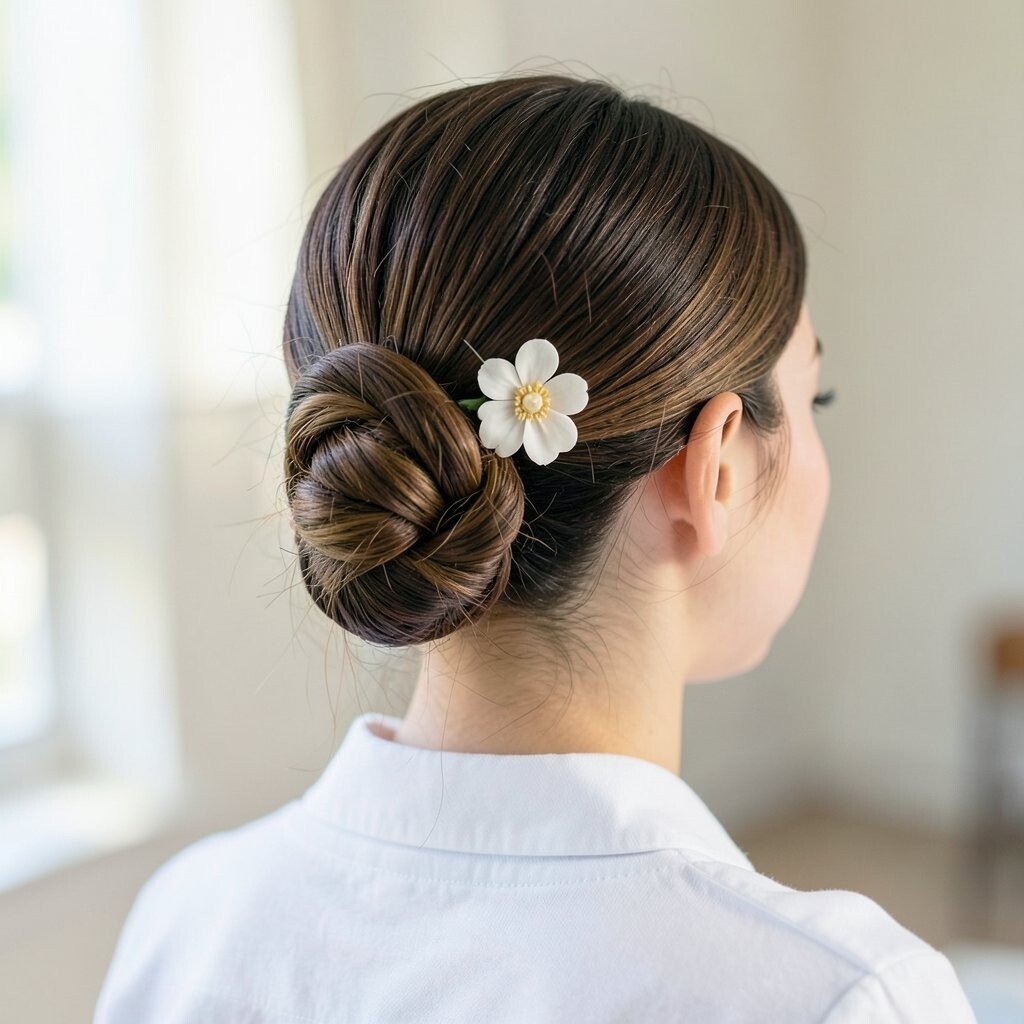
Twist your hair into a low bun at the back of your head and secure it with bobby pins. Add a small decorative flower pin for a sweet accent.
This style looks elegant and works great for school events like performances. The twist helps your bun stay in place, so you won’t spend the day redoing it. If your hair is thick, use an extra pin and gently pull at the bun edges for a fuller shape.
8. Half-Up Crown Braid
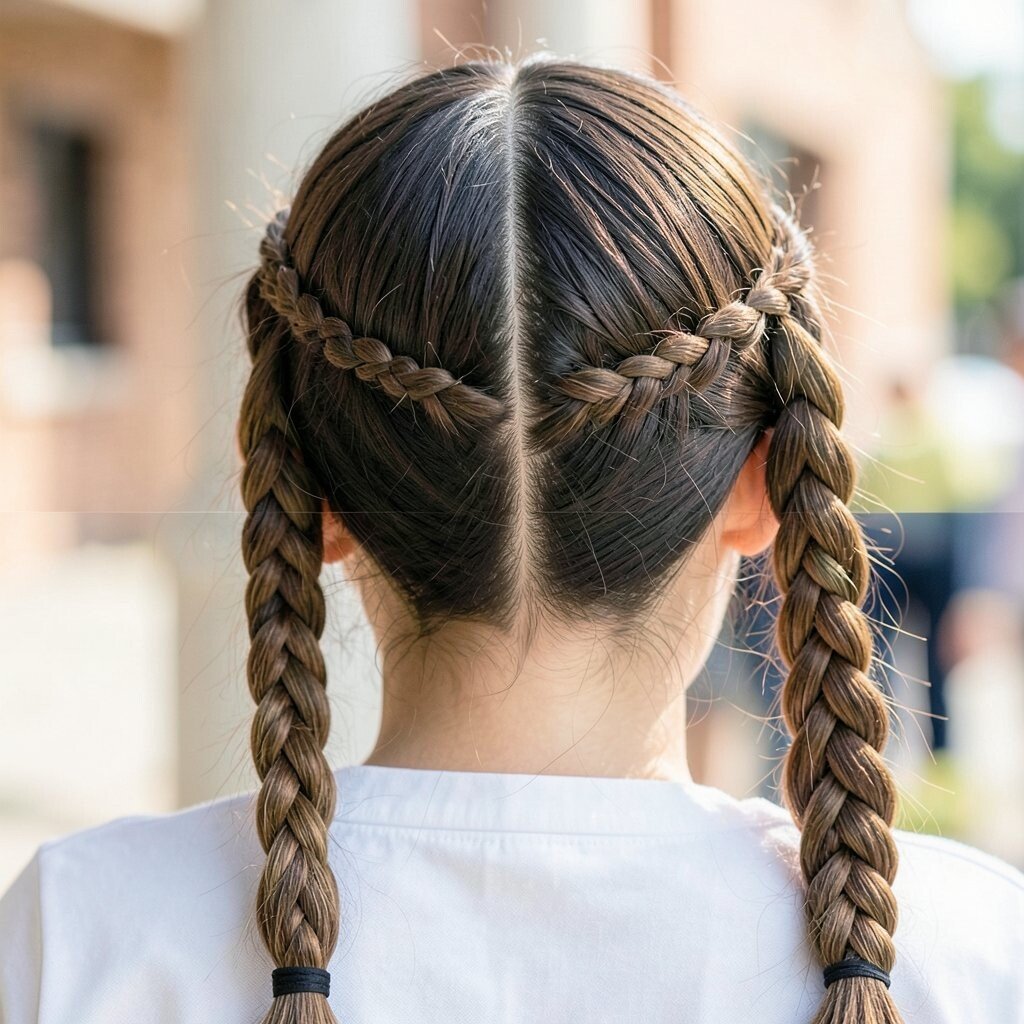
Part your hair in the middle or slightly off-center, then braid small sections from each side. Lay the braids across the top like a crown and pin them gently.
This is one of those styles that instantly looks special, even though it’s based on simple braiding. It keeps hair off your face while still letting the rest of your hair fall freely. For practical personalization, braid a little thicker if you want a bold look, or braid smaller strands for a delicate vibe.
To keep it comfy, pin the braids so they don’t tug at your scalp. You’ll also find it helpful to use a lightweight hair spray so flyaways don’t show. As a cost consideration, most people already have pins, and you can reuse them for months.
9. Curtain Bang Flip With a Sleek Finish
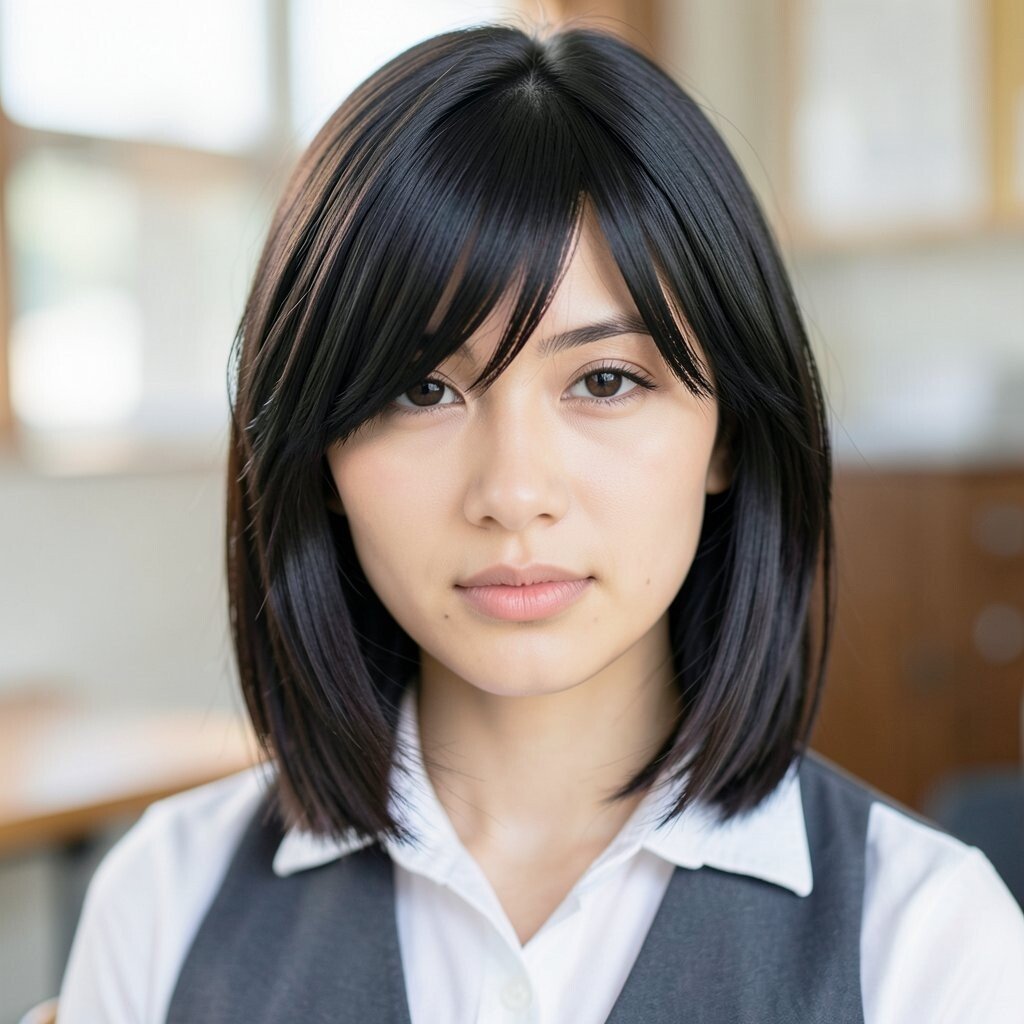
Use a comb to create curtain-like parting and bring both sides forward around your face. Blow-dry or gently style the ends so they flip slightly inward or outward depending on your preference.
This style is all about framing, and it makes your face look bright. It’s beneficial because it can reduce the need for constant hair pushing during class. For uniqueness, choose a flip direction that matches your natural hair movement, and try a subtle shine on the ends.
If you have shorter hair, use a small round brush to curl the ends just a little. For cost, a heat tool might be more upfront, but a basic brush method works too. A helpful tip is to moisturize your ends first so the flip looks smooth instead of dry.
10. Side Ponytail With a Wrapped Hair Tie
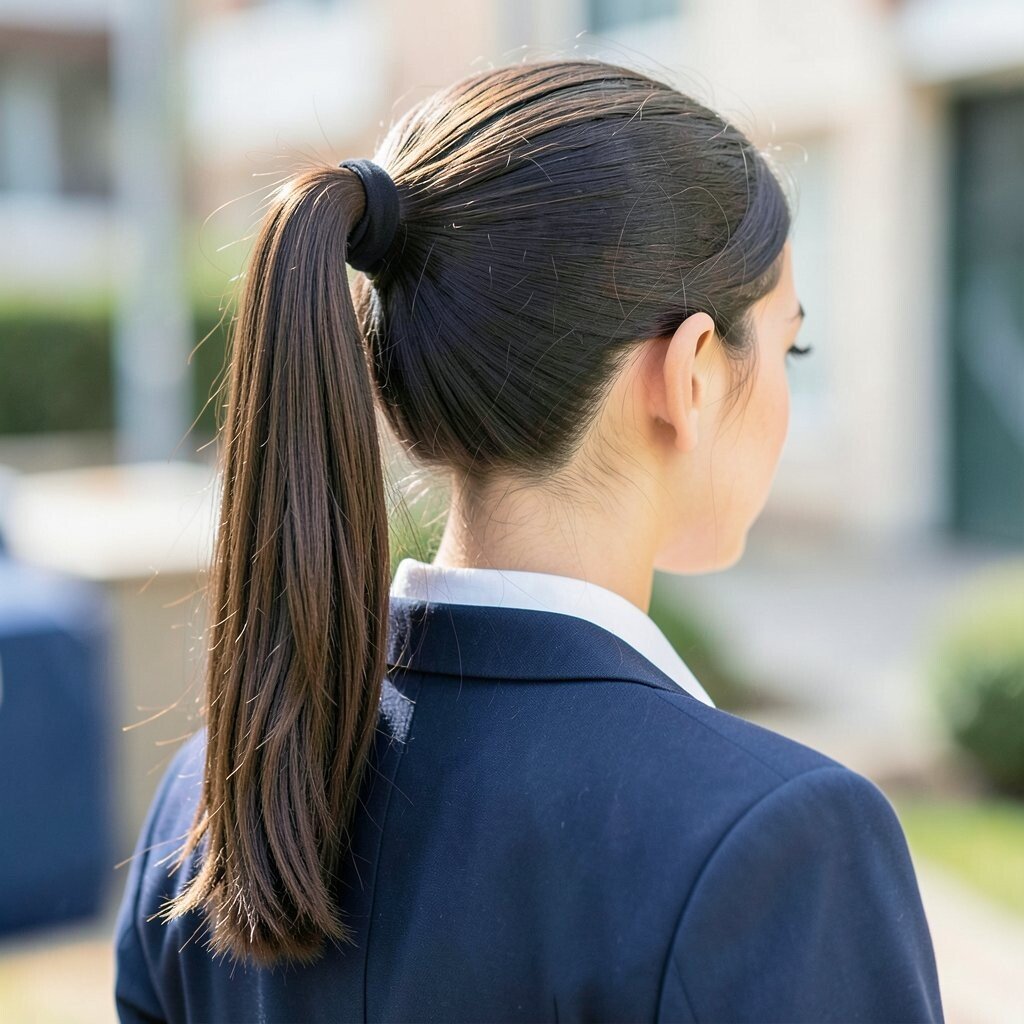
Gather your hair into a ponytail on one side and secure it with an elastic. Take a thin strand from the ponytail and wrap it around the elastic, then pin it down.
This gives you a clean look with extra personality because the side placement feels modern. It benefits you by reducing tangles compared to a center style while keeping hair controlled. Personalize it by choosing a higher side ponytail for drama or a lower one for a calm everyday feel.
For practical school tips, keep the ponytail snug but not too tight to avoid soreness. If your hair slips, use a small amount of styling cream at the roots before gathering. The supplies are simple, so it’s a budget-friendly style you can repeat all term.
11. Braided Pigtails With a Small Gap Accent
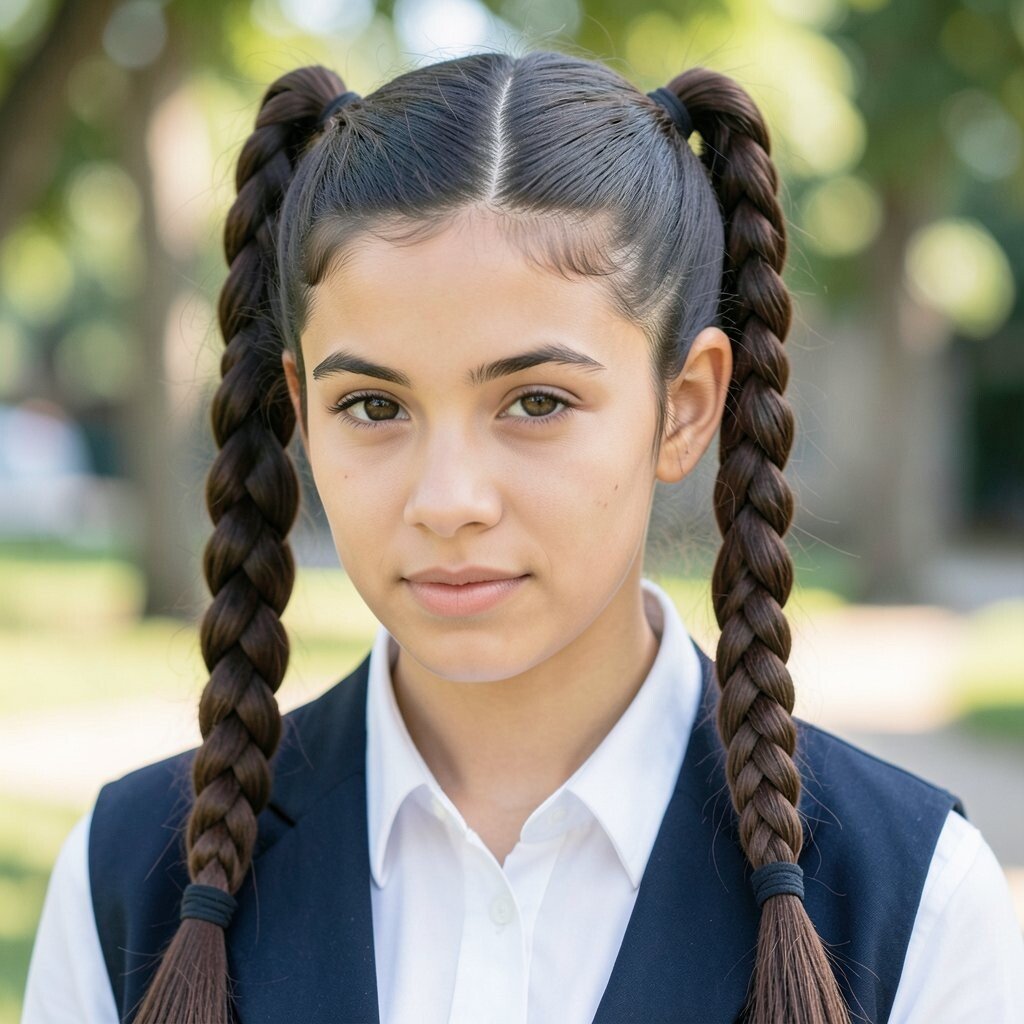
Divide hair into two sections and braid each side into a pigtail. Leave a tiny space between the braid and the scalp, then tighten the ends for a neat finish.
This looks fun and youthful, and it also helps your hair stay tidy during the day. The slight gap makes it feel unique without needing extra accessories. If you like personalization, add a colored elastic or a thin ribbon at the top of each braid.
12. Twisted Crown Half-Up Clip Style
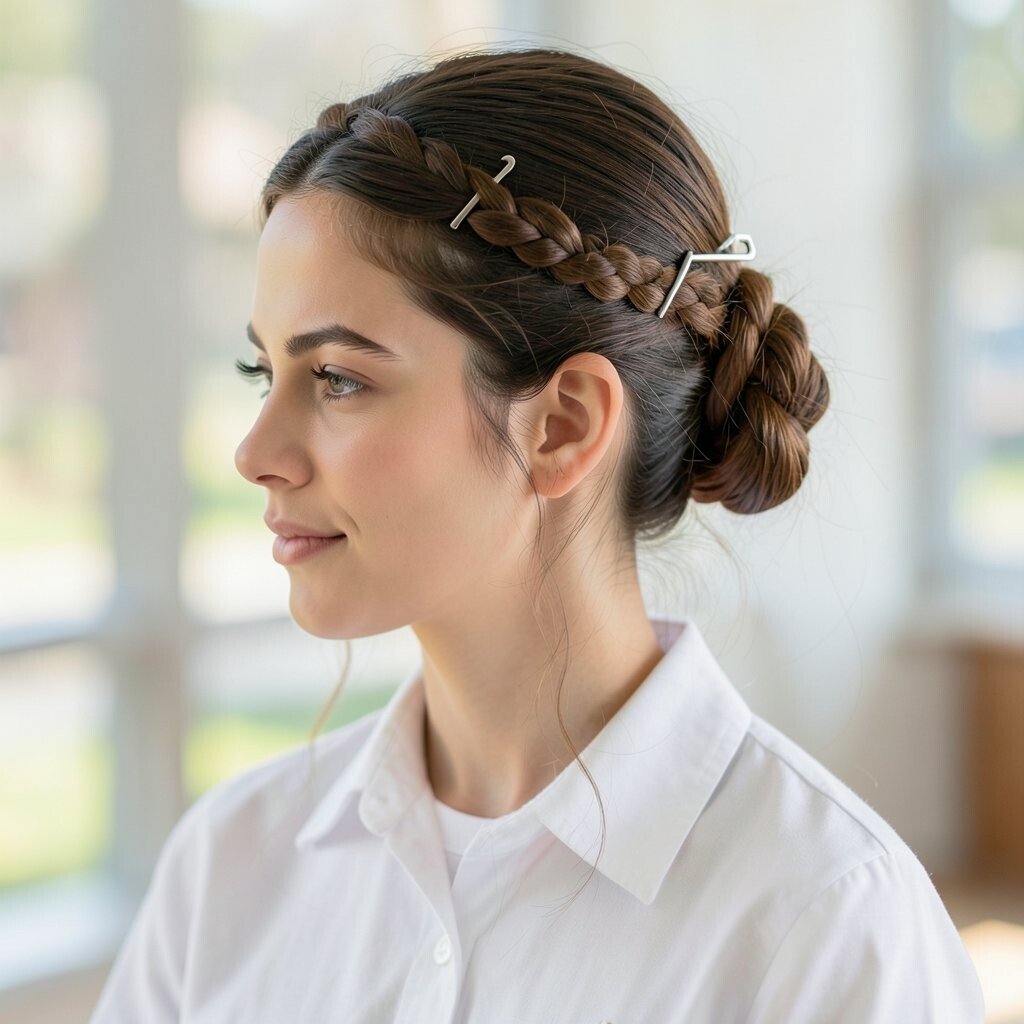
Take two front sections, twist them gently, and bring them toward the back. Secure with a clip near the crown so the twists look like a mini crown.
The result is a clean face-framing style that still shows off your hair length. It’s beneficial for school because it keeps your eyes clear and reduces distractions. For uniqueness, use a clip with a pattern or a metallic finish that matches your jewelry.
This works especially well on medium and long hair, and it’s comfortable for long days. Keep a few bobby pins handy for extra hold if your hair is slippery. Since it uses simple tools you likely already own, it’s cost-conscious too.
To make it look extra polished, smooth the twisted sections with a dab of gel on your fingers. Then clip and gently press flyaways down for a neat, finished look.
13. Classic French Braid Down the Middle
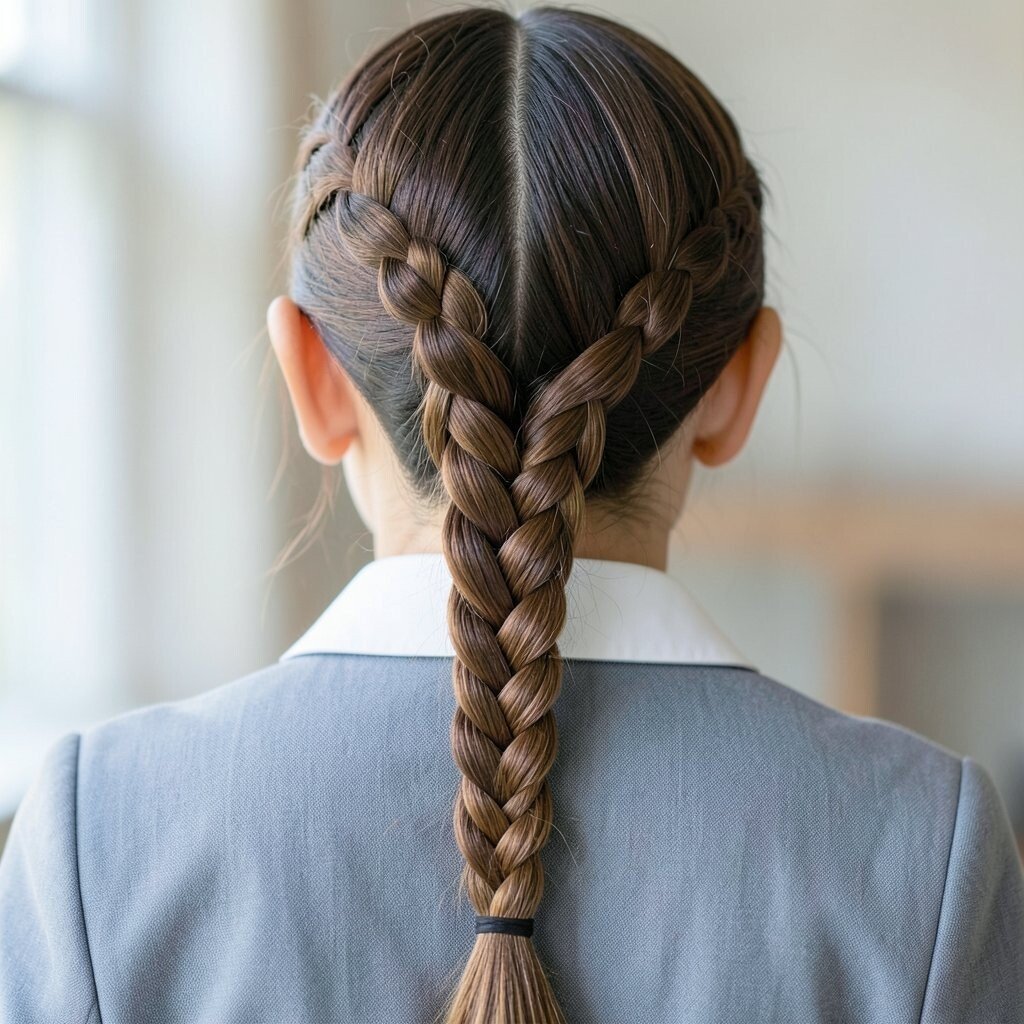
Start a French braid at the top of your head and braid straight down toward the ends. Keep the sections even so the braid looks thick and strong.
A full French braid is timeless and always looks put-together at school. It’s beneficial because it controls hair all day and helps prevent tangles by bedtime. For personalization, switch to a slightly looser braid for a softer texture, or keep it tight for a strong, sporty look.
14. Side-Back Sleek Bun With Loose Ends
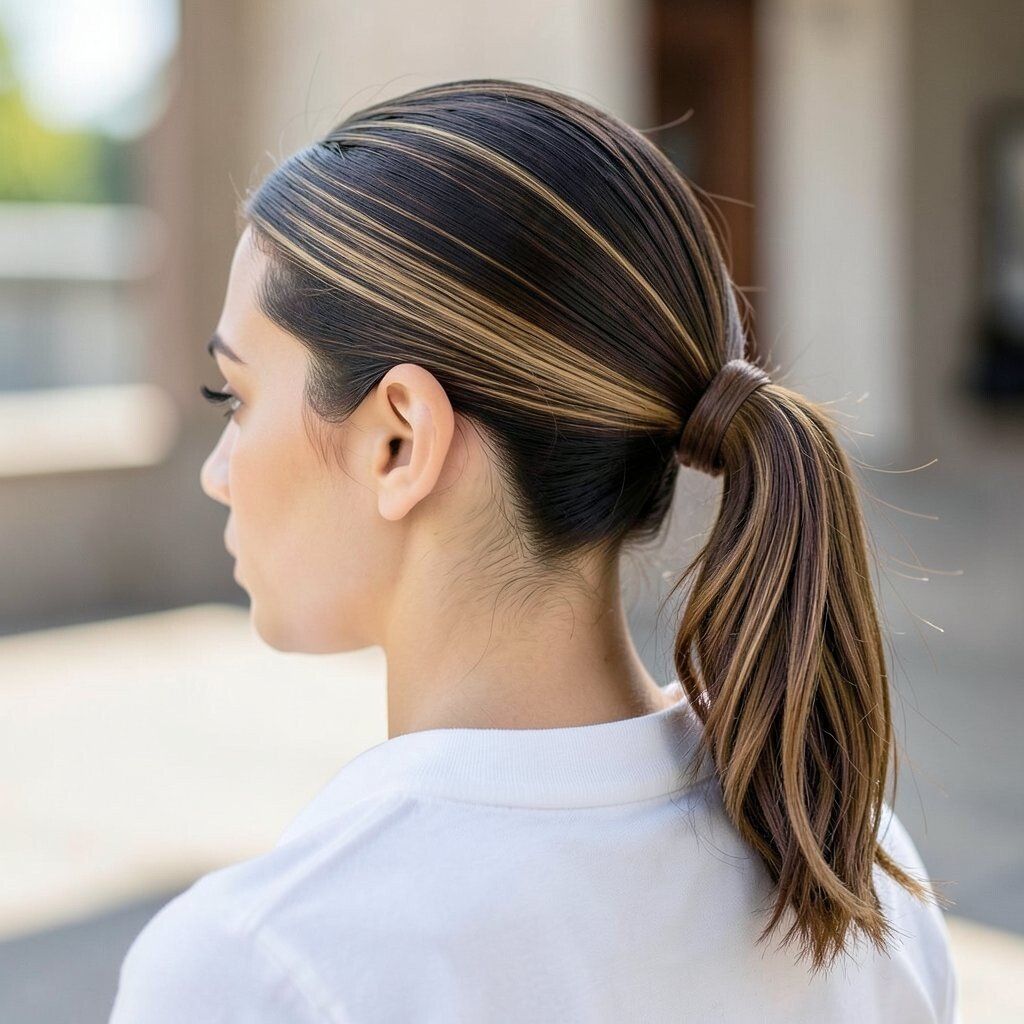
Brush hair back and gather it into a bun on one side rather than centered. Leave the last few inches slightly loose so it looks relaxed and not too rigid.
This style feels stylish and calm, like a modern school version of an updo. It benefits you by keeping most hair secured while still giving you a natural flow. To personalize, tuck the loose ends toward your face for a flattering frame or tuck them toward the back for a softer silhouette.
15. Mini Braids in a Top Ponytail
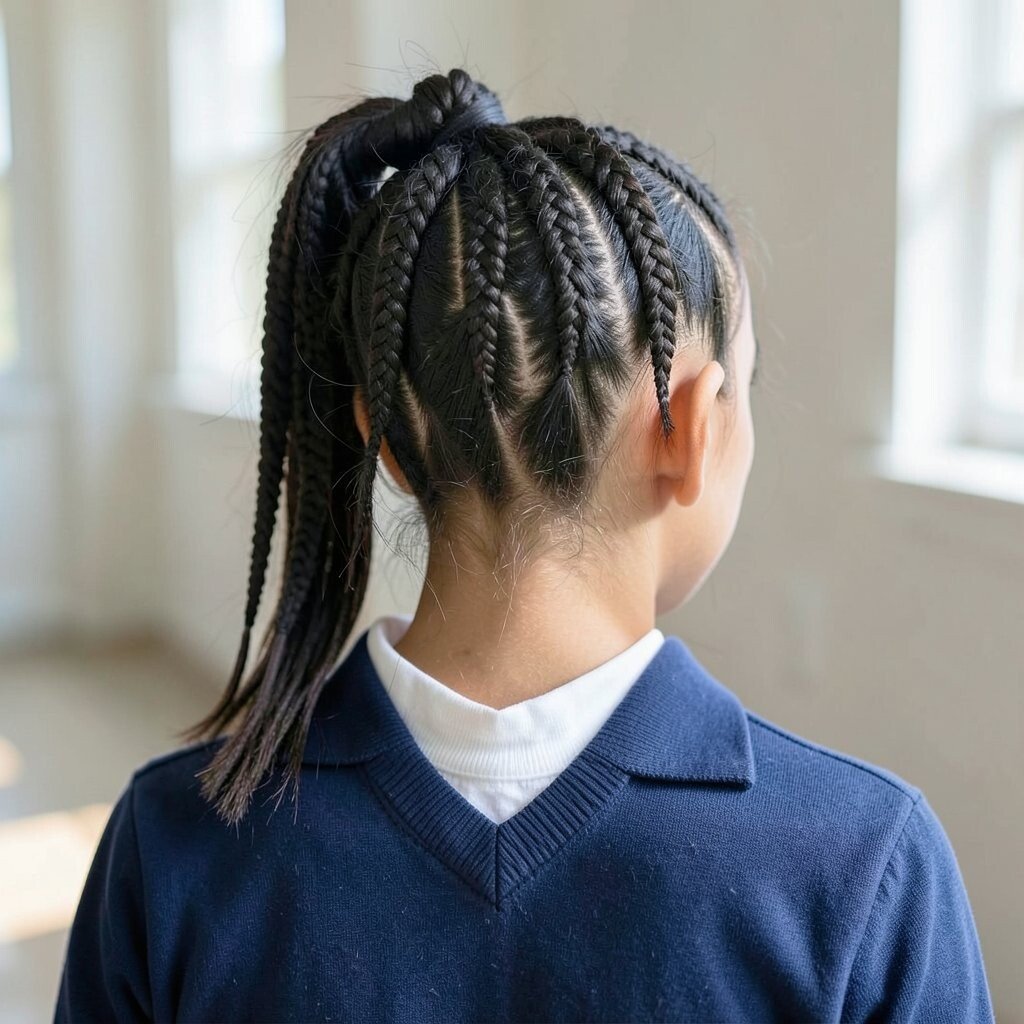
Make a ponytail at the middle or high position and then braid small sections within the ponytail. Secure the ends with elastics so each mini braid stays neat.
This is a fun “texture on texture” look that feels unique and noticeable. It benefits you by holding hair together so it doesn’t puff up during the day. For practical tips, keep the mini braids evenly sized so the ponytail looks balanced.
It’s also surprisingly easy once you try it once at home, and you can repeat it for different days. For cost considerations, use elastics instead of fancy accessories and save your money for a good detangling brush. If you want a trendier vibe, keep the braids slightly looser and finish with a light shine serum.
16. Soft Wavy Hair With a Headband Clip
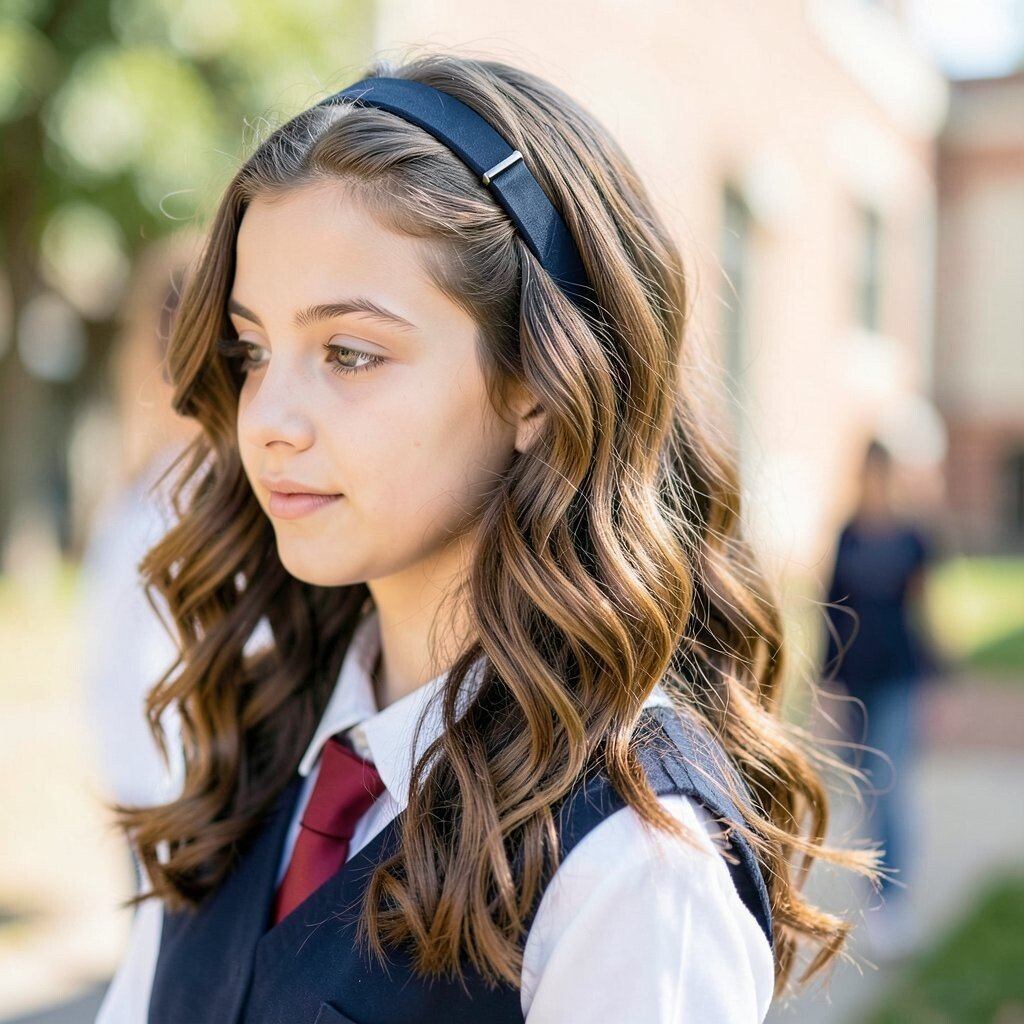
Style your hair into loose waves and add a headband clip to push back the top layer. Keep the waves flowing, especially around your shoulders.
This is a comfy everyday look that feels friendly and modern. It benefits you because the headband keeps hair from falling into your eyes. For personalization, choose a headband color that matches your outfit or your school spirit theme.
17. Messy Low Ponytail With a Center Twist
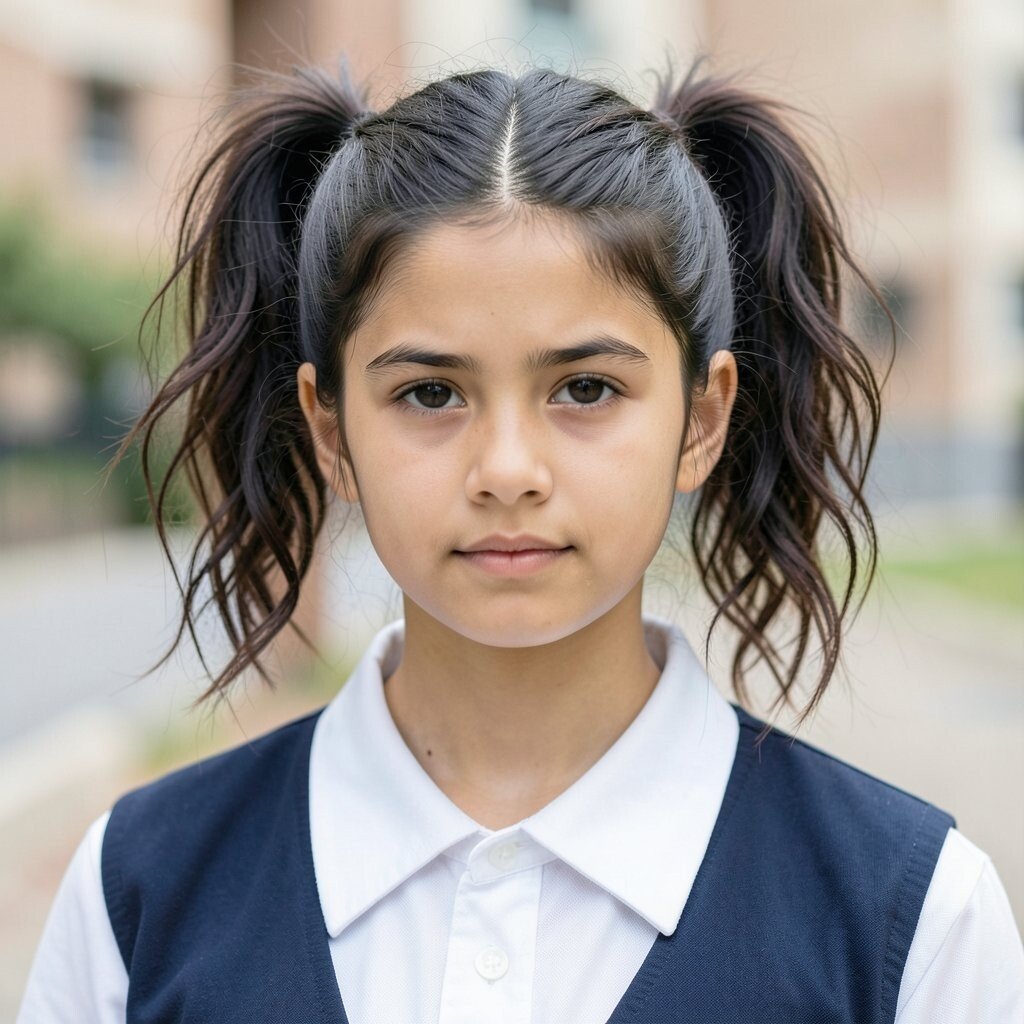
Brush your hair into a low ponytail and secure it loosely. Then twist a small section above the elastic and wrap it around the base like a loop.
This style looks casual and confident, and it’s great for days when you don’t want anything too tight. It benefits you by giving extra grip at the base so your ponytail stays put. Personalize it by making the loop bigger for a bold look or smaller for a subtle detail.
To keep it school-friendly, make sure the twist is secure with a pin if your hair is fine. This also helps with cost, because you can use simple pins and one elastic to create a more “done” style. A light smoothing lotion on the top prevents flyaways from ruining the finish.
18. Wraparound Scarf Braid Tail
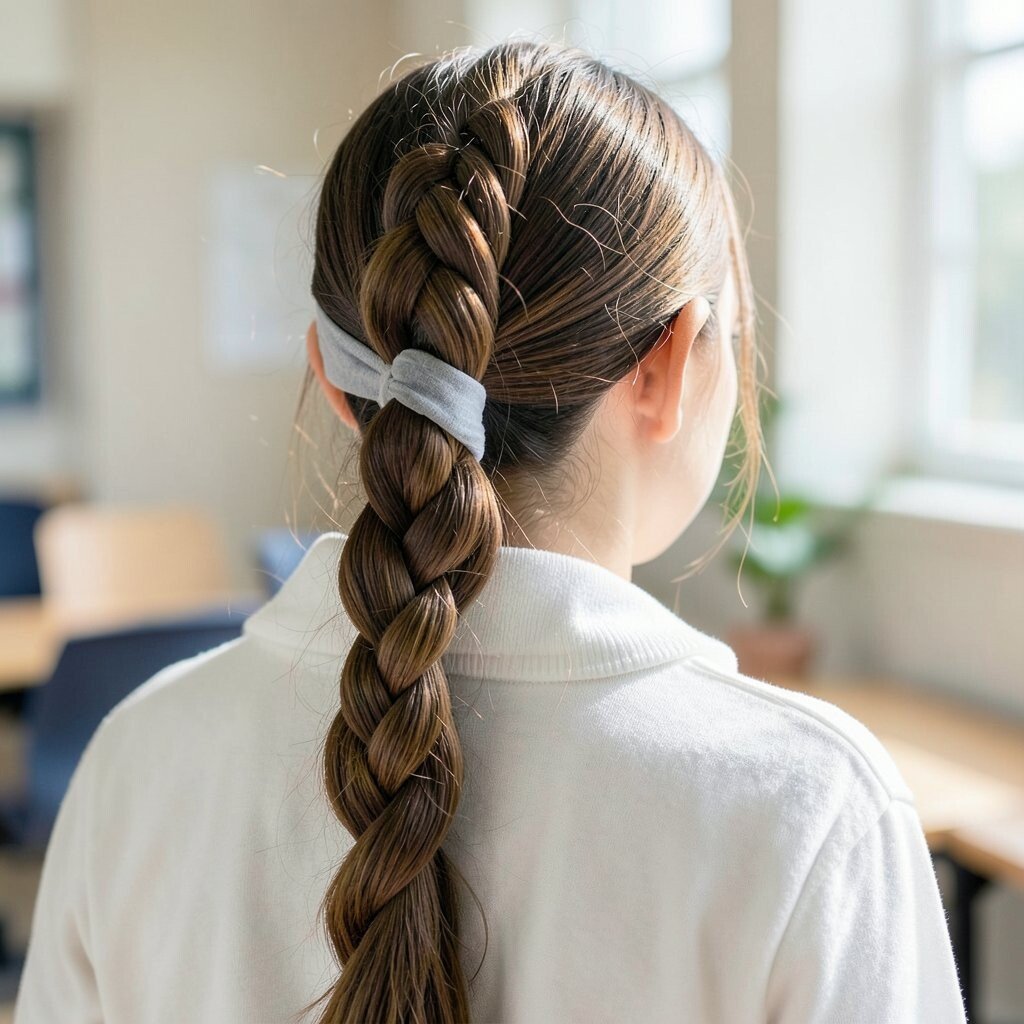
Pick a small scarf and tie it into the braid at the end of a simple braid or at the base of a ponytail. As you braid, weave the scarf in so it becomes part of the pattern.
This idea is unique because it adds color without needing a lot of styling products. It benefits your hair by keeping the ends secure, and it helps your braid look fresh for longer. For personalization, use a scarf color that matches your jacket, or choose a pastel for a softer vibe.
Cost-wise, a scarf is often affordable and can be reused for many looks. Keep a small damp cloth in your bag to refresh the scarf if it gets dusty at school. If your scarf slips, tie a stronger knot at the start and secure with one extra pin at the braid end.
19. Classic Sleek Bob Flip With Middle Part

If your hair is cut to a bob length, create a clean middle part and smooth the hair with a brush. Flip the ends slightly outward or inward depending on the look you like best.
This style feels neat, and it frames your face in a simple, pretty way. It benefits you because shorter hair usually requires less time, and it’s less likely to tangle. For uniqueness, try a subtle under-flip if your hair grows heavy at the bottom.
20. Rope Twist Ponytail With a Claw Clip Finish
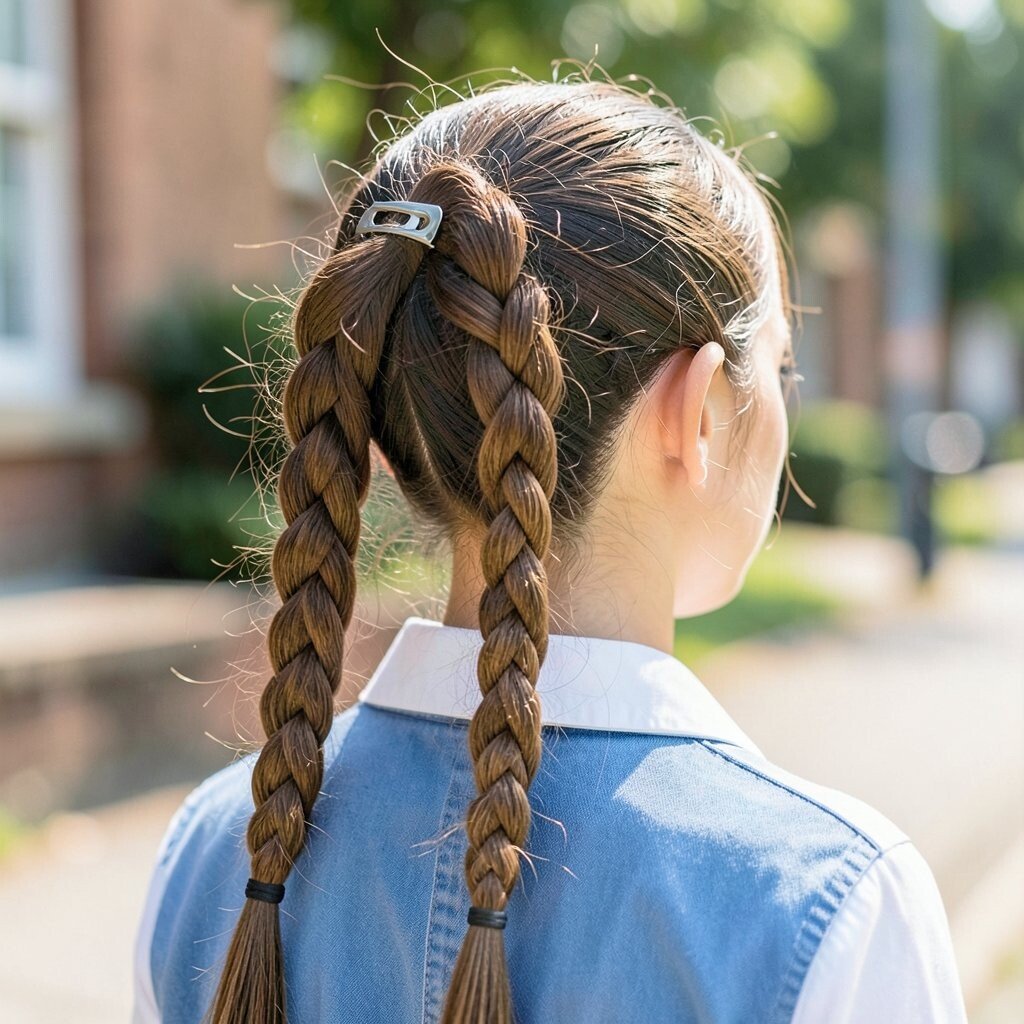
Start by splitting your hair into two sections and twisting each side in the same direction. Then twist the two sections around each other and secure them as a ponytail or half-up style.
This looks fancy but stays practical, especially when you use a strong claw clip at the base. The rope twist has a cool, defined texture that stands out in photos. Personalize it by adding a small accessory near the clip, or keep it minimal for a sleek student look.
For school, this style is great because the twists hold and reduce frizz. Cost considerations are easy since you mainly need elastics and a clip you can reuse. A helpful tip is to use a tiny amount of styling cream so the twist stays defined instead of fuzzy.
21. Shoulder-Length Layers With Side-Swept Pin Curl
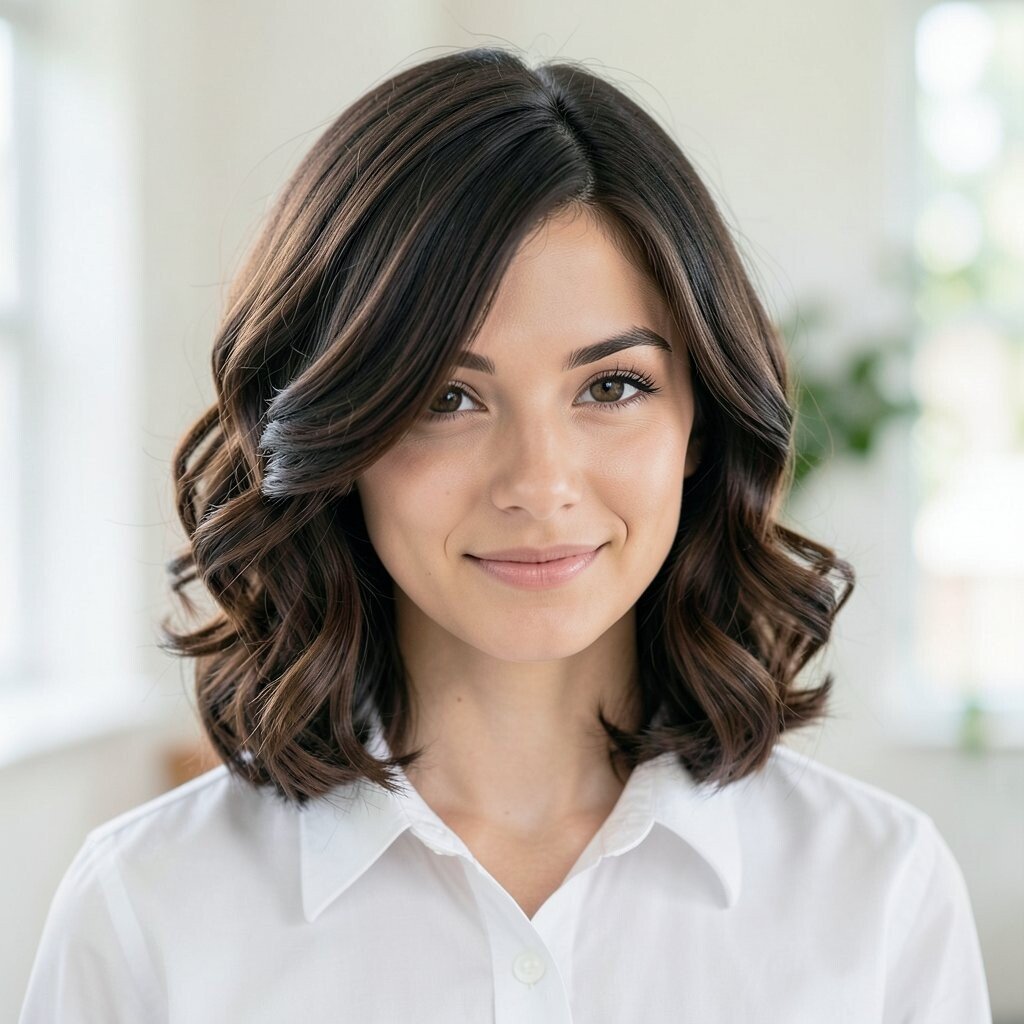
Part your hair to the side and take a small front section to create a gentle pin curl. Secure it with a bobby pin and tuck the ends so they blend into the rest of your layers.
This style adds a lovely shape to everyday hair and makes you look extra put together. It’s beneficial because the pinned curl holds hair away from your face without needing to pin multiple sections. For personalization, choose a pin curl side that flatters your features and match your pin with a hair accessory you already love.
Keep the rest of your hair softly wavy or straight, depending on what’s easiest that morning. If you want a trendier vibe, add a light hairspray to set the curl for longer school hours. It’s also budget-friendly since bobby pins cost very little and work again and again.
To make it comfortable, pin near the root so the curl doesn’t pull at the ends. Then comb around it gently so the curl looks natural instead of stiff.