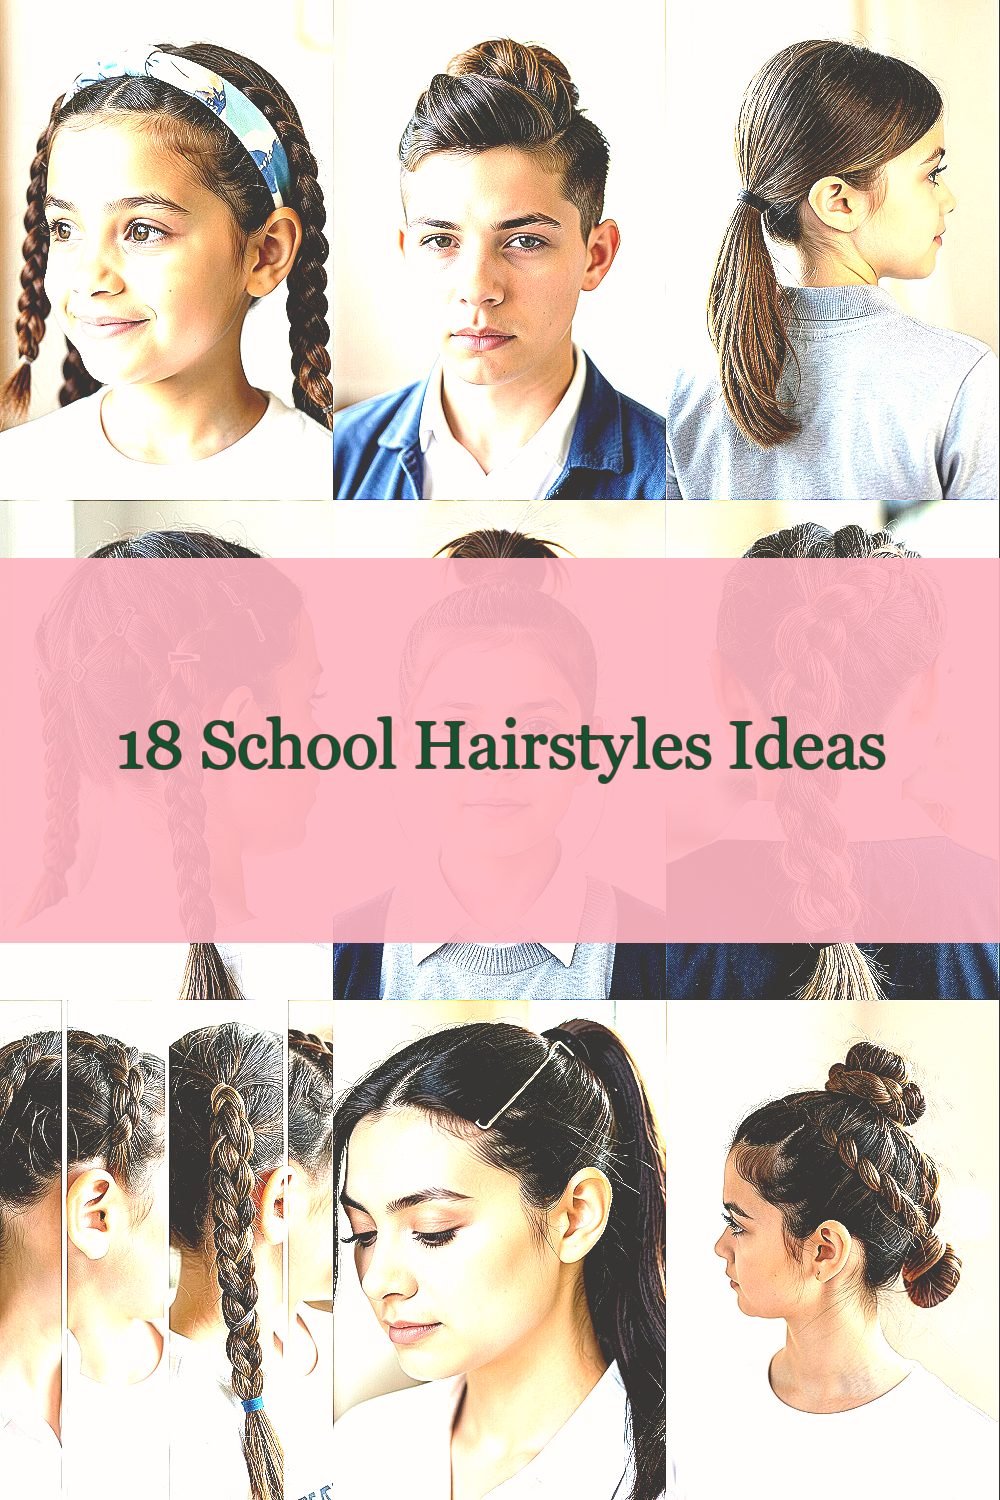
Your hair can look amazing without taking over your morning. Simple styles can still feel fun, polished, and totally you.
1. Bubble Braid Headband
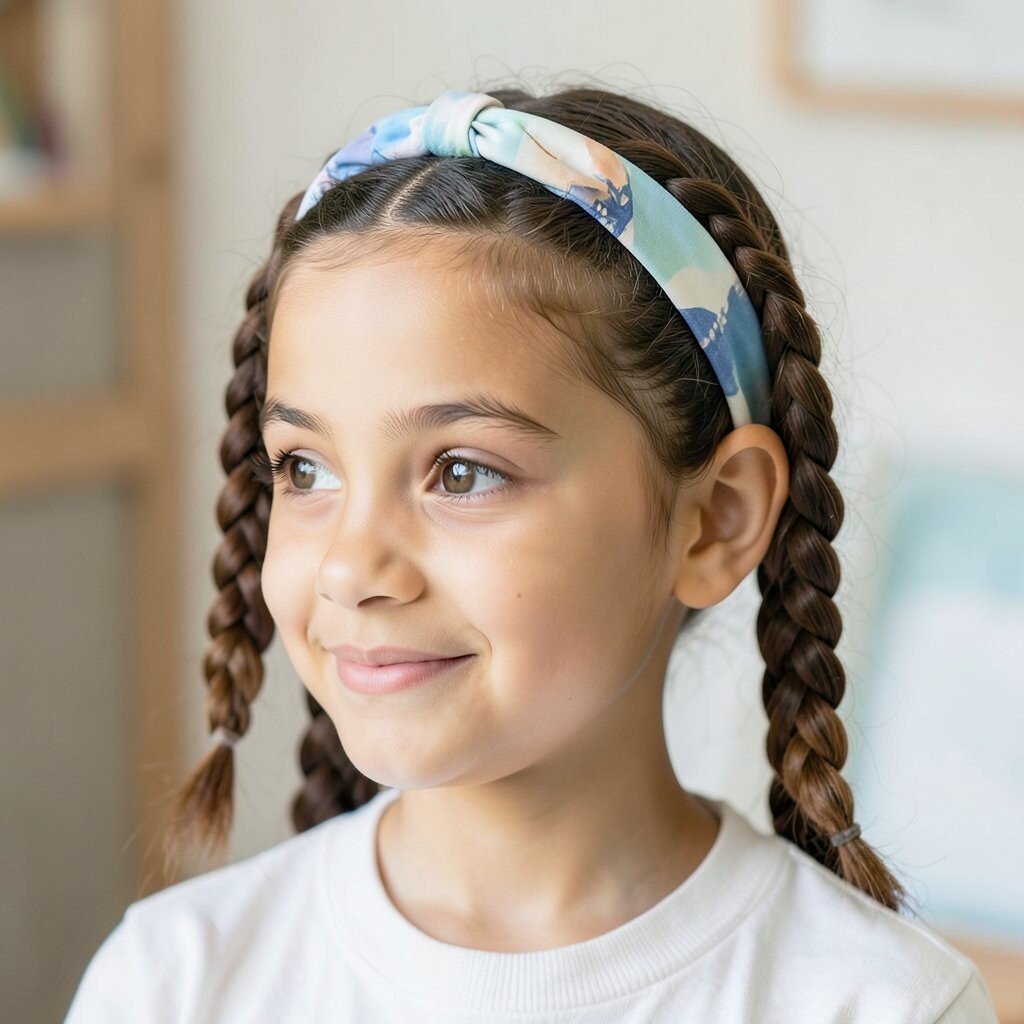
Start by making a center or side part, then gather two sections near your temples. Create a simple braid for each side and secure them across the top so it looks like a soft headband.
To make bubbles, take small sections along the braid and gently puff them outward with your fingers. This adds a playful shape that pops in photos and feels light for school. Use a few bobby pins to keep everything flat, and keep hairspray minimal so it won’t feel crunchy. For personalization, try matching the direction of your bubbles to your part, or add one tiny clip near the temple. If you have curly hair, stretching the braid slightly helps the bubbles look even. This style is budget-friendly because it uses mostly hair ties and a couple of pins, which you likely already have.
2. Half-Up Twisted Pompadour
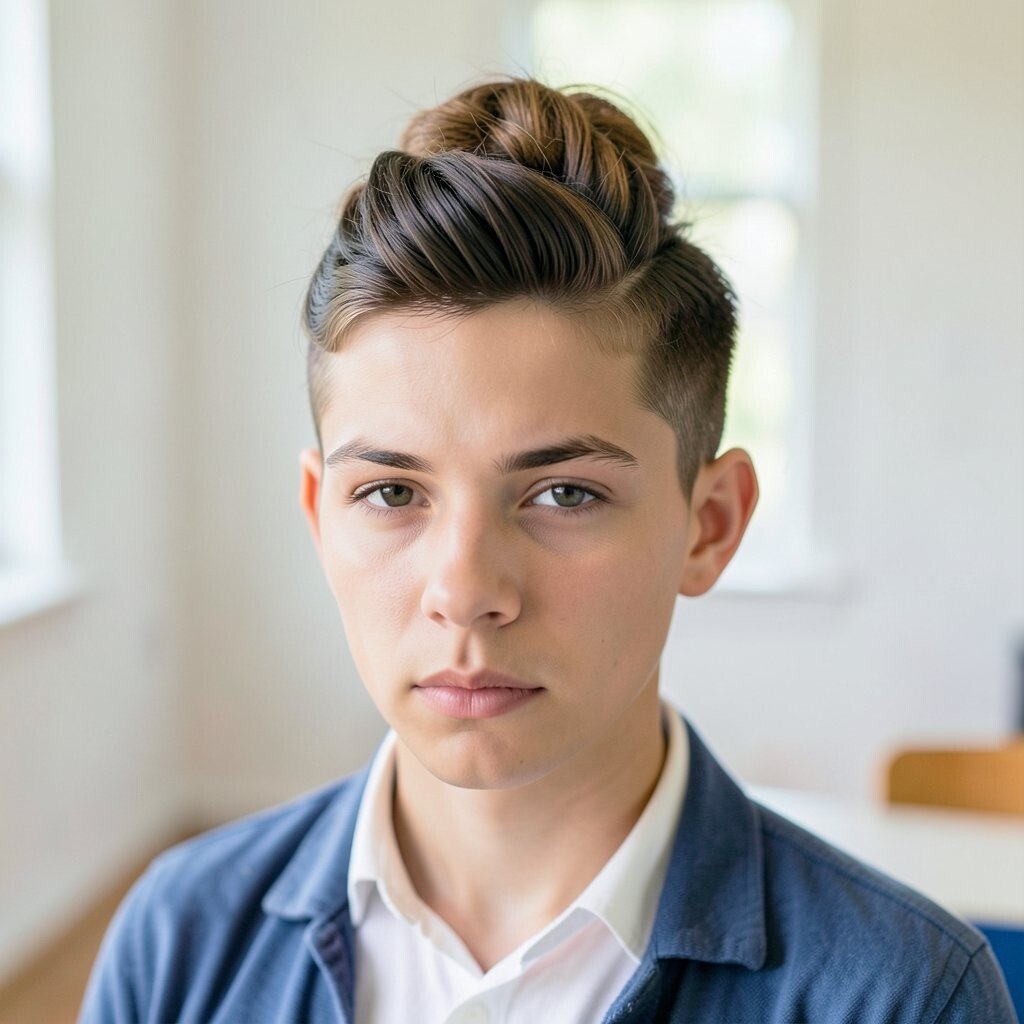
Take the top half of your hair and twist it upward, then loop the ends back toward the crown. Secure with a small elastic or a claw clip for a quick lift that looks styled on purpose.
For visual interest, make the twist slightly loose so it has a bouncy, airy look. This is a great option for bangs because it keeps them tidy while opening up your face.
Try adding a ribbon or a skinny scarf tied around the elastic for a trendier vibe. If your hair is thick, use two pins crossing like an X to hold the twist all day. For cost considerations, look for multipacks of elastics and bobby pins, since they last through many school days. Curvy hair looks extra cute here, and straight hair can benefit from a quick spritz of water and light gel before twisting.
3. Classic Low Ponytail With a Twist Wrap
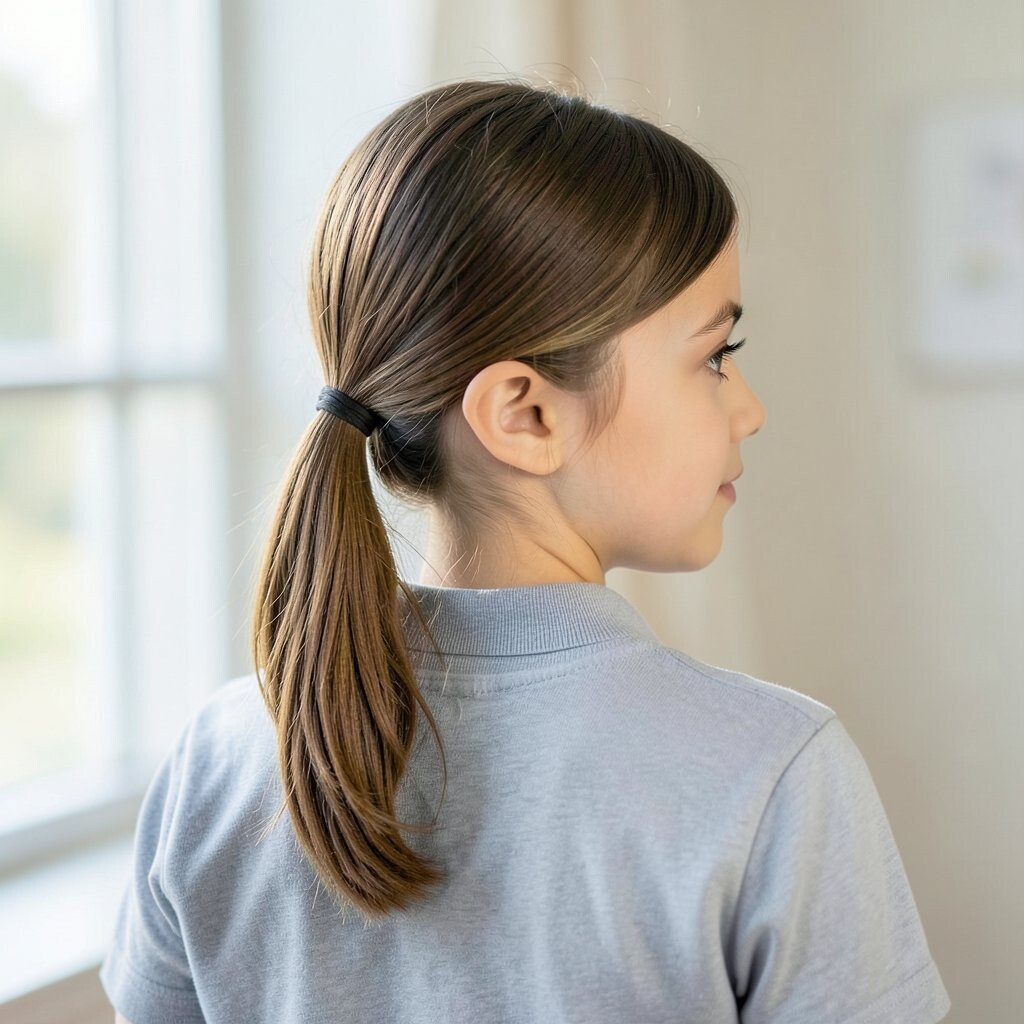
Smooth your hair into a low ponytail and secure it with a normal elastic. Then take a small strand from underneath and twist it around the tie to hide it neatly.
This keeps your ponytail looking clean from the first period to the last. It’s also a lifesaver when your scalp feels hot, because a low style removes hair from your shoulders.
Make it unique by twisting the strand in the opposite direction of your ponytail before wrapping. Add one tiny hair pin at the end so the wrap doesn’t slip. If you want extra volume, lightly tease the crown and brush the top smooth. A simple mini brush and a travel-size edge brush can help you get that polished look without spending much.
Current trends are leaning toward sleek shine and controlled flyaways, and this hairstyle matches that easily. If you use a heatless shine spray or a drop of hair oil on your hands, the ponytail will look fresh without much effort. Keep the hair tie comfortable by using a fabric-covered one, especially if you wear the style often.
4. Side Dutch Braid With Mini Clips
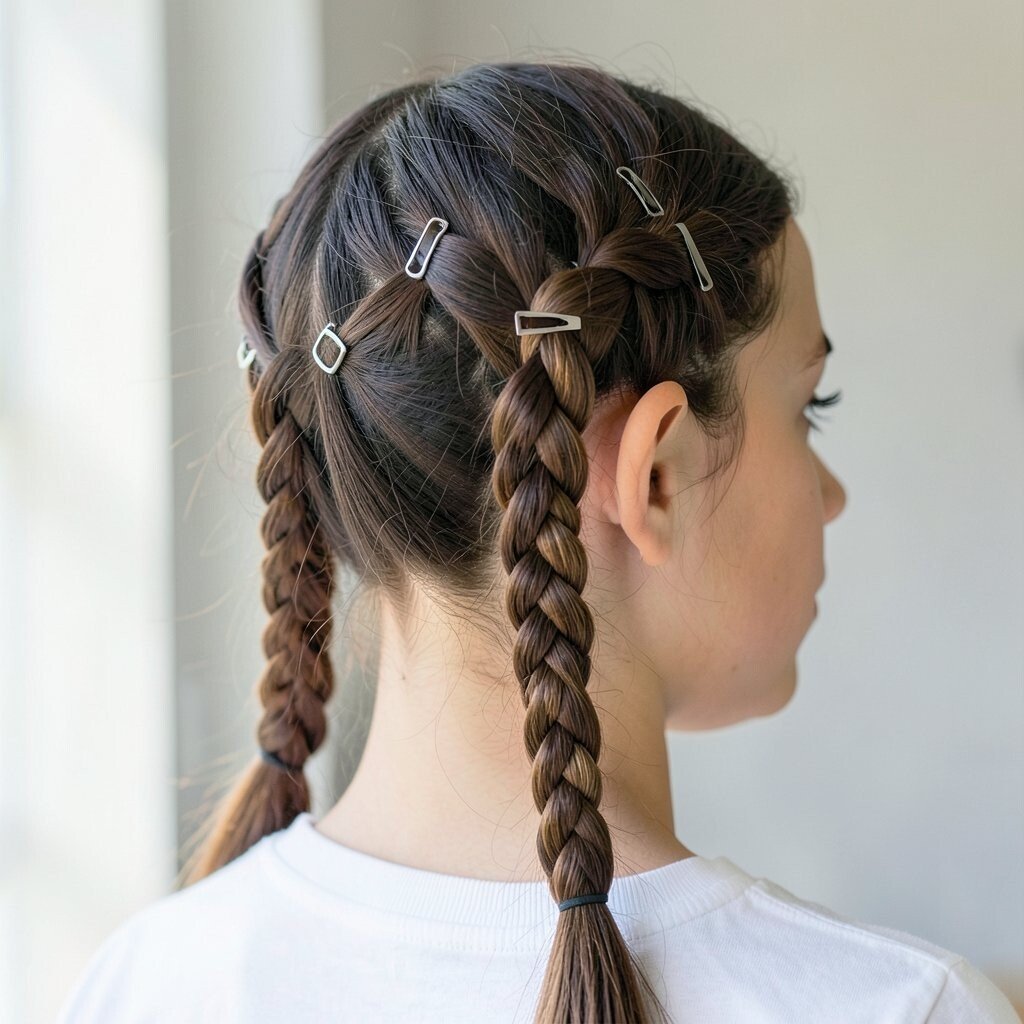
Part your hair to one side, then start a Dutch braid along the hairline. Keep adding strands as you move down, and secure the braid with an elastic at the end.
After braiding, tuck two or three small clips along the braid for a playful sparkle. This gives a “styled for school” look that still feels practical for sports and walking in windy weather.
5. Messy Top Knot With Face-Framing Pieces
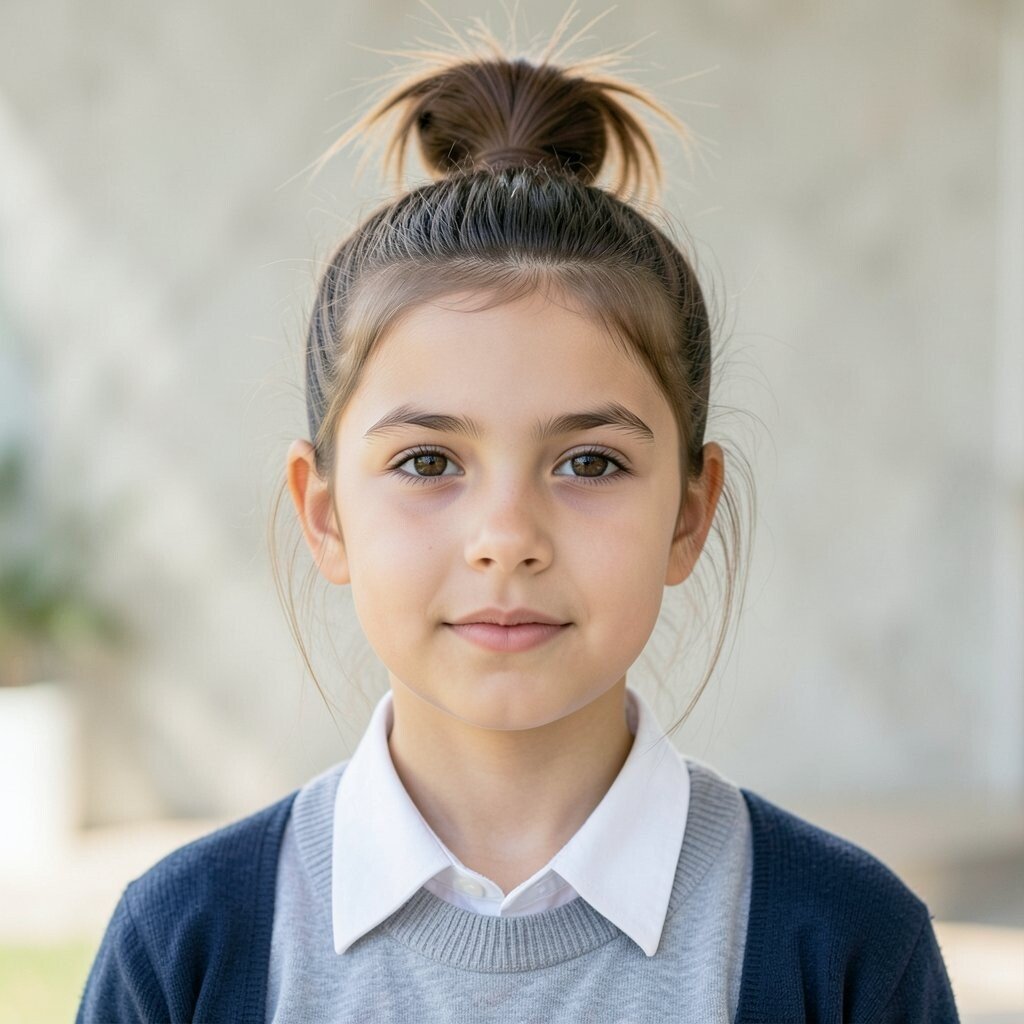
Gather your hair into a high knot and secure it with a strong elastic or claw clip. Pull a few strands forward around your cheeks so your face looks soft and bright.
Let the knot look slightly imperfect, because that’s the whole charm. This hairstyle helps you look confident when your hair is a little flat or not fully cooperative.
To make it last, wrap small sections around the base and pin them down in a couple of spots. If you have fine hair, teasing the roots lightly before tying gives the knot more height. For personalization, swap the look by pulling the face-framing pieces thinner or thicker. A cheap hair donut or bun maker can help if you want a fuller top knot without spending on styling tools.
6. Waterfall Braid Ponytail
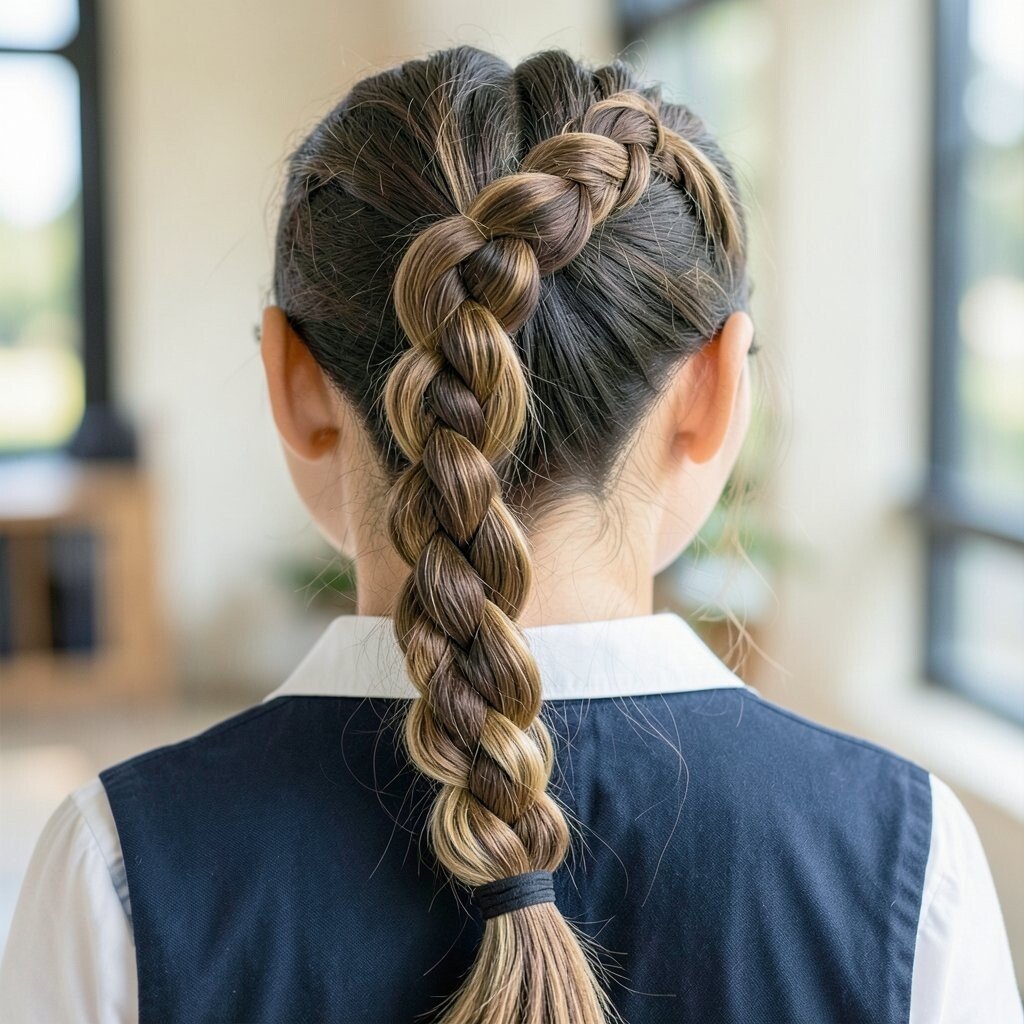
Make a side part, then braid across the top while letting a few strands fall like a waterfall. Each time you cross, release one strand and pick up a new one from below.
When you reach the back, gather the remaining hair into a ponytail and secure it. The falling pieces add a soft, romantic look that feels special even on busy mornings.
7. Ribbon Braid for Effortless Color
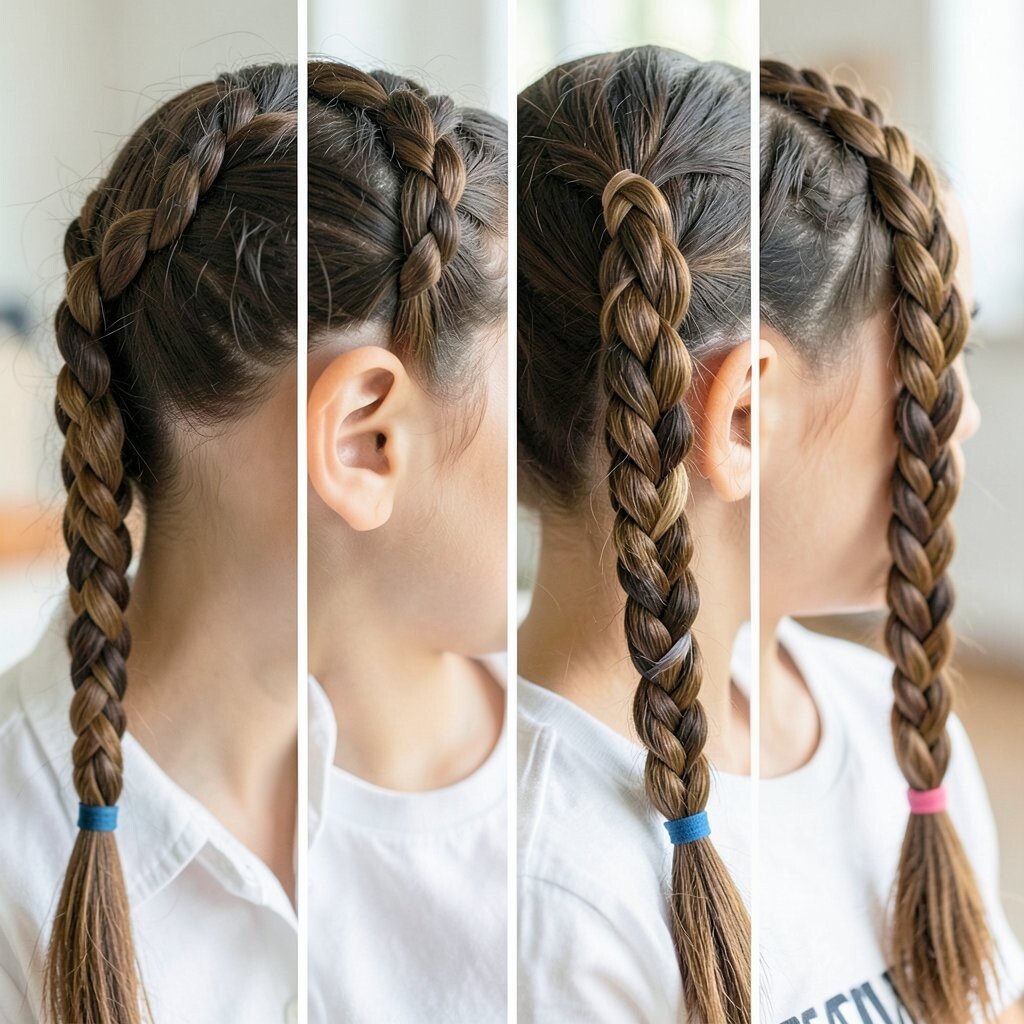
Choose a satin ribbon that matches your outfit, then braid it into your hair as you weave. Start with a simple three-strand braid and add ribbon strands as one of the sections.
You’ll see instant color movement, and it looks way more “planned” than it really is. This style is also great for hiding a slightly uneven hair day because the ribbon draws the eye outward.
Try a wider ribbon for bold looks or a thin ribbon for a subtle vibe that fits any uniform. If your hair is slippery, use a light styling spray before braiding so the ribbon doesn’t slide. For cost considerations, ribbons from craft stores or packs of hair accessories usually cost less than salon appointments. Current trends love soft sheen and cute details, and ribbon braids fit that perfectly.
To personalize, add a second ribbon in a different color or tie the ribbon ends into a tiny bow. You can also change the braid direction from middle to side for a new feel each week.
8. Sleek Half-Up Clip and Go
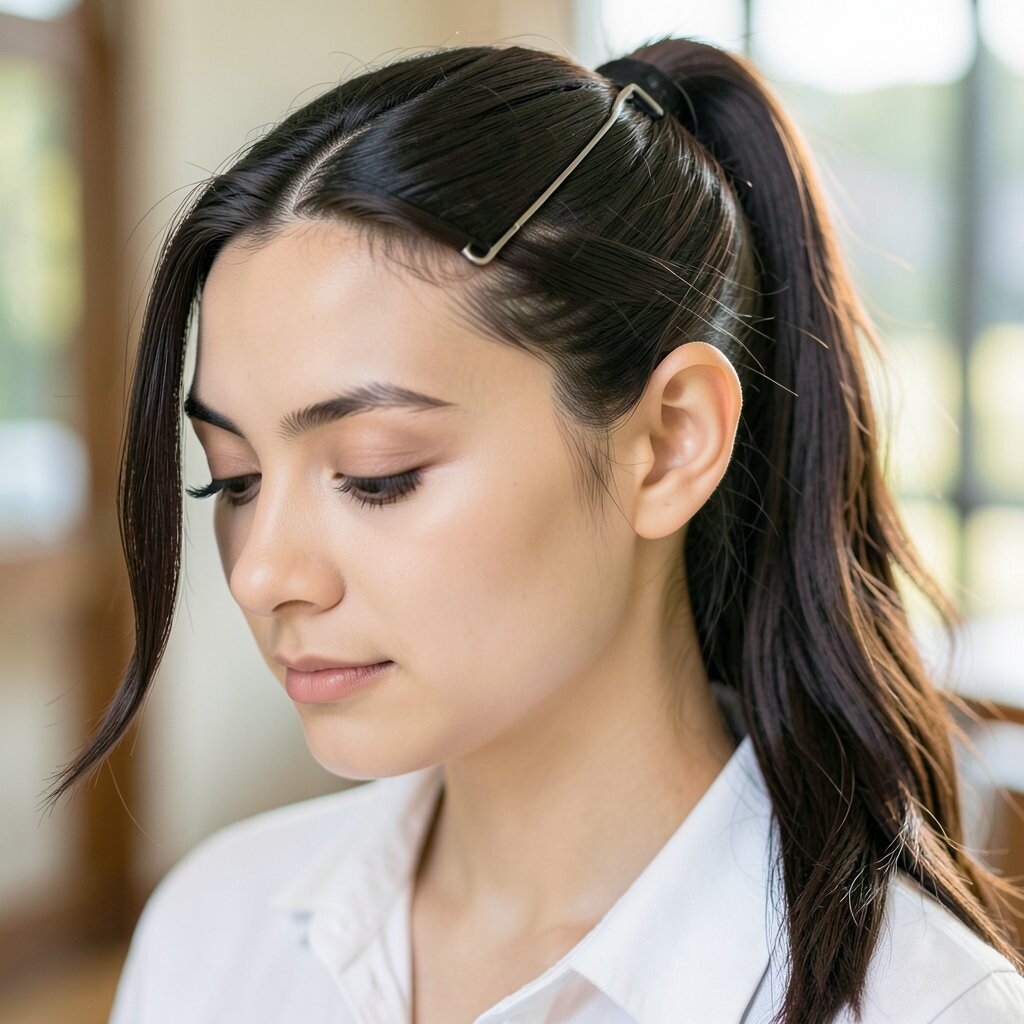
Brush your hair back and take a small top section, then secure it with a claw clip or butterfly clip. Keep the rest of your hair smooth and let it fall naturally.
This style is fast, neat, and perfect when you want your hair to stay out of your face during class. It also gives a tidy crown shape that looks great from every angle.
9. Twisted Crown With a Low Bun
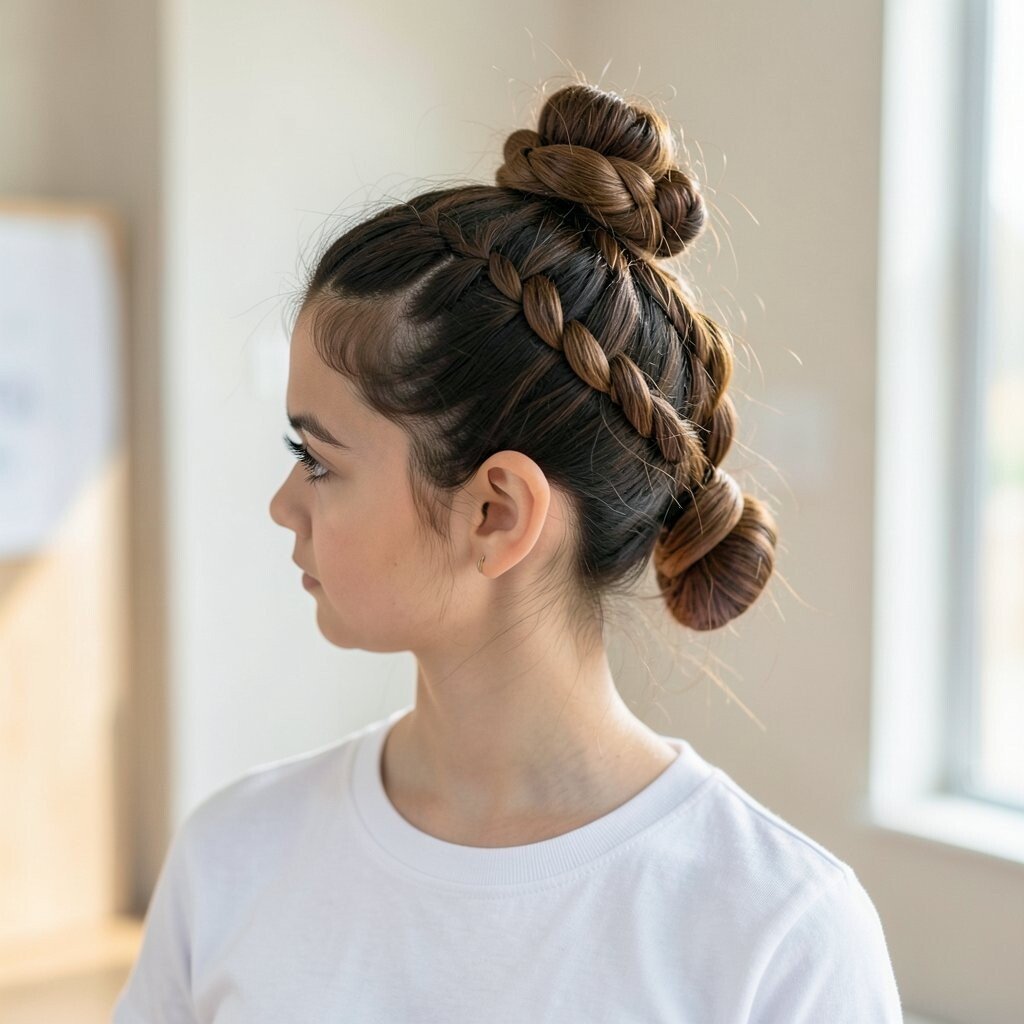
Part your hair into sections around the crown, then twist each section and pin it down. Once the crown is secured, gather the remaining hair into a low bun.
The twisted pieces create a halo-like look that feels unique without needing complicated braids. It’s a wonderful option for events at school, and it also works well for dressier days.
For practical tips, keep bobby pins hidden under the twists and use a light mist of hairspray to reduce flyaways. If your bun looks flat, fluff the bun slightly after pinning for a fuller shape. Personalize it by adding a small pin with a simple design or using pins in your hair color. Since you’re mostly using pins and an elastic, this hairstyle stays budget-friendly. If you’re following current trends, this crown-meets-bun vibe is popular because it looks polished but still comfortable.
Try styling the crown twists slightly tighter for a sharper look, or looser for a softer, romantic feel.
10. Two-Minute Side Ponytail
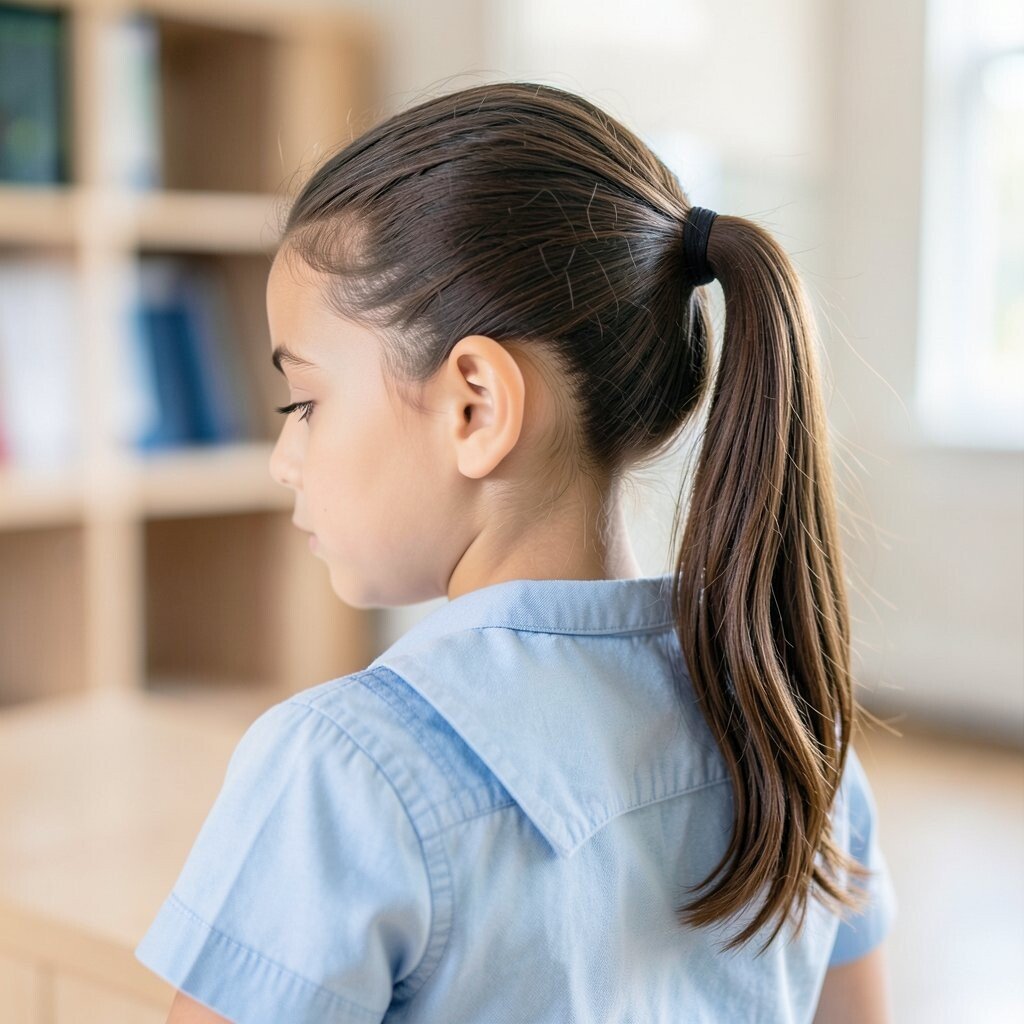
Gather your hair to one side and secure it with a firm elastic near the base of your neck. Smooth the top with a brush so it looks tidy and intentional.
For a quick upgrade, wrap a small strand around the elastic and pin it in place. This makes the ponytail feel more finished and less like “just tied hair.”
Use a scrunchie or fabric tie if you want a softer grip that won’t crease your hair. If you have long hair, leaving a few pieces loose in front adds a natural frame. Personalize by placing the ponytail higher for a sporty look or lower for a sleek vibe. It’s usually low cost because you need only one elastic and maybe one pin.
11. Faux Crown Braid Using a Hairband
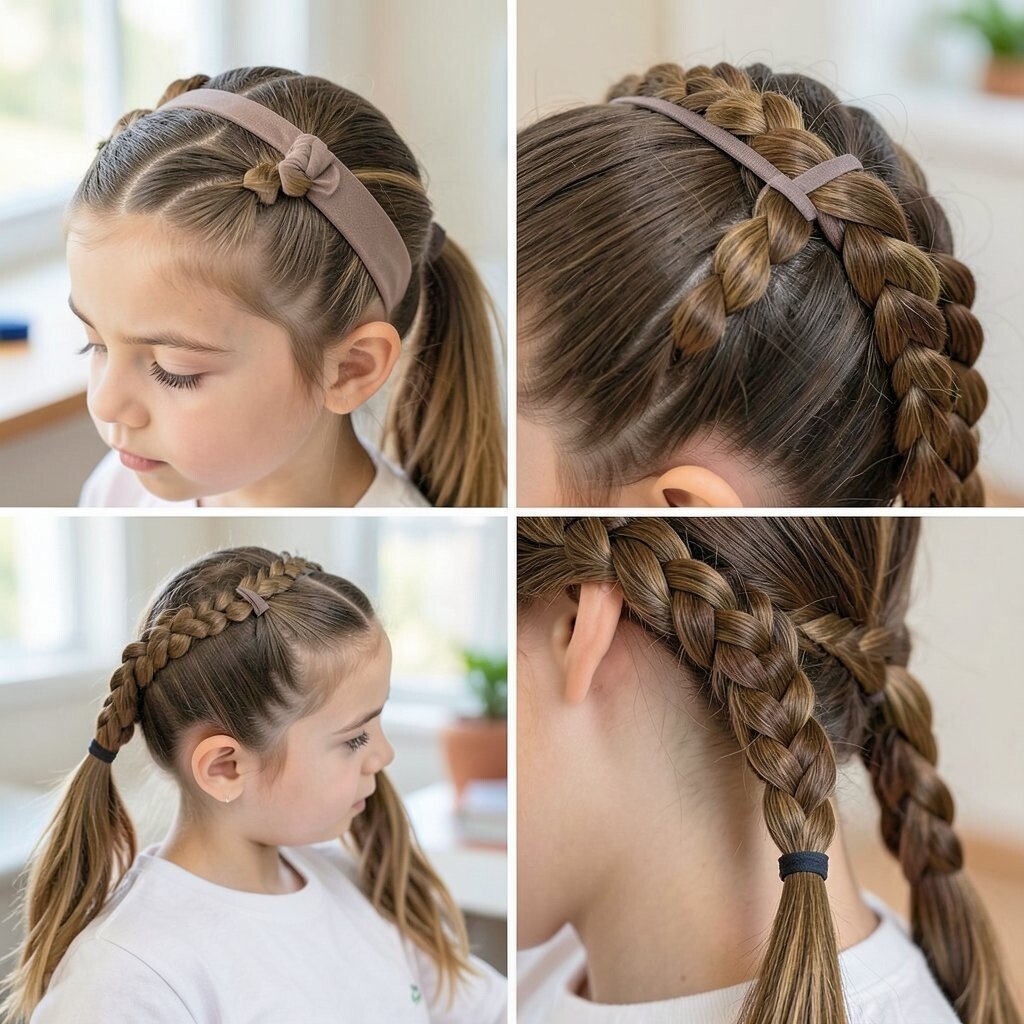
Put a thin headband or elastic around your head, then loop sections of hair around it. Twist each section slightly before wrapping so it holds shape.
This creates the look of a crown braid without needing continuous braiding. It’s especially helpful when you’re learning braids or you’re short on time.
To make it look more realistic, tuck the ends at different angles instead of all in one spot. If your hair is thick, use smaller sections so the wraps stay neat. For personalization, choose a headband color that matches your school colors or favorite hoodie. Current trends show lots of braided crown looks, and this version is wearable and comfortable for daily life. Keeping extra elastics and bobby pins in your backpack keeps you ready for a quick fix at any time.
12. Curl-Friendly Loose Waves With a Claw Clip
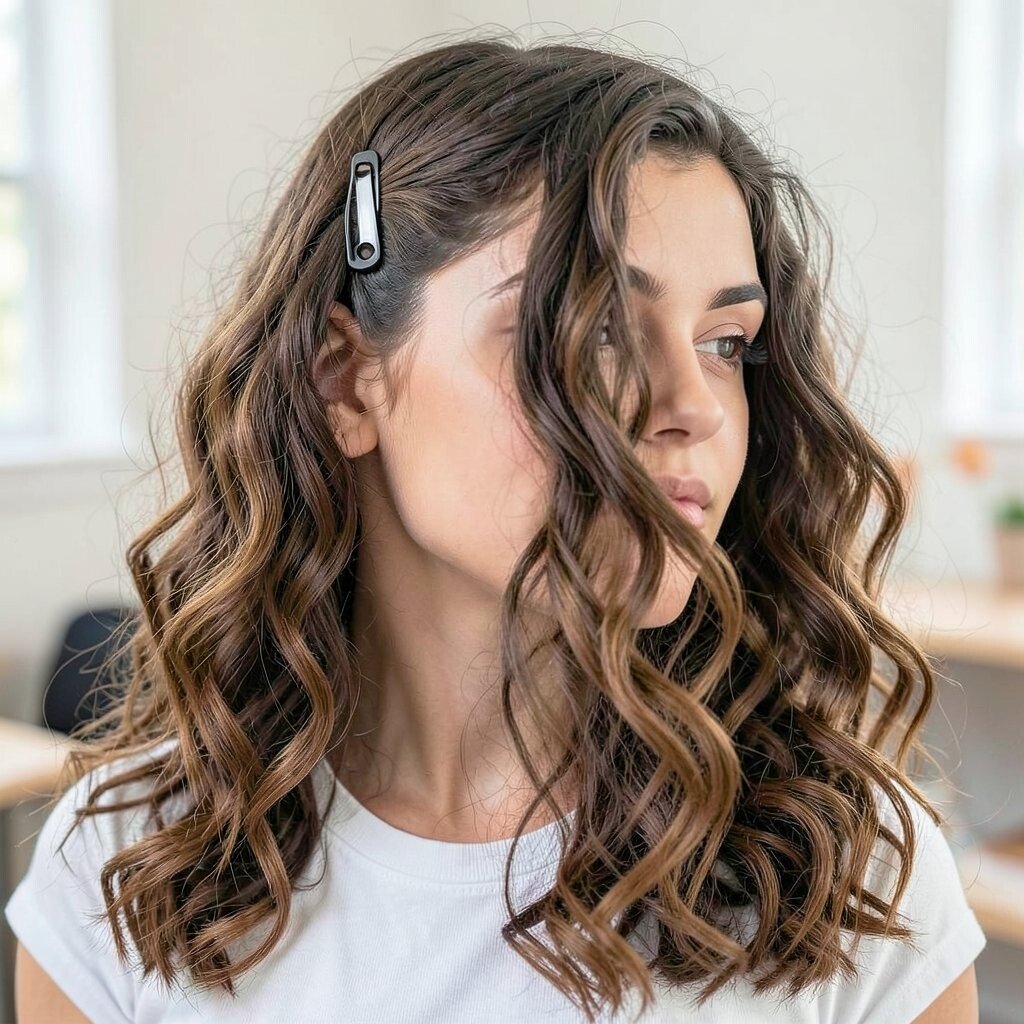
If your hair naturally waves or you use a simple heatless curl method, start by brushing it lightly. Pull back the top layer with a claw clip, leaving the bottom wavy for movement.
The clipped crown lifts your face while the waves stay soft and bouncy. This hairstyle is great when you want your texture to look intentional, not messy.
13. Bow-Top Mini Bun
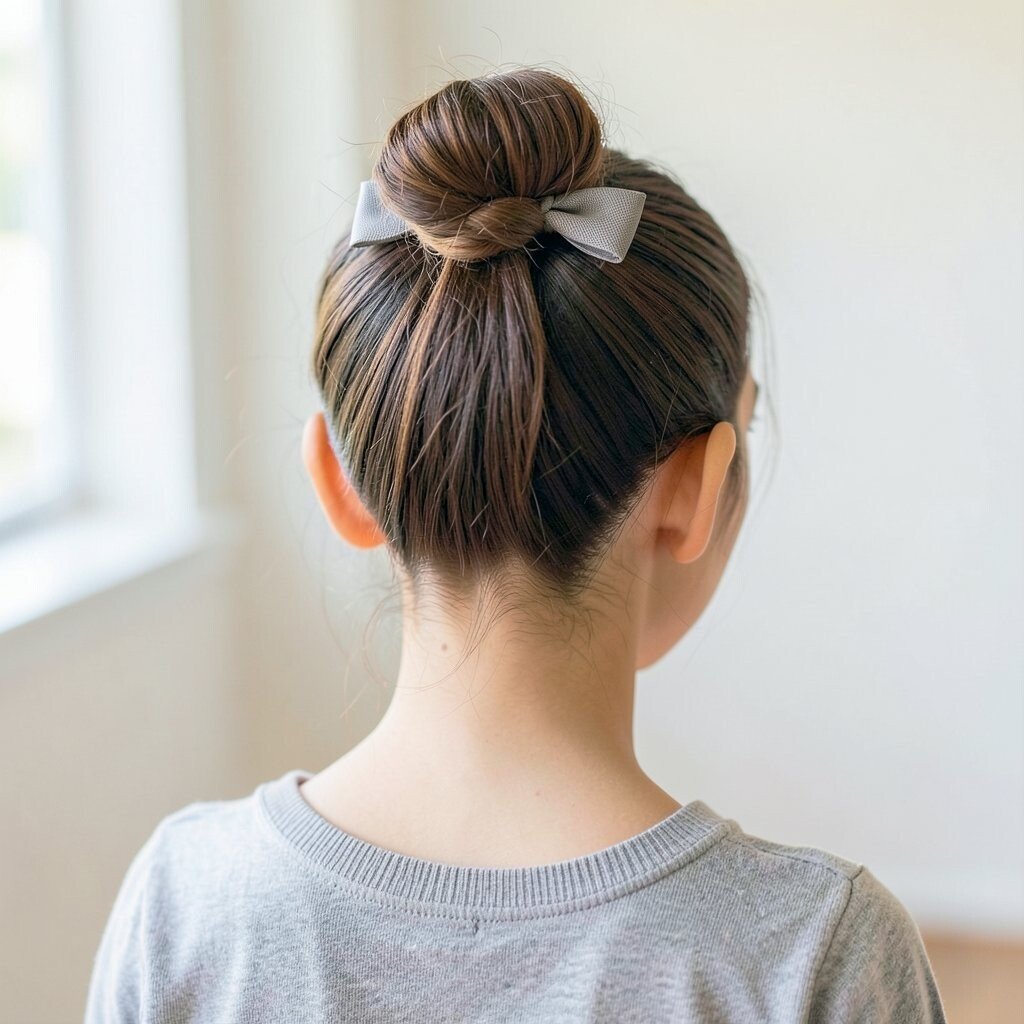
Create a small bun at the top of your head, then leave two pieces sticking out like mini bows. Tie those pieces back gently so they form a cute, tied-up shape.
This looks adorable in pictures and adds personality without needing a big hairstyle. It also helps keep shorter face-framing hair from falling into your eyes.
For practical tips, use a strong elastic for the base bun and secure the bow pieces with bobby pins. Personalize by using a matching hair tie or adding a tiny clip at the side. If you have fine hair, tease the roots slightly before making the bun so it looks fuller. This style is usually very affordable because it uses simple accessories you can find anywhere. The “cute detail” trend is still going strong, and this bow-top version fits right in for school days.
14. Braided Bang Sweep
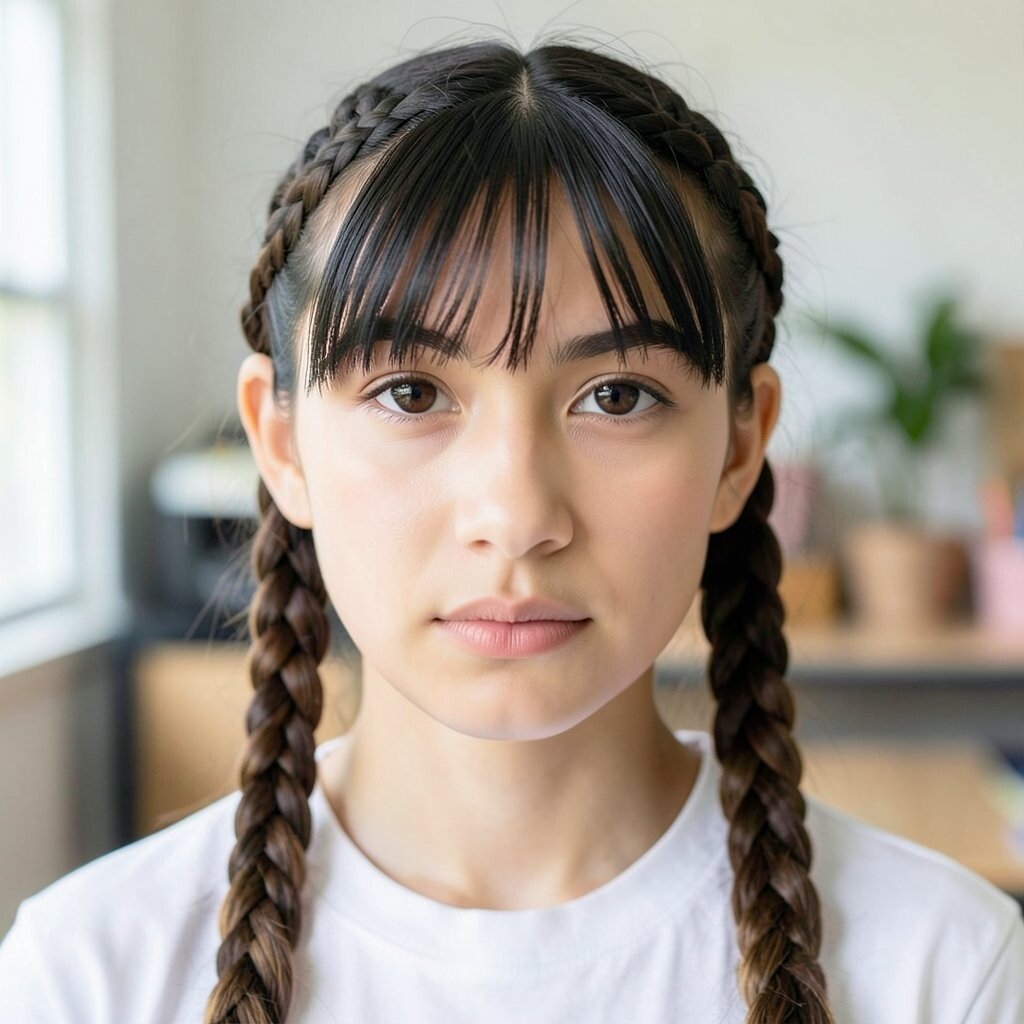
Take a small section from your bangs area and braid it loosely across your forehead. Pin it to the side so it holds without pulling.
This is a neat way to manage hair that won’t behave, especially in wind or after a ponytail. It also adds a tiny braid detail that looks fancy while still being quick.
Make it unique by choosing a fishtail-style small braid or a simple three-strand braid. If you want it to stay longer, use a light gel on the roots before braiding. For personalization, match the braid direction to your part, like sweeping outward for a softer look. Cost is minimal because you only need a pin or two and maybe a small elastic for the braid end.
15. Low Ponytail With a Knotted Loop
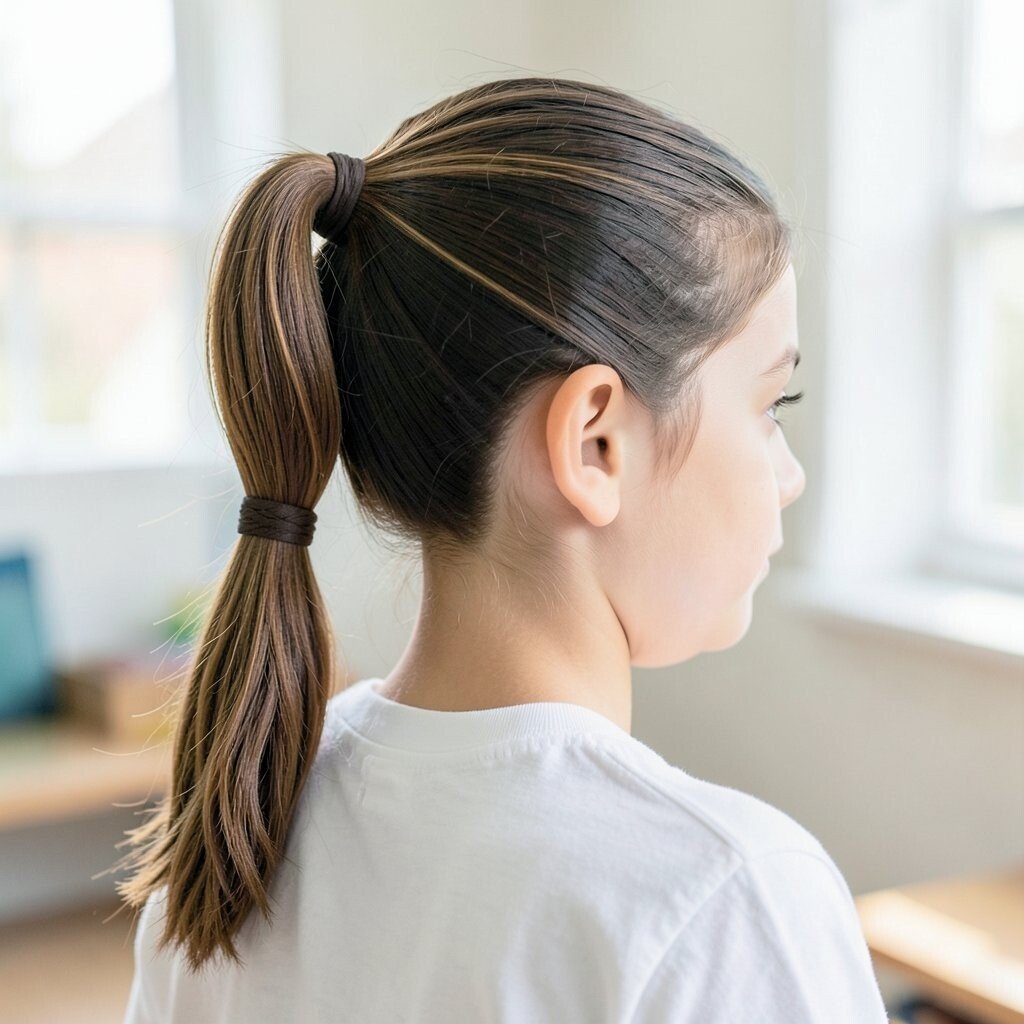
Secure your hair into a low ponytail, then split the ponytail into two sections. Create a simple knot by twisting and looping the sections, then tuck the ends through and pin them down.
The knot makes the ponytail look decorative without looking complicated. It’s also helpful for thick hair because it creates shape and prevents the ponytail from looking flat.
16. High Puff With Braided Front Accent
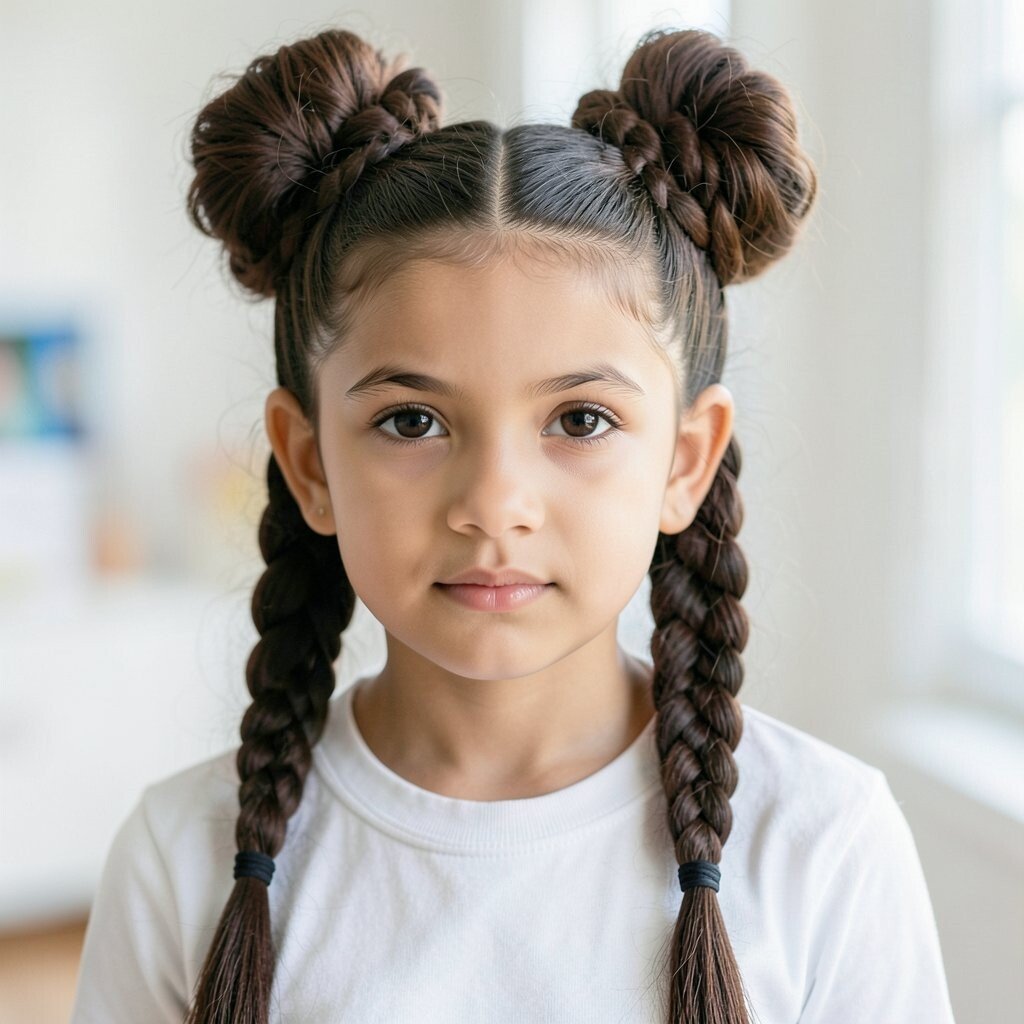
Make two small puffs near your temples or one high puff on top, depending on your hair length. Then braid a thin front section and pin it across the puff.
This creates a fun, sporty look that feels confident and full of energy. The braided front keeps hair controlled while the puff adds volume, which is great if your hair gets limp during the day.
Personalize by choosing a tiny braid style, like a simple braid or a mini Dutch braid. If you want a clean finish, smooth the hairline with a bit of water on your fingers before pinning. Budget-wise, you just need elastics, bobby pins, and maybe a leave-in conditioner. Current trends favor high volume and face-framing details, and this style delivers both.
17. French Braid Into a Side Twist
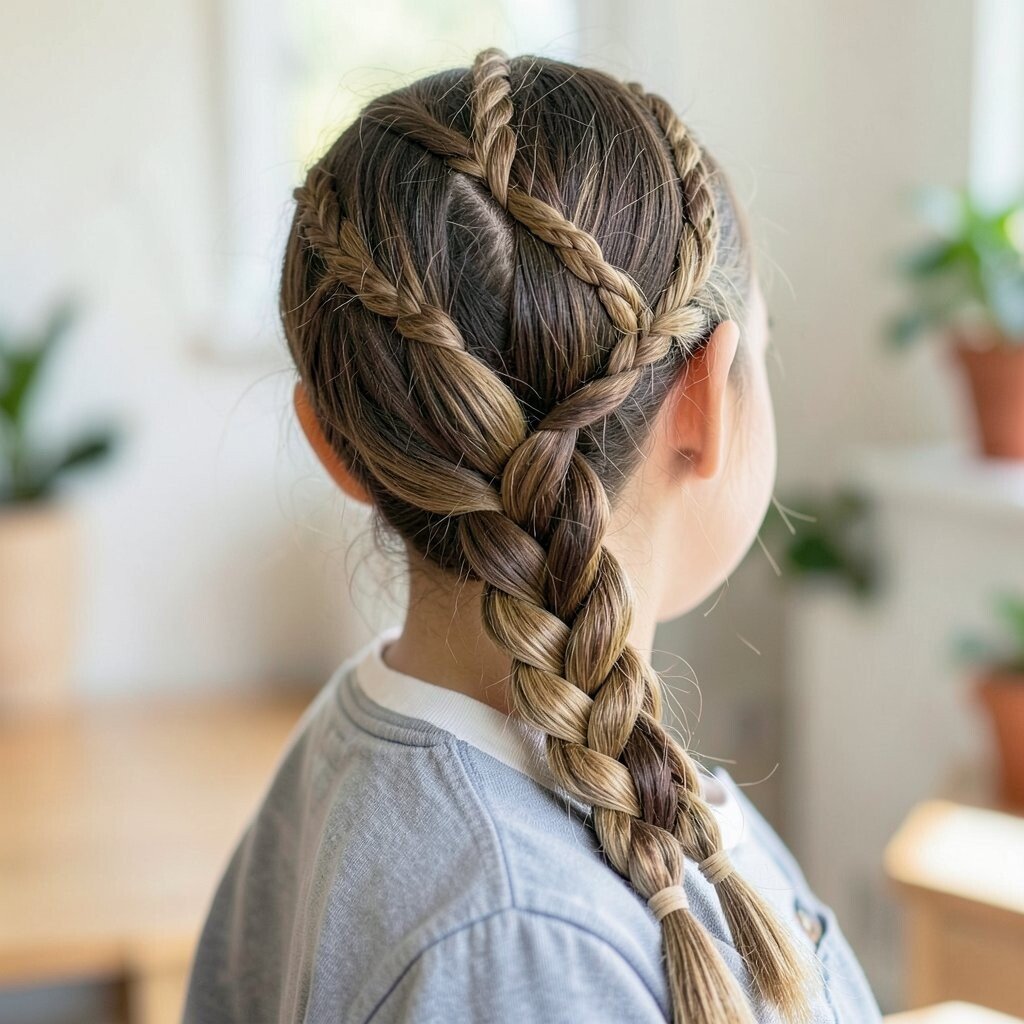
Start a French braid from the crown down the back of your head. When you reach the end, stop braiding and twist the remaining hair to one side, then secure it.
The braid gives structure and the side twist adds motion, making the style look dynamic. This is a strong choice for school because it stays in place even with lots of movement.
For practical tips, keep the braid tension medium, not too tight, so your scalp stays comfortable. Use a small elastic that matches your hair color to keep it discreet. Personalize by leaving a thicker section on the front to frame your face, or by hiding the elastic under a wrapped strand. Cost is low because you’re using classic braid tools that last for months. If you love current braided styles, French-braid-and-twist combos are popular because they look elegant but still practical.
If you want extra shine, apply a tiny drop of hair oil to your hands and smooth it over the twist.
18. Half-Up Rope Twist With Tucked Ends
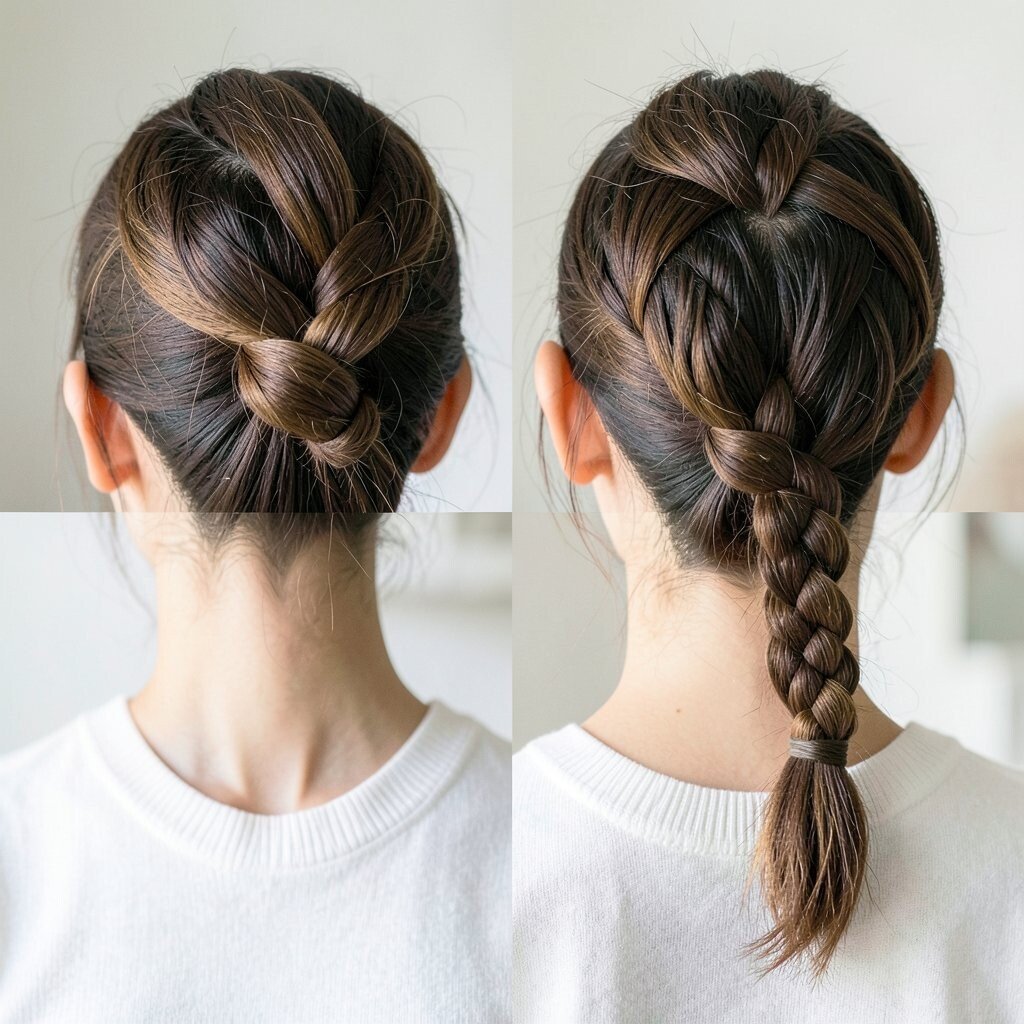
Take two sections from each side and twist them like rope toward the back. Secure the twists together with a small elastic, then tuck any loose ends under and pin them down.
This looks sleek and modern, with a clean twist texture that stands out. It’s also perfect for keeping hair off your neck during warm school days.
Personalize by changing the placement, like higher for a bold look or lower for a soft finish. If your hair is wavy, lightly scrunch it first so the twist looks textured. For cost considerations, a pack of small elastics and bobby pins is usually enough, and you won’t need expensive tools. Current trends highlight twist hairstyles because they look polished even when they’re quick.
To make it last, lightly mist the twists with water or a light spray before pinning, then smooth the top with a brush so it looks neat all day.