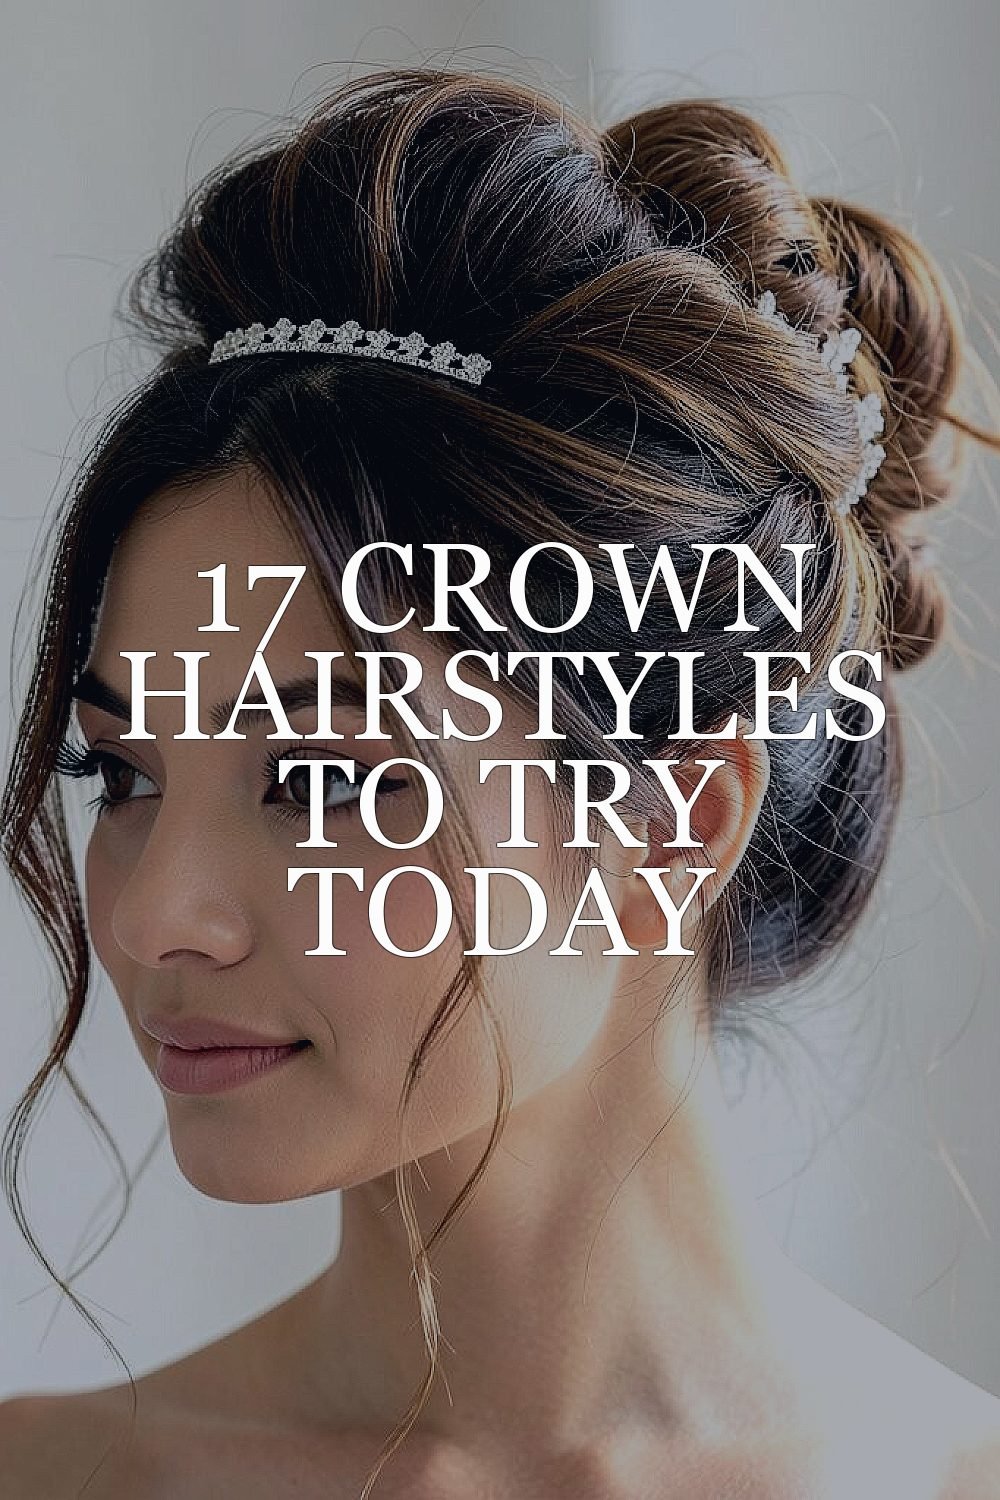
Your crown can look brand-new with the right hairstyle details. Small changes at the top can make your whole look feel fresh and grown-up.
1. Soft Crown Waves With a Clean Top
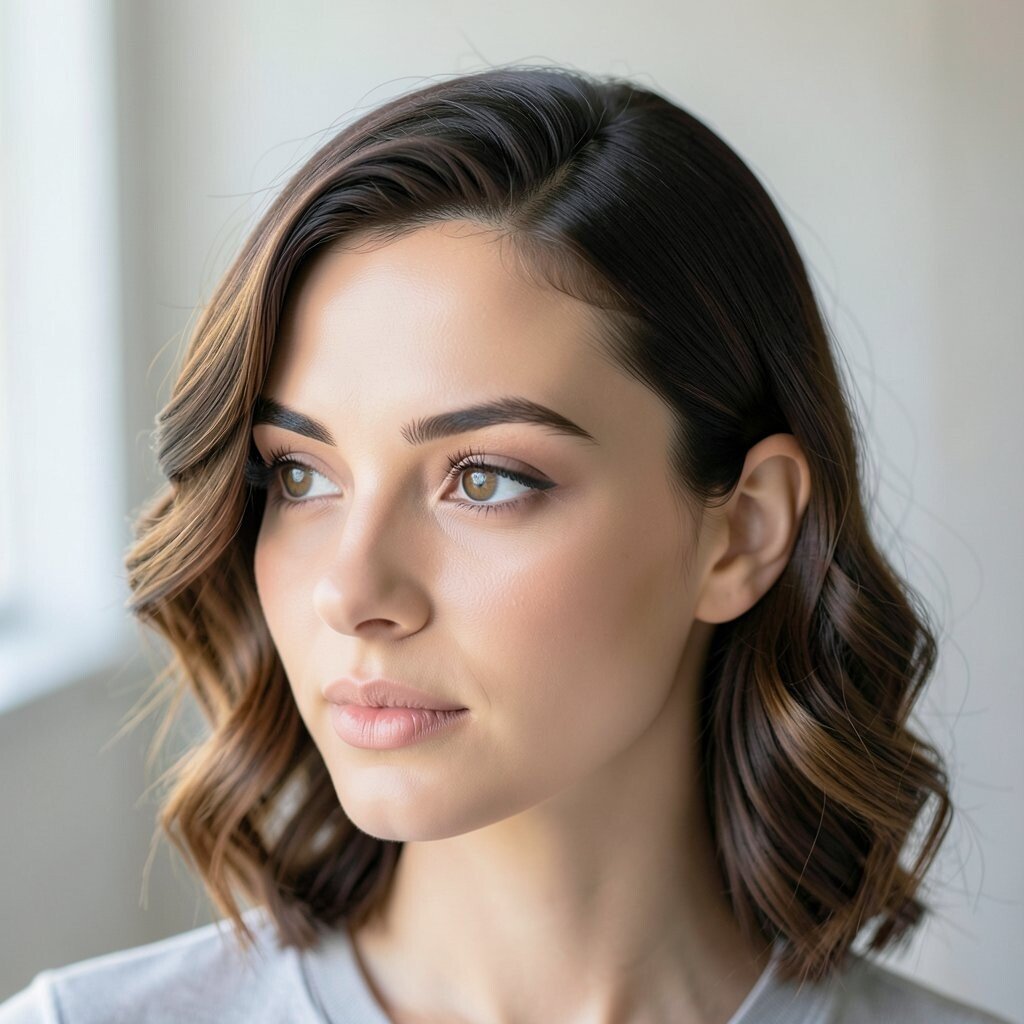
Soft waves start near the roots and roll gently over the top of your head. The result looks airy and healthy, like your hair just caught the perfect breeze.
Try smoothing the crown before you style so the wave pattern sits nicely. Use a lightweight mousse at the roots, then wrap sections with a medium barrel for loose bends. Finish with a flexible hairspray so the shape stays touchable without turning crunchy.
2. High Crown Puff With a Sleek Finish
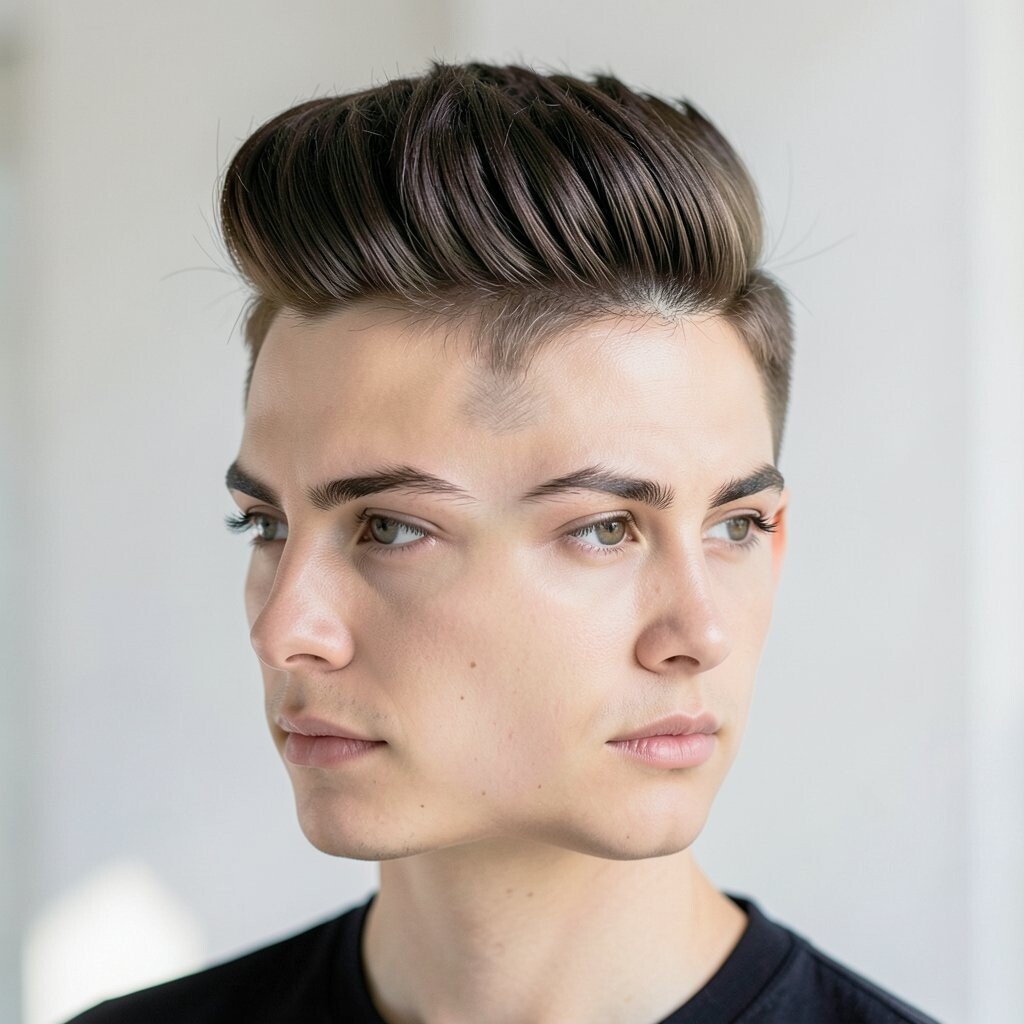
A high crown puff lifts the top for a confident, model-like silhouette. When you keep the sides smooth, the contrast makes your face look sharper and brighter.
Begin by blow-drying the crown upward using a brush and a bit of heat. Backcomb lightly at the very top only, then smooth the outer layer so it looks polished. Add a shine serum to the sides and set the puff with pins that match your hair color.
For cost, a small set of bobby pins and a hairspray you already own can be enough to nail this look. If you want extra hold, a gel-cream can be a good upgrade without a big budget.
3. Crown Braid Halo With Side Texture
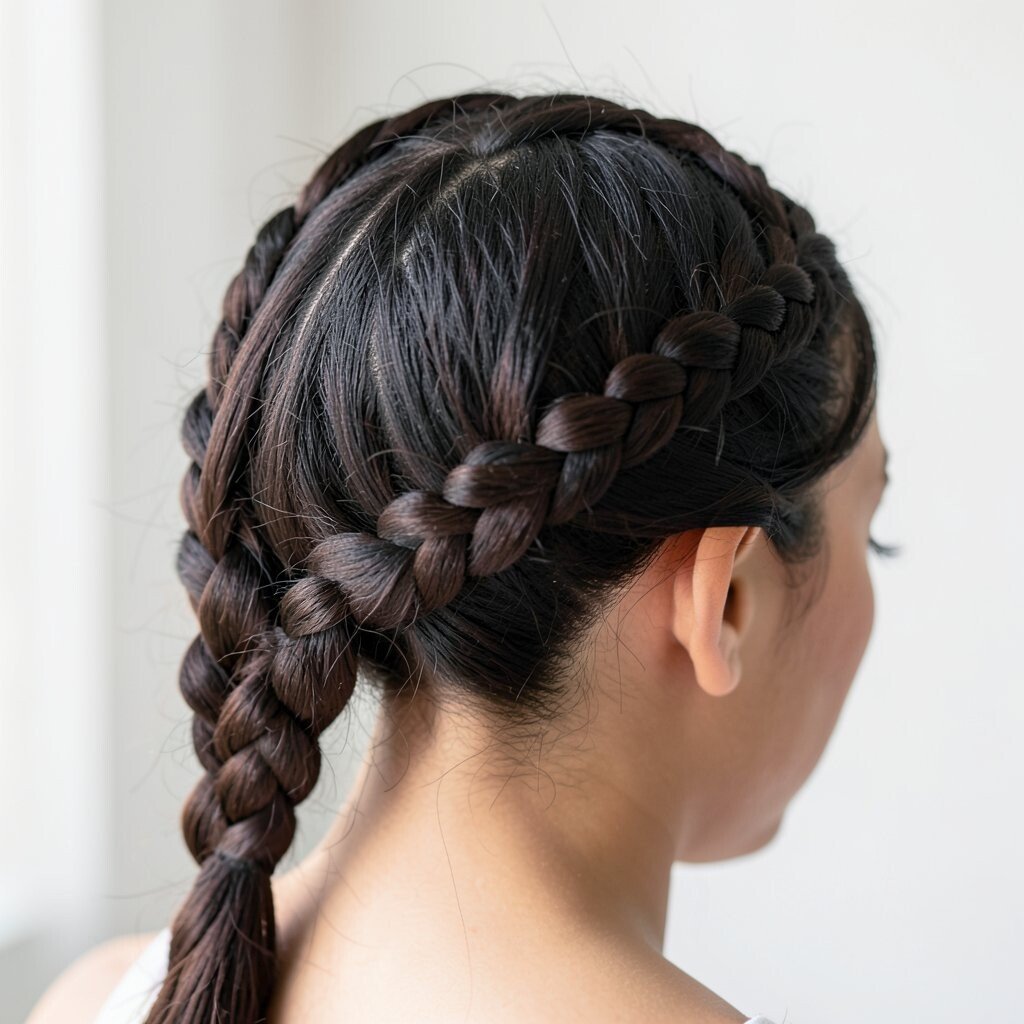
A halo braid sits along the crown like a soft wreath. It looks romantic and artistic, especially with a bit of messy texture on the outside.
Part your hair slightly off-center, then braid a section across the top and tuck it near the opposite side. Leave a few wispy pieces loose so the braid feels light instead of tight. A setting spray will help the halo stay in place while still letting your hair move.
If you want personalization, try a narrower braid for a delicate vibe or a chunkier braid for drama. This style works well for parties, but it can also work for everyday wear when the braid is slightly looser.
4. Crown Claw Clip Half-Up With Lift
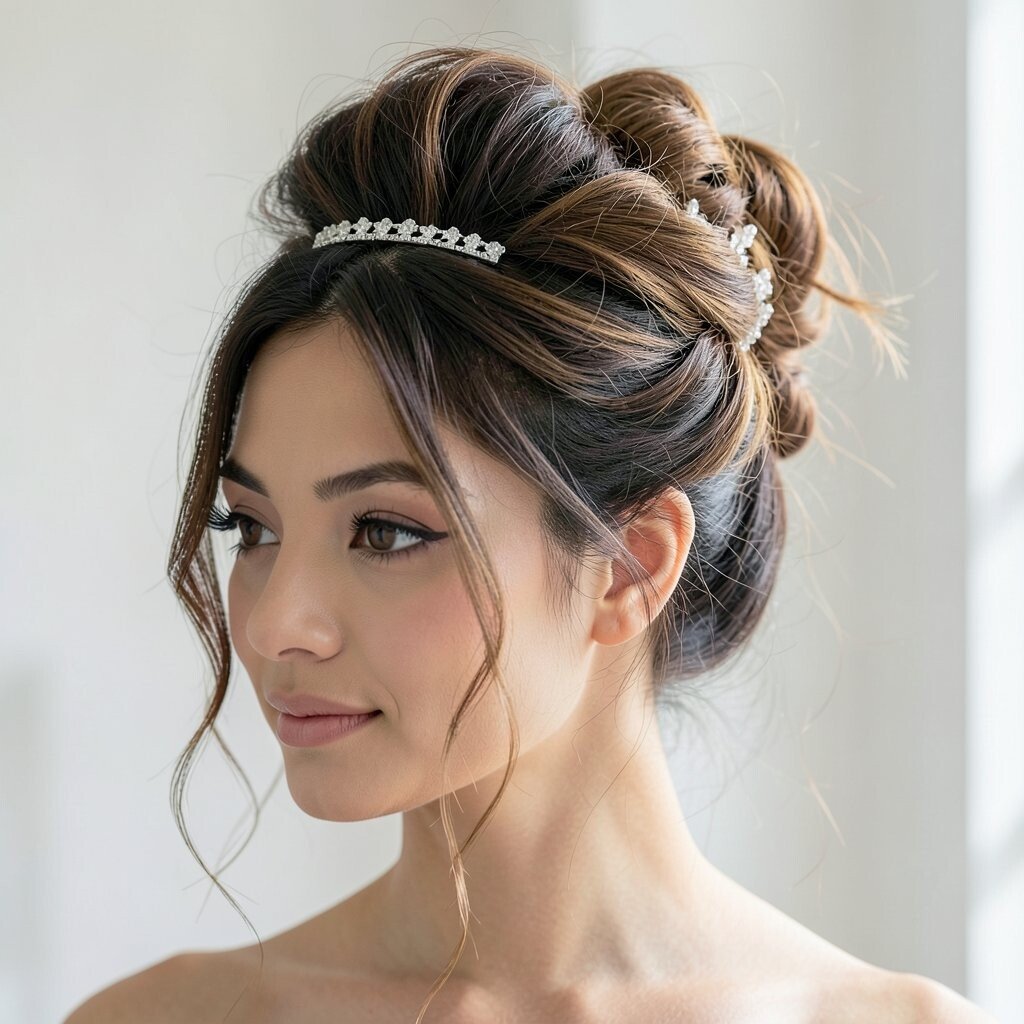
A half-up claw clip placed at the crown creates instant lift and keeps hair off your face. It looks neat but still playful, especially when the rest of your hair falls naturally.
Clip a small top section at the very highest point, then gently pull the ends to shape a soft curve. Use a teasing brush at the crown for volume if your hair tends to lie flat. Choose a matte clip for a modern look, or a glossy one if you want it to stand out.
5. Crown Twist Waterfall for a Romantic Top
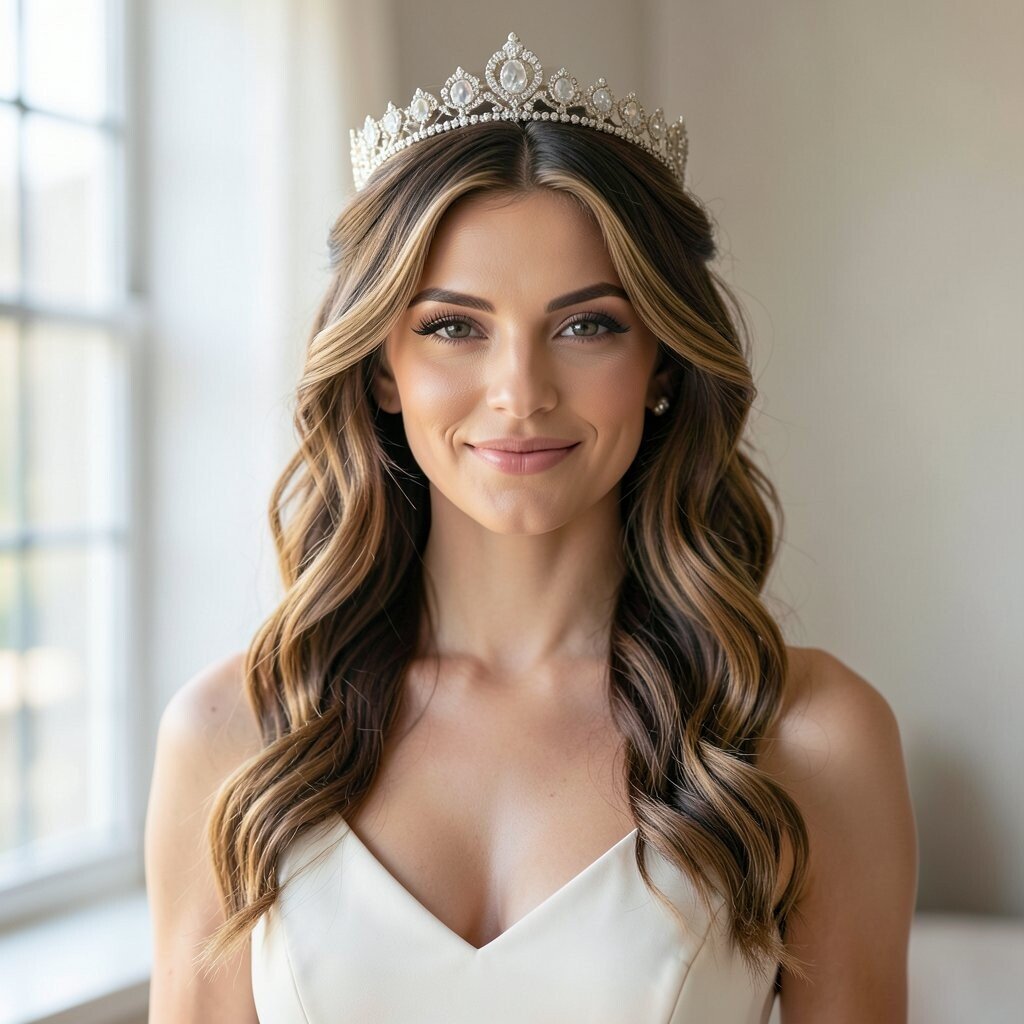
Twists around the crown can look like tiny ribbons, and the waterfall effect adds a flowing finish. The way the hair cascades down makes this style feel extra graceful.
Start with a side part, then take two small strands near the crown and twist them backward. Let the lower strands fall in a gentle waterfall as you continue the twist along the top. Lightly curl the ends afterward to blend everything into one smooth look.
To personalize, add a thin braid inside one twist for more detail. For cost considerations, you can do this mostly with clips and elastics you already have, then use a small amount of leave-in conditioner for slip and shine.
6. Crown French Braid Centered for Structure
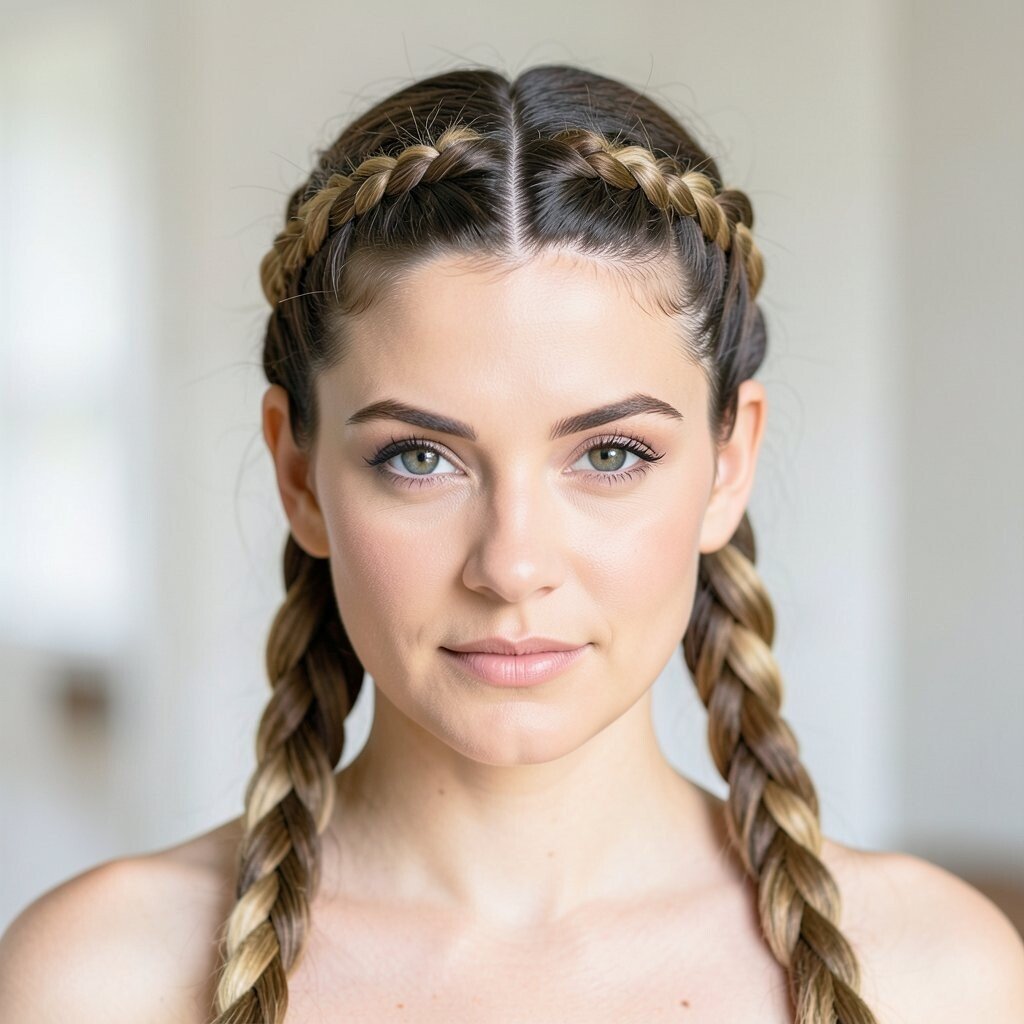
A centered French braid across the crown gives serious structure and a tidy finish. The raised braid lines make your hairstyle look intentional, even on busy days.
Begin at the front hairline and braid straight down, adding hair evenly on both sides. Keep tension medium so it stays secure without pulling your scalp too hard. When you reach the mid-length, secure it and gently tug the braid edges for a fuller crown effect.
7. Crown Top Knot With a Sleek Fringe
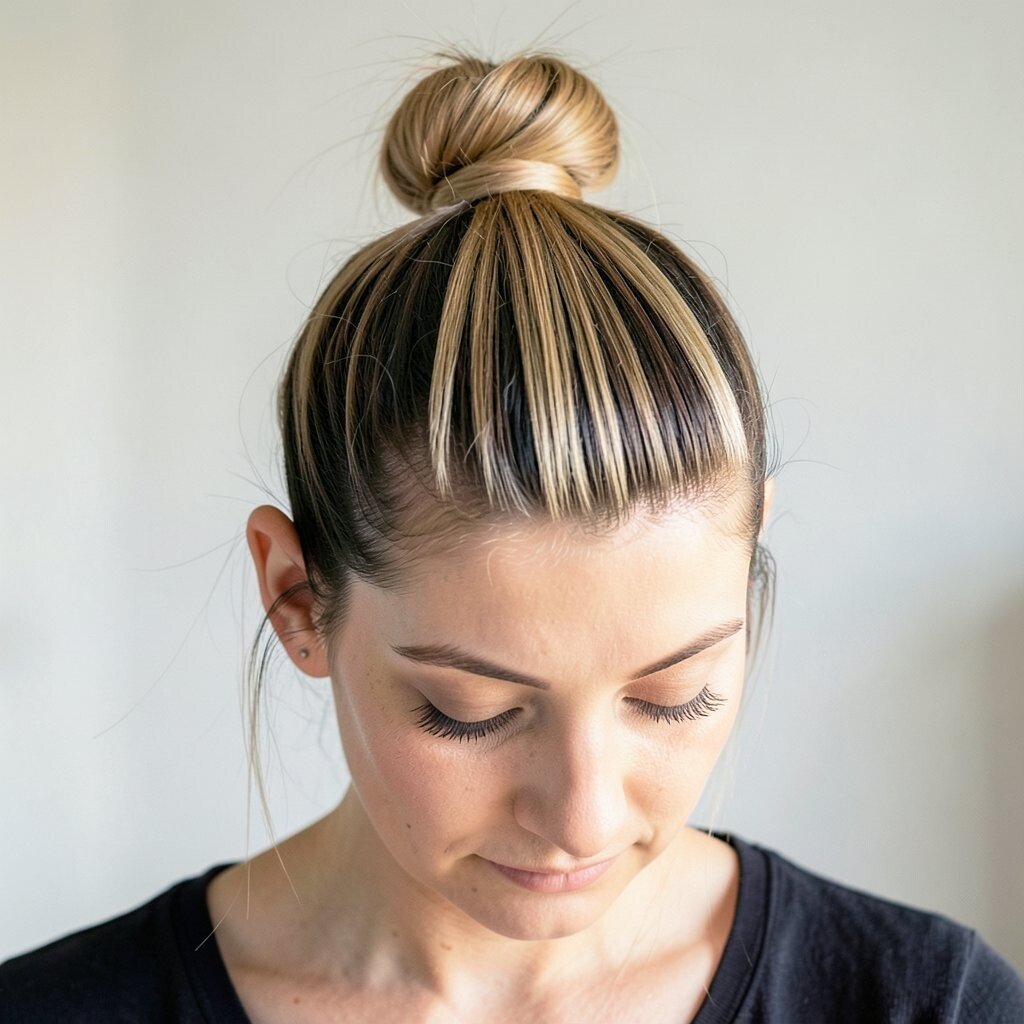
A top knot placed high on the crown feels bold, clean, and ready for anything. Pair it with a sleek fringe or smooth bangs, and the look becomes instantly put together.
Create the top knot by gathering hair at the crown and twisting into a bun, then secure with strong pins. Smooth the hairline using a little gel or smoothing cream so flyaways look intentional. Finish with a satin scarf wrap for a quick polish, then remove it after a few minutes.
Uniqueness shows up in the details, like leaving a small face-framing strand. If you want it to feel current, keep the bun slightly lifted rather than very flat.
8. Crown Dutch Braid With Hidden Volume
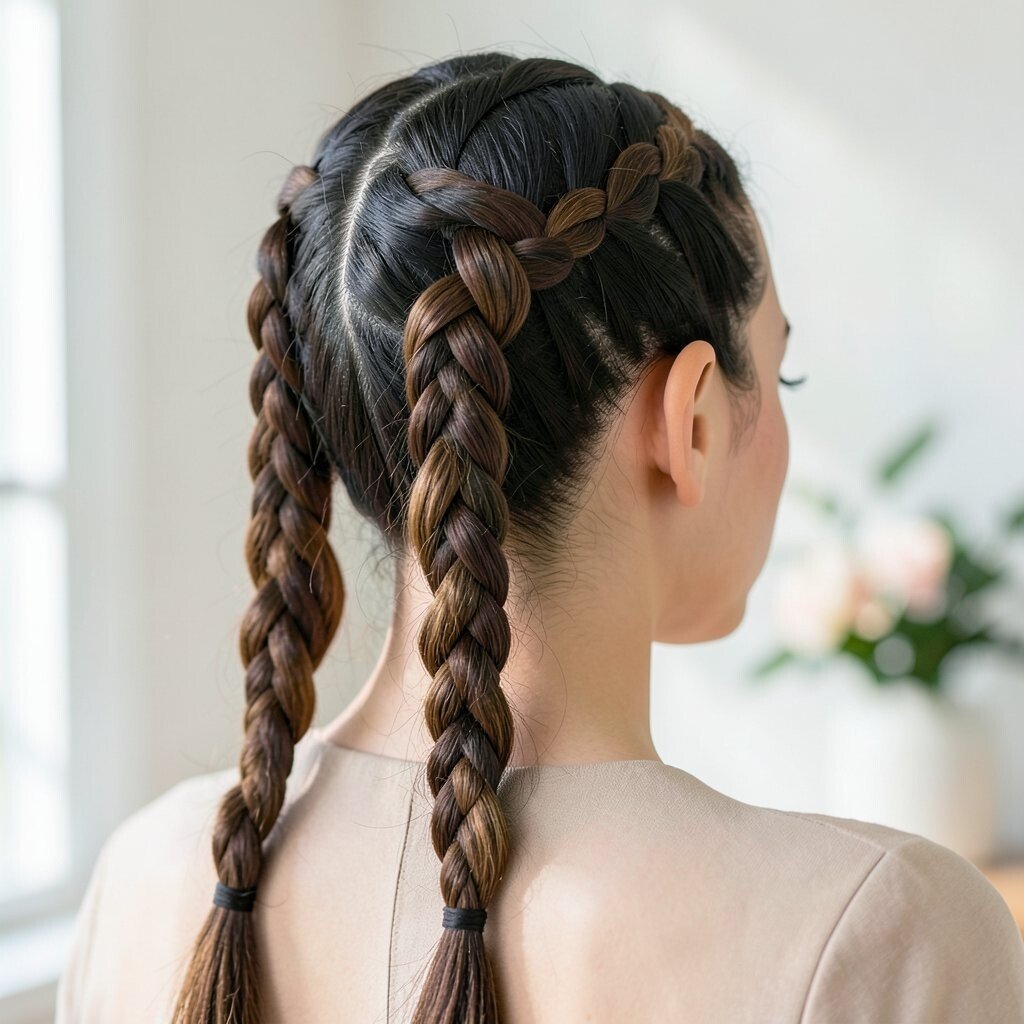
A Dutch braid underneath the top can look like it’s floating, thanks to hidden volume. Instead of sitting flat, it forms a raised ridge that draws attention upward.
Try a braid that starts near the crown and works down while adding equal sections. After securing, tug only the top portion first so the crown feels extra full. If your hair is fine, a tiny bit of root powder can give grip and make the braid hold longer.
9. Crown Half-Up Bow Clip Style

A half-up bow clip near the crown turns simple hair into something sweet. It’s cute, but it can still look grown-up when the rest of the hair is smooth and shiny.
Gather the top section at crown level, then clip a bow-shaped accessory over it. Use a brush to smooth the hair, then wrap the rest into soft waves or keep it straight for contrast. This is one of those styles where the accessory does most of the work, so you get big impact quickly.
For personalization, choose a clip color that matches your outfit, or swap between matte and glossy finishes. Cost-wise, a bow clip is usually an affordable item, and you can reuse it across many hairstyles.
10. Crown Cornrow-Style Rows for Bold Art
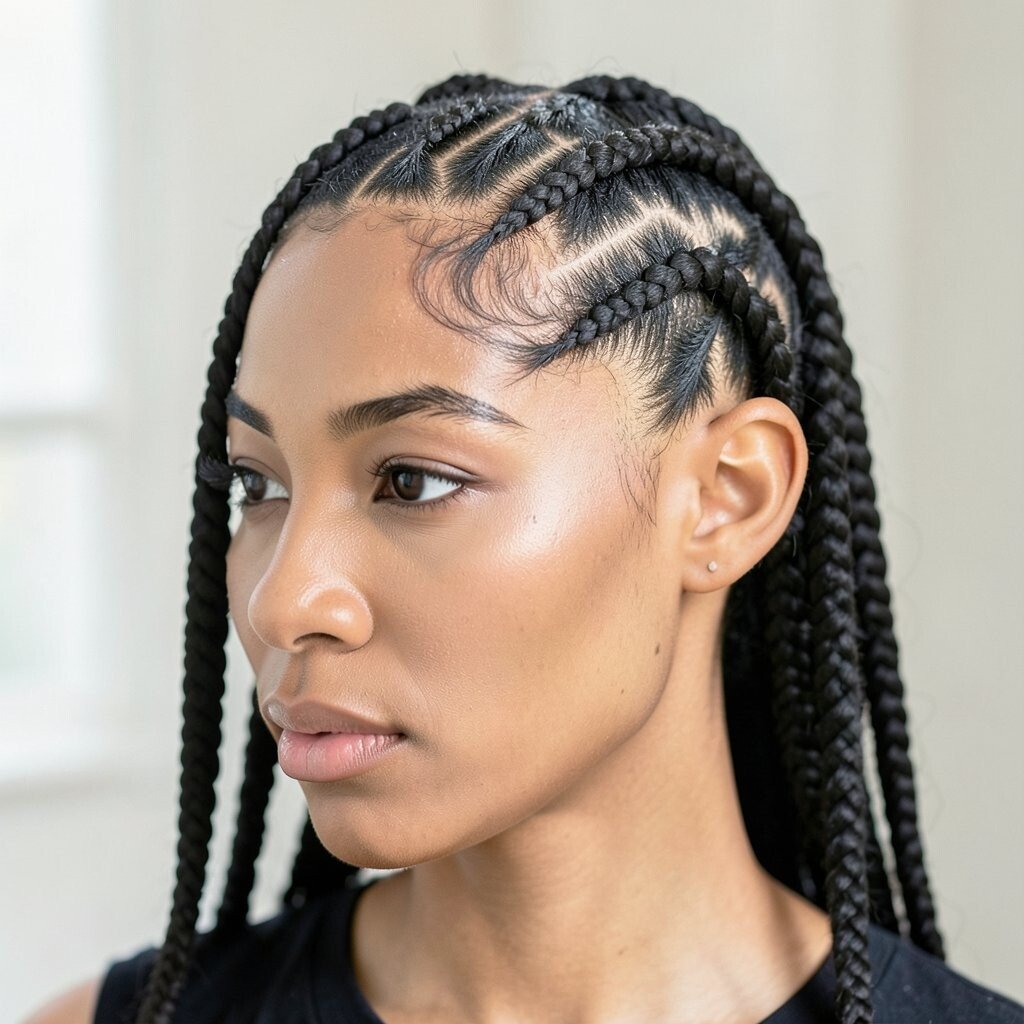
Crown cornrow-style rows create bold lines that instantly feel like a fashion photo. Even if you keep the rest simple, the crown pattern makes the whole look memorable.
Create small, even rows along the crown direction, then let the rest of the hair fall behind. Use a light edge gel or styling cream so the rows look neat and controlled. If you’re new to this, start with fewer rows and build confidence over time.
11. Crown Micro Braids in a Looped Band
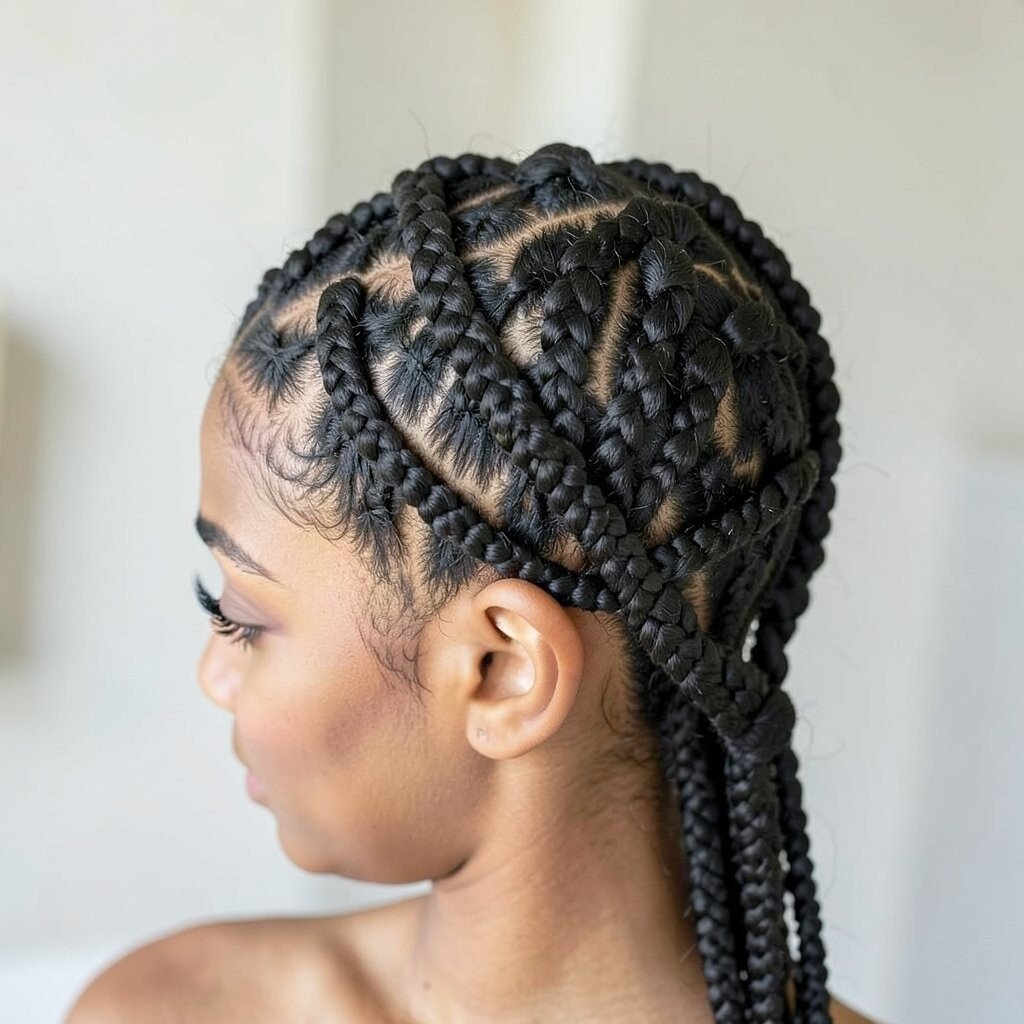
Micro braids gathered into a looped band around the crown look delicate and carefully styled. The tiny texture makes the top area feel detailed without needing heavy styling everywhere.
Part hair into small sections, braid each thin strand, then connect them into a soft loop. Secure with small elastics or pins that blend into your hair. This style holds well for photos, and it can last longer when your scalp stays comfortable.
To personalize, vary the loop shape by making it more circular or slightly diagonal for a unique angle. If you’re thinking about cost, micro braids can be a salon job, so consider doing them for special events or choosing a smaller section pattern first.
12. Crown Roller Set With Volume at the Top

A crown roller set brings bounce right where you want it, at the top. The curls look bouncy and fresh, and the shape frames your face softly.
Roll sections at the crown first so they get the most styling time. Let rollers cool fully before removing them, then fluff gently with your fingers. Use a curl cream for definition, and apply a light hairspray to keep the volume airy instead of stiff.
13. Crown Sleek Sides With a Curled Top Swirl
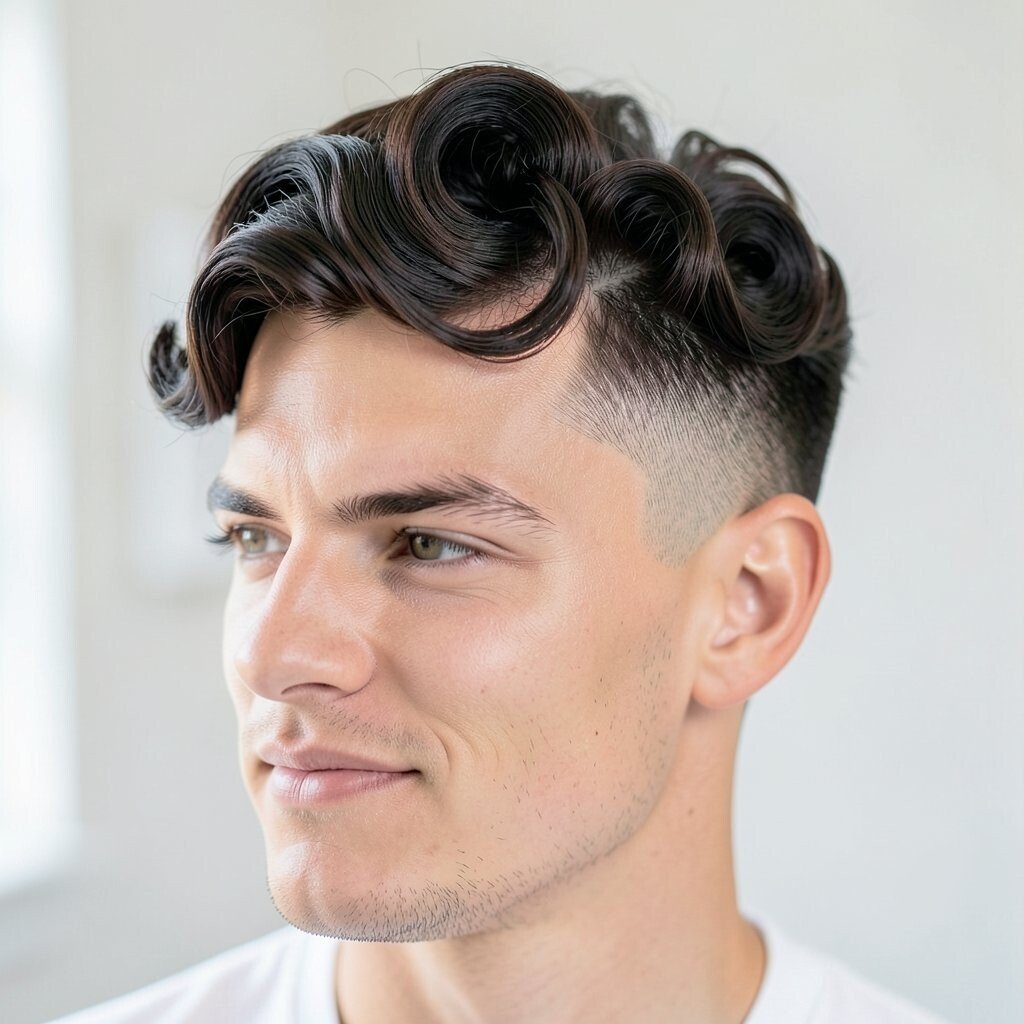
Keeping the sides sleek and adding a curled swirl at the crown makes a clean, modern contrast. It looks sharp, like your hair is styled with intention.
Style the sides straight with a blow dryer and smoothing cream, then curl only a small top section into a tight swirl. Pin it briefly while it cools so the curl stays crisp. Finish with a small amount of shine spray so the swirl looks smooth, not dull.
For uniqueness, try a swirl that points slightly to the side rather than straight back. This is also a great option when you want a hairstyle that feels trendy without needing complicated steps.
14. Crown Pull-Through Braid With Easy Texture
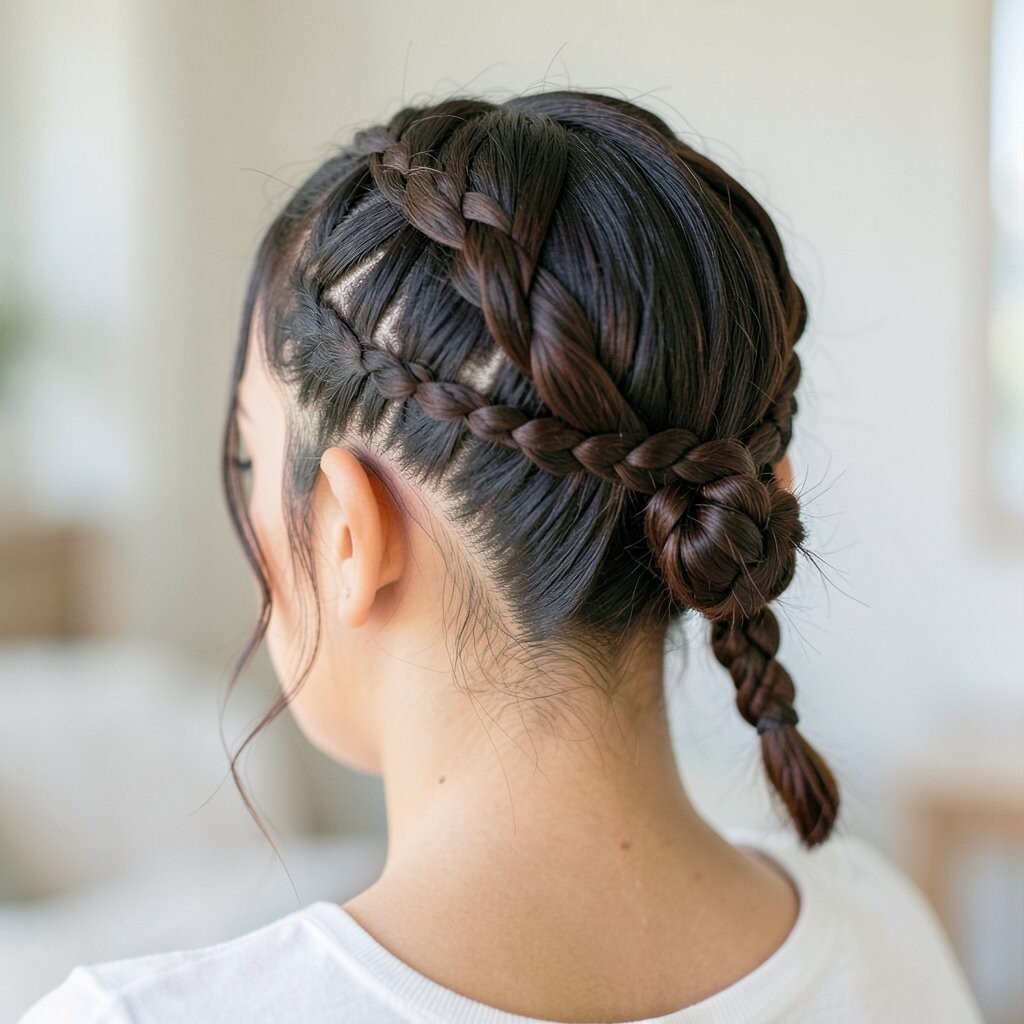
A pull-through braid at the crown looks intricate but feels surprisingly easy. It gives a stylish band effect and works well with both straight and wavy hair.
Gather hair at crown height, create a small base braid, then pull sections through the braid openings. Loosen each loop slightly for a fuller look, and keep the tension gentle so it stays comfortable. Add a texturizing spray beforehand if your hair slips out of styles quickly.
15. Crown Boho Twists With a Loose Top Halo
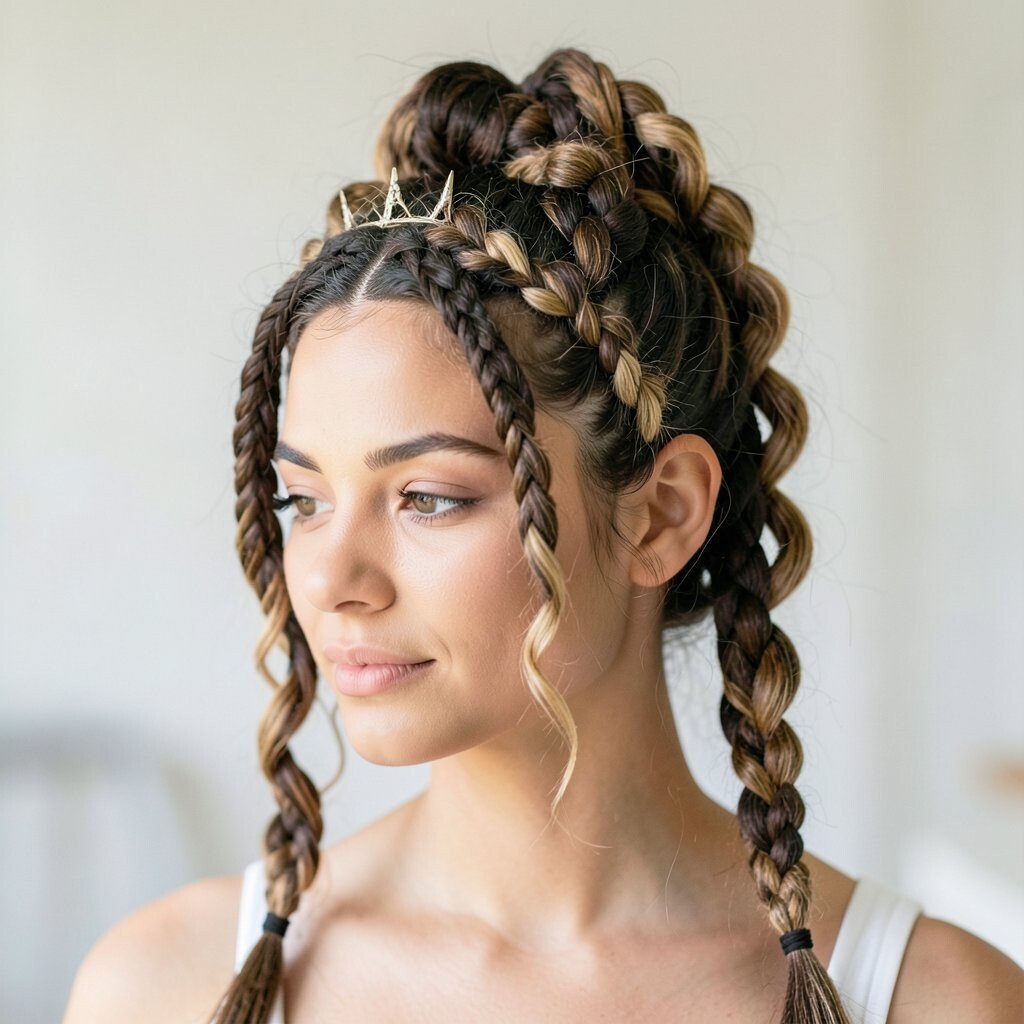
Boho crown twists look free, soft, and full of personality. The loose halo effect gives a dreamy vibe that’s great for festivals, dates, or weekend brunch.
Twist two sections near the crown and connect them loosely across the top using pins. Leave the ends a bit undone so the style feels natural and not too strict. If your hair is thick, use smaller twists for a lighter feel.
Personalization is easy here because you can add beads, ribbons, or even a small braid detail. Cost considerations are friendly too, since most of the look comes from styling products and pins you likely already have.
16. Crown Fishtail Accent at the Top
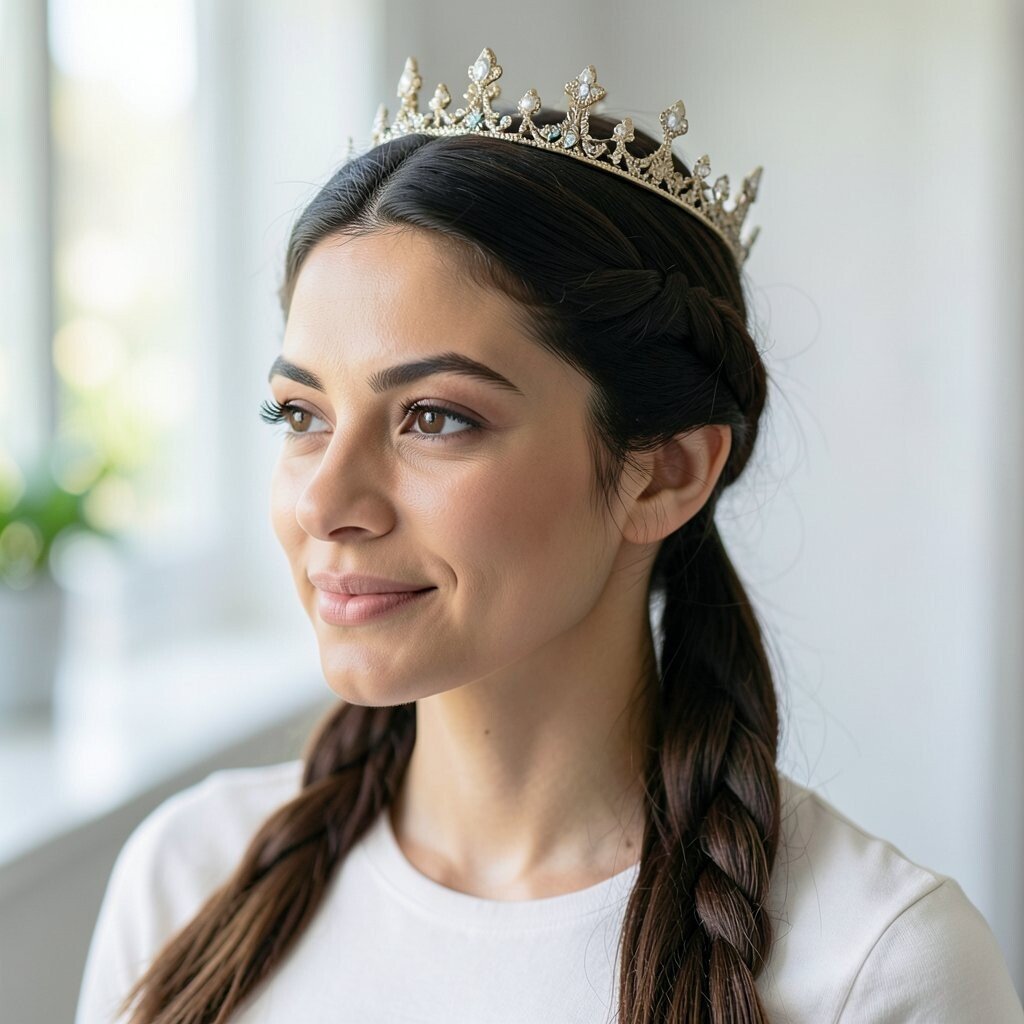
A fishtail accent at the crown adds a detailed texture that stands out in a subtle way. The zigzag pattern catches light and makes the top of your hair look extra styled.
Part a section at the crown, then fishtail braid only that section while keeping the rest of your hair down. Secure the fishtail near the back of the head, then gently tug to open the braid pattern. Pair it with loose waves so everything blends, but the fishtail stays the focal point.
17. Crown Bubble Pony With a Raised Top
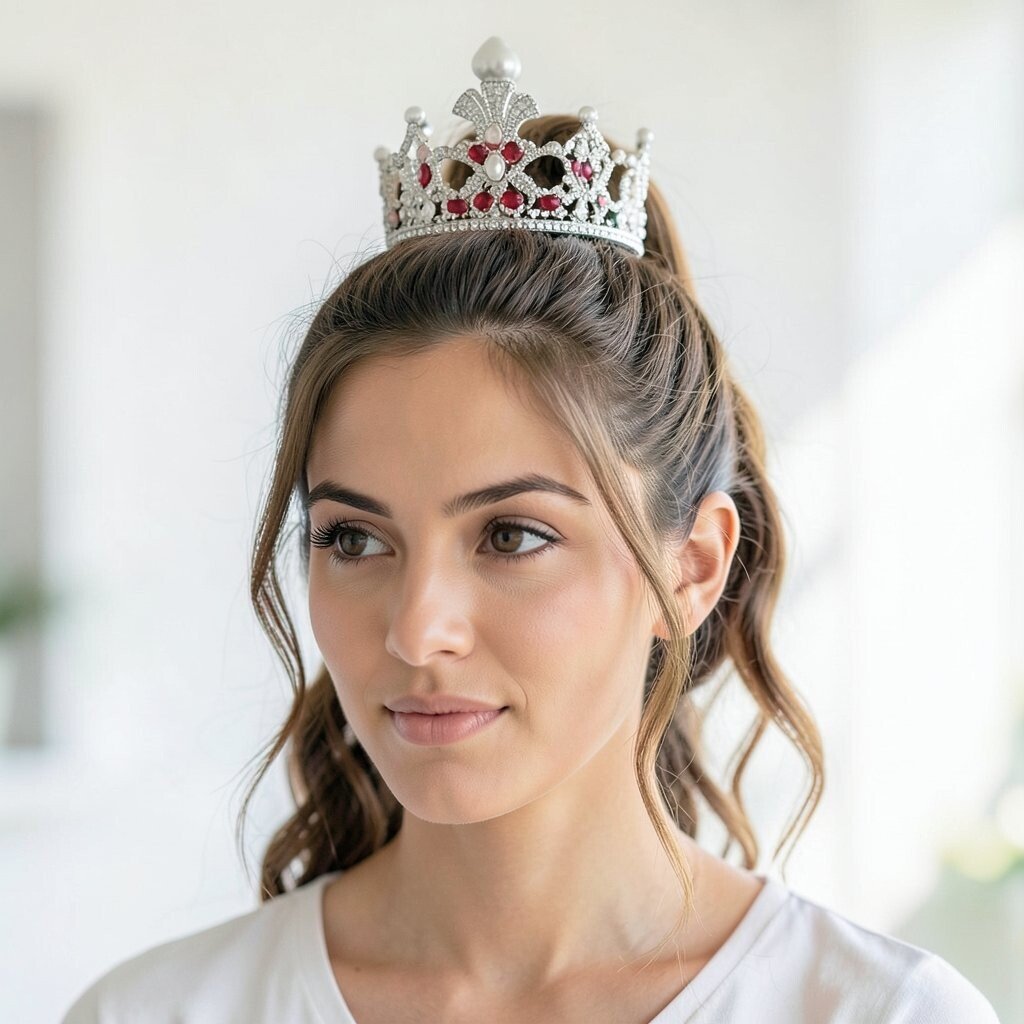
A bubble ponytail gives a playful, modern look with circles of texture across the length. When the pony is placed at the crown, it becomes a fun statement that still feels manageable.
Gather hair at the crown and secure with an elastic, then add more elastics down the pony. Gently pull each bubble outward for shape, starting from the top for the biggest lift. Use a smoothing cream on the surface first so the bubbles look clean instead of messy.
For personalization, choose how many bubbles you want based on your time and hair thickness. If you’re watching cost, elastics and a brush are the main tools, and you can upgrade with a shine spray for a salon-like finish.