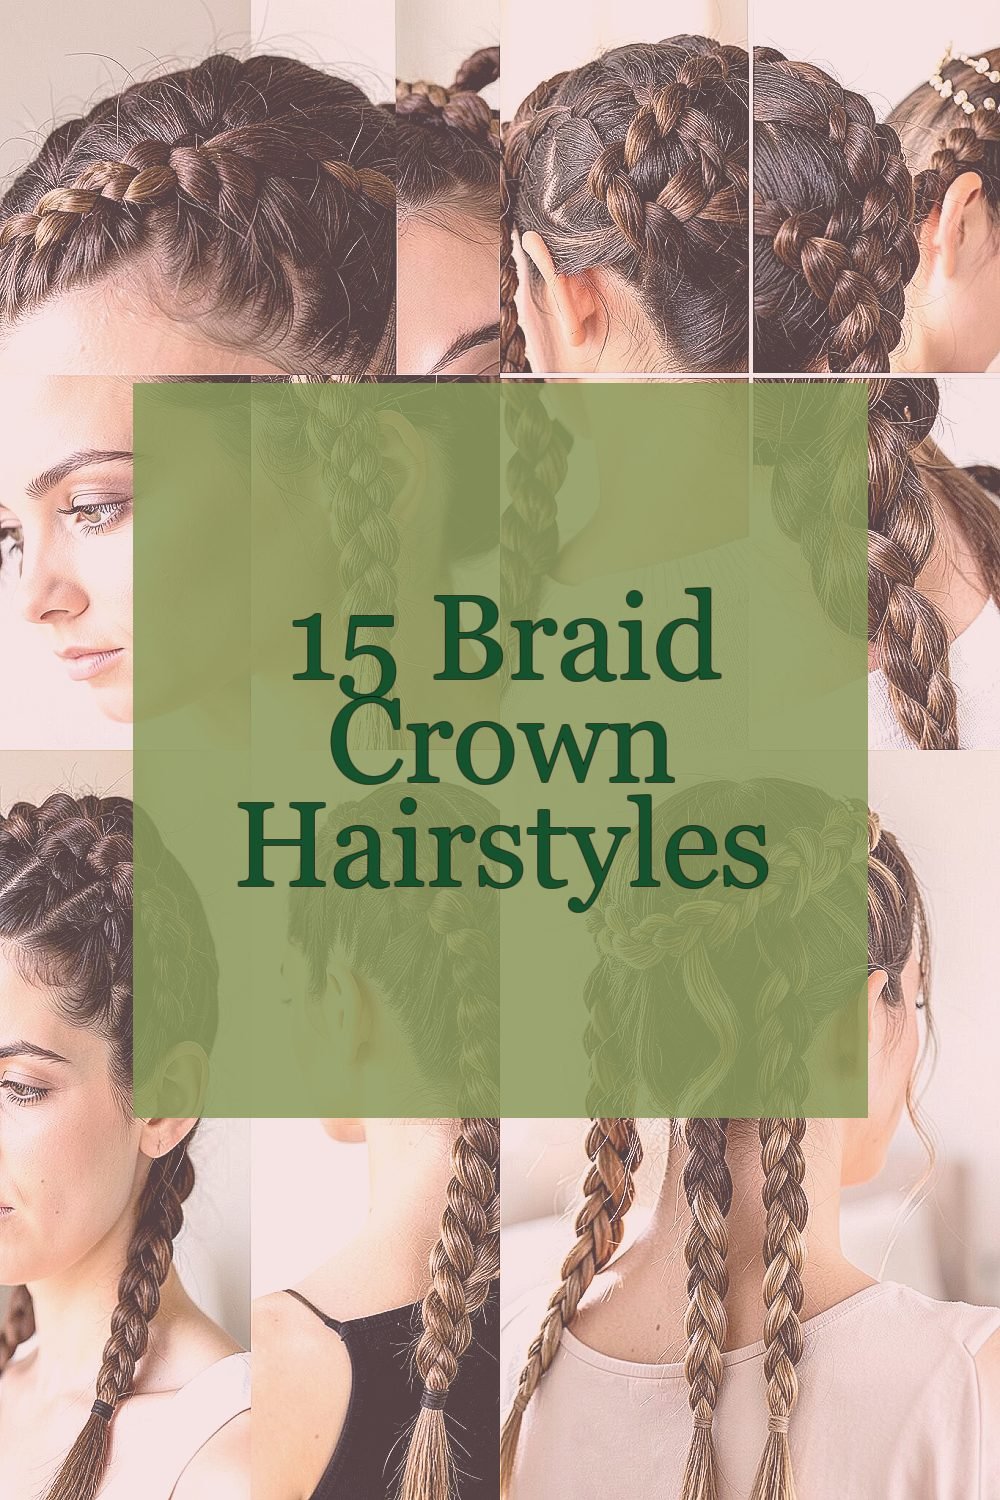
Soft braids can make you feel polished in minutes. A crown shape frames your face like you planned every detail.
Whether you’re heading to class, a wedding, or a casual coffee run, braid crowns can match your mood. They look elegant, but they’re surprisingly practical to style.
1. Classic Half-Up Crown Braid
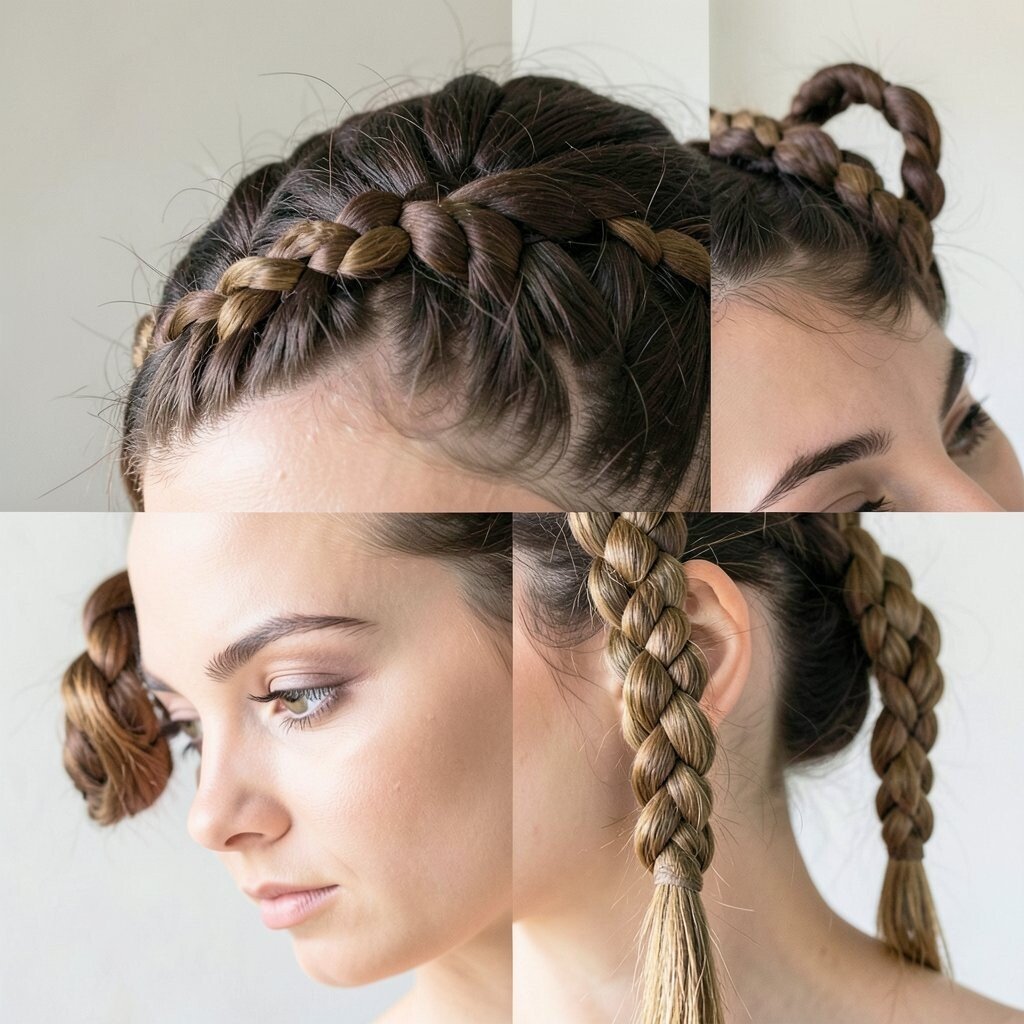
Start with a clean base and lightly mist your hair so it holds shape. Part your hair where it feels natural, then gather sections from each side and begin braiding as you move toward the back. Keep the braid snug but not tight, so your scalp stays comfy and your style looks neat.
When the braid reaches the back, wrap it around the top of your head and secure it with bobby pins. Add a little puff at the crown by gently lifting the hair where the braid sits. This style is great because it keeps your length free while still giving that crown effect.
For a more current look, aim for a clean finish with a few slightly loose strands around the face. Choose a shine spray or light hair oil to make the braid look healthy and dimensional.
2. Full Crown Braid With Low Bun
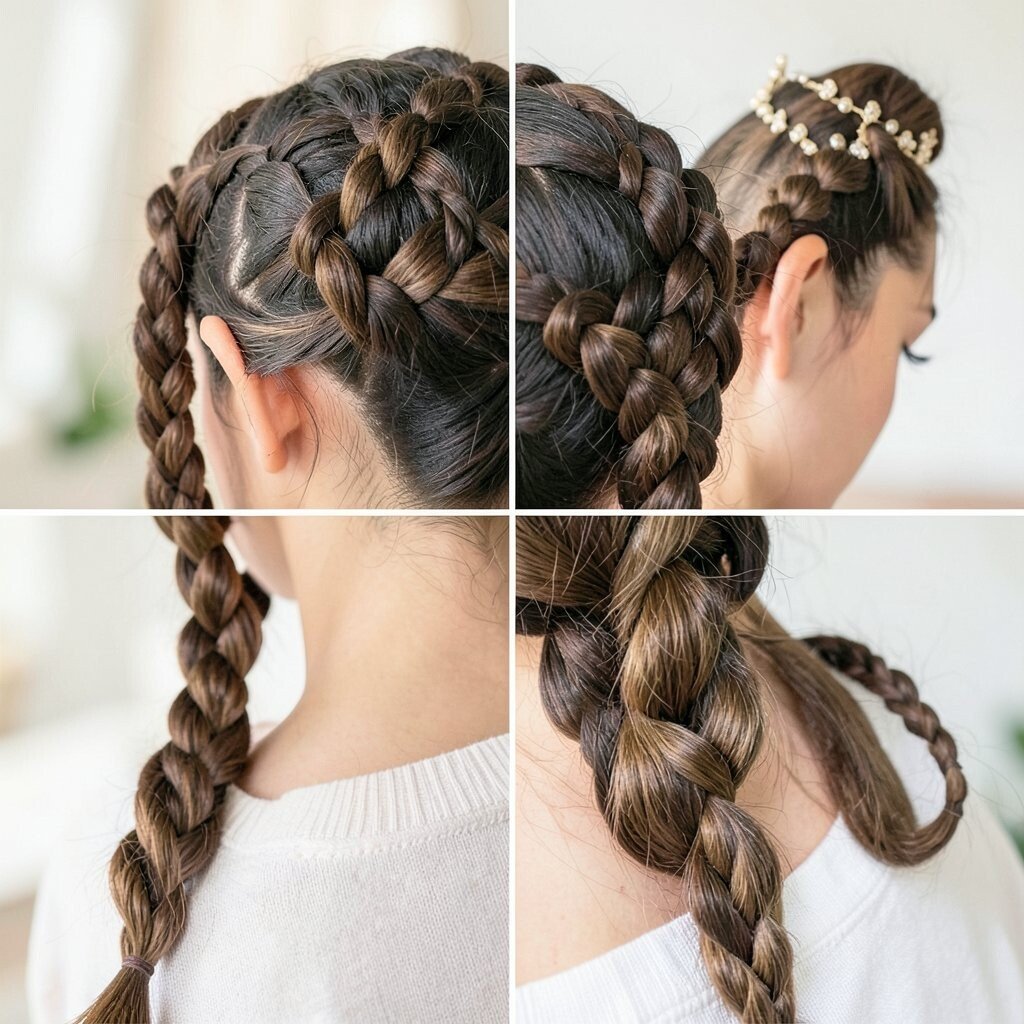
For maximum impact, braid all the way around your head and then blend the ends into a low bun. This version looks like a braided halo, especially if your hair is long enough to wrap neatly. Keep the braid even by counting your sections and pausing to check both sides in the mirror.
Once the braid circles your head, tuck the remaining braid into a low bun and pin it in place. Add one or two pins at an angle to lock everything without flattening the style. You’ll love how secure it feels, and it’s a strong pick for busy days when you don’t want to fuss.
If your hair is fine, it can help to add a little texturizing spray before braiding. For thick hair, use a smoothing cream so the crown stays tidy and doesn’t bulk up.
3. Dutch Crown Braid for a Raised Look
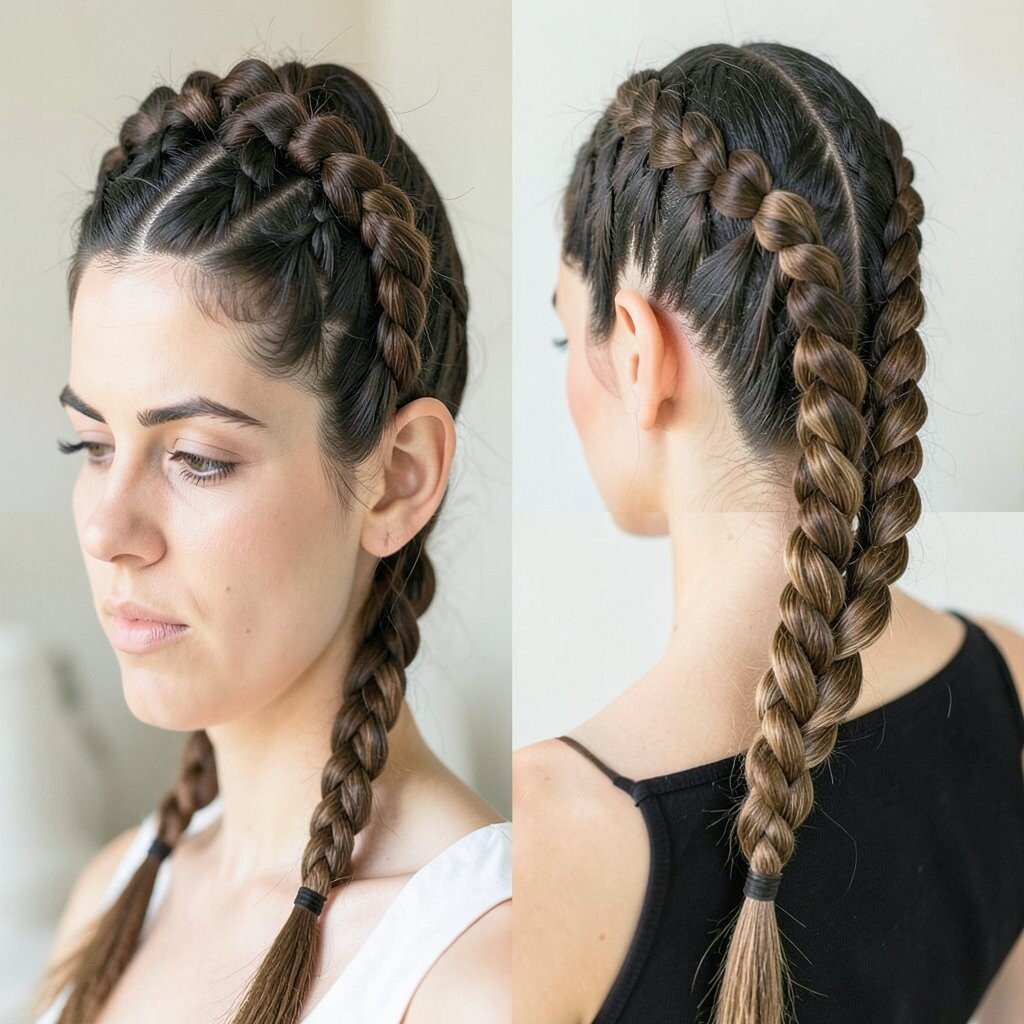
This style uses Dutch braiding, meaning the strands sit on top and the braid pops. Begin at one side and braid under the sections, pulling in hair as you go so the crown grows naturally. The raised texture makes your face look brighter and your hair look fuller.
After you complete the circle, bring the tail to the opposite side and secure it with pins. Gently tug the outer edges of the braid to make it wider and more visible from the front. That small step is what turns a simple braid into a crown-worthy hairstyle.
To personalize it, add tiny accessories like small pearls or a thin gold pin for events. If you want a softer vibe, loosen a few front pieces and let them frame your cheekbones.
For cost reasons, you can skip extra tools and rely on a comb, pins, and a light styling product. A drugstore mousse or gel works just as well for grip and shine.
4. Waterfall Crown With Side Braids
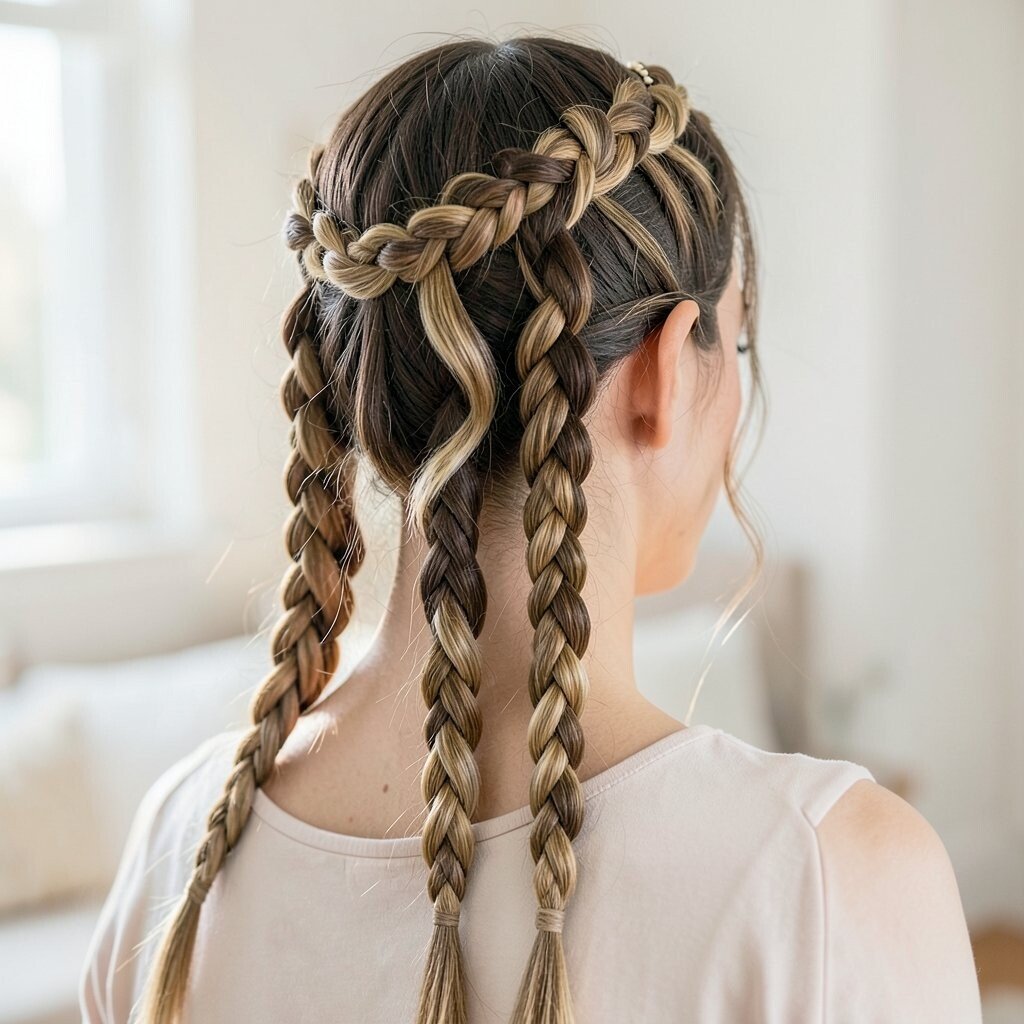
Try a waterfall crown style if you want braids that look romantic and airy. Start with a braid on one side, but each time you pass a strand, drop one section and replace it with a new piece of hair. The “falling” effect creates movement while still keeping the crown shape.
Bring the braid around the top of your head and secure it where it meets the other side. Let the remaining hair flow, or loosely curl it to enhance the movement. This hairstyle looks special for dates, photos, and any day you want softness without heaviness.
For a trendier twist, combine the waterfall braid with a slightly off-center part. Use a light hold spray so the dropped strands stay smooth and glossy.
5. Braided Crown With Twisted Bang Roll
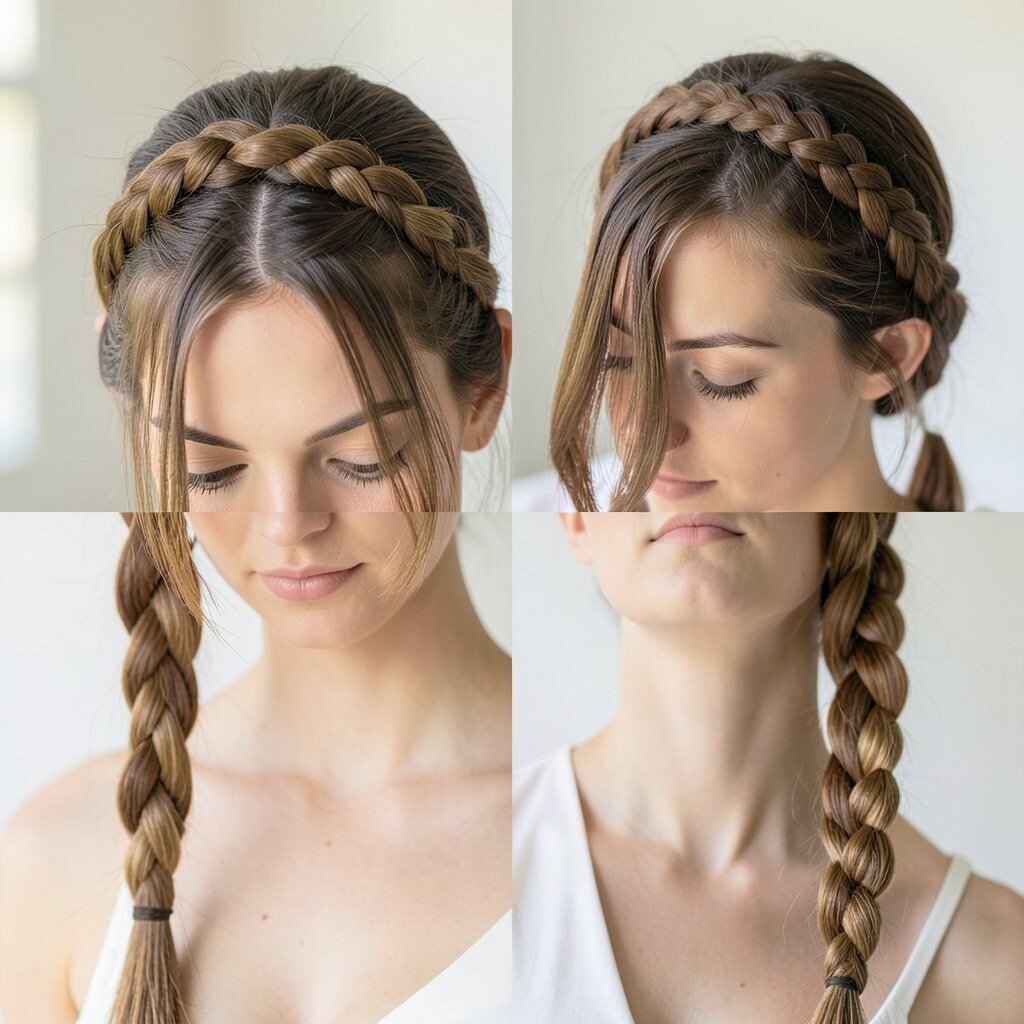
Begin by deciding how you want your front pieces to sit, especially if you have bangs or face-framing layers. Take small sections near the forehead and twist them into a mini roll, then braid those twisted pieces into the crown. This gives your style a “designed” look while keeping it wearable.
Continue braiding around the head, using the roll as the starting anchor point. Secure with pins and add a few gentle tucks so the crown looks even. The benefit is that it hides flyaways and makes your face look perfectly framed.
If you want it to feel lighter, keep the crown sections thin and spacing slightly wider. For personalization, match the roll to your part by making the twists follow the natural direction of your hair.
6. Crown Braid Mohawk With Soft Volume
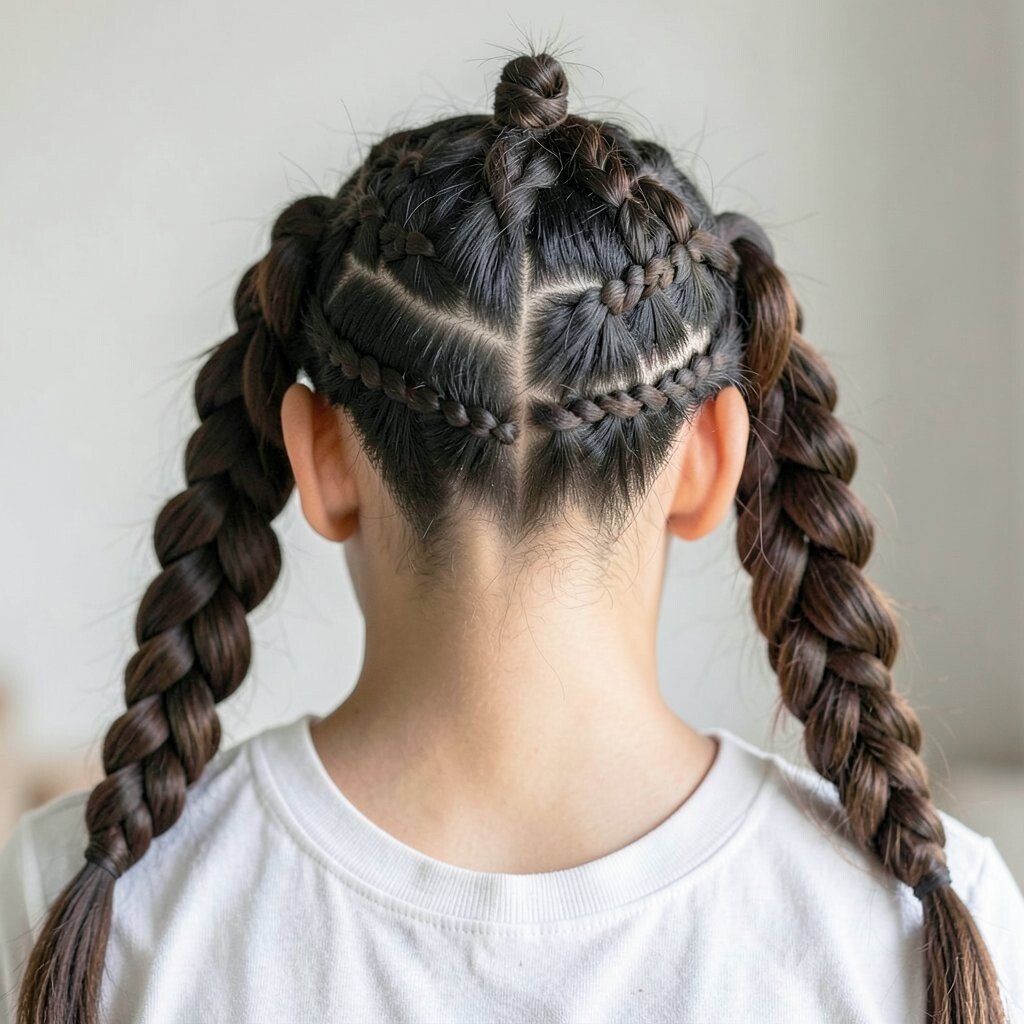
This one makes a statement without needing a hard edgy look. Start braiding from the front center, pulling in hair as you go to build a braid ridge toward the back. Leave the sides less braided so you get that crown mohawk feeling with comfort.
When you finish, wrap the braid into a bun or lay it across the back of your head. Add volume at the crown by gently lifting the base with your fingers before pinning. The result is bold, unique, and great for styling your hair when you want to feel confident.
To keep it practical, use a strong grip spray before you braid and a few extra bobby pins after. If you’re budget-conscious, extra pins are cheaper than salon accessories and still make a huge difference.
7. Crown Braid With Dutch Side Sweep
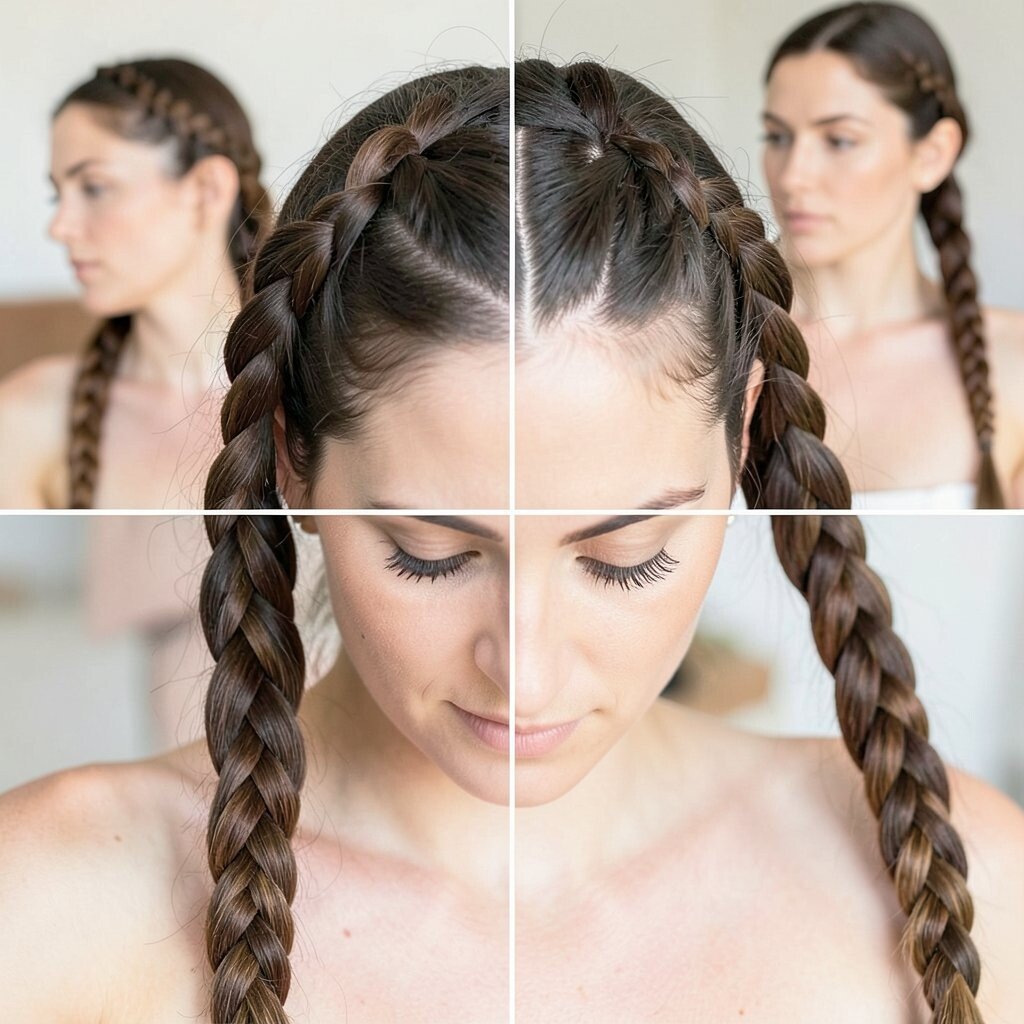
Create a deep side part and braid along that sweep for an elegant, asymmetrical crown. Use a Dutch braid so the texture stands out against your hair, then guide it across the top of your head. This look flatters many face shapes because it adds structure on one side.
Secure the braid near the opposite ear and blend any remaining hair into a low twist. Add a small stretch of braid at the top to create a lifted effect. It’s a unique crown style that feels modern, especially when you keep the braid polished.
If your hair is straight, add a touch of curl at the ends so the crown looks balanced. For personalization, choose a different starting height, like slightly higher for a dramatic photo-ready finish.
8. Tiny Rope Crown Braid for a Delicate Finish
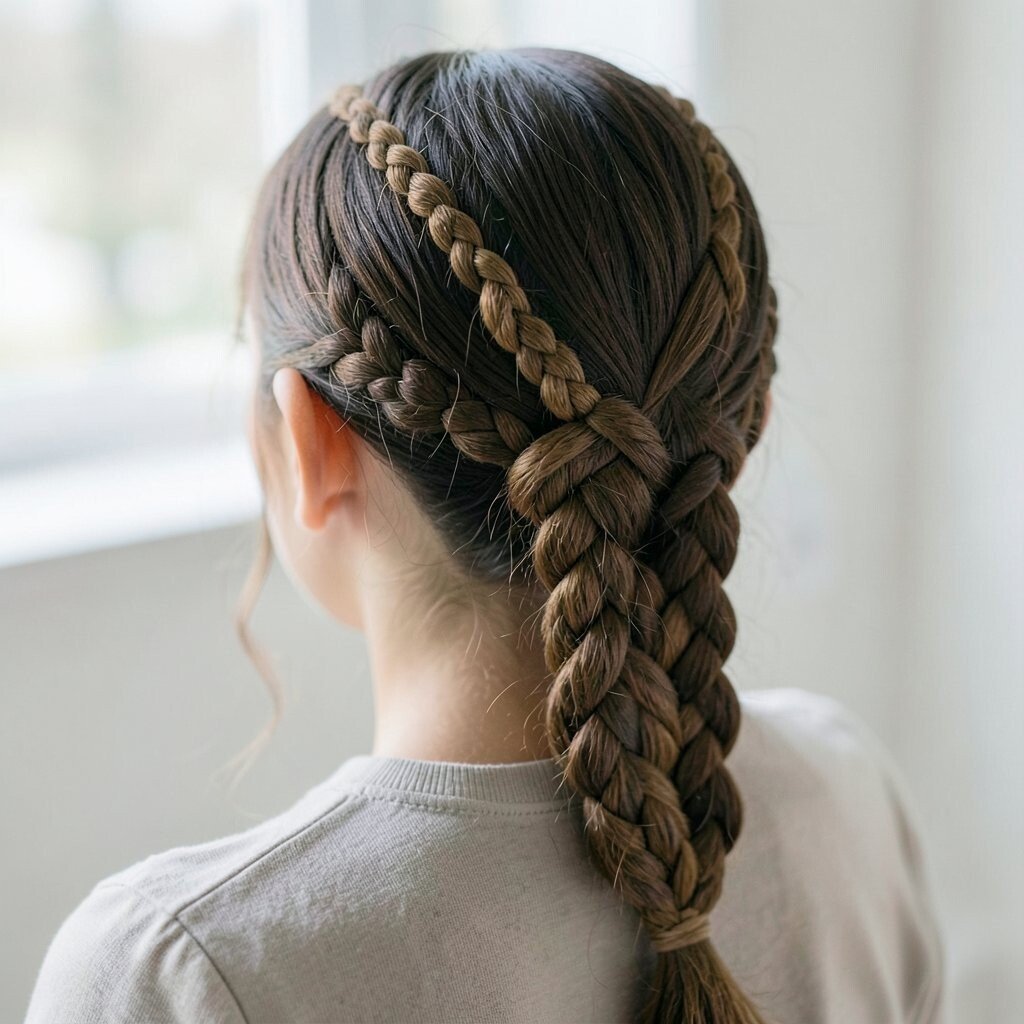
For a delicate vibe, use two-strand rope braids around the head. Split the hair into two sections and twist them tightly, then braid by wrapping them together as you move. Small braids look extra special because they add detail without heavy thickness.
Wrap the rope braid around your head and secure it with pins that match your hair color. Gently loosen the rope braid so it appears fuller and more defined. This style is perfect when you want a crown that feels sweet, neat, and photo-ready.
If you want a trendier look, keep the crown sections spaced with intentional gaps. A tinted dry shampoo can also help grip at the roots when hair is slippery.
9. Fishtail Crown Braid With Glossy Ends

A fishtail crown braid looks intricate even when you’re not an expert. Start with two sections and weave small strands from the outer edges, then keep going around the head. The pattern creates a beautifully textured ribbon effect that stands out in both daylight and flash photos.
Once the braid circles your head, tuck the end under and pin it so it looks seamless. Style the remaining hair ends with a smooth blowout or a soft wave to keep everything balanced. The benefit is that fishtail adds uniqueness without needing extra accessories.
To personalize it, try a slightly messy fishtail crown by tugging a few strands for a lived-in look. If you’re concerned about time, practice the fishtail pattern once on one braid tail and then repeat it on the crown.
10. Braided Crown With Puff Top and Side Clips
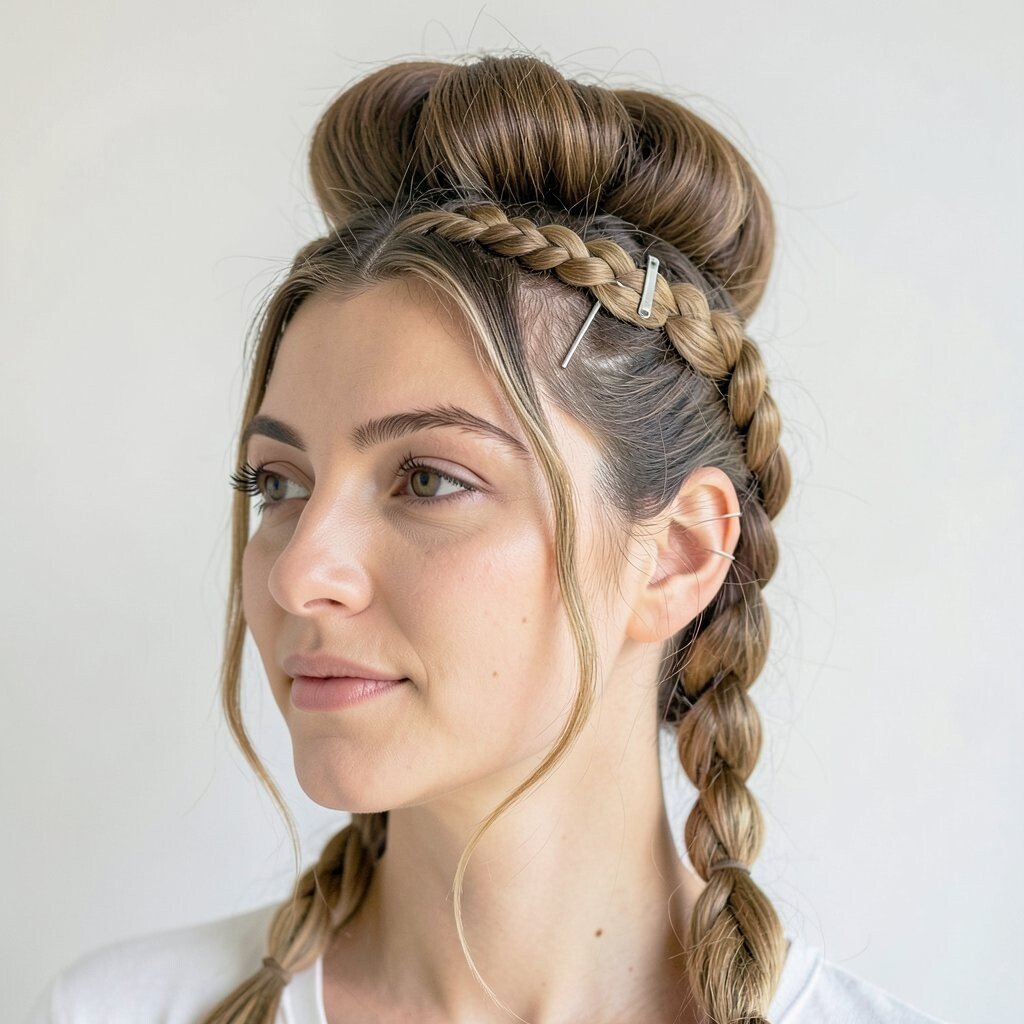
Turn your crown braid into a playful style by adding a puff near the top of your head. Tease the crown lightly, then smooth the outer layer so it stays neat. Braid from the sides across the puff like a frame, then secure it with pins that feel invisible.
To finish, tuck the ends and add one or two decorative side clips. This combo gives you that trending “cute and styled” energy while still protecting the braid from slipping. You’ll love how fast it looks put together when you’re getting ready in a hurry.
If your hair is dry, use a moisturizing serum on the surface so the puff doesn’t look frizzy. For cost considerations, small claw clips and bobby pins are affordable upgrades that make the look feel fresh.
11. Crown Braid With Three-Part Texture Layers

This hairstyle layers different braid textures for a rich, dimensional crown. Use one section with a classic braid, another with a Dutch braid, and blend them as they wrap around the head. The mix looks unique because each texture catches light differently.
Secure every meeting point with pins and keep tension consistent so the crown looks even. If you want it to last, finish with a flexible hold spray and let it dry fully before touching. This style is also great for personalization since you can swap textures based on your skill level.
For a practical approach, start with the easiest texture near the back and save the more detailed sections for the top where they’ll be most visible. Your crown will look intentional even if you kept the process simple.
12. Halo Braid Crown Over Curtain Bangs

Halo crown braids pair beautifully with curtain bangs because they frame the forehead in a soft, balanced way. Begin by parting your hair so the bangs fall naturally, then braid from near the side to build the halo. Keep the braid close to the scalp around the crown while letting the bangs remain airy.
Secure the braid behind the ears and gently guide a few bang strands to sit on top of the crown. This creates a smooth transition and prevents that awkward gap that sometimes happens with updos. The result feels polished yet relaxed, perfect for everyday wear.
To personalize it, try a slightly tighter braid for formal events or a slightly looser braid for a casual vibe. If your bangs are shorter, use extra pins at the base so everything feels stable.
13. Braided Crown Ponytail Hybrid

Combine a ponytail with a crown braid for a sporty, stylish twist. Start braiding from the front sides and bring the braid back to the center, then secure it around the top of the ponytail base. This gives you the crown look while keeping your ponytail practical for movement.
Once the crown braid is pinned, finish by tying the ponytail and smoothing any bumps. Curl the ponytail slightly for a soft, bouncy finish or keep it straight for a sleek look. It’s a great option when you want a hairstyle that works for workouts, errands, and school.
For cost considerations, you can use an extra hair tie instead of specialty elastics. Matching the tie to your hair color helps it disappear so the braid remains the star.
14. Crown Braid With Micro Twists Around the Hairline
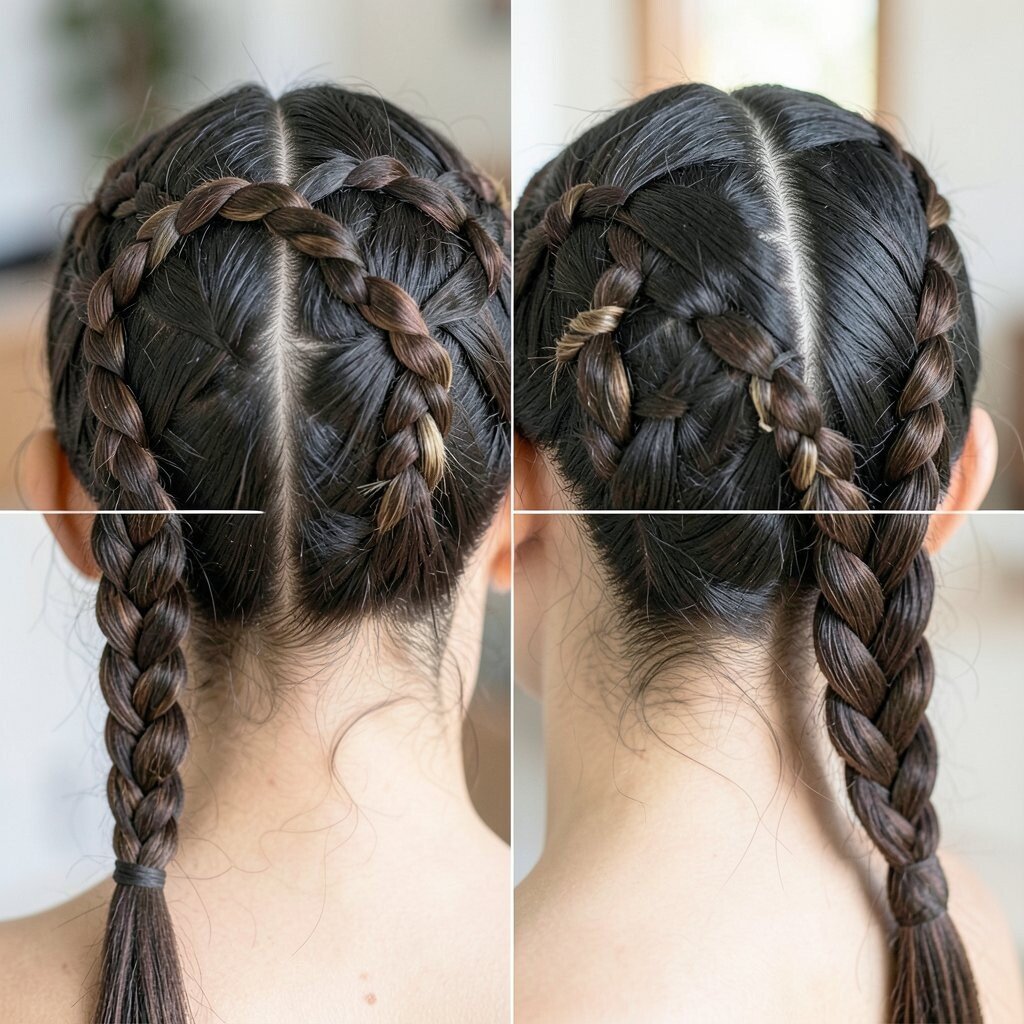
If you love detail, add micro twists along the hairline before forming the main crown braid. Take tiny sections near your forehead and twist them toward the scalp, then connect them into the larger braid. This creates a beaded effect that looks fancy without requiring big, heavy braids.
Continue around the head and secure all twists so they act like anchors. The benefit is that micro twists help control frizz and flyaways, especially in humid weather. Your crown will look neat longer, which saves time on touch-ups.
Personalize it by choosing how much hairline you show, from subtle to bold. For a trendy look, keep the crown braid centered and let the hair around it stay slightly natural and textured.
15. Curly Hair Crown Braid With Defined Ringlets
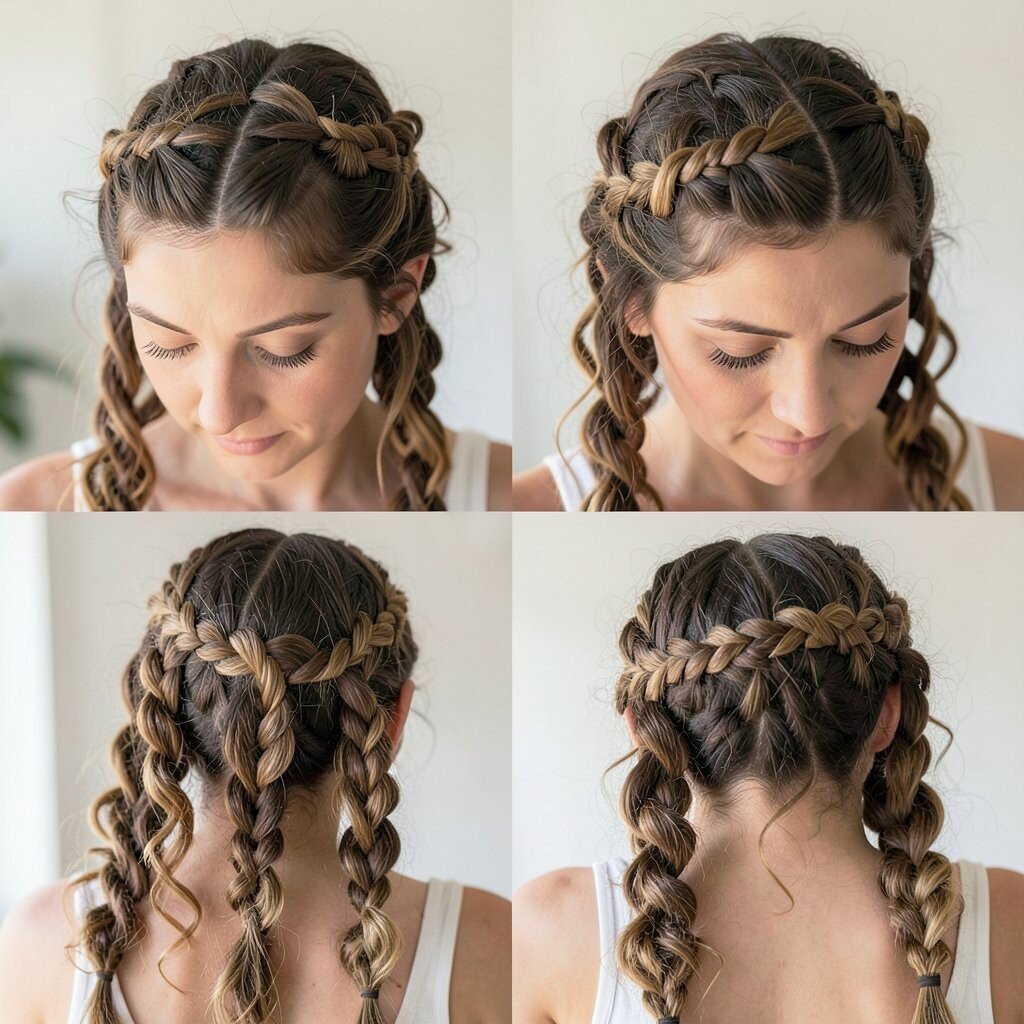
Crown braids look stunning on curly hair because the braid catches curl shape and adds structure. Start by separating curls into manageable sections, then braid while gently guiding curls so they don’t tangle. Use a curl cream or light gel before styling so the braid holds without flattening everything.
When the braid circles your head, pin it carefully and leave the curls free around it for a framed halo look. You can enhance the effect by defining ringlets after braiding with a tiny bit of water and a refresher product. This hairstyle is unique because it turns your texture into part of the design.
If your curls are long, consider a softer tug at the braid edges so the crown looks full rather than tight. For practical upkeep, use a satin scarf at night to reduce frizz and keep the crown looking fresh.
For events, finish with a light gloss spray to boost shine on both braid and curls. The overall look is elegant, protective, and very you.