The room starts to sparkle the moment a centerpiece feels like it belongs to the kids. These pumpkin ideas bring giggles, cozy color, and simple craft joy right to the table.
You can keep things easy, make them personal, and still get that “wow” look that photographs beautifully.
1. Candy Corn Glow Jack-o’-Lantern Planter
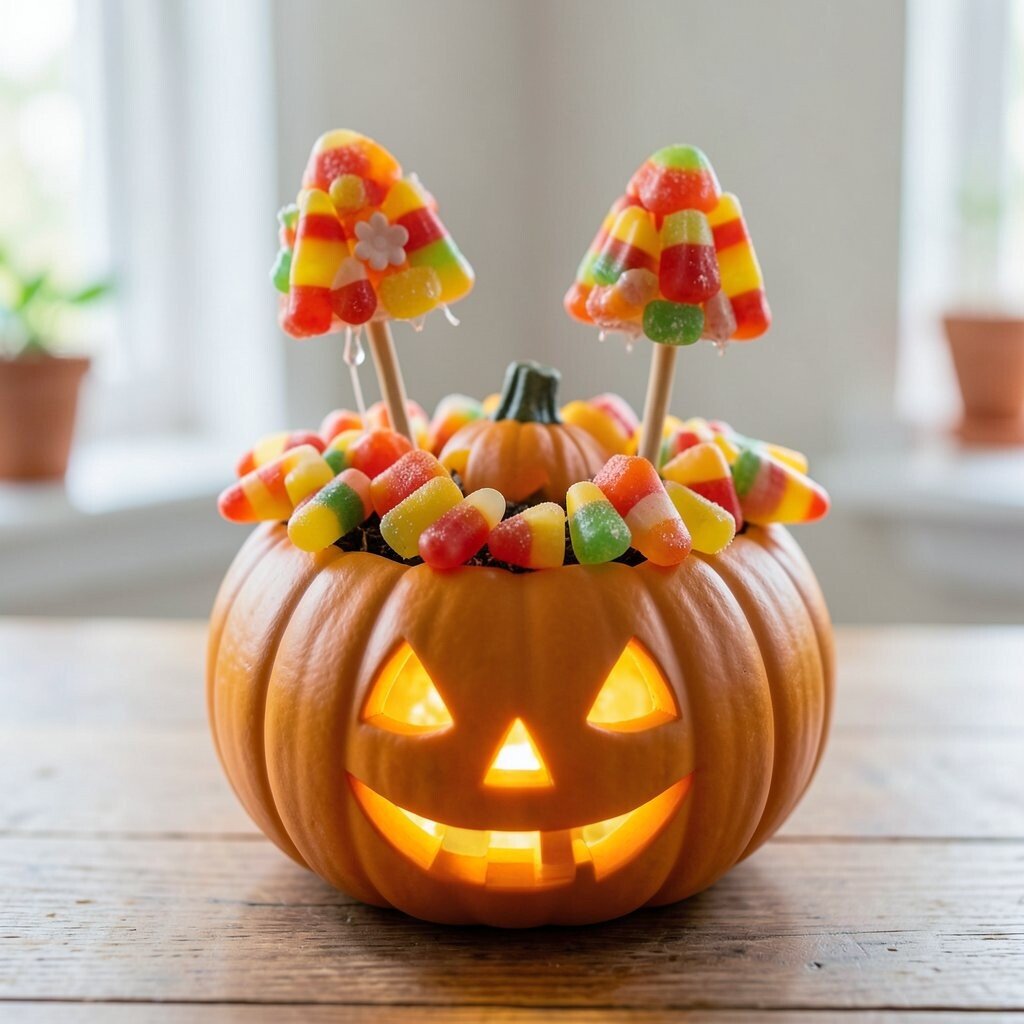
A small pumpkin centerpiece can look like a friendly lantern when you add candy corn colors. Picture the pumpkin cut into soft sections, with a warm glow effect created using battery tea lights.
This idea feels magical without needing heavy tools. It helps kids practice gentle handling and makes the centerpiece a clear focal point for snack time. For practical comfort, keep the light in a glass jar or an upright lantern cup so it stays stable.
2. Mini Pumpkin Orbit With Confetti Stars
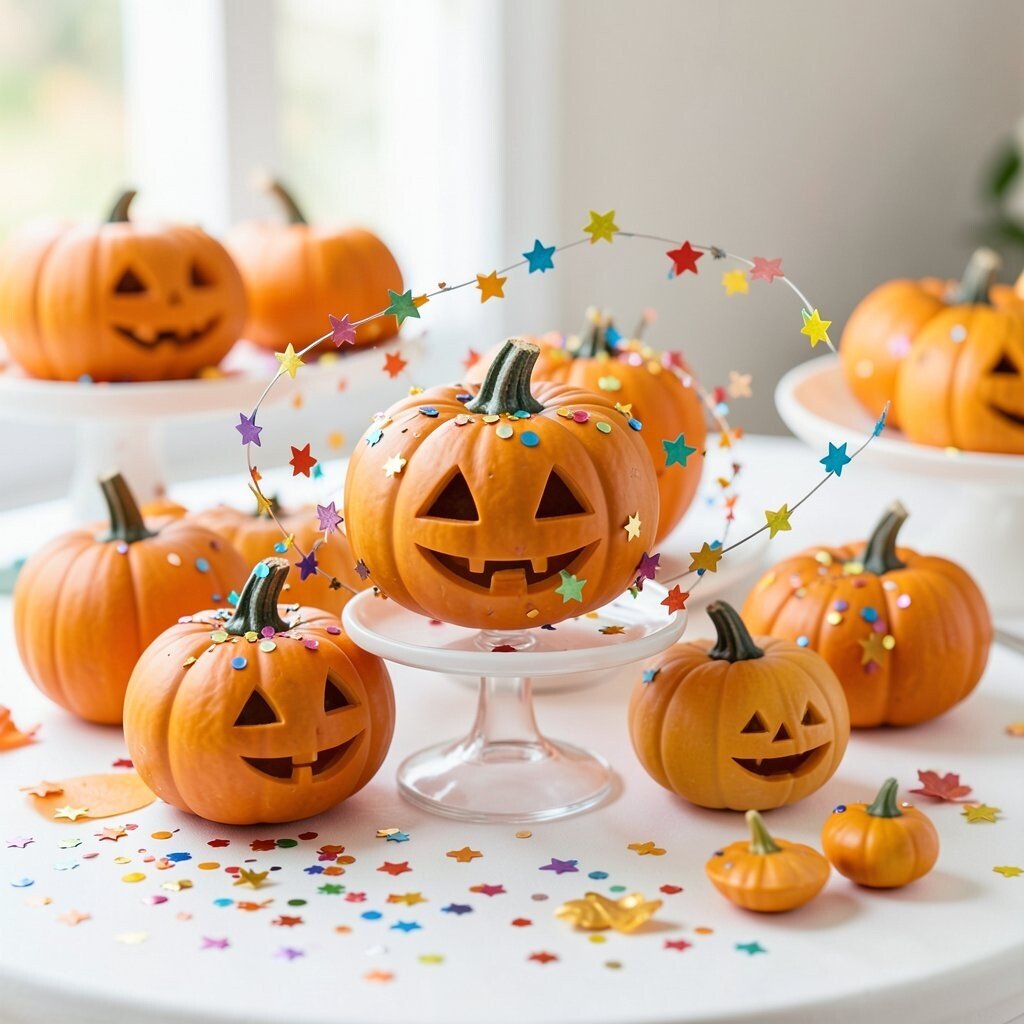
Set a cluster of tiny pumpkins around a central “planet” candle for a playful orbit look. Imagine each pumpkin wrapped with a ribbon trail and dusted lightly with glittery confetti.
This centerpiece brings instant celebration energy because the colors pop at kid-eye level. It’s unique because the layout feels like a story scene rather than a simple arrangement. Use foam or a small round tray to anchor everything, and keep heavier items in the middle for balance.
If you want cost-friendly magic, choose craft pumpkins from seasonal sales and skip expensive specialty decor. Personalize it by matching party colors like turquoise, orange, and cream, then add star confetti in a few consistent sizes. A trendy touch is adding “galaxy” hues using washable paint splatters on the tray instead of using more decorations.
3. Storybook Pumpkin Village With Welcome Signs
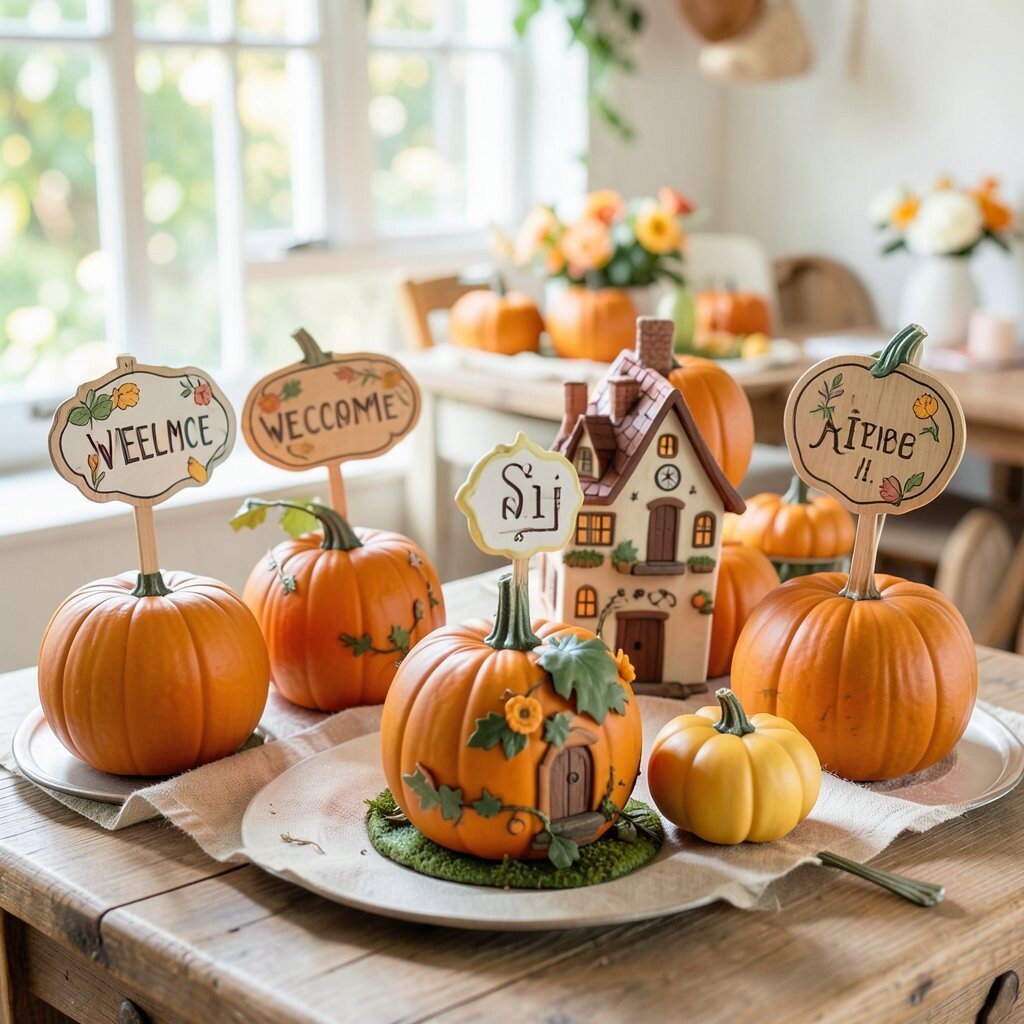
Build a tiny village by placing two or three mini pumpkins together like houses. Add paper windows with black markers, then cut small roofs from felt or cardstock for a cozy, storybook vibe.
This centerpiece invites kids to imagine who lives in each pumpkin home. It’s especially sweet for themed parties like fall school stories or classic fairy tales. Use a shallow basket base and secure pumpkins with hot glue or removable craft tape so nothing shifts during the party.
Personalize the village by writing kid-friendly names on the welcome signs, such as “Team Pumpkin” or “The Great Gourd Club.” For practical cleanup, attach signs with tape that peels easily. Keeping the materials simple helps costs stay reasonable, especially when you reuse felt scraps from past crafts.
4. Rainbow Striped Pumpkin Flower Stand
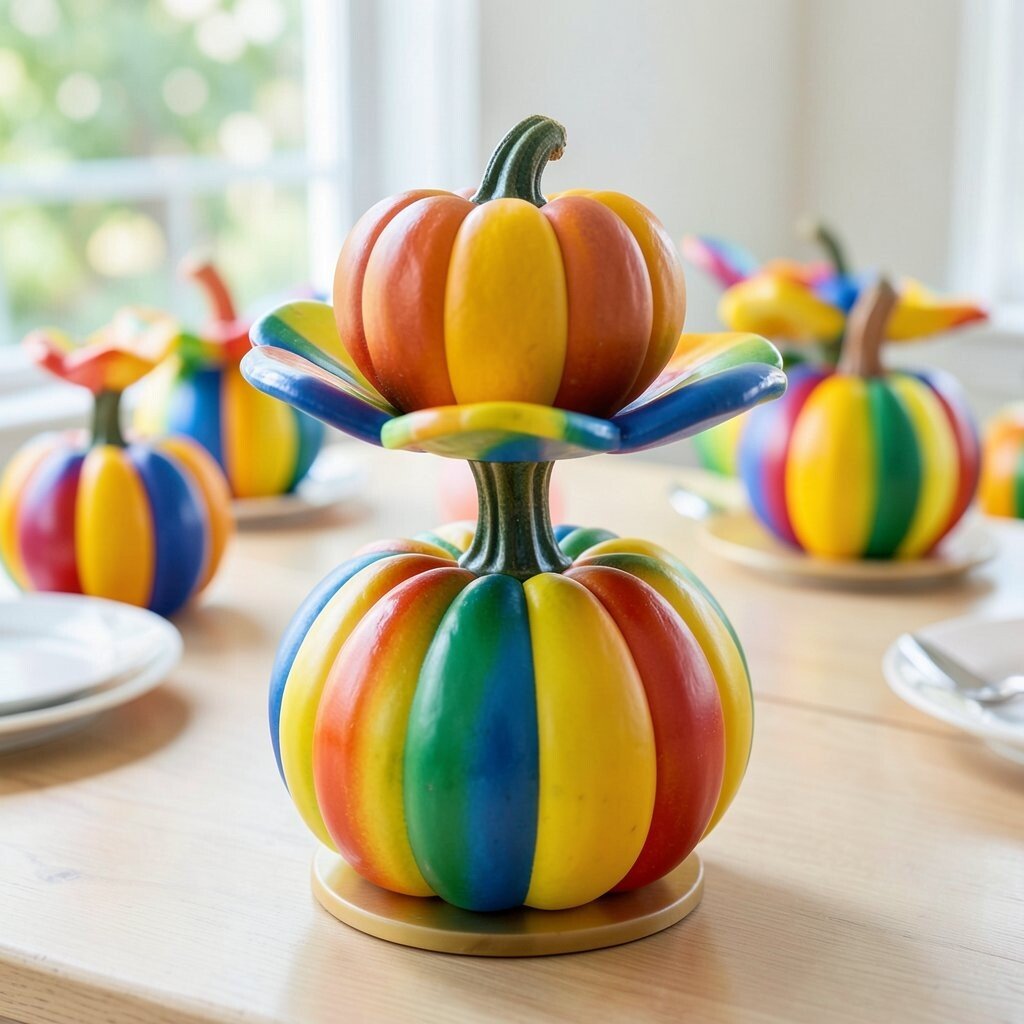
Paint stripes on a single pumpkin, then place it as a base for faux or fresh flowers. Think of bold rainbow arcs wrapping around the pumpkin, like a candy wrapper that turned into autumn.
This centerpiece looks bright and cheerful, which helps kids feel excited even if the party is in the evening. It’s unique because the pumpkin becomes both decor and a “stage” for flowers, giving height without complicated stands. Use craft paint and let it dry fully, then add a clear top coat if you want it to stay vibrant for photos.
5. Glittery Ghost Pumpkin Cup Holders
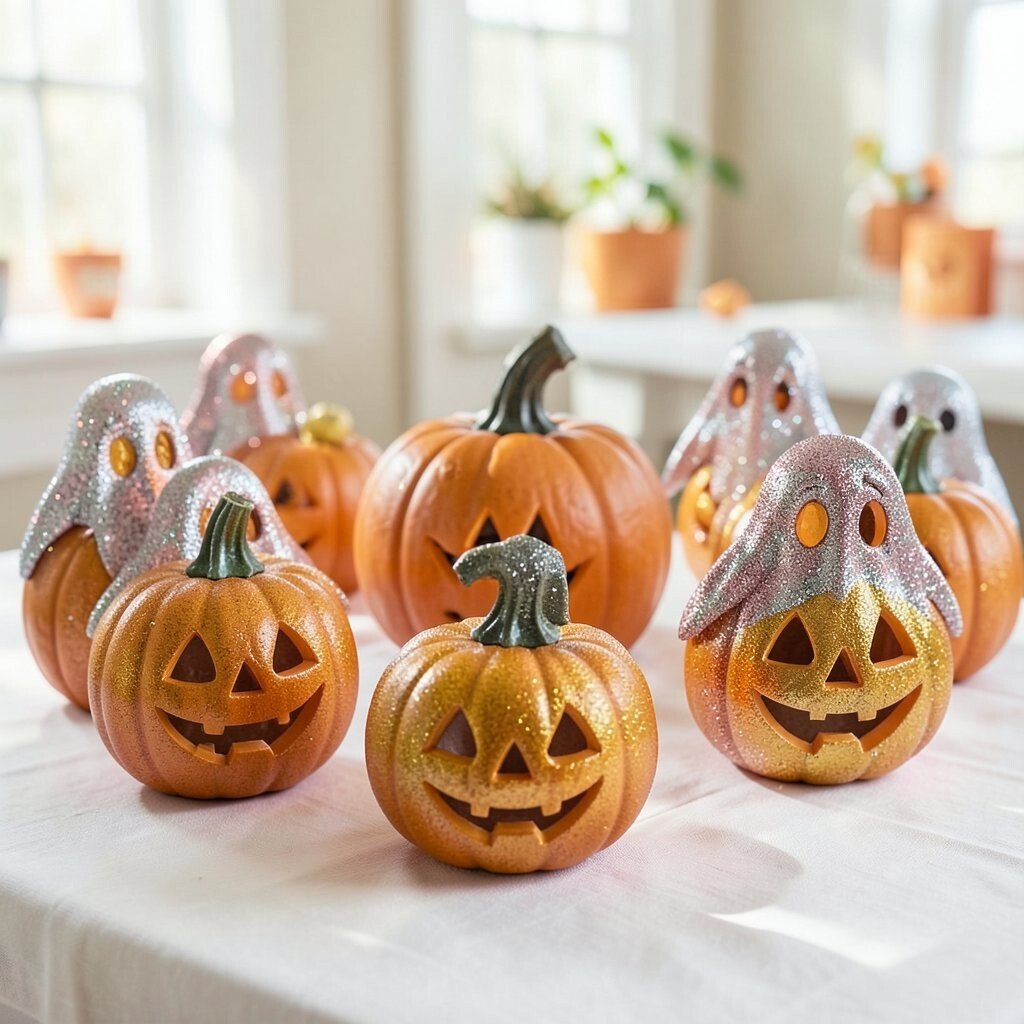
Turn small pumpkins into ghostly cup holders by carving only minimal shapes and adding white tissue “sheet” accents. Picture each pumpkin with a wavy top edge and a little friendly face peeking out.
This centerpiece keeps the party functional while still feeling spooky-cute. It helps with cleanup because cups stay corralled near the table instead of rolling around. For practical setup, choose lightweight paper cups and keep the pumpkins close together so the arrangement feels full.
Personalize by using different ghost faces for each cup color, like smiley, shy, and silly. Keep costs low by using tissue paper scraps and foam letters from craft stores. A current trend is mixing soft textures like felt, tissue, and faux fur to make fall decor feel warmer and kid-friendly.
6. Witches’ Hat Pumpkin With “Potions” Labels
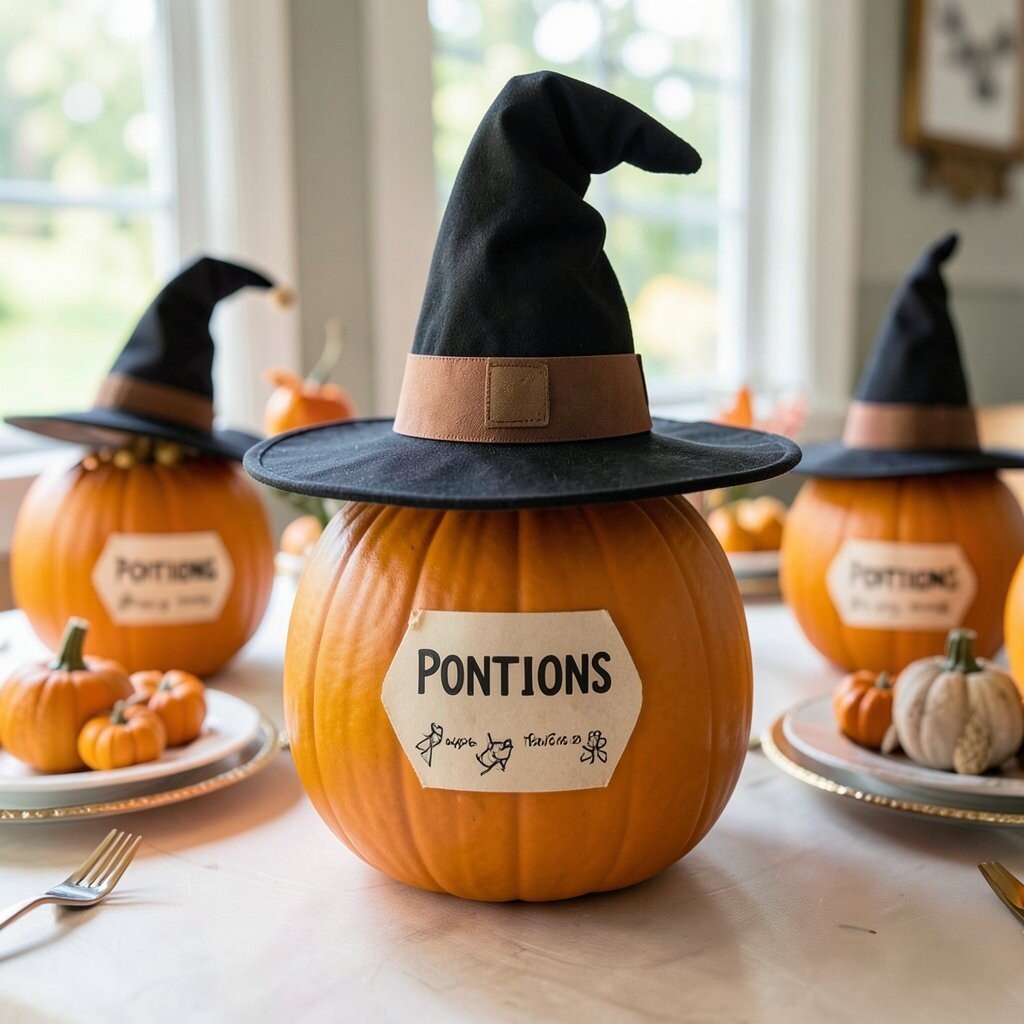
Use a pumpkin as the base and add a felt hat on top like a tiny witch is visiting the table. Fill a small clear jar with colorful sprinkles and place it beside the pumpkin for a potion vibe.
This centerpiece feels playful rather than scary, which helps younger kids stay comfortable. It’s unique because it combines a character element with a snack-friendly accessory that kids can point at during the party.
Practical tip: use removable labels so you can swap them for different kids or for the next event. Personalize it with the child’s favorite colors and write fun words on the jar like “sparkle mix.” Costs can be kept in check by using one jar and a few simple felt scraps instead of multiple character pieces.
7. Carousel Pumpkin Center With Ribbon Rails
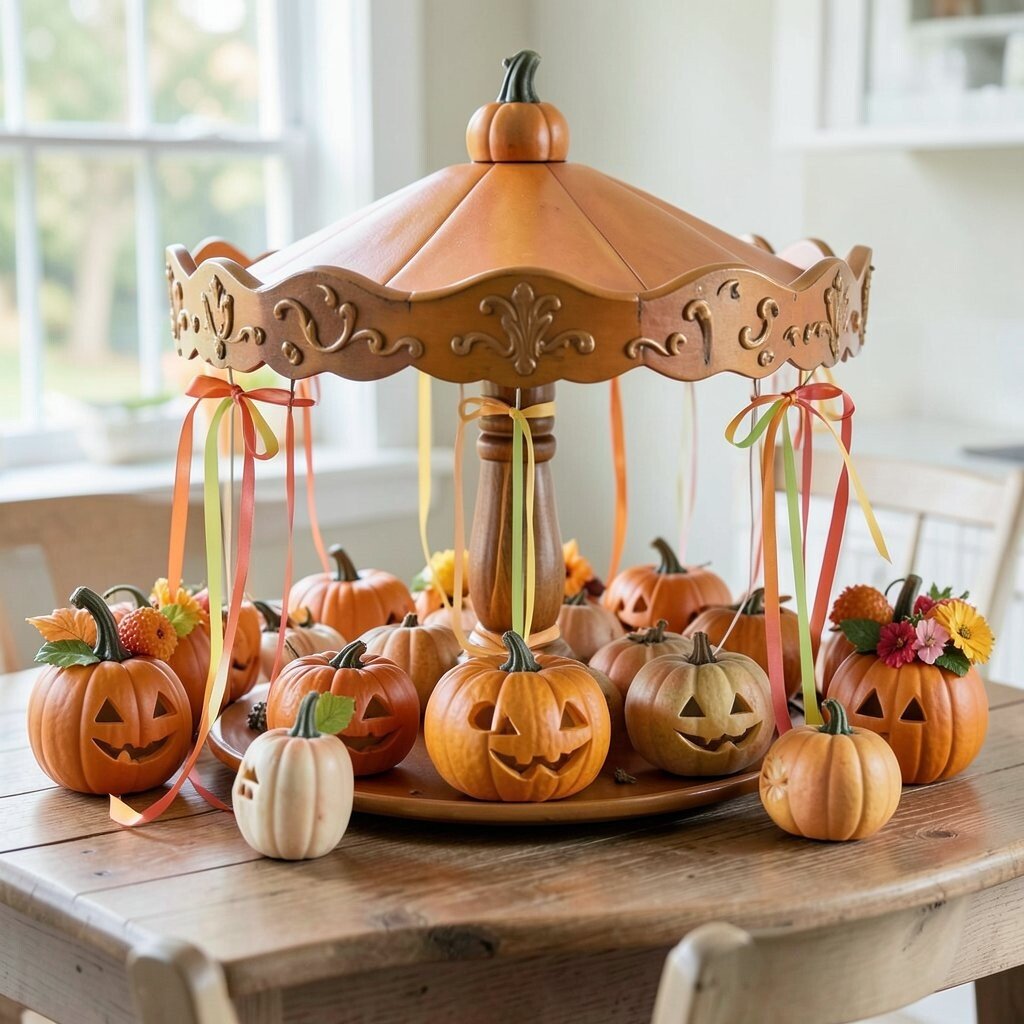
Create a centerpiece that looks like a tiny carousel by arranging pumpkins on a round tray. Add ribbon rails that loop around the tray edges, then top with small wooden skewer “posts” holding paper pennants.
This design feels festive and lively, which is perfect for birthdays and mini celebrations. It’s also unique because it adds movement with visual lines, even though everything stays still. Use a tray with a raised edge so ribbons and pennants stay in place.
Personalize by choosing pennant colors that match the party invitations. For practicality, cut ribbons to the same length and secure them with tape on the underside. This idea can stay affordable by using cardstock from a single color pack and reusing decorative picks.
8. Sprout Pumpkin With Seedling “Hair”
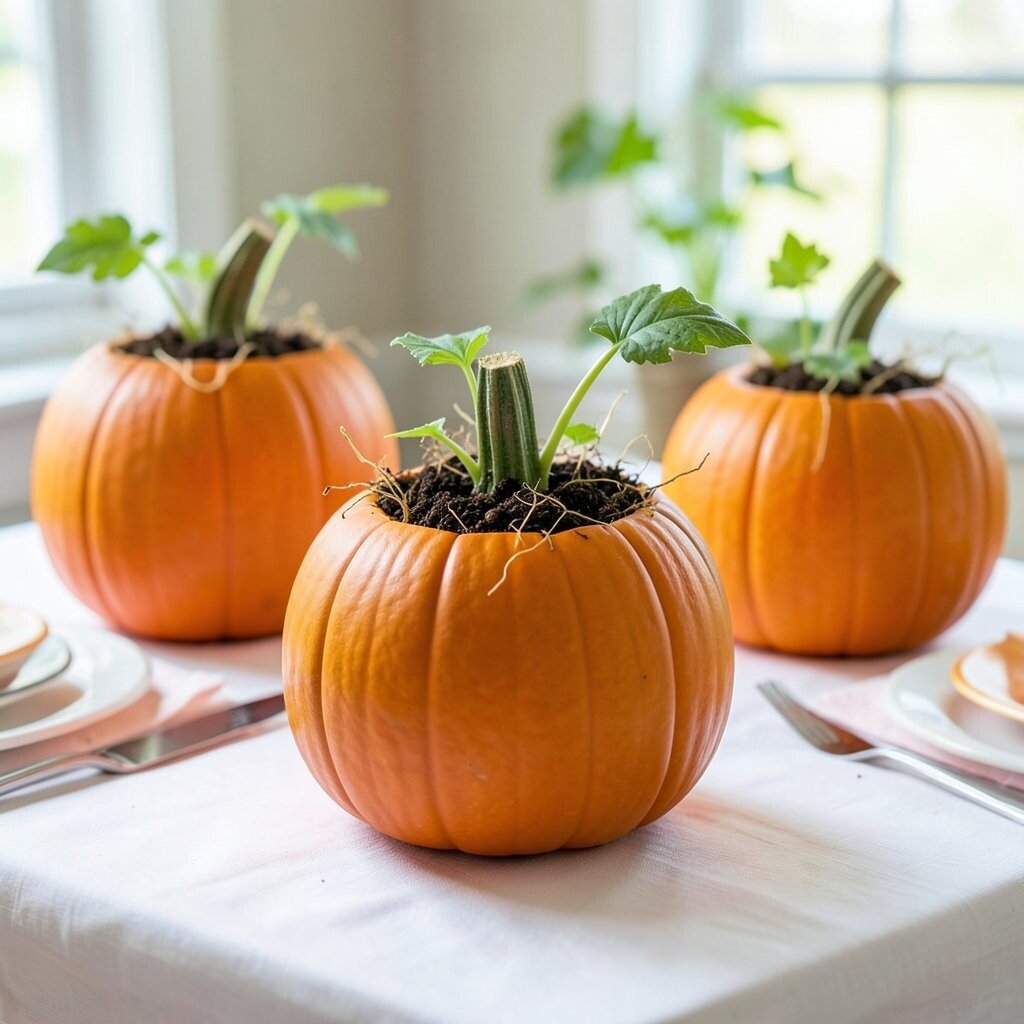
Paint a pumpkin and add a ring of green tissue or faux “hair” around the top like sprouting leaves. For a fun twist, tuck tiny sprouts made from green pipe cleaners into the hair ring.
This centerpiece brings a fresh, gentle theme that feels friendly for both toddlers and older kids. It’s unique because it shifts from spooky to “growing magic,” which many families love for daytime parties.
Practical tip: keep the sprouts short and secured so they don’t poke anyone. Personalize it by adding kid initials on a small leaf tag, then tie the tag to the base with twine. Costs are low when you use simple craft materials and one painted pumpkin, especially if you buy faux greens on sale.
9. Pumpkin Patch Tabletop With Mini Fence and Treats
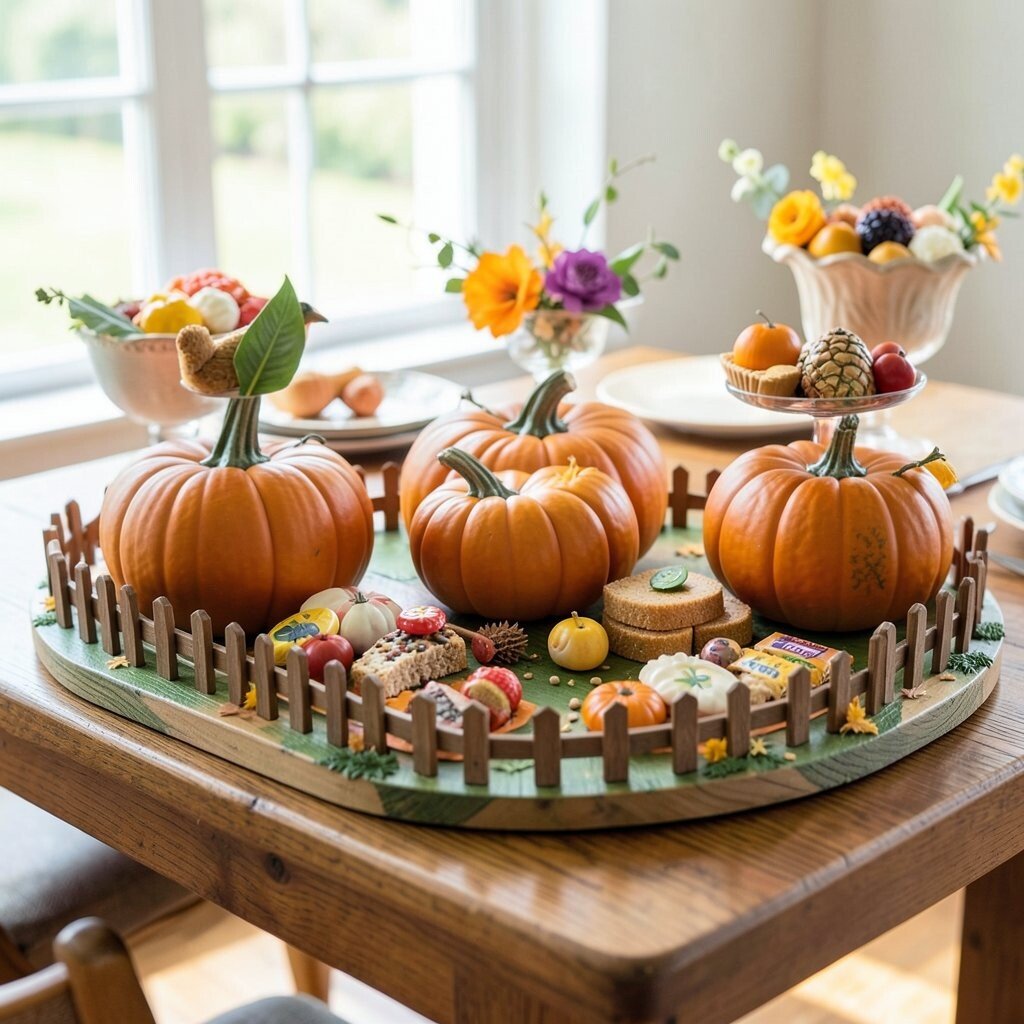
Arrange a few small pumpkins like a “patch” and surround them with a mini fence made of popsicle sticks. Add a small scoop of treats in a basket so the centerpiece feels both decorative and useful.
This idea is great because it looks full without needing tall vases or expensive containers. It’s unique because the fence gives a backyard story scene that kids love to inspect.
For practical tips, lightly sand stick edges and paint them in warm wood tones so they look neat. Personalize by painting tiny signs on the fence rails with messages like “Harvest Day” or “Happy Birthday.” If you want to keep costs down, use one fence kit style and add pumpkins you already have, then fill the basket with inexpensive wrapped snacks.
10. Cookie Cutter Pumpkin Faces With Baking-Themed Flair
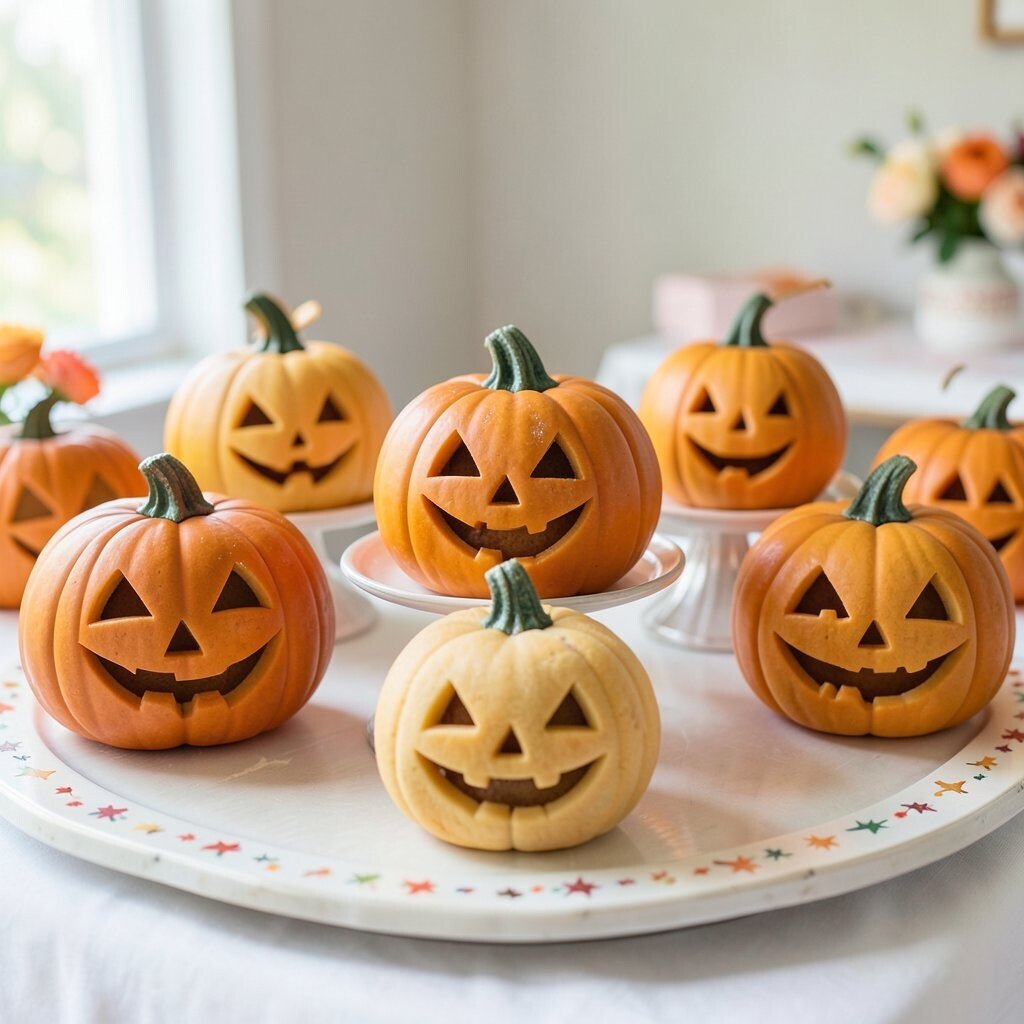
Use a pumpkin centerpiece as the “face” by tracing cookie cutter shapes for eyes and a smile. Add a sprinkle trail using edible-looking craft sprinkles made for decorations.
This centerpiece fits baking-themed parties and turns snack time into part of the décor. It’s unique because the facial shapes look like fun holiday baking tools had a baby with pumpkin crafts.
Practical tip: keep any embellishments lightweight, especially if the centerpiece will move around. Personalize by using the birthday child’s favorite dessert colors and adding tiny pretend “icing” strokes with white paint. Costs can stay reasonable because you can use a few basic tools and one decorative sprinkle jar.
Try a trendy approach by matching the sprinkle colors to the party theme palette rather than going all orange. That keeps the look polished and helps photos look bright and coordinated.
11. Mermaid Pumpkin With Seashell Sparkle
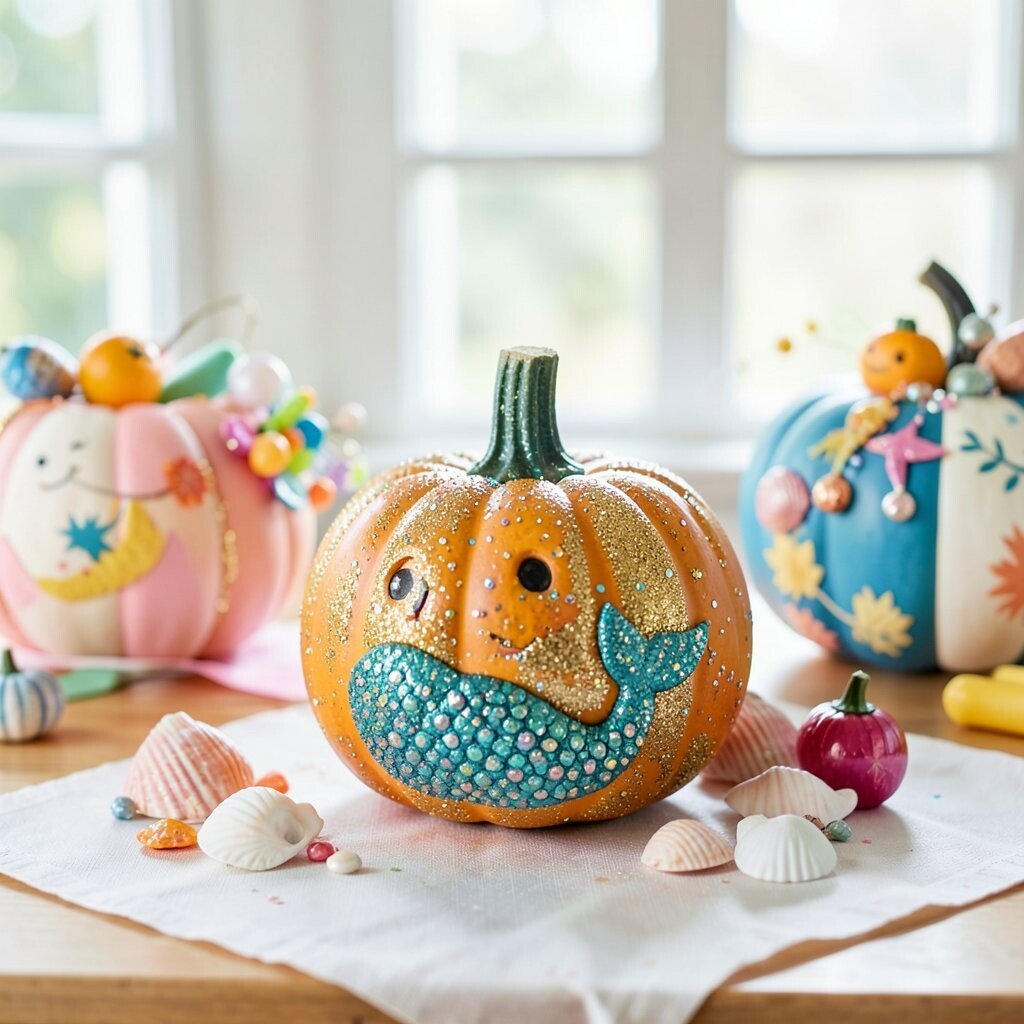
Pair a painted pumpkin with a few shells and starfish accents to create a beach-meets-fall vibe. Visualize a pumpkin in soft teal or sand color with a swirl pattern, then add shells at the base like it washed up from the sea.
This centerpiece is great for kids who love ocean themes, and it feels fresh instead of strictly Halloween. It’s unique because it blends two popular worlds, giving you a surprising centerpiece that still feels seasonal.
Practical tip: hot glue shells securely and avoid sharp edges by sanding rough parts. Personalize with a small “name tag” shell card so each child can see the centerpiece as part of their special day. For cost considerations, use one or two larger shells and fill gaps with cheaper foam shell stickers or faux picks.
12. Sunflower Pumpkin Center With Paper Petal Burst
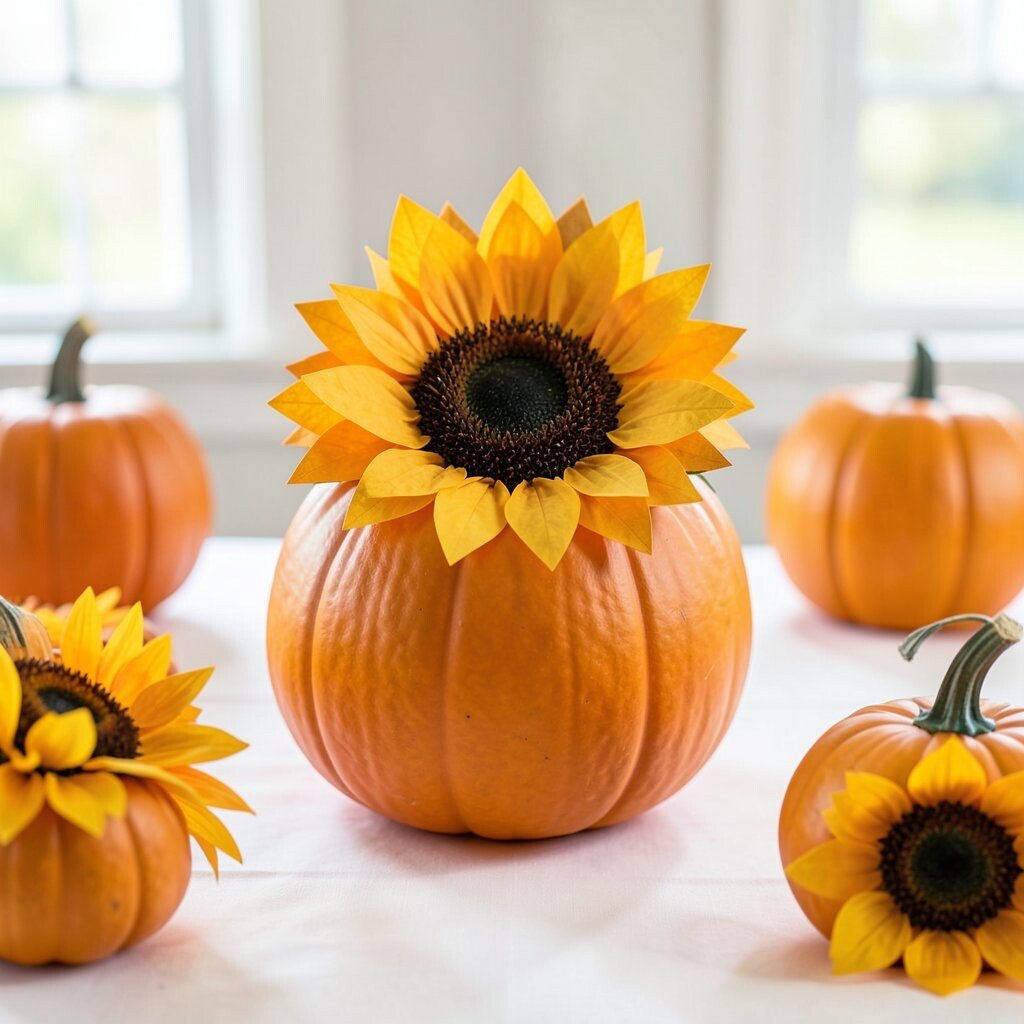
Make a sunflower-style centerpiece by attaching paper petals to a pumpkin and placing it near a bouquet. Imagine golden petals fanning out like a bright burst, with a warm center made from brown paper circles.
This design brings sunny energy and helps the table feel cheerful during cooler weather. It’s unique because it combines a classic fall pumpkin with a bold flower statement.
For practical setup, use a foam or cardboard circle at the top so petals sit evenly. Personalize by matching the petal colors to the party theme, like orange-and-yellow for autumn or bright yellow-and-pink for playful birthdays. Keep costs in check by making petals from cardstock you can reuse across other crafts.
A current trend is mixing handmade paper textures with natural accents, so add a simple twine bow around the pumpkin stem for a sweet, rustic finish.
13. Lollipop Pumpkin Stand With Candy Stick Towers
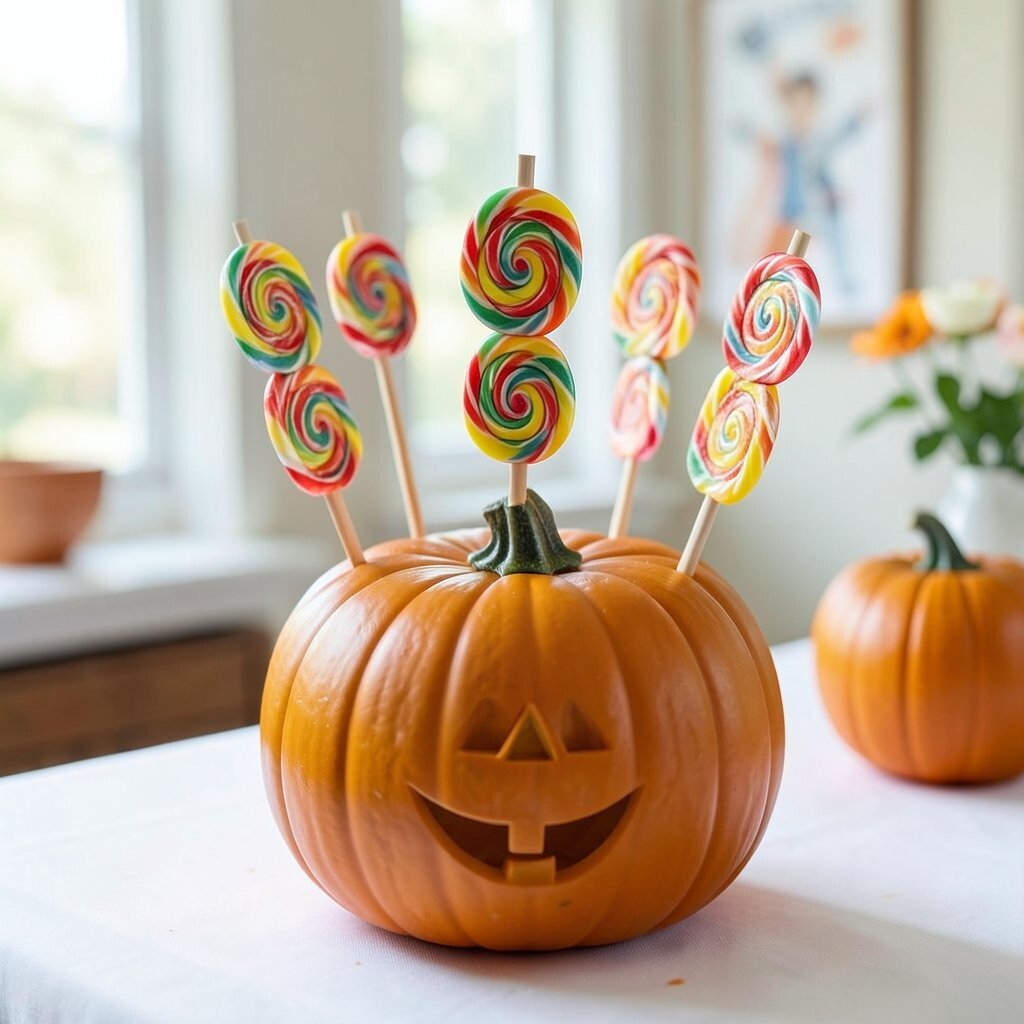
Arrange a few pumpkins around a central base and insert candy sticks into foam to create a tower effect. Picture the sticks sticking up at different heights, like a candy garden around the pumpkin center.
This centerpiece is a kid magnet because it looks edible and fun, even if you keep it for decoration until party time. It’s unique because it uses height and shape in a way that feels carnival-like.
Practical tip: secure sticks in foam and keep the top area clear so kids won’t bump into anything sharp. Personalize by using themed colors, and add a small card label with the child’s age in plain text. Cost considerations are manageable if you use a mix of full-size candies and a few inexpensive lollipop-style sticks as placeholders.
For a trendy look, choose striped or pastel wrappers and keep the rest of the table decor simpler so the candy tower becomes the star.
14. Mason Jar Pumpkin Lanterns With Warm Spice Color
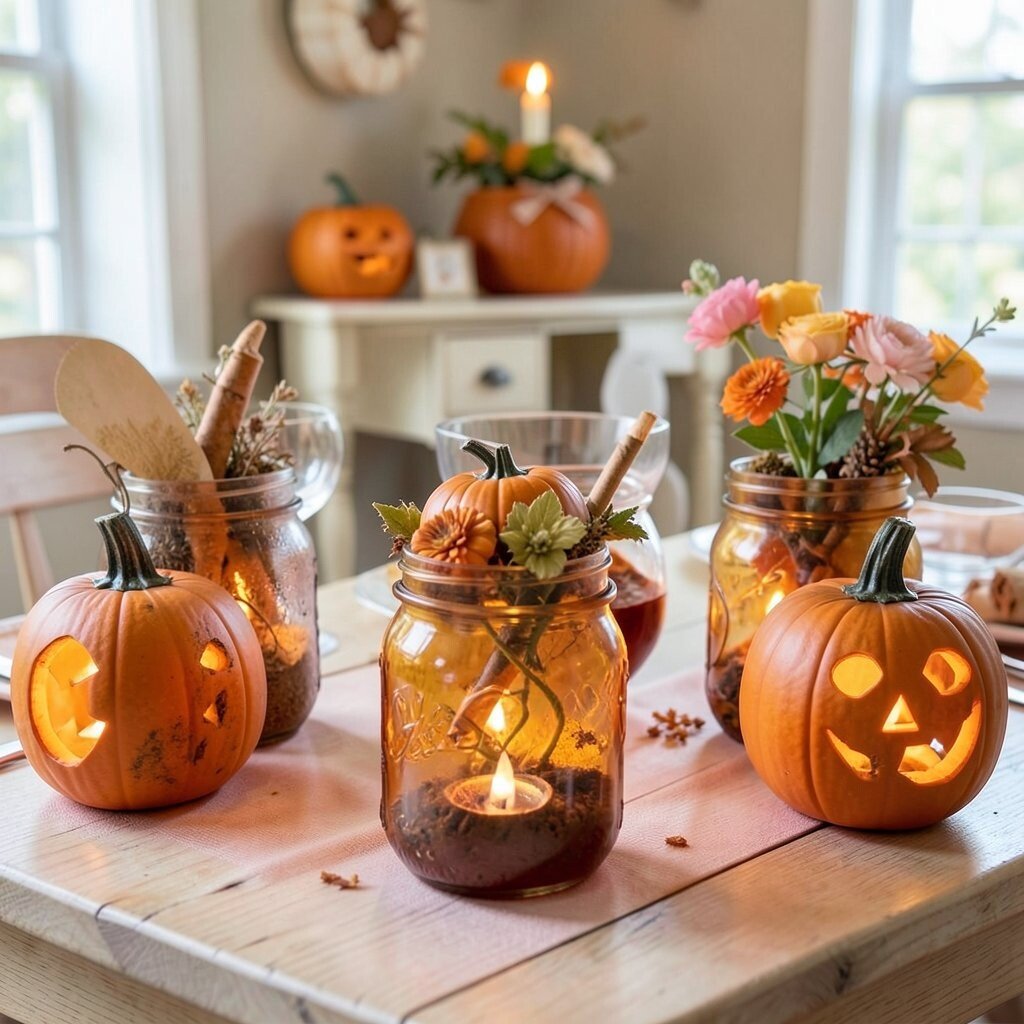
Place tiny pumpkins around several mason jars filled with tea lights or fairy lights. Imagine jars glowing like warm spice, with pumpkin color accents in orange, rust, and cream.
This centerpiece gives a cozy atmosphere that works for evening parties and family gatherings. It’s unique because the light creates depth, making the pumpkins look more dimensional without extra carving.
Practical tip: keep fairy lights low and stable, and use a clear jar lid or a sturdy ring so everything stands upright. Personalize by tying small tags to the handles that match the party invitation style. Costs can be balanced by using one string of lights and reusing jars you may already have.
15. Animal Face Pumpkin Buddies With Felt Ears
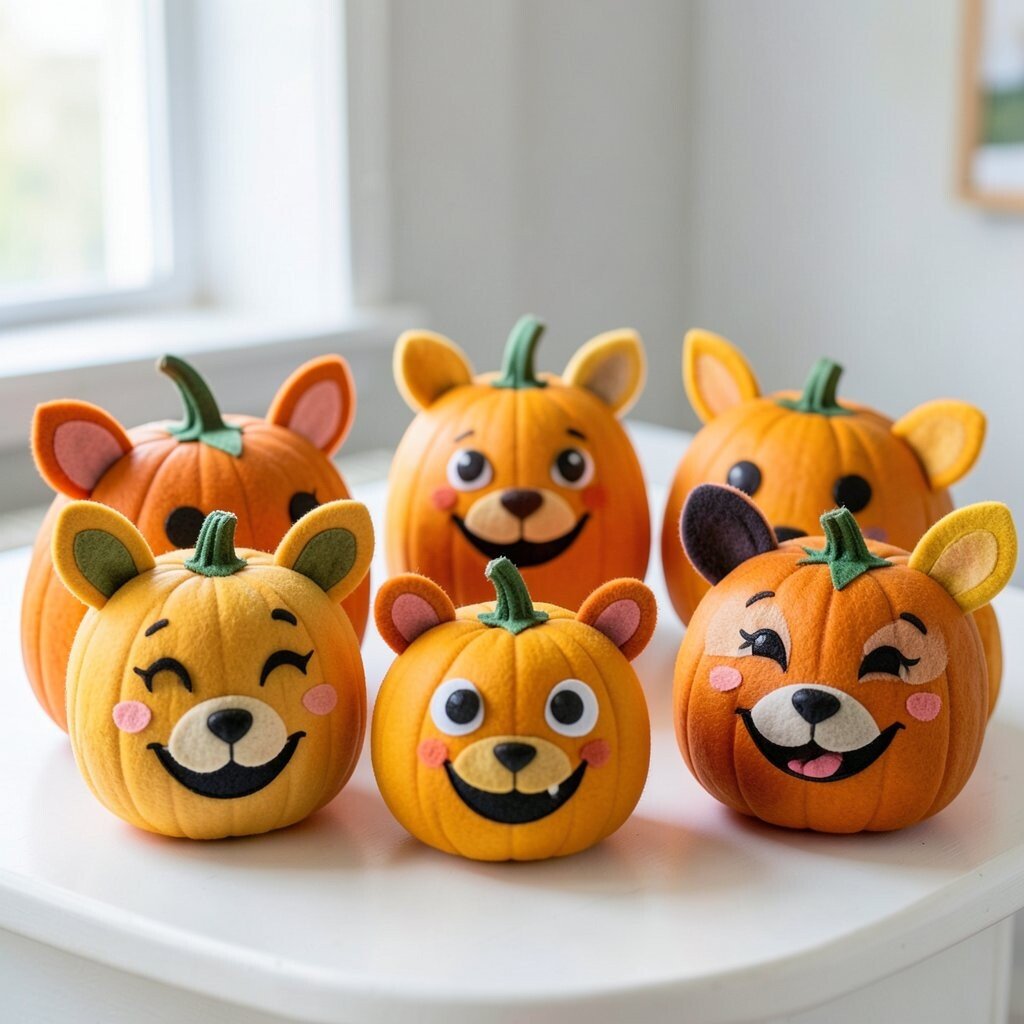
Turn each mini pumpkin into a friendly animal buddy by adding felt ears and simple facial features. Picture a line of pumpkins that look like bunnies, kittens, and little owls sitting together like they’re ready to greet guests.
This centerpiece is great for children because it feels kind and character-like rather than spooky. It’s unique because you can mix multiple animals in one set, giving the table a storytelling feel.
Practical tip: attach felt with craft glue and reinforce areas that might get tugged. Personalize by matching animal colors to the party palette, like soft gray for a “cloud kitty” or bright orange for “pumpkin fox.” Cost considerations are easy since felt scraps go a long way and you only need a few sheets to make many ears.
A current trend is creating “character families,” so consider making one animal the main character and keeping the others as sidekicks.
16. Autumn Alphabet Pumpkin Center With Letter Tiles
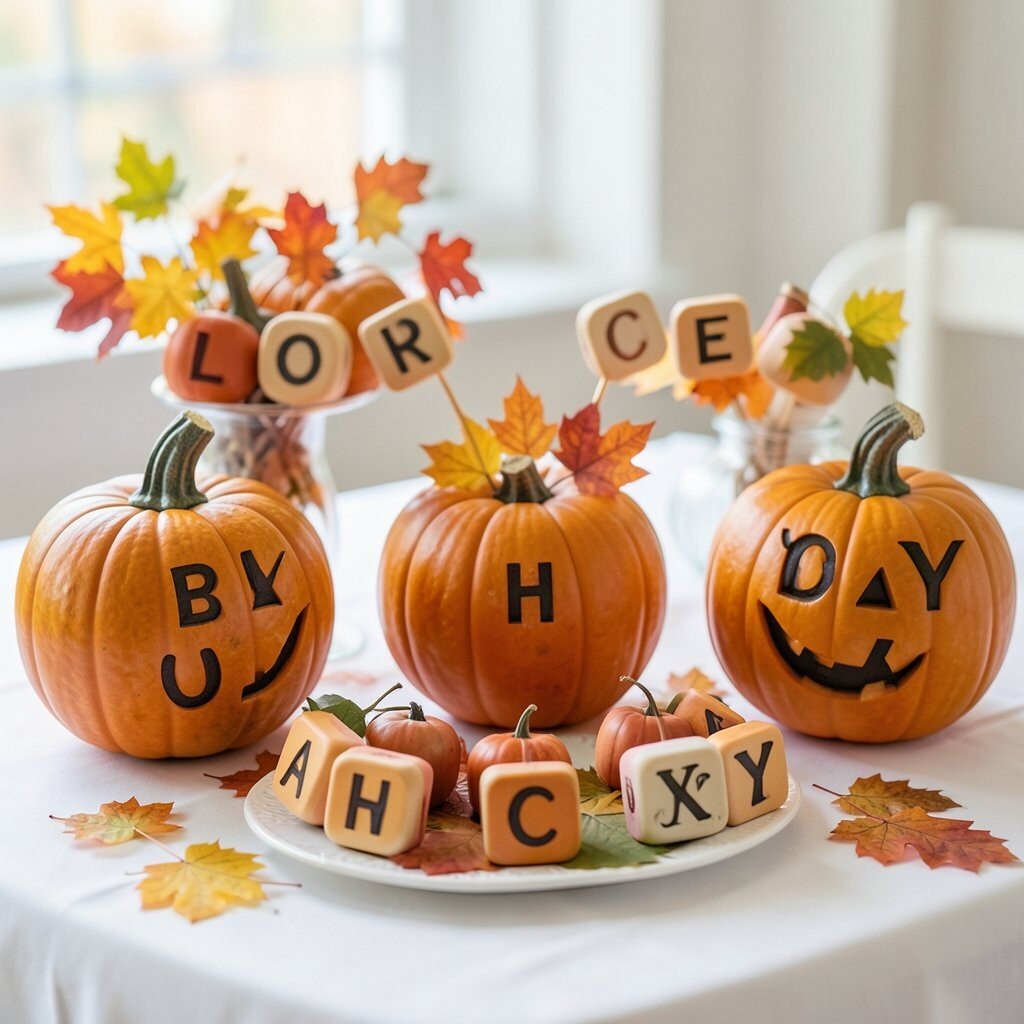
Paint pumpkins with letters or add letter tiles on small sticks to form a playful word moment. Imagine the centerpiece spelling a child’s name or “Happy Fall,” with each letter perched in a tiny holder made from cardstock.
This centerpiece is helpful because it doubles as a conversation piece during introductions and photo time. It’s unique because it blends decor with learning-friendly fun that kids can point to and read.
Practical tip: use large, easy-to-read fonts and secure sticks in a sturdy base like a foam pad inside a tray. Personalize by using the child’s name, favorite letter, or a short phrase like “Team Pumpkin.” Cost considerations stay friendly when you use a single sheet of printable cardstock letters and repeat sizes across pumpkins.
17. Ribbon Rosette Pumpkin With Pom-Pom Accents
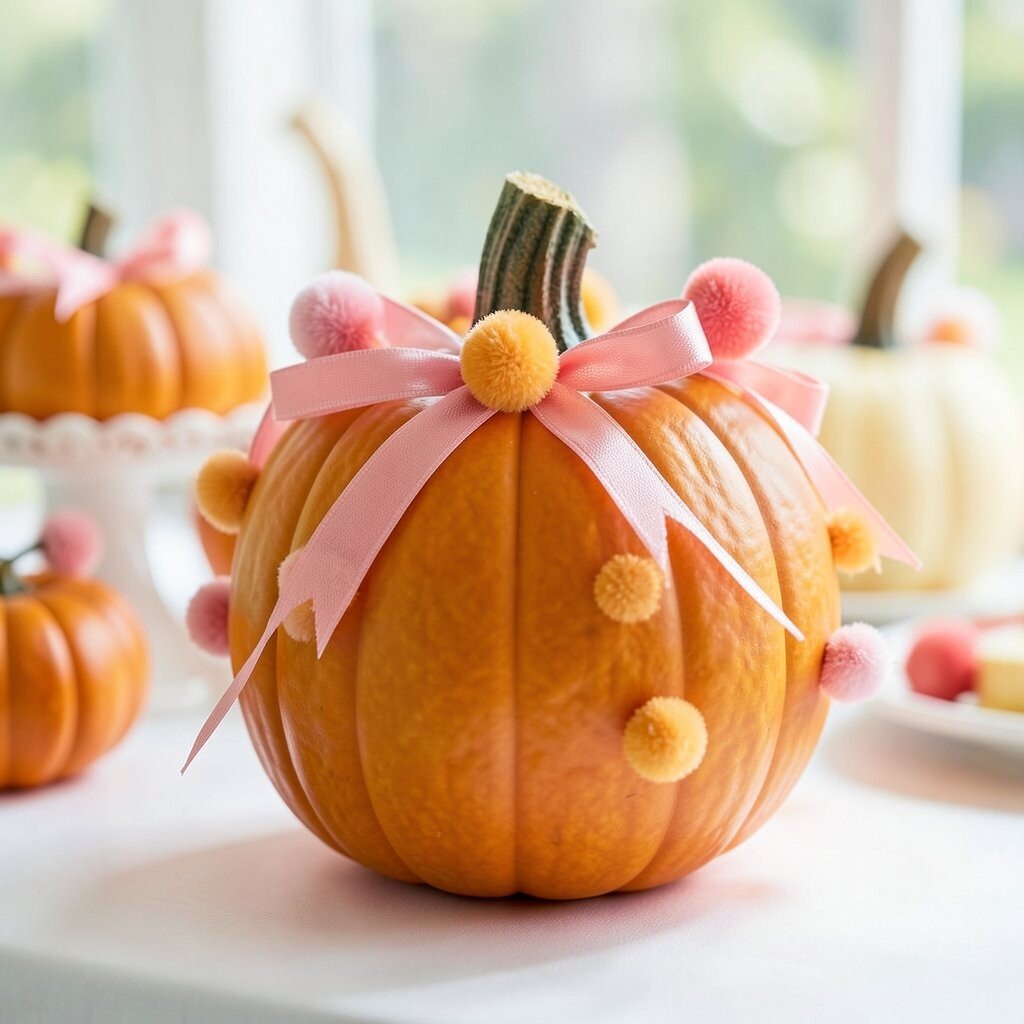
Create a rosette look by wrapping ribbon around a pumpkin and forming layered circles like soft fabric flowers. Then tuck pom-poms along the edges for extra bounce and color.
This centerpiece feels fancy but still simple, which helps it suit both toddler parties and older kids. It’s unique because it looks like a wrapped gift turned into a centerpiece.
Practical tip: use double-sided tape or a glue dot sparingly so ribbon stays smooth without lumps. Personalize by picking ribbon patterns that match party invitations, like polka dots, stripes, or solid jewel tones. Cost can be managed by using leftover ribbon from previous events and saving pom-poms from a craft stash.
For a trendy approach, mix matte ribbon with one small shiny element like metallic pom-poms for a modern pop.
18. Snowy White Mini Pumpkin Party With Frosty Sparkle
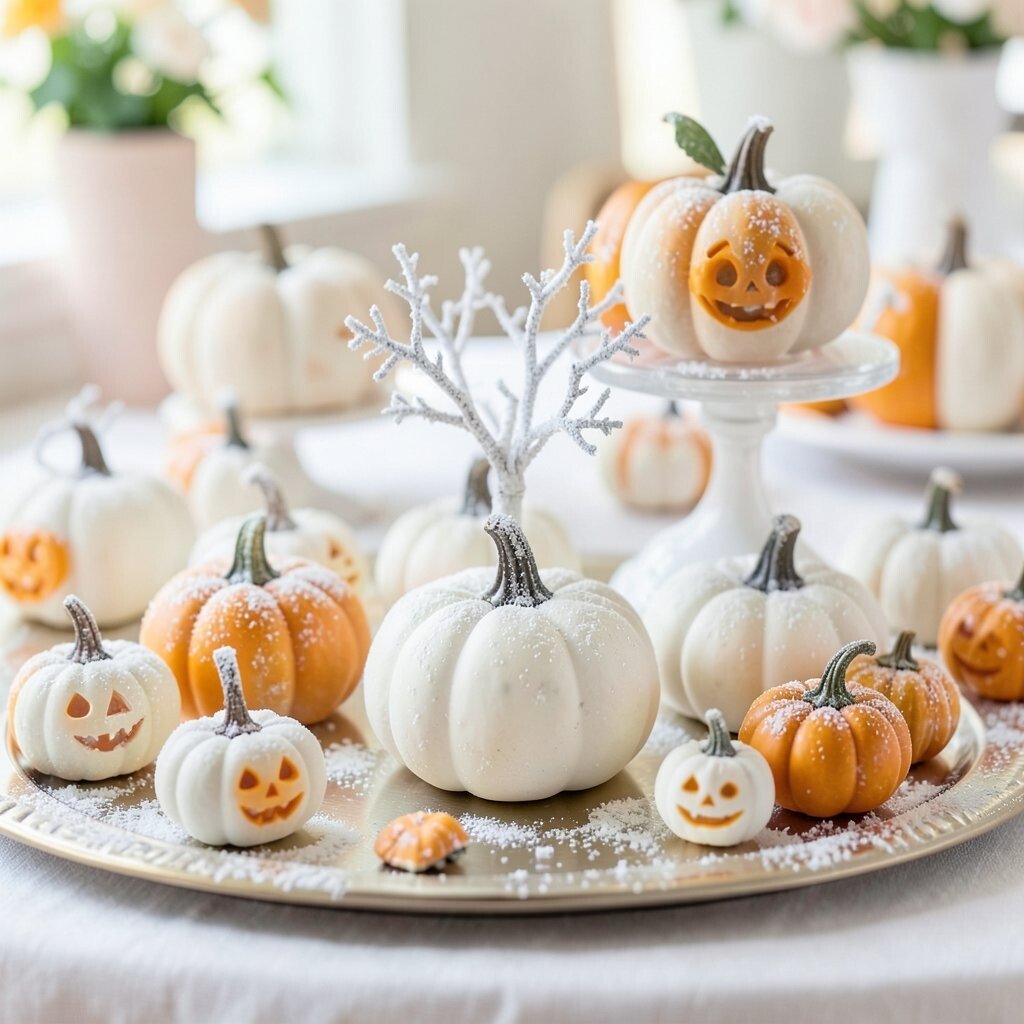
Paint mini pumpkins white and add a light dusting of glitter or faux “snow” for a frosty twist. Picture a wintery fall look that pairs white pumpkins with silver ribbon and tiny icicle ornaments.
This centerpiece is unique because it blends two seasons, which can be perfect for parties that happen near colder months. It also gives a clean, elegant look that parents often love for photos.
Practical tip: seal glitter with a clear craft spray so it doesn’t shed everywhere. Personalize with the child’s favorite character colors using one ribbon accent or one card tag. Cost considerations can stay low by using spray paint in a small can and saving glitter from other crafts.
19. Sports Team Pumpkin Center With Pennant Flags
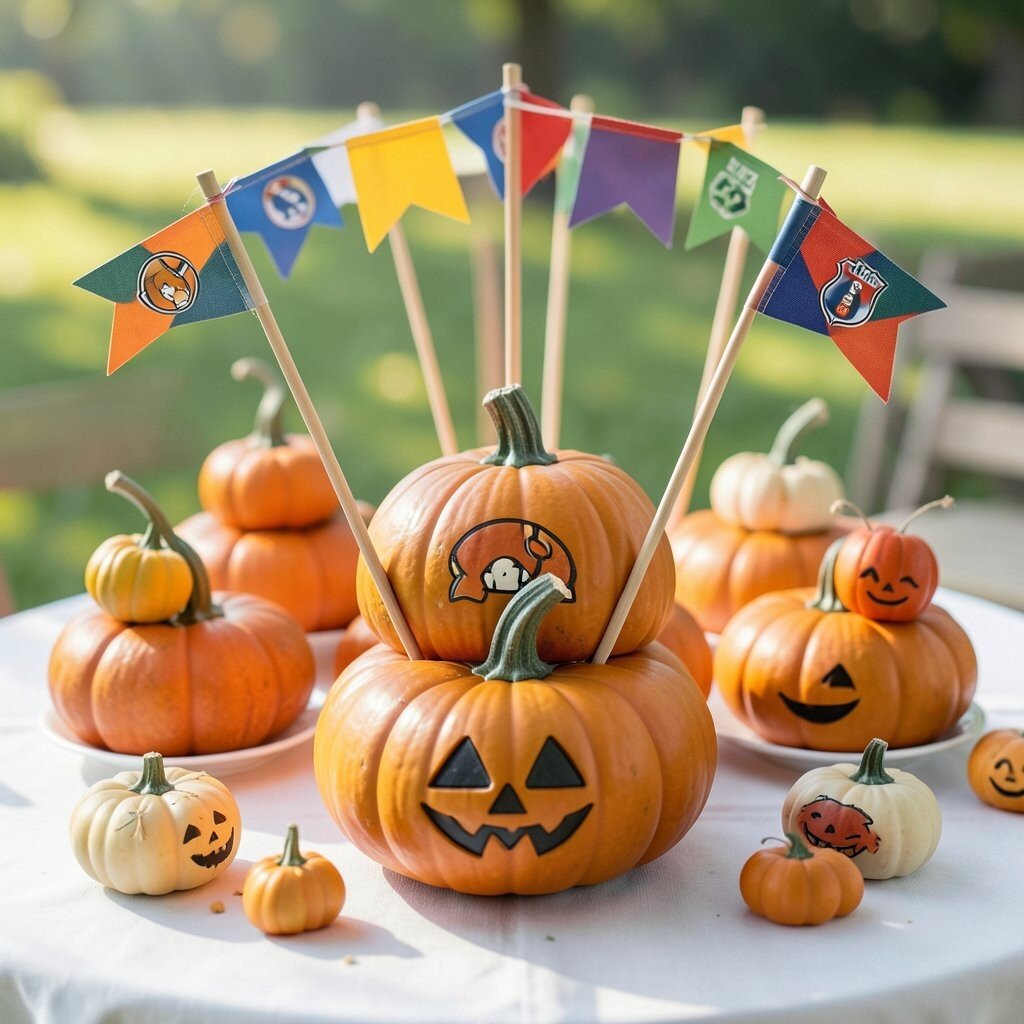
Decorate a pumpkin as a team mascot base by painting stripes or adding a logo-like sticker in the center. Then add pennant flags around a tray, with each pumpkin “holding” one flag.
This centerpiece works wonderfully for sports-themed birthdays because it feels bold and fun. It’s unique because it turns a seasonal item into team pride without needing expensive sports décor.
Practical tip: keep flags attached with thin skewers or wired craft picks so they stay upright. Personalize by matching team colors and printing the child’s jersey-style name on small cardstock tags. Cost is manageable when you rely on printed images and simple paints instead of buying lots of pre-made décor.
A current trend is mixing sporty themes with cozy seasonal textures, so add one rustic twine bow for a warm touch.
20. Pumpkin Time Capsule With Memory Photo Frames
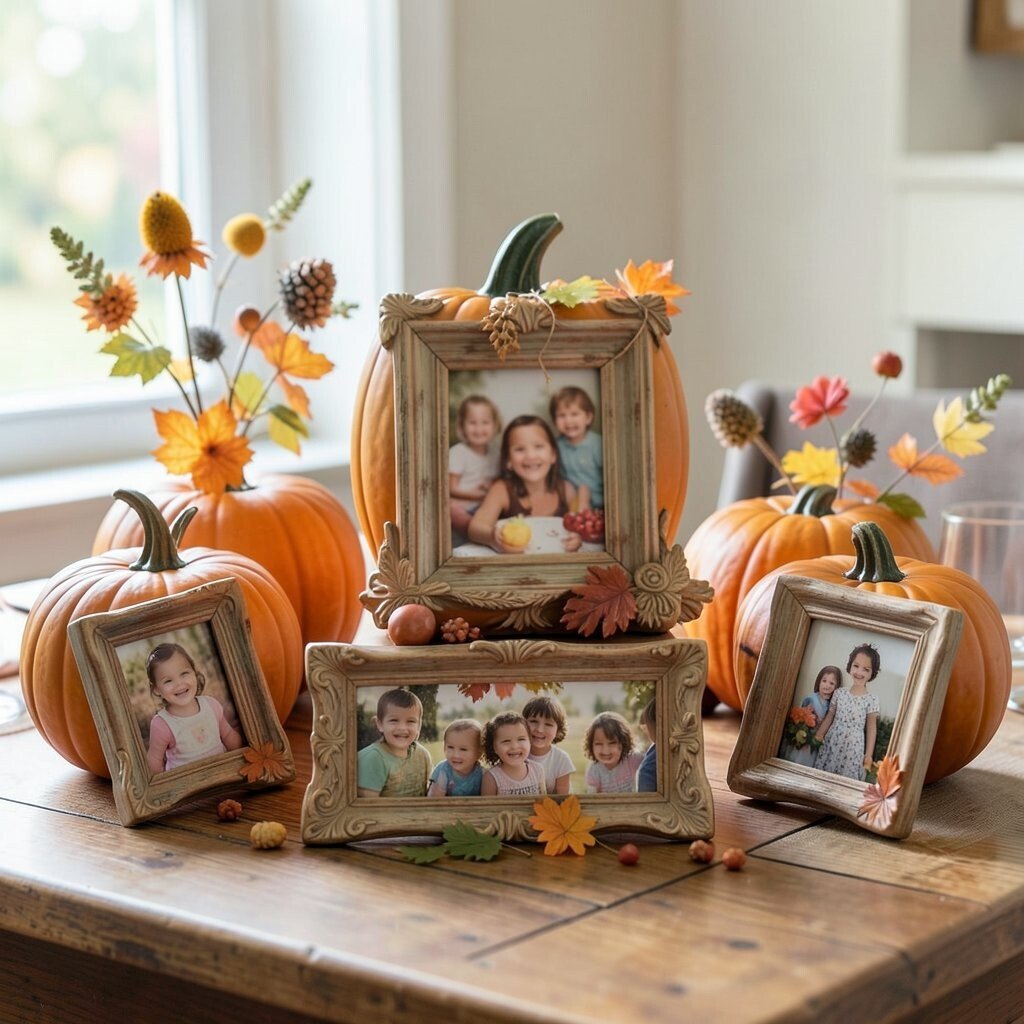
Use a pumpkin-shaped container or a small pumpkin with a carved top to hold photo cards and note slips. Place it in the center of a tray with small frame holders nearby so it looks like a “time capsule” waiting to be opened.
This centerpiece is special because it turns the table into a place where memories grow. It’s unique because the pumpkin becomes a keepsake, not just a decoration.
Practical tip: place photo cards in a stack with a clear cover so you can swap them later for different events. Personalize by adding a child’s favorite colors to the frame borders and using a consistent style across all cards. Cost considerations are friendly since you can print a few small photos and reuse frames from dollar stores or old craft kits.
For a trendy touch, use mini polaroid-style frames and keep the colors coordinated so the centerpiece looks styled even before the party starts.