Your dorm wall can look like “nothing,” or it can feel like you. The change can be smaller than you think, and the vibe payoff is huge.
From day-to-night lighting to clever storage that still looks pretty, these before-and-after ideas show what’s possible with real-life budgets. Each one comes with practical steps so you can copy the look and make it yours.
1. Gallery Wall With a Softer Layout
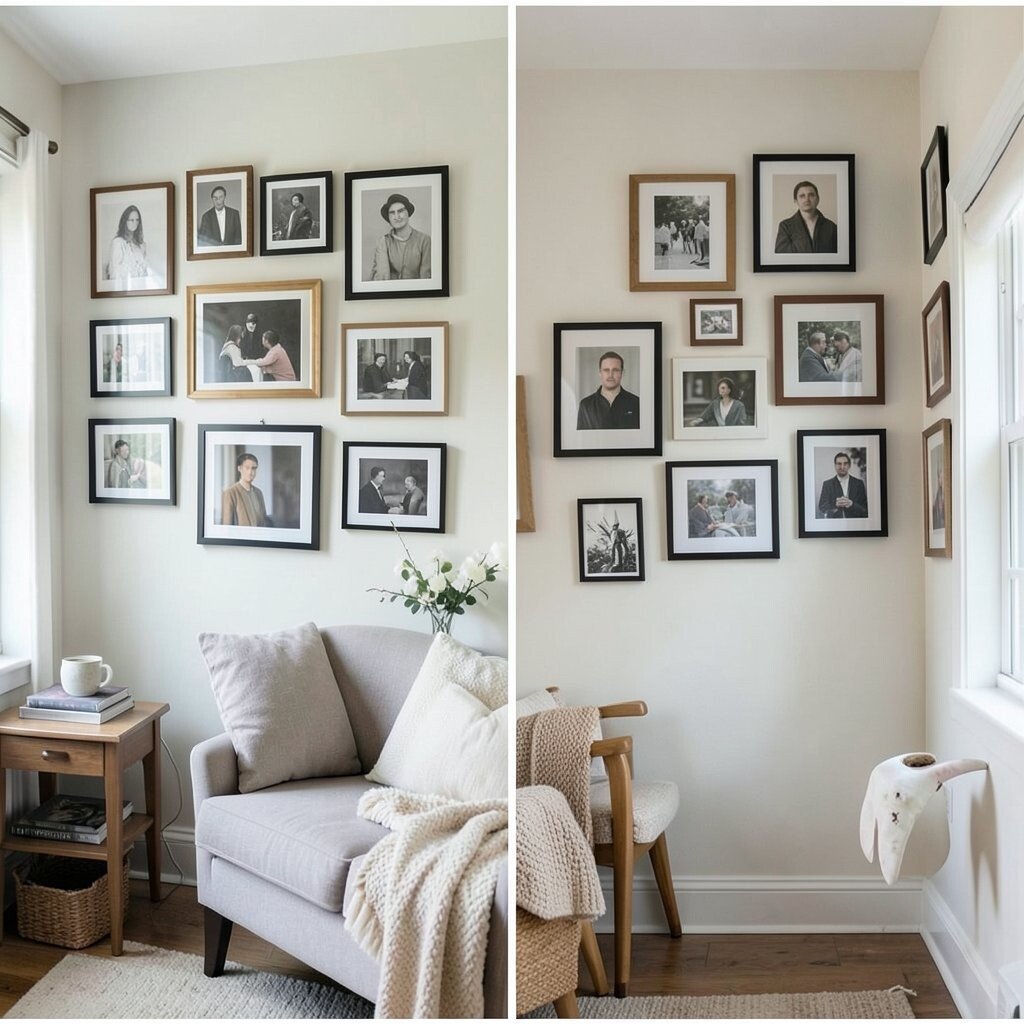
Before, your wall might be crowded with random frames that don’t match in size or color. After, a gentle gallery wall can make the whole room feel calm and intentional.
Choose a main photo or art piece near eye level, then build around it with evenly spaced frames. Use matching frame colors like matte black, warm wood, or light cream to keep everything cohesive.
To avoid a “tacky” look, pick a small set of styles and repeat them, like one type of photo print and one type of illustration. Add a thin strip of washi tape under a few frames to soften the edges and bring in a personal touch.
If you want it to feel extra dorm-friendly, swap heavy frames for lightweight prints and acrylic stands. For cost, start with printables from your favorite places, then upgrade a few real frames when your budget allows.
2. Peel-and-Stick Wallpaper Patch for One Corner
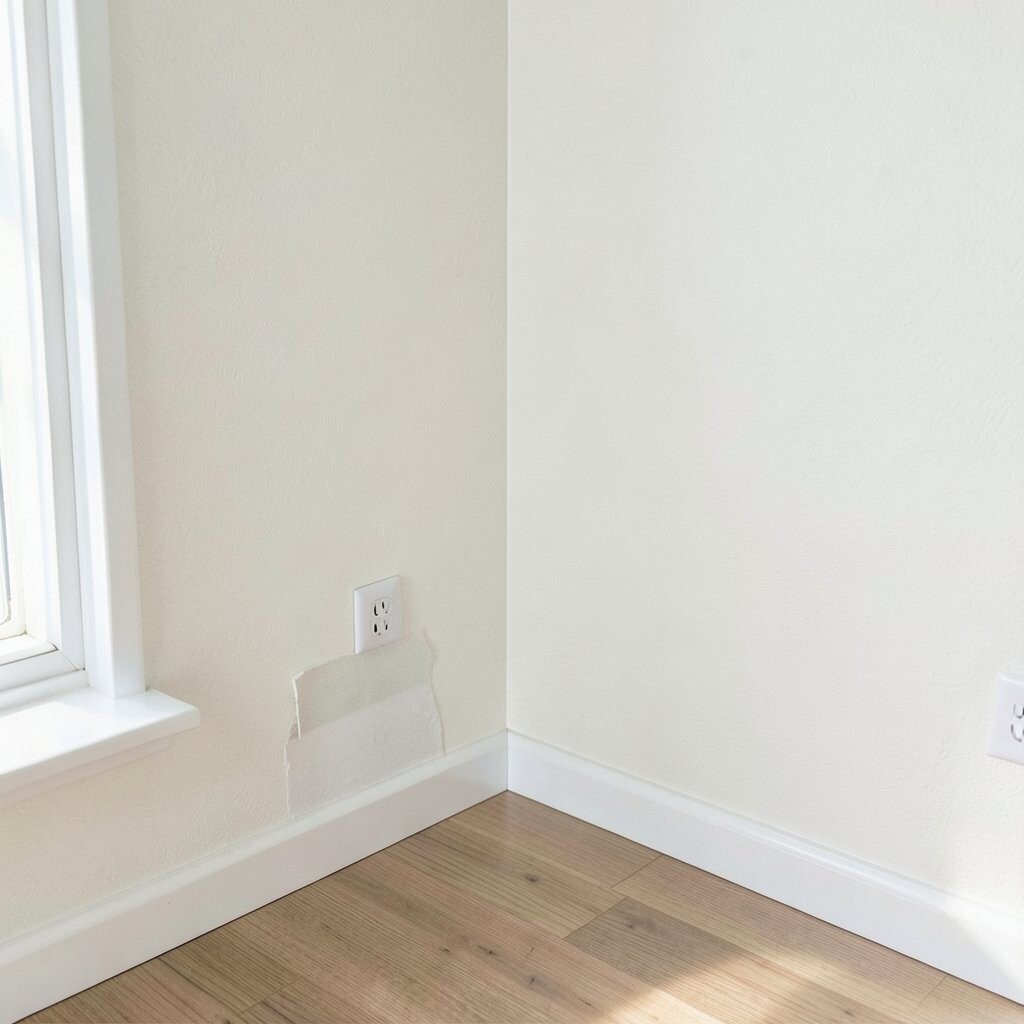
Before, that corner near your bed might feel blank, like it’s waiting for something. After, a peel-and-stick wallpaper patch turns the spot into a cozy feature without major effort.
Go for a small section behind a nightstand or desk chair so it’s easier to apply and remove later. Pick a pattern that matches your room colors, like soft florals, subtle stripes, or even tiny geometric shapes.
Press slowly and smooth as you go so the edges don’t lift. If you rent, this option is a lifesaver because you can change it when you move.
3. Fabric Wall Hanging That Doubles as Decor

Before, your wall might look plain and echo-y, especially in a small dorm room. After, a fabric wall hanging adds warmth and quietly helps the space feel less loud.
Choose a tapestry, a scarf collection, or a lightweight quilt panel that you already love. Hang it using a tension rod, decorative clips, or a simple dowel so you don’t need extra wall damage.
Make it unique by layering textures, like pairing a woven textile with a sheer curtain strip. Tie in your bed sheet colors so the whole room looks planned instead of accidental.
If you’re working with a tight budget, thrift stores and secondhand shops are great for high-quality fabric. For practical comfort, aim for a hanging height that sits above desk clutter so it still looks neat when you’re studying.
To keep it looking fresh, steam gently or shake it out before hanging so wrinkles don’t dull the pattern.
4. Bold Removable Decal Quotes and Symbols

Before, your wall might feel like a missed opportunity for personality. After, decals bring instant meaning, especially when your room needs a little encouragement.
Pick one larger quote or a small cluster of symbols that match your style, like stars, waves, or tiny icons tied to hobbies. Use a gentle transfer method by lining up the edges with painter’s tape first.
5. Mirror Placement That Makes the Room Feel Bigger

Before, your dorm might feel cramped and dim, even if you have good lighting. After, the right mirror placement can bounce light around and make everything look brighter.
Try a tall mirror near the door or opposite your window if possible. You’ll get a “more space” effect and it becomes useful for daily routines like getting ready and last-minute outfit checks.
Make it personalized by choosing a frame finish that matches your vibe, like black for modern or gold for cozy glam. If you can’t mount a mirror, lean-in styles work surprisingly well with the right floor placement.
For cost considerations, look for budget-friendly mirrors at discount home stores or secondhand marketplaces. Just check sturdiness and stability so it doesn’t tip when your roommates bump into the corner.
6. Hanging String Lights With a Clean Grid

Before, your wall might rely only on the overhead light, which can feel harsh and sleepy. After, a neat string light grid creates soft glow that makes the room feel inviting at night.
Plan a simple grid using two anchor points on adjacent walls or a straight line above your desk. Use clear clips or removable hooks so the light stays even and doesn’t sag.
Pick warm white for a cozy mood or try a slightly amber tone for a more “golden hour” feel. If you like a fun twist, add tiny mini lantern lights along the line for extra sparkle.
To keep it from looking messy, tie your cords back with small fabric ties and route them to one outlet spot. This setup is usually inexpensive, and it upgrades the room mood even when you don’t change anything else.
7. Before-and-After Wall Color With Peelable Paint or Backdrops

Before, your wall color might be fine but totally forgettable. After, adding a removable painted look or backdrop panel makes the room feel styled without a long project.
Try a peelable paint roll, a temporary wall color strip, or a removable backdrop sheet behind your bed. Choose a shade that works with your bedding, like sage green, dusty pink, or creamy beige.
For uniqueness, use a horizontal band that frames your bed instead of covering the whole wall. That way, you get the “after” vibe while keeping your room visually grounded.
If you’re nervous about cost, start with a smaller panel near your headboard so you can test the look. Make sure the surface is clean and dry so the temporary material sticks well and removes cleanly later.
8. Floating Shelves With a Styled “Book Nook” Wall
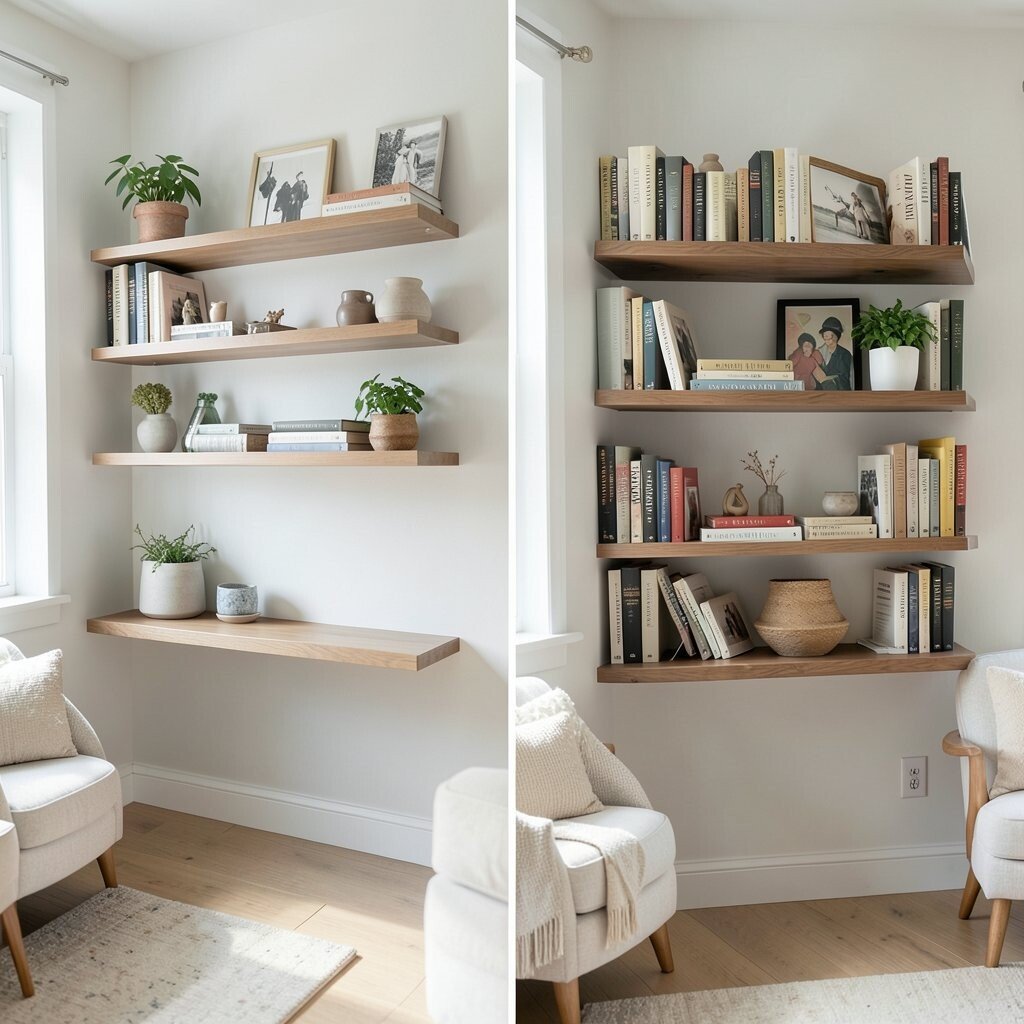
Before, books might sit in piles on your desk or floor because there’s no real place for them. After, floating shelves turn your reading habits into a decor moment.
Place shelves above your desk or along a side wall where you already spend time. Style them with a mix of books, small plants, and a few personal items like a souvenir or framed photo.
Keep it practical by using baskets or small boxes on the bottom shelf for chargers, notebooks, and game cards. This helps your wall stay tidy even when your life gets busy.
9. Framed Maps for a Travel-Ready Personality

Before, your wall might feel generic, like every dorm looks the same. After, a map theme adds story and makes your room feel like it’s headed somewhere exciting.
Choose a map print that matches your room palette, like muted vintage paper tones or modern minimal lines. Frame a favorite city, a travel route, or a world map and hang it centered above your desk.
For personalization, add small “memory” markers with removable dots or tiny clips, like where you’ve been or where you want to go. Mix in one or two smaller frames to balance the large print so it looks curated, not random.
If you want a cost-friendly approach, print your own maps or download free map-style art online and use cheap frames. Later, you can upgrade one or two pieces with more expensive frames if you love the look.
10. Layered Board for Notes, Classes, and Cute Clutter

Before, your to-do list might live on loose papers that vanish when you need them most. After, a layered board turns reminders into part of the wall style.
Use a cork board, fabric memo board, or a slim notice board and cover it with a fabric panel or pretty wrapping paper for the top layer. Pin tickets, class schedules, and small photos in a way that feels organized and fun.
To make it unique, layer your items by height and color so it looks like intentional decor. Add a small tray or pocket nearby for pens, sticky notes, and bookmarks so everything is easy to grab.
On cost, you can get most materials for less than you’d think by choosing a simple board and upgrading with nicer fabric. Just keep the pins spaced so the board looks neat rather than overstuffed.
11. “After” Floating Art on a Single Color Block

Before, everything on your wall might be all over the place, with no anchor point. After, a simple color block gives your art a place to shine.
Pick one wall area, like above your dresser, and add a removable foam board backing, a fabric panel, or a large peel-and-stick solid color. Then place smaller prints or photos centered on top so the colors pop.
This style feels modern and calm, especially when your room has mixed decor. Choose a color that connects to your bedding, like matching a repeated shade from your comforter.
If you want it to be extra personal, include one “signature” piece like your favorite illustration or a framed hobby print. For a practical approach, measure the space first so you don’t end up with crooked art.
12. Washi Tape Lines and Tiny Corners for a Low-Lift Style

Before, your wall might be plain and make everything else look less special. After, thin lines of washi tape add structure and guide the eye without needing nails or heavy tools.
Create a simple frame on your wall by making light corner shapes around a poster, print, or even your desk calendar. Use two tape colors max so the design stays clean and doesn’t turn chaotic.
For uniqueness, vary the width of the tape in a small area, like thicker at the corners and thinner along the sides. This trick gives a handmade look that still feels neat.
Costs are usually small, and washi tape is easy to remove and replace. To keep your design aligned, use painter’s tape to map the lines first, then swap it out after you place the washi.
13. Statement Wall Clock With a Fun Finish

Before, time might blur while you study, and your wall decoration might not help your routine at all. After, a statement clock gives both function and style in one spot.
Pick a clock that matches your decor, like wood tones for cozy rooms or bold color accents for playful spaces. Hang it where you can see it from your desk, so it’s useful during late-night homework sessions.
Make it personal by choosing a clock style related to your vibe, like sports colors, minimalist lines, or a pattern that echoes your bedding. If you want the “before and after” effect without drilling, use adhesive-safe hooks for lighter options.
For cost considerations, small clocks are often cheaper than big wall art, and you still get a big visual impact. Just check for a reliable battery system so you don’t end up changing it constantly.
14. Desk-Behind Wall Backdrop With a Mini “Home Stage”

Before, your desk area might feel like a utilitarian zone with nothing that makes you feel proud. After, a backdrop turns it into a mini home stage where you actually want to sit and do your best work.
Hang a fabric curtain panel, a lightweight shelf-slat backdrop, or a removable art sheet behind your chair. Keep it centered and at a height that frames your workspace, not your clutter.
For personalization, add one framed print at eye level and a small garland or greenery cluster for a lived-in look. Practical touches like a small organizer rail for keys, headphones, or sticky notes help your wall area stay tidy.
If you’re watching cost, focus your money on the backdrop and one standout art piece, then fill the rest with low-cost accessories. Choose materials that are easy to wipe down and won’t get ruined by desk dust.
When you style it, aim for one main focal point and a few supporting items so it looks intentional even when life gets busy.